
110 Cookson Lane | Whitefield, ME 04353 | 207-232-7600 | tim@lackeysailing.com
Thanks to an extended power outage courtesy of Tropical Storm Irene, I couldn't do any work on Monday, so with power restored late at night I was anxious to get back to work this morning.
To begin, I removed the masking tape from the interior.
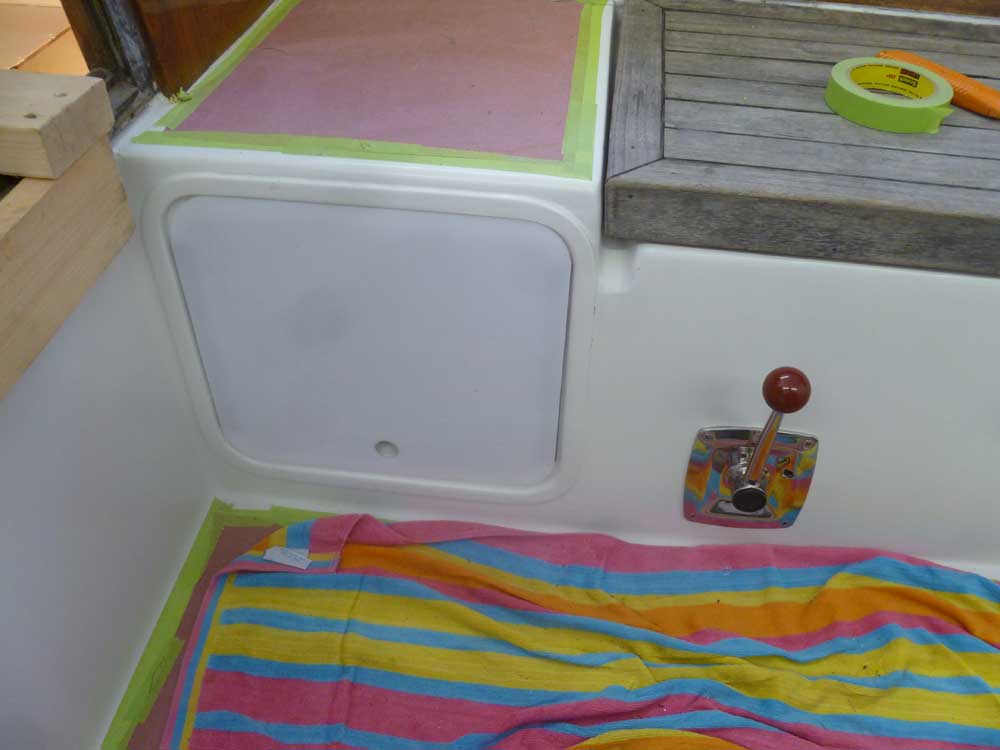
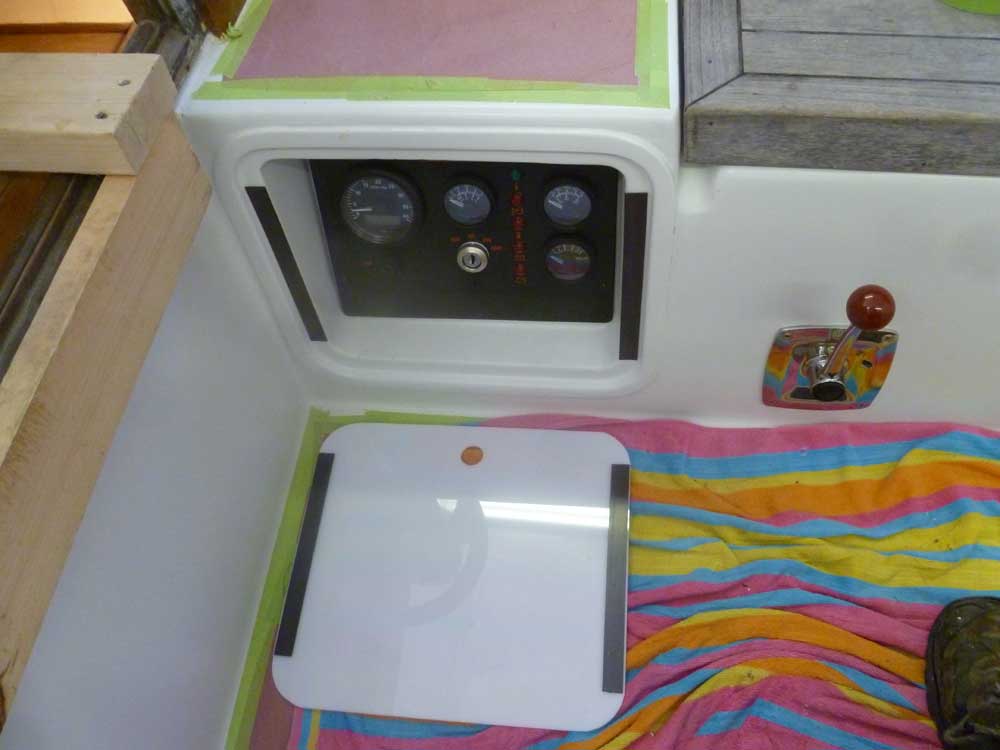
During the owner's visit a week ago, he remarked that he'd like a cover over the engine gauge panel in the cockpit, at least to hide the panel when not in use. To this end, I fabricated a cover panel from 3/16" white acrylic stock. To secure the panel easily in place, I used slim magnetic strips. The first product I chose lacked the magnetic power to hold the panel in place, so I purchased stronger, wider magnets and tried again; these seemed to work.
I doubted the magnetic field from these insignificant strips could possibly affect the vessel's compass, but I supposed that remained to be seen.
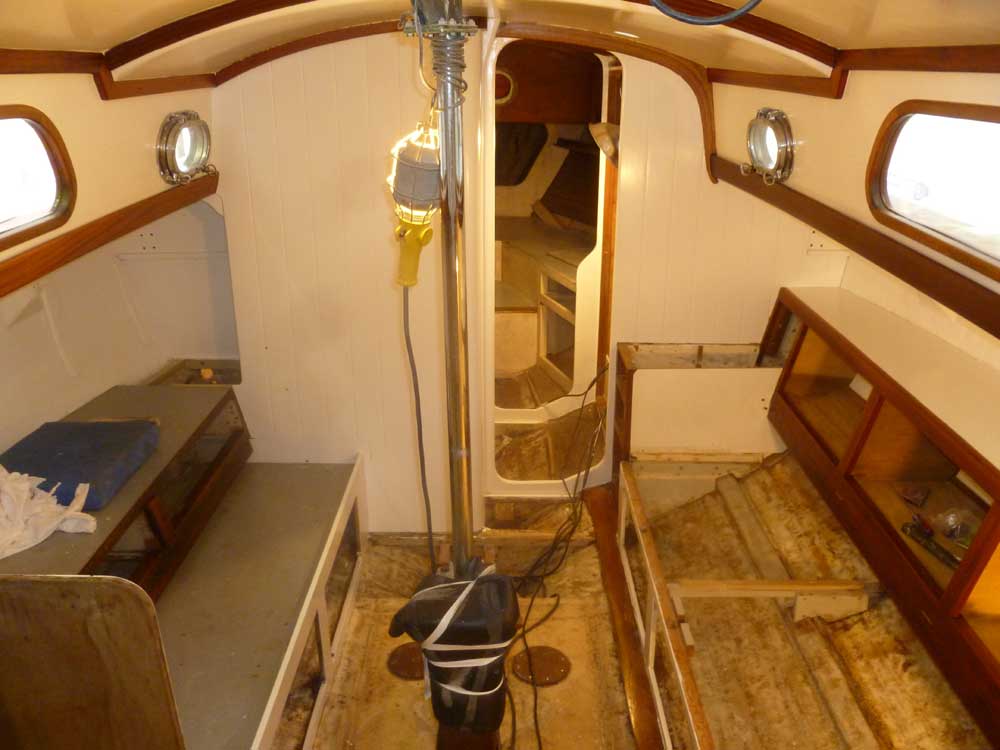
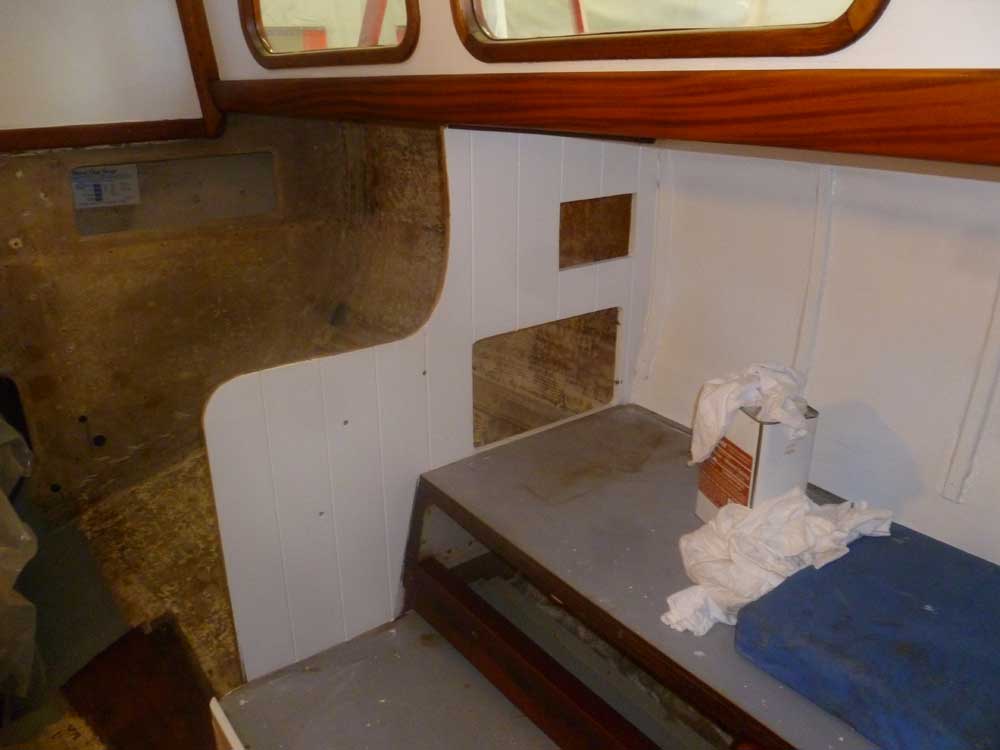
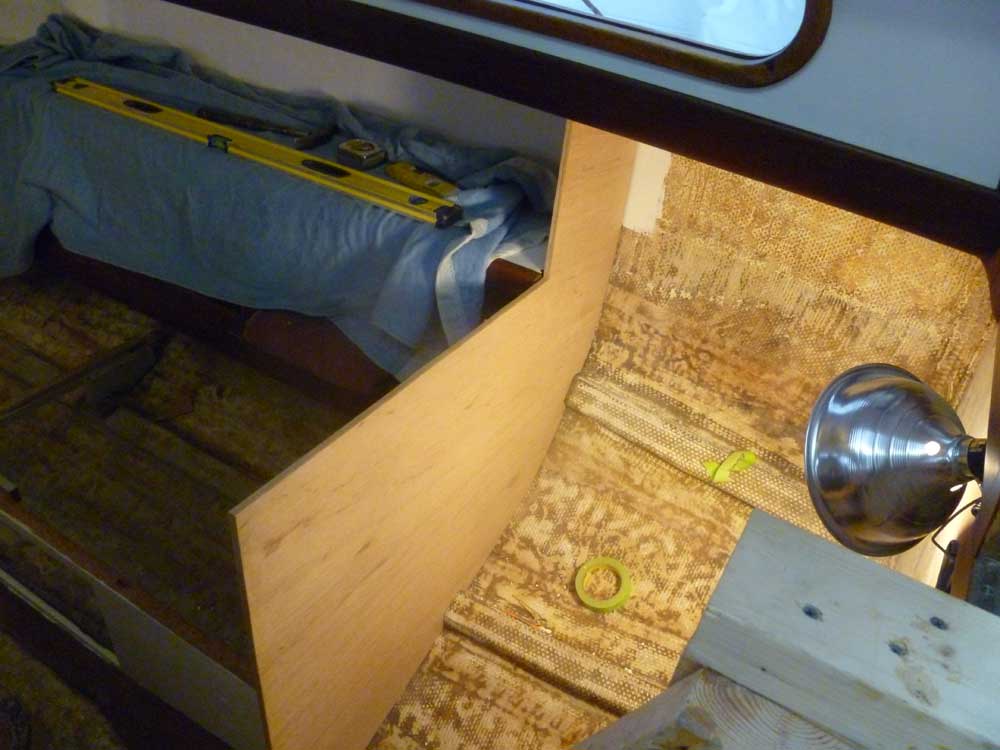
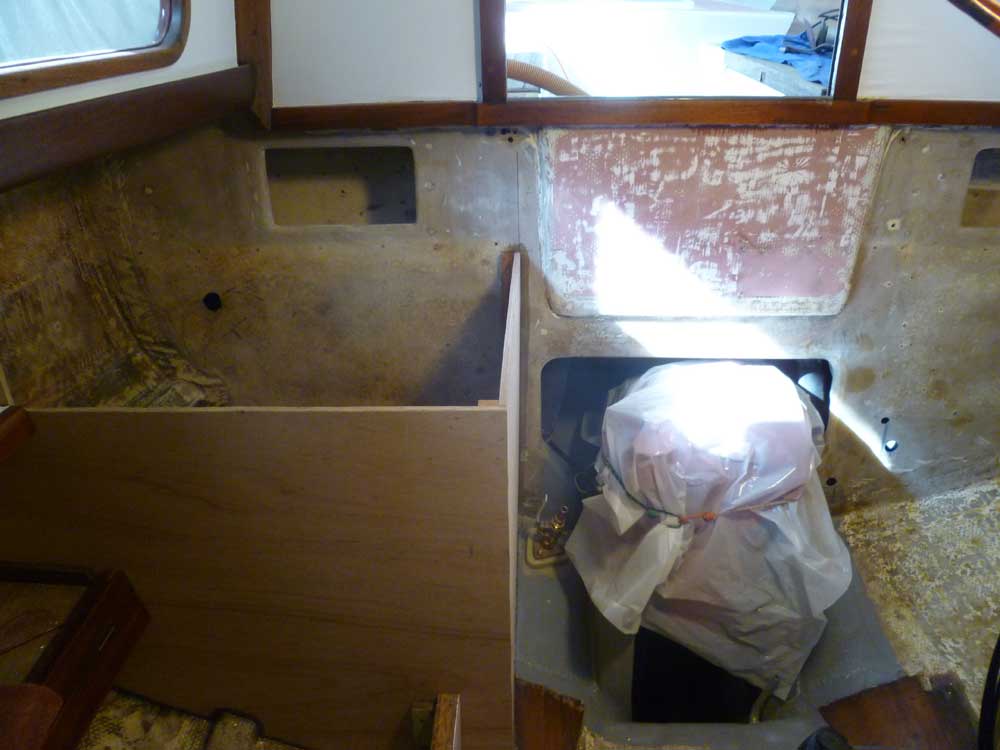
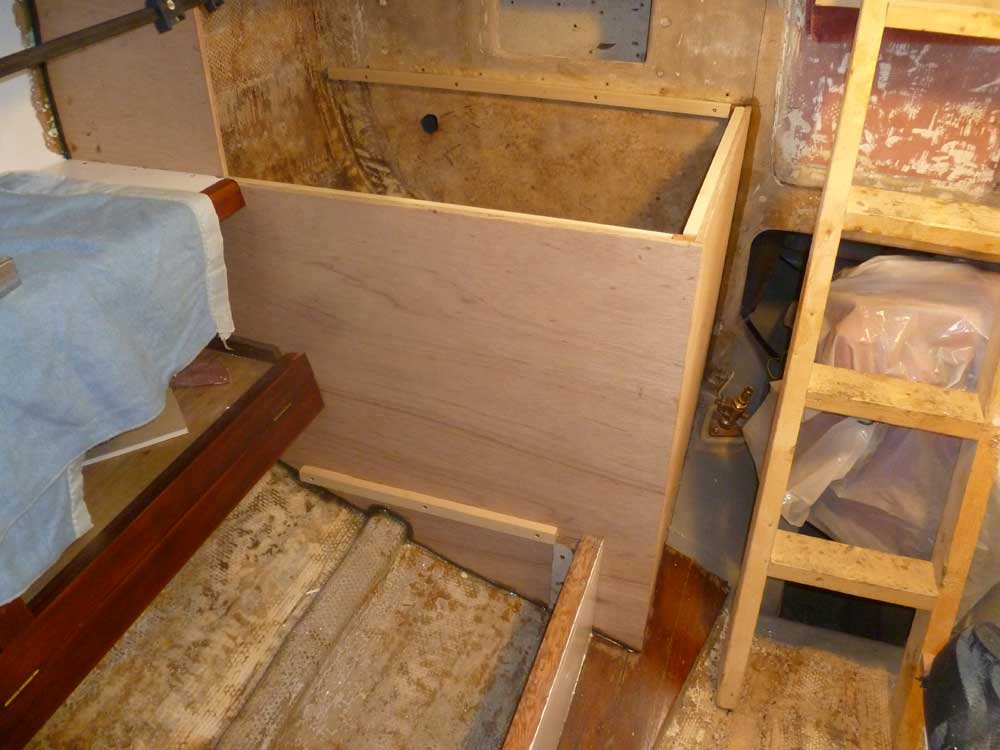
I spent the remainder of the day working on the new galley and engine room cabinets. I started on the starboard side, which required a new transverse bulkhead at the aft end of the settee, plus a longitudinal bulkhead leading aft to the after structural bulkhead.
Based on his intended use of the boat, and with an eye towards keeping project scope in check at this time, the owner approved a very simple concept for the galley. While there might be future changes and upgrades down the road, for the moment we decided to keep the cabinetry extremely straightforward. To starboard, this meant more or less rebuilding what had been there before, and leaving the interior of the new cabinet mostly open except for making provisions to install, beneath the countertop, a portable cooler that could be accessed from above.
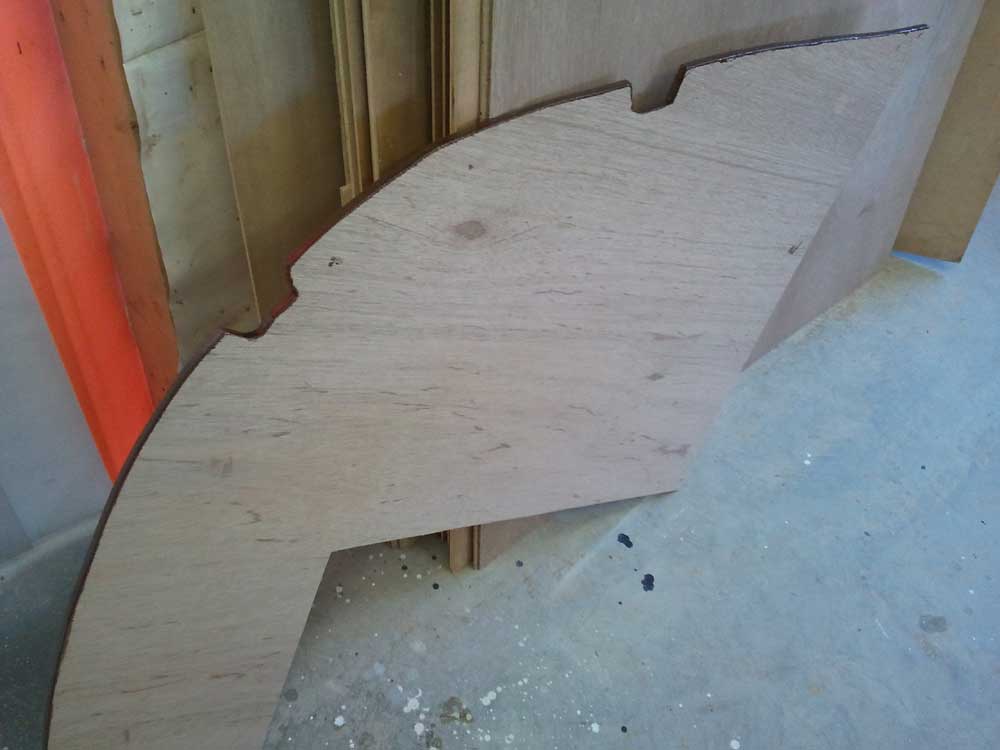
I made a cardboard template of the transverse bulkhead, scribing and cutting till I had a close fit. Then, I transferred the pattern to 12mm marine meranti plywood and cut out the shape, leaving the top edge overlong for now.

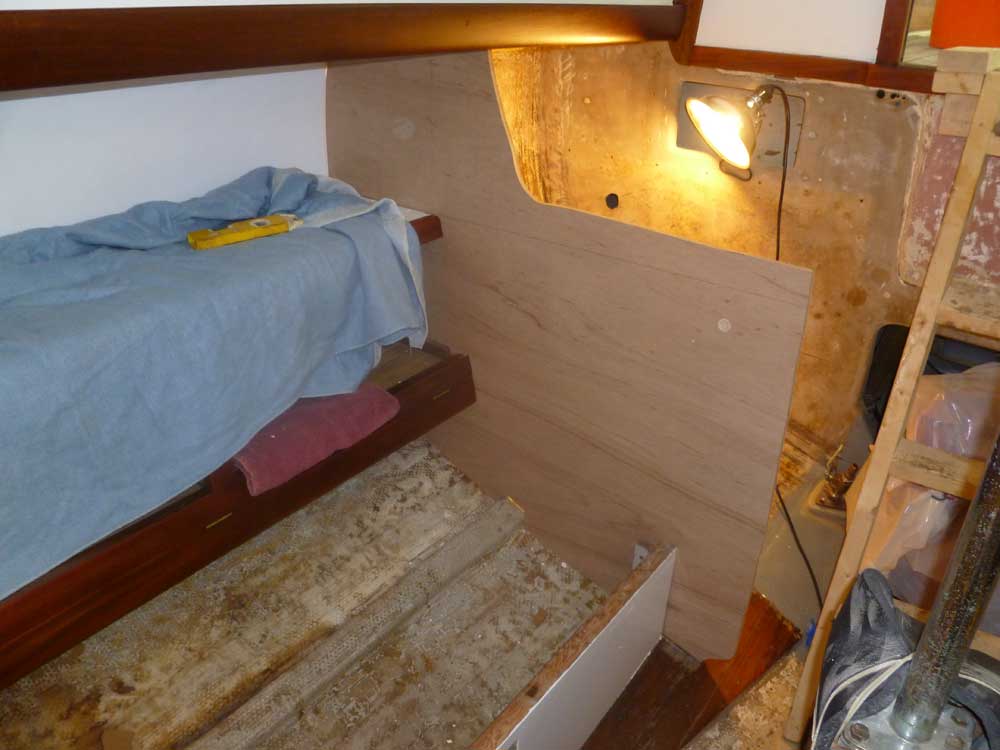
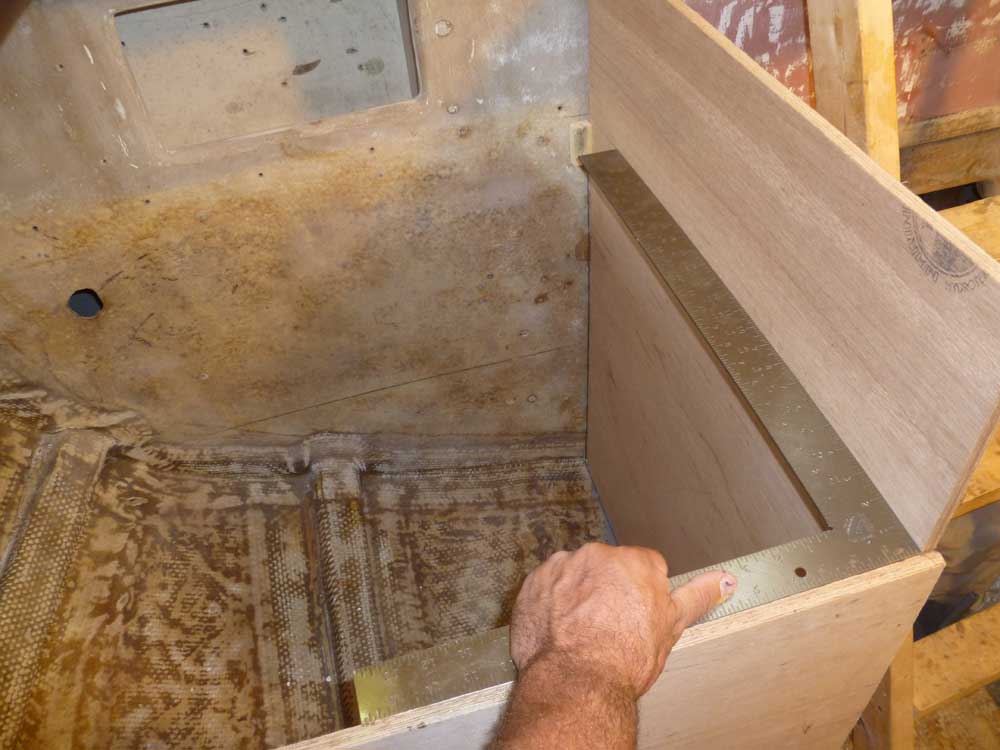
After fitting the rough bulkhead in place, I made some additional layout lines as necessary to define the top edge (level with the existing settee shelf, allowing for the 12mm countertop), the inboard edge of a vertical partition that ran to the underside of the sidedeck, and the inboard vertical edge of the bulkhead. Of course the bulkhead was right in line with one of the stanchion bolt locations, as indicated by existing holes in the sidedeck, so to accommodate the bolts and backing I cut a recess in the top edge of the bulkhead to leave clearance.
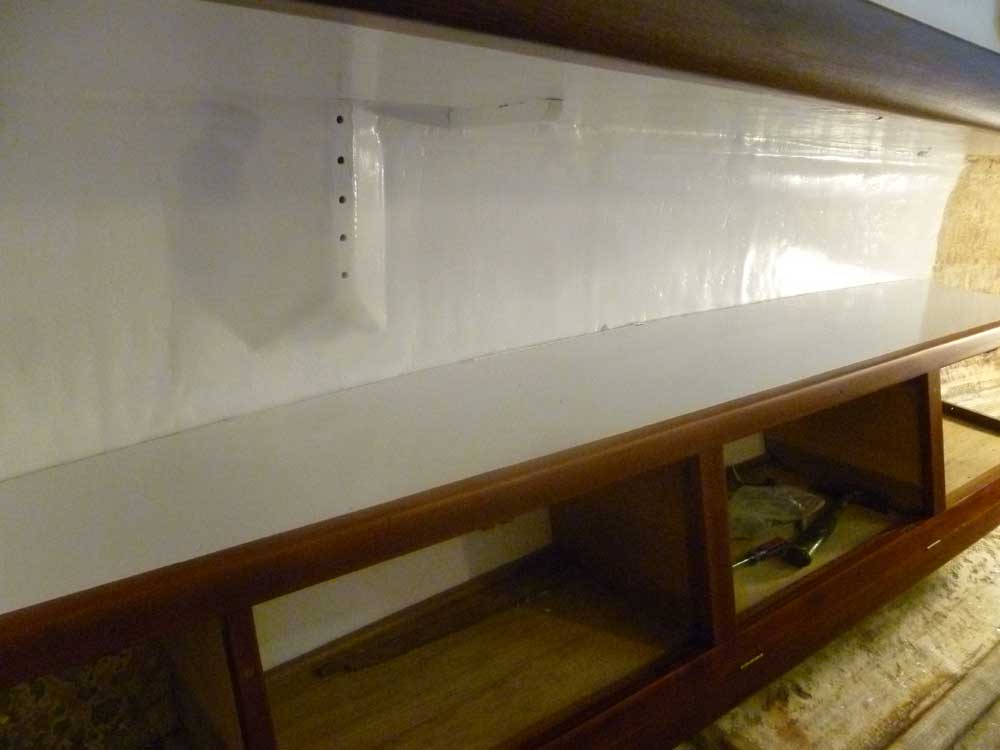
After cutting the plywood to these new marks, I epoxy-coated the exposed edge grain that would be against the hull. After lunch break, I permanently installed the bulkhead in epoxy adhesive, and with screws into existing cleats in the adjacent cabinetry.

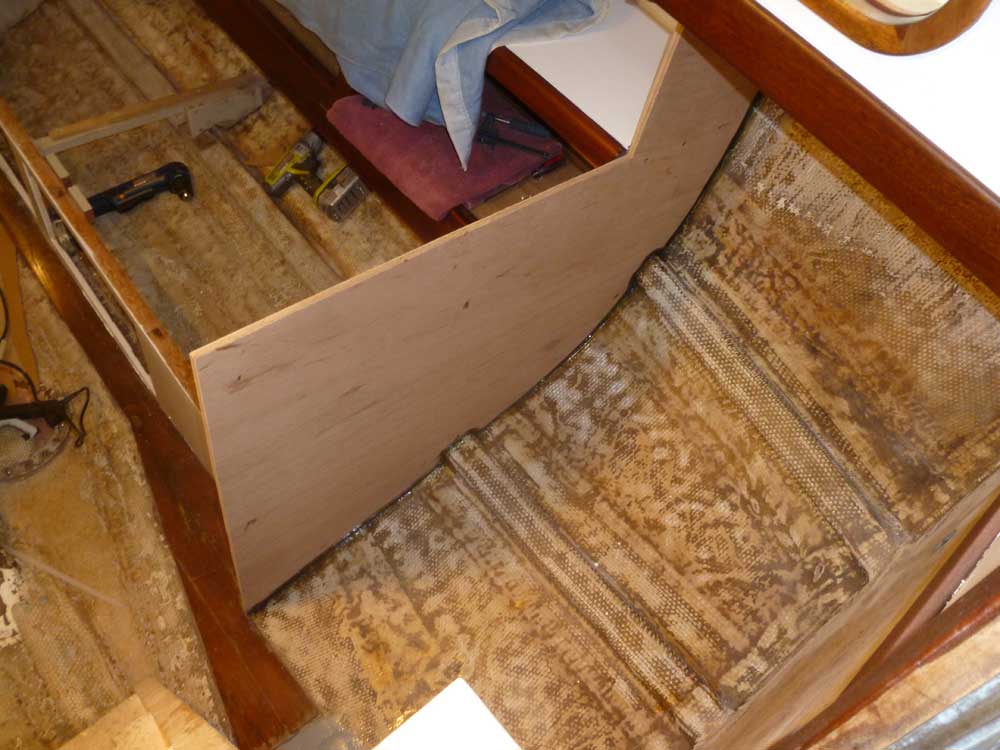
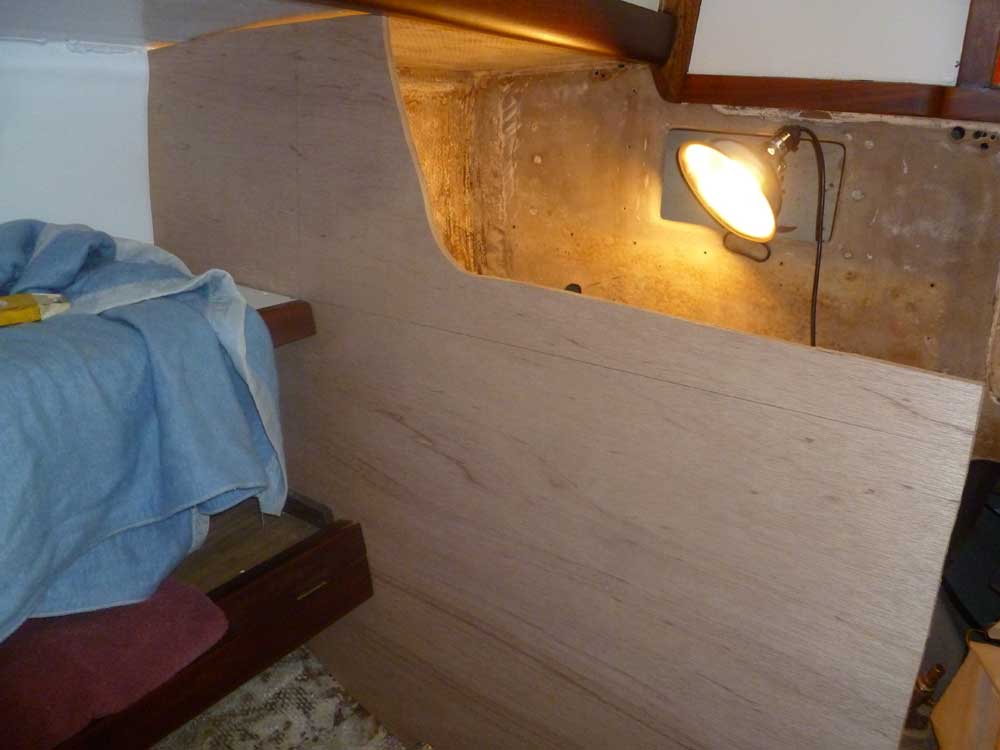
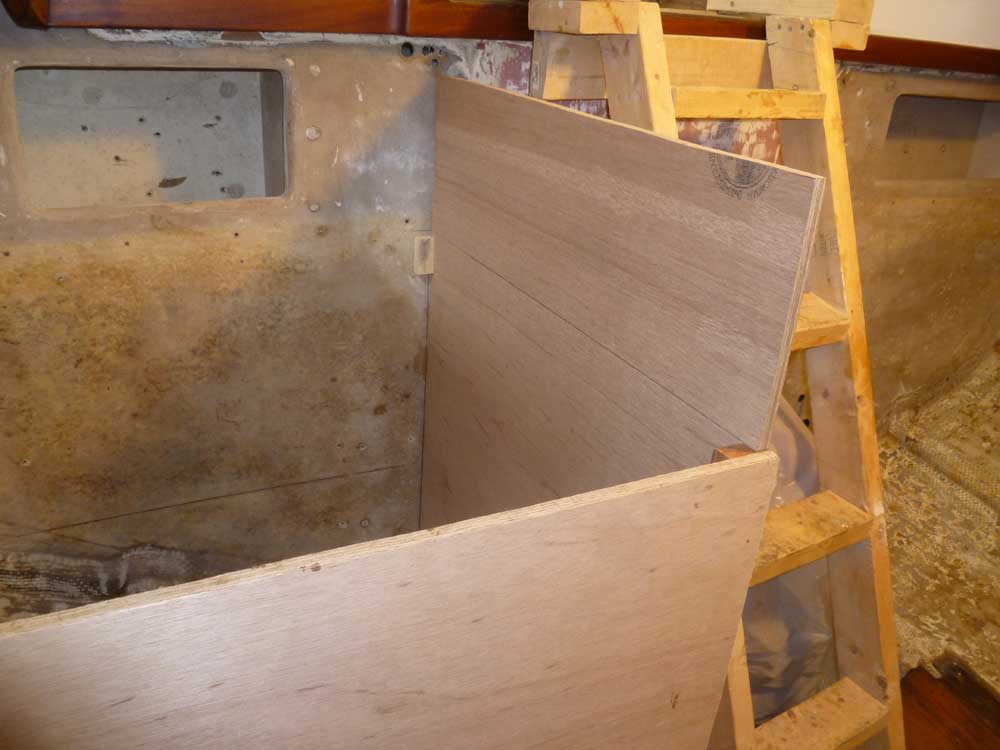
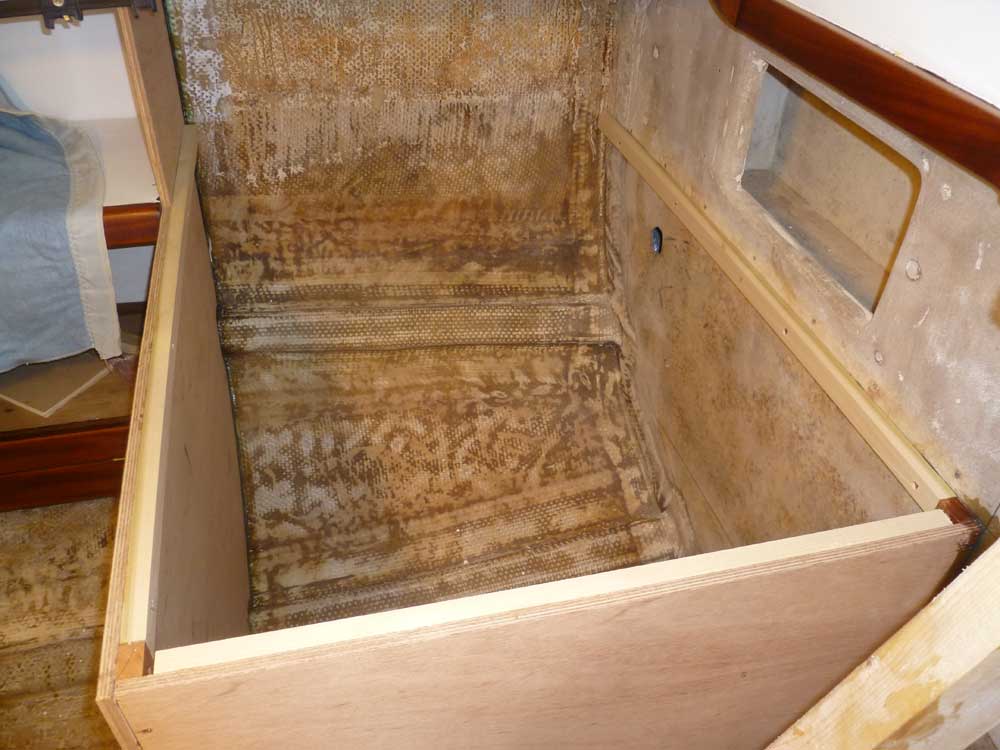
Before installing the first bulkhead, I'd done some preliminary layout on the short longitudinal bulkhead that would return to the aft structural bulkhead, close off the new locker, and form the starboard side of the engine room. With the bulkhead blank cut to the appropriate width for the space, I scribed and cut the bottom edge to fit the contours of the hull as needed, then installed a support cleat at the forward end and temporarily installed the bulkhead with its extra height so I could mark where it hit the aft bulkhead. I used a square to ensure that the new bulkhead would be perpendicular to the other one, and made marks on the after bulkhead for an additional support cleat. To hold the engien room bulkhead in place while marking and measuring, I temporarily hot-glued some blocks to the aft bulkhead.
After marking a level line to demark the proper height of the new bulkhead, I removed it and cut to the proper mark. I installed a hardwood cleat on the aft bulkhead, then installed the longitudinal bulkhead with glue and screws after coating the exposed edge grain with epoxy.

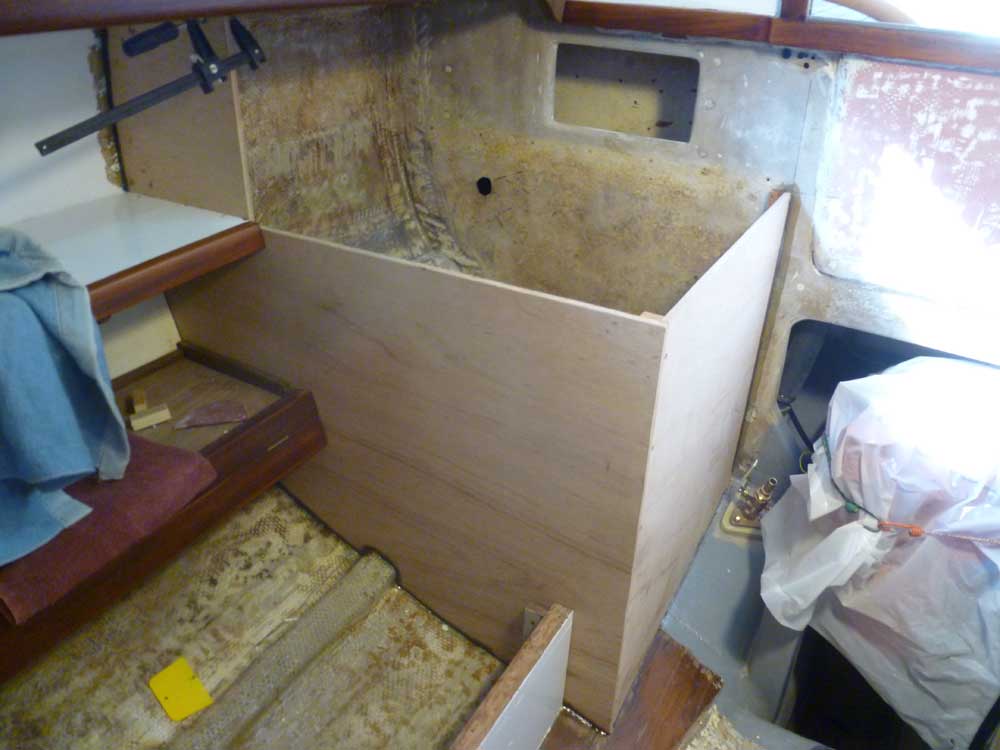
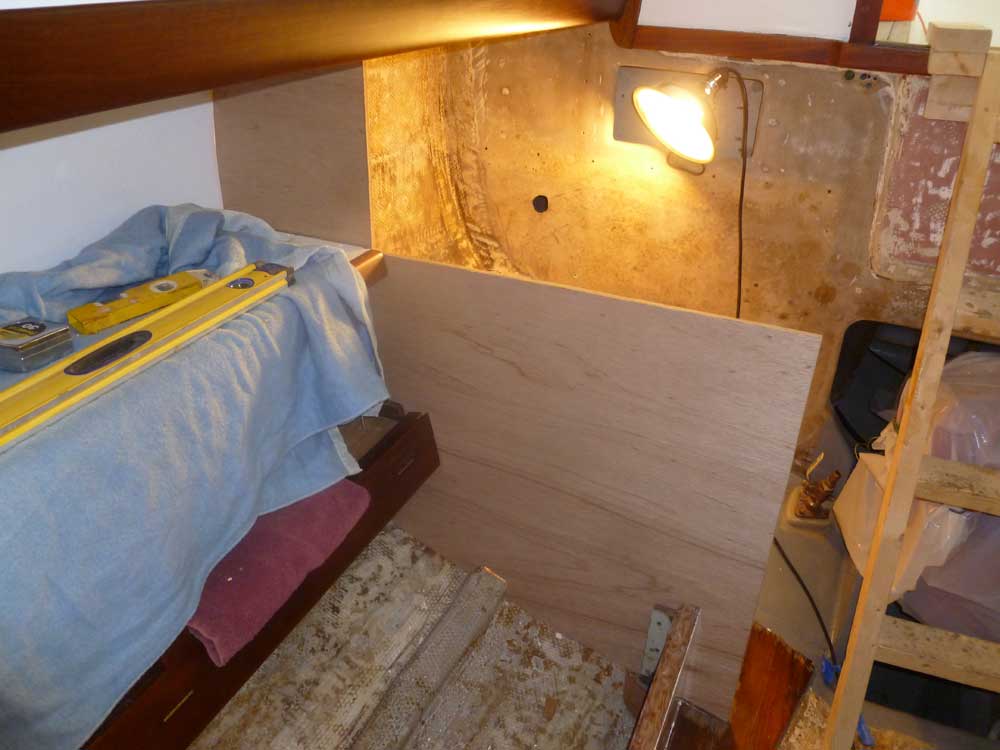
Finally, I cut additional hardwood cleats to support the countertop, and installed them around the three edges of the new cabinet. I also installed a cleat on the forward side of the bulkhead at the end of the starboard settee to support the platform.
Total Time Billed on This Job Today: 6.25 hours
<Previous | Next>
