
110 Cookson Lane | Whitefield, ME 04353 | 207-232-7600 | tim@lackeysailing.com
Deep down, I always knew it was too good to be true. I never really believed the fuel tank was empty, despite my failure to draw even a drop off the tank from the bottom-mounted fuel supply valve; therefore, I wasn't overly surprised when I removed the deck fill plate first thing in the morning to find light reflecting off liquid fuel only a few inches down from the top of the deck fill. With a stick, I confirmed that there was about 12" depth of fuel in the tank.
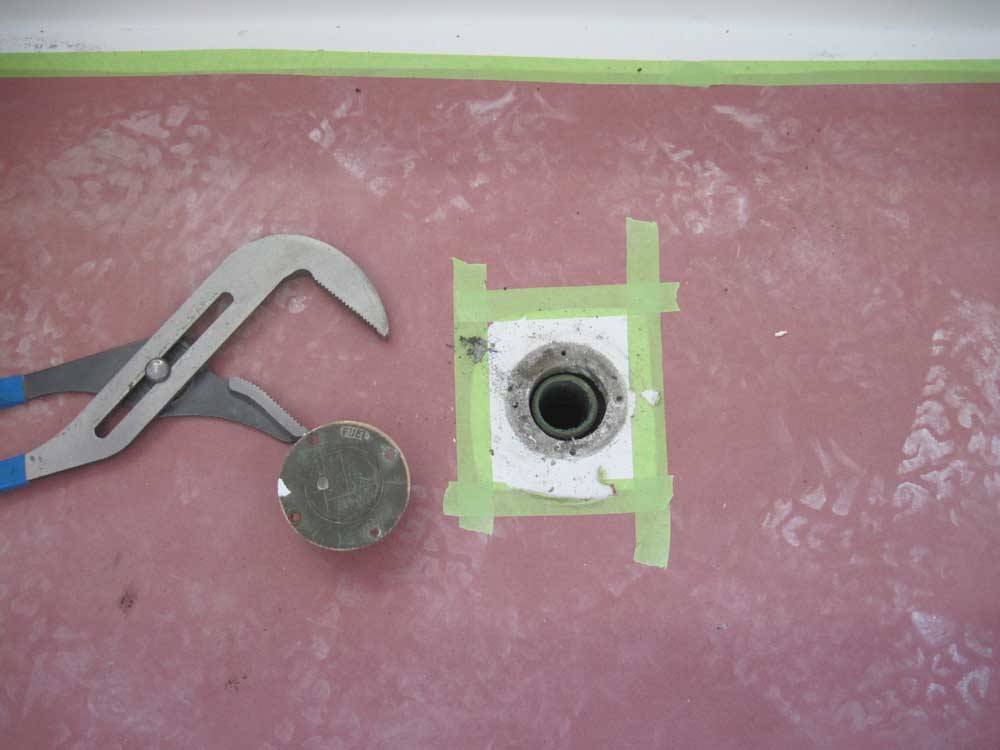
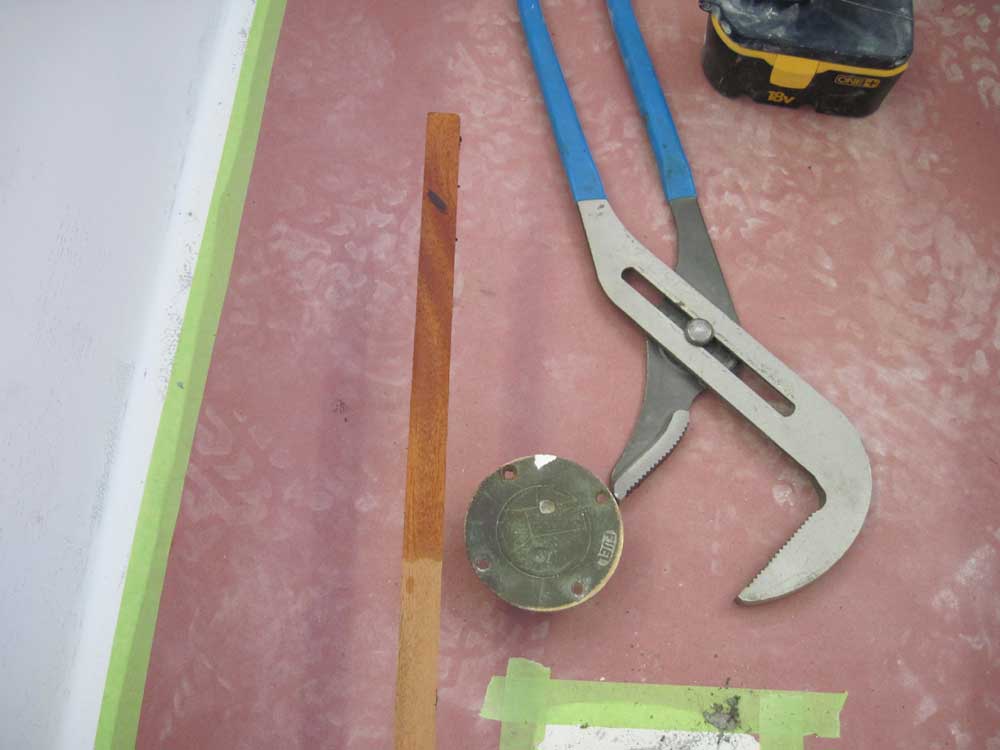
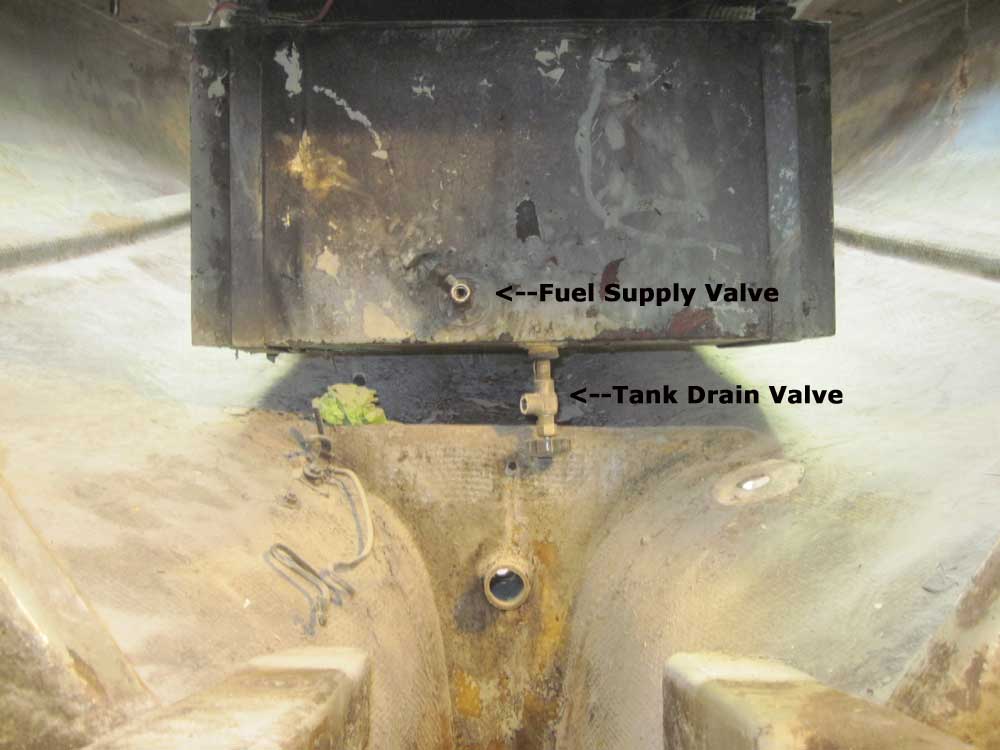
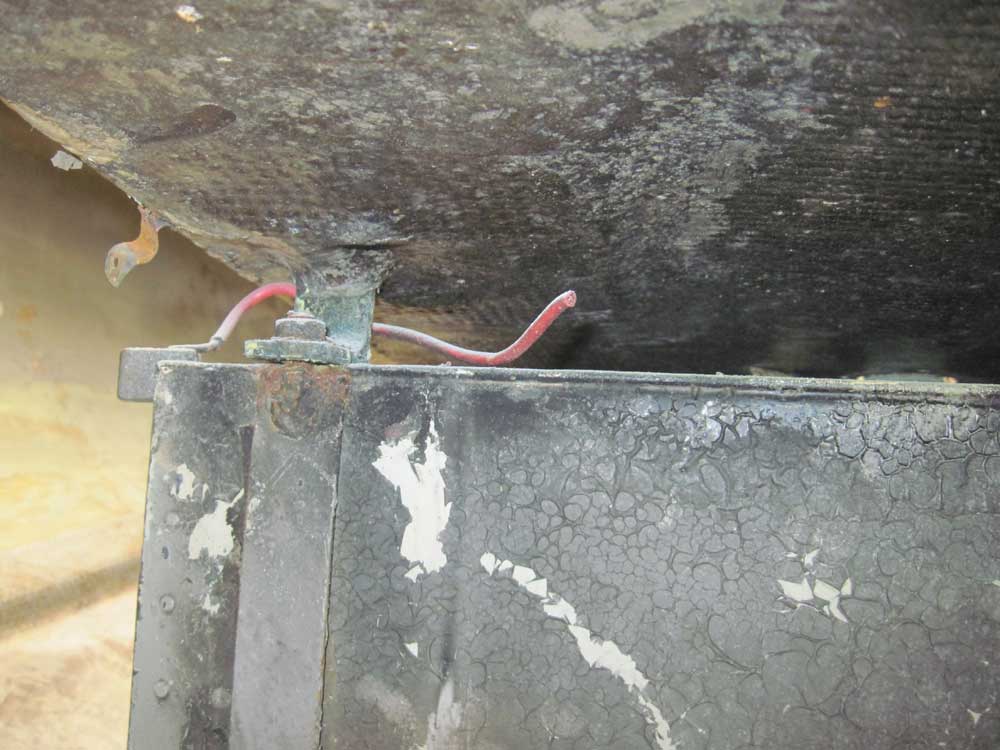
The tank featured a longitudinal baffle down its centerline, which precluded the use of the large manual rotary gasoline pump I normally used to empty fuel tanks, since the pump intake pipe wouldn't fit through the fill port and clear the baffle. I gave one more cursory try to the fuel supply outlet on the front wall of the tank, removing some extraneous fittings and one of the two valves (in about a 6" length, there were 7 separate threaded connection points accommodating the various fittings that had been installed), but to no avail. Clearly the outlet and/or valve was plugged solid with debris or decomposing fuel.
Similarly, I tried to use the designated drain valve on the bottom of the tank (such drains are obviated by modern standards and regulations, as are bottom-mounted fuel supply pickups). Earlier, I'd been unable to remove a rusty plug installed in the drain valve, but I'd treated it with penetrating oil at the time, and now, with better access and firm conviction, I managed to remove the plug. Unfortunately (but again unsurprisingly) I obtained nary a hopeful drop of fuel out of this valve. The sludge in the bottom of the tank was obviously significant.
With the prospects of gravity drainage eliminated, I rigged up a siphon hose using a primer bulb to start the flow, and finally managed to drain the tank into containers down on the shop floor. With a 5/16" ID fuel line providing the flow, the rate of drainage was quite slow, and it was necessary for me to babysit the process to monitor the fuel flow, ensure that no spillage occurred, and to change the fuel storage containers when it became necessary.
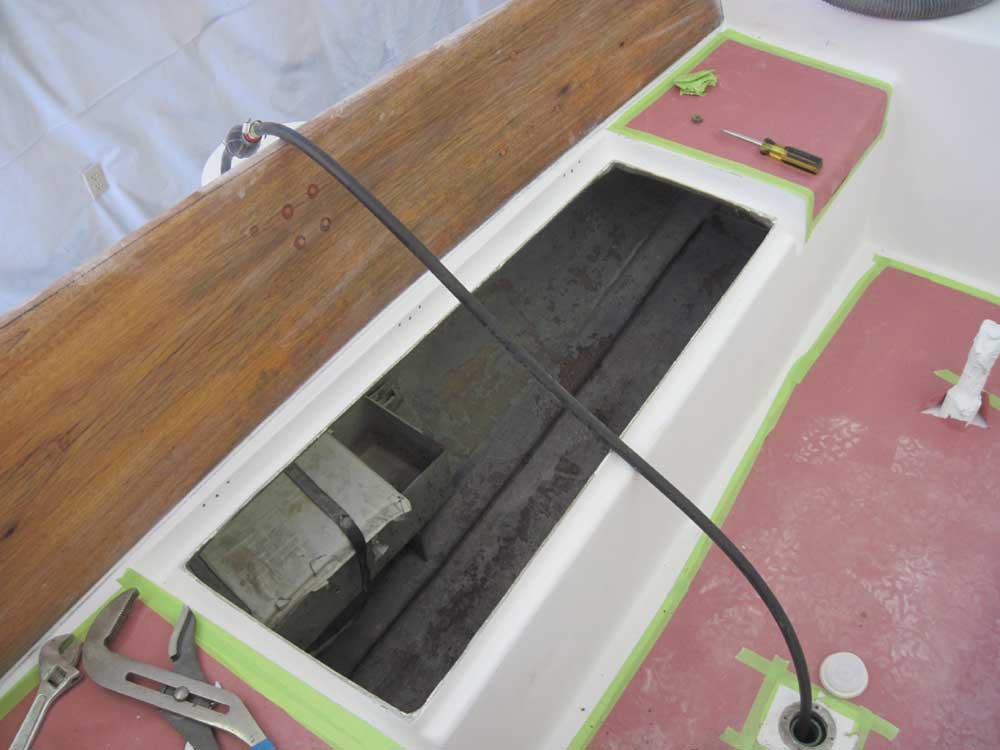
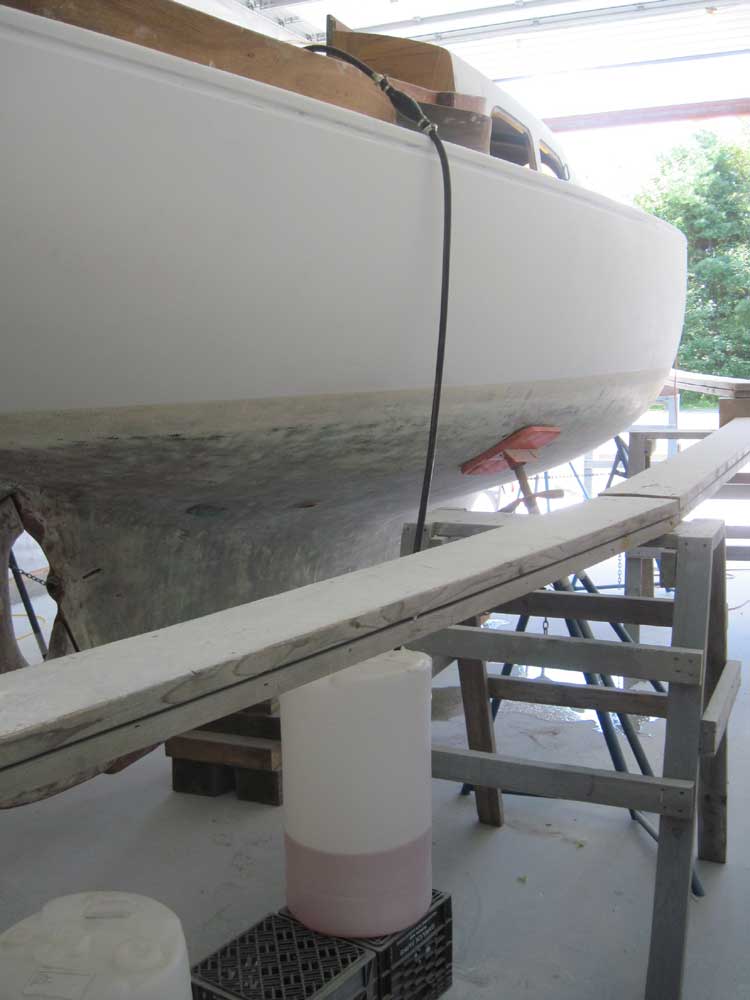
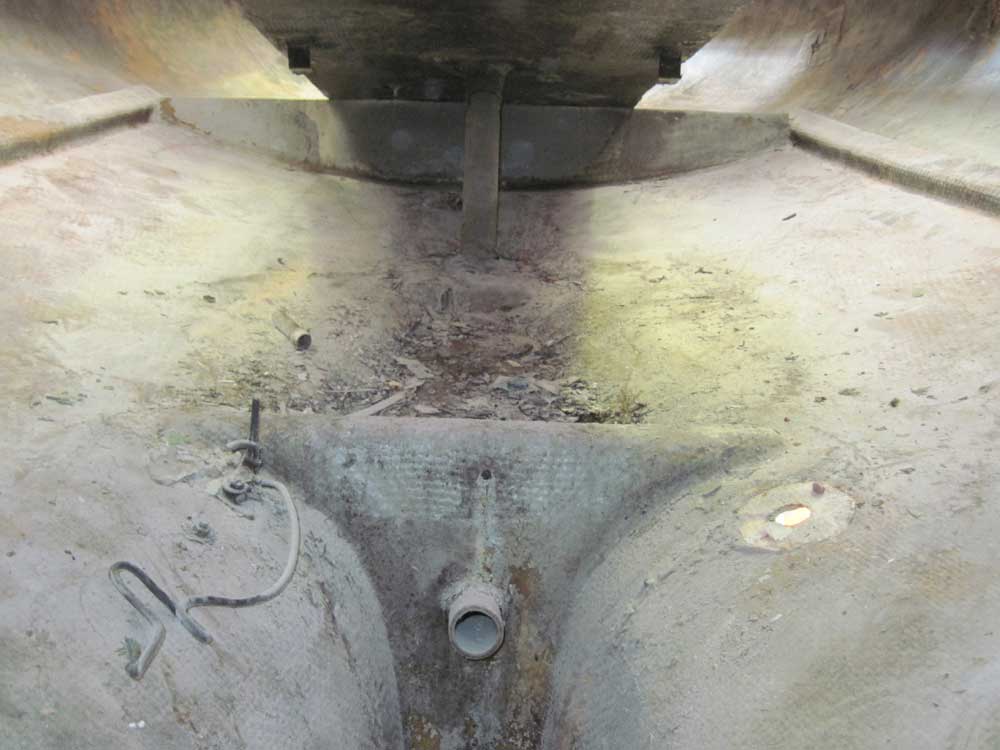
Draining the tank took a couple hours, during which time I was never far away, and couldn't get going on any significant other work. I did manage to remove the original engine intake through hull fitting, which I deemed to be in the way of the fuel tank's removal, as it was located just forward of the tank itself. Plus, most or all of the existing valves would be removed in the near future as a matter of course anyway.
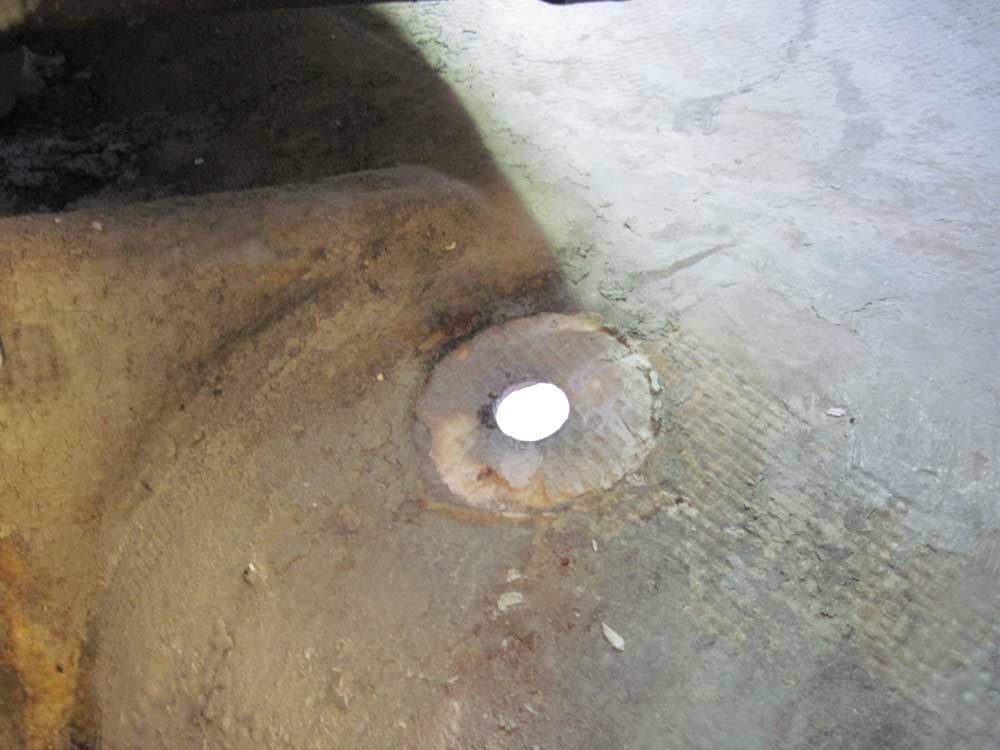
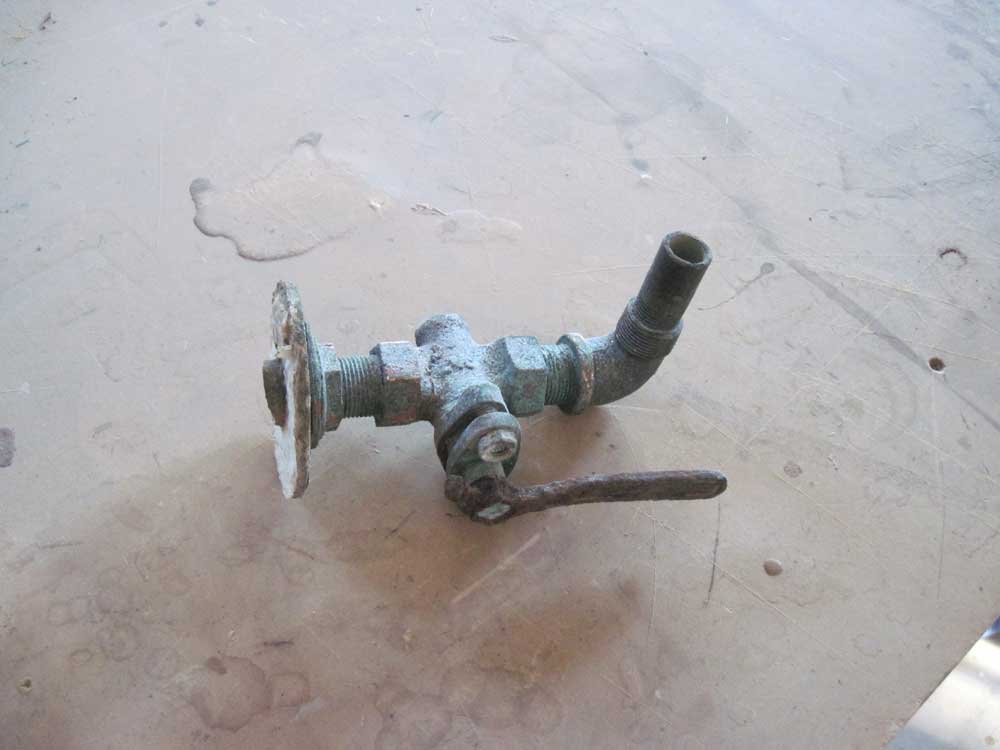
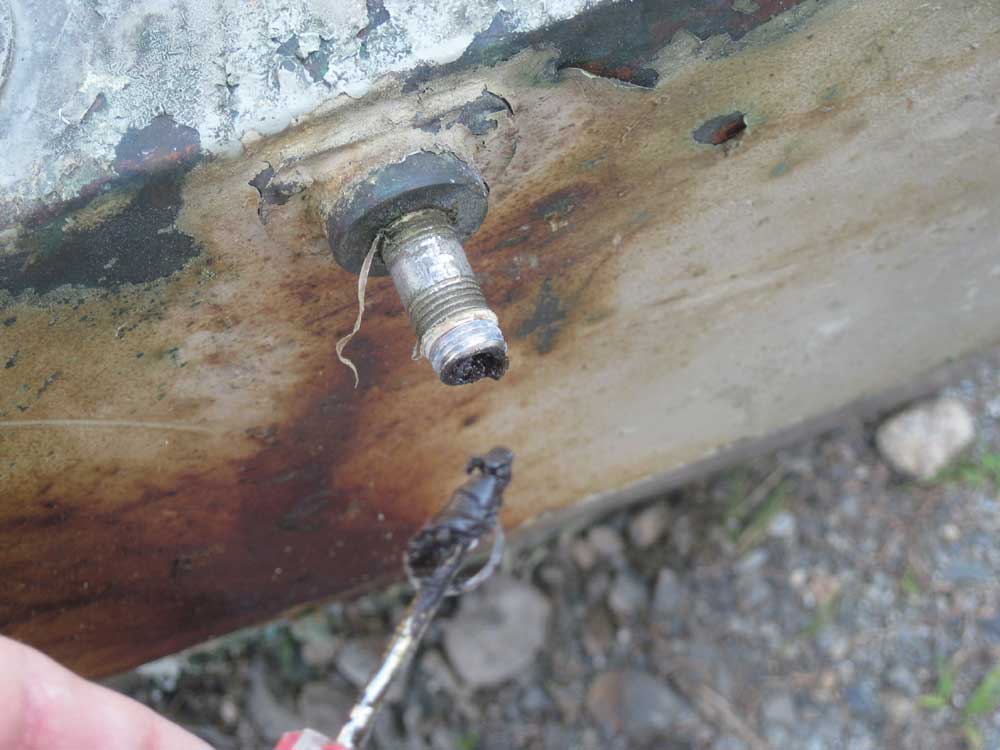
After removing the external "scoop" strainer, I discovered that there was no mushroom head on the through hull: there was just a stem extending through the hull, ending more or less flush with the hull's outside surface.
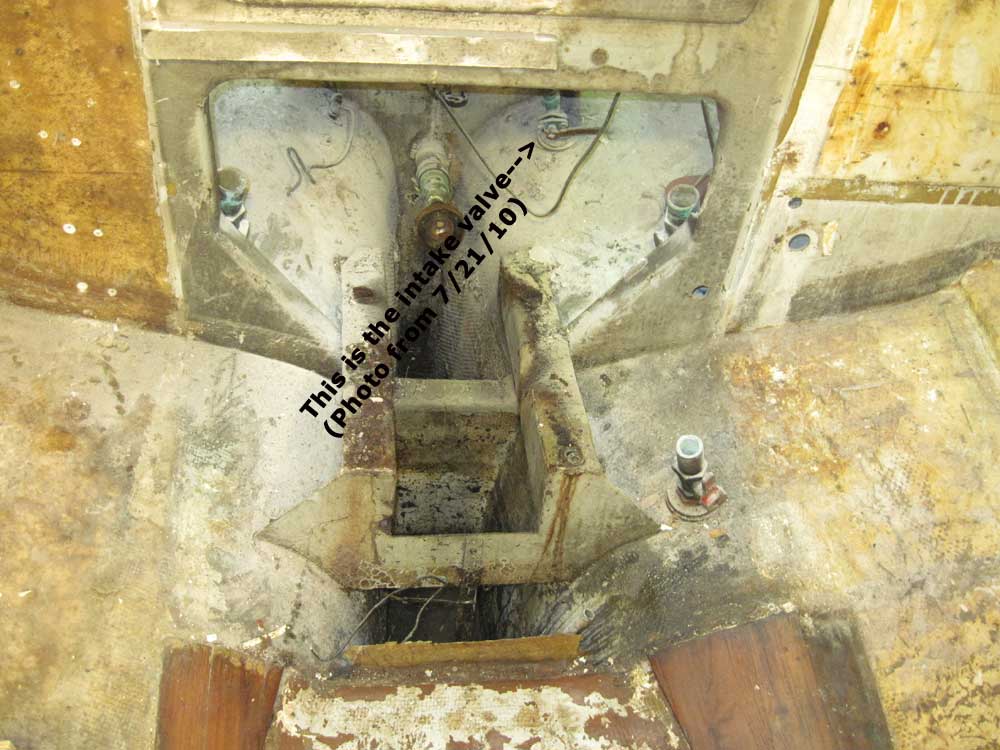

I could turn the assembly from inside without much difficulty, but despite doing so, I was unable to actually pull the valve assembly away from/out of the hull. Thinking the stem might have been threaded into the hull, I kept turning, but made no progress whatsoever. I tried prying the valve base away; it moved, but again I saw no signs from outside that the stem had moved at all. Eventually, I ground away the metal from outside, creating a dished area around the opening that I'd later use to create a proper patch, and finally freed the valve and its remaining through hull stem.
Eventually, I'd siphoned away as much of the fuel as I could--about 20 gallons. Now I could finally release the tank from its mountings and remove it. The tank was secured with two straps beneath the tank, which straps were secured fore and aft to some hefty L-shaped brackets glassed to the underside of the cockpit sole. The top ends of the straps incorporated a threaded rod brazed or welded into place, so that the strap end itself passed through a corresponding hole in the cockpit brackets, where each of the four ends was secured with a nut.
Pleasingly, the nuts unwound with no difficulty whatsoever, and shortly I had the tank free and ready to come out. Of course it wouldn't fit through the opening in the engine room bulkhead; the tank itself was slightly too large, but what made it impossible to even consider was the various valves in the bottom and, more detrimentally, the threaded fill pipe at the top of the tank; additionally, the cockpit scupper seacocks impinged on the available space even further.
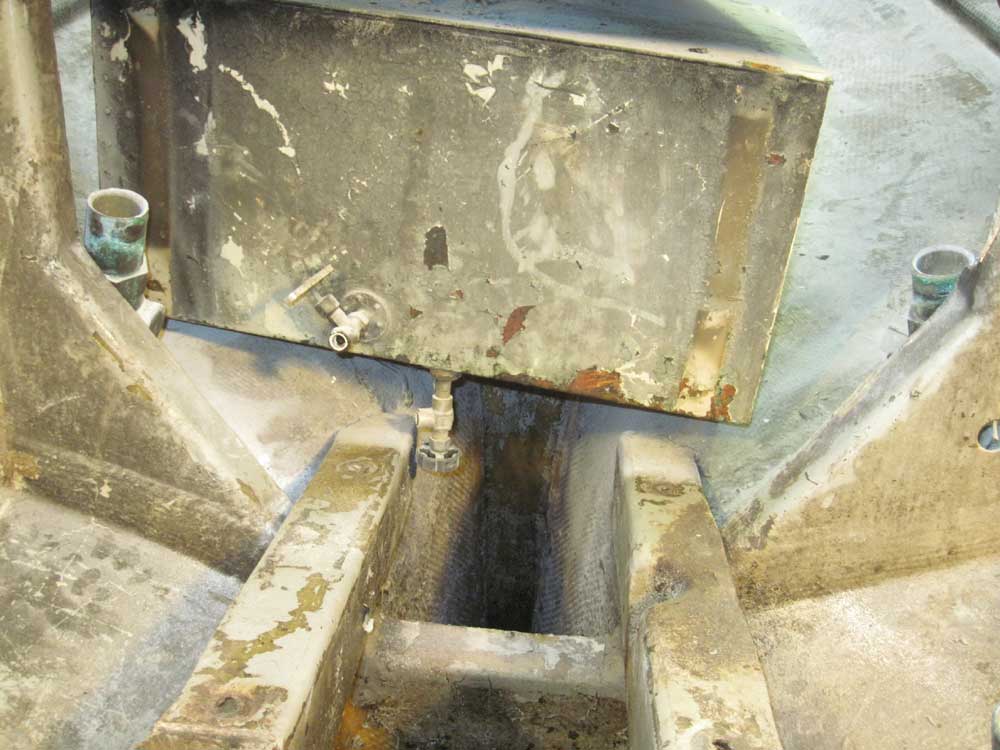
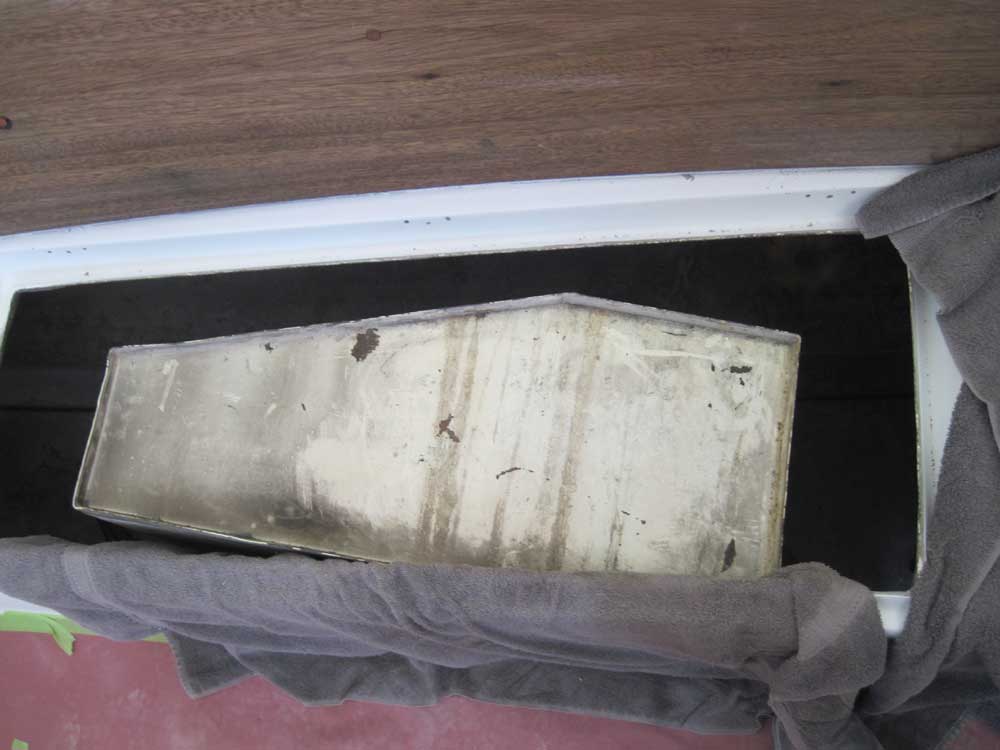
Instead, I removed the tank through the port cockpit locker opening. With minor effort, I got the tank turned and pulled partway through the opening, but of course the valve stems and fill pipe made the tank assembly too wide to pass through the opening. I removed the bottom drain valve, hoping this would be enough to allow the tank to pass through at some angle or another, but the 3" tall fill pipe on the top was simply too long, and eventually I had to cut this pipe away from the tank (the fill pipe was bronze, so cutting was at least easy and spark-free).
Finally, the tank was on deck. The tank itself was a copper alloy of some sort--clearly copper-colored beneath the paint, black blow-by residue, and corrosion.
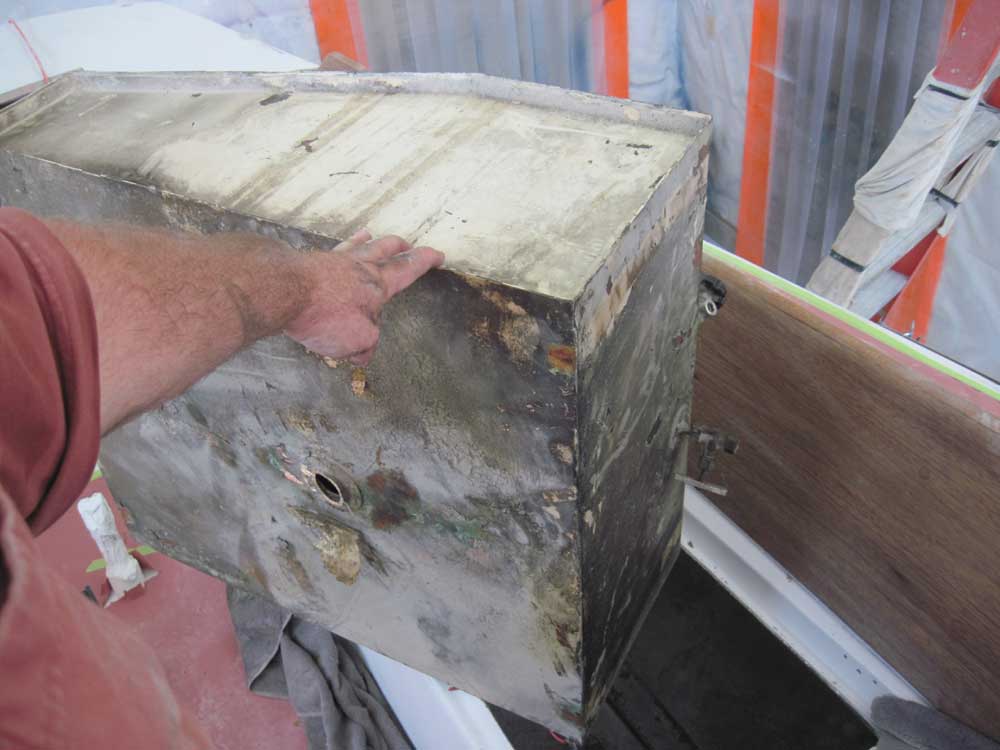
This is what I found inside the pipe nipple leading to the bottom-mounted drain valve: a thick sludge completely packing the pipe. No wonder I couldn't drain the tank naturally.

Later, I drained another gallon or so of fuel out of the tank into the container, after freeing up the drain stem and pulling out more good sludge. I set the tank aside for the moment.
I certainly hadn't planned on the fuel tank removal taking most of the time available during the day (I had an appointment at the house that consumed a couple hours of the afternoon), but that's how it worked out. To wrap up the day's work, I vacuumed out the debris that was beneath the tank location, and looked forward to better progress tomorrow.
Total Time Billed on This Job Today: 5.75 hours
