
110 Cookson Lane | Whitefield, ME 04353 | 207-232-7600 | tim@lackeysailing.com
Summer Song | Saturday, February 8, 2014
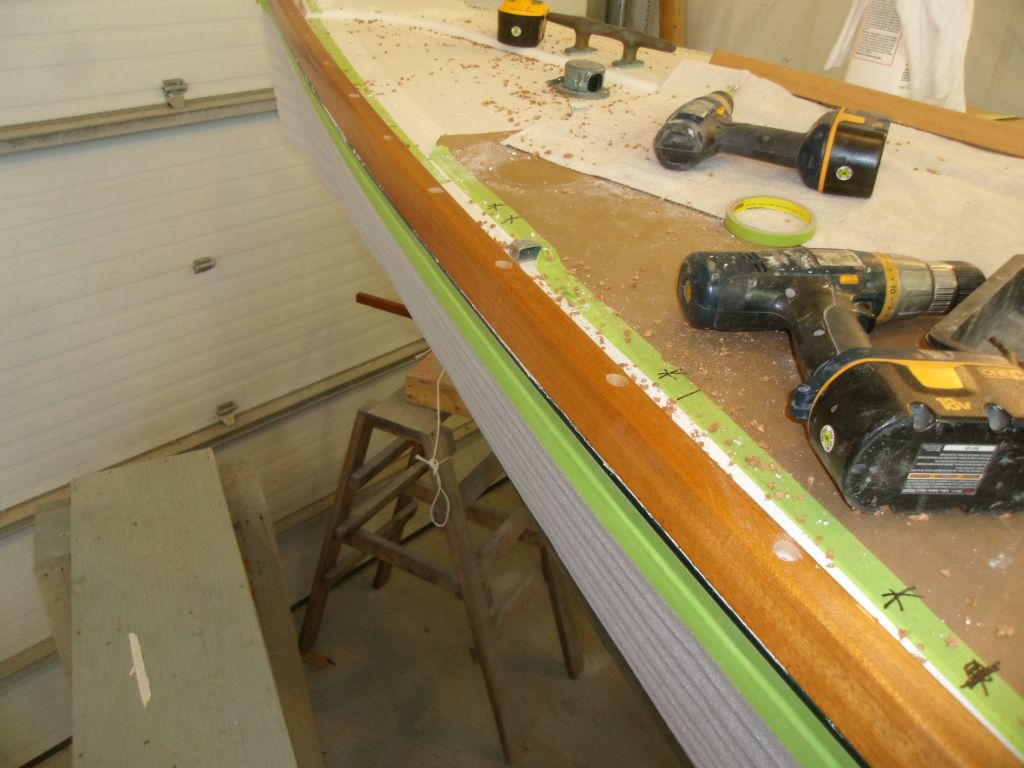
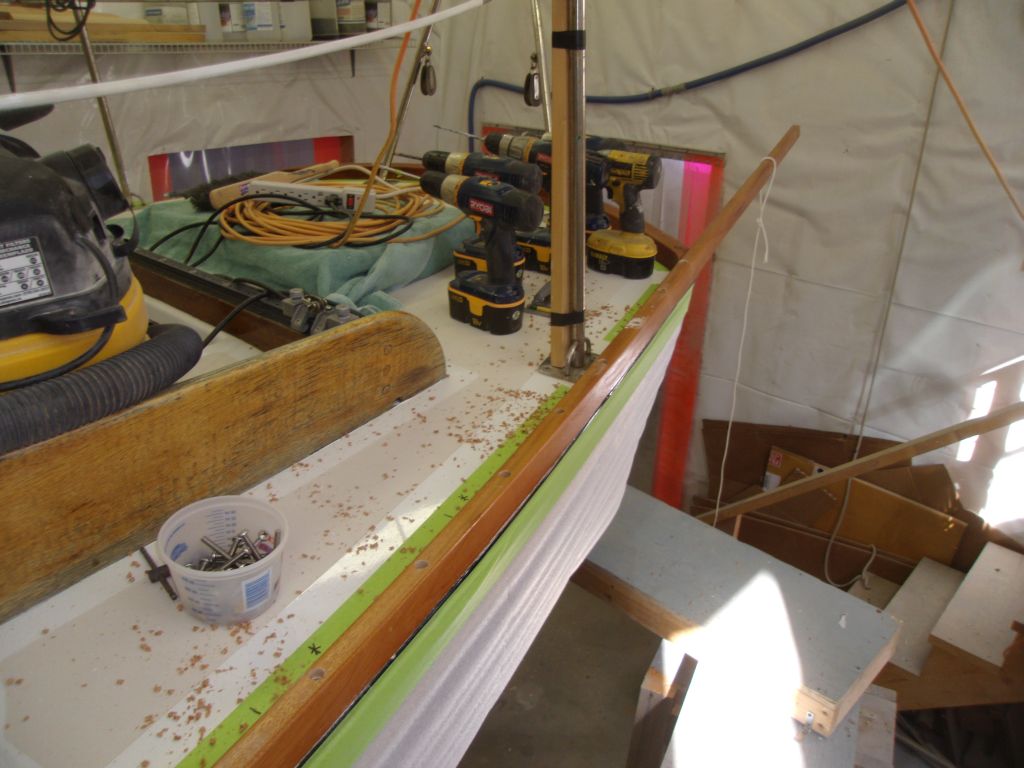
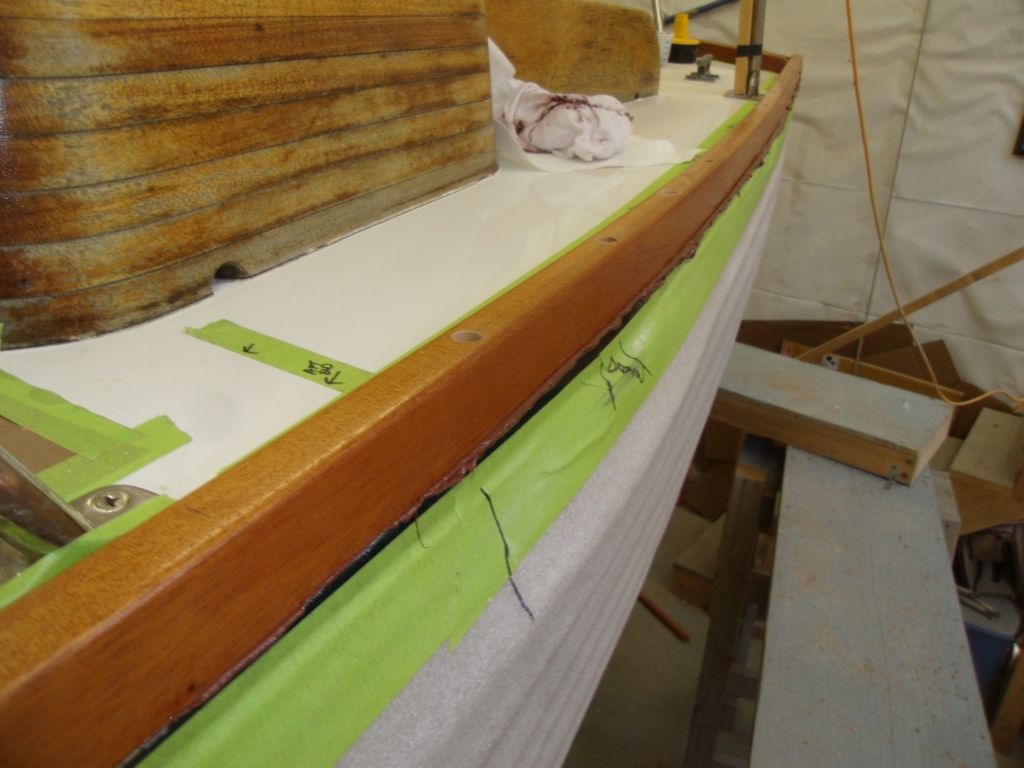
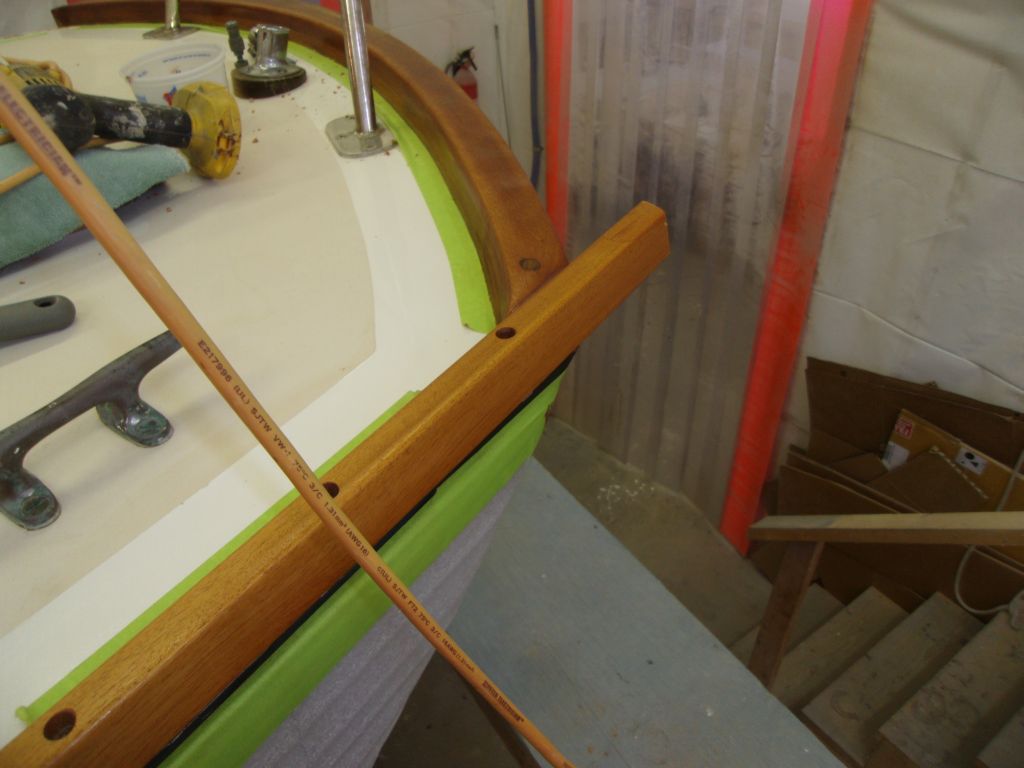
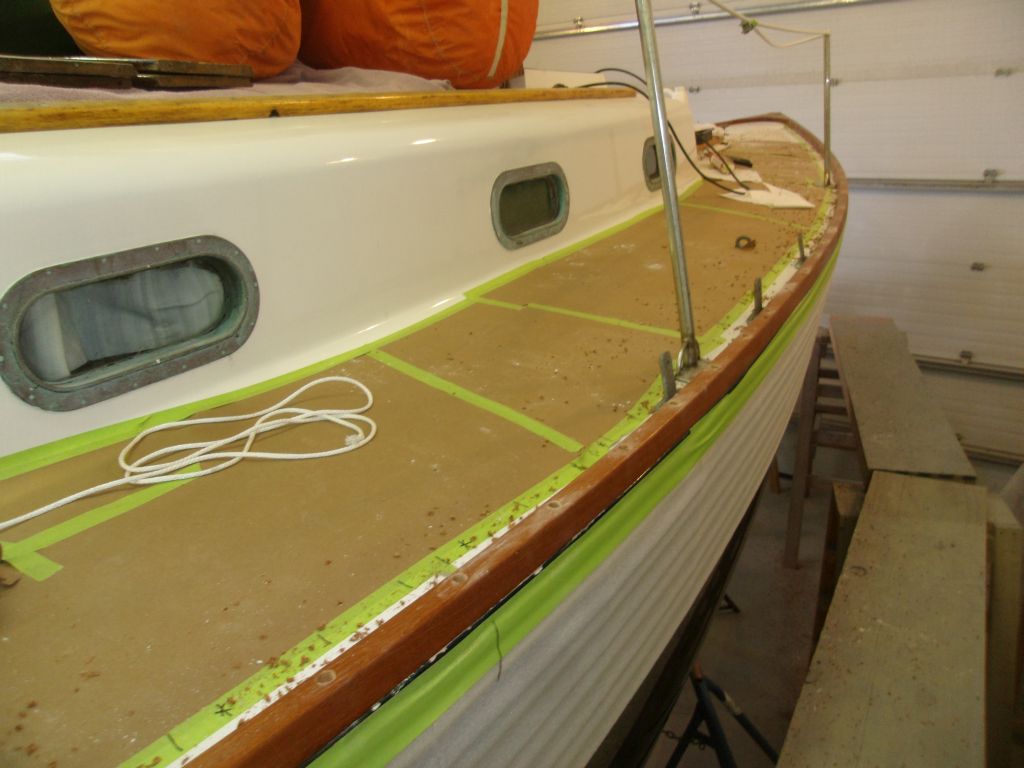
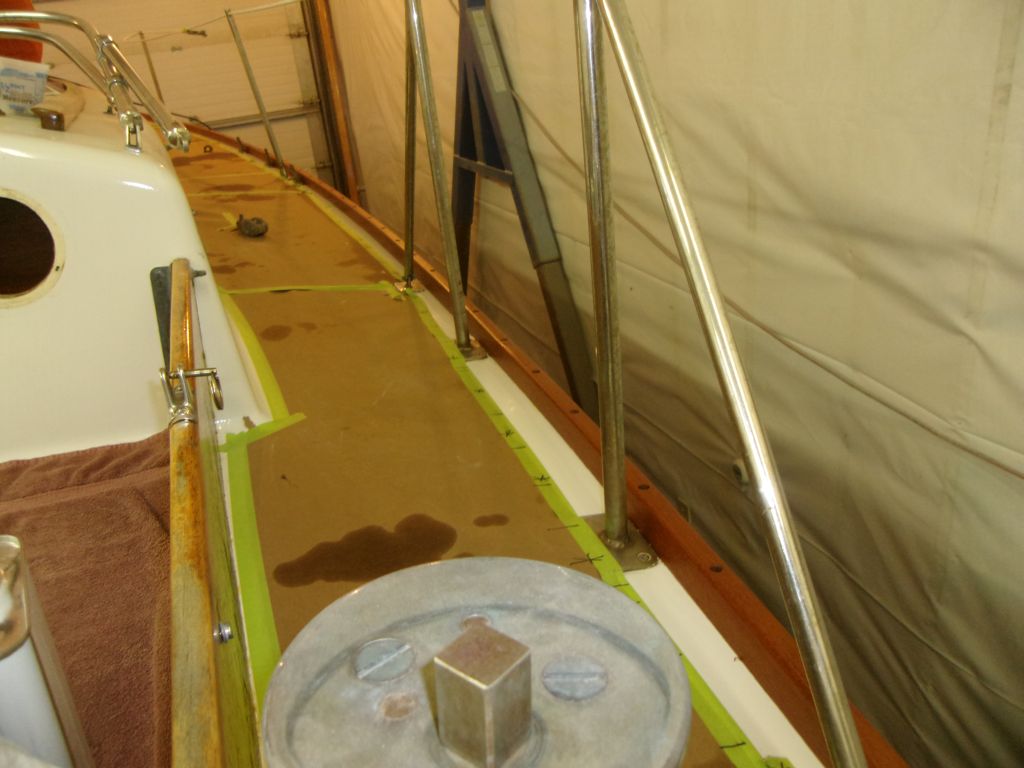
To streamline toerail installation and make the job more straightforward, I lined up a helper for the day. We got started with the port toerail, beginning at the stem. The first few screws to secure the rail are always the most challenging, but eventually we found a way to secure the rail at the correct angle to get started against the existing stem piece, and before long had several screws in place as we began the dry-fit. For each screw location, which I placed every six inches on center, I bored a 1/2" hole to recess the screw and accept a bung later, followed by a 1/4" pilot hole through the toerail itself for the screw shank. Then, I drilled a pilot hole into the deck, followed by a pass with a 1/4-20 tap to thread the hole. Finally, I installed a 2" pan head machine screw at each location.
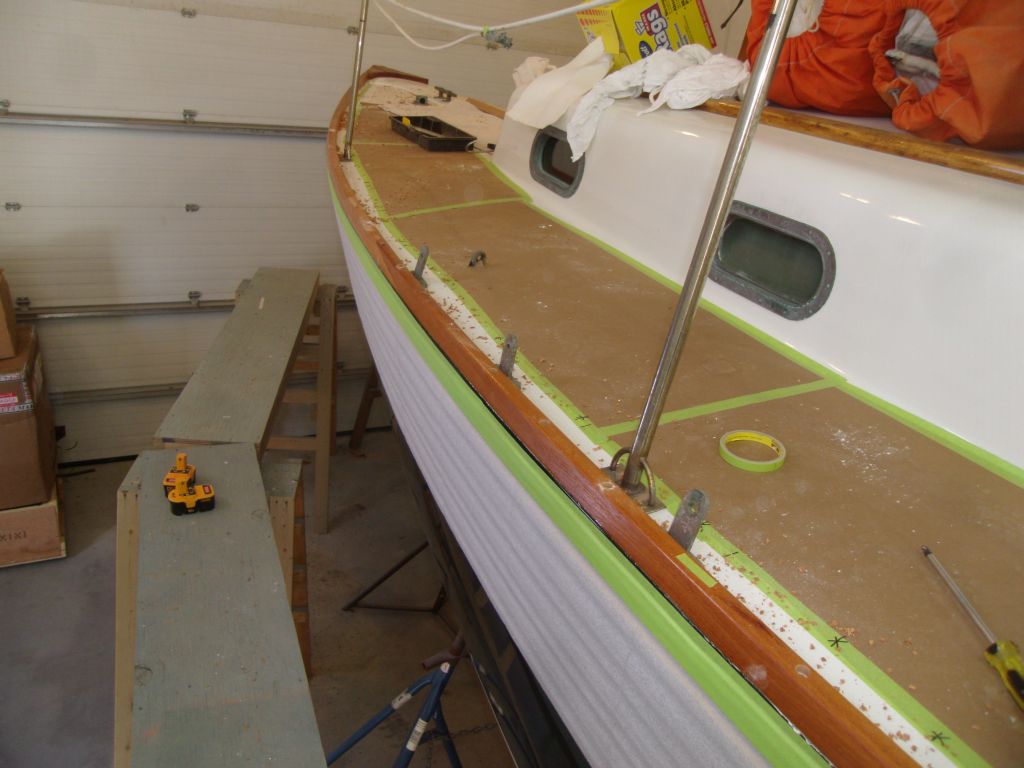
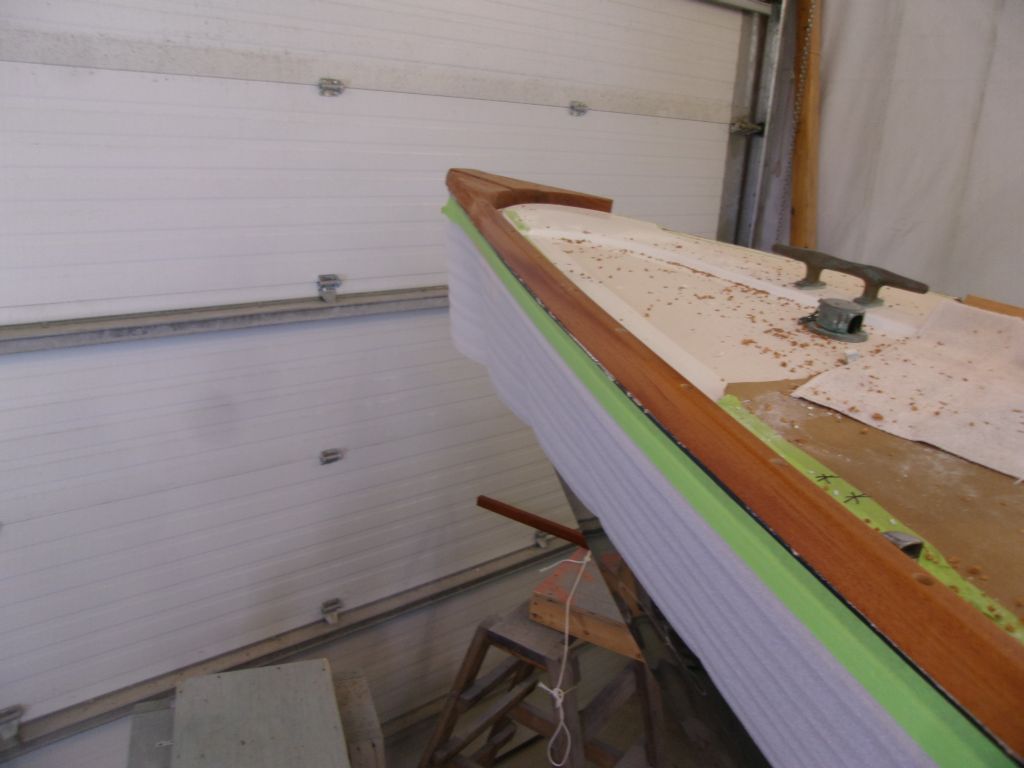
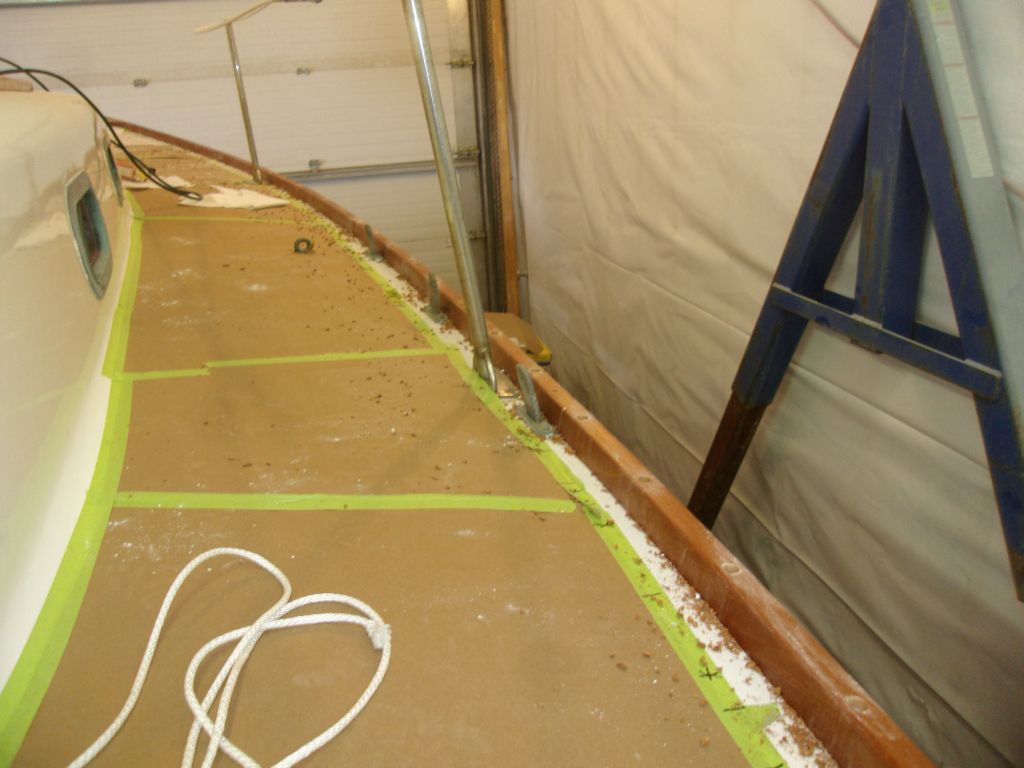
In this way, we continued aft, aligning the rail continually and securing it dry with screws till we reached the stern, where I let the rail run wild past the taffrail.
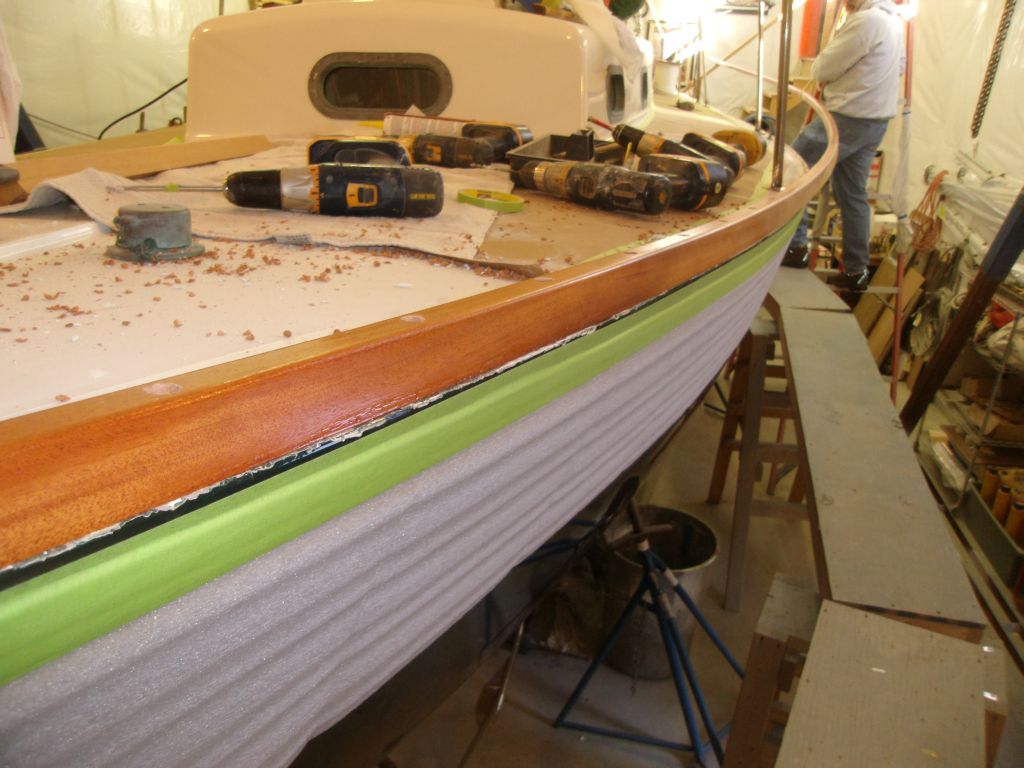
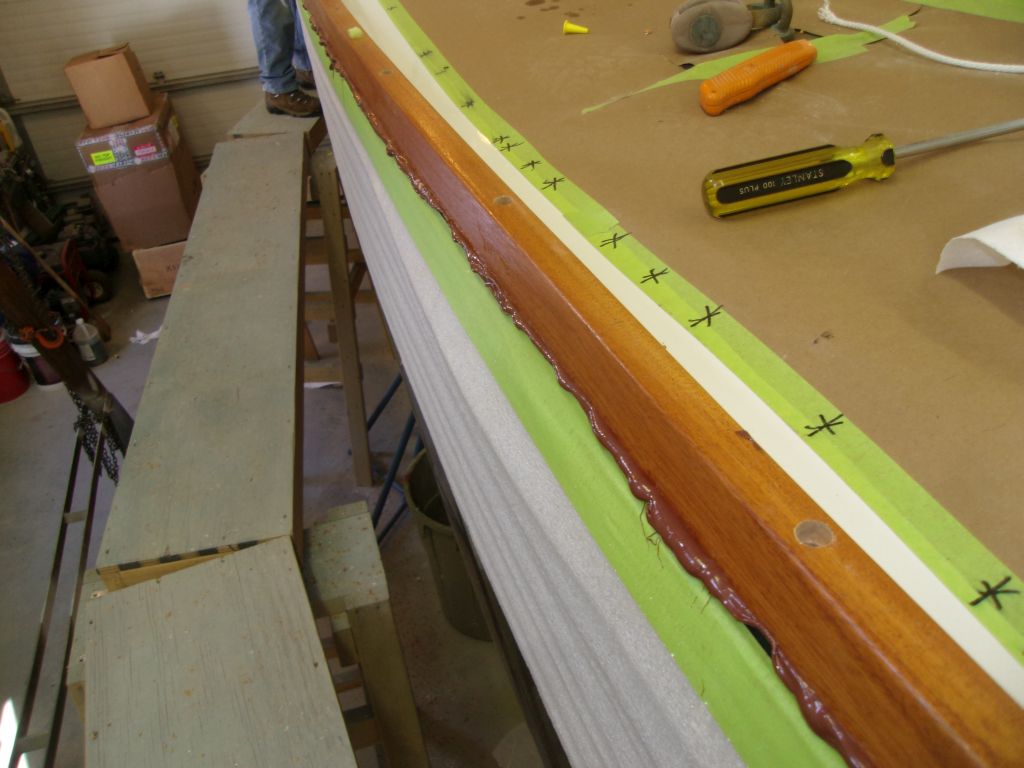
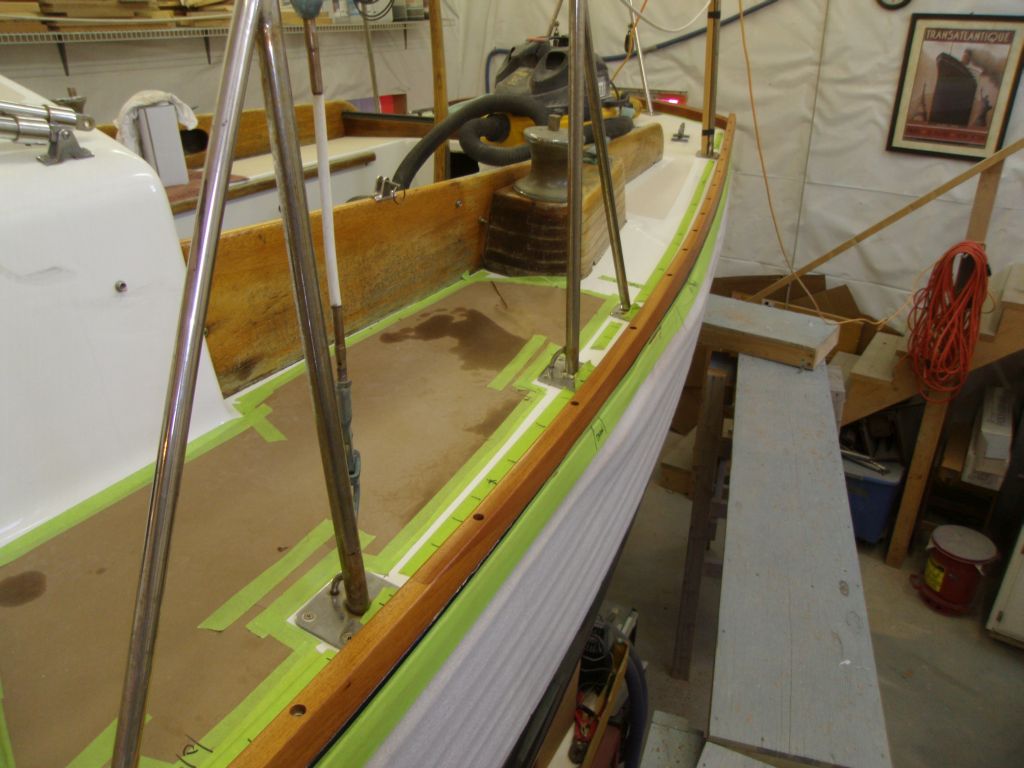
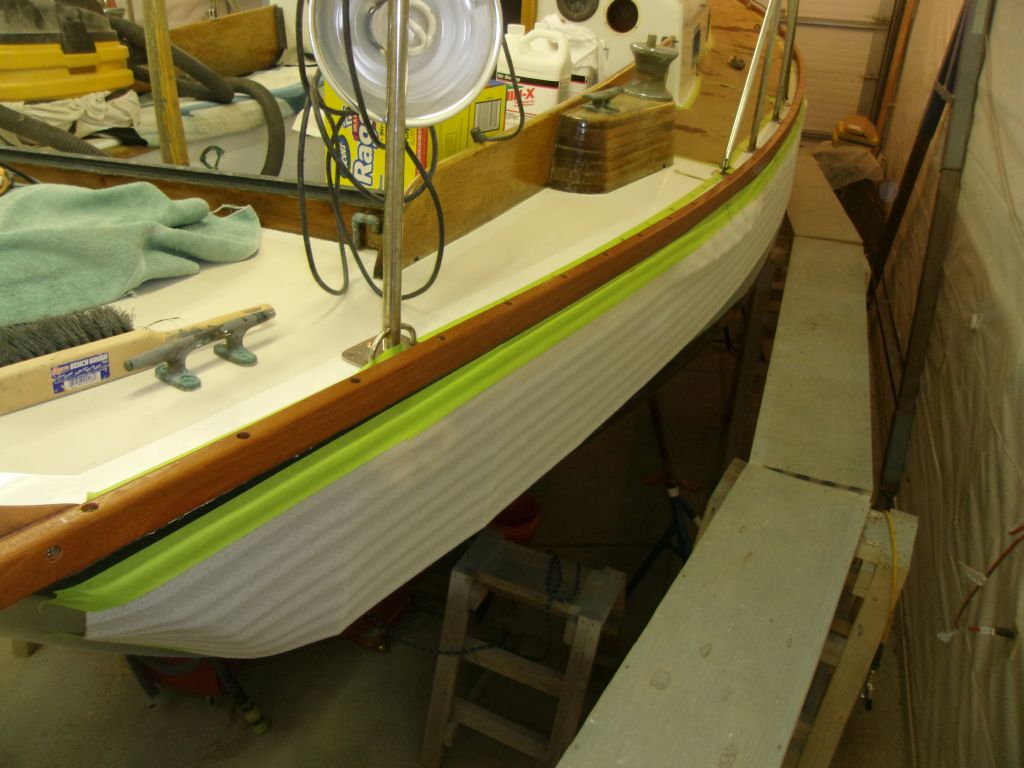
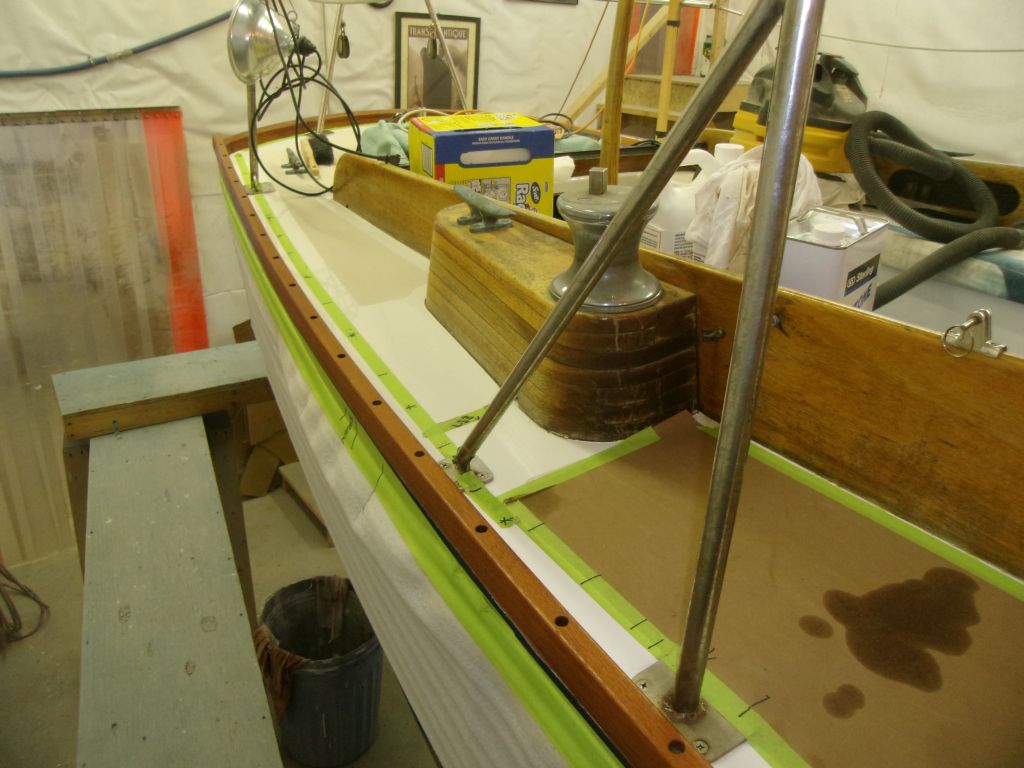
Dryfit complete, we removed the rail temporarily. I milled small countersinks in the deck at each fastener location (to hold additional sealant), then we cleaned up the boat and solvent-washed the bonding surface before reinstalling the toerail permanently, this time in a heavy bed of mahogany-colored sealant.
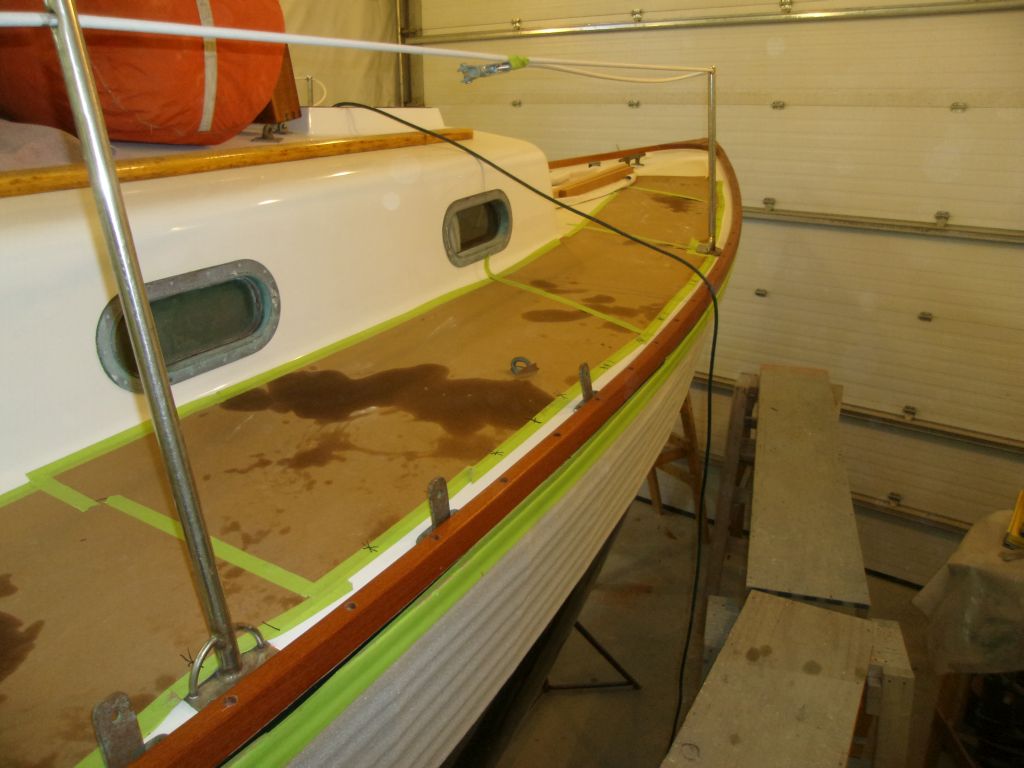
With the rail fully installed, we cleaned up the excess sealant and I cut off most of the overhanging aft end (leaving a bit for final trimming later) before moving to the other side.

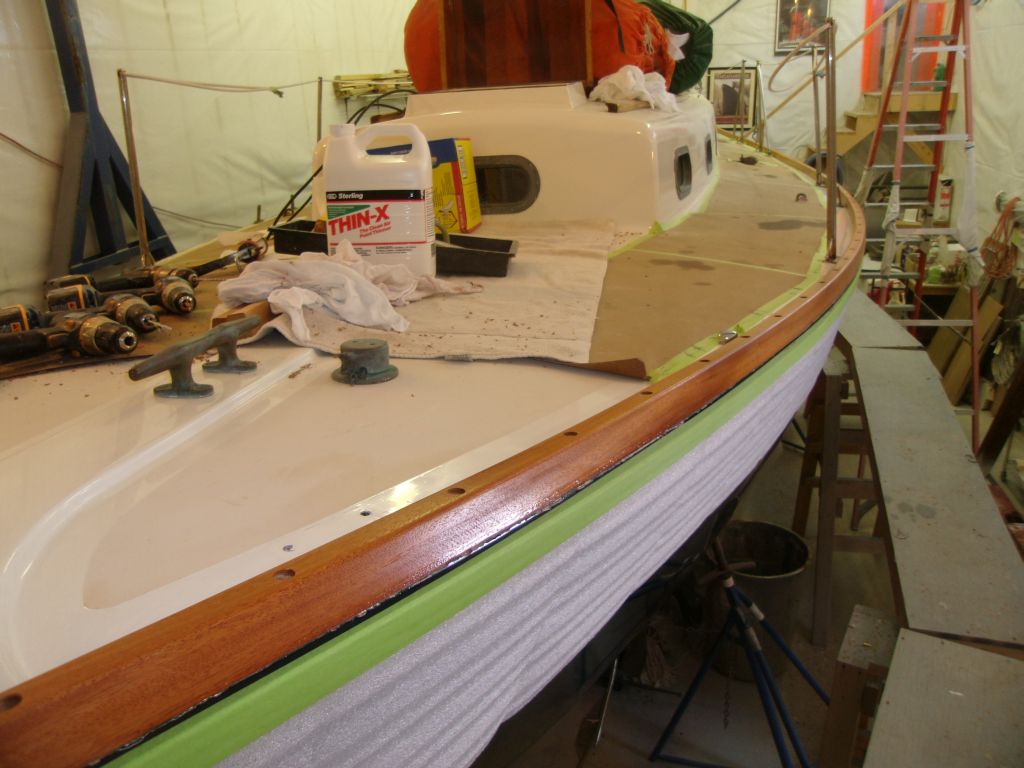
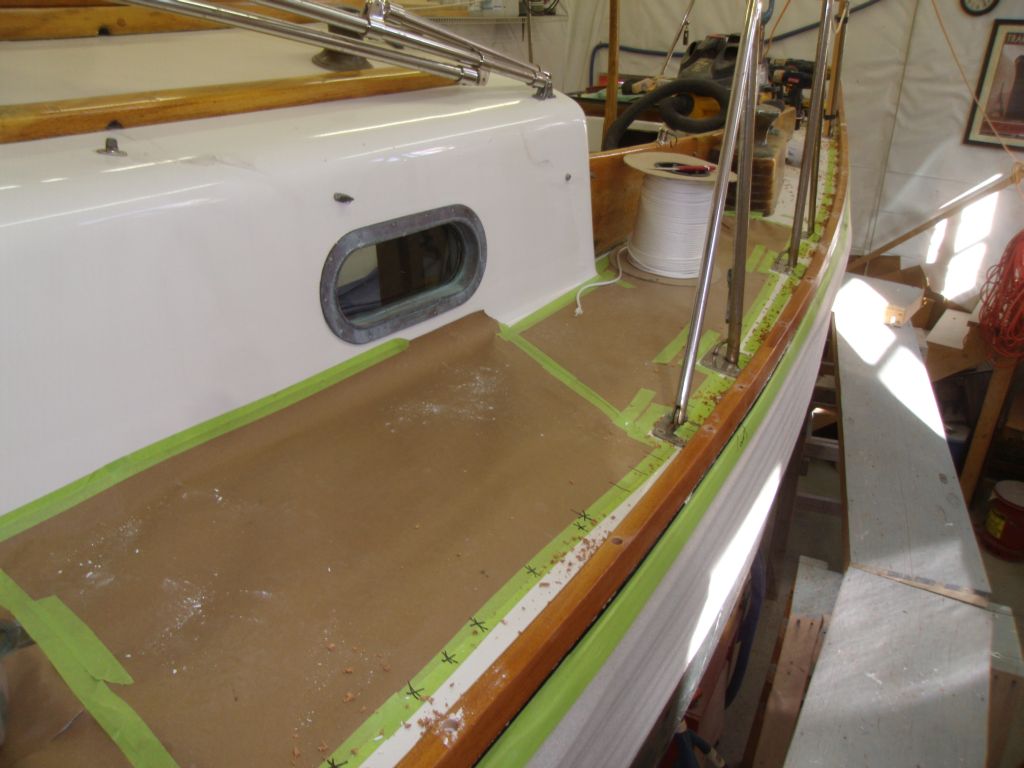
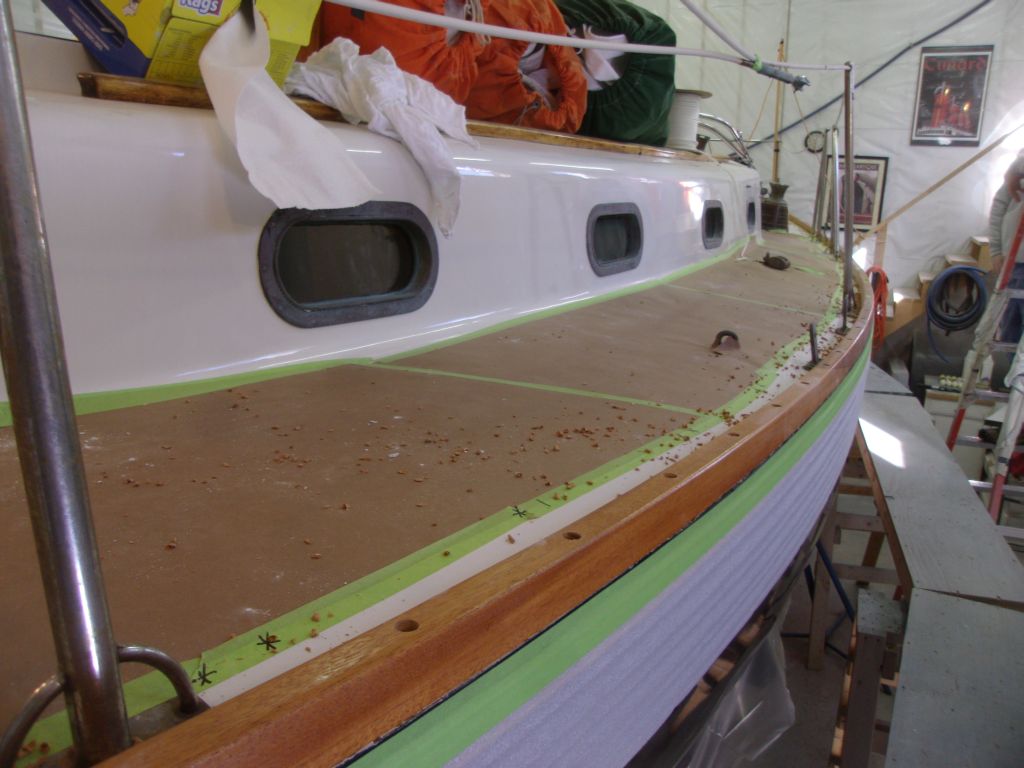
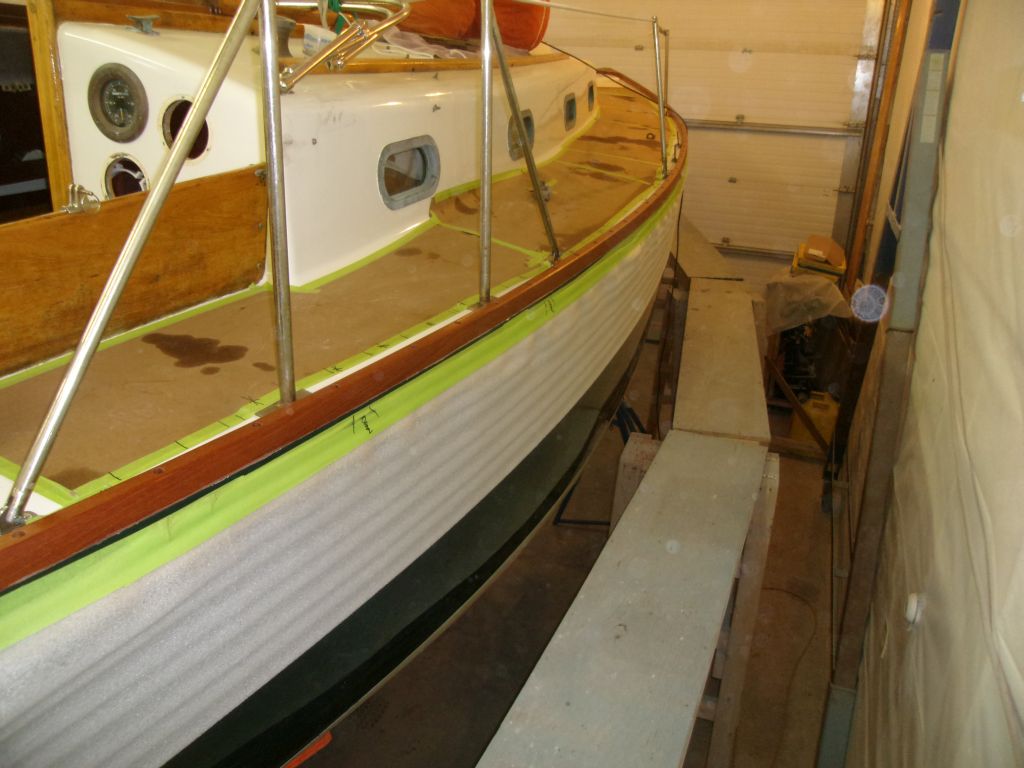
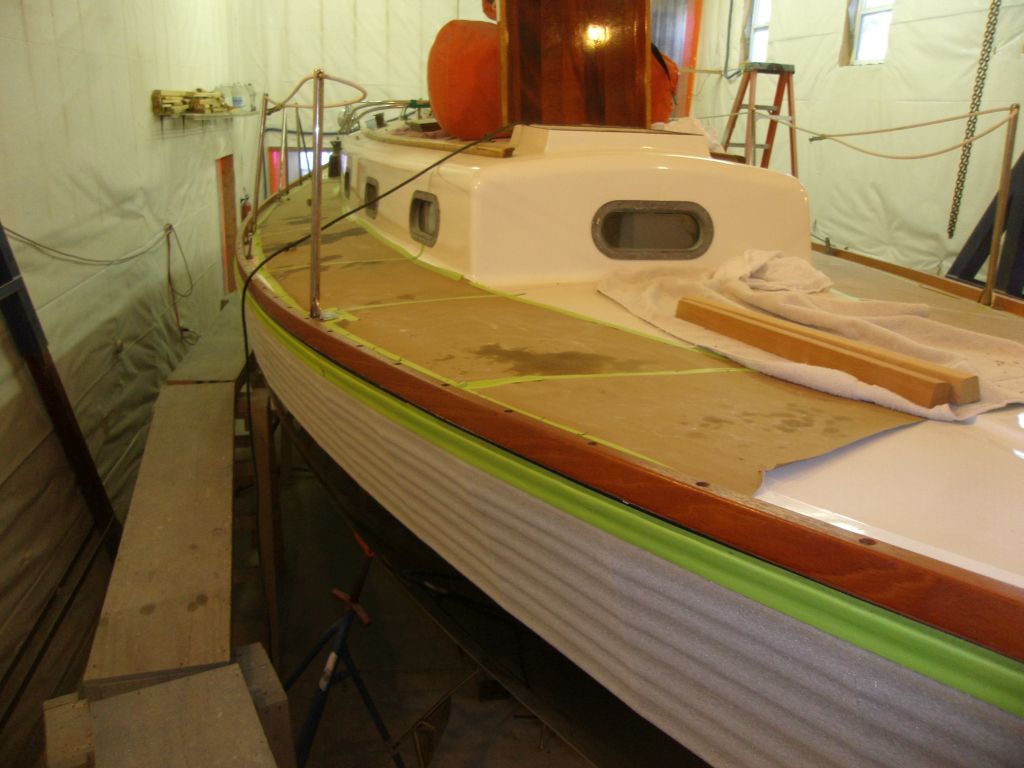
During the afternoon, we repeated the process on the starboard side, completing the main aspect of the toerail installation.

Total Time Billed on This Job Today: 14 Man-Hours
