
110 Cookson Lane | Whitefield, ME 04353 | 207-232-7600 | tim@lackeysailing.com
Summer Song | Monday, February 3, 2014
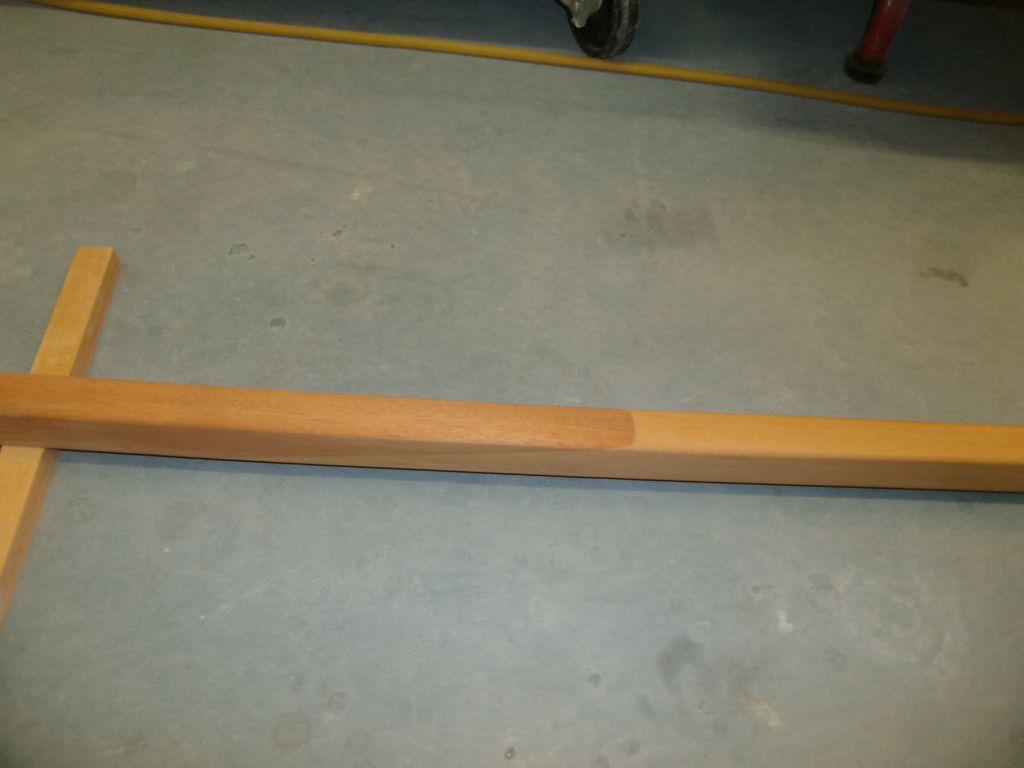
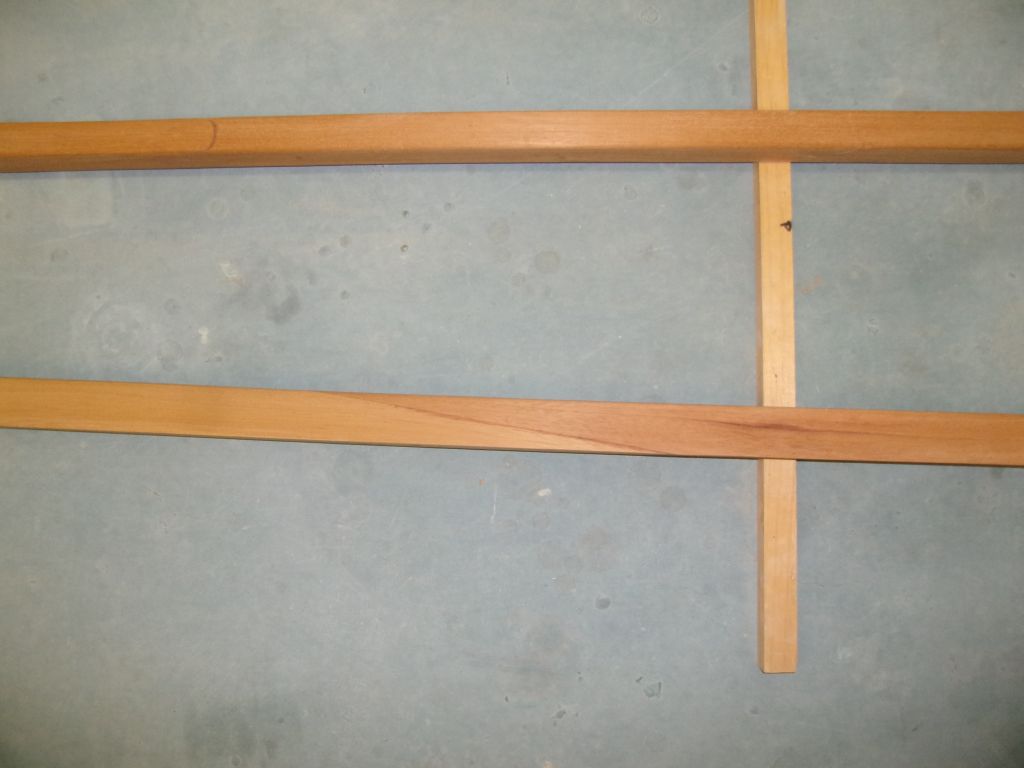
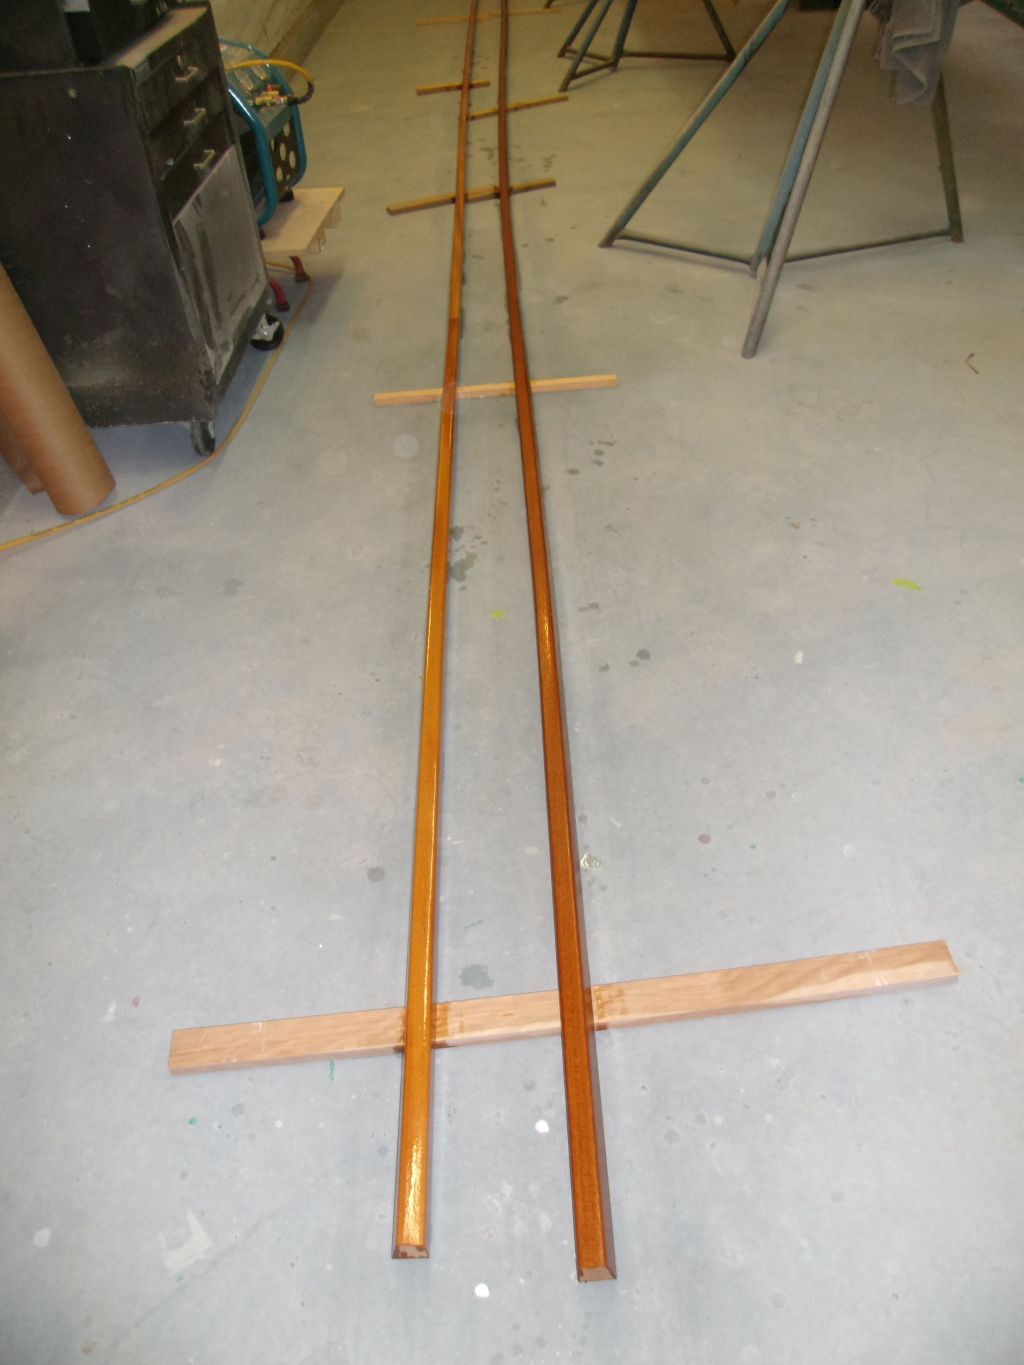
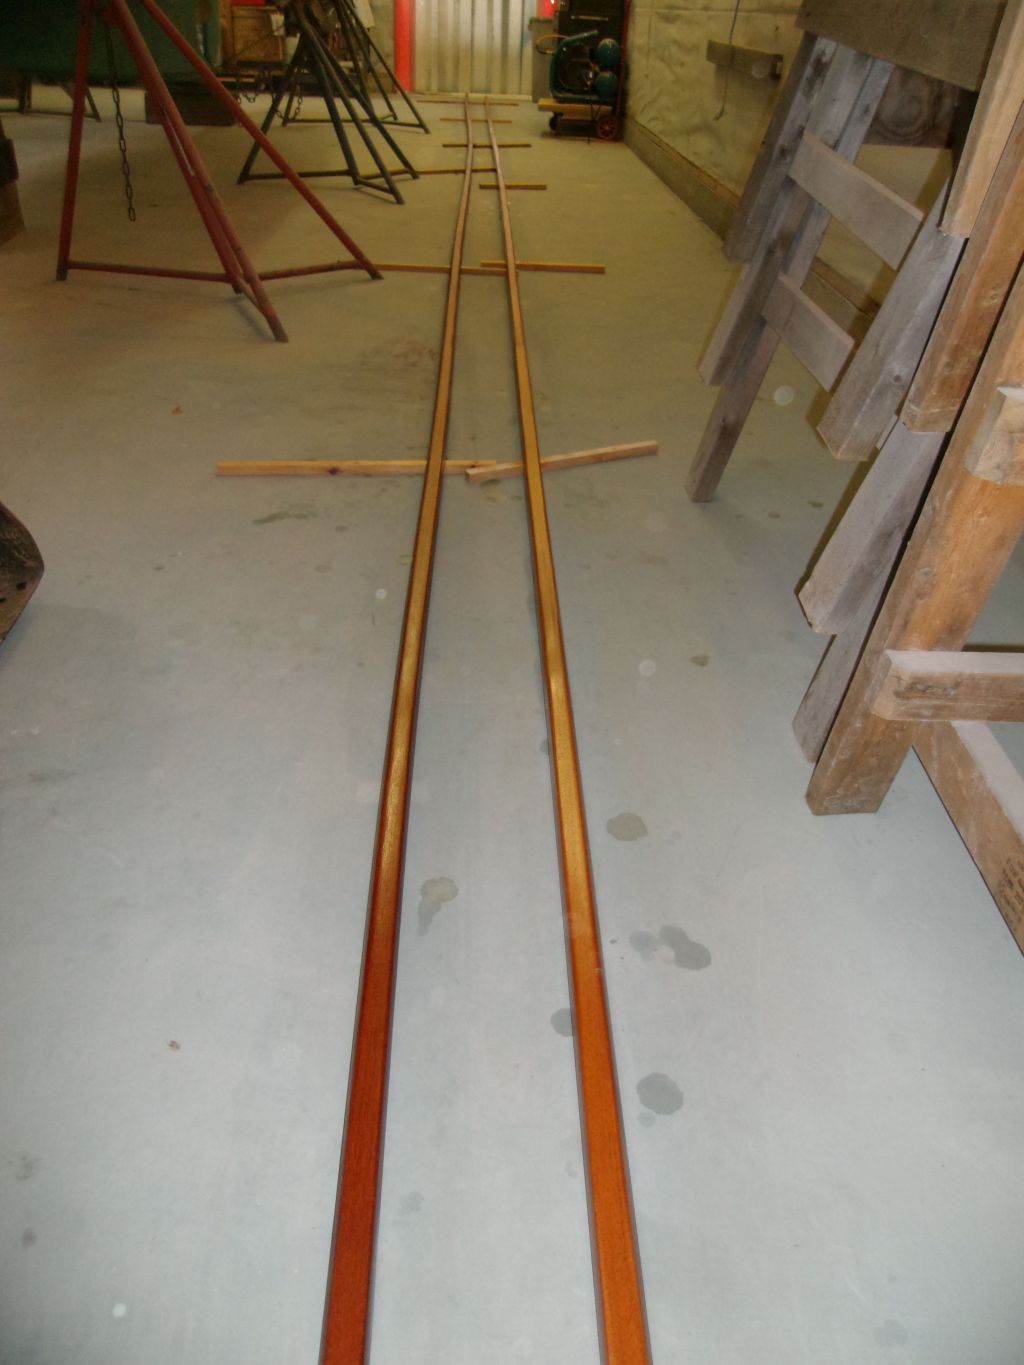
The toerails had had plenty of time to cure in the clamps, so after removing the clamps I sanded off the excess epoxy from the gluing operations, blending the scarfs into nearly invisible joints.
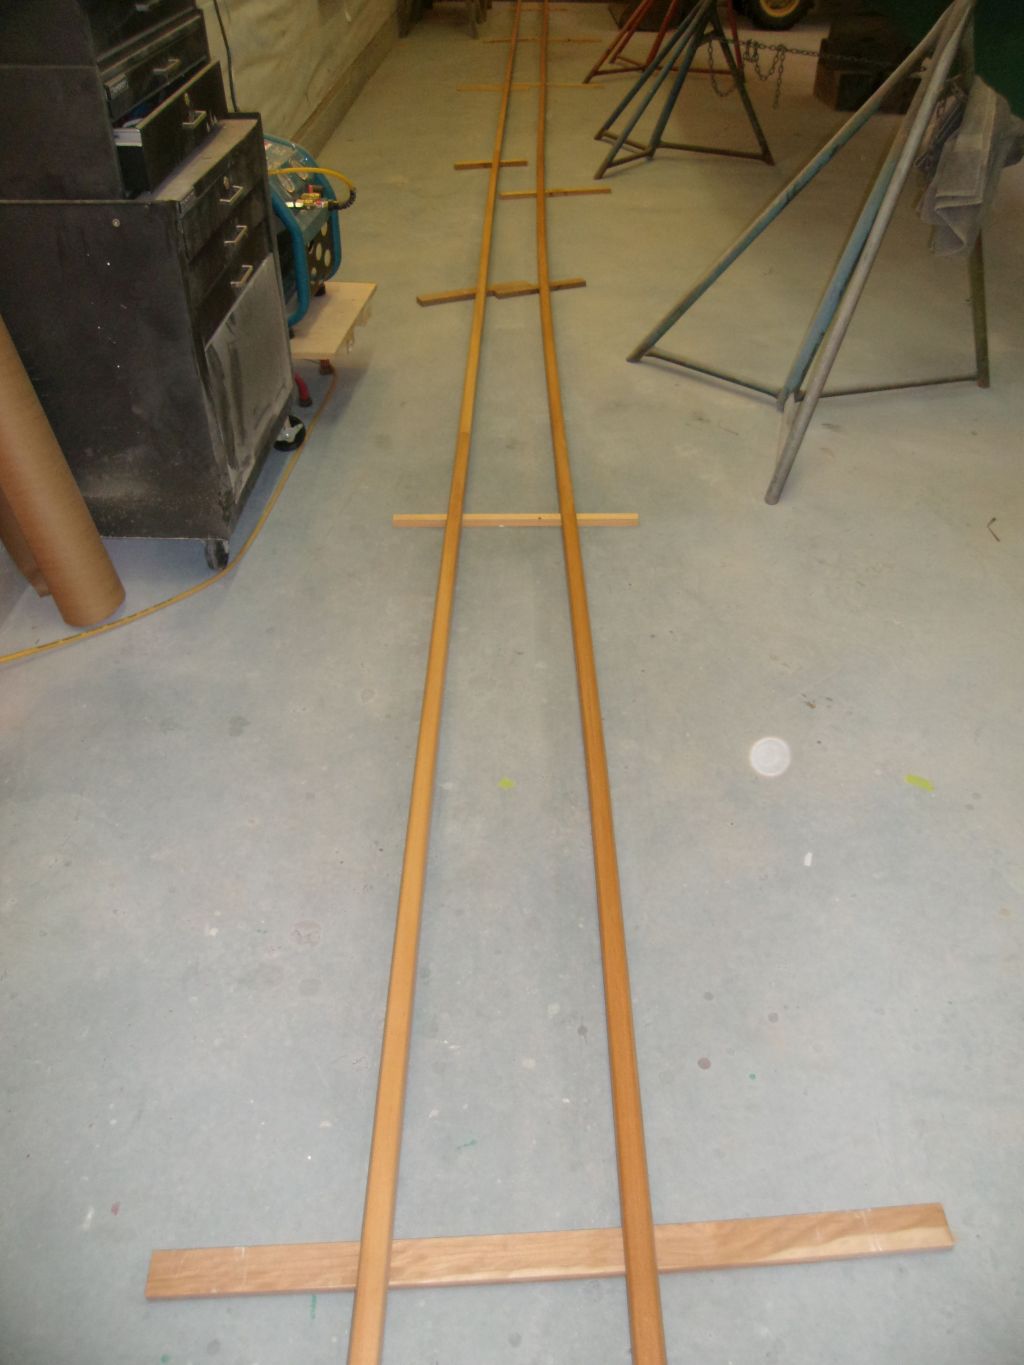
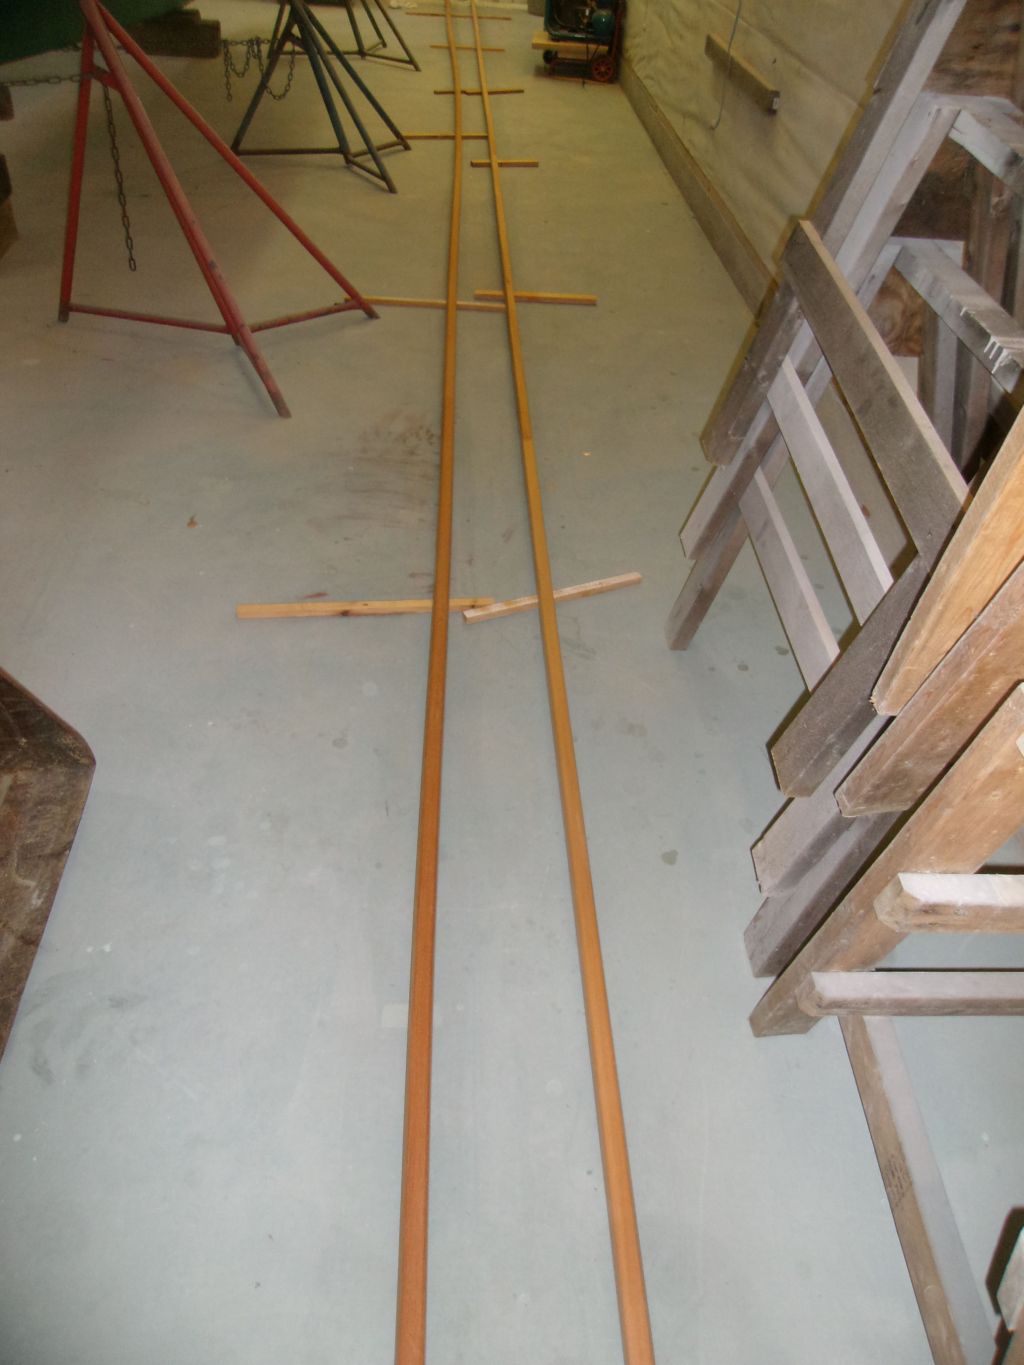
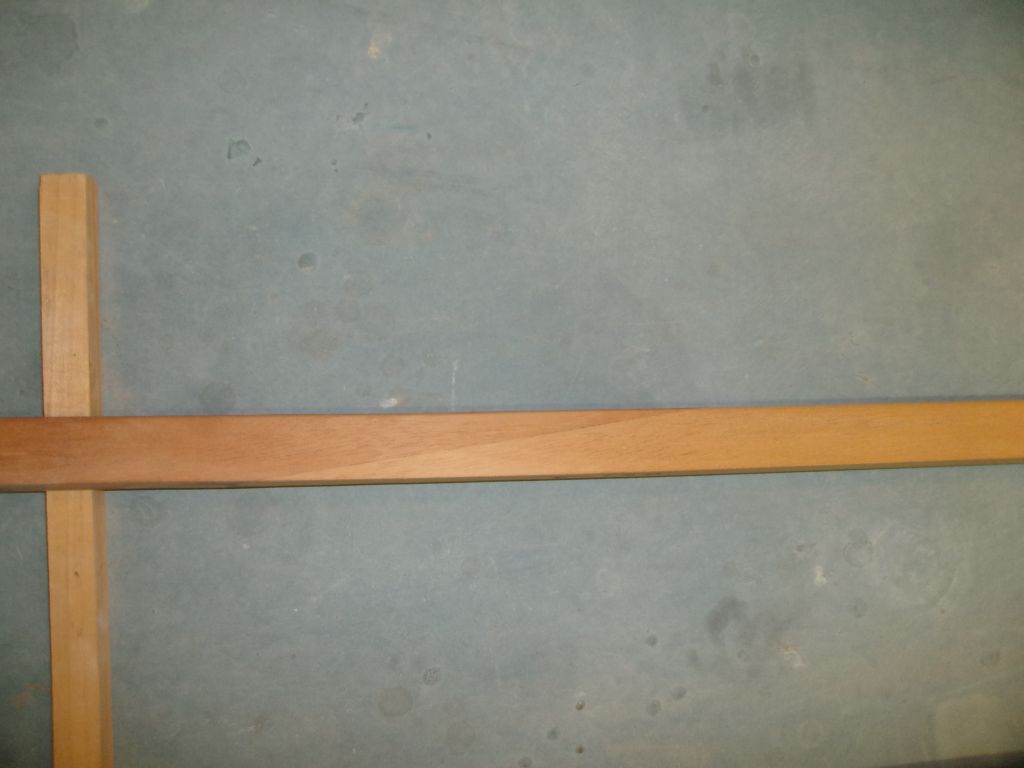
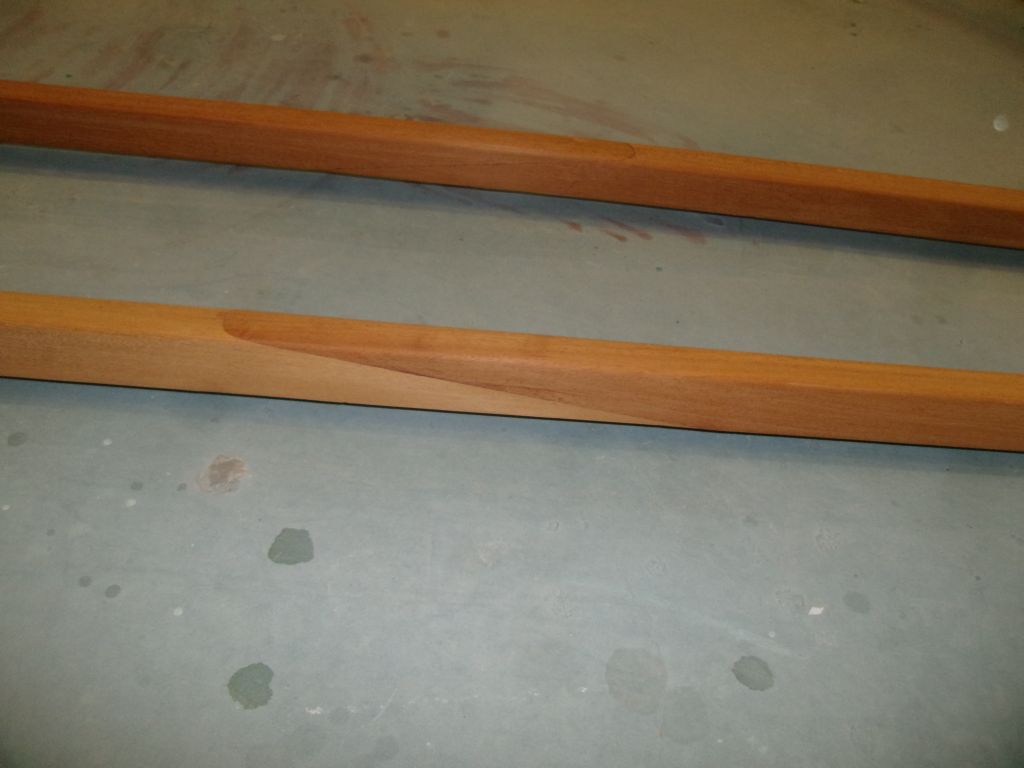
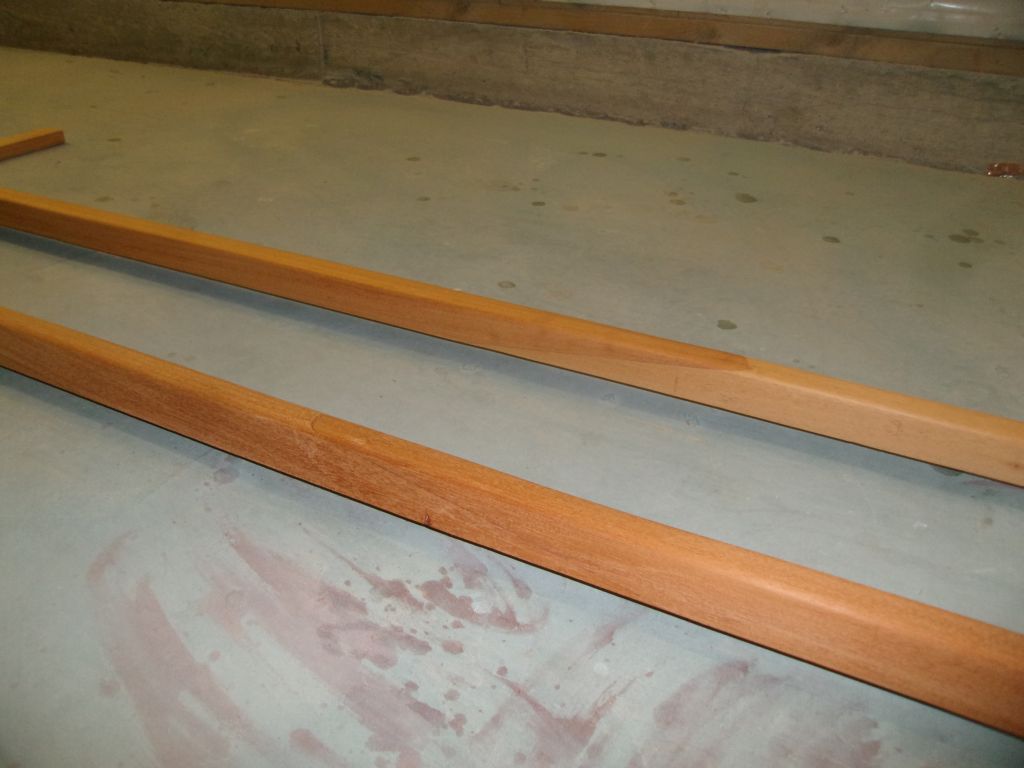
The toerail sections were longer than they needed to be, and were in fact longer than the shop itself. So I measured off a length that would be ample for the job (36'), and cut off the excess length of rails, which pieces would come in handy as analogs for the real thing during some of the preparatory work ahead. After cleaning up and solvent washing, I applied a sealer coat of varnish to all toerail surfaces.


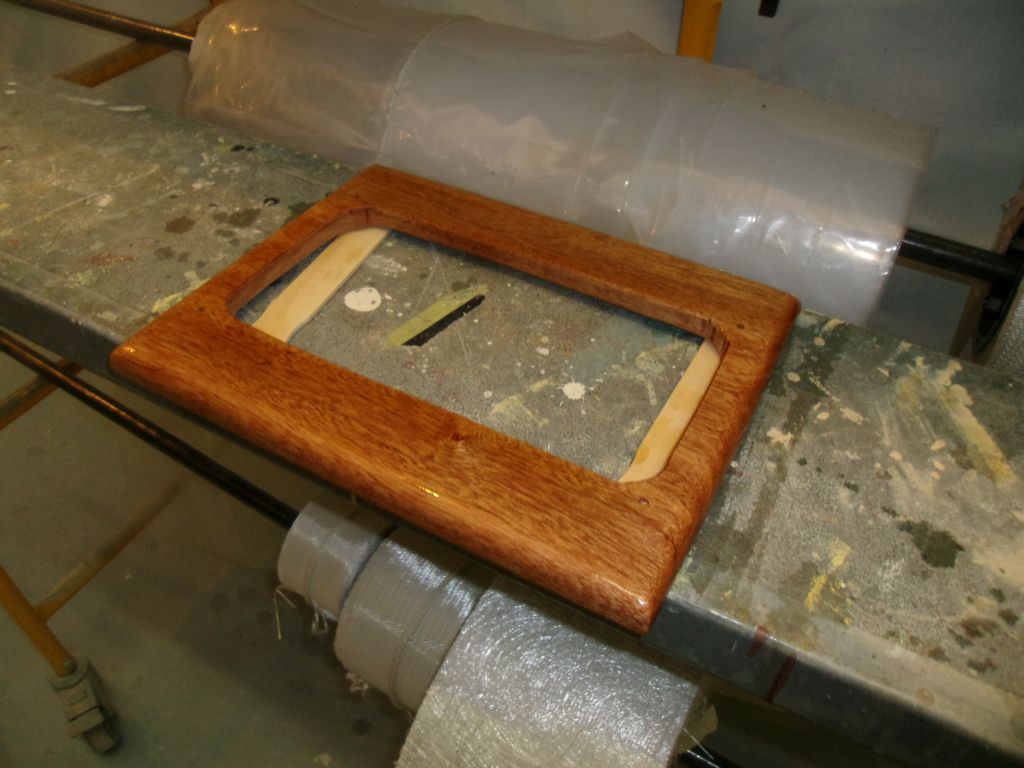
I continued the varnish work on the engine instrument panel surround.
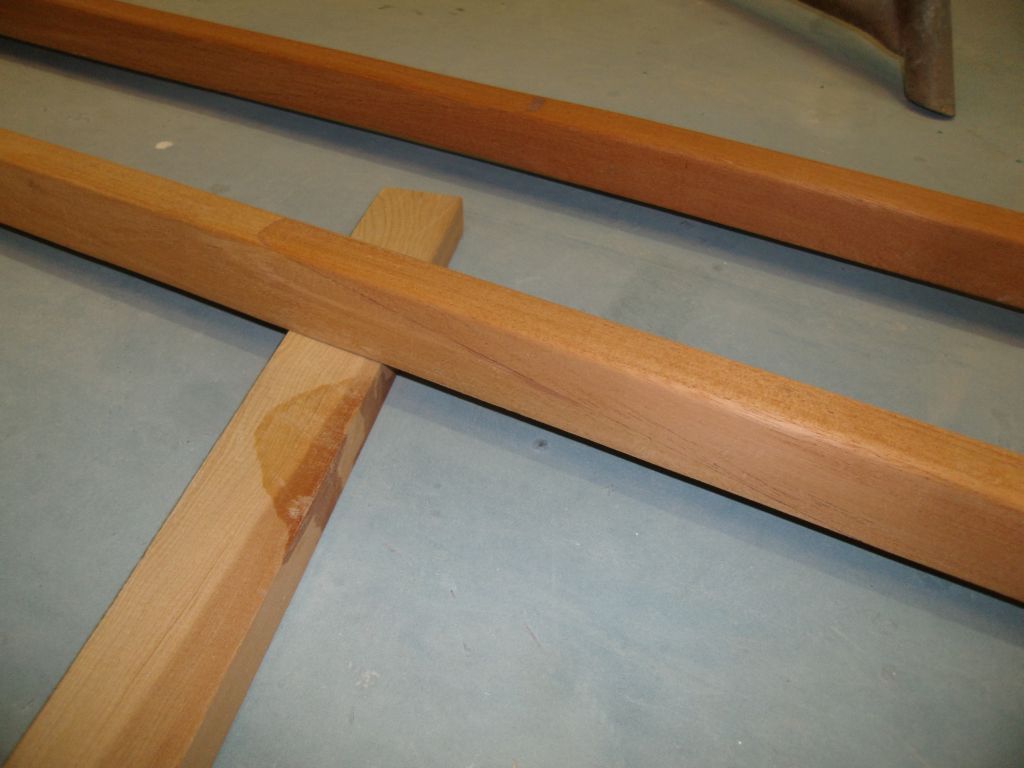
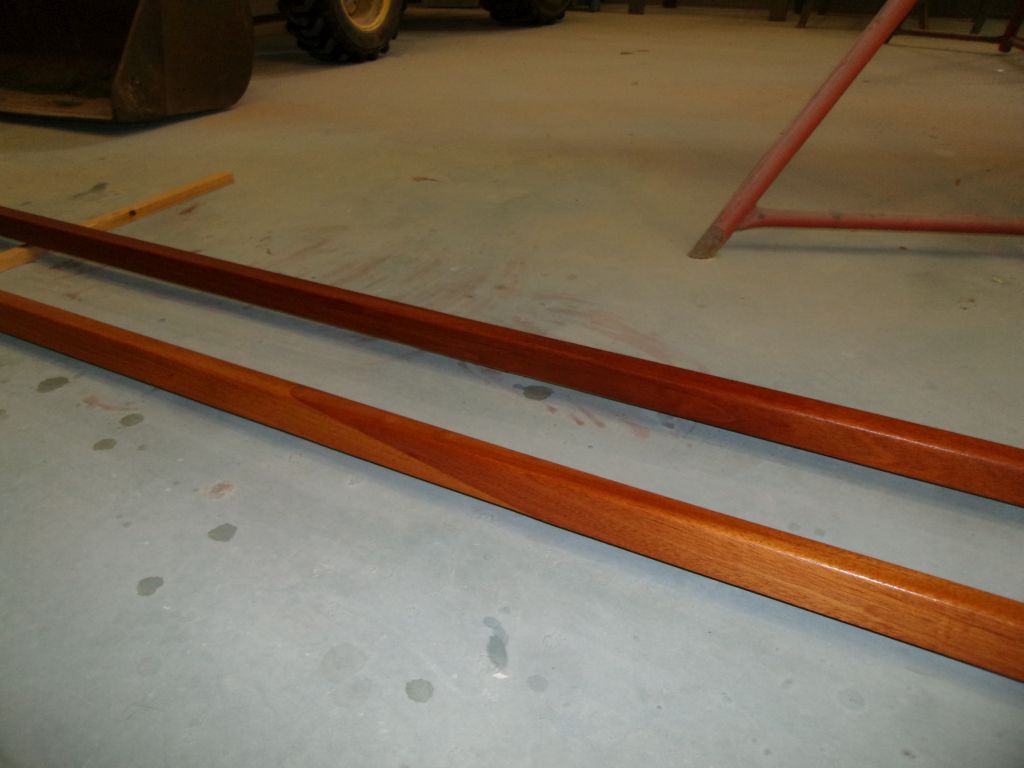
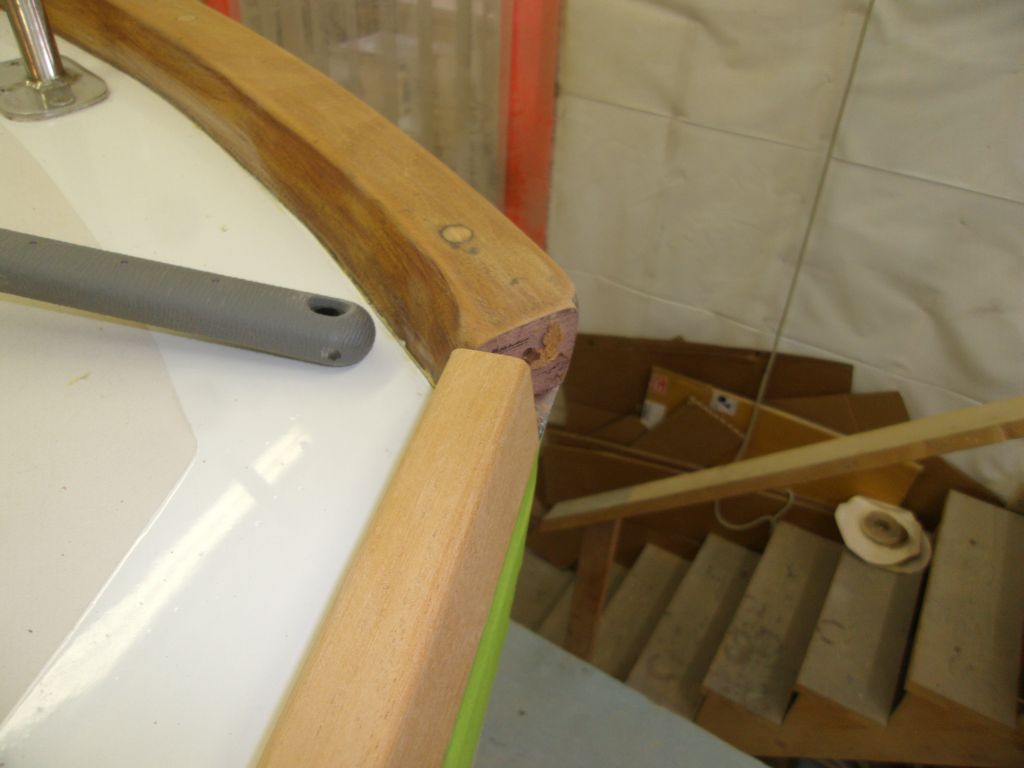
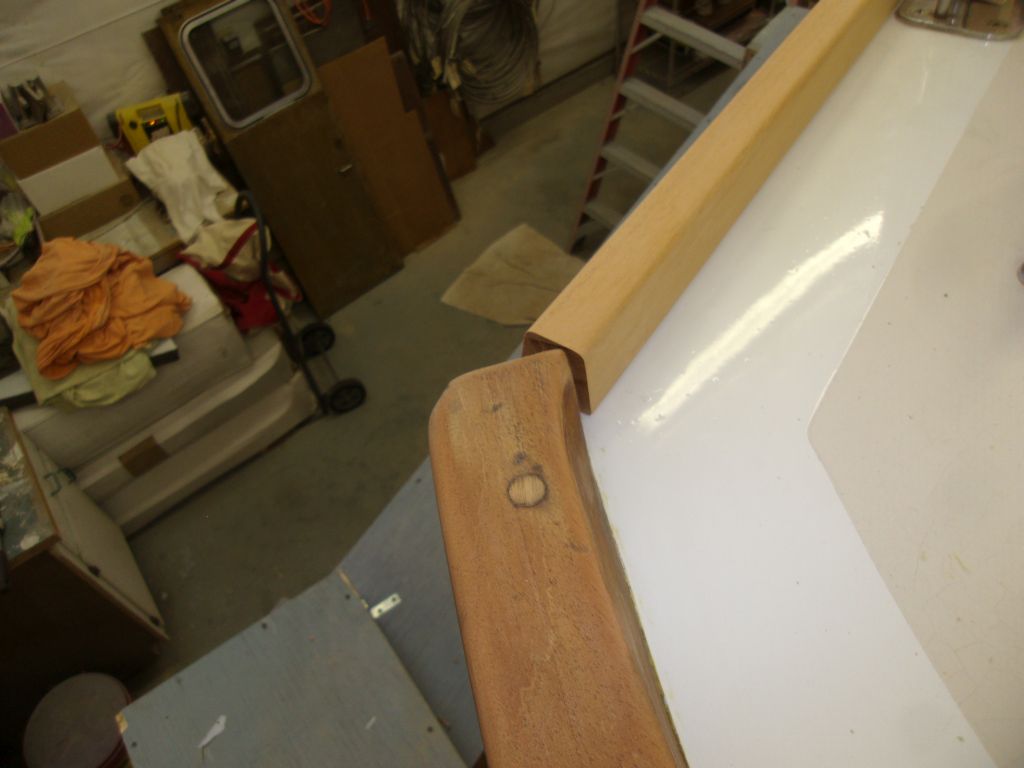
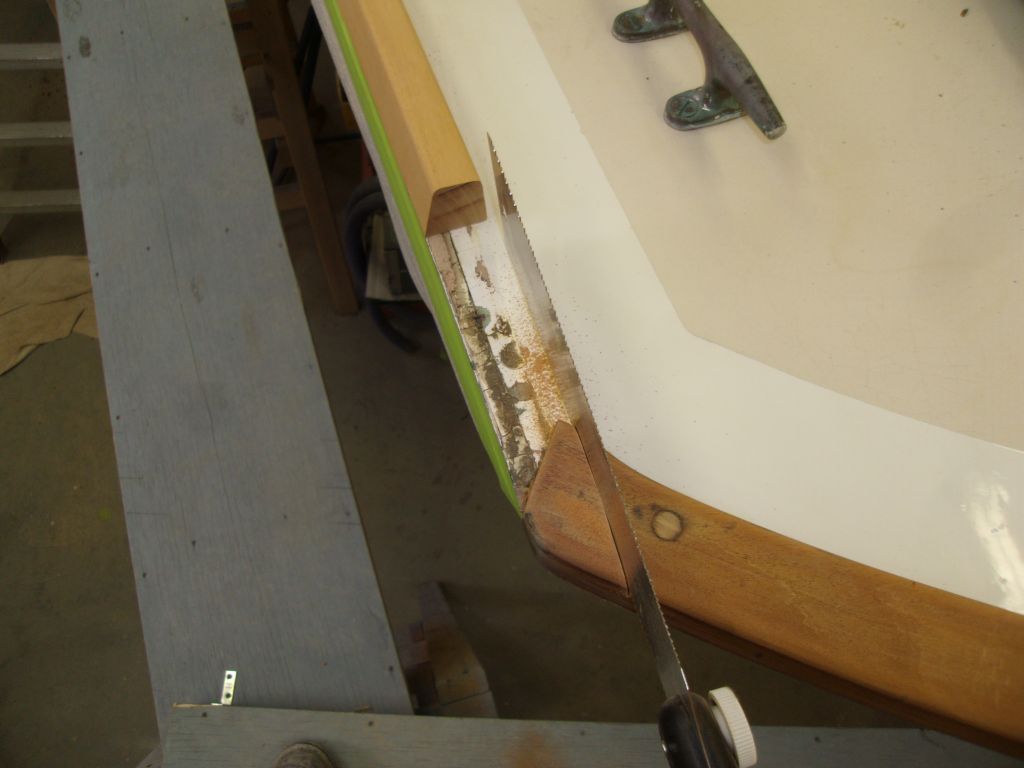
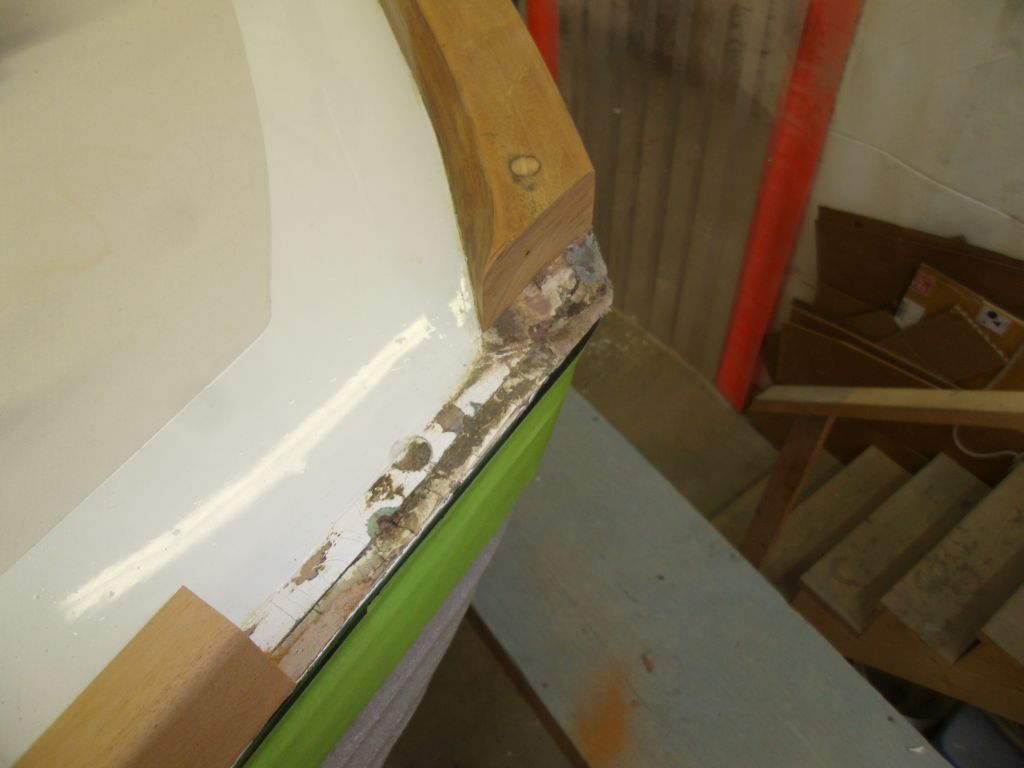
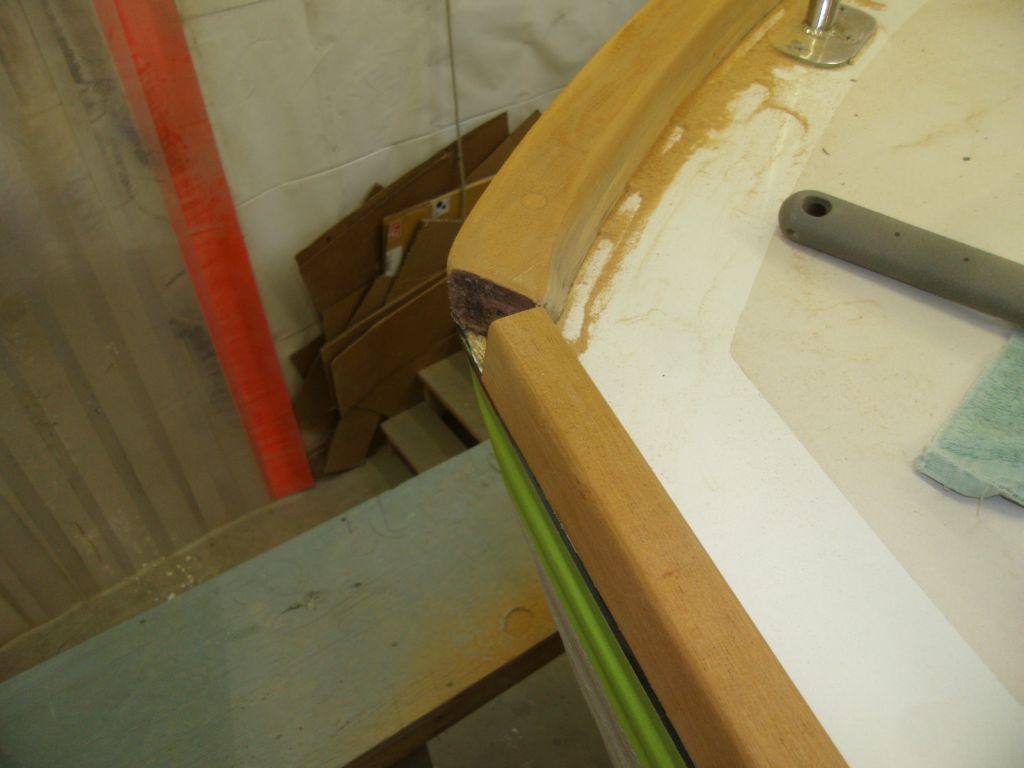
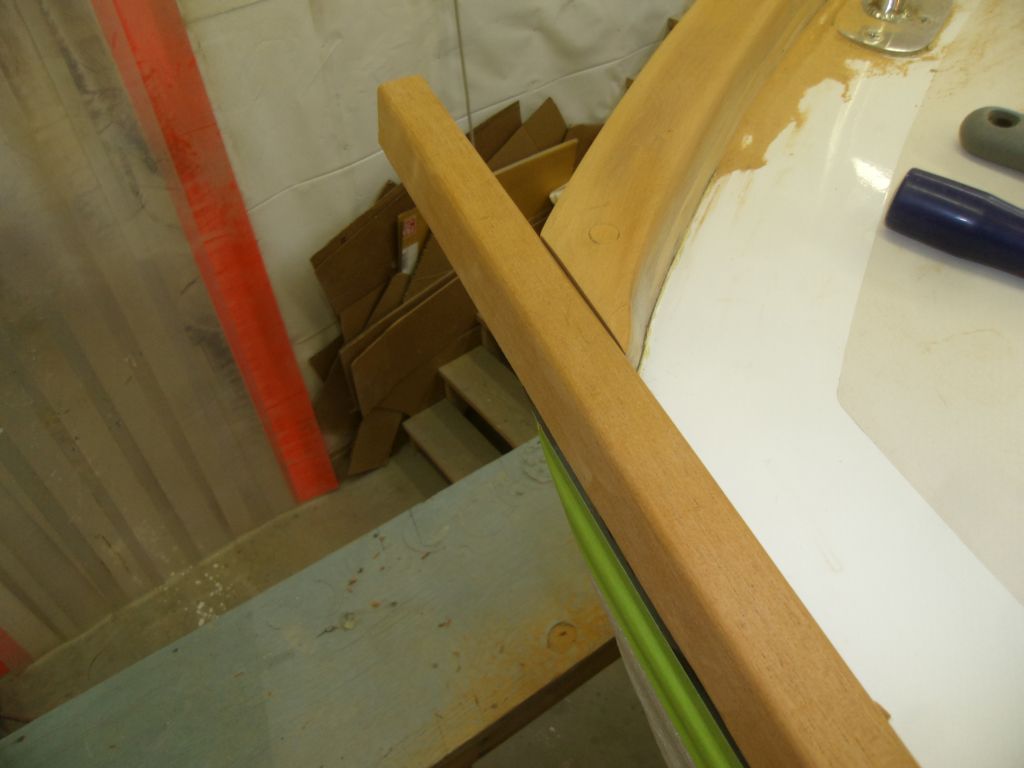
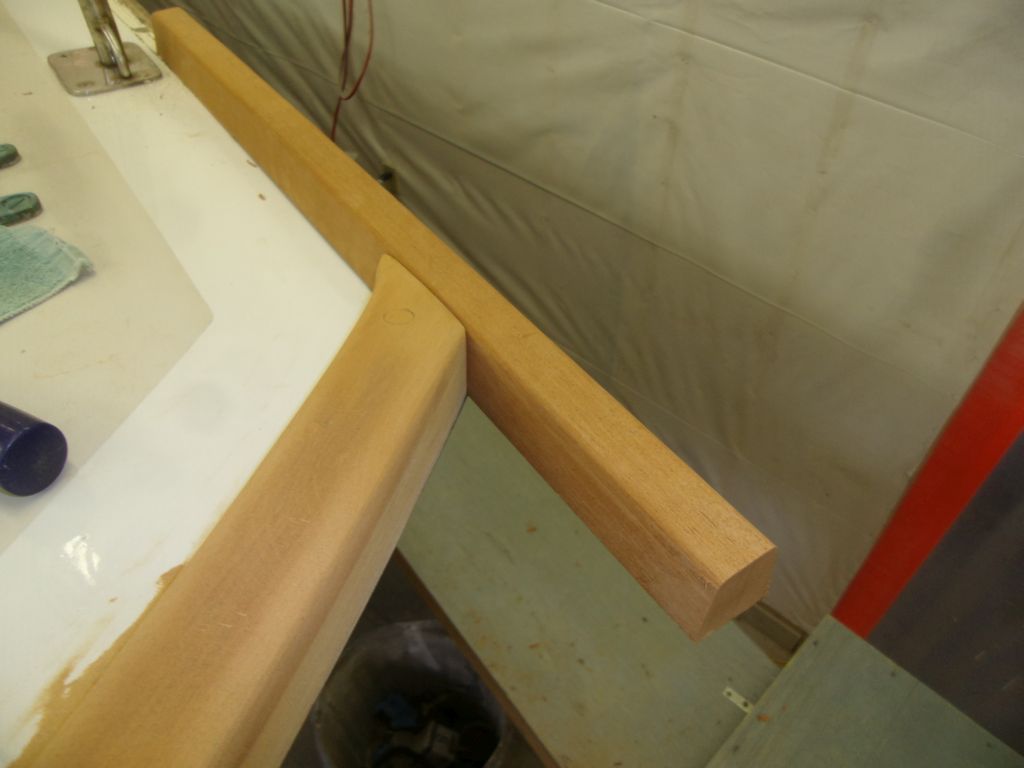
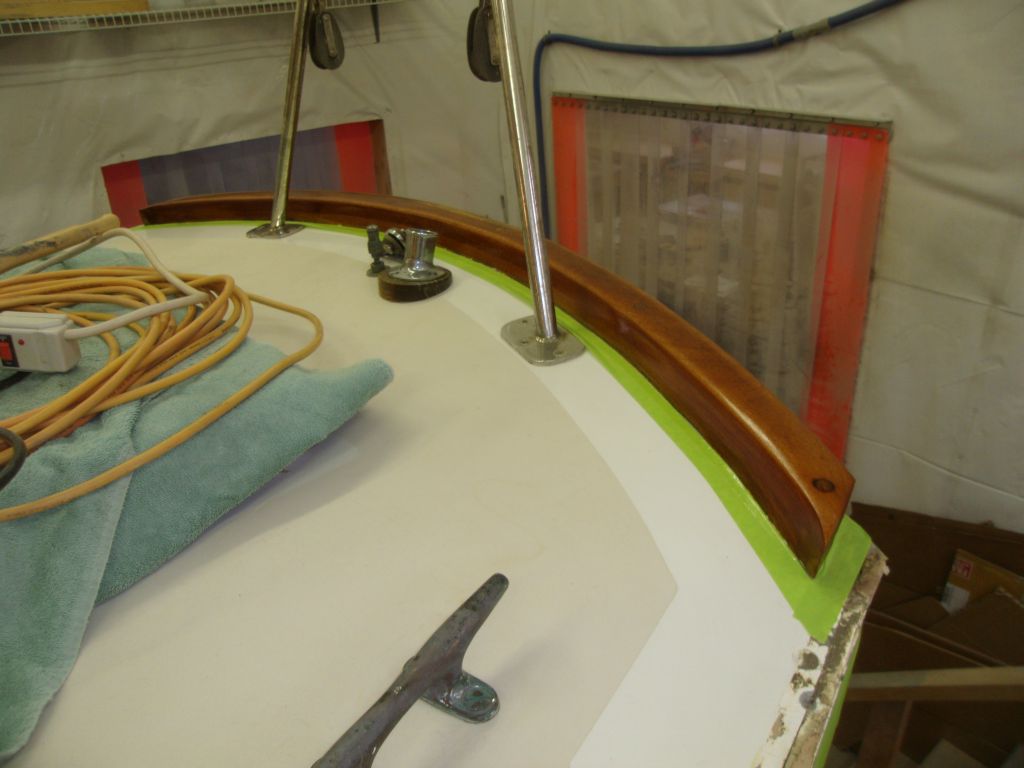
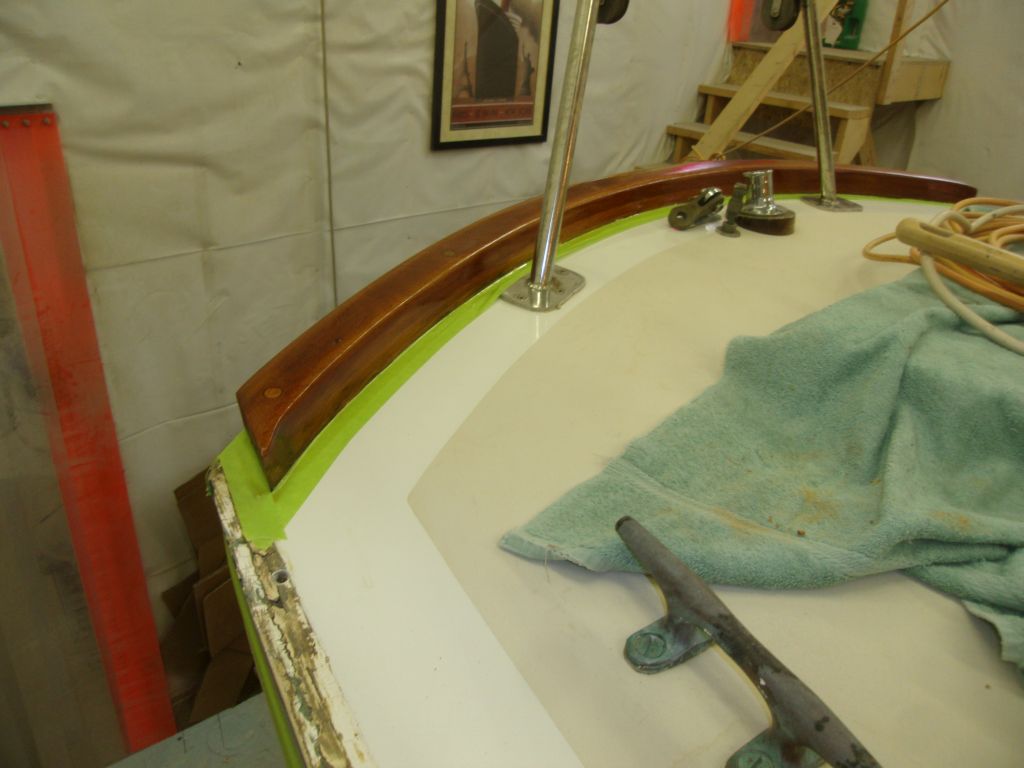
To allow the new toerails to pass by, and eventually integrate with, the existing taffrail, I used the offcuts from the toerail blanks to modify the outboard ends of the taffrail to mate cleanly with the new toerail shape. After aligning the mocked up rail with the edge of the deck and the taffrail, leaving a bit of "fudge factor", I sawed the end of the taffrail at the appropriate compound angle to mate with the toerail, fine-tuning as necessary so the new toerail passed by with a clean joint line that I could later smooth together once the toerails were actually installed.
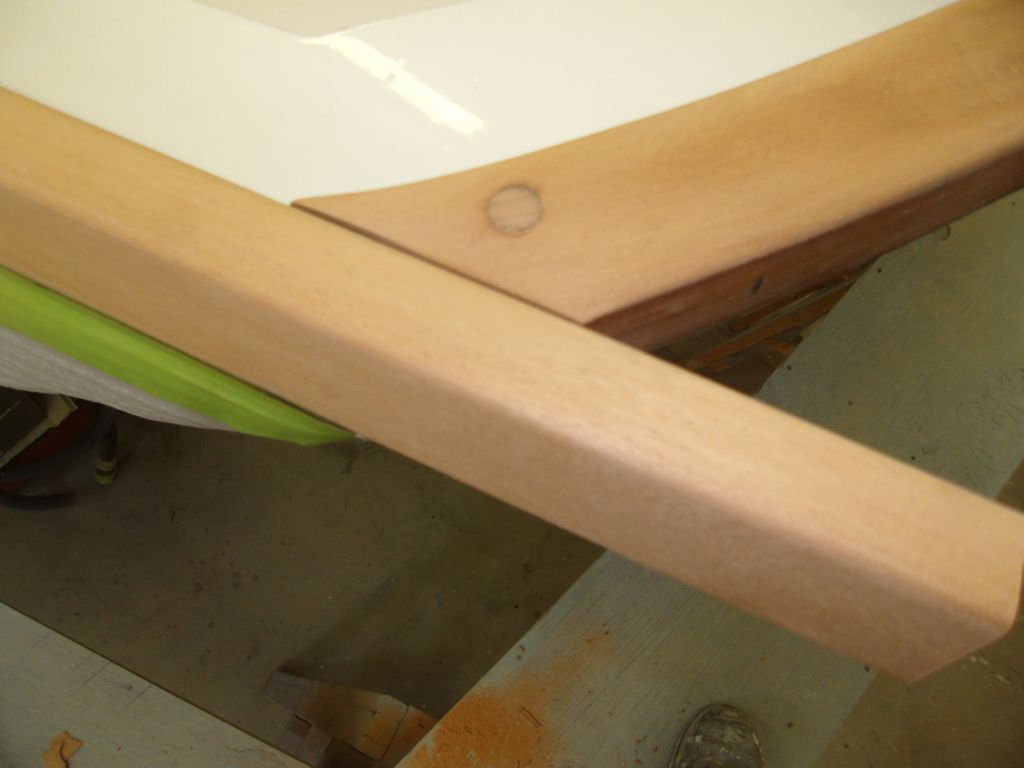

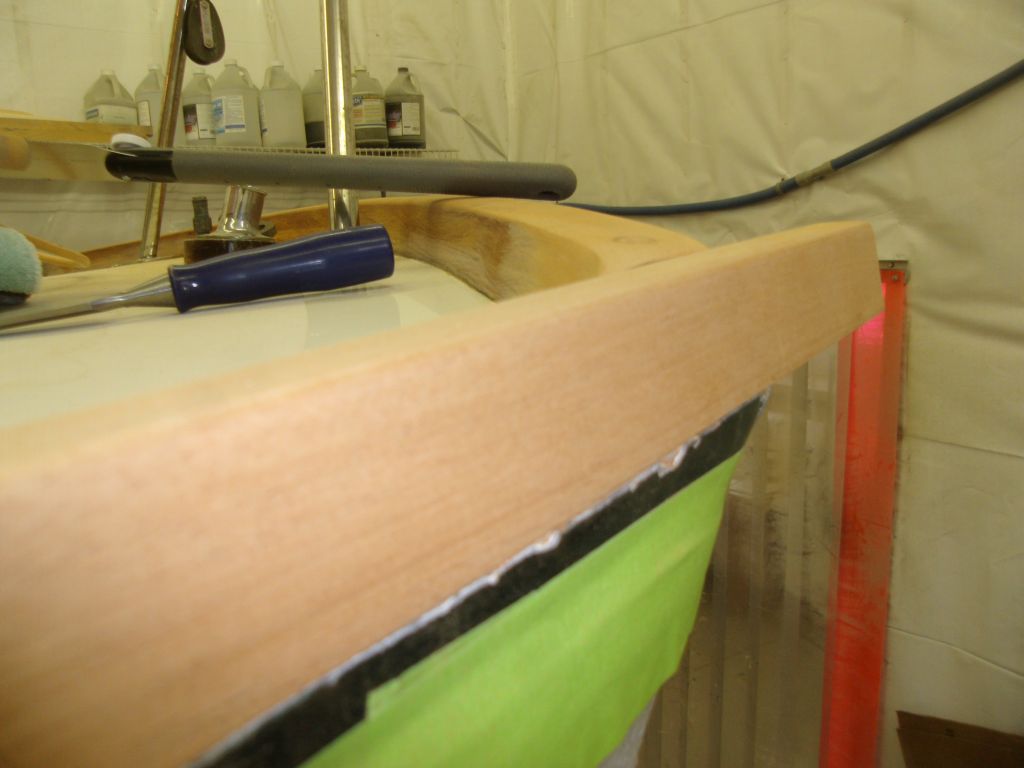
I repeated the process on the starboard side.
Afterwards, I applied a sealer coat of varnish to the taffrail to protect the bare wood during the toerail and sealing operations.
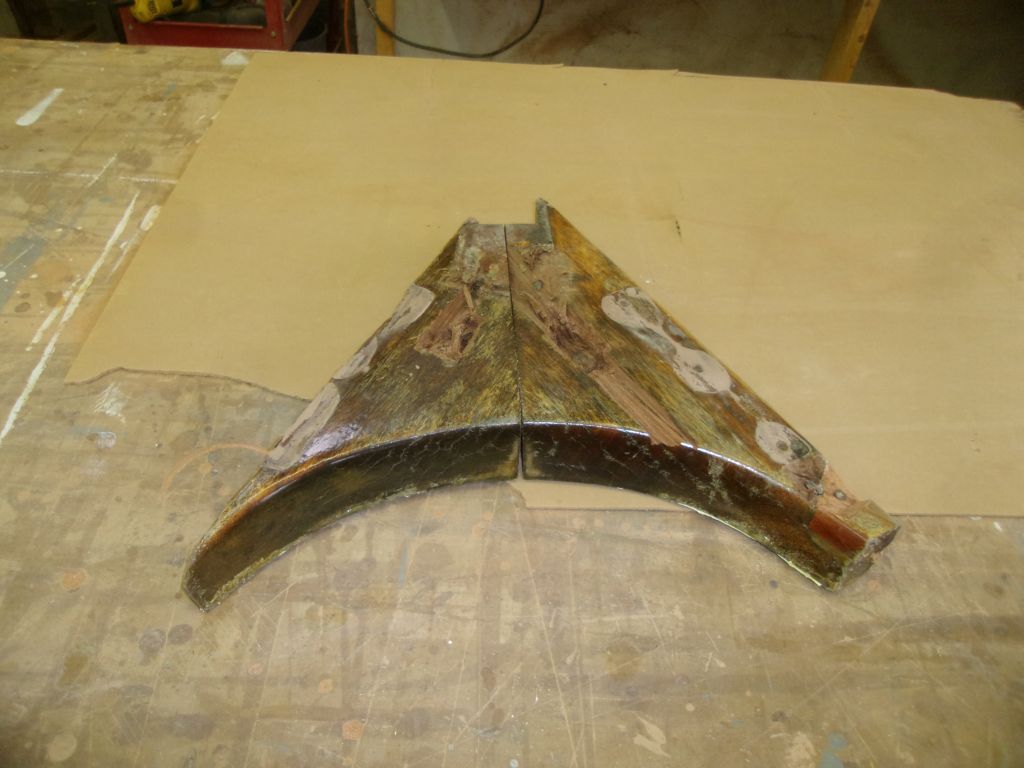
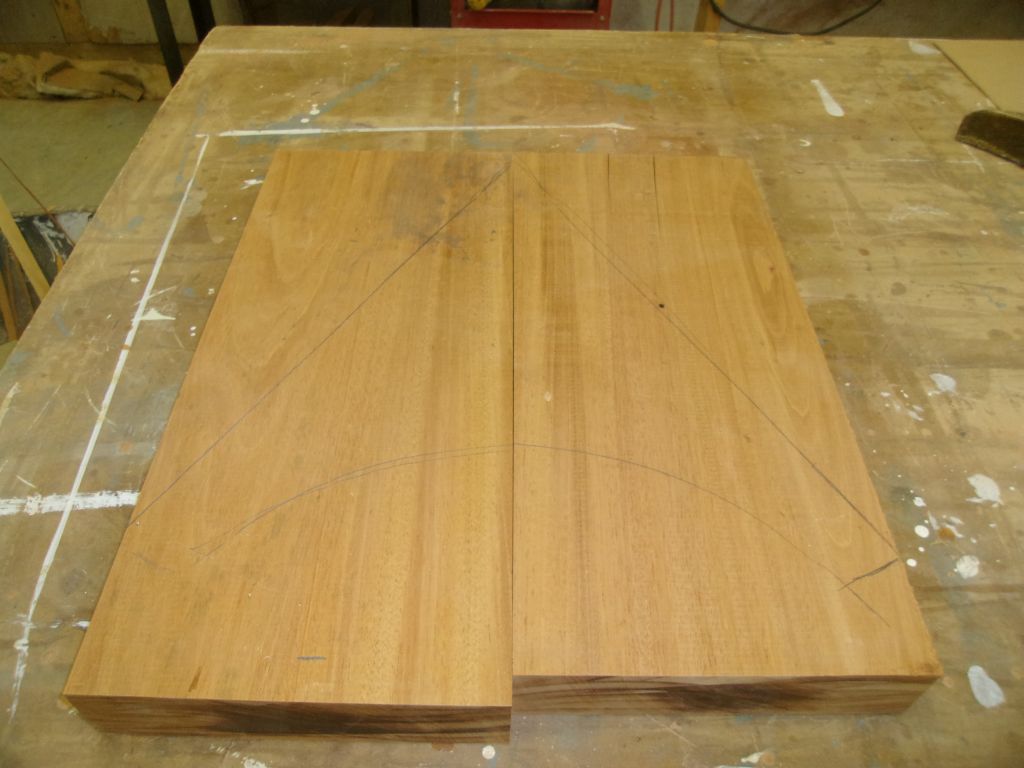
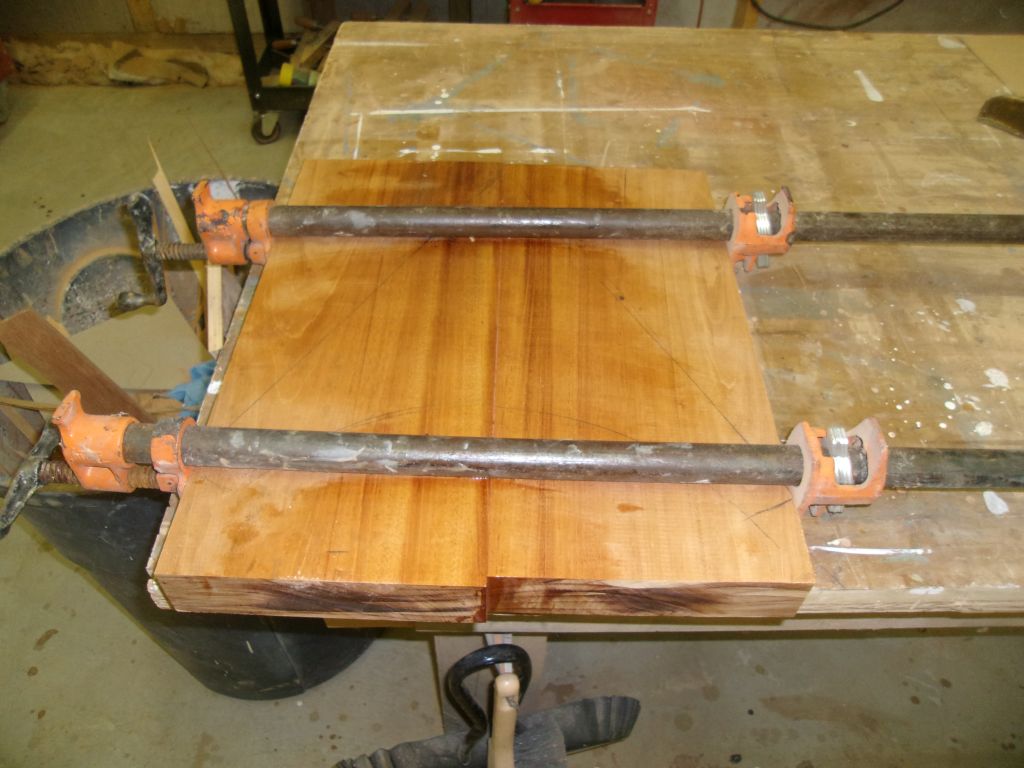
At the other end of the boat, I started work on the replacement stem piece/breasthook, or whatever it should be technically called. Using the old piece (which was asymmetrical on the port side since an earlier repair had removed part of the actual piece) as a rough guide, I prepared two pieces of 8/4 mahogany to glue into a blank of appropriate size, then clamped them and set the assembly aside to cure.
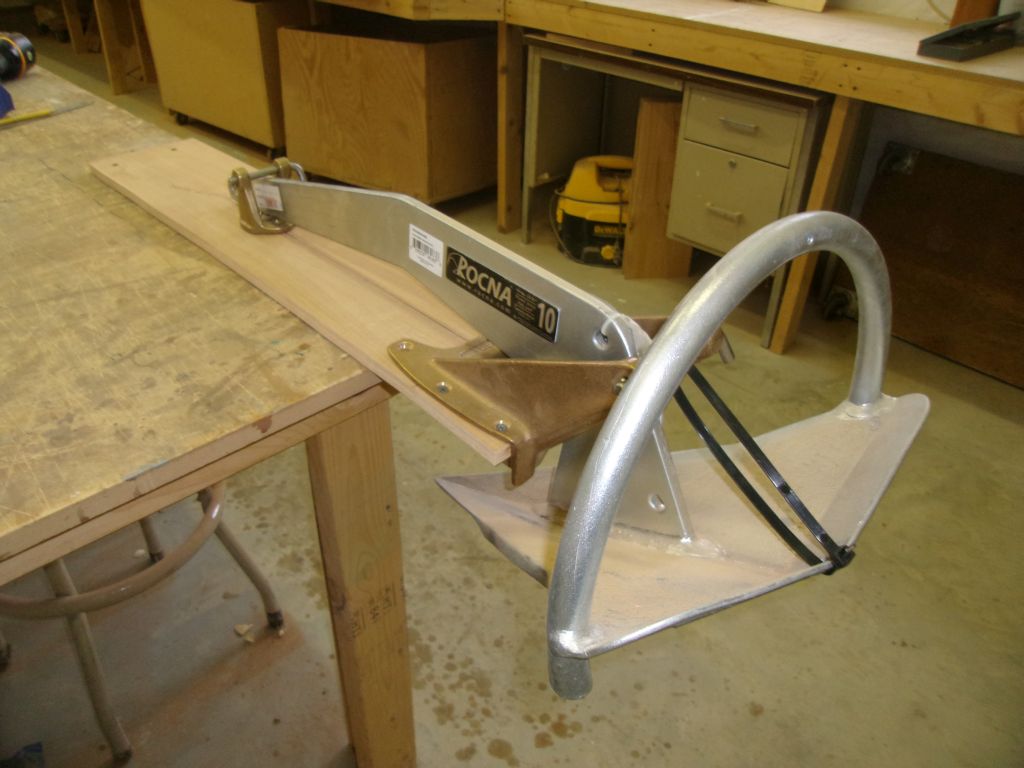
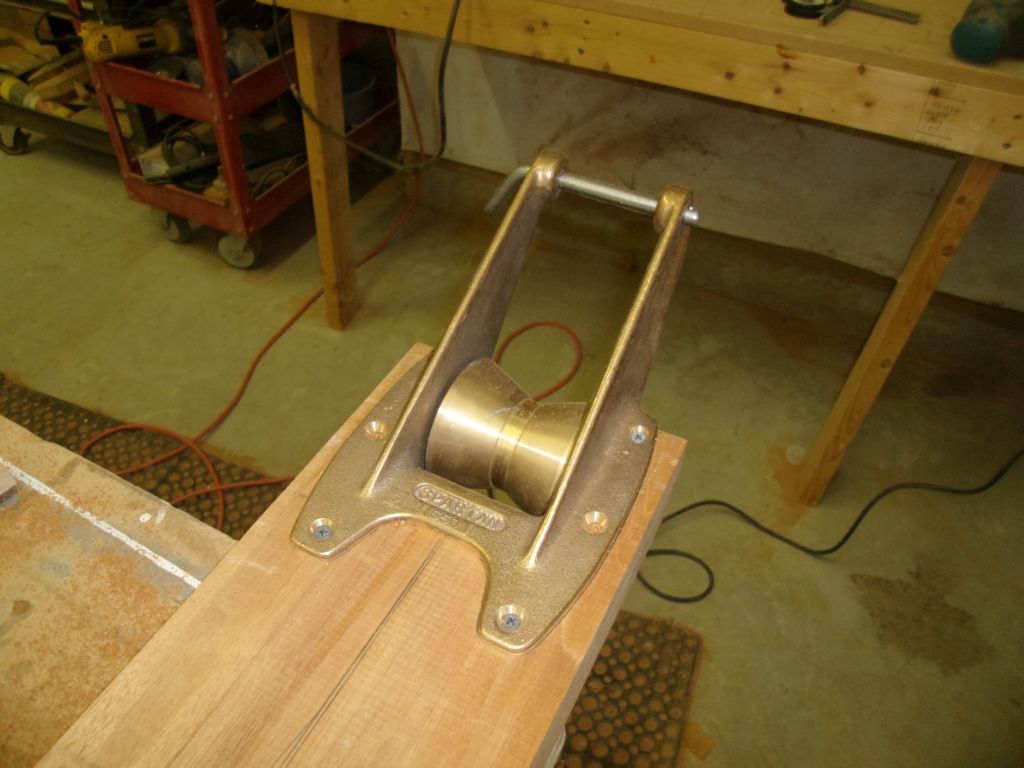
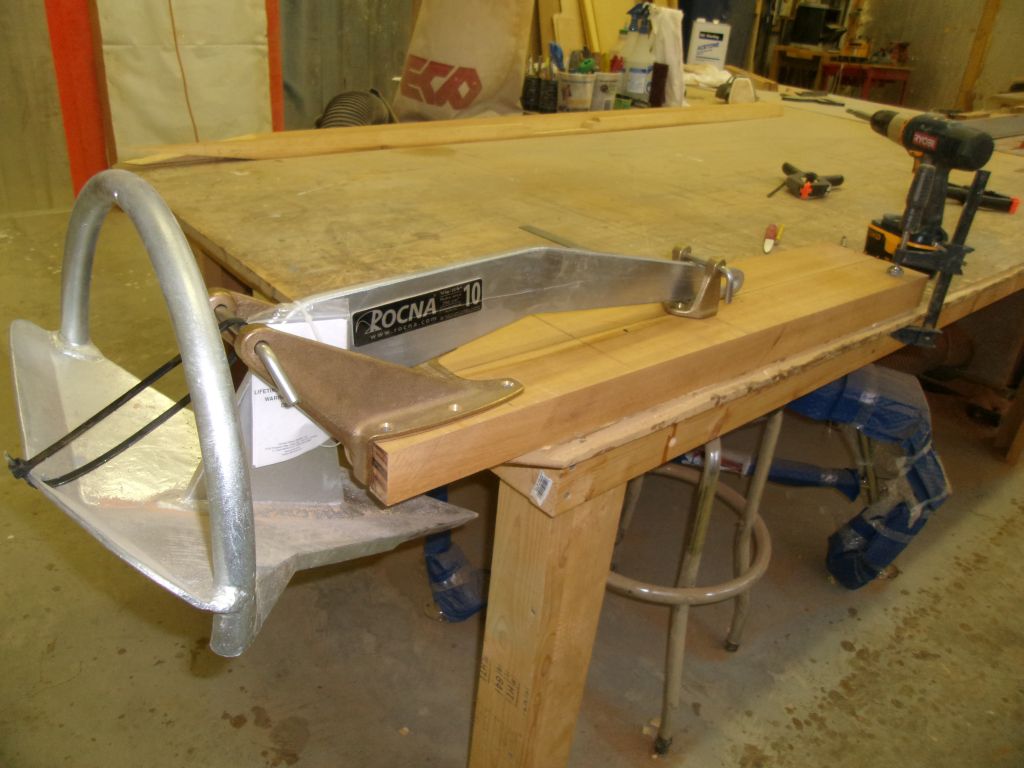
Next, I started work on the anchor roller assembly. Final sizing and fitting of the piece, which would comprise the bronze anchor roller and a heavy wooden platform of indeterminate length, couldn't occur till later, when the toerail and stem piece were in place, but I could make the initial layout and begin to prepare the blank now.
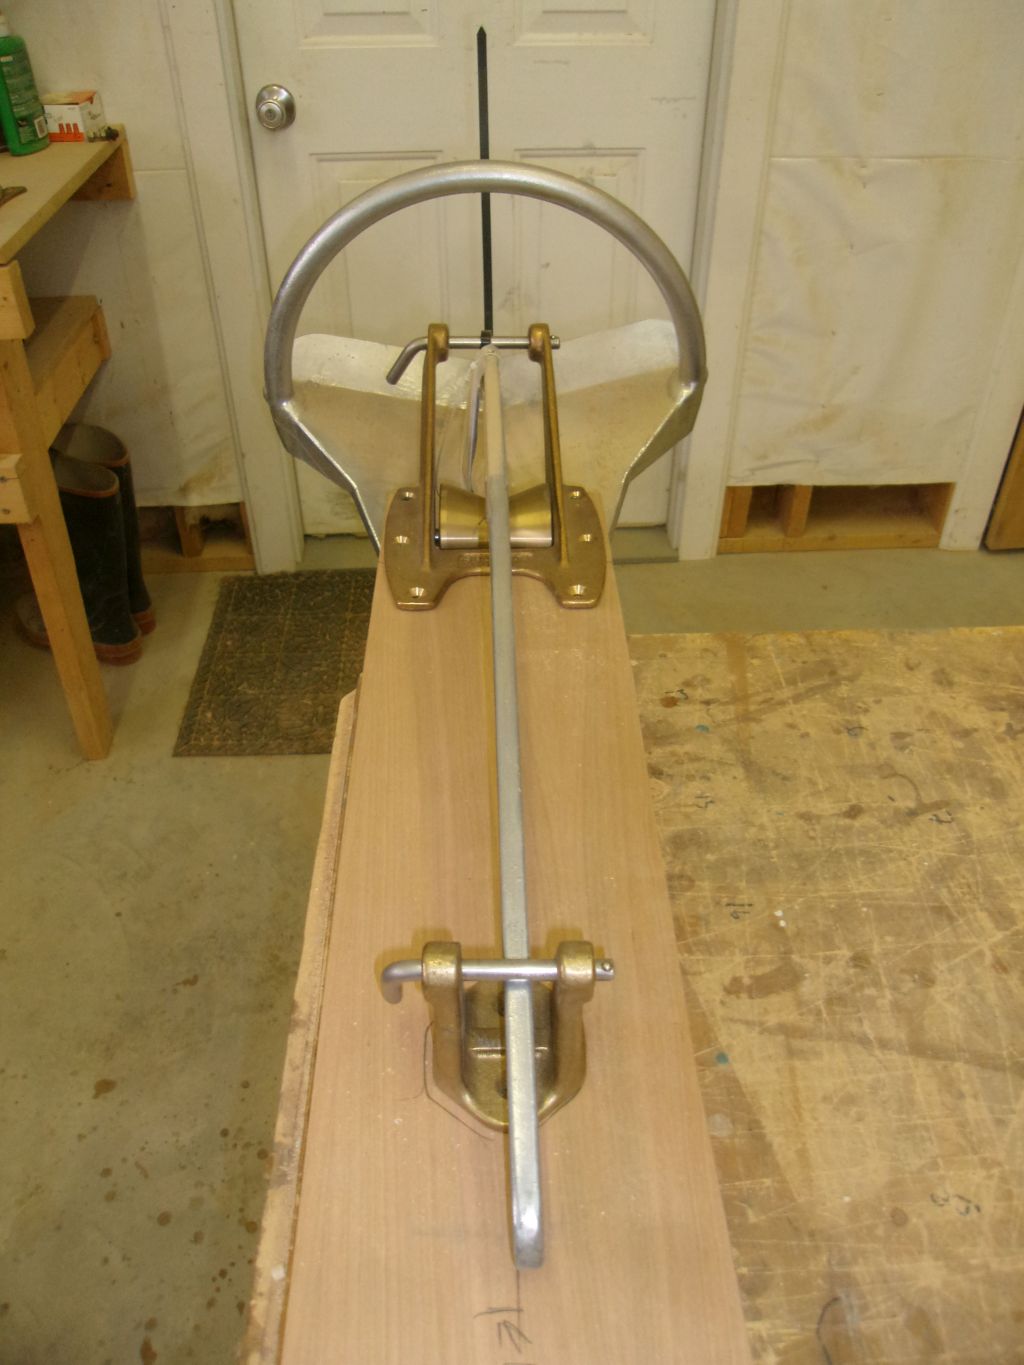
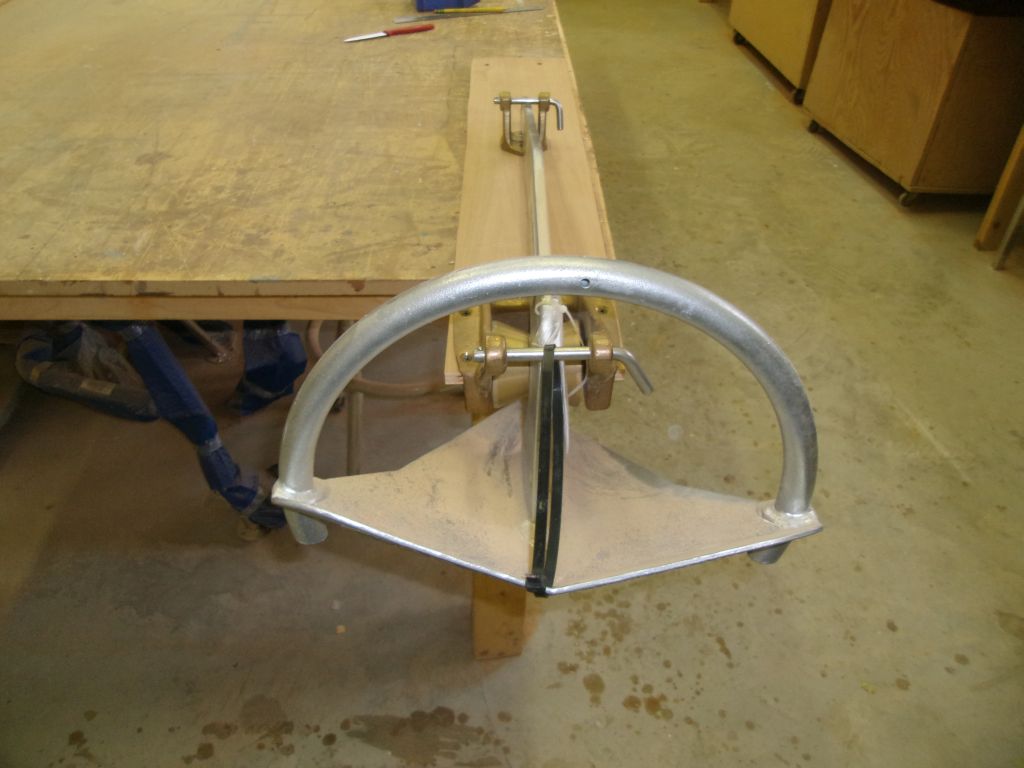
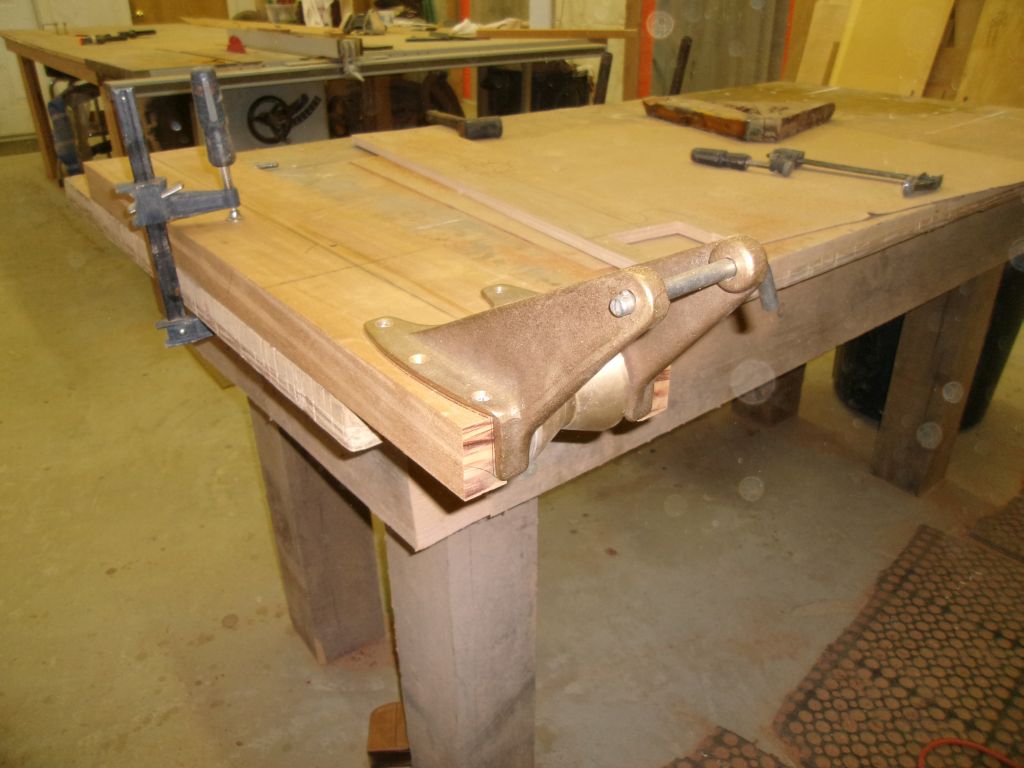
To get some sense of what was needed, I started with a plywood template, which I cut to 6" wide (the minimum width possible for the anchor roller itself), and however long the scrap was, but somewhere between 24" and 36". Then I cut out the forward end to accept the anchor roller, which I temporarily screwed in place before clamping the whole assembly to the bench to secure the anchor in place.
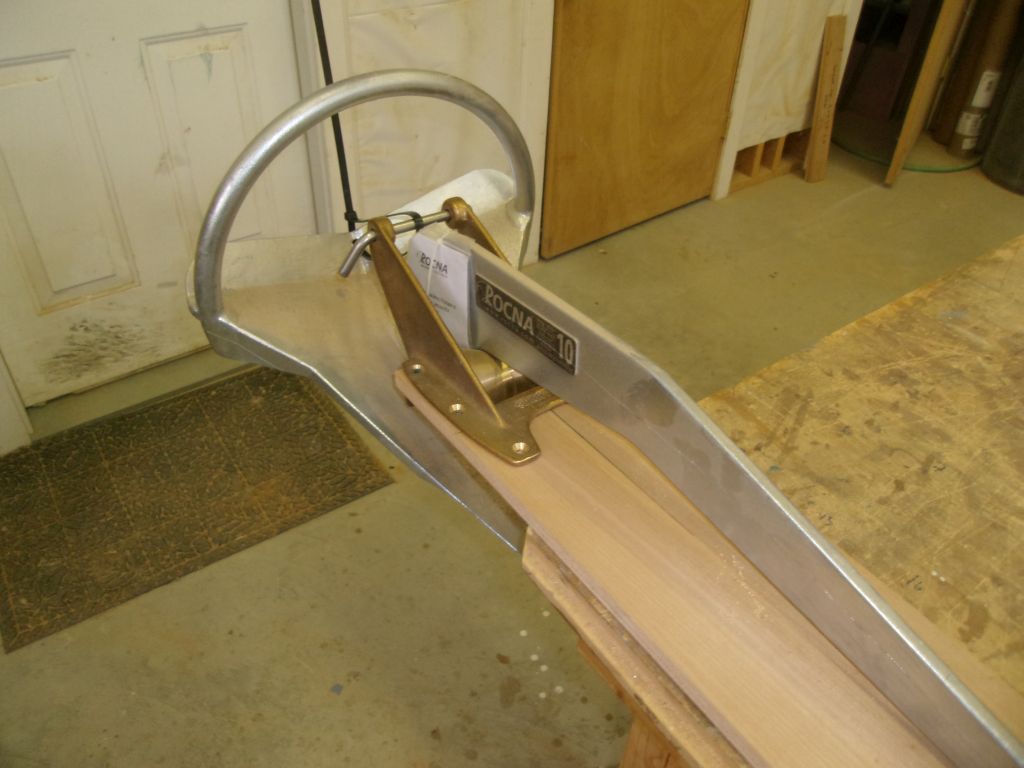
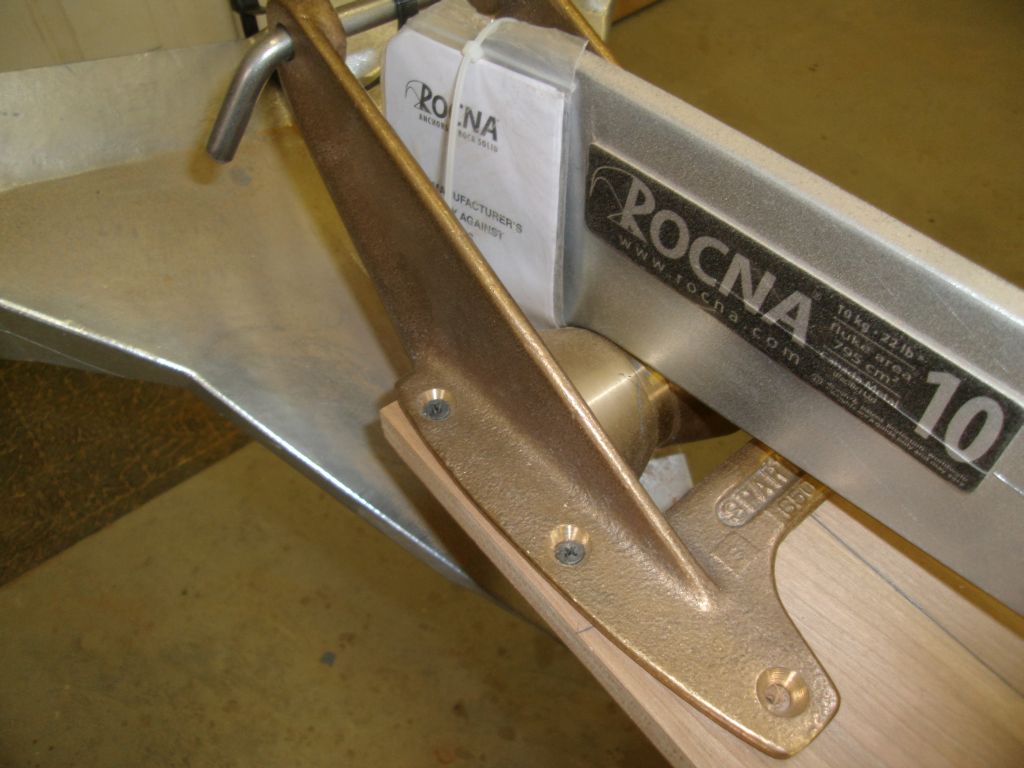
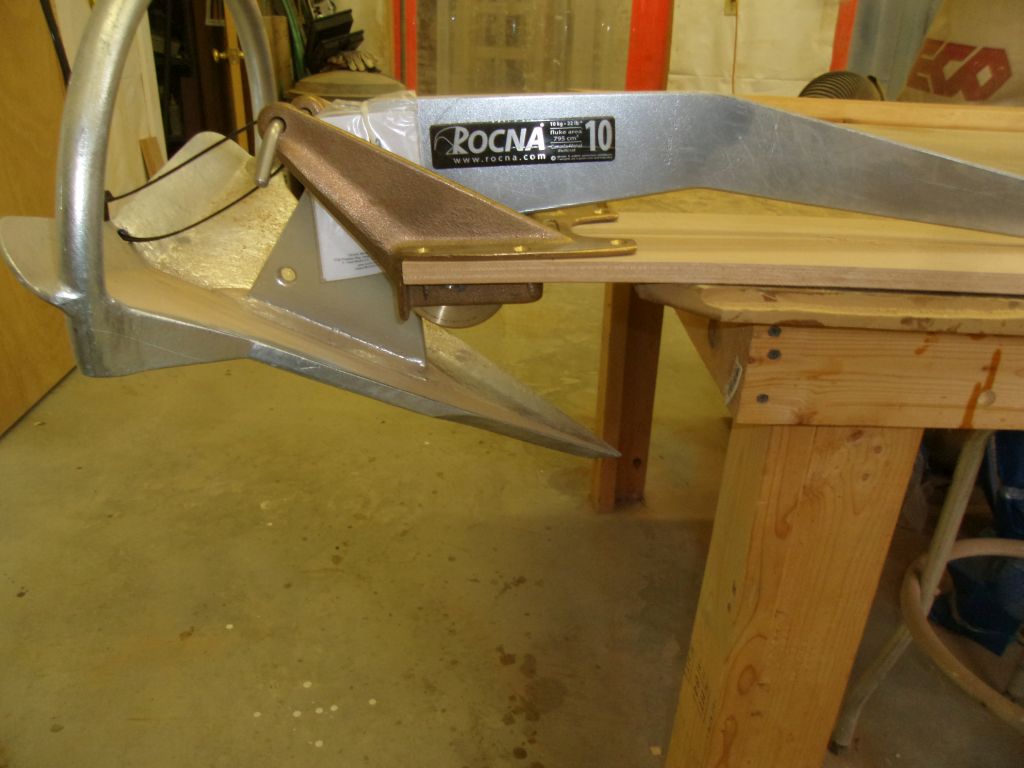
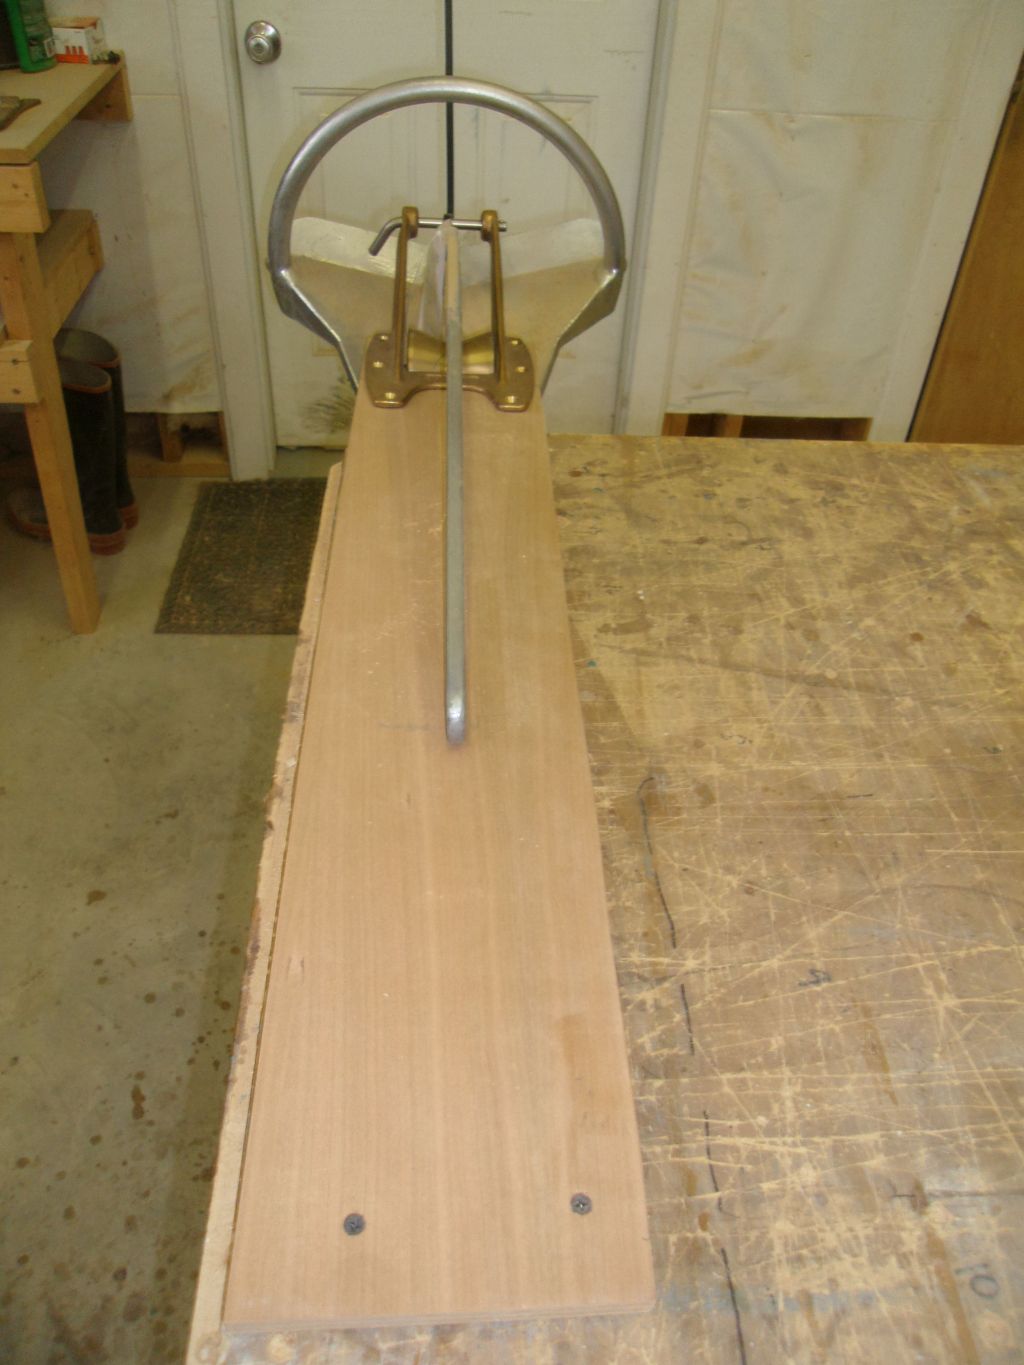
This gave me a sense of how long, at a minimum, the platform would need to be to accommodate the anchor itself, and also allowed me to determine the position of the anchor shank bracket that I'd purchased along with the roller.

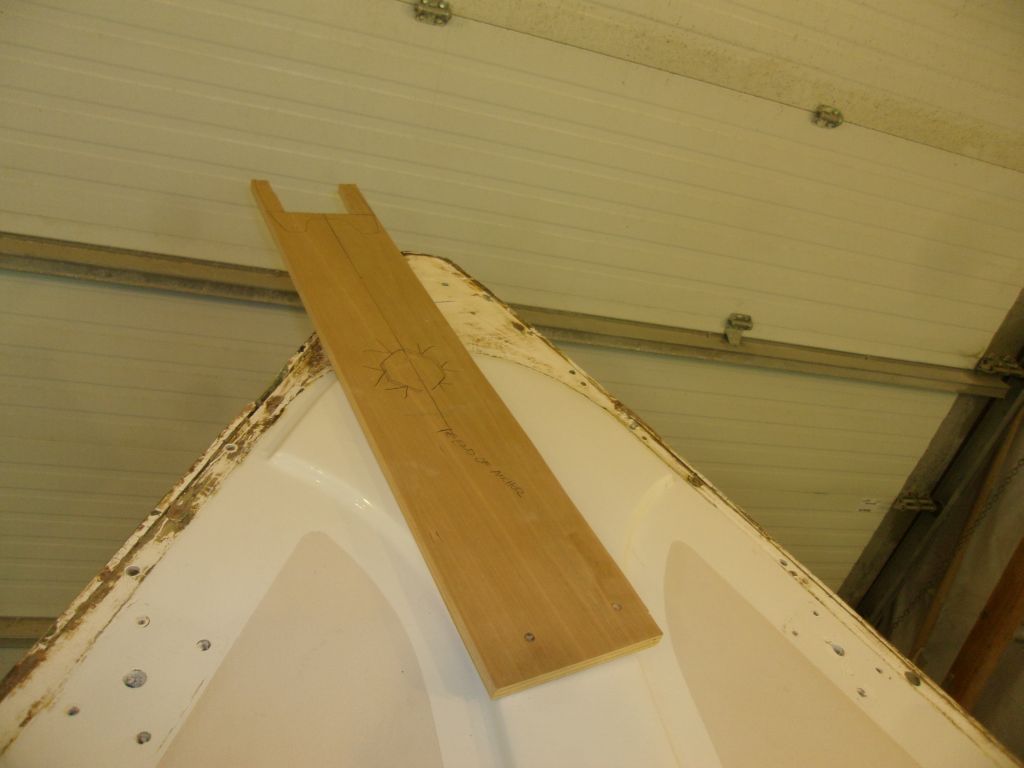
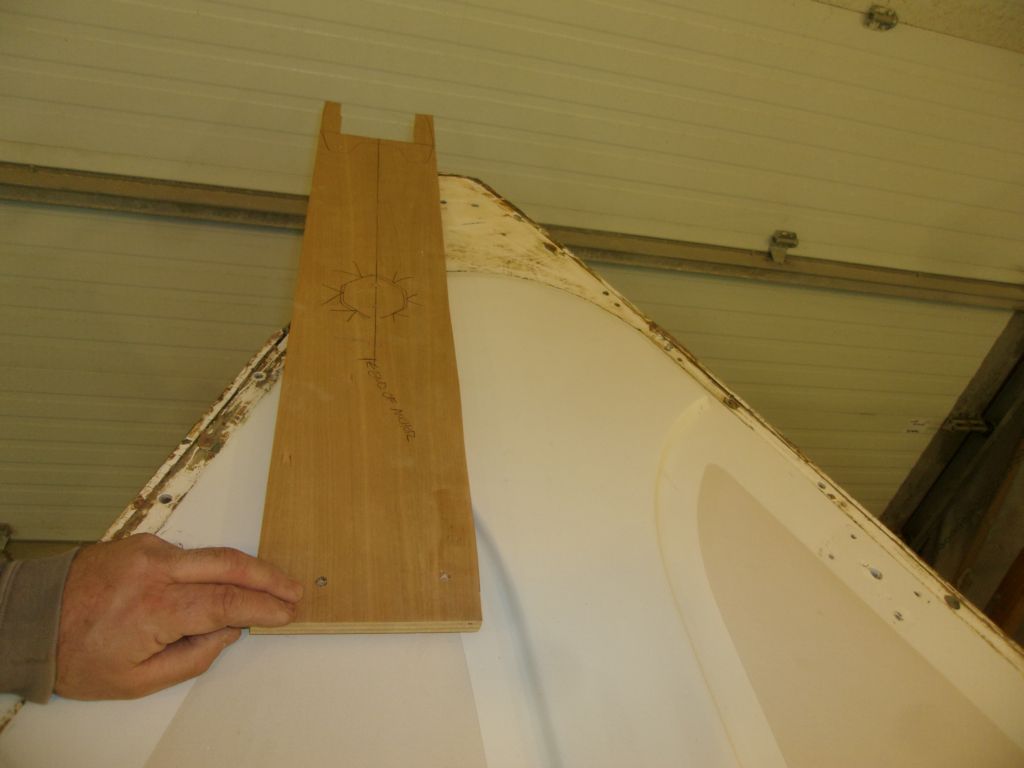
On the foredeck, I tested the template to see how its length worked out and to ensure that, in either of two roughly-possible positions (either angled to port slightly, or parallel to the centerline and offset slightly to port) there would be ample platform to secure to the deck and hold the cantilevered section of the roller off the stem. Exactly how far off the stem I'd need to mount this would depend on the final configuration of the toerail and the forestay chainplate/stem casting, as well as mocking up the platform with the anchor installed to ensure proper clearance--but no more than needed--of the anchor flukes when raised. But in terms of a conceptual overall length of platform, the template met the mark.
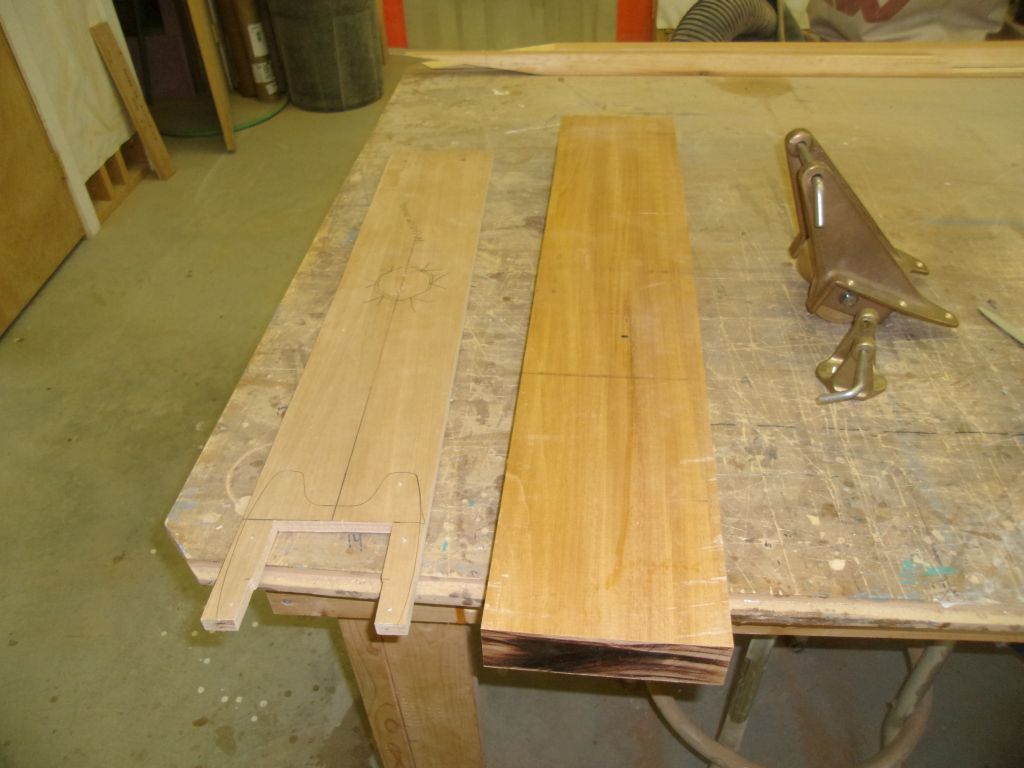
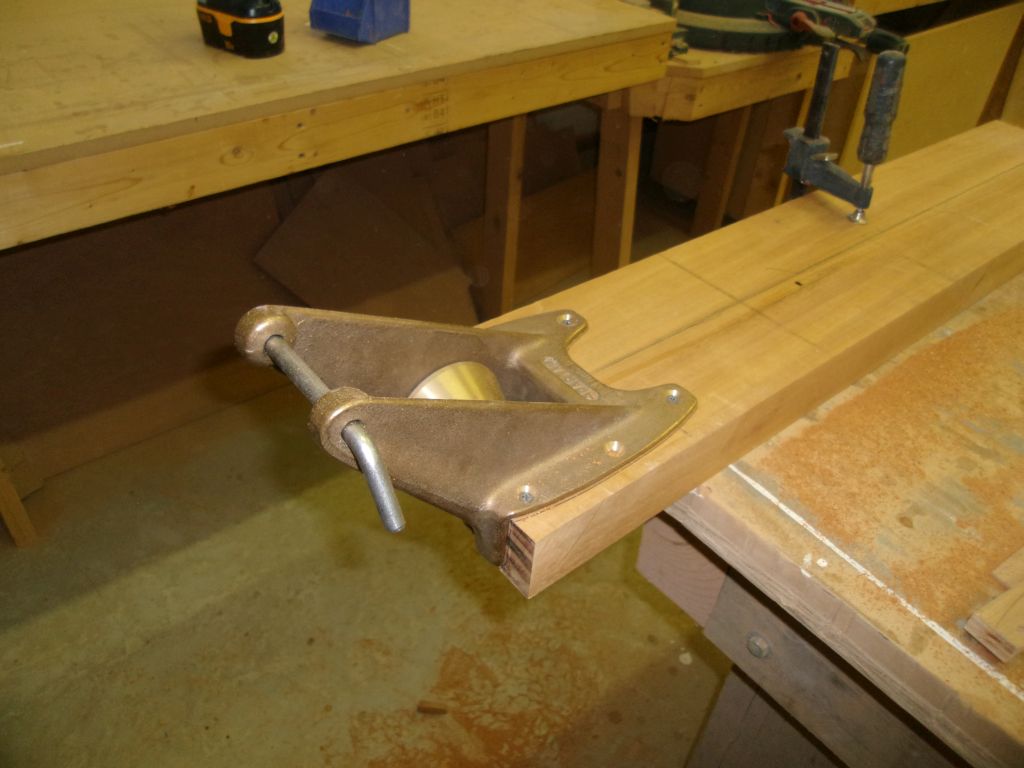
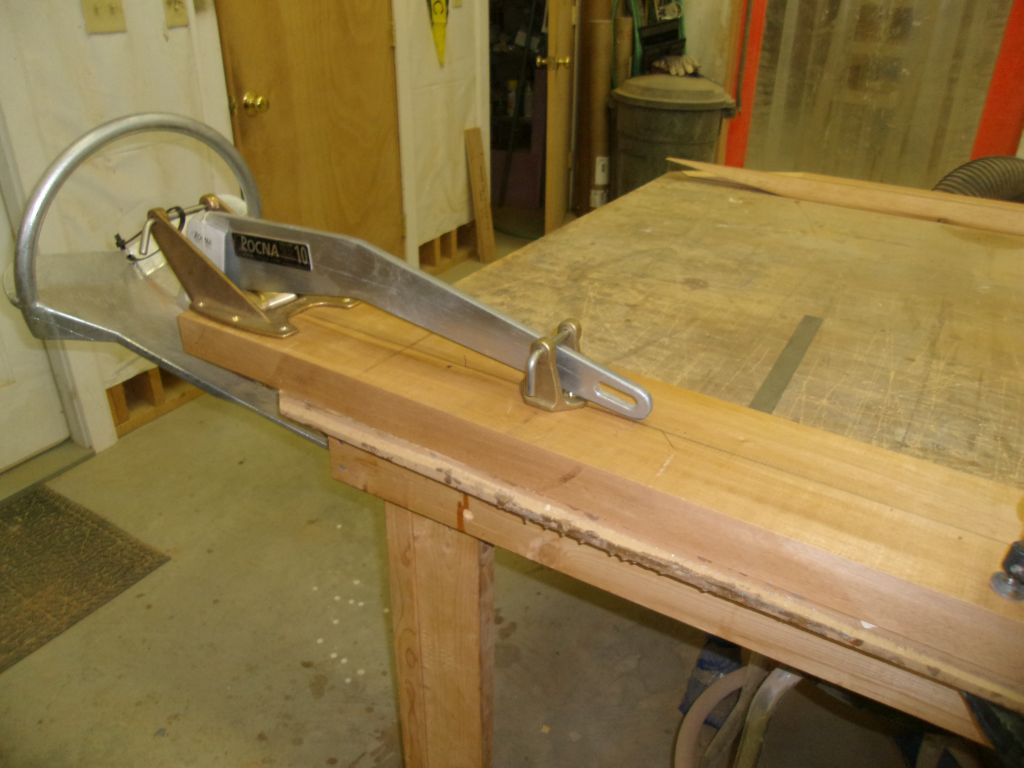
Armed with this information, I cut a blank from 8/4 Honduras mahogany. To allow room for an edge detail and, I thought, a better resulting appearance, I cut the blank 6-1/2" wide rather than the 6" of the template, and left it overlong at 36" for now. During final fitting and shaping, I envisioned cutting the after length of the platform into some sort of tapered shape to slim it down and remove unnecessary bulk as it ran aft away from the roller and onto the foredeck, but that decision would come later, along with finalizing the length and position of the platform.
I cut out the forward end to accept the anchor roller, and, mocking everything up once more, positioned the anchor shank bracket and marked the holes for drilling. For the moment, this was about as far as I could take the roller project.

Total Time Billed on This Job Today: 6.25
Hours
