
110 Cookson Lane | Whitefield, ME 04353 | 207-232-7600 | tim@lackeysailing.com
Snow Lily | Wednesday, March 27, 2013
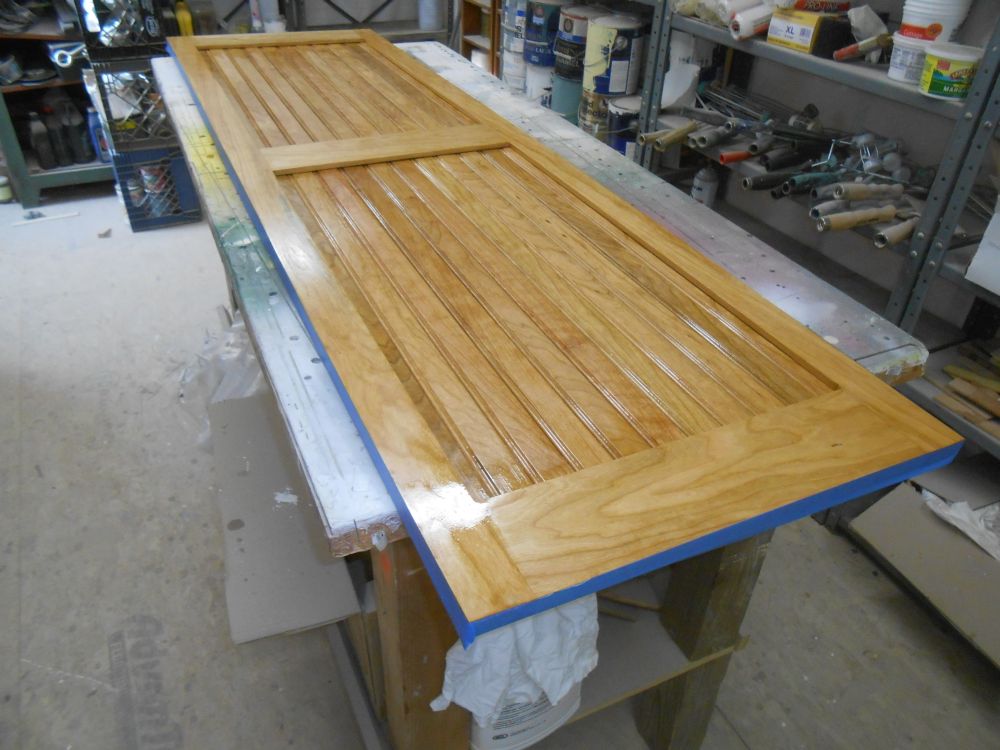
To begin, I flipped over the head door, which was completely finished on its "inside" (i.e. head) side, and applied another base coat of varnish to the "outside" (i.e. passageway) side.
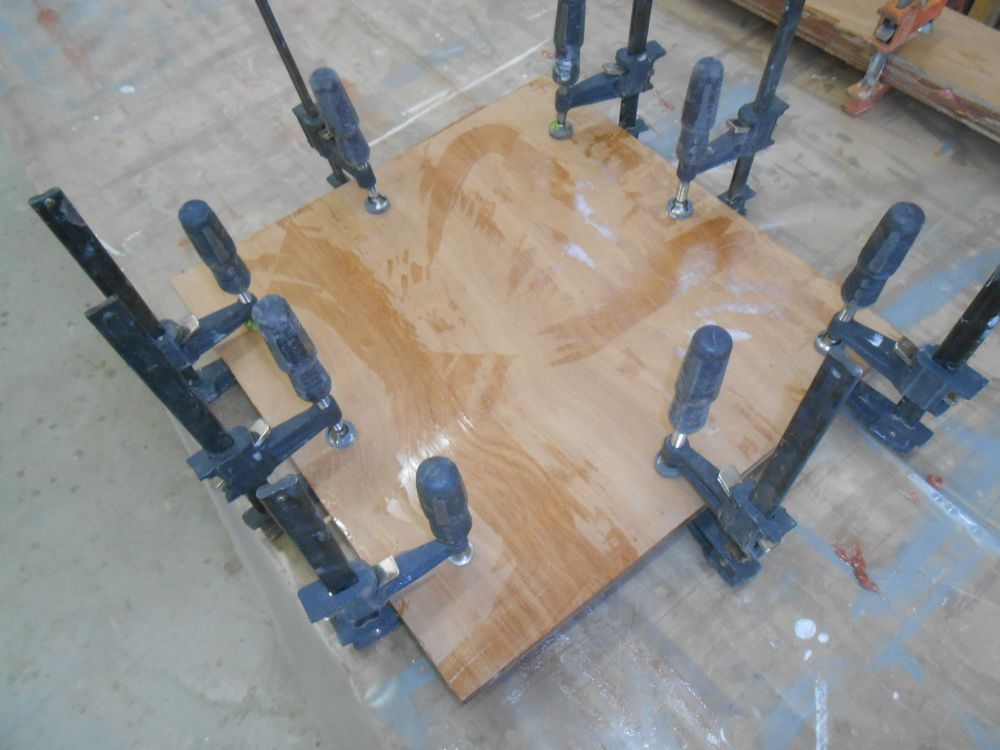
Thinking ahead to the structure required for the cabin's Sardine woodstove--which wouldn't be on hand for some time yet to come, as the castings wouldn't even go for porcelain till sometime in May--I prepared a couple slightly oversized pieces of 9mm Meranti plywood for the platform, and laminated them together to create a thicker base platform, setting the assembly aside for now.
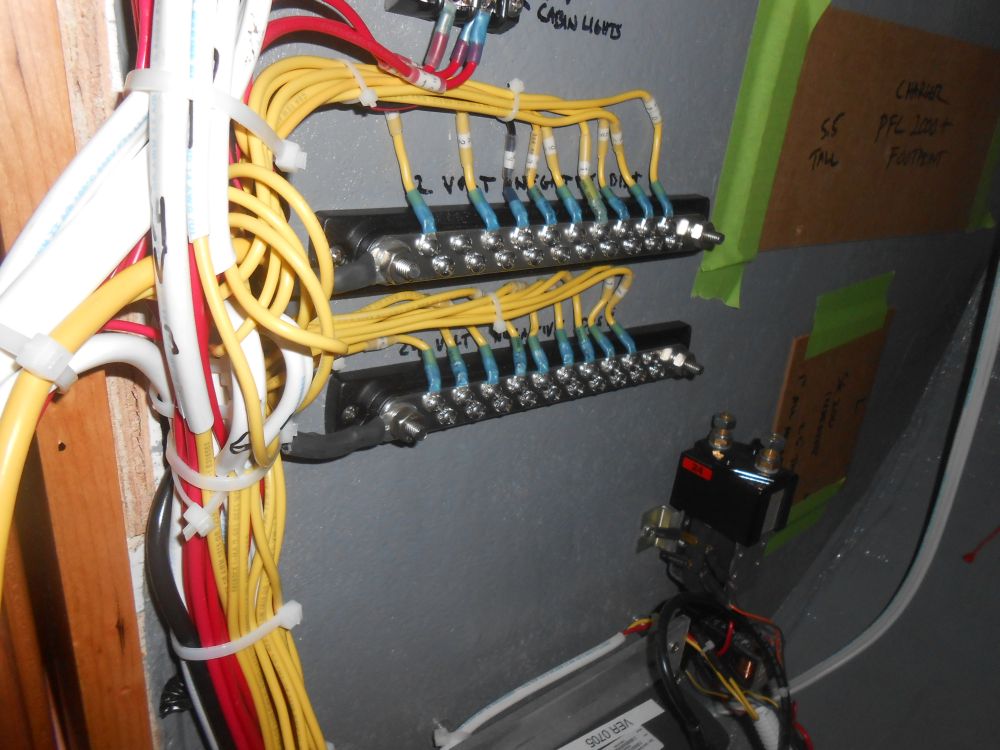
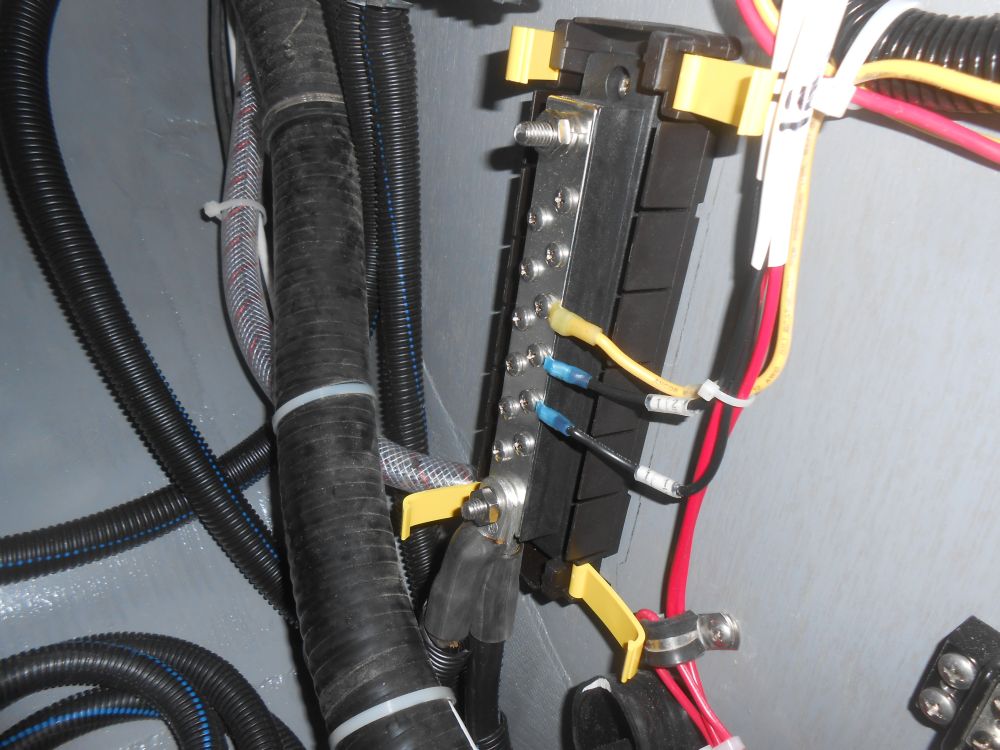
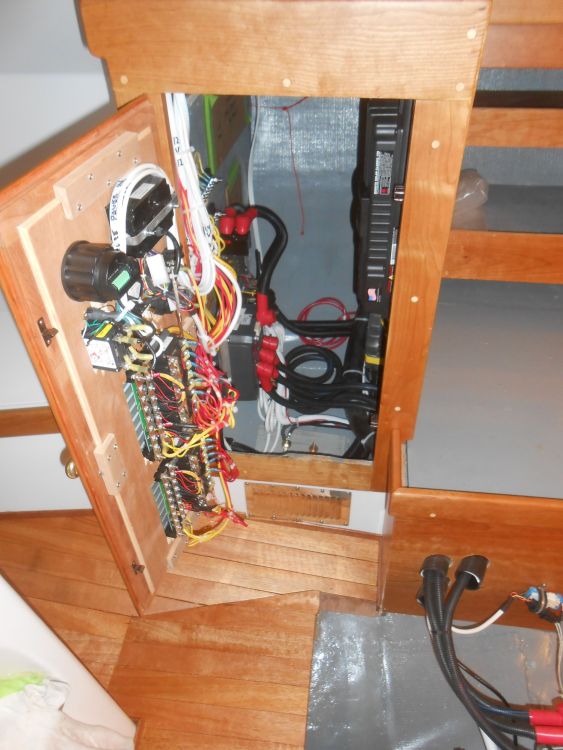
Back in wiring mode, I completed the negative side of the wiring for the 24-volt distribution system.
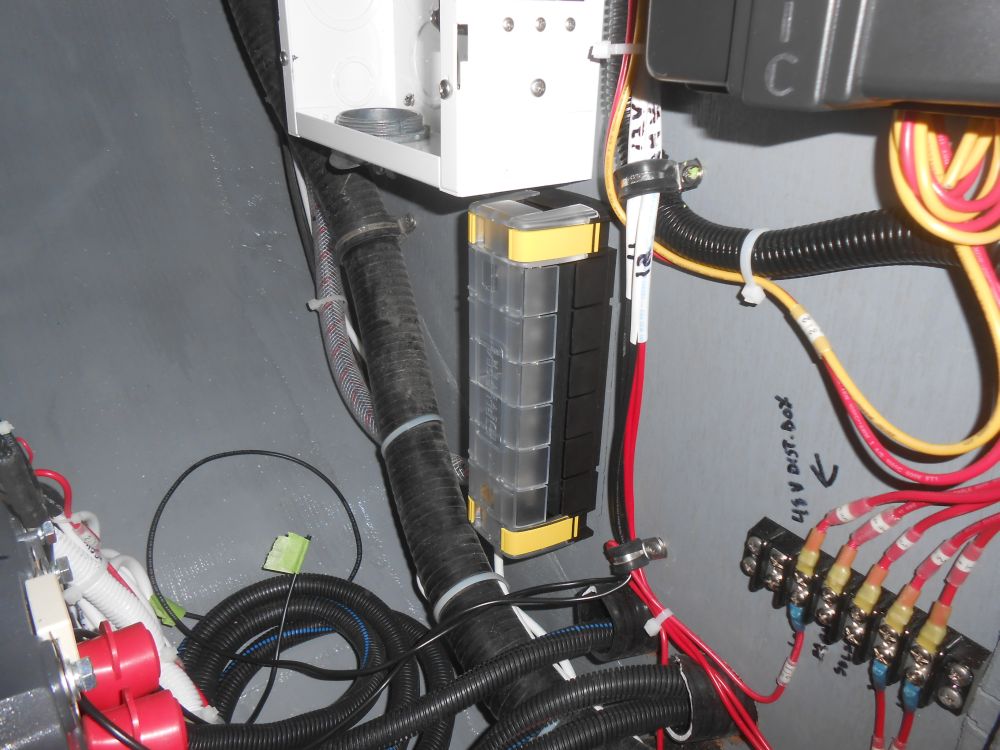
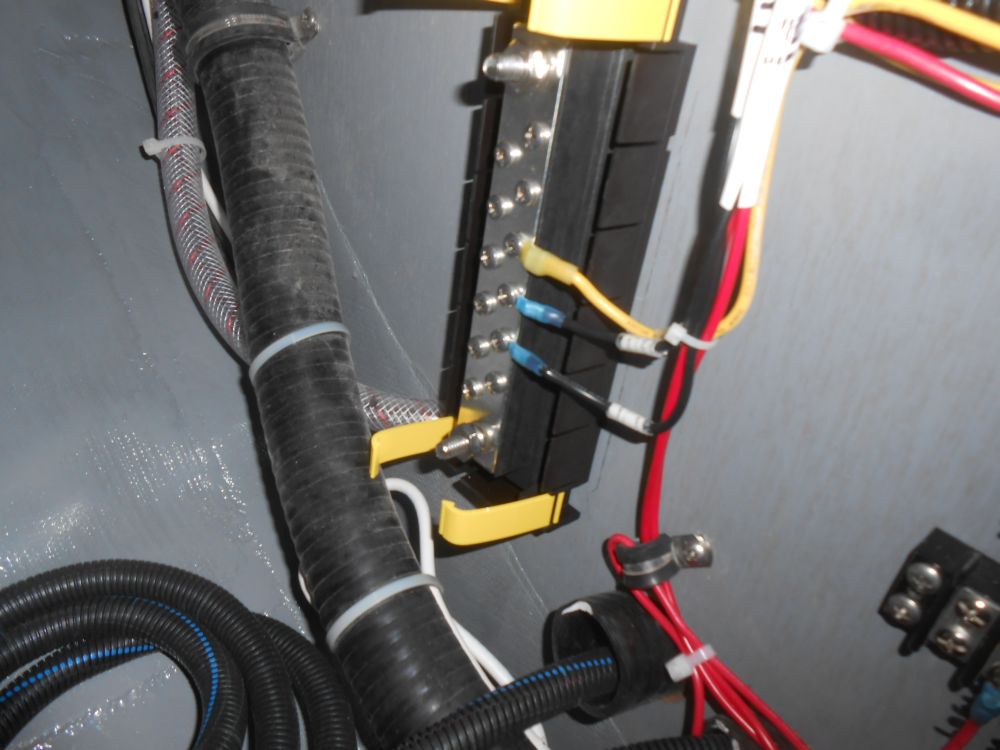
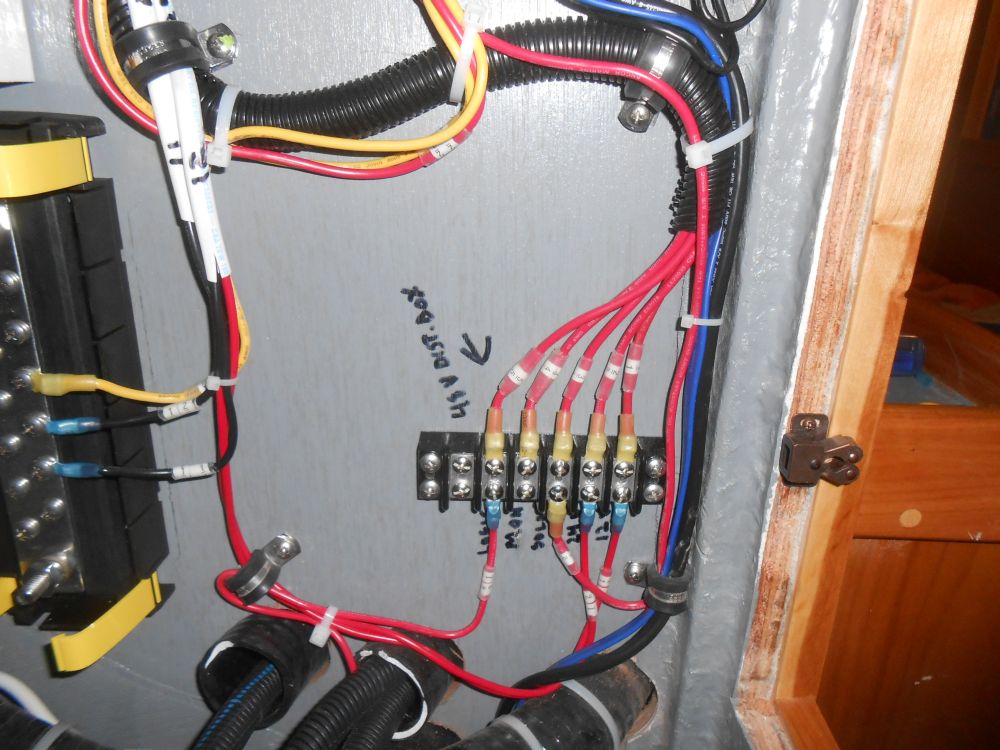
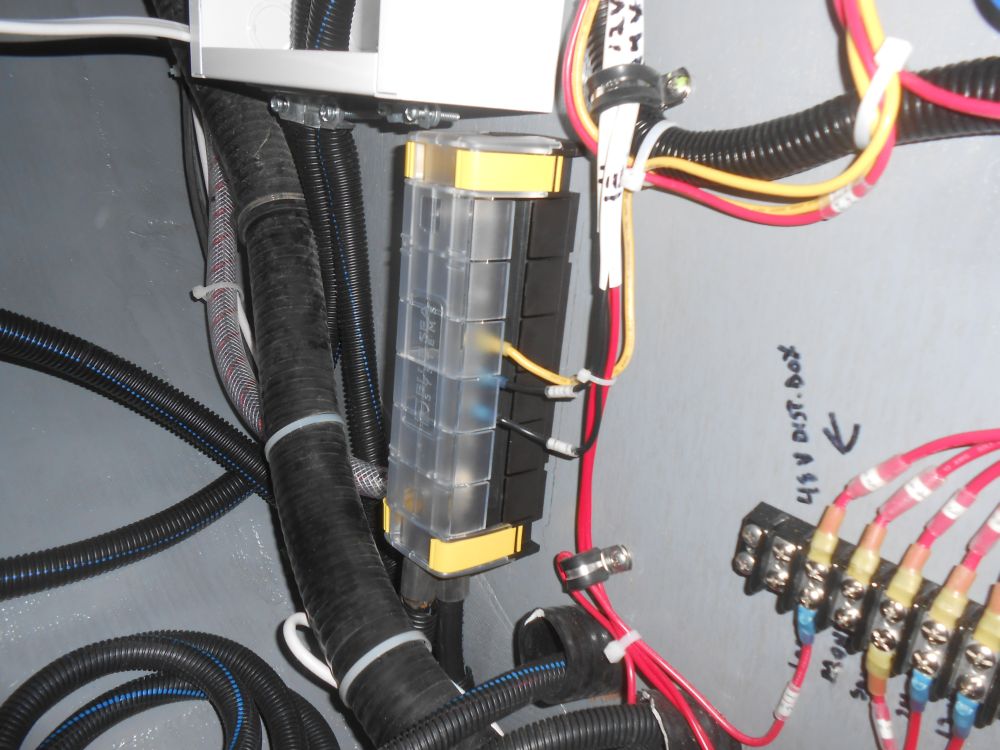
For the negative side of the main 48-volt distribution system, I installed a covered distribution buss in a convenient location just beneath the 48-volt breaker/distribution box. This buss would receive the main cable from the batteries, as well as several negative wires associated with this side of the electrical system, starting with the solar charger.
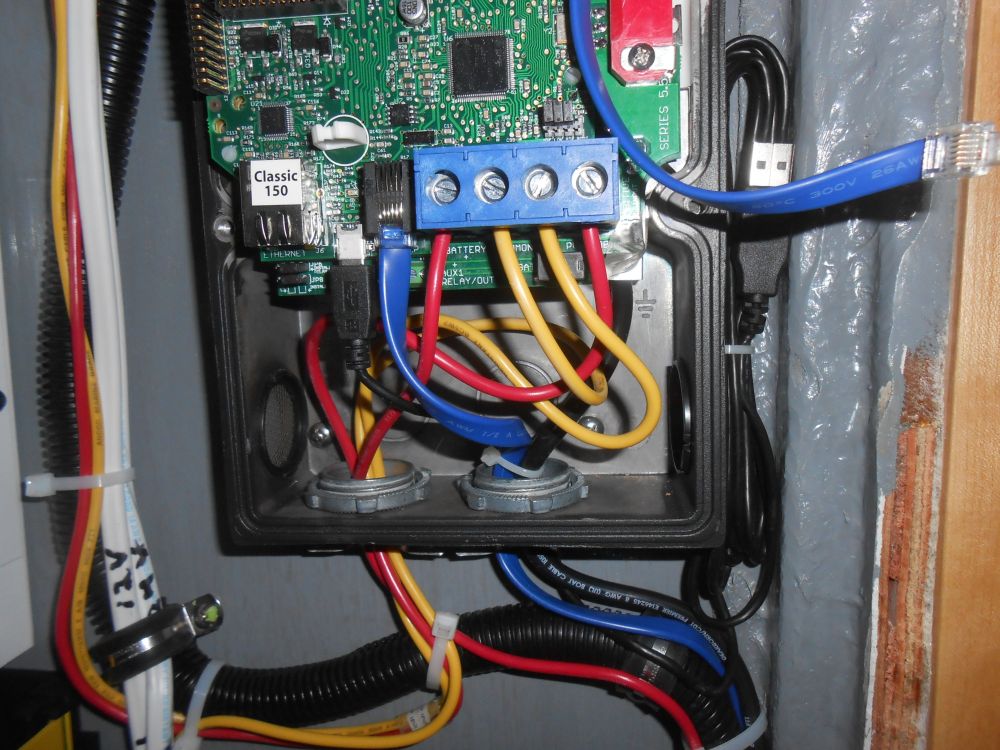
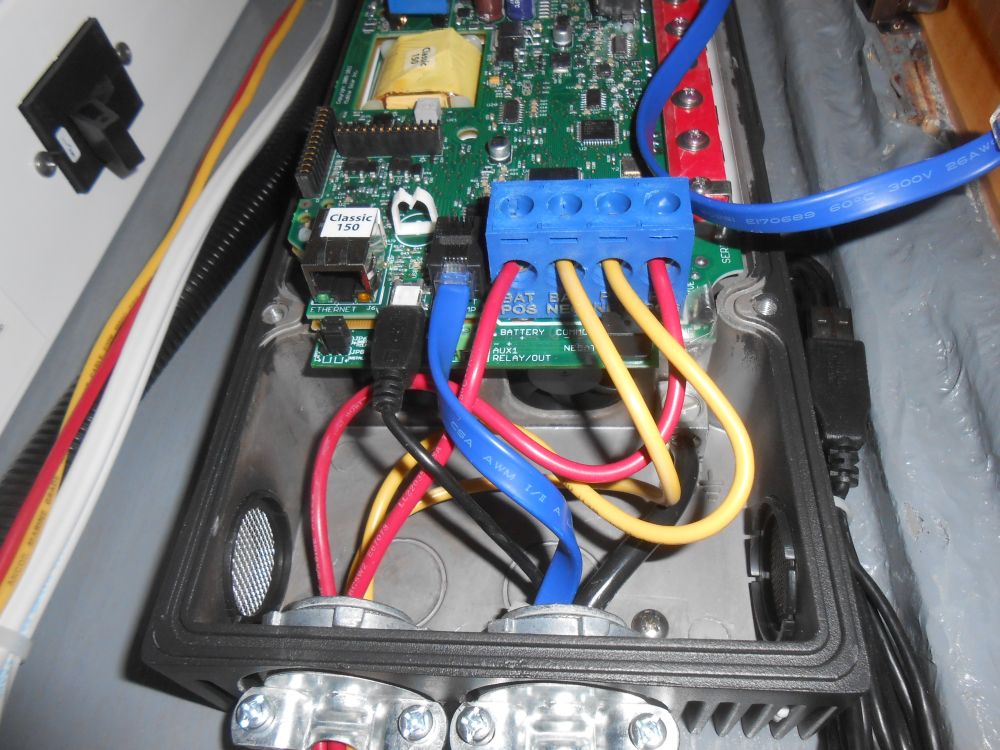
Opening the adjacent solar charger once more, I installed the wiring I'd run aft to eventually connect to the solar panel, connecting the wires to the appropriate terminals within the charger. Then, I installed the positive and negative wires to connect the charger to the electrical system, leading the negative wire to the new distribution buss; the positive wire ran down to the nearby terminal block that connected to the appropriate circuit breaker in the 48-volt box. Meanwhile, I connected a ground wire to ground the charger box to the main vessel ground (Dynaplate), plus the included battery temperature sensor (blue wire) and a USB cable. Afterwards, I secured the cover to the solar charger once more.
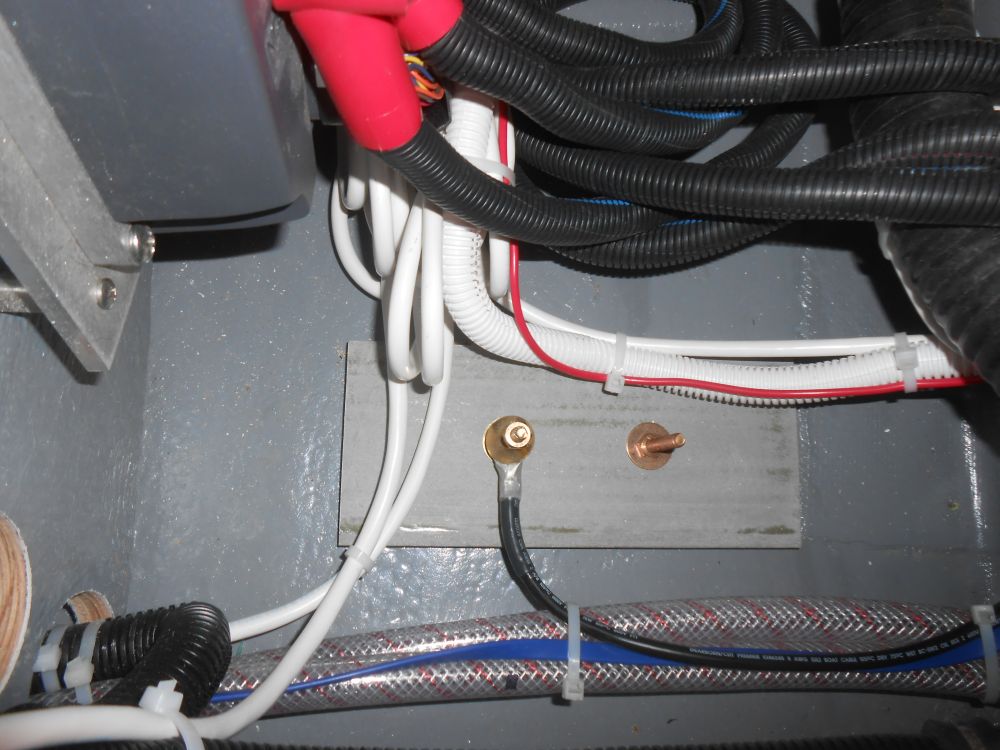
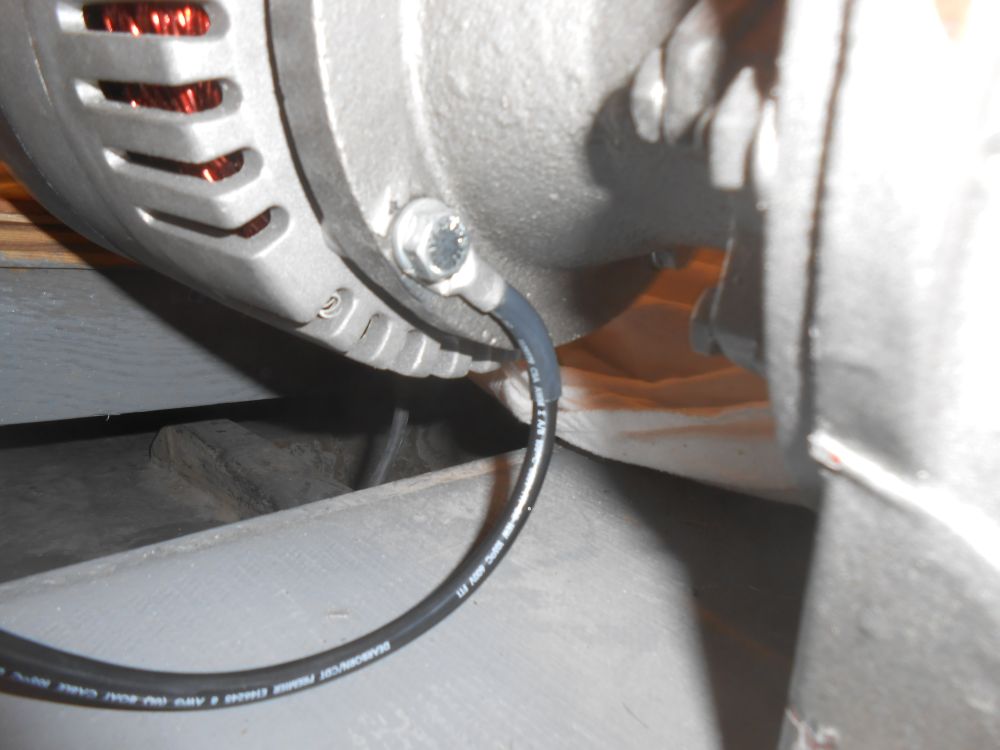
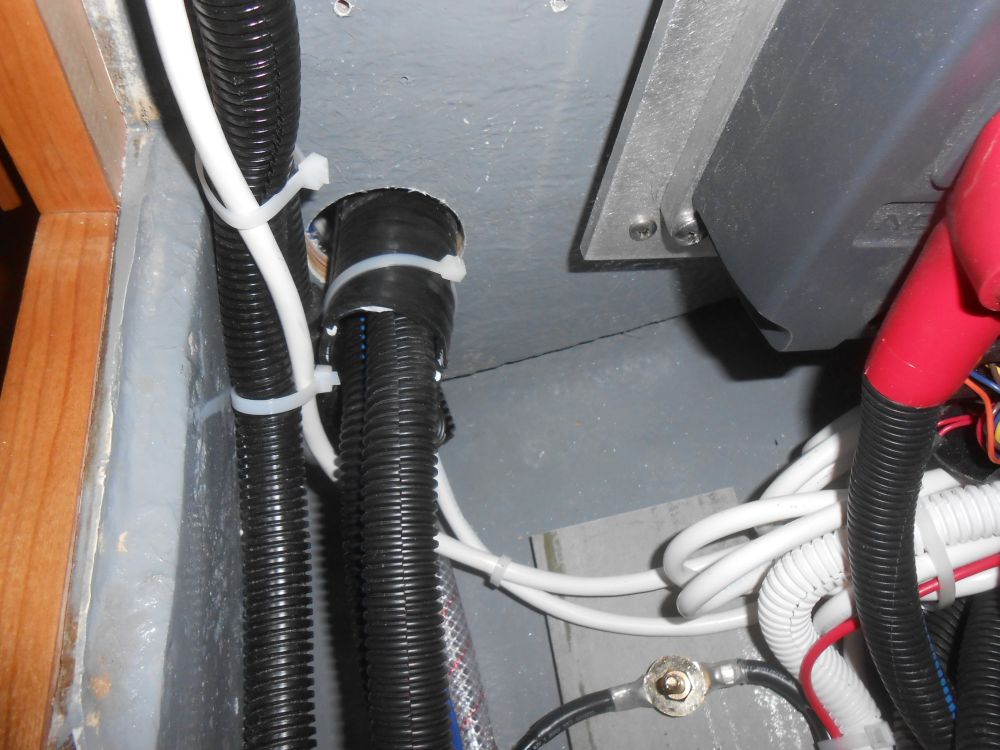
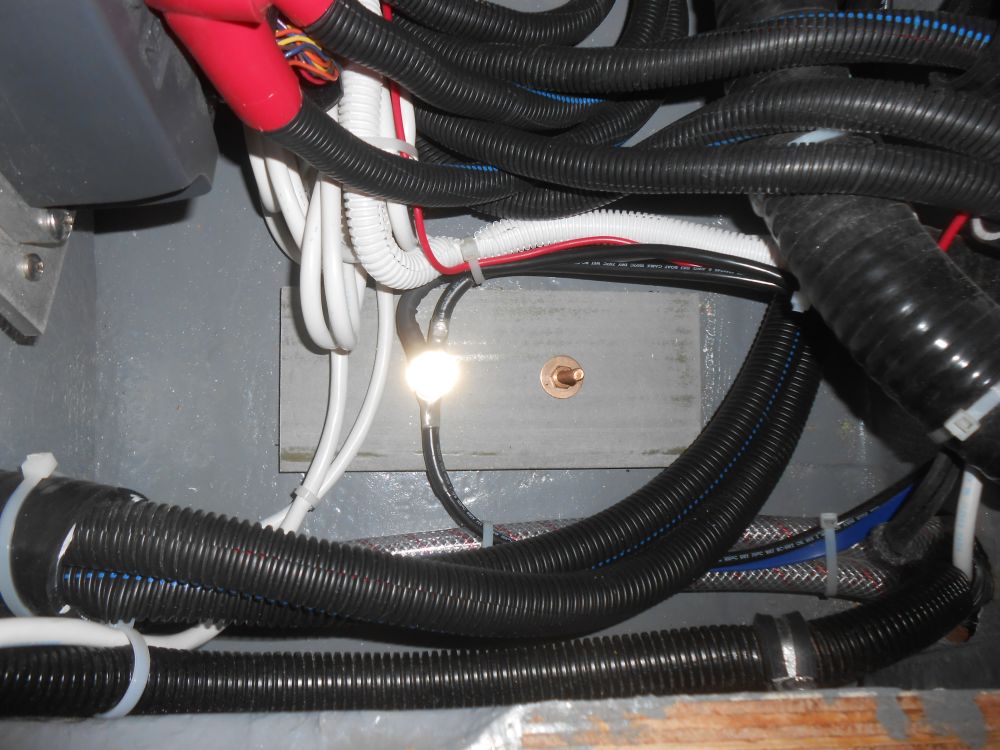
I ran an additional ground cable from the Dynaplate to the electric motor, where I secured it to one of the mounting bolts.
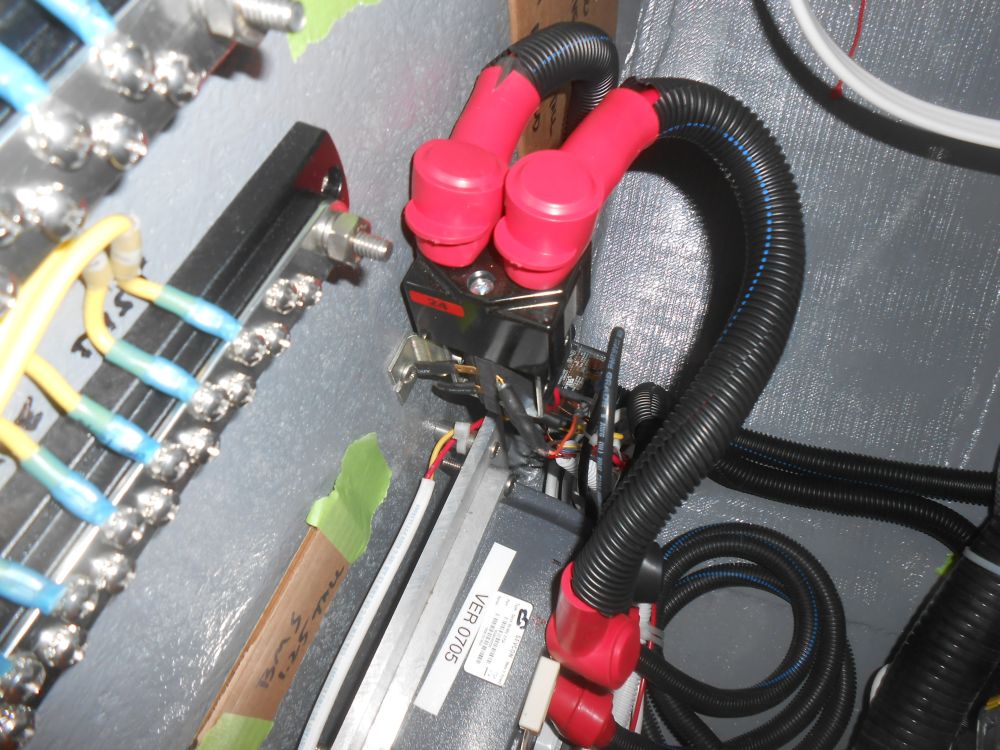
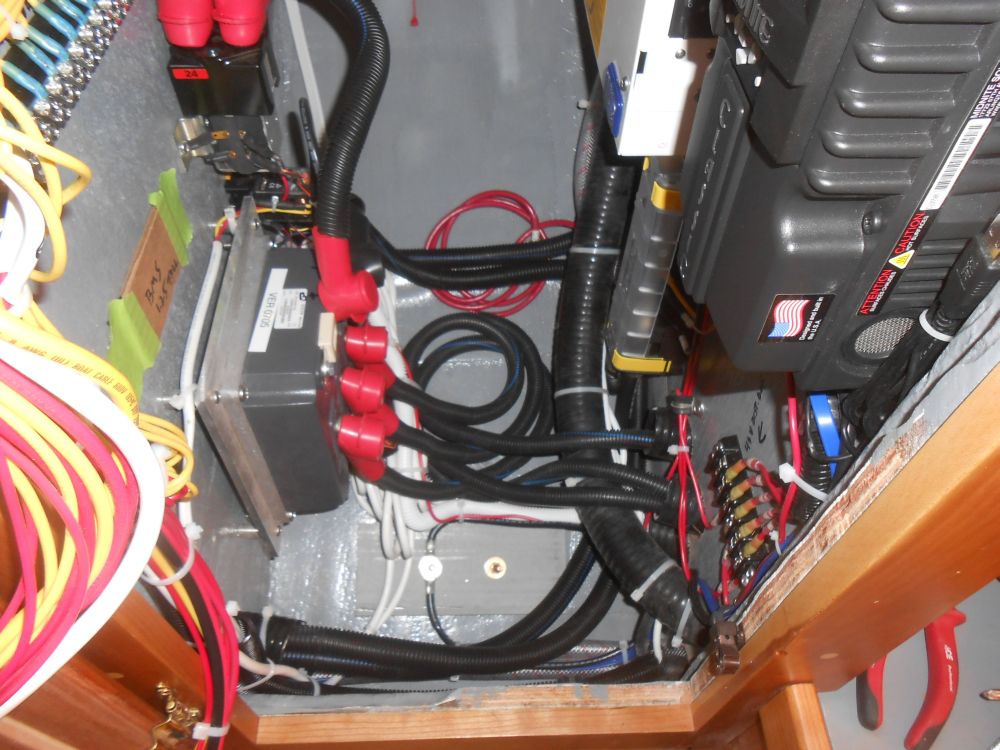
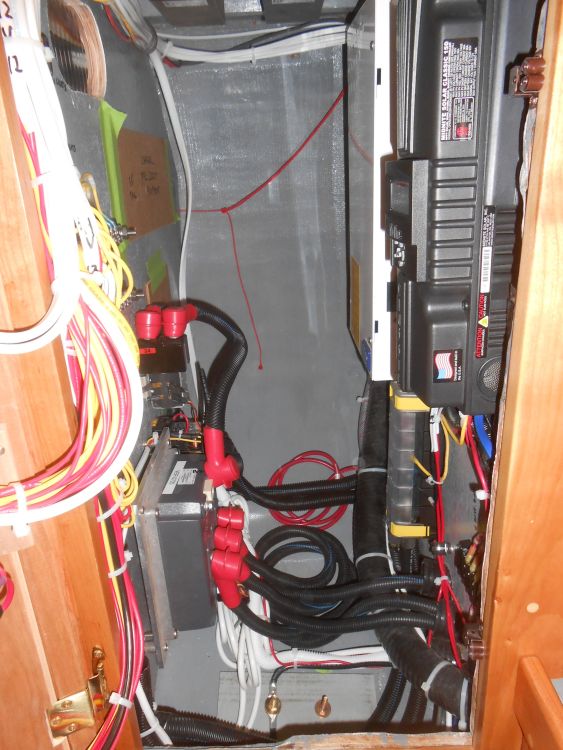
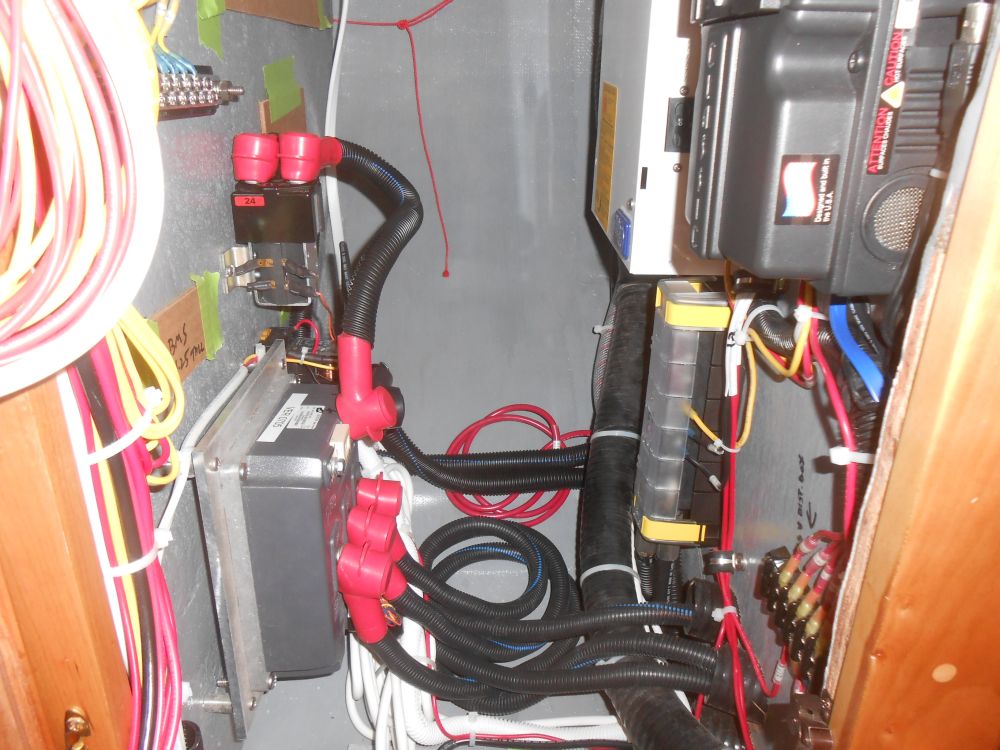
Next, I measured for and made up the two longest battery cables, leading from the eventual battery compartment beneath the cockpit, through the space beneath the quarterberth, and into the electrical locker. Made from 2/0 cable, I crimped the terminal ends and protected them with adhesive heatshrink and, according to the motor installation manual, installed split loom over the entire cable lengths for additional protection.
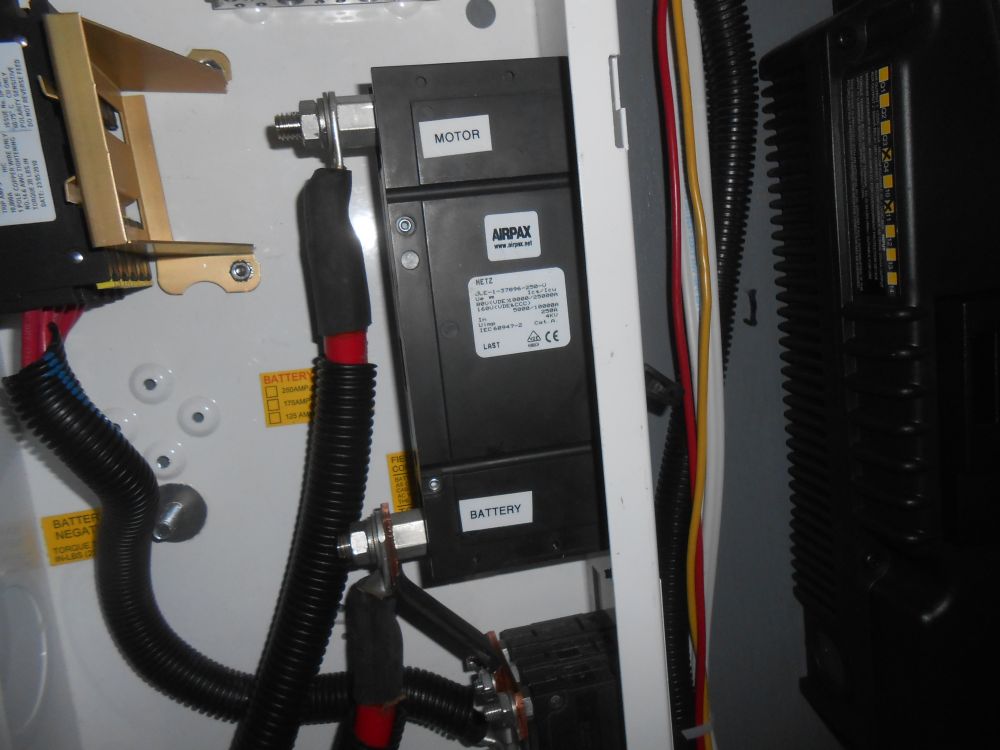
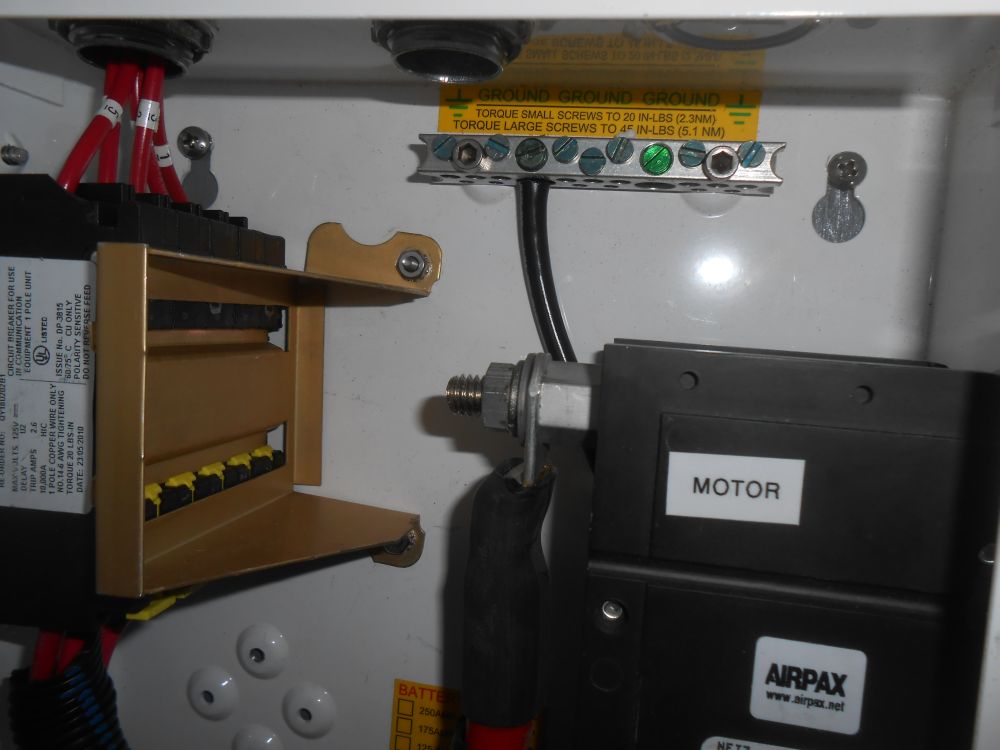
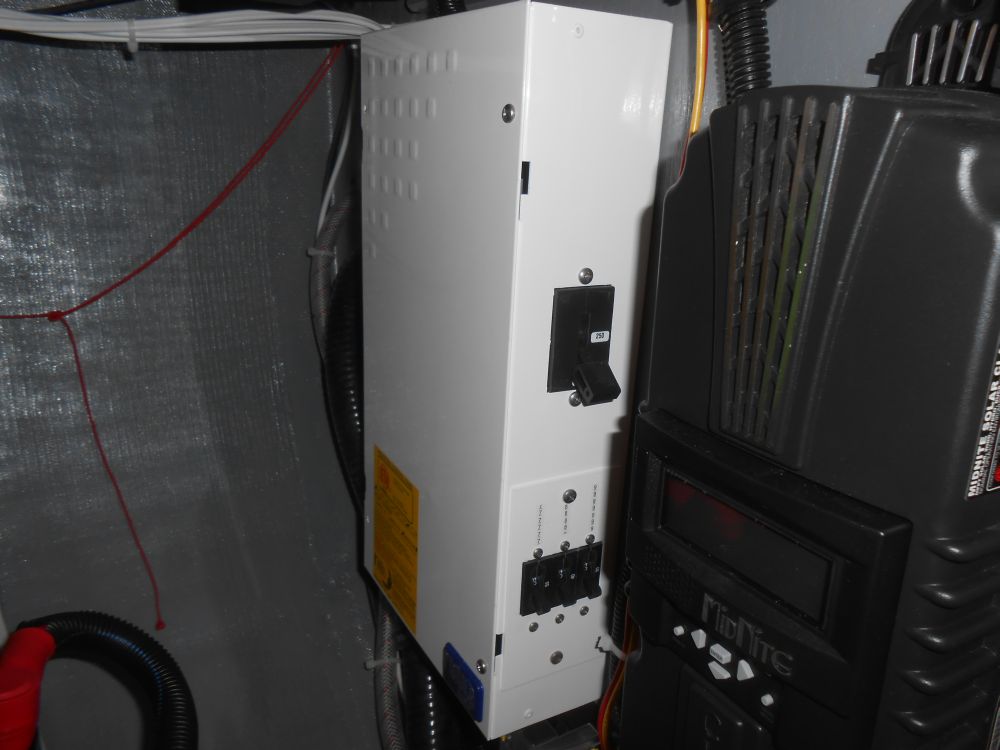
Inside the locker, I secured the positive cable to the appropriate terminal of the main 48-volt, 250-Amp circuit breaker, and the negative to the distribution buss beneath. Then I made up additional lengths of cable to interconnect the circuit breaker and motor controller, by way of the contactor, all according to the wiring diagram, plus an additional length of black cable between the negative buss and the negative terminal on the controller. Where the cables were secured outside of a covered box, I added terminal boots.
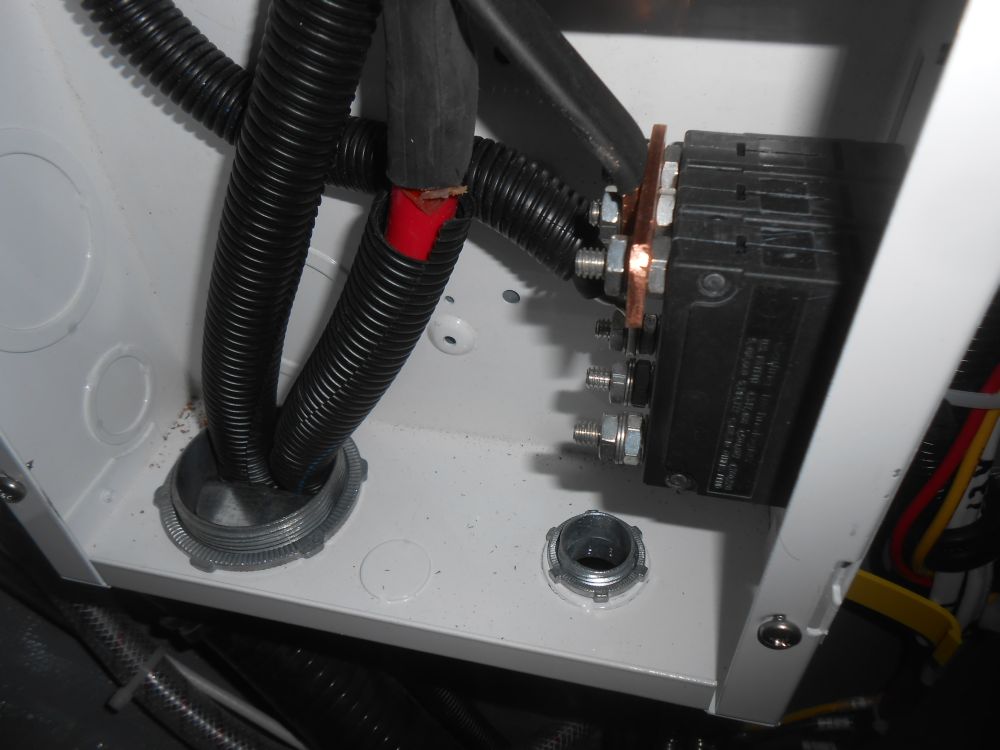

Two connections within the 48-volt box remained, and I turned to these next. First, I ran a ground wire from the grounding terminal within the box to the main ground at the Dynaplate.
For the yet-to-come shore power charger, I installed a length of large cable to the appropriate circuit breaker within the panel and ran it out, leaving excess cable outside the box to later run to the charger when it arrived sometime later.

This completed the wiring within the main box, so I reinstalled the cover for now, securing it with its hinges on one side and two screws on the other.
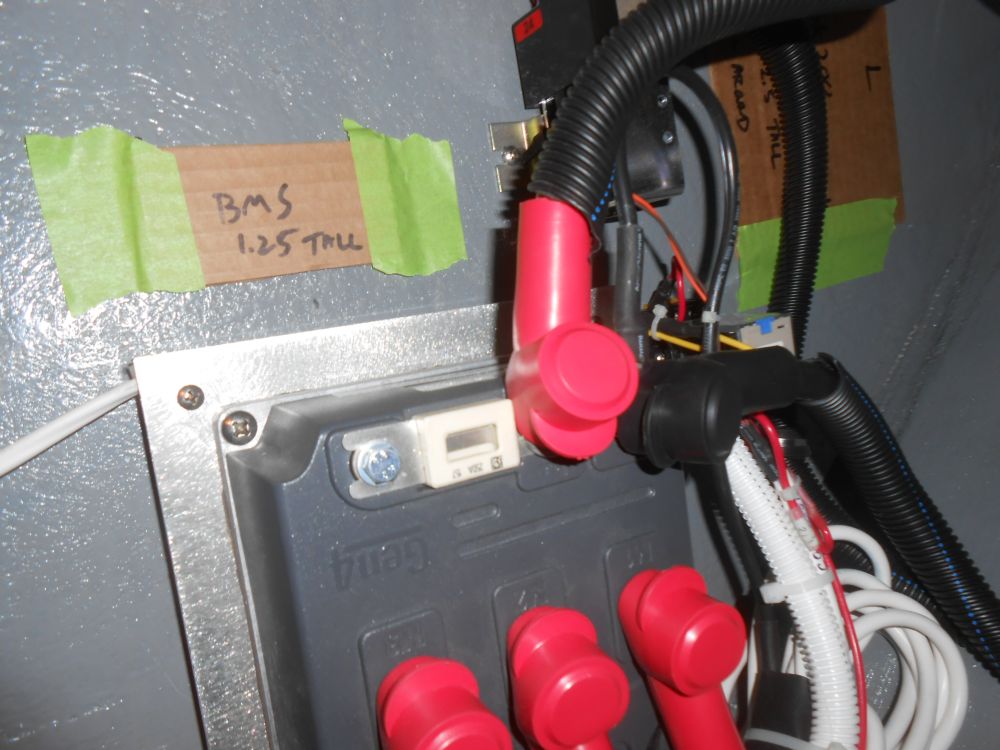
At the battery end of the cables, a few connections remained, including a switch, fuse, and shunt, but I'd take care of those another time. For now, with the main wiring chores within the electrical locker complete--at least for the components I had on hand--I cleaned up from the week's wiring efforts to prepare for the next tasks ahead.
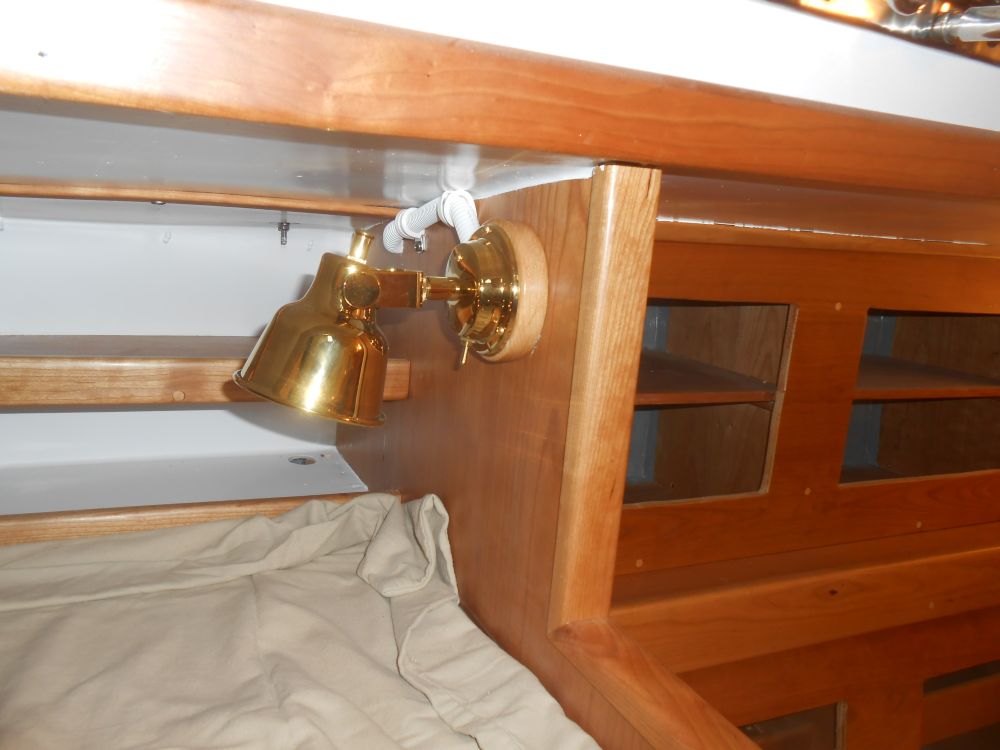
Finally, I replaced the temporary screws in the nav station lamp with new brass ones.
Total Time on This Job Today: 8.25 hours
