
110 Cookson Lane | Whitefield, ME 04353 | 207-232-7600 | tim@lackeysailing.com
Snow Lily | Monday, March 25, 2013
Over the weekend, I applied a coat of satin varnish to the back side of the head door, completing that side. I'd give it a day or so before flipping the door to complete the varnish on the outer side. I also finished up the varnish on the little trim ring I'd built for the nav station light.


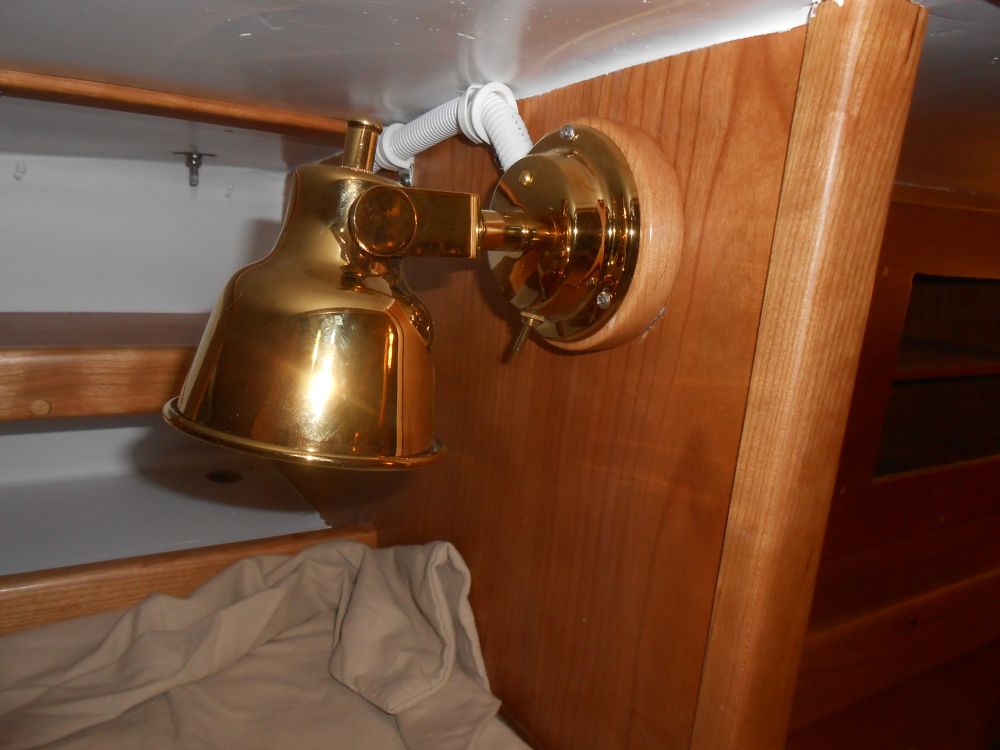
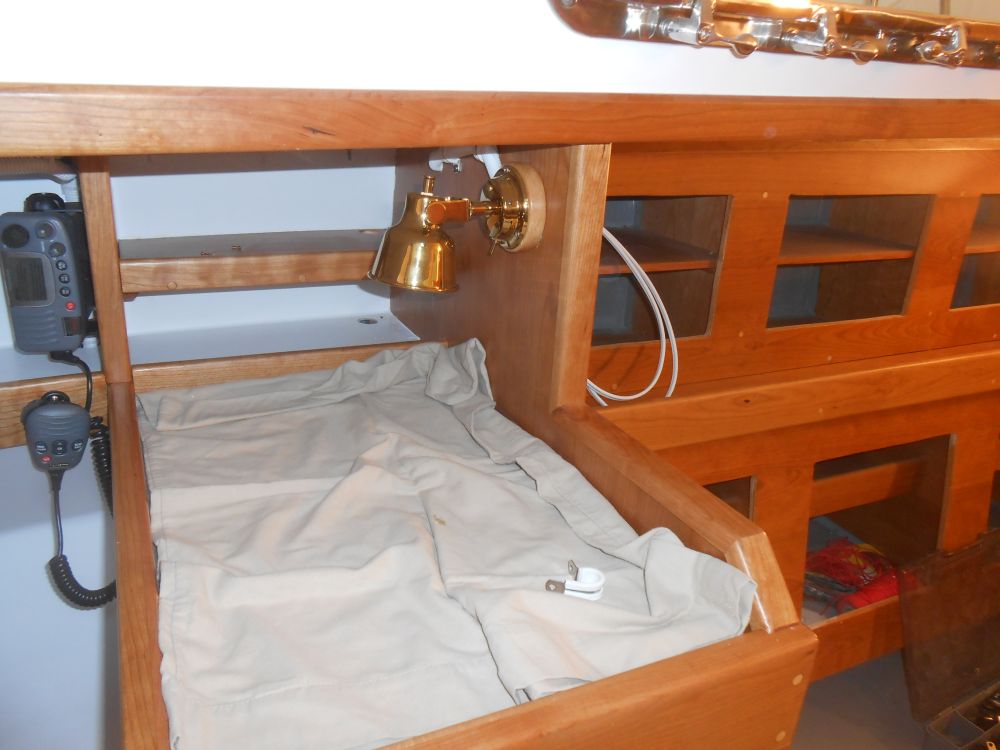
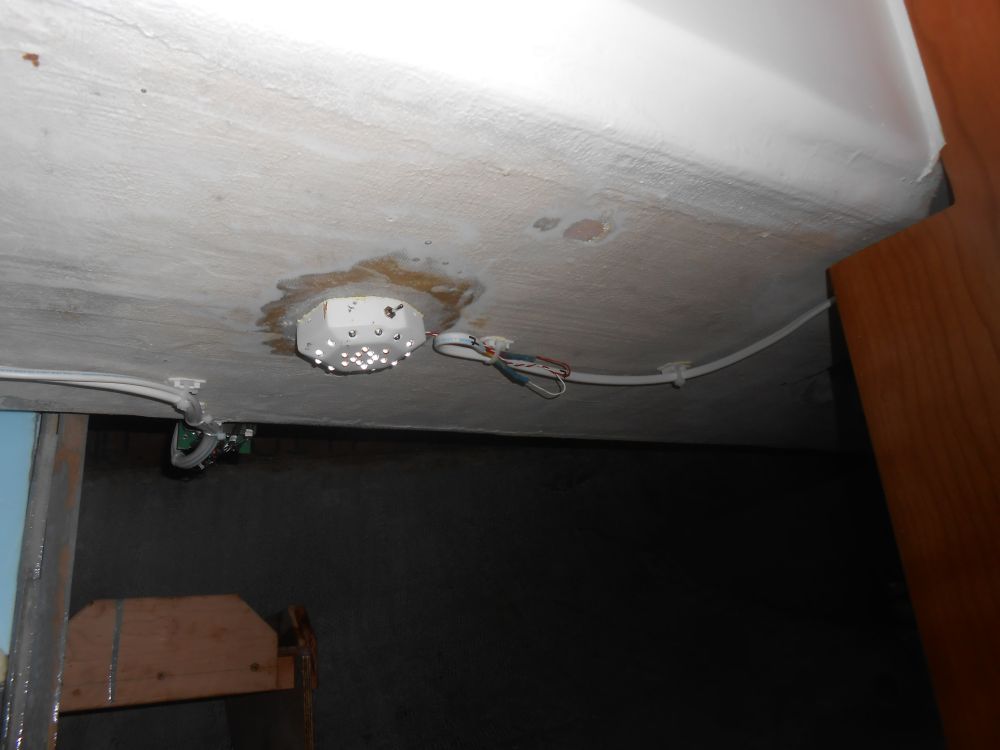
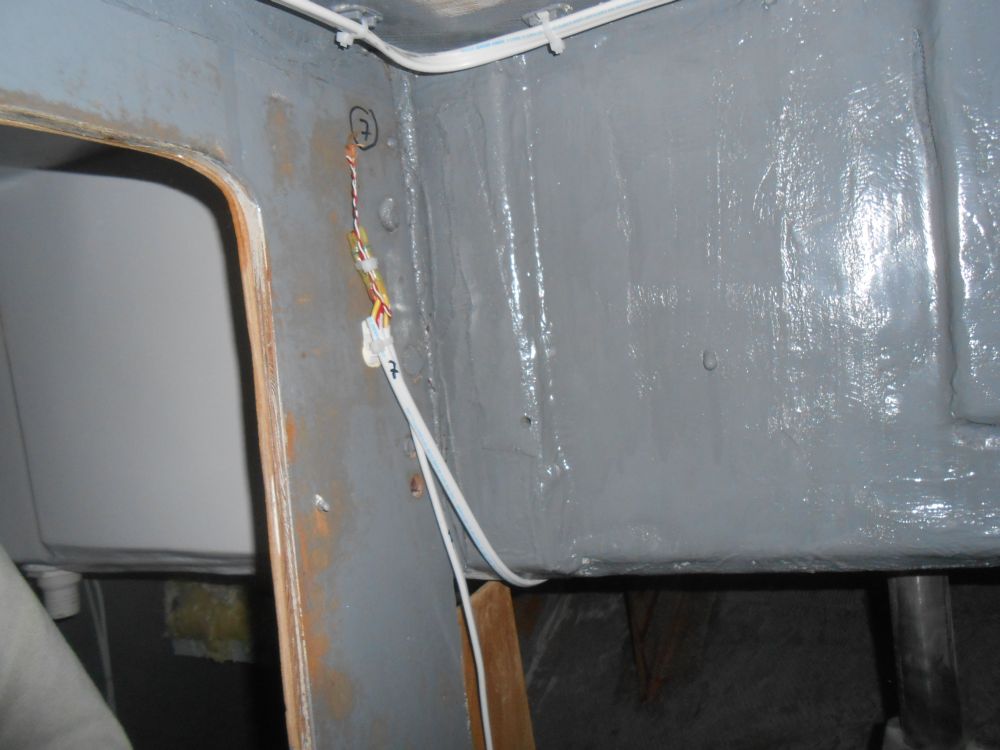
I began the day's wiring by making up several connections to complete various circuits, including the forward running lights, quarterberth and battery compartment lights, and hanging the nav station fixture with its new trim ring. I used temporary stainless screws to secure the lamp since I didn't have long enough brass ones on hand, but would replace those when I received the new screws.
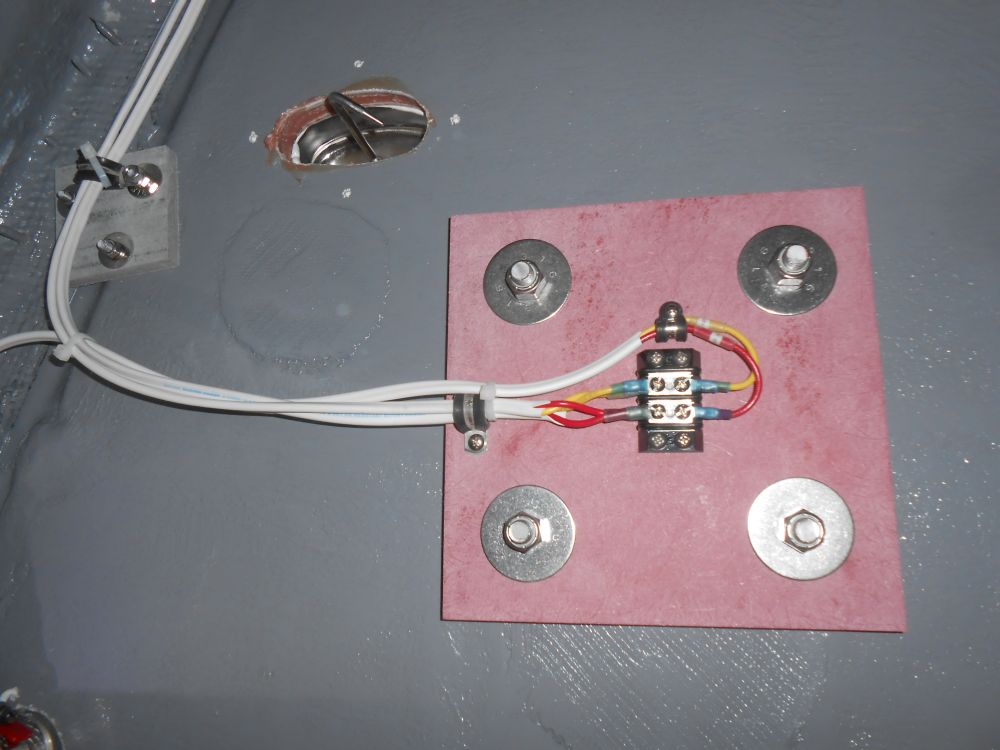
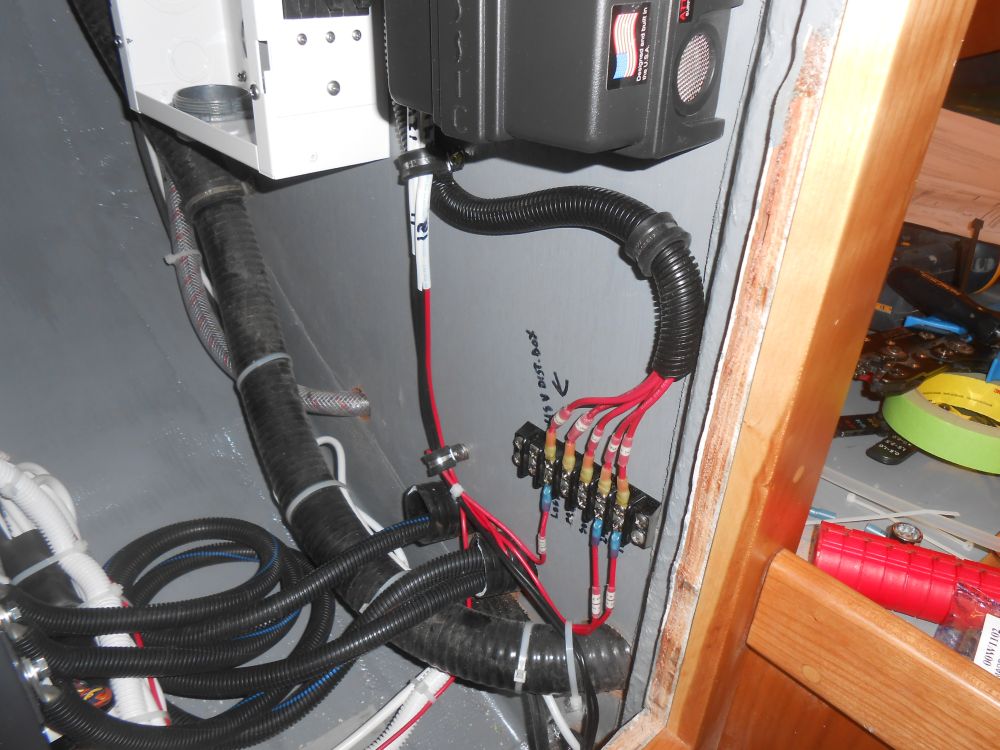
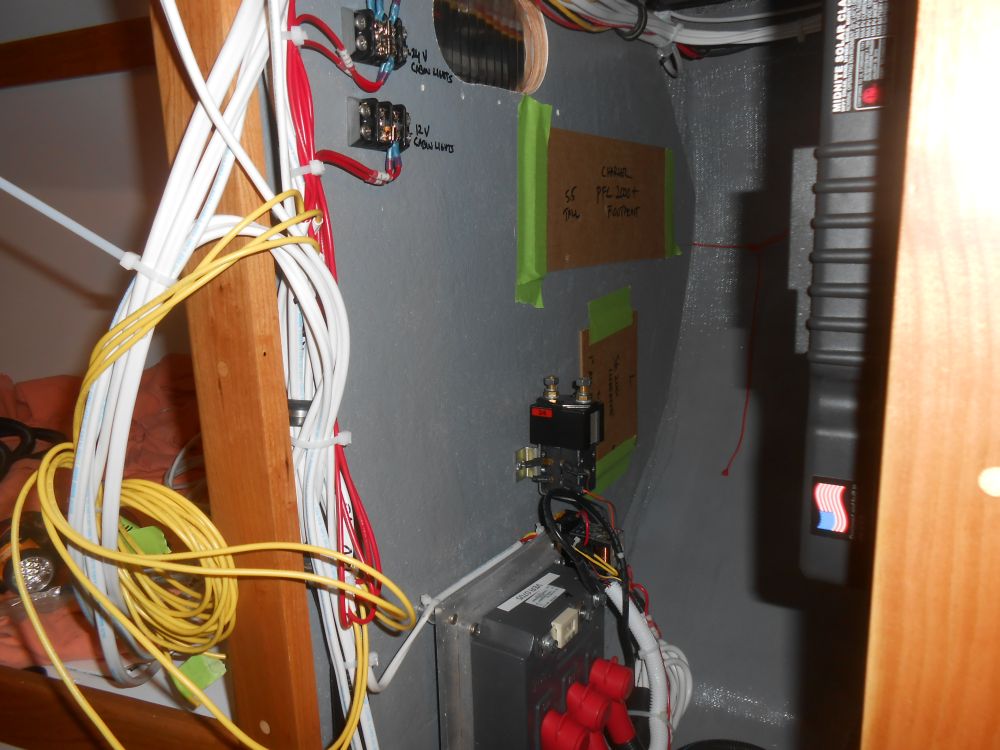
In the electrical locker, I led the wiring harness from the 48-volt distribution box to its final location, which I eventually determined would be an open space on the lower forward part of the compartment where it was easily accessible. I led the input wires for the two DC/DC converters down along with the wiring harness, as these would be connected to the terminal block.
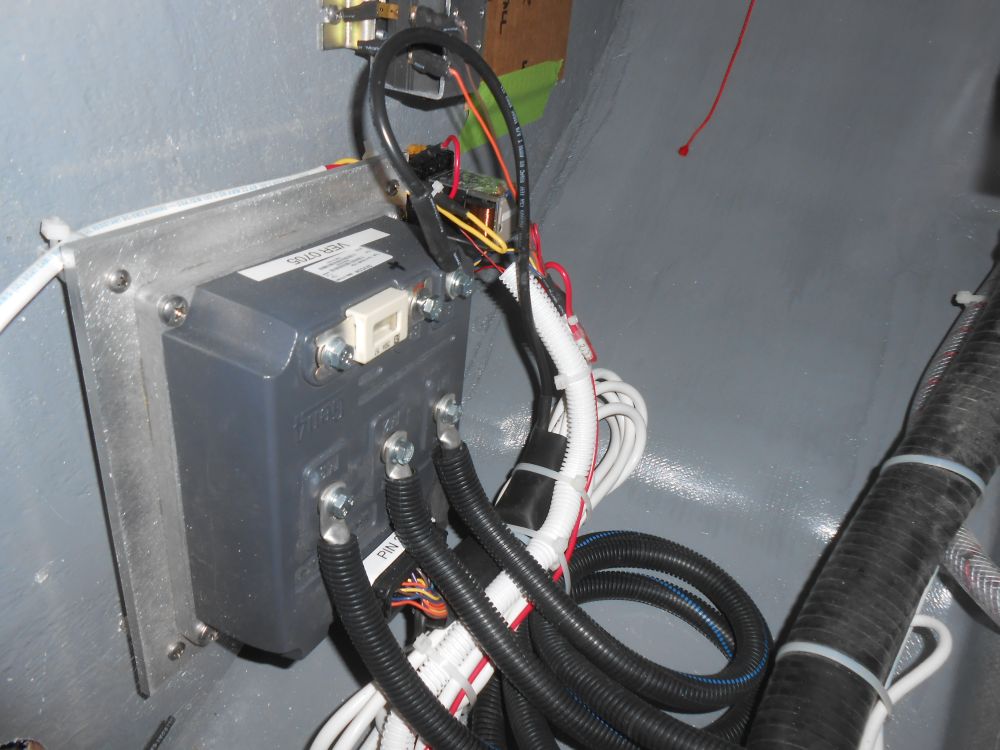
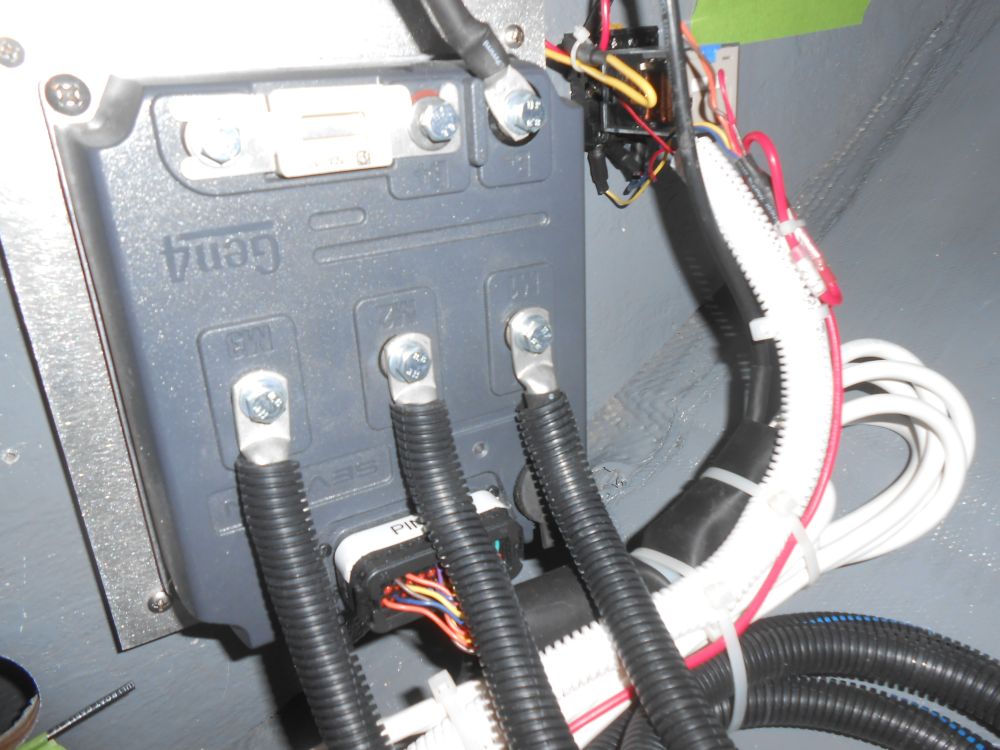
Meanwhile, I connected three main cables leading from the engine, securing them to the appropriate lugs on the motor controller. After installing them, I realized I'd forgotten the protective boots, so I removed each cable and installed the boot.

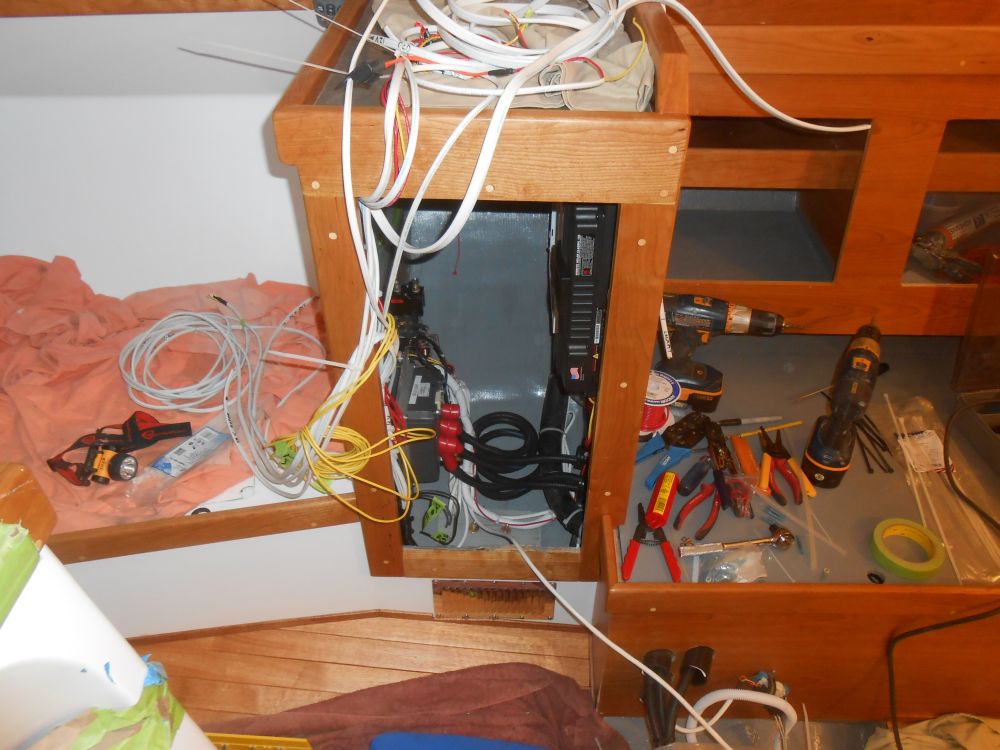
Next, I worked on the beginnings of some wiring organization within the locker; though I'd need to hang the locker door soon in order to make up various connections, I wanted to get as much done within the locker as possible before the door started getting in the way. Now that all the wiring runs for the interior lighting and other components were complete, I could lead all the wires along predetermined runs towards the inboard side (hereinafter called the "front") of the locker, securing the wires as needed along the way.
From here, I separated the 24-volt and 12-volt leads, and further segregated the various circuits for the cabin lights, both 24-and 12-volt; for the moment I made the assumption that we'd eventually end up with 12-volt fixtures in the forward cabin and port settee, as discussed earlier, though it'd be easy to combine all circuits into the 24-volt side of things if those fixtures did eventually become available.
A shipping snafu from my supplier had left me without two distribution busses I needed for the negative distribution for the house circuits--the items I needed would be here in another day--but to continue the wiring work for now I installed two terminal blocks--one each for 24- and 12-volt--at which I could combine all the lighting circuits before leading a single wire to the circuit breaker later, and led the positive lighting wires to these terminals. I labeled and set aside the negative leads till I could secure them to the negative distribution busses later.

Total Time on This Job Today: 8.5 hours
