
110 Cookson Lane | Whitefield, ME 04353 | 207-232-7600 | tim@lackeysailing.com
Snow Lily | Tuesday, March 19, 2013
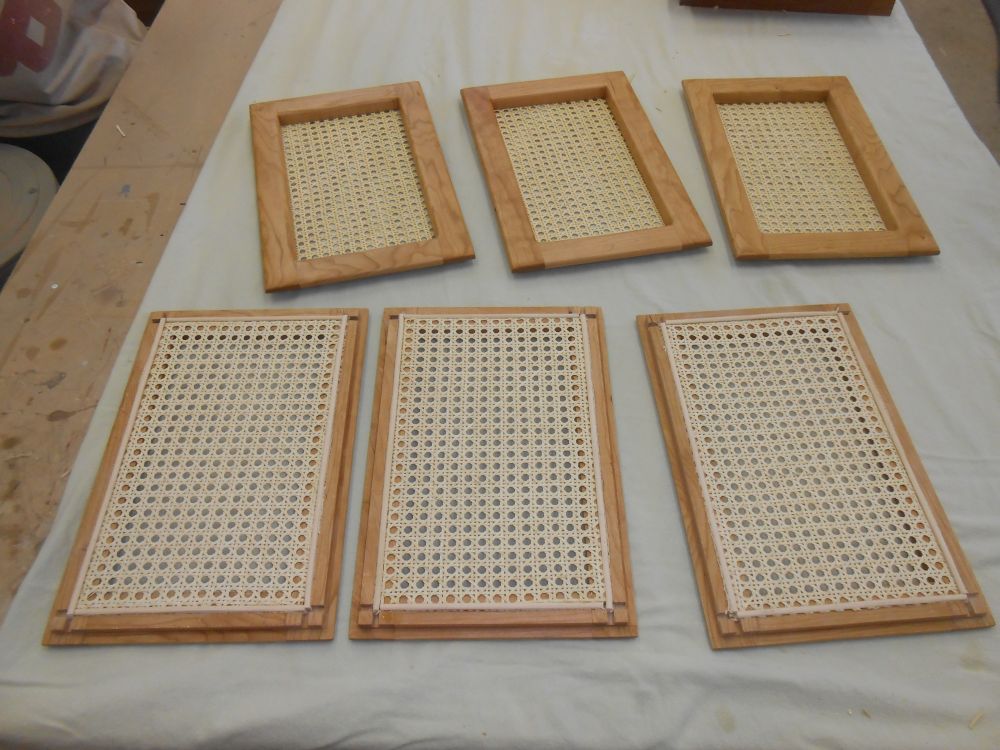
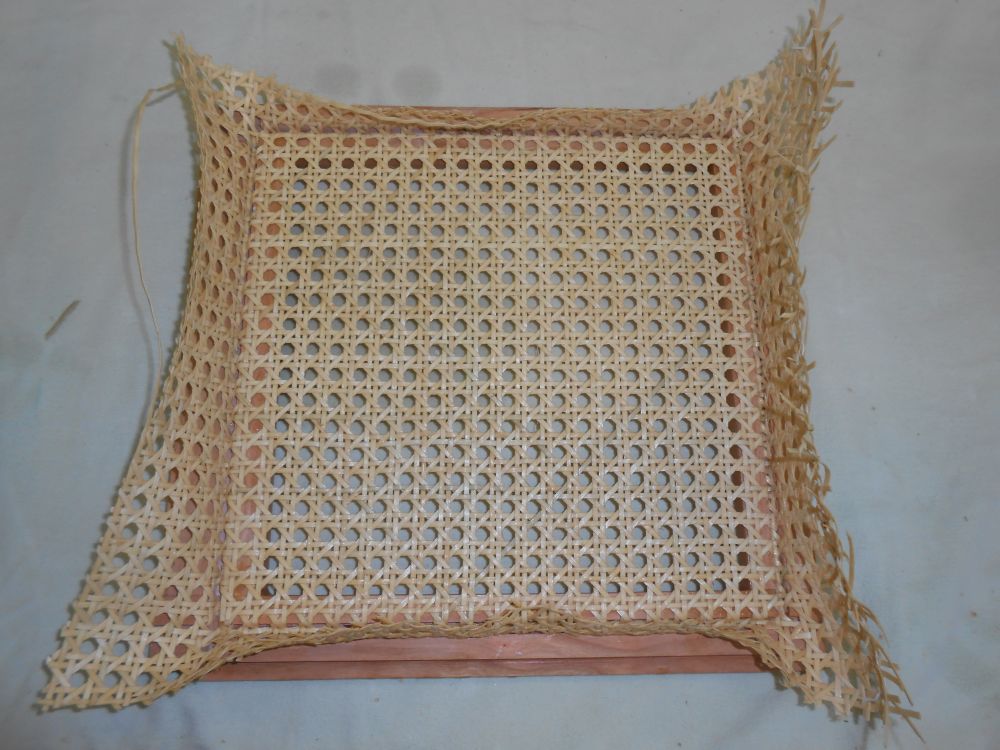
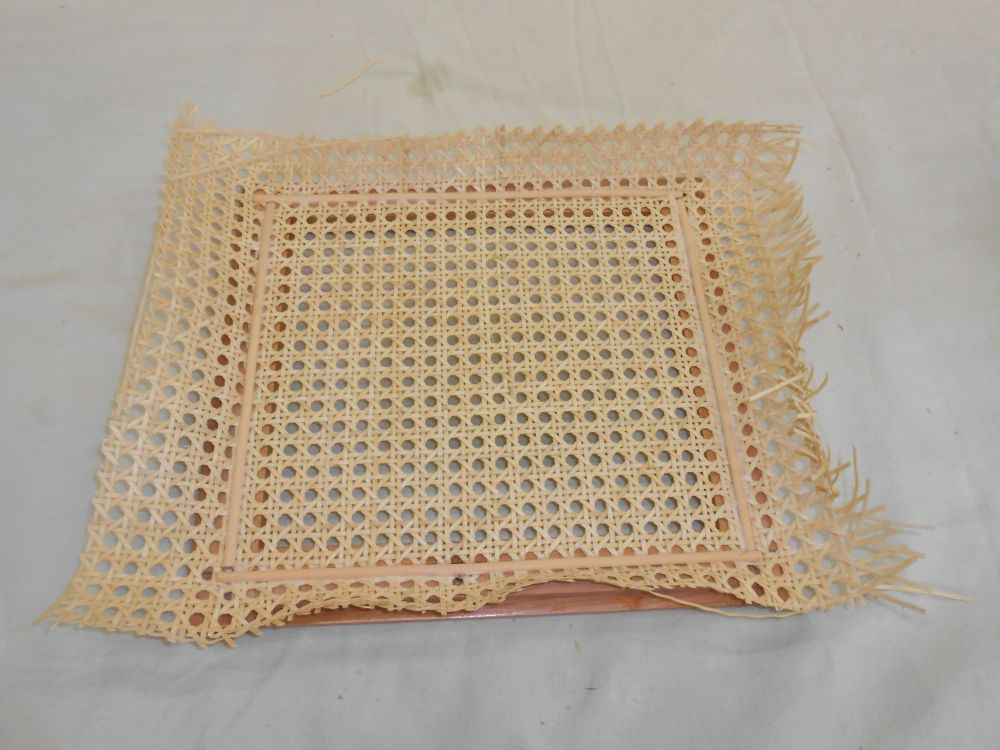
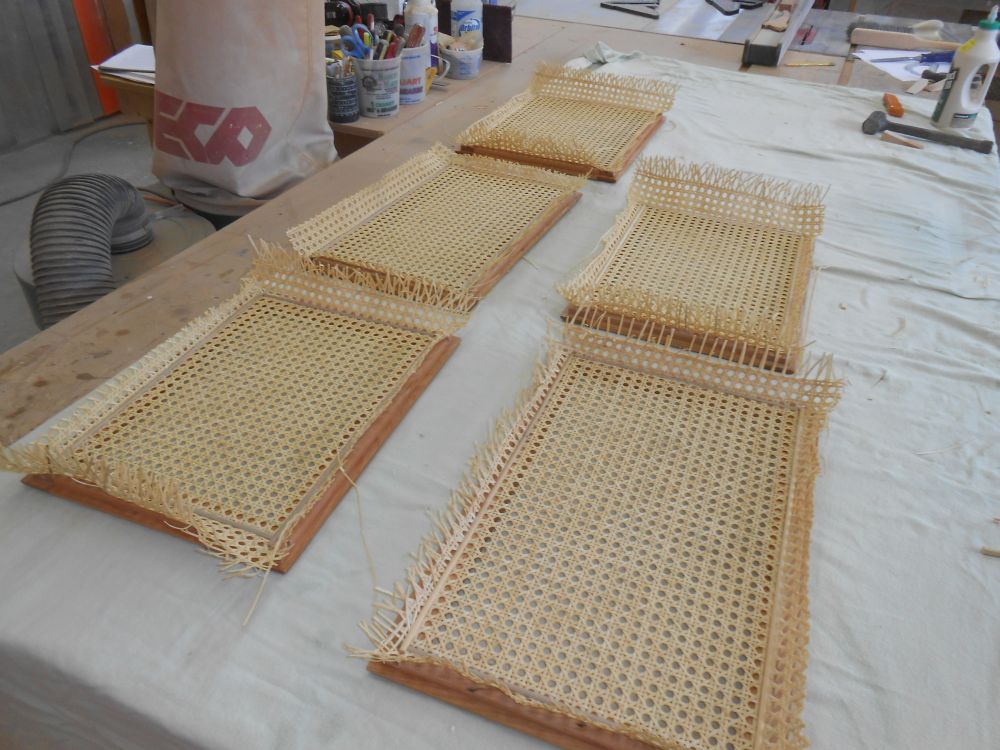
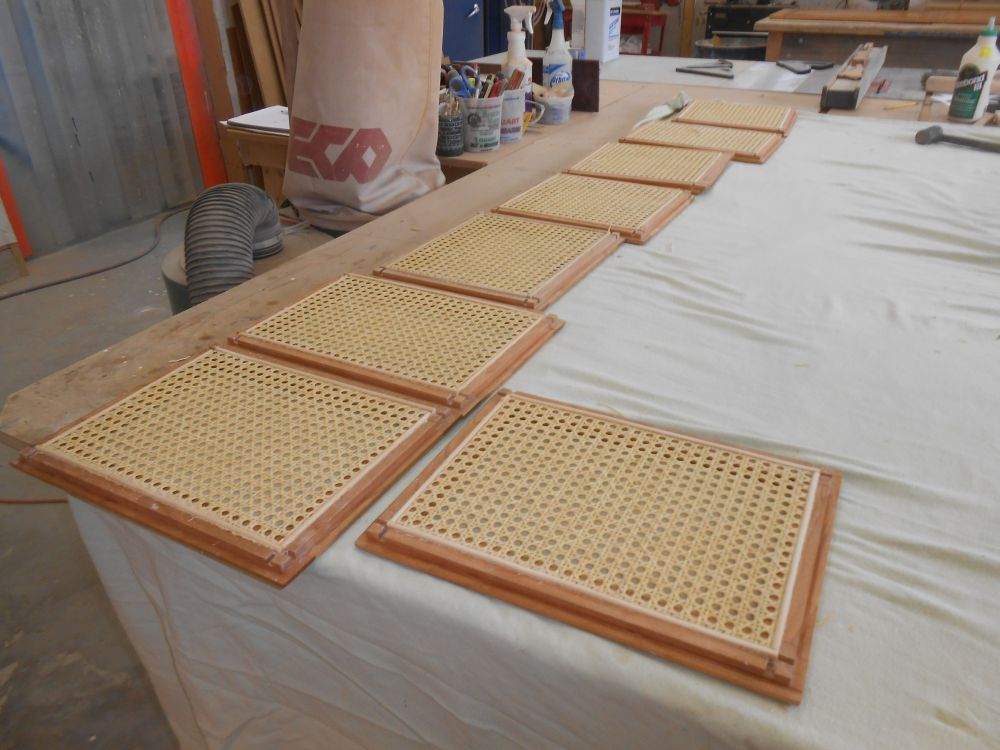
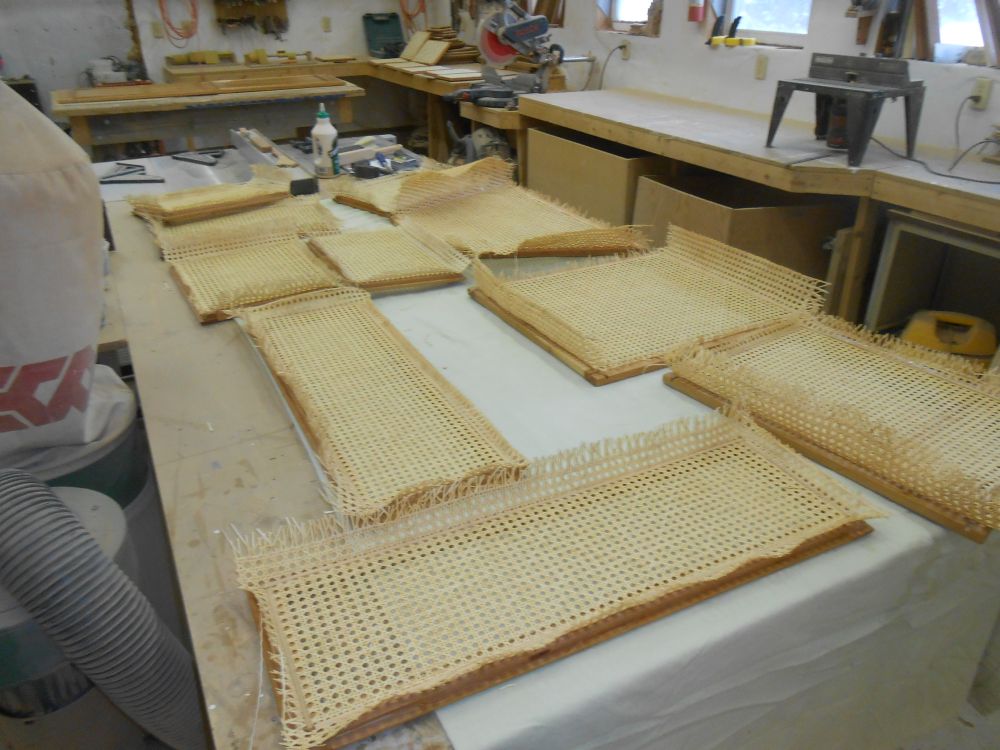
I got ready for more caning by submerging eight additional sections of the material in my sink, where I'd leave them for an hour or so. Once I had that underway, I trimmed the excess from the seven doors I completed earlier (the seventh is just out of this frame).
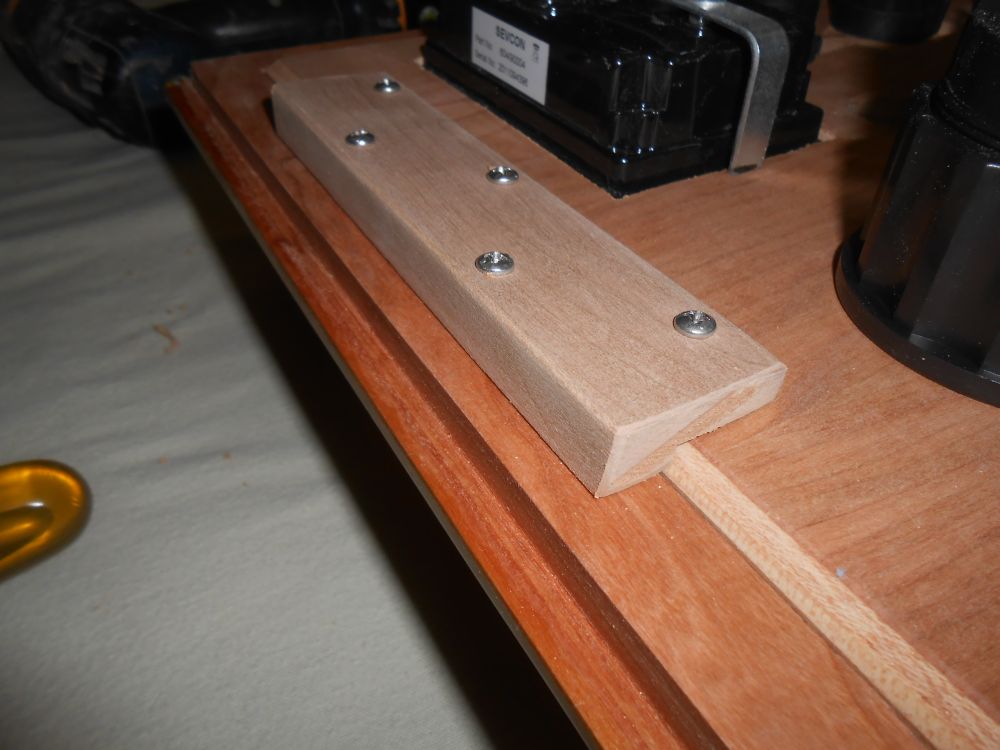
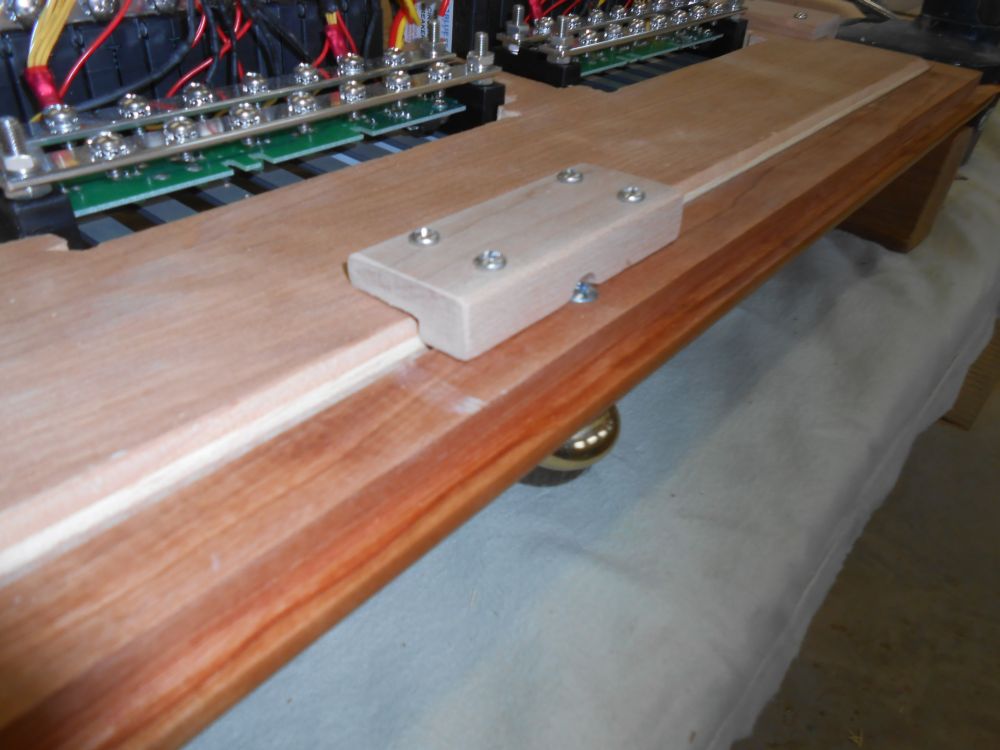
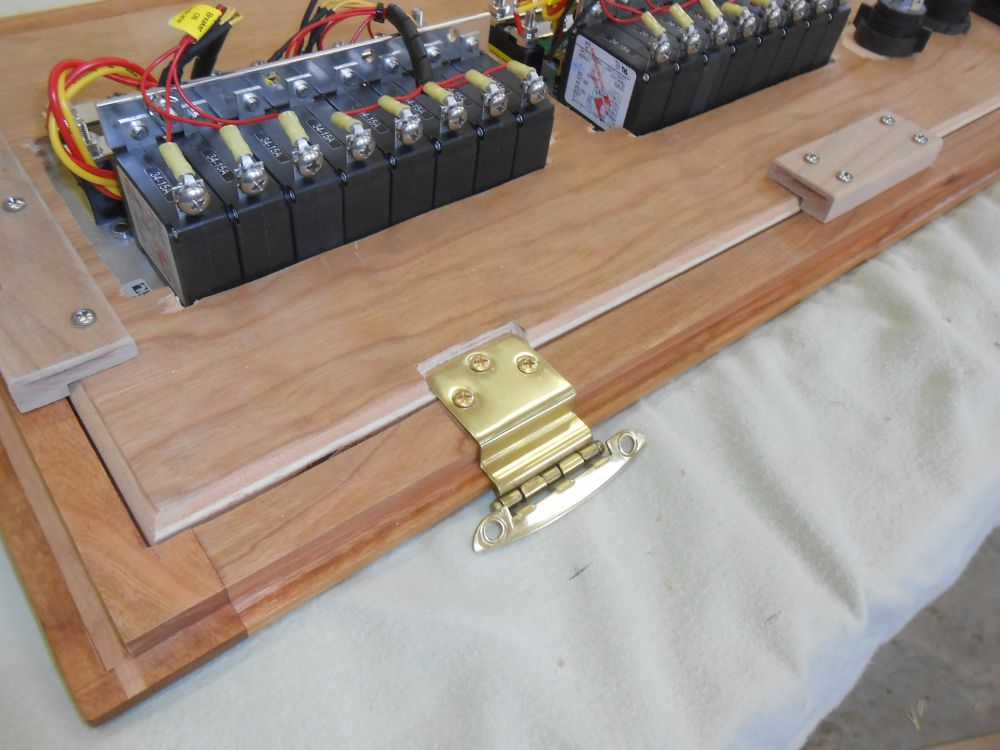
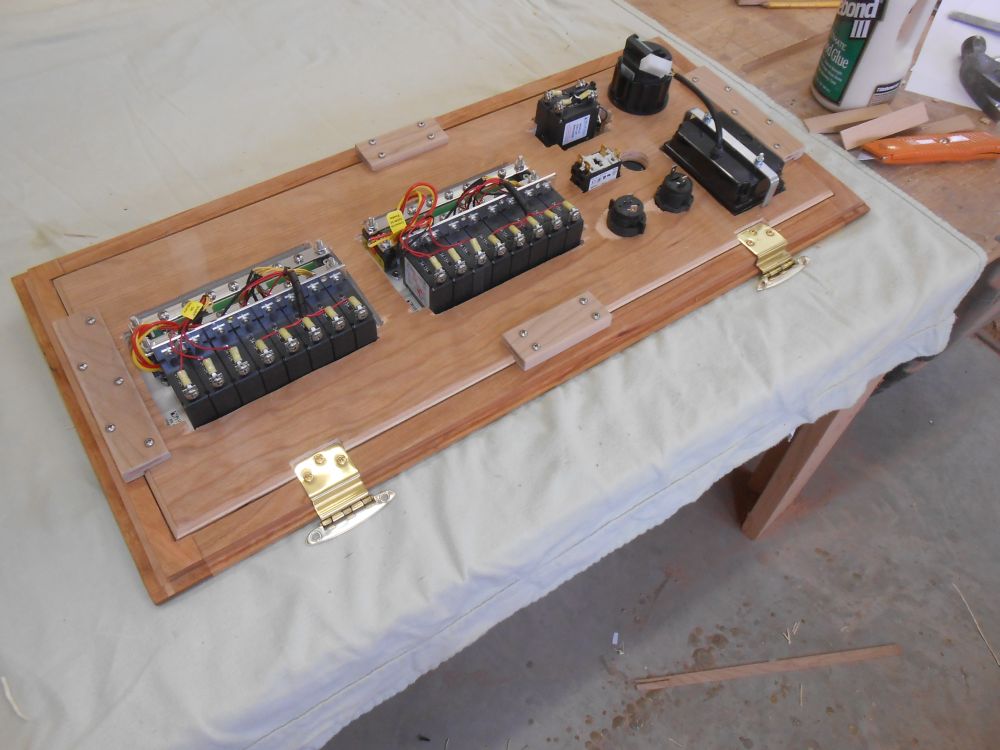
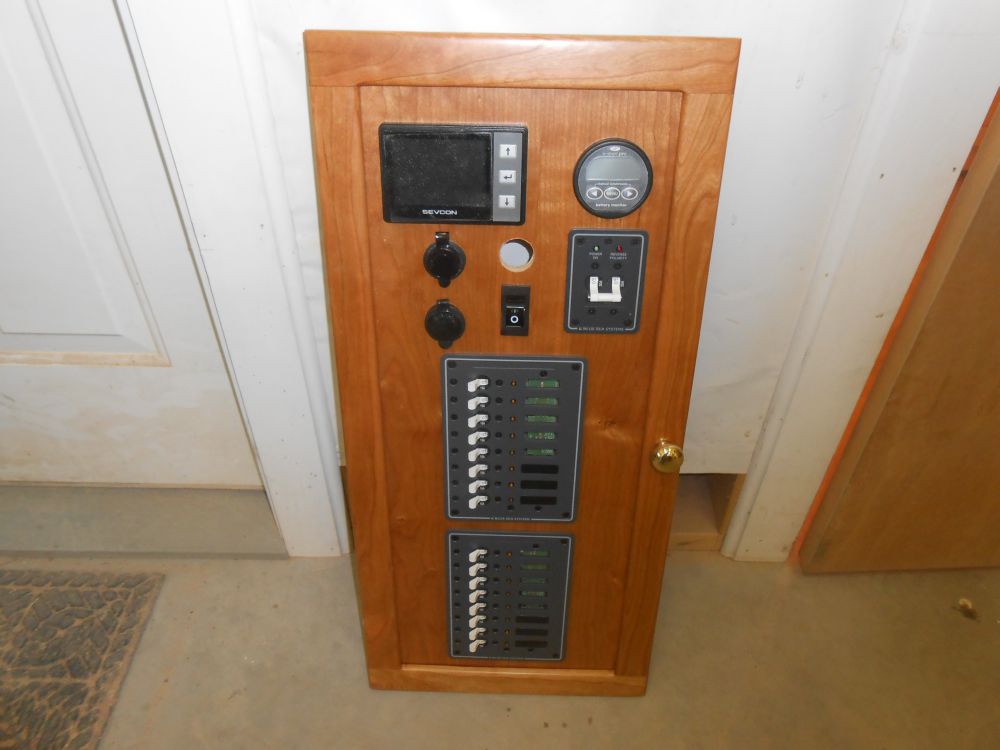
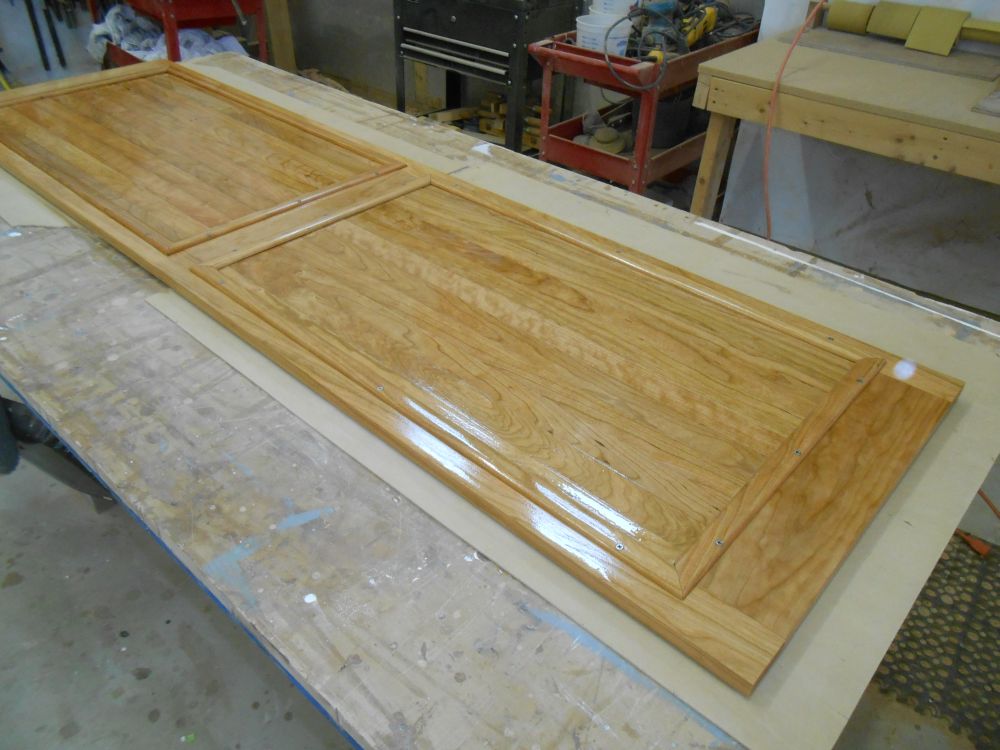
While I let the cane soak, I turned again to the electrical panel door. I'd designed the door so that the panel was installed from behind, making it theoretically easy to replace should the panel ever need to be reconfigured for some reason. I just needed a way to secure the plywood to the frame. To that end, I made some simple L-shaped brackets from solid cherry, which I screwed to the doors to hold the plywood in place while easily allowing the whole panel to be removed should it ever be desired.
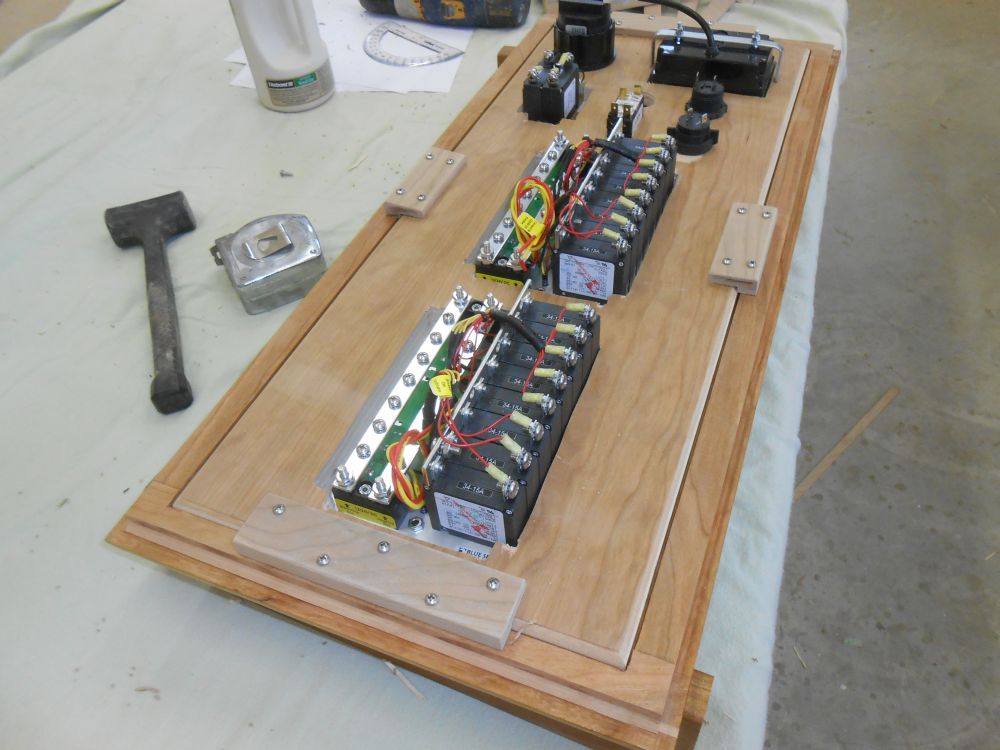
While I was working on the door, I installed the solid brass knob and hinges, which required little mortises in the plywood panel.
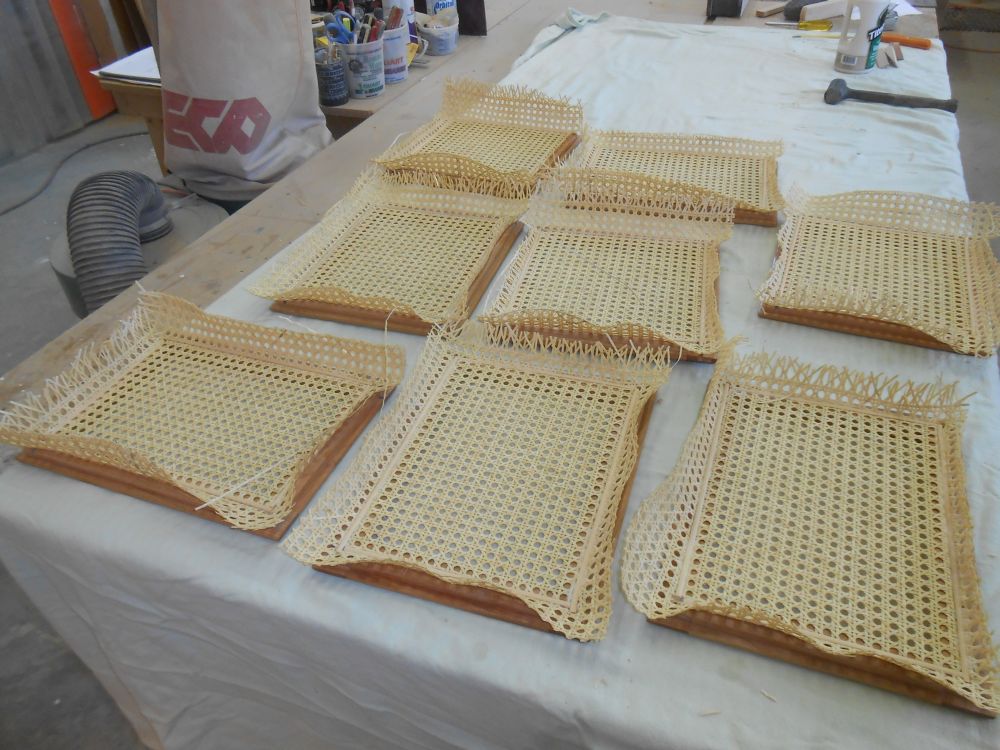
Now that the caning was pliable enough, I worked my way through another stack of eight cabinet doors.
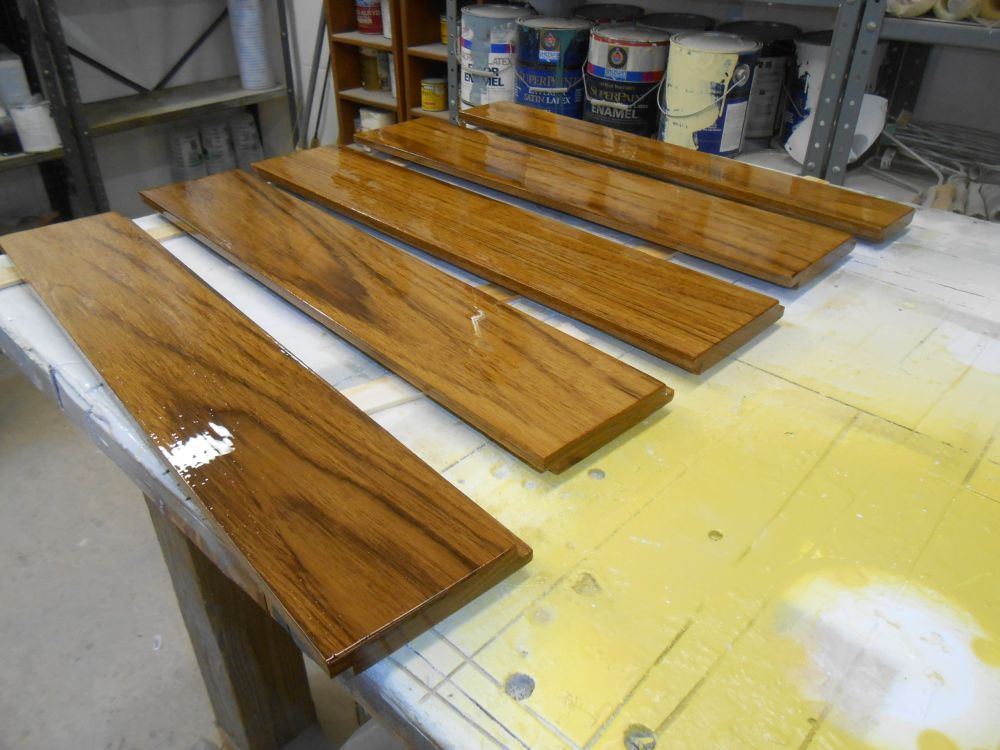
When I'd completed this round of caning, I soaked the caning for another round of doors. While I set the caning aside for soaking, I worked on some additional projects, beginning with another coat of varnish on various items.
By the time I was done with the varnish, the next round of caning was ready for installation, so I completed the next set of five doors.
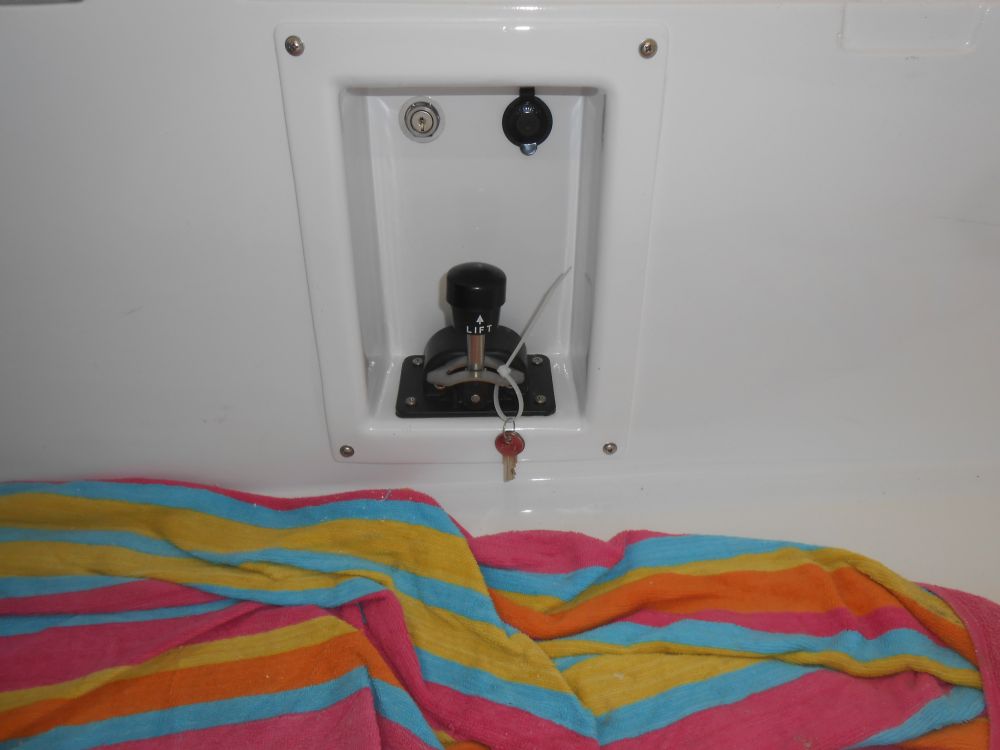
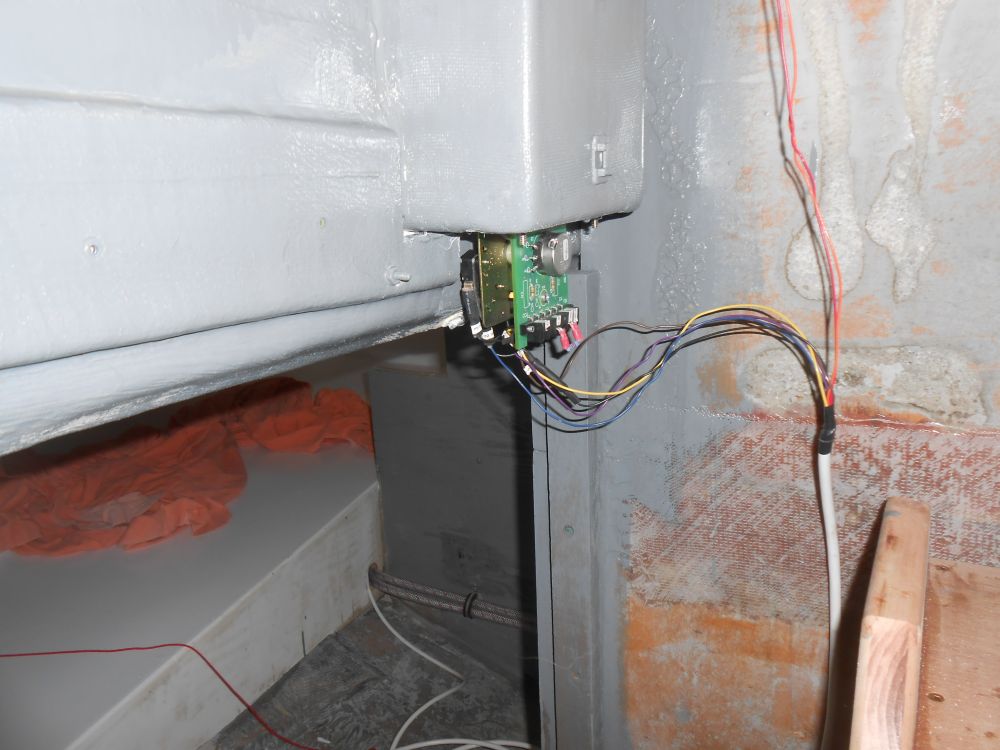
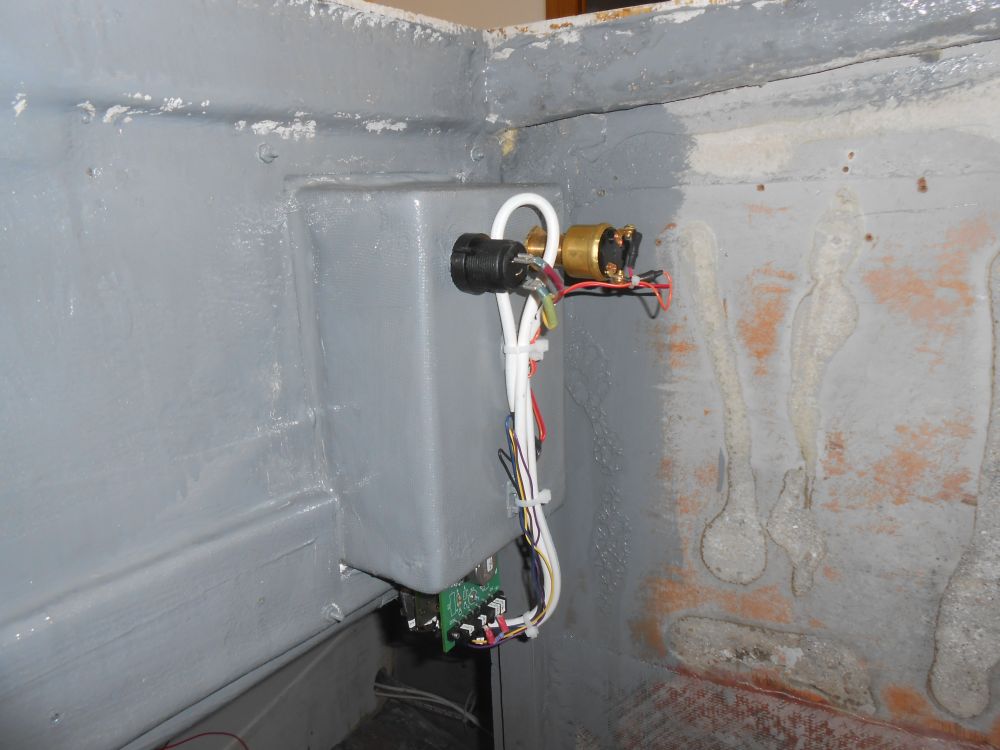
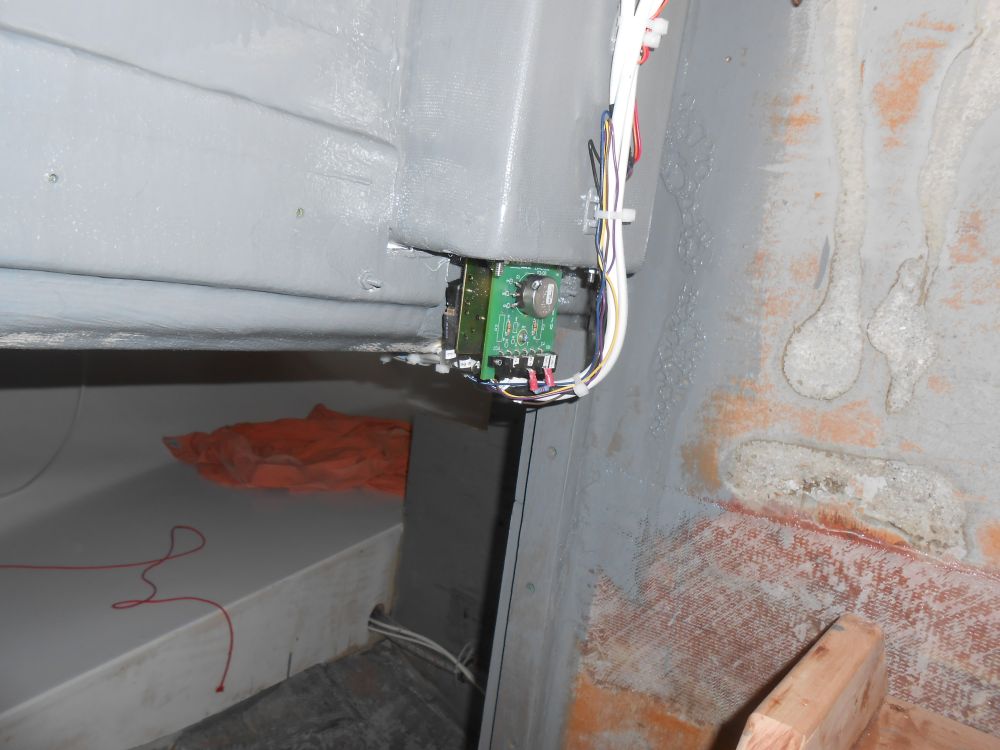
Up in the boat, I hooked the wires from the throttle back up in their appropriate positions, and installed the control in the enclosure, along with the attached key switch and 12-volt accessory outlet.
Back in the shop, I trimmed the excess caning from some of the morning's session, then laid out and cut the cane material for the final batch of doors, another five in all, and the largest doors of the group.
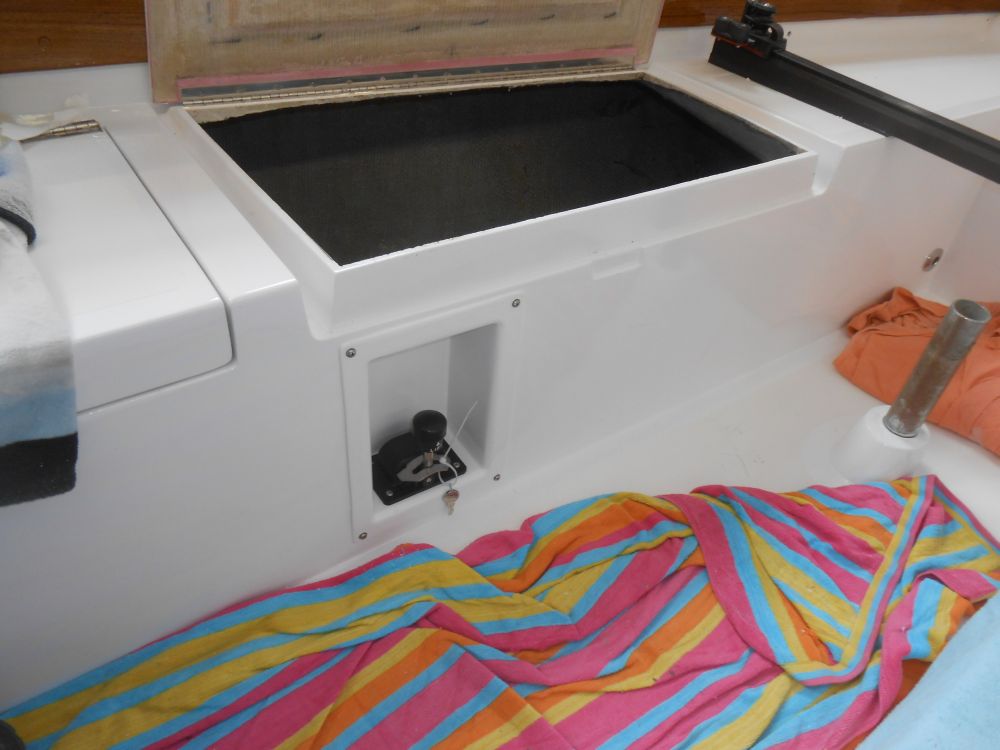
I ran a length of two-conductor cable from the electrical locker to the enclosure, and made up the connections for the 12-volt outlet, then secured the wires along their run, leaving excess throttle wiring behind the box for stress relief and to allow the throttle to be removed for service, since the position against the side of the locker made wiring from beneath overly tight, while removing the control allowed good access. I might need to move some of the control wires depending on the defaults for how the control was supposed to work, i.e. whether the control was mounted "backwards" or not. That would come later, but I'd need to be sure that moving the lever forward would correspond to forward motion. I was awaiting this information from the vendor that supplied the propulsion system.
Finally, with the largest sections of caning well soaked, I installed the panels in the final set of doors.
Total Time on This Job Today: 8.75 hours
