
110 Cookson Lane | Whitefield, ME 04353 | 207-232-7600 | tim@lackeysailing.com
Snow Lily | Saturday, March 9, 2013
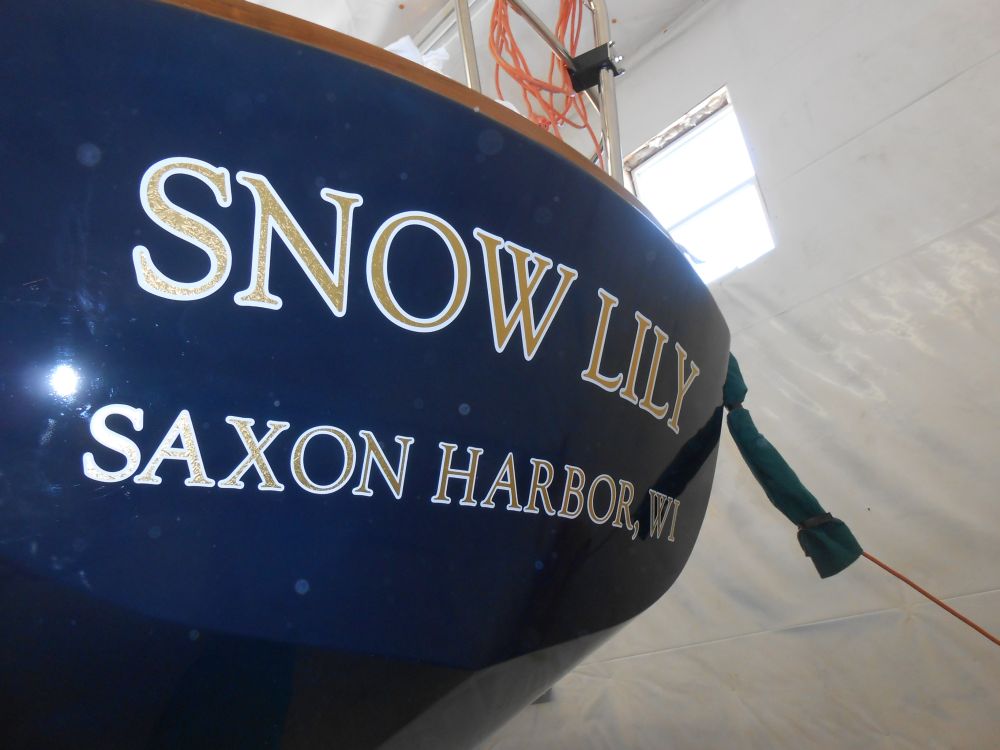
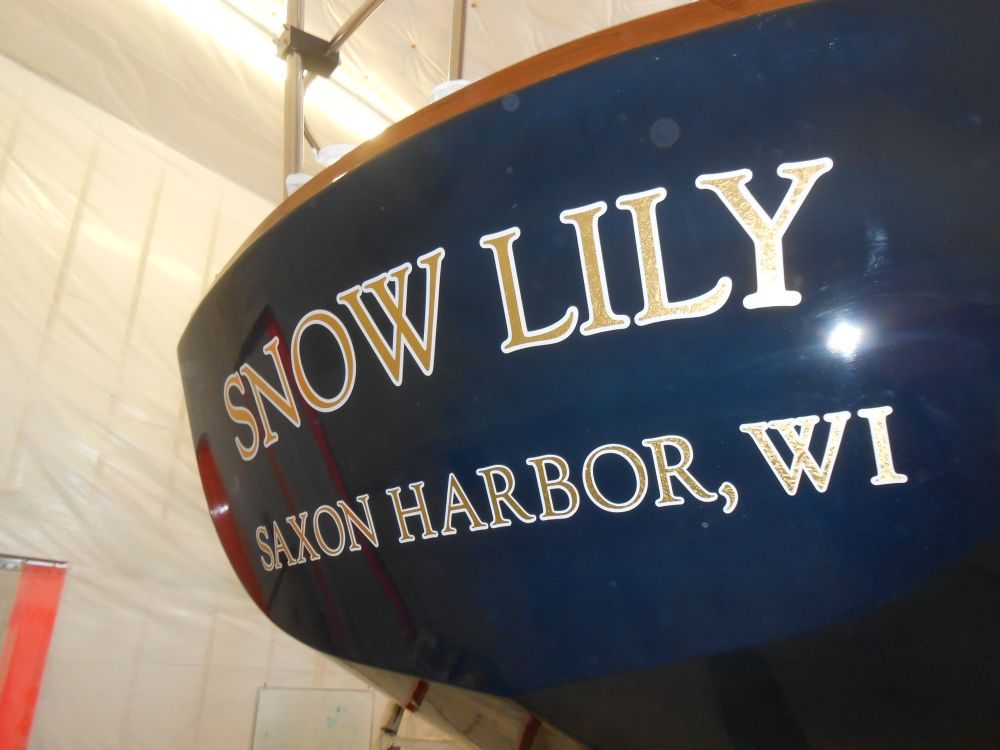
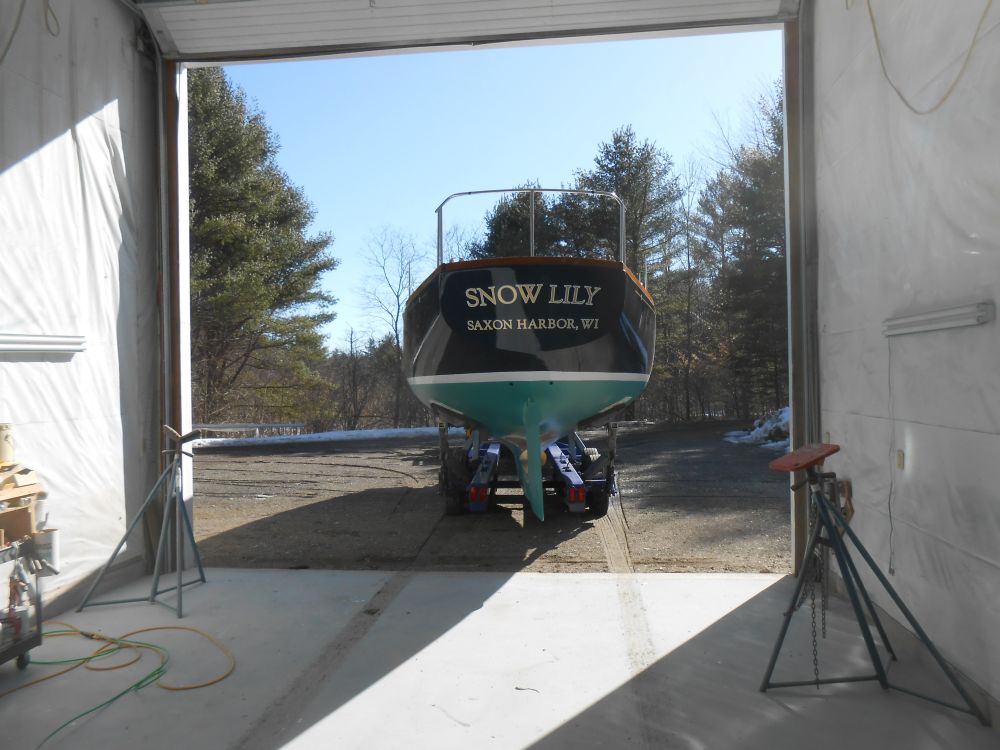
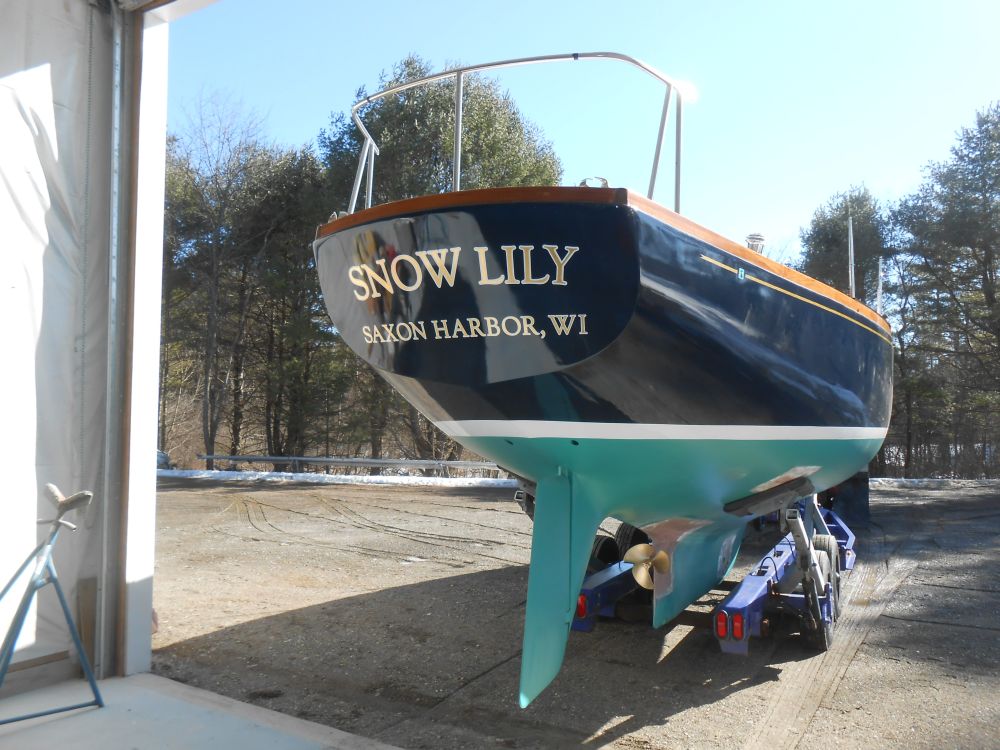
With plans to reposition the boat in the shop so as to make room for another project that I needed to begin work on, I wanted to install the name on the transom first, since the reposition would make this impossible later.
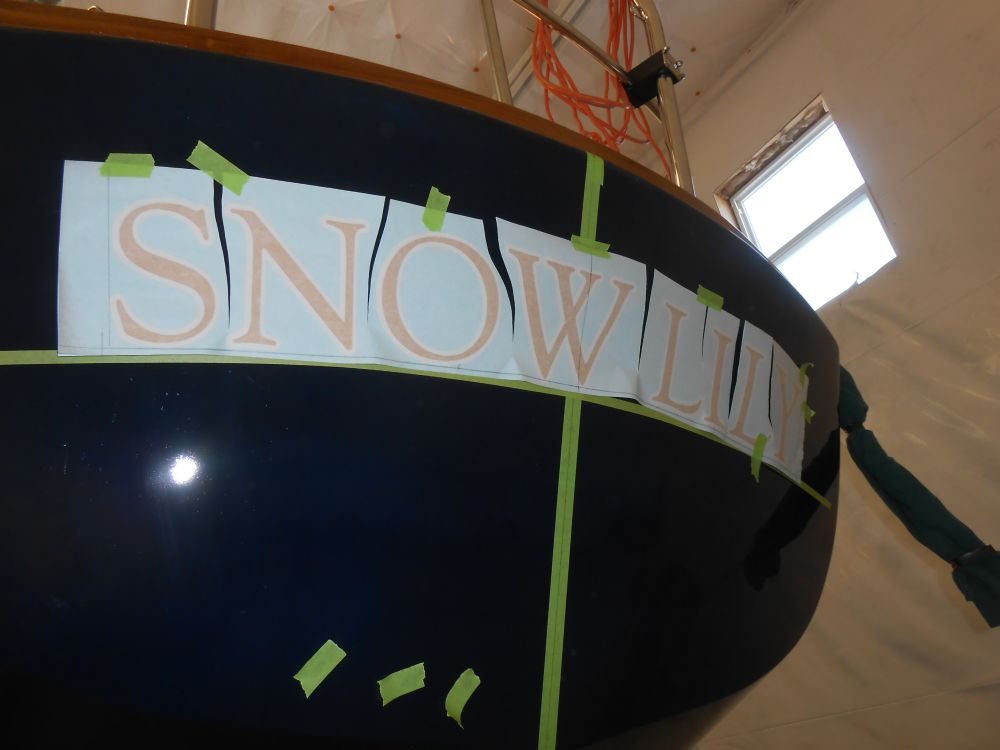
I began with some general layout to determine where the name and hailport should be positioned. After marking a centerline on the transom and determining the baseline location for the bottom of the name, which turned out to be 12" below the deck edge, I made a series of tick marks on the hull at that distance, then used tape to mark the slightly-curved line; this line followed the camber of the transom, so the name would follow this pleasing, yet subtle, arc.
I cut through the transfer paper to which the vinyl was secured, allowing me to curve the name in place on the transom--something that's required even for a straight and level application, since any curvature of the transom otherwise causes an uncontrollable arc in one direction or the other. I dry-fit the name to check spacing and the overall appearance.
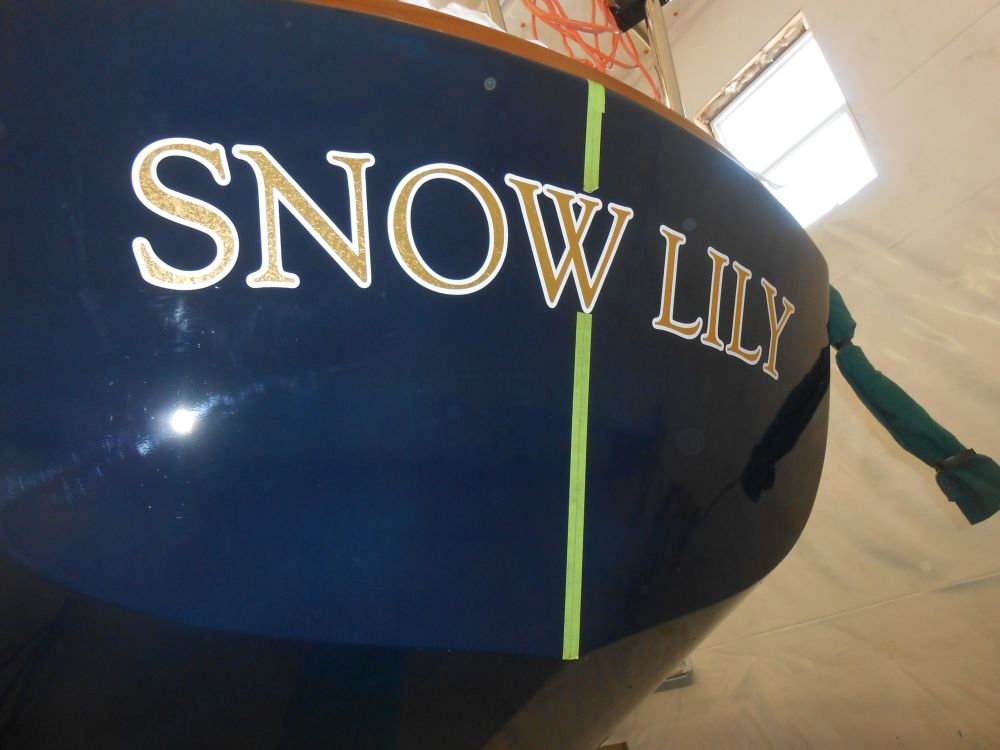
Afterwards, I installed the vinyl permanently, following my layout lines.
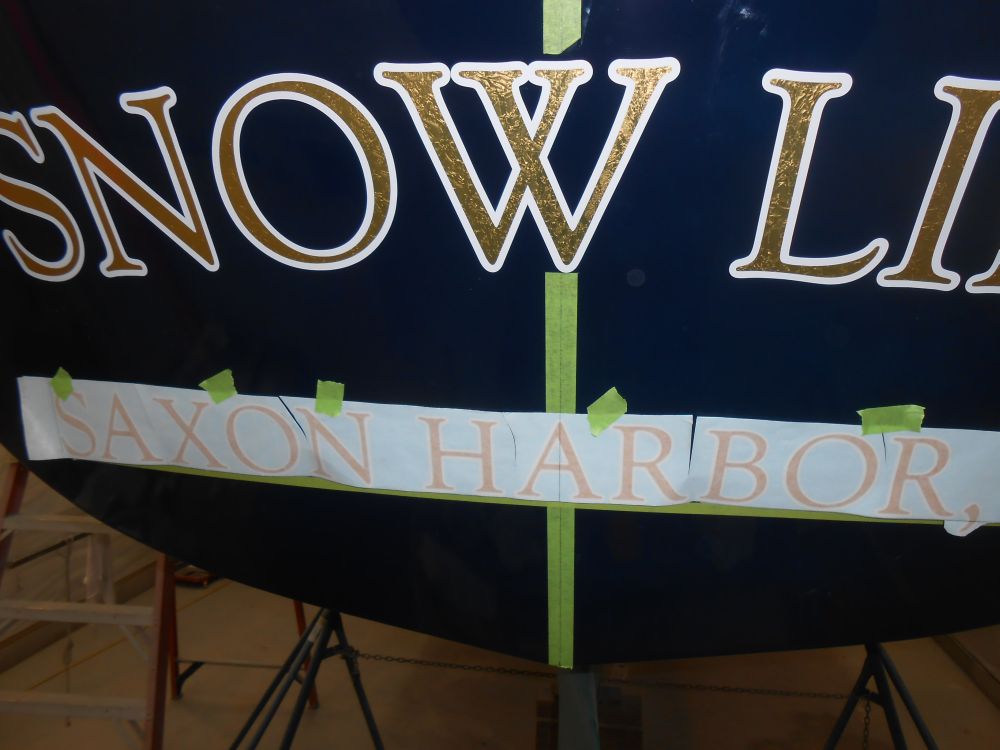
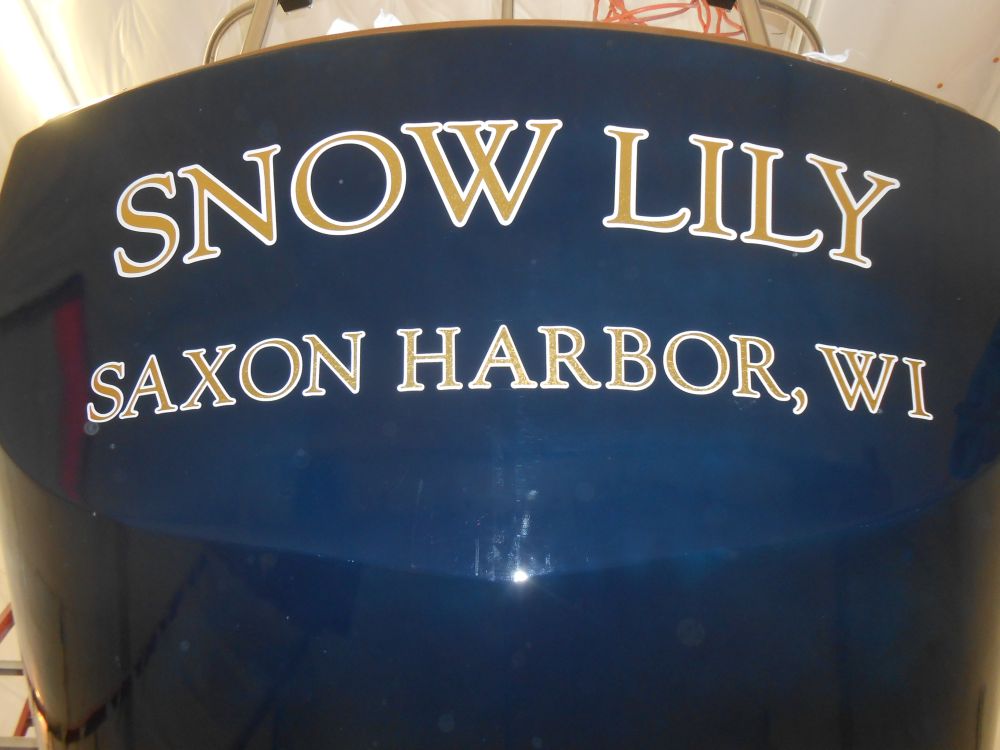
I wanted the hailport, in its required 3" height, to be struck level across the transom, and after determining its position relative to the name marked out a baseline using a level. After dry-fitting the port to check its position, I completed the installation.
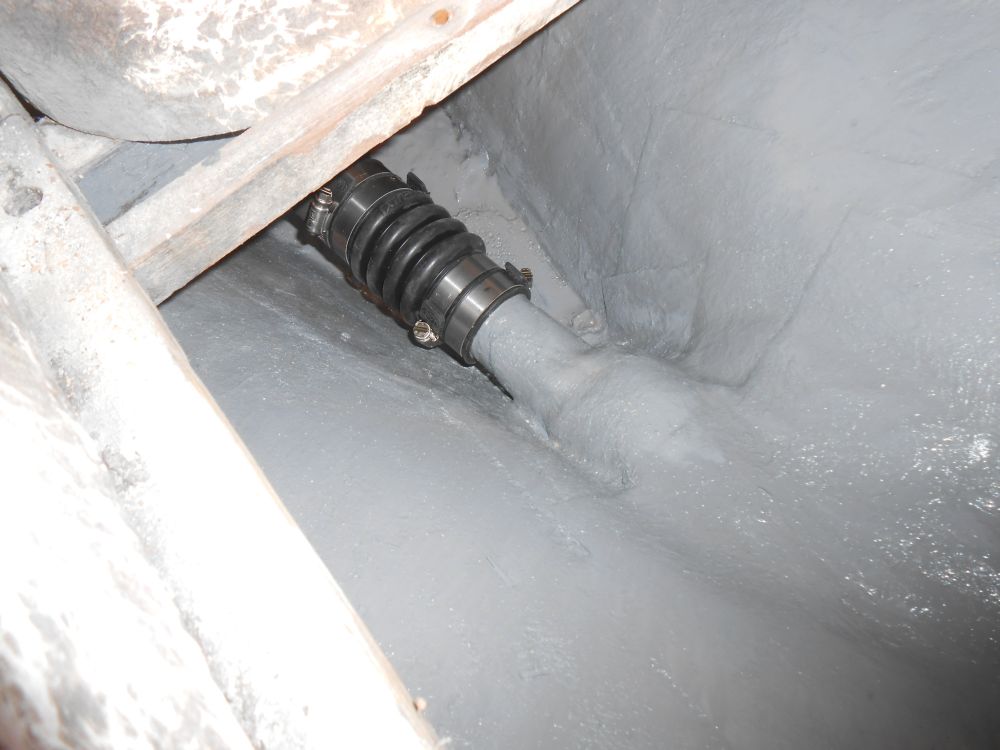
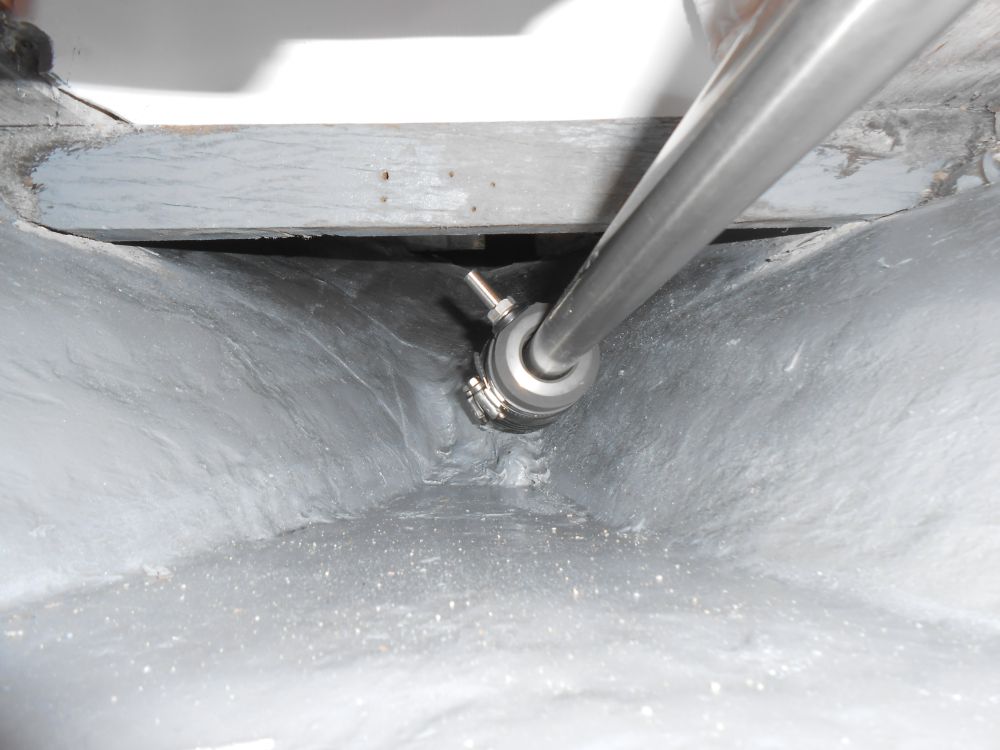
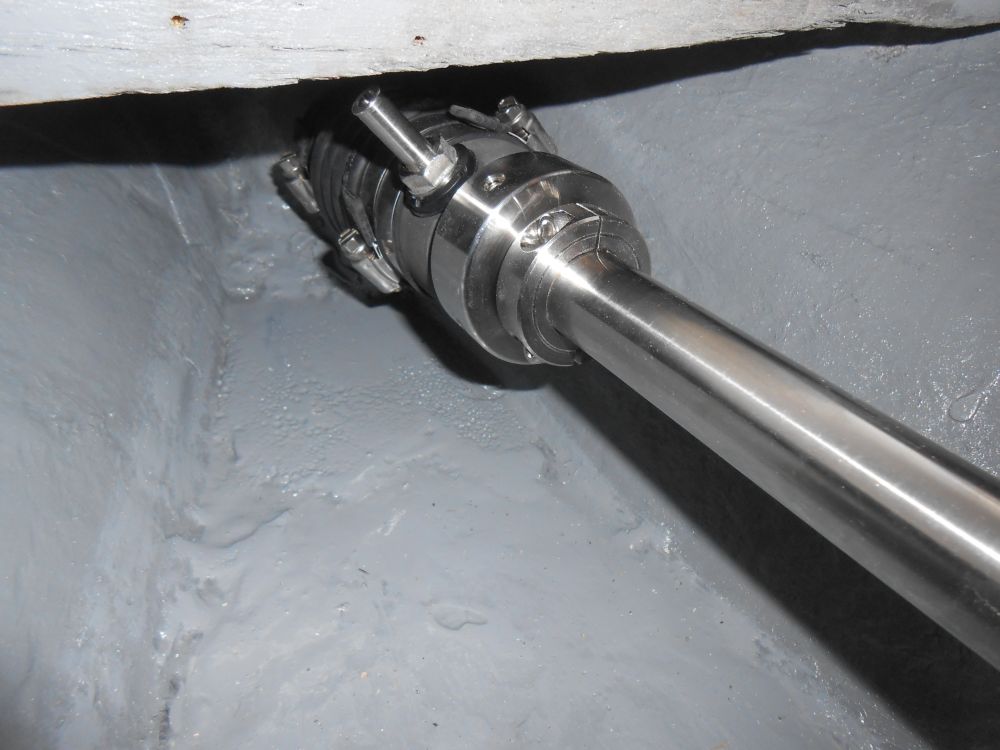
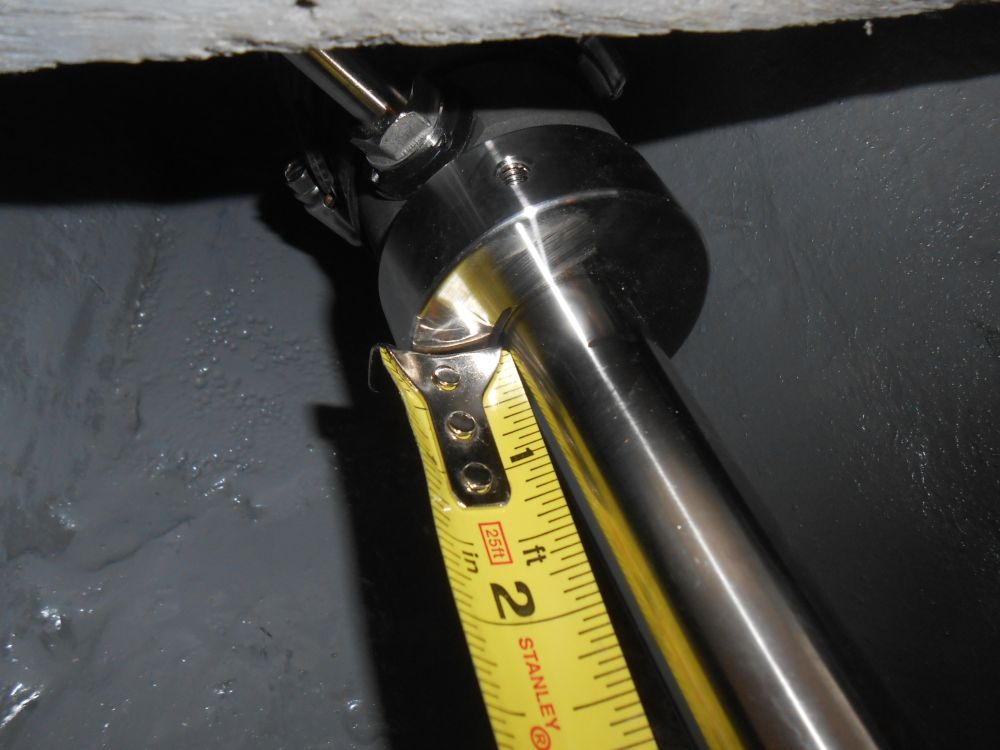
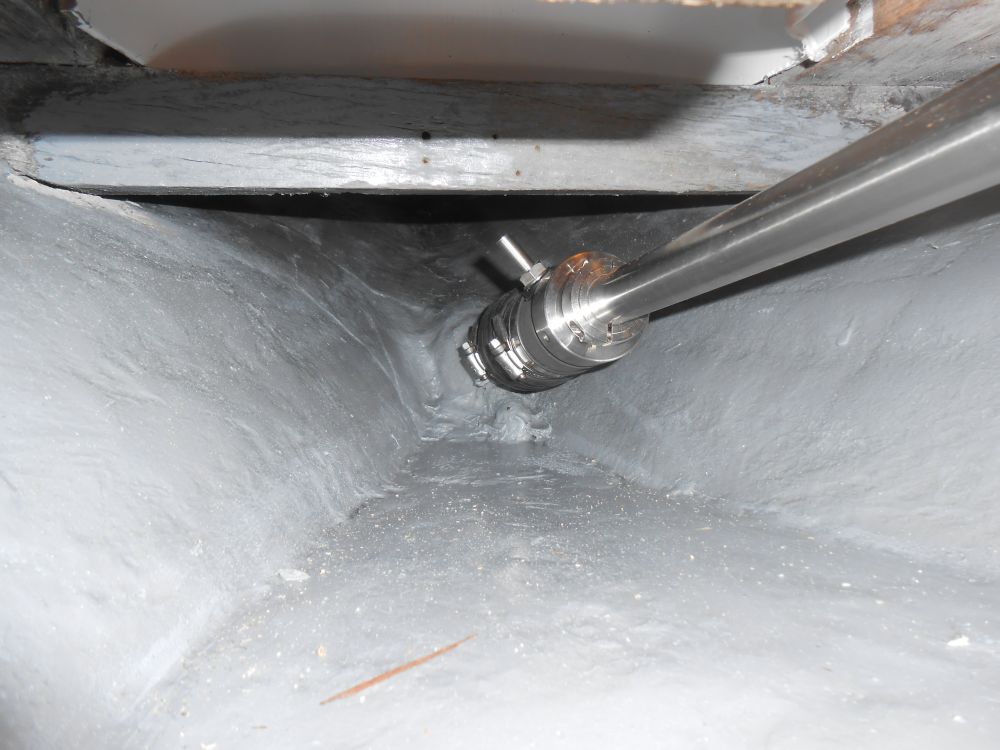
I had the new propeller shaft on hand and was anxious to install it and permanently install the electric propulsion motor. After sliding the shaft into the boat, I installed a dripless shaft seal provided with the propulsion package at the inside of the stern tube, securing it with the supplied clamps as needed. Of course the after support for the bilge access hatch overhead ended up exactly where the stuffing box's vent nipple (which would later accept a length of 3/8" hose led to a point above the waterline) had to be, so to get around this problem I angled the vent slightly to the side, which wouldn't make any difference once the hose was led upwards. Then, using soapy water as a lubricant, I slid the stainless steel rotor, the critical portion of the system that actually would create the seal against water, over the end of the shaft and down towards the stufing box, along with a little clamping collar to be used as an additional safeguard.
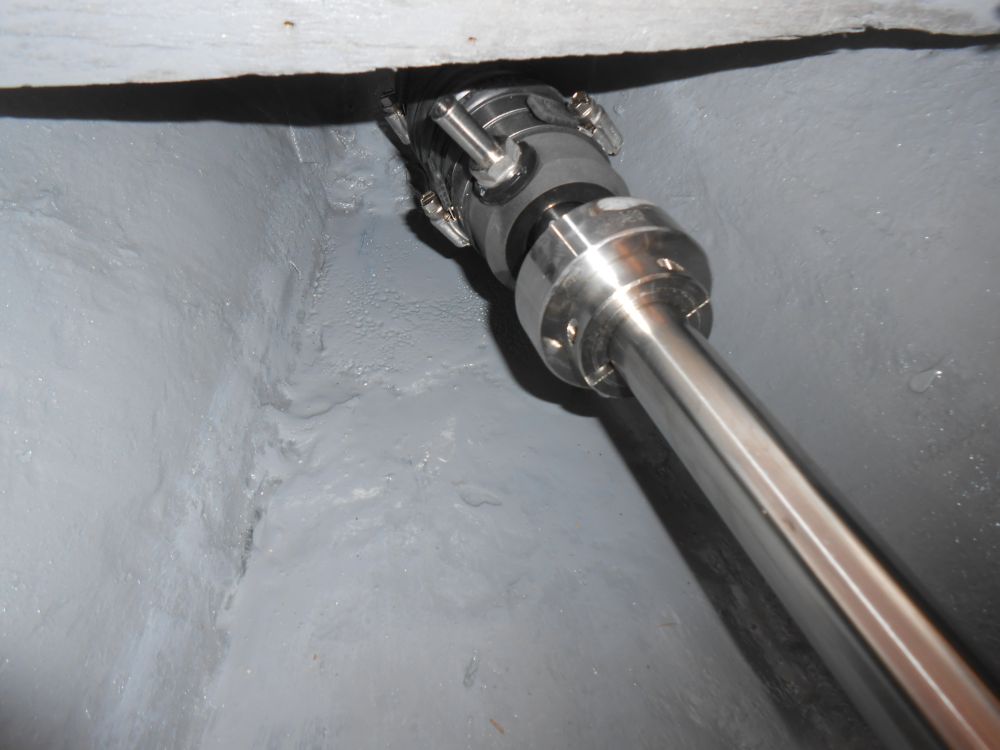
With the pieces of the stuffing box in place, I installed the steel shaft coupling to the inboard end of the shaft, and secured its set screws and two bolts to clamp the coupling in place.
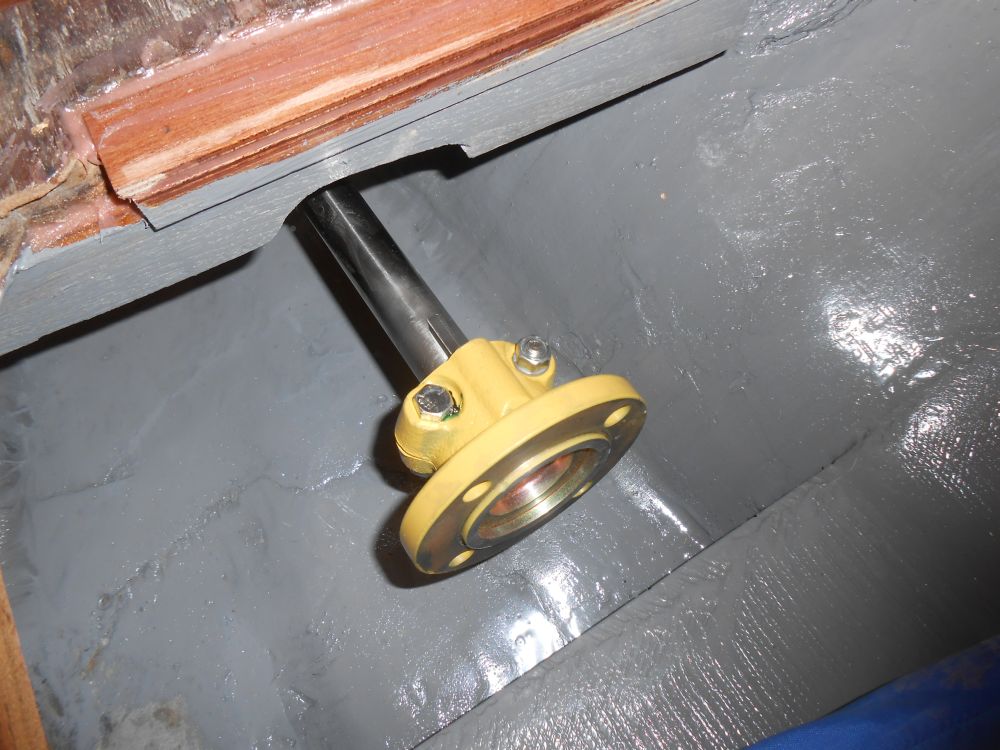
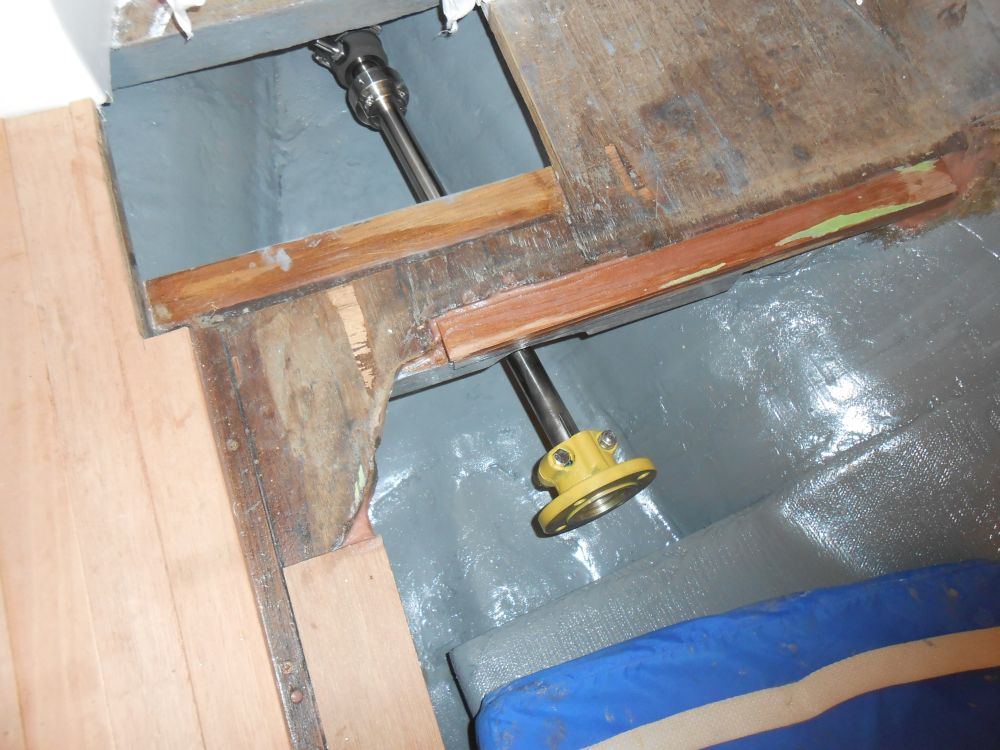
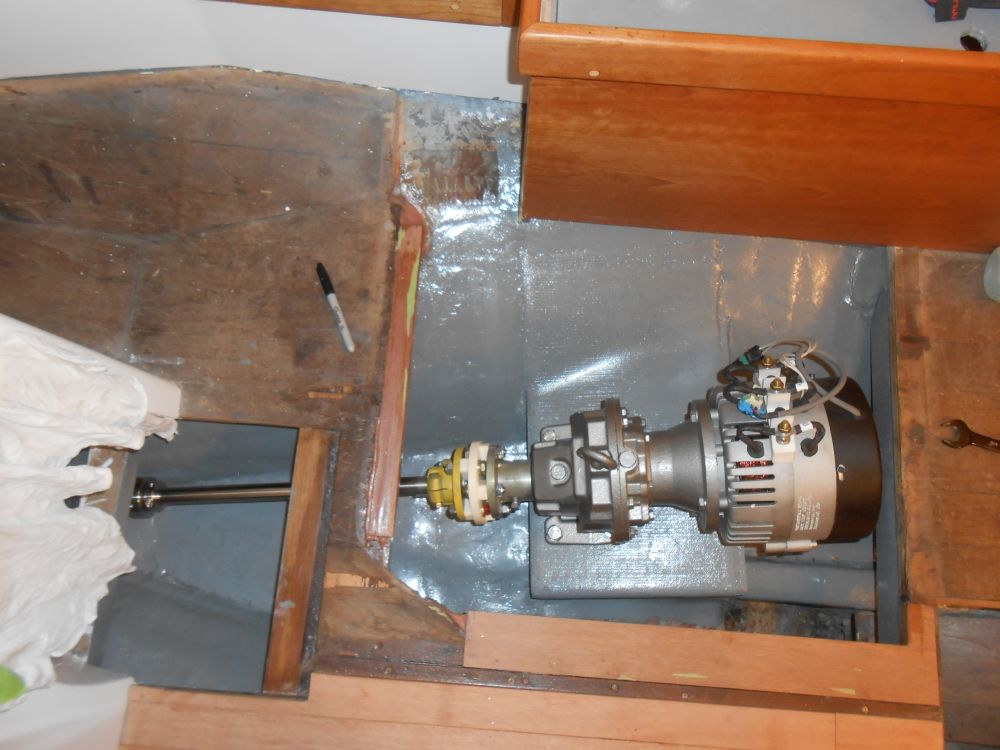
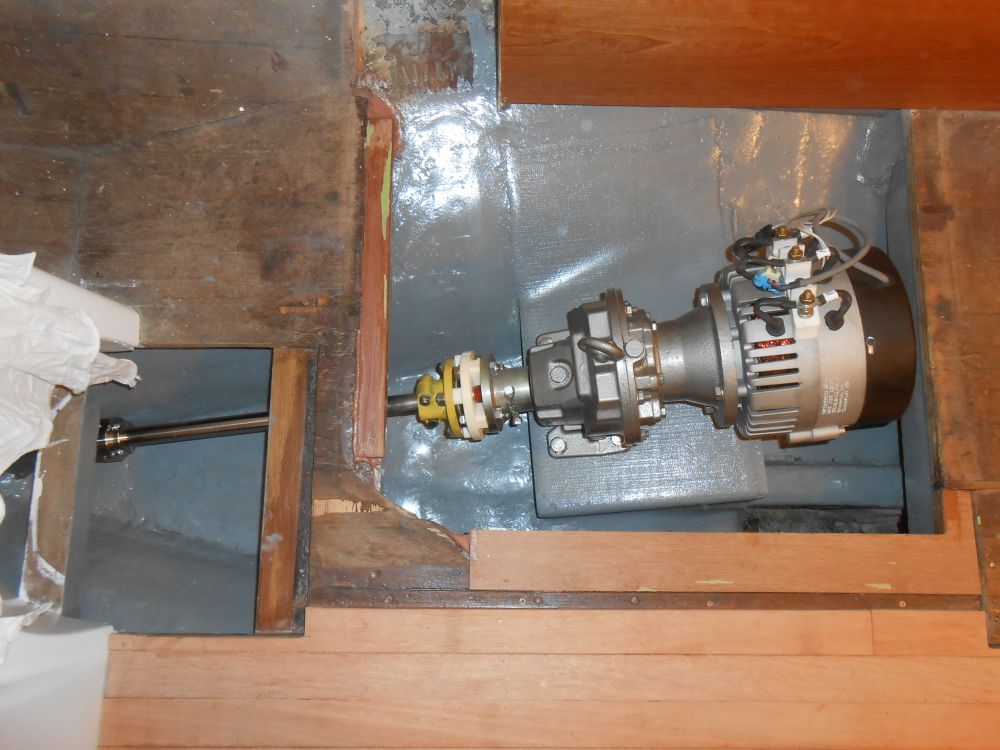
I secured the coupling to the output coupling on the transmission, and aligned the shaft and motor into their final positions, which I'd previously determined with a mock-up shaft, but fine-tuned as needed with the actual hardware in place. Since the height of the support platform was just so, alignment with the couplings tightly bolted together was a fairly straightforward matter. Although I'd be installing a supplied sacrificial coupling between the transmission and shaft, I left that out for the alignment process.
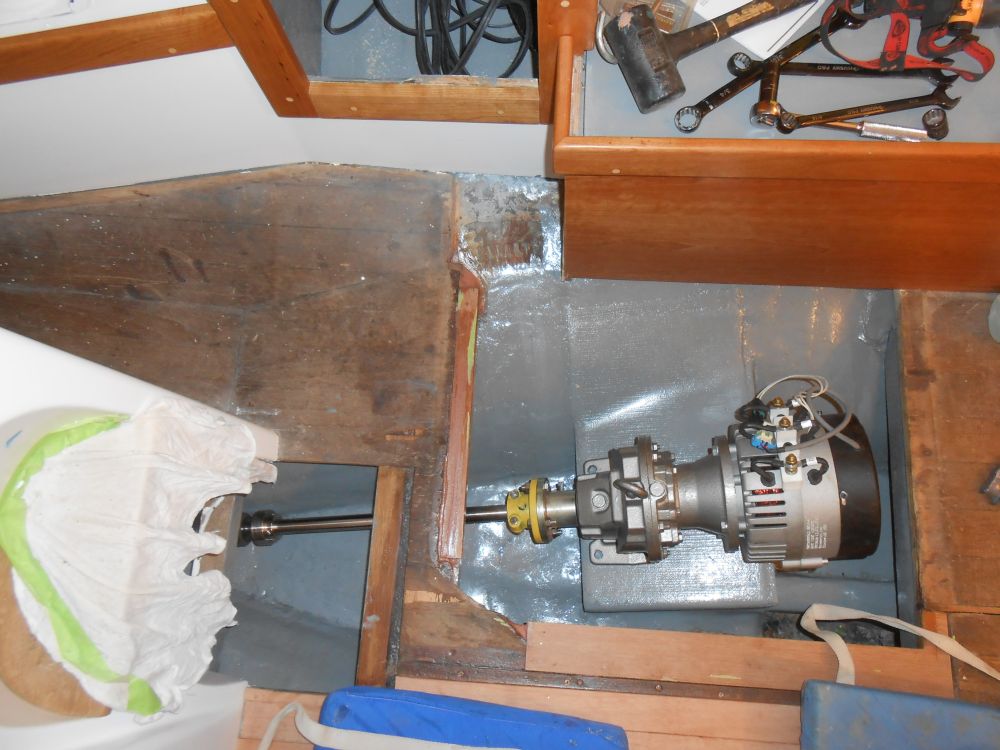
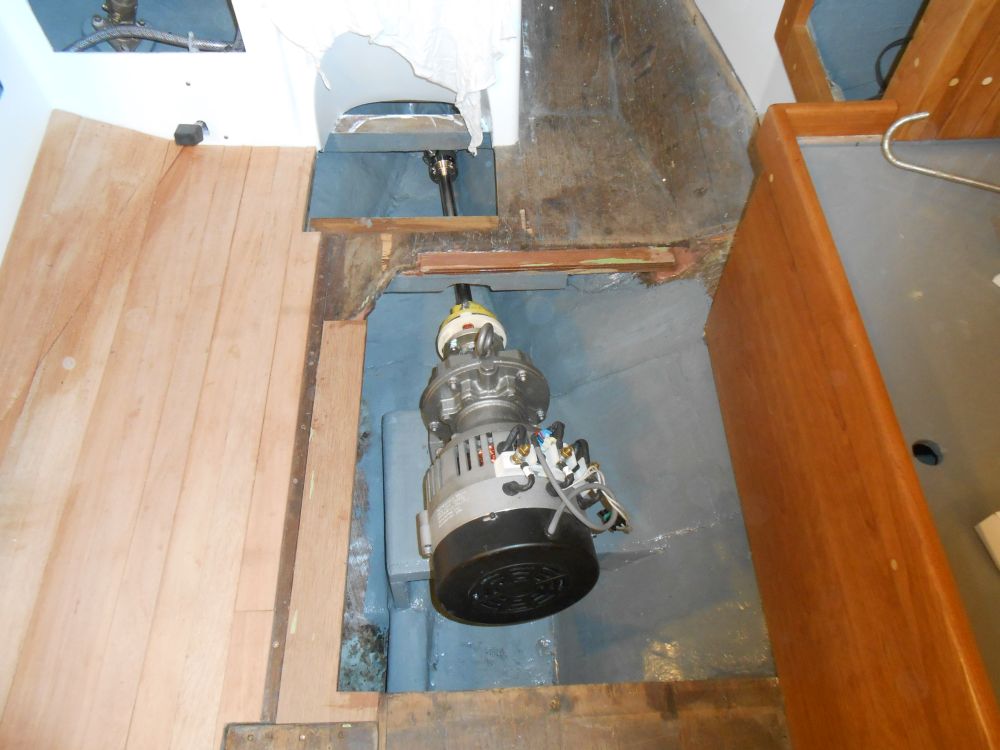
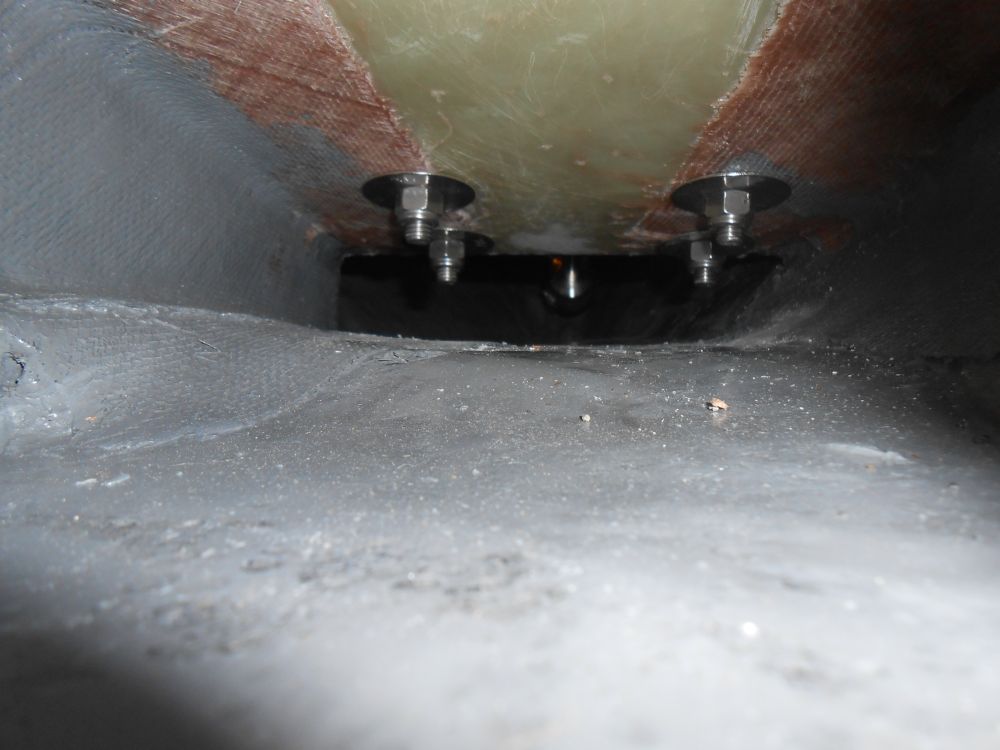
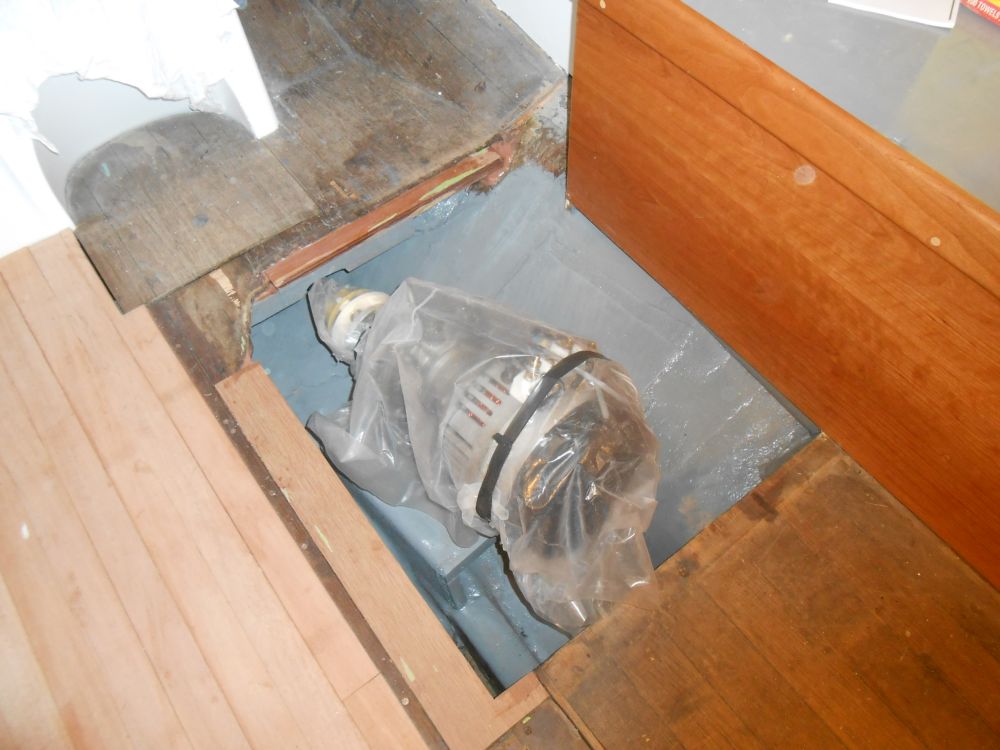
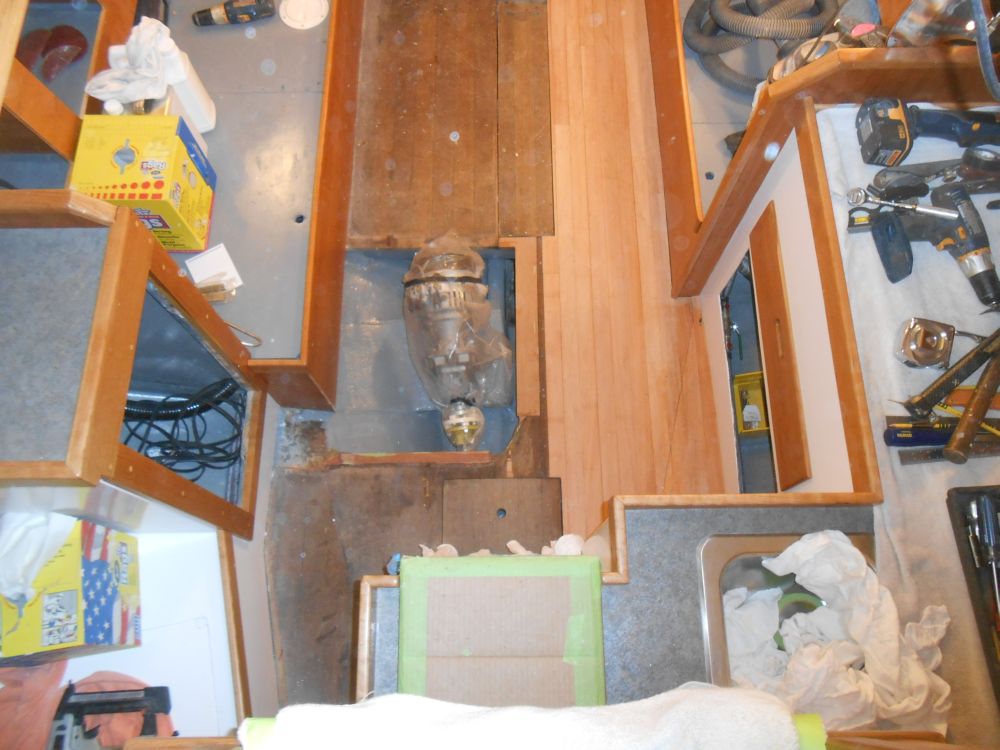
Satisfied with the alignment and motor position, I drilled the two after bolt holes with the assembly in place, and made reference marks through the forward holes since the transmission housing overhung these holes and prevented drilling in place. Unbolting the coupling and removing the motor, I drilled the final two holes through the platform, then reinstalled the motor permanently with four 1/2" bolts through the platform, this time securing the couplings together through a sacrificial coupling. I wrapped the motor in plastic for protection.
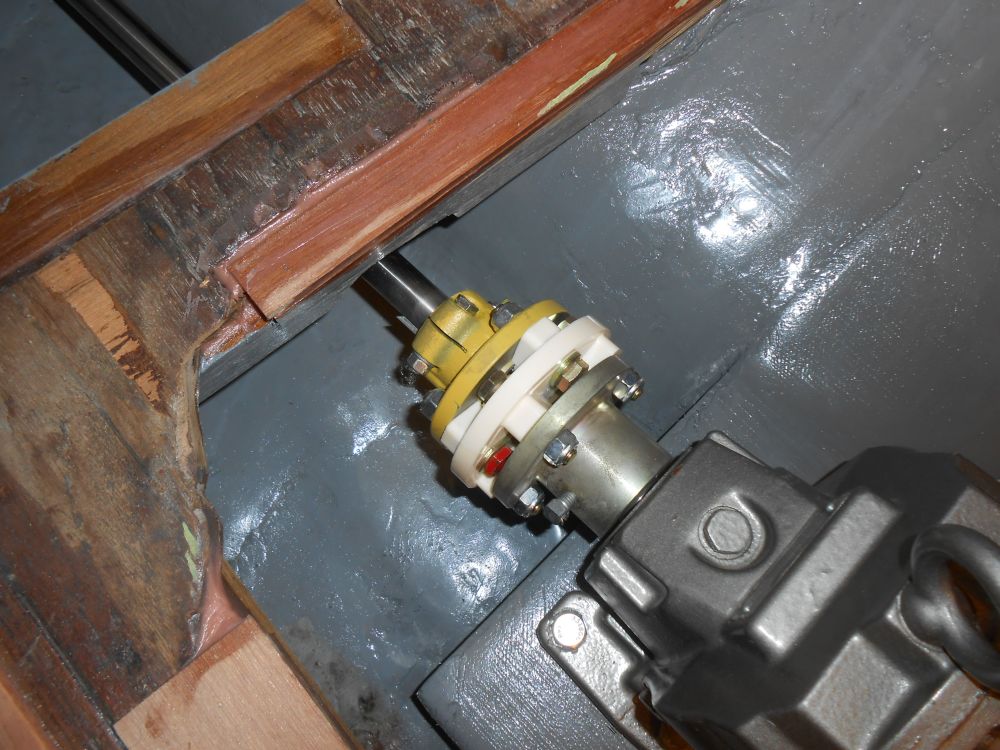
To round out the installation of the stuffing box, I followed the directions and compressed the bellows the appropriate amount with the SS rotor and fixed it in place with set screws as required, before tightening the little security collar (not part of the PYI shaft seal) against the rotor as additional insurance against the rotor slipping out of place for whatever reason.
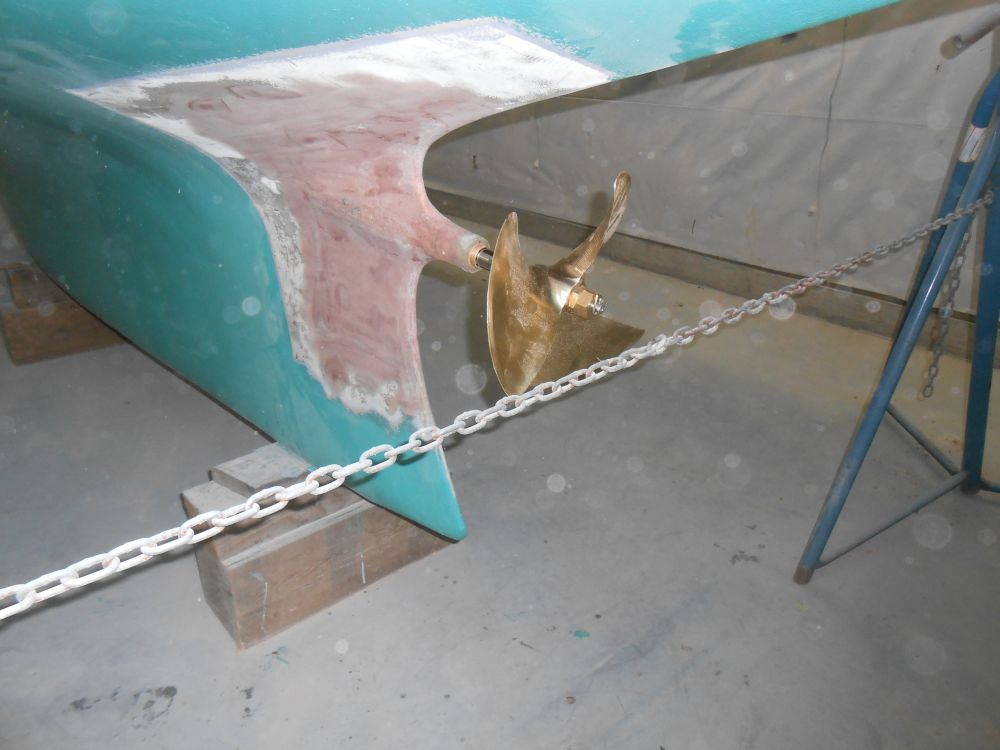
Finally, I installed the propeller, completing the basic installation of the propulsion system.
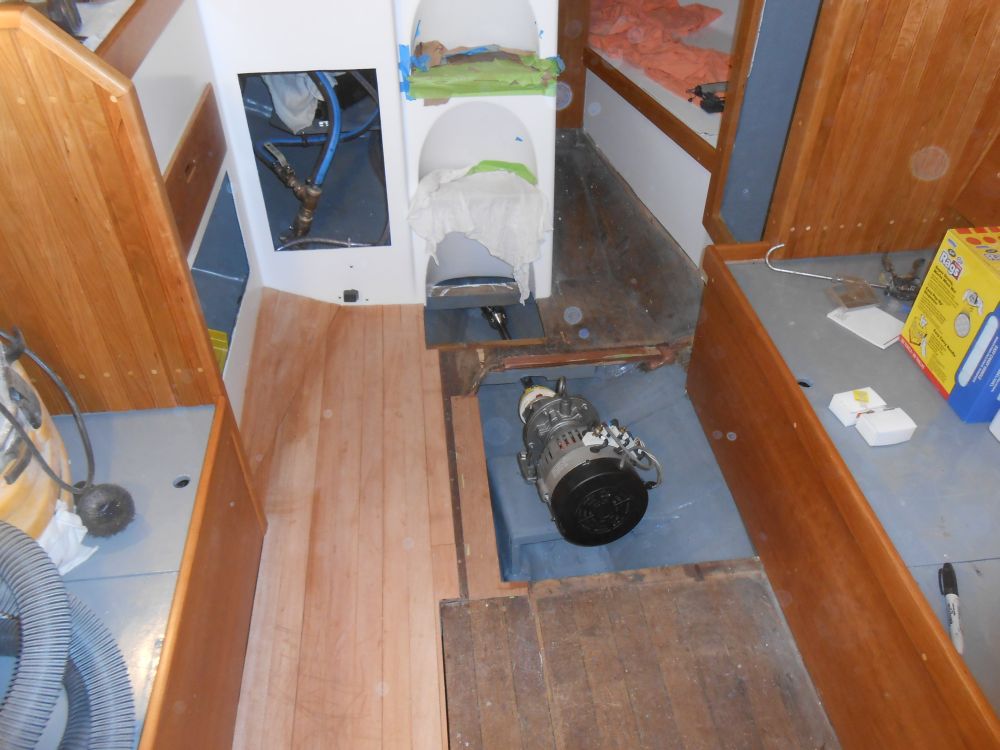
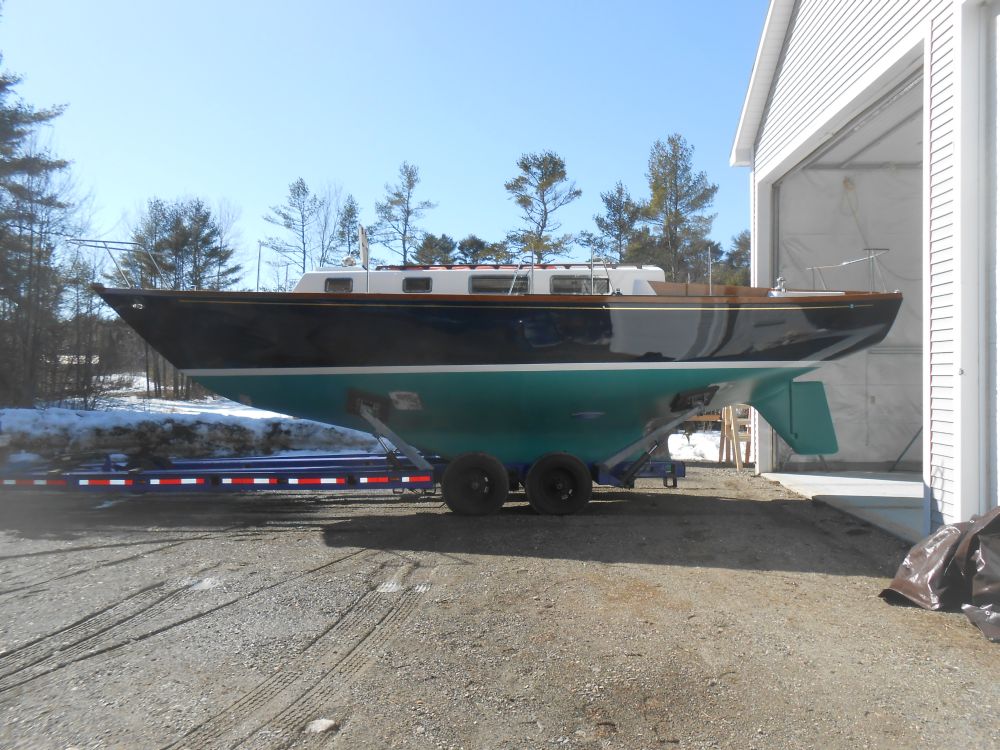
After some odds and ends, I got ready to reposition the boat. It was the first pleasant day in quite some time, so the timing was fortuitous for the task. I pulled Snow Lily outdoors briefly for the first look from afar since she went into the shop 14 months earlier, but didn't linger since the ground outside was pretty soft and I was worried about the truck and trailer sinking too far into the early spring softness; indeed, this caused a few moments' consternation shortly thereafter when the truck began to get stuck in the muck before the boat was back indoors, till I managed to get all four trailer tires over the edge of the shop floor.
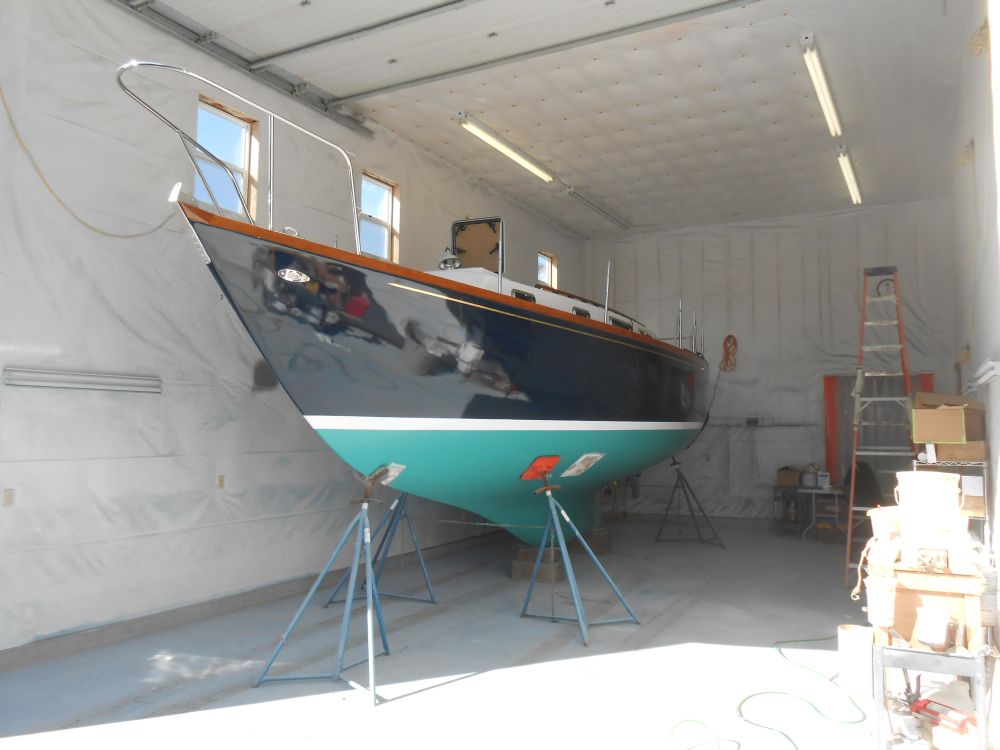
I got the boat settled in her new home, just further over next to the shop wall and the back corner to open up the remainder of the shop for a small boat, and after getting reorganized I called it a day.
Total Time on This Job Today: 6 hours
