
110 Cookson Lane | Whitefield, ME 04353 | 207-232-7600 | tim@lackeysailing.com
Snow Lily | Wednesday, January 30, 2013
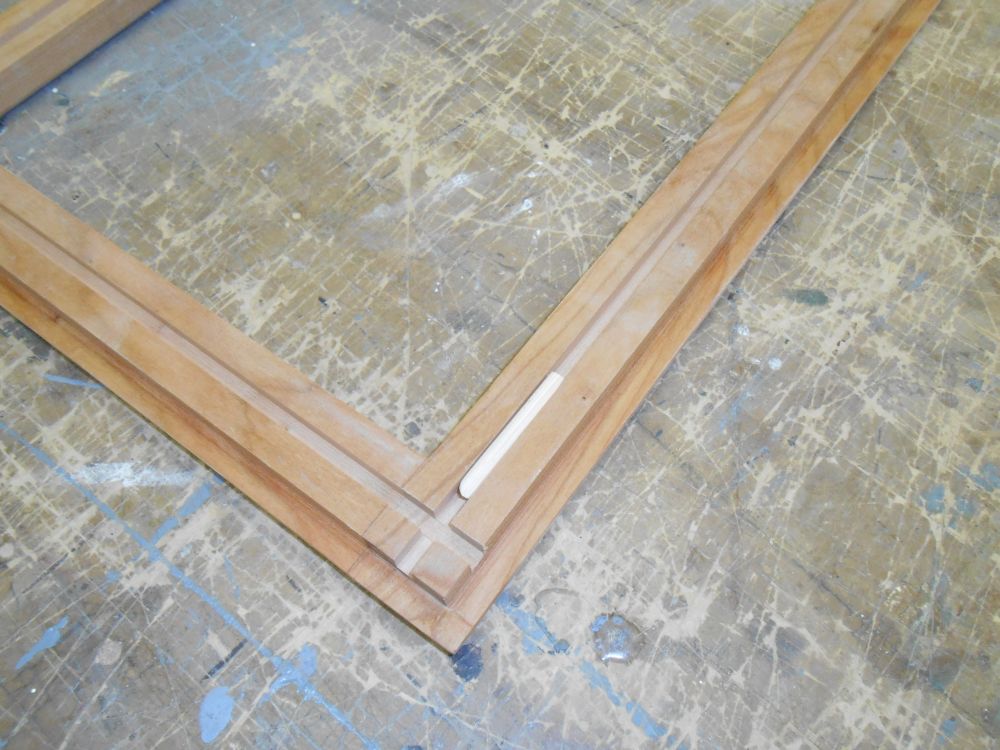
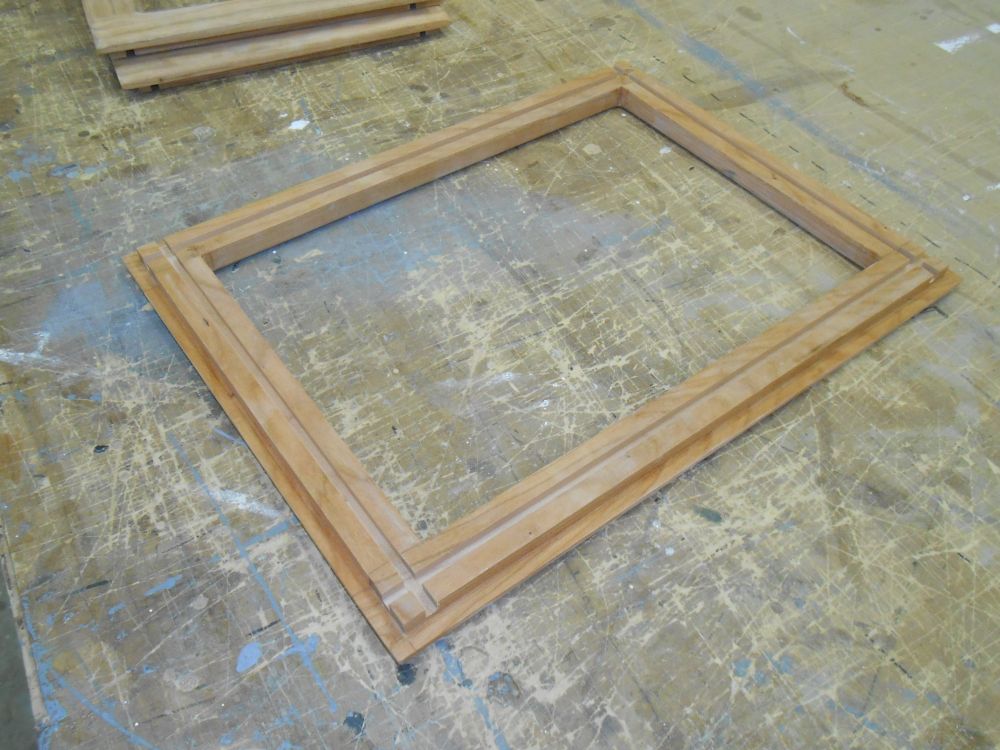
In order to continue the varnish work on the cabinet doors that I'd prepared to that level so far, I needed to mill grooves for the reed spline needed to secure the caning that would from the field of the doors. I'd meant to do this for days, but hadn't gotten to it. So first thing, I set up the table saw to mill a 1/4" wide dado in the back sides of the door frames. I milled the grooves in all the doors, including the stack that I'd not yet finish sanded. Now I could get back to work on the varnish so I could complete at least the first round of doors.
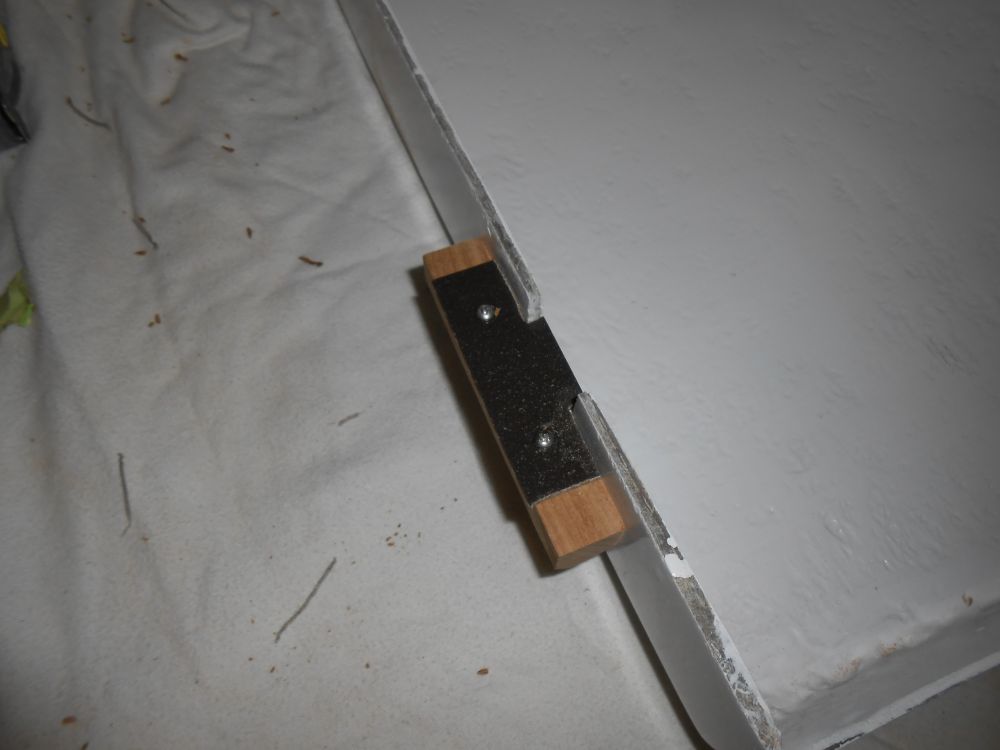
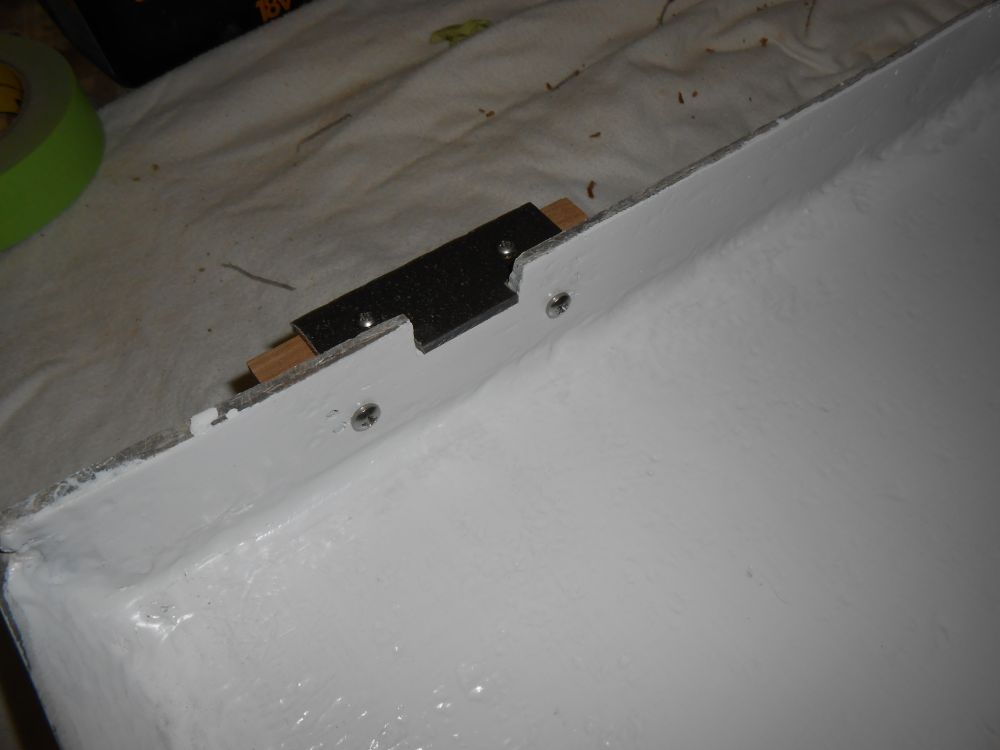
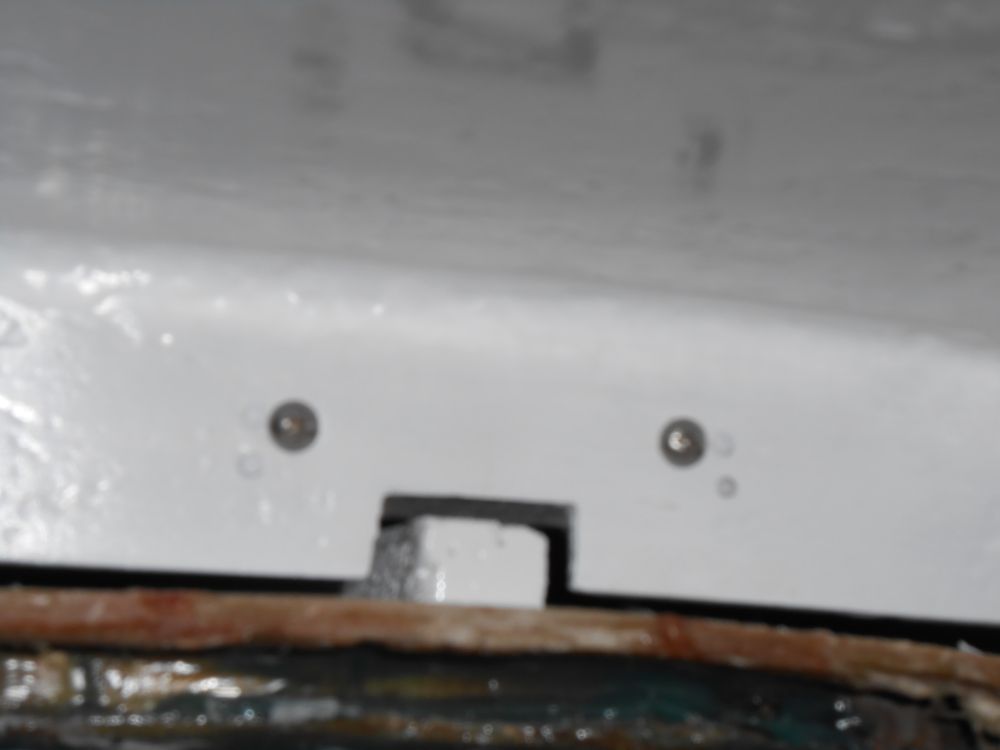
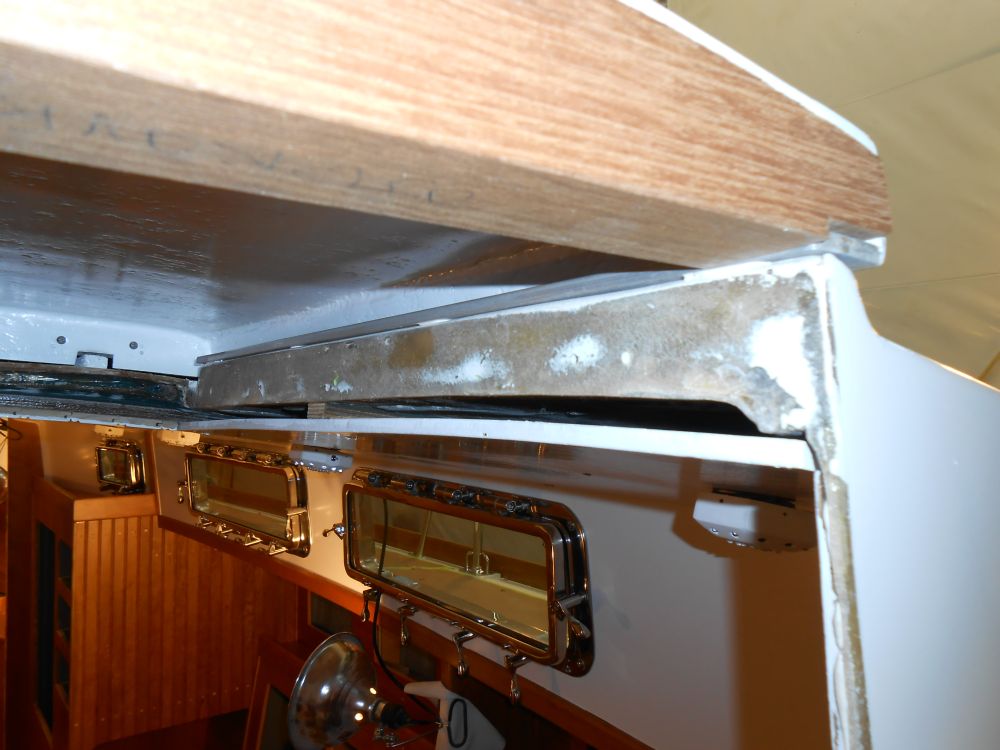
With my Delrin wear material now on hand, I got back to work on the companionway slide. After cutting a narrow strip of the Delrin, I trimmed pieces to fit at the forward side of the hatch, where it would slide into the sea hood. The original setup had had flush screws right in the wear area, which didn't seem right to me, so I left little wings of the material that extended onto the small teak blocks outside the hatch, and secured the Delrin with screws through that area, leaving the bearing surface clear of obstructions.
I double-checked the fit of the hatch with the new 1/8" material on the blocks to ensure that it would slide well and clear the top of the sea hood.
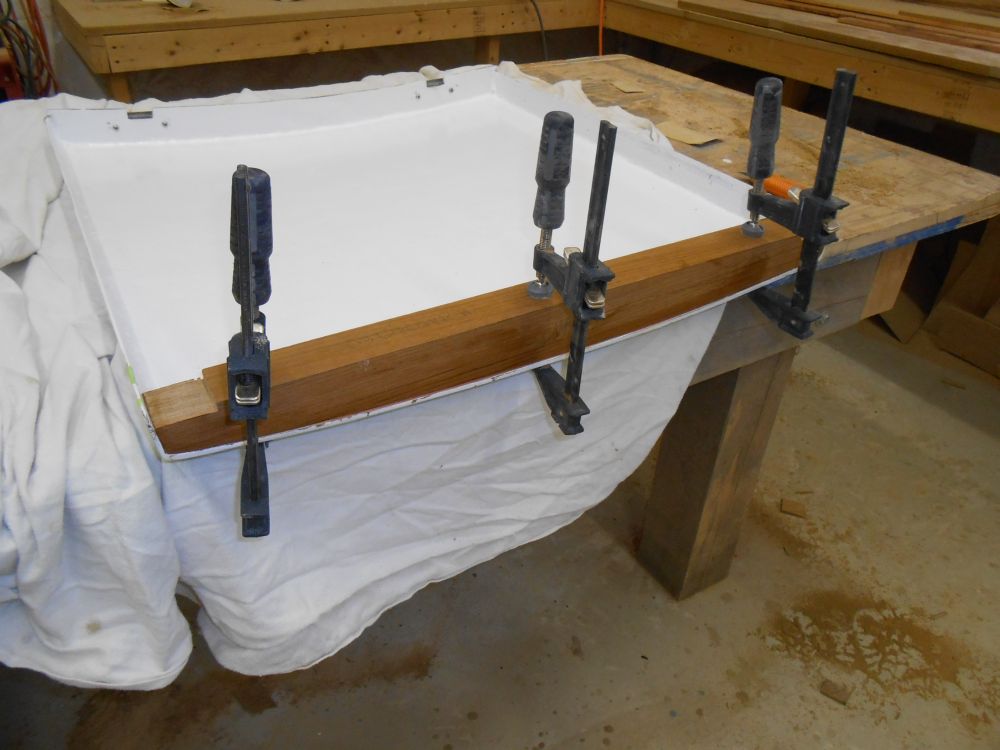
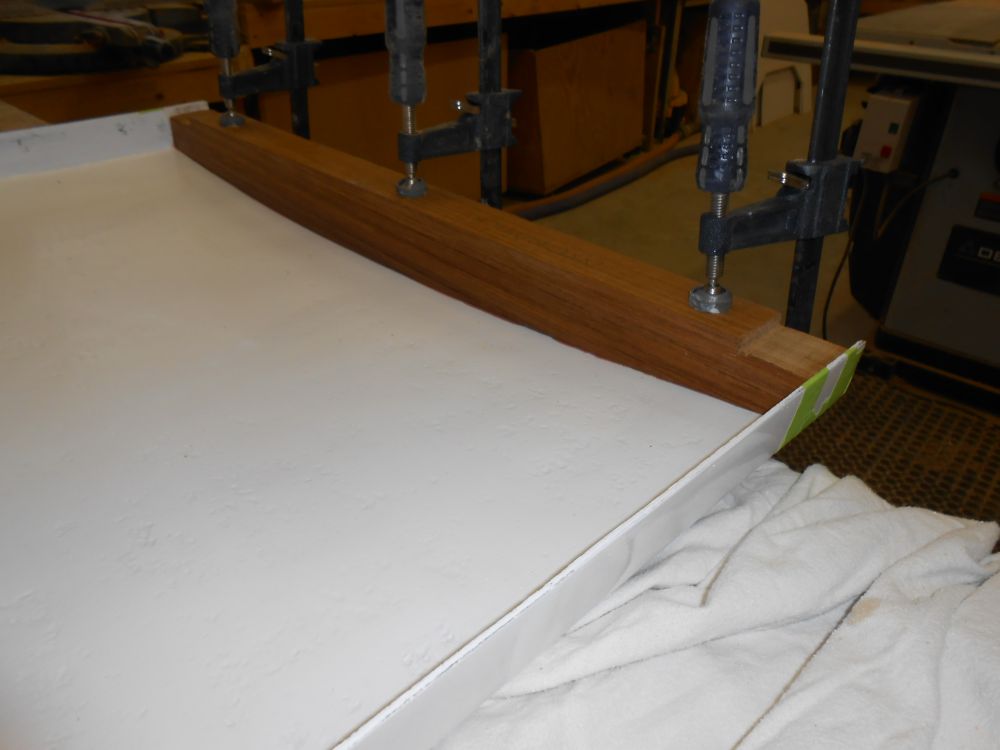
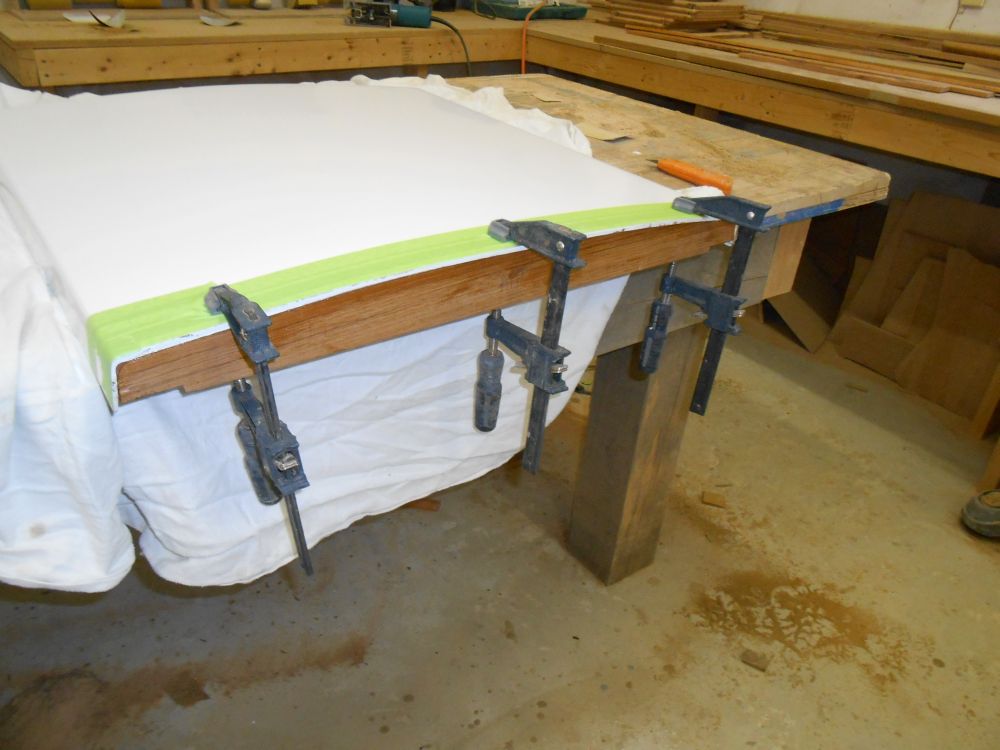
Next, I got to work on the trim at the aft end of the hatch, which would also incorporate additional bearing surfaces on which the hatch would slide. Beginning with the original trim as a guide, I first split the two screwed-together pieces apart to give me an accurate piece that fit within the hatch and I could use as a template. From teak stock on hand, I prepared a new piece, though I made some minor changes to the shape of the piece to keep the bottom edge above the sides of the hatch opening, thereby avoiding possible interference with trim that I'd be installing later.
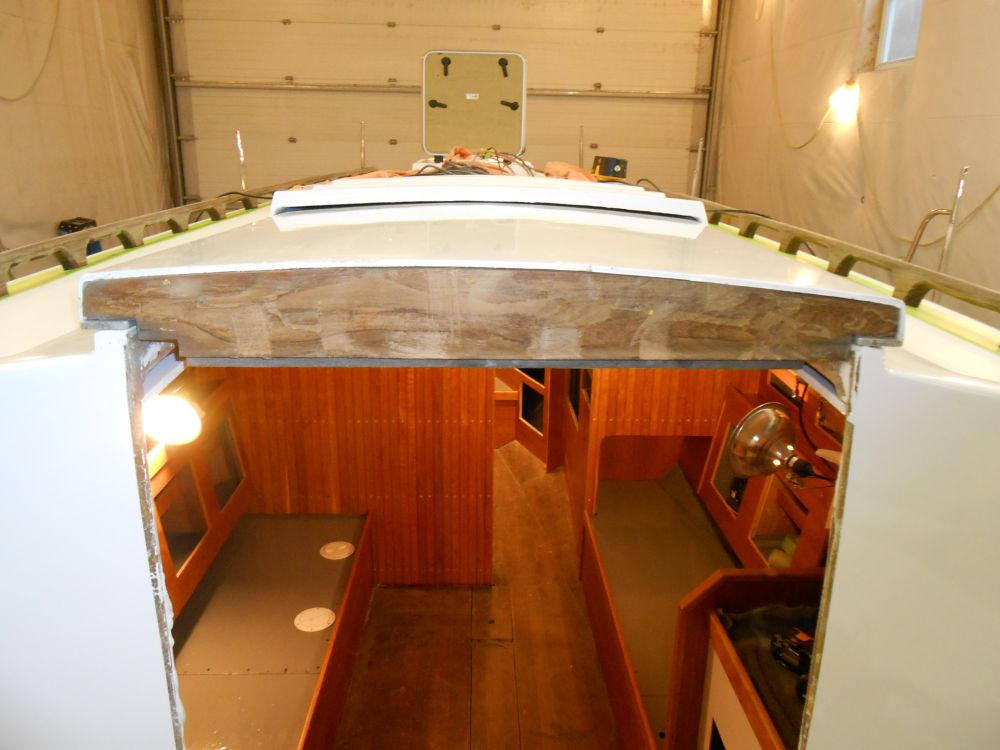
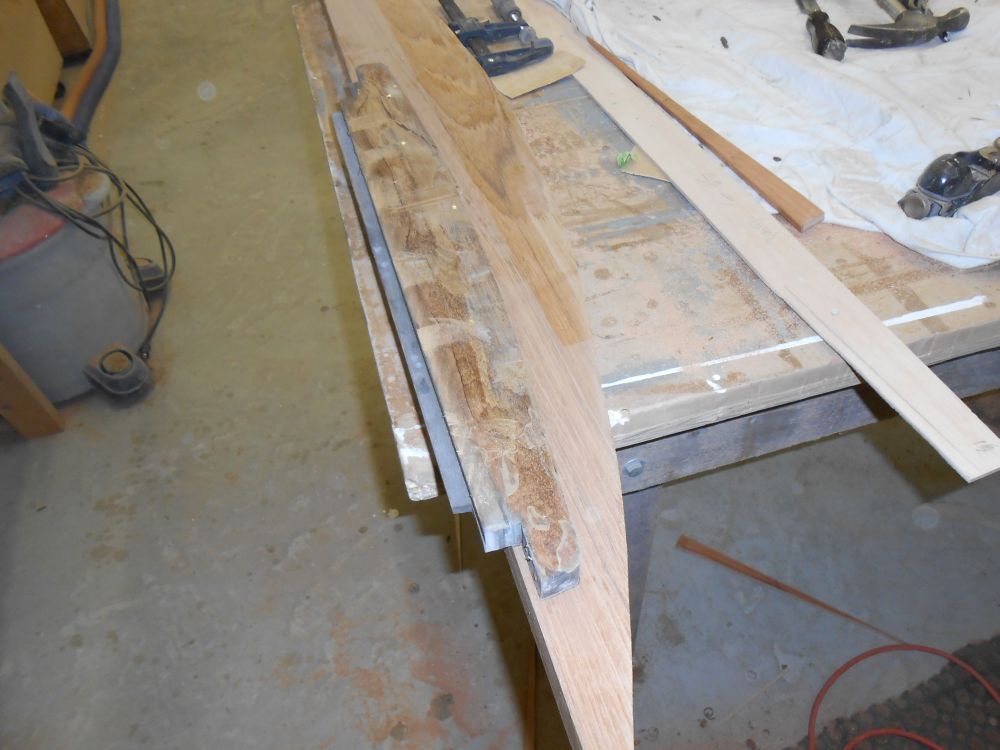
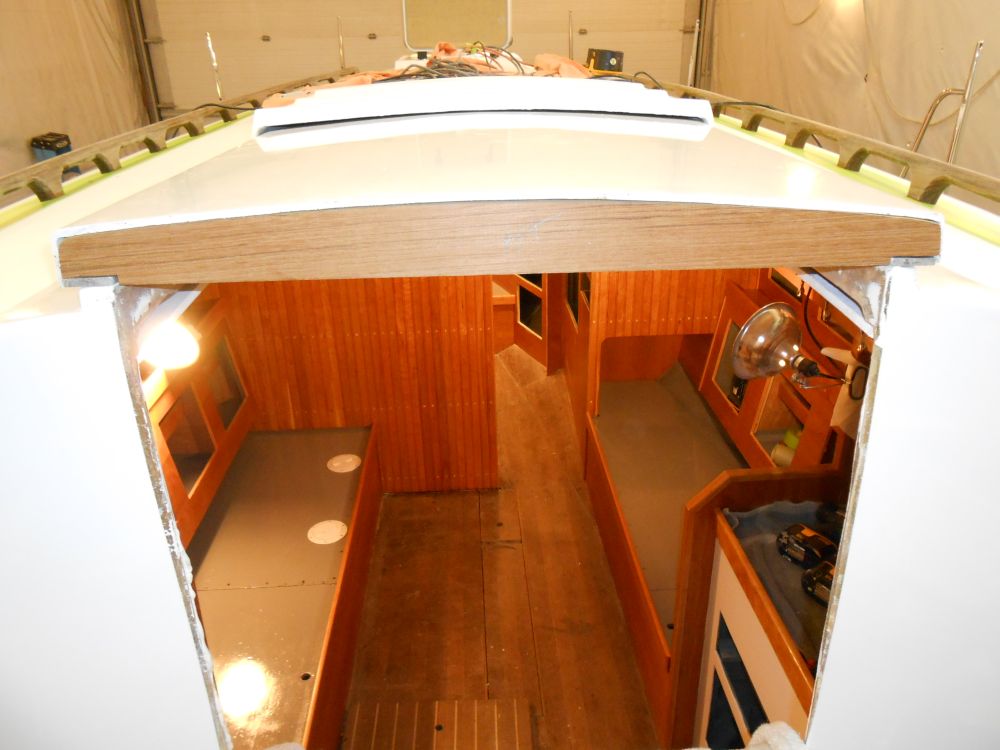
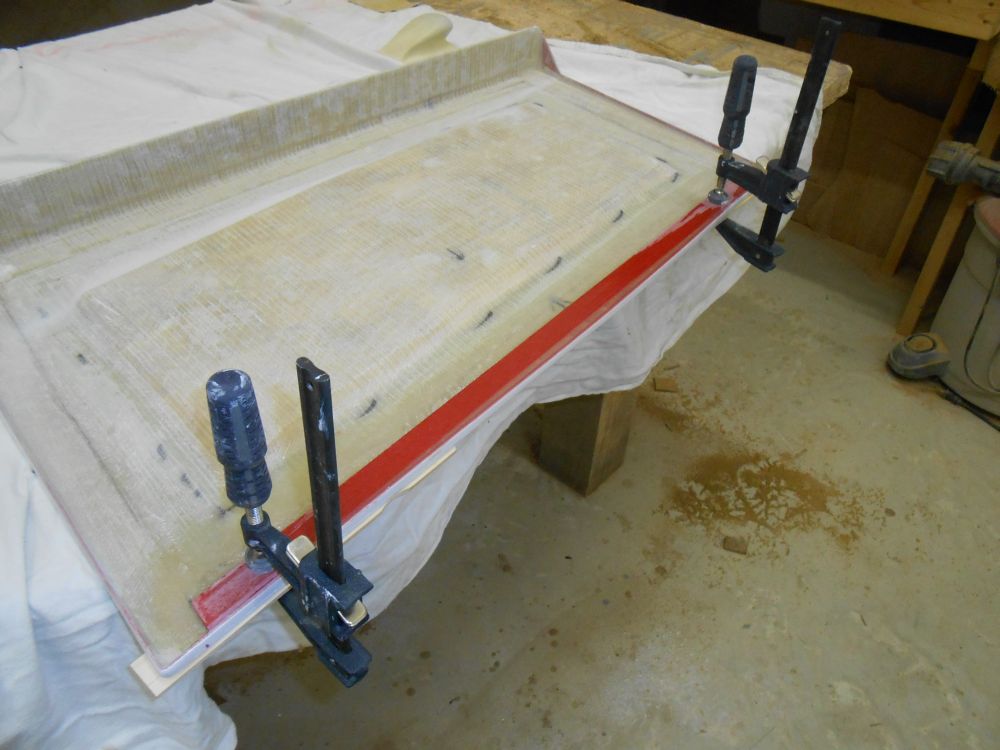
I removed paint from the bearing surface inside the hatch, then epoxied the new teak in place, clamping it securely and setting the hatch aside for now.
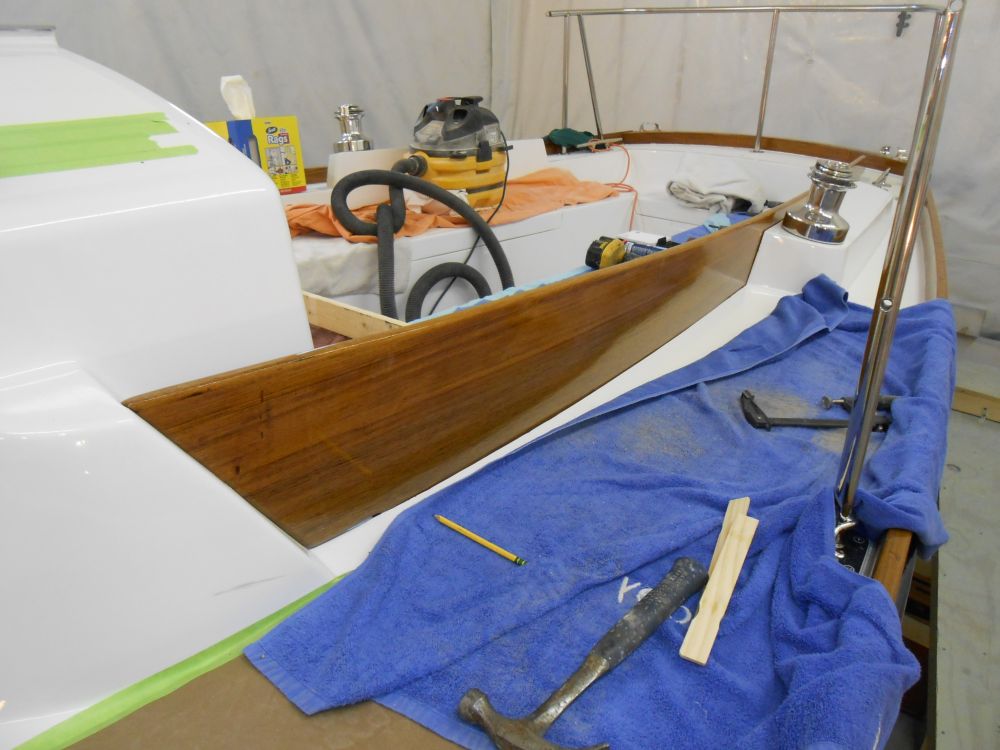
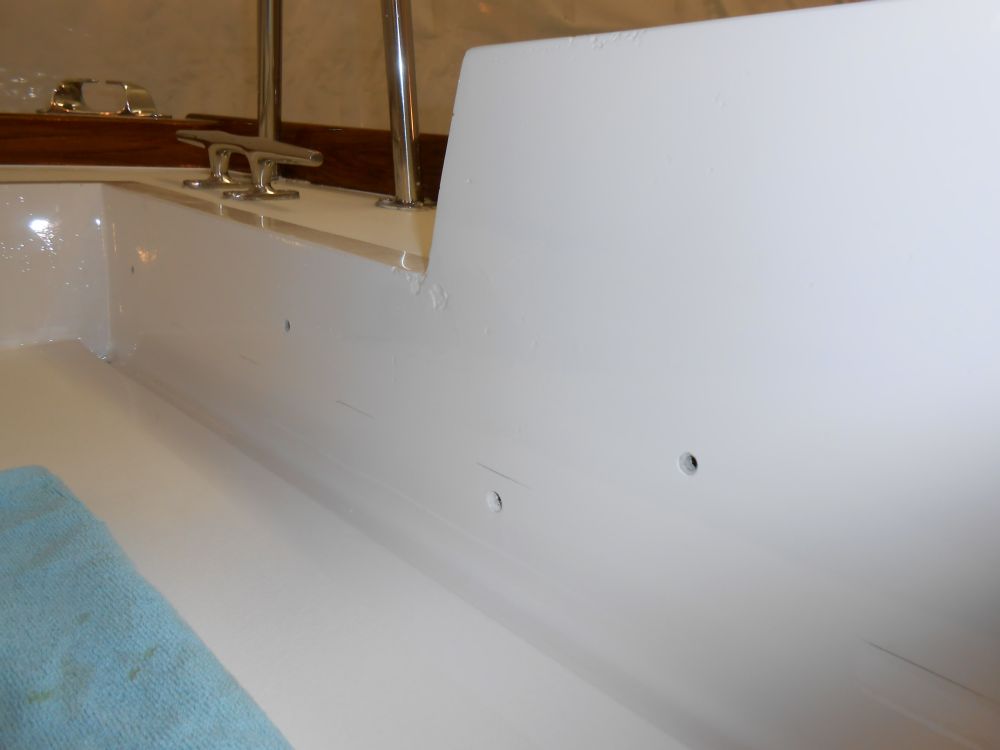
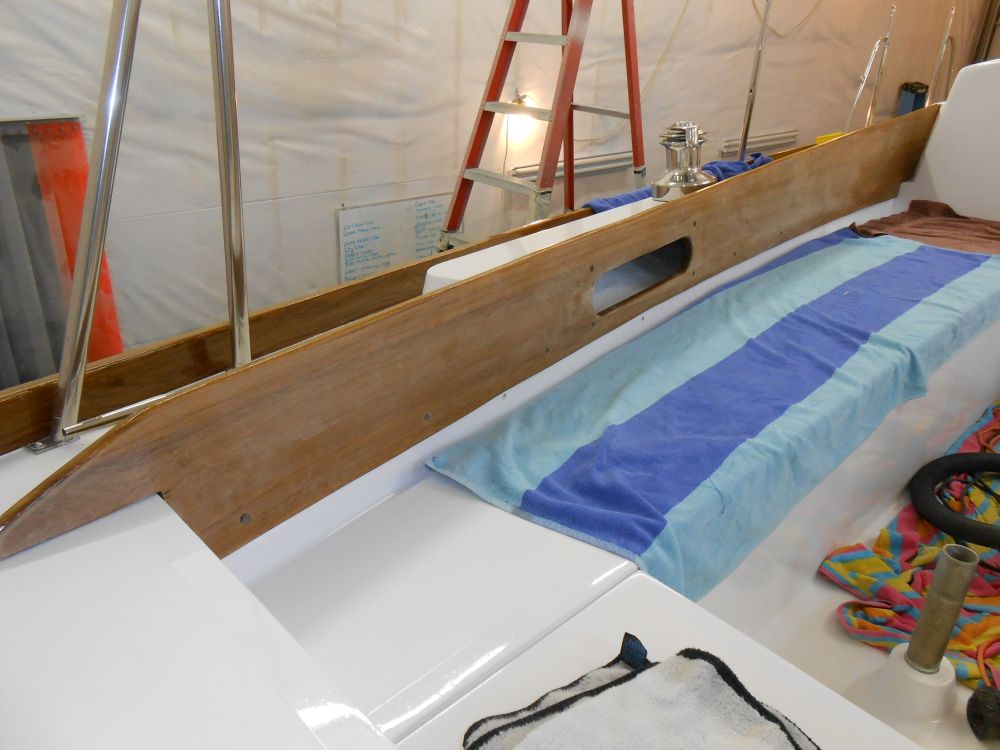
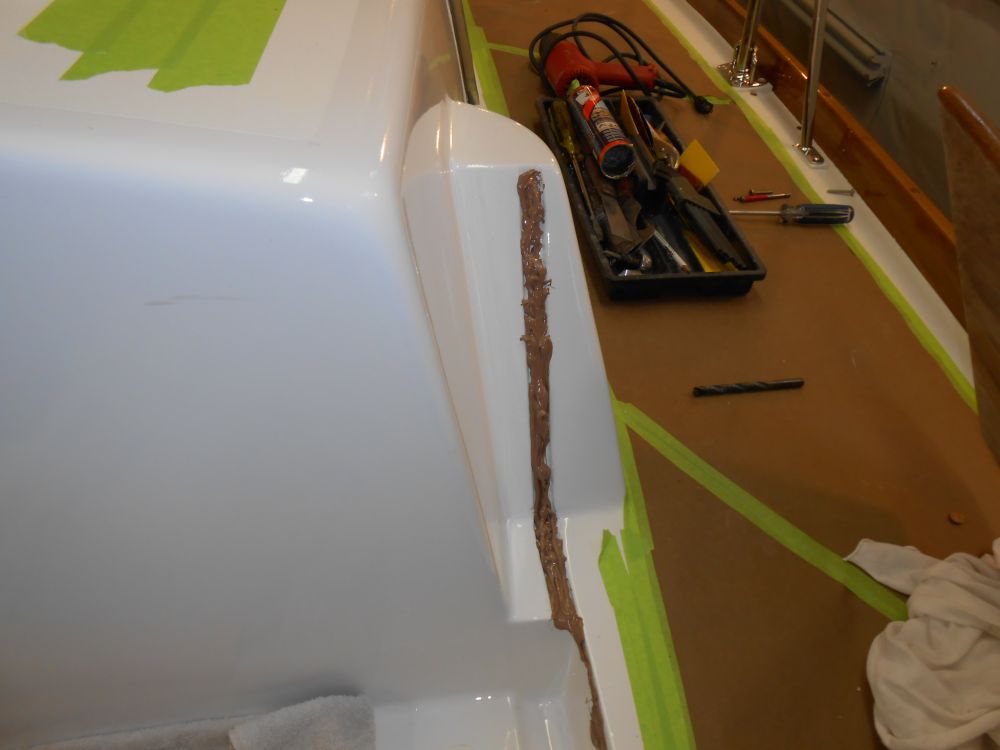
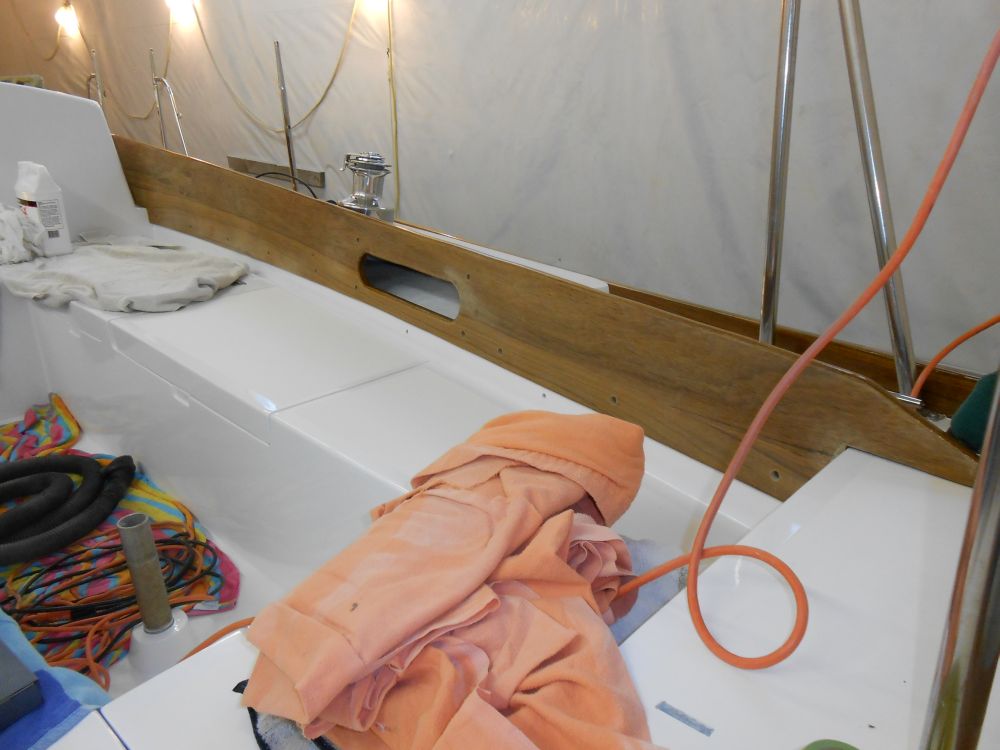
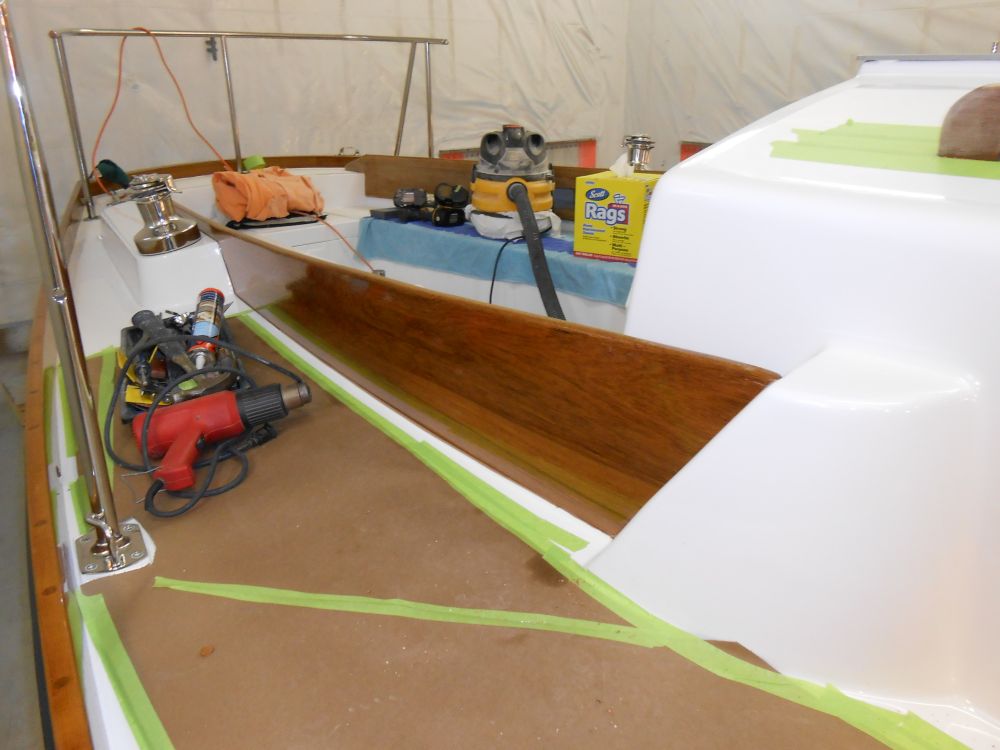
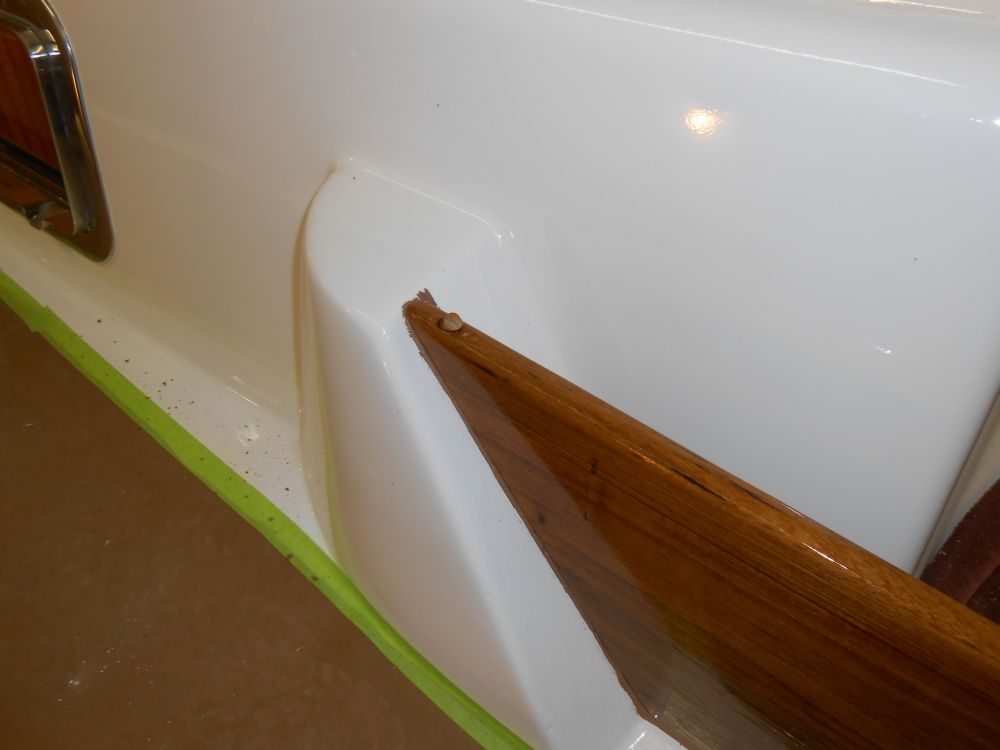
I decided to install the cockpit coamings, as much to get the unwieldy pieces out of my way as anything. Beginning with the port side, I determined fastener locations along the bottom edge, then drilled 1/2" bung holes and 1/4" through holes for the fasteners, at 12" centers. Then, I fit the coaming in place, clamping and bracing it as necessary so I could drill and tap the fiberglass for the fasteners.
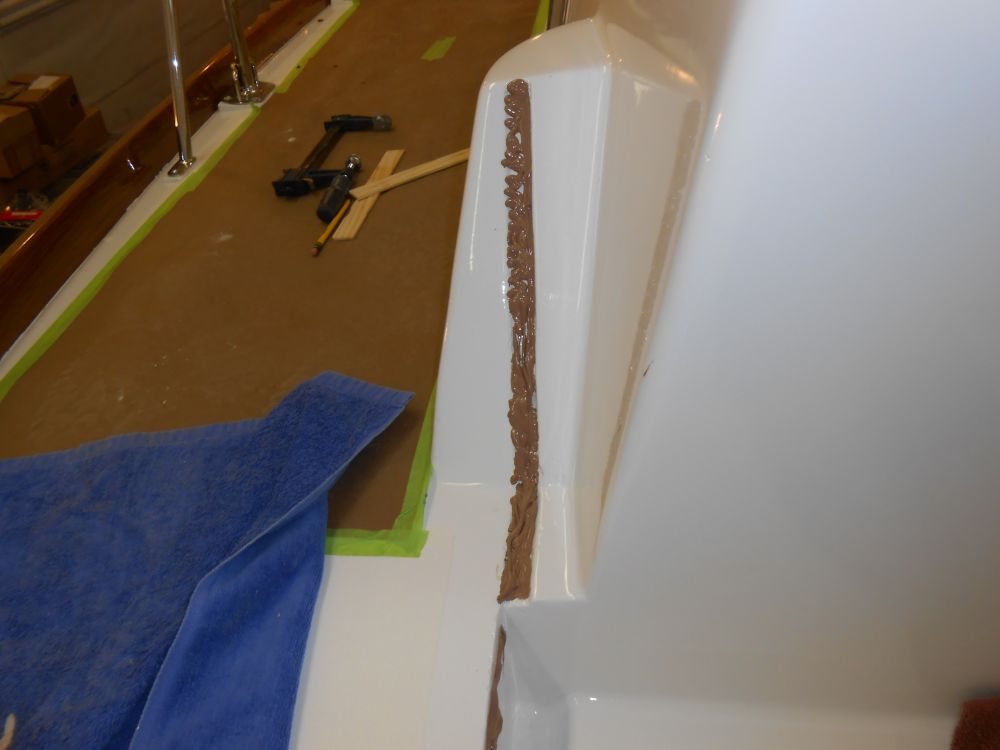
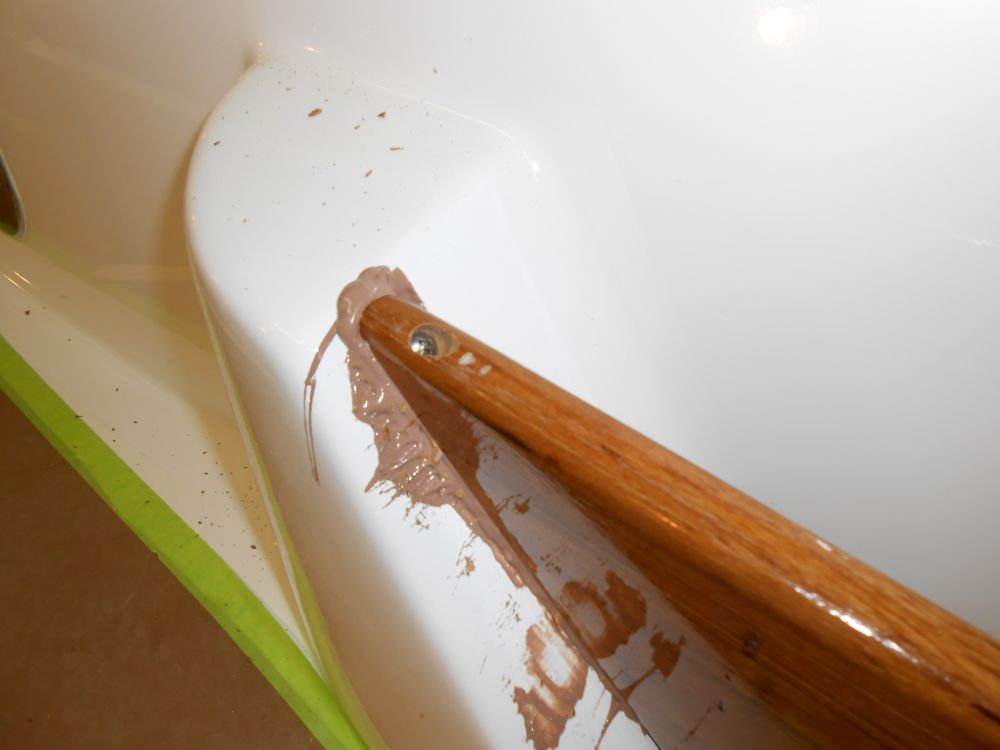
With all the holes drilled, I removed the coamings and milled the usual small countersinks at the hole locations, then cleaned up the detritus and prepared for final installation. I applied substantial blobs of sealant at all the fastener locations, and also a bead along the top portion of the fiberglass, but I didn't go crazy with the sealant here since I didn't want to make removal completely impossible (to avoid the fun and destruction I had on 2/7/12; fun to also look back at where we started...).
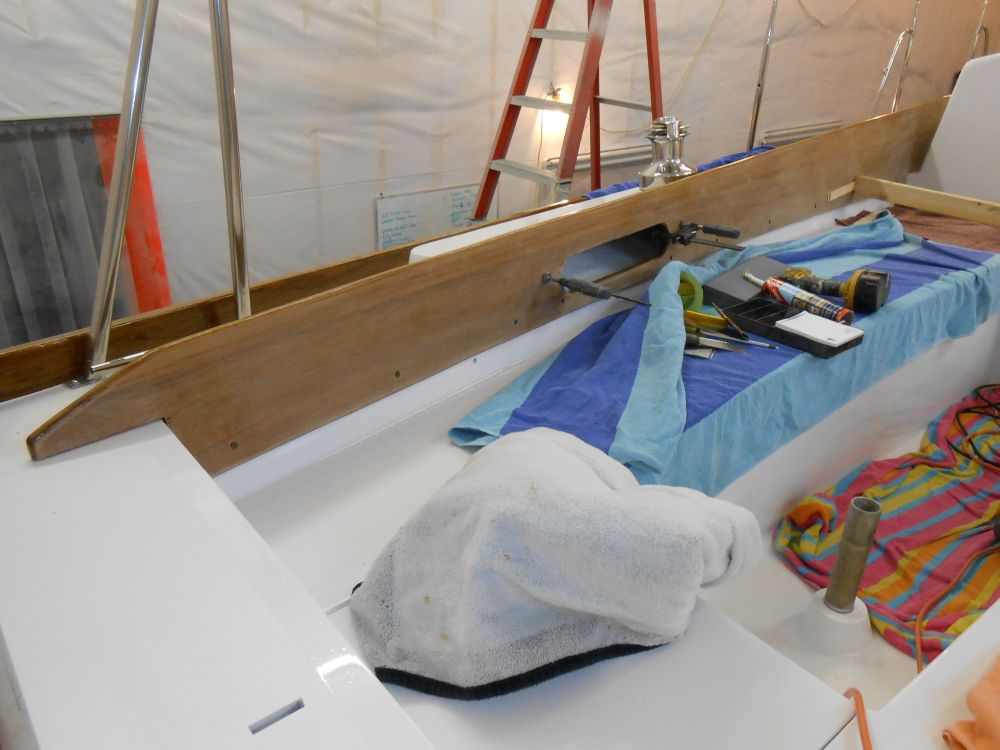
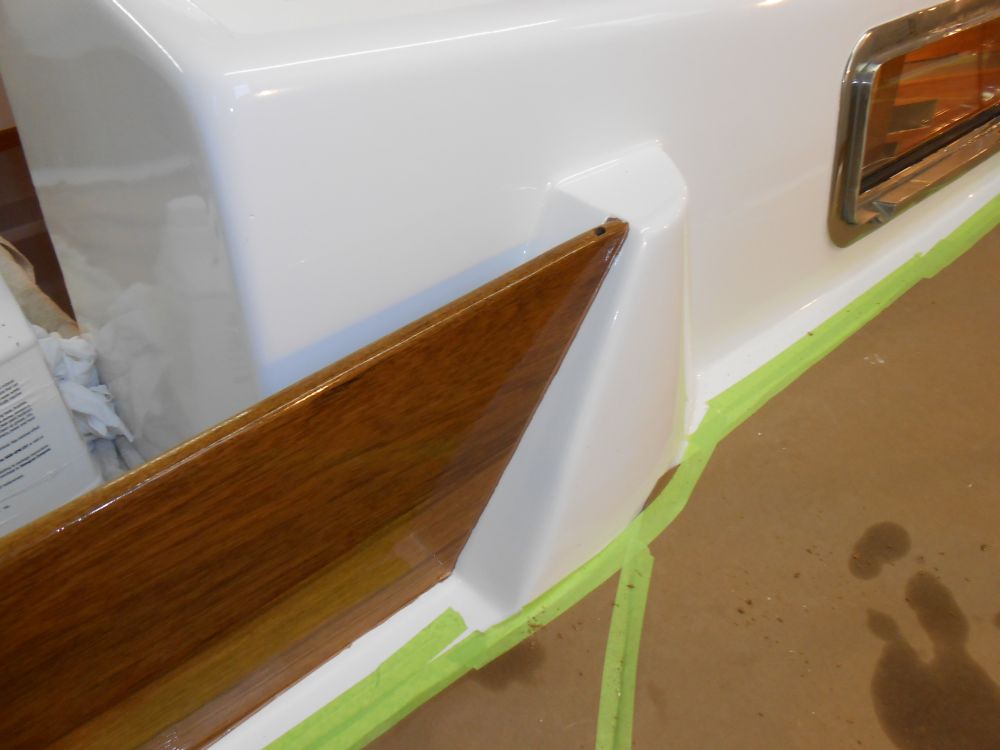
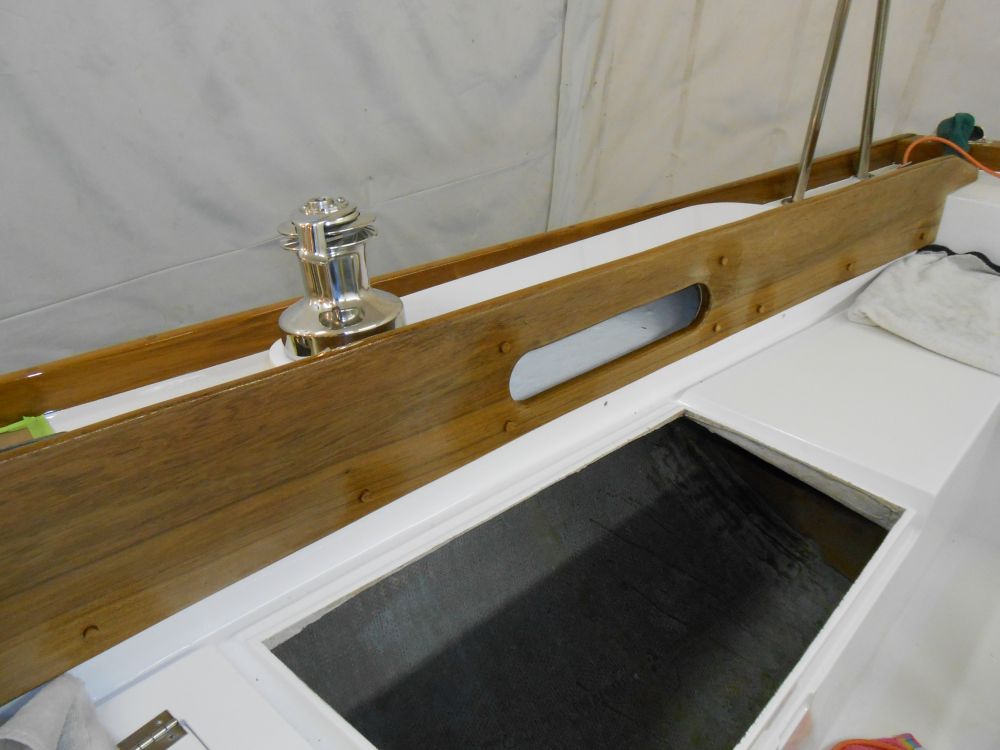
Later, I planned to add a cosmetic bead of sealant along the seam from the outside just to prevent any nuisance water. I applied heavy beads of sealant to the molded groove at the forward edge of the coaming. Then I installed the coamings with 1/4-20 pan head machine screws, and added nuts and washers where possible.

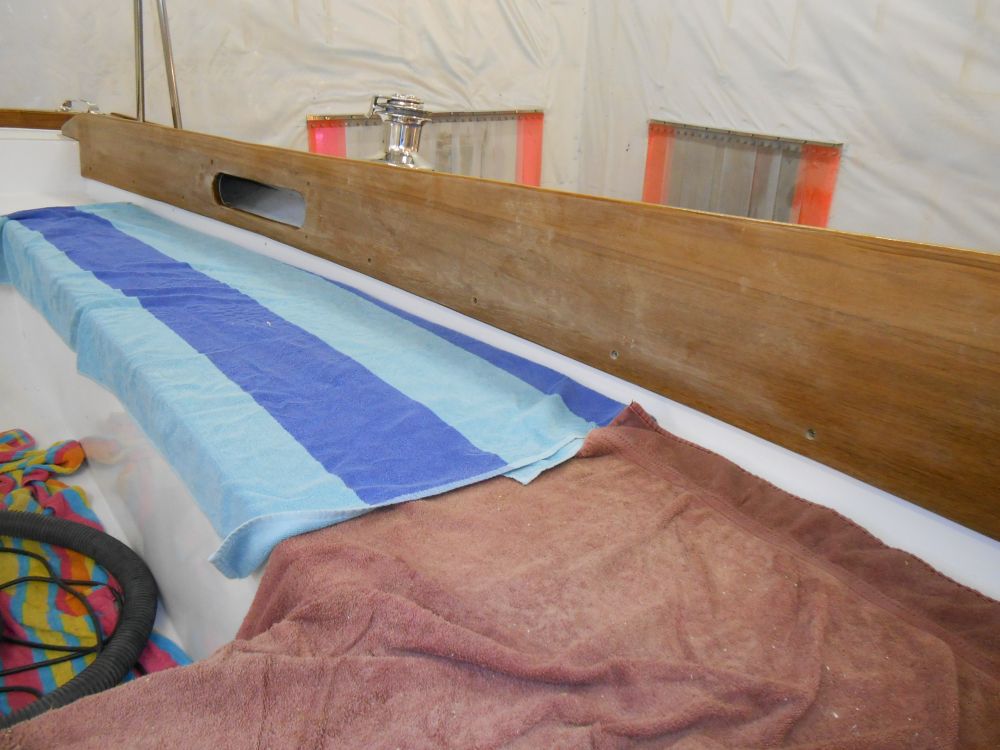
With the coaming bolted in position, I added a single #10 screw at the forward top corner to hold the coaming in place at the molded coaming block. I milled a 3/8" recessed bung hole for the screw.
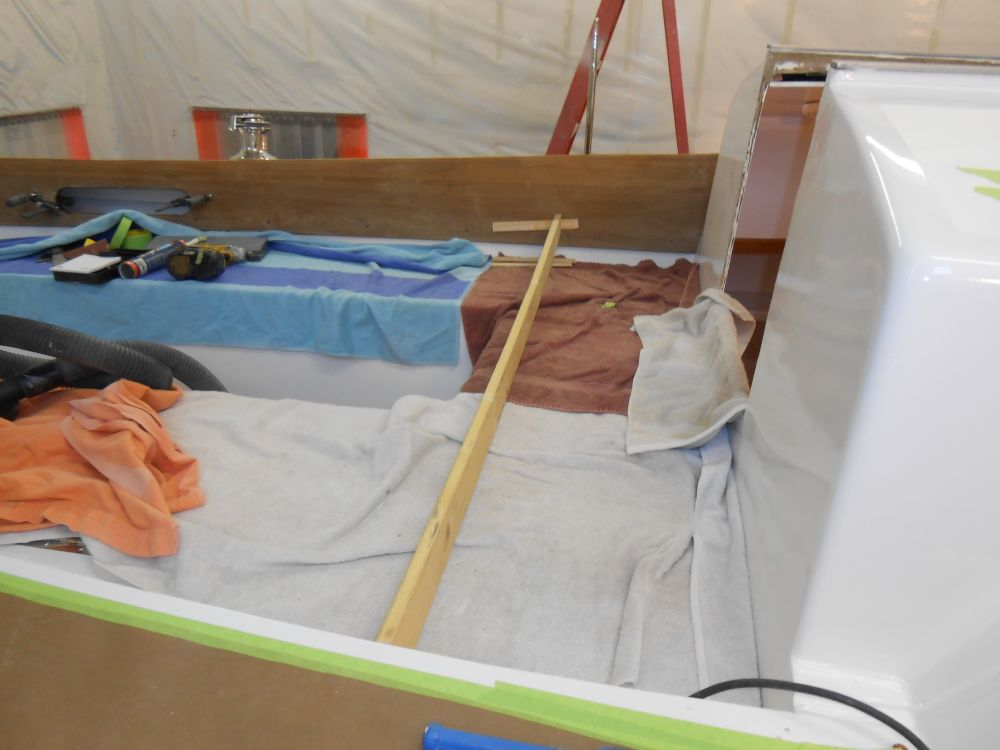
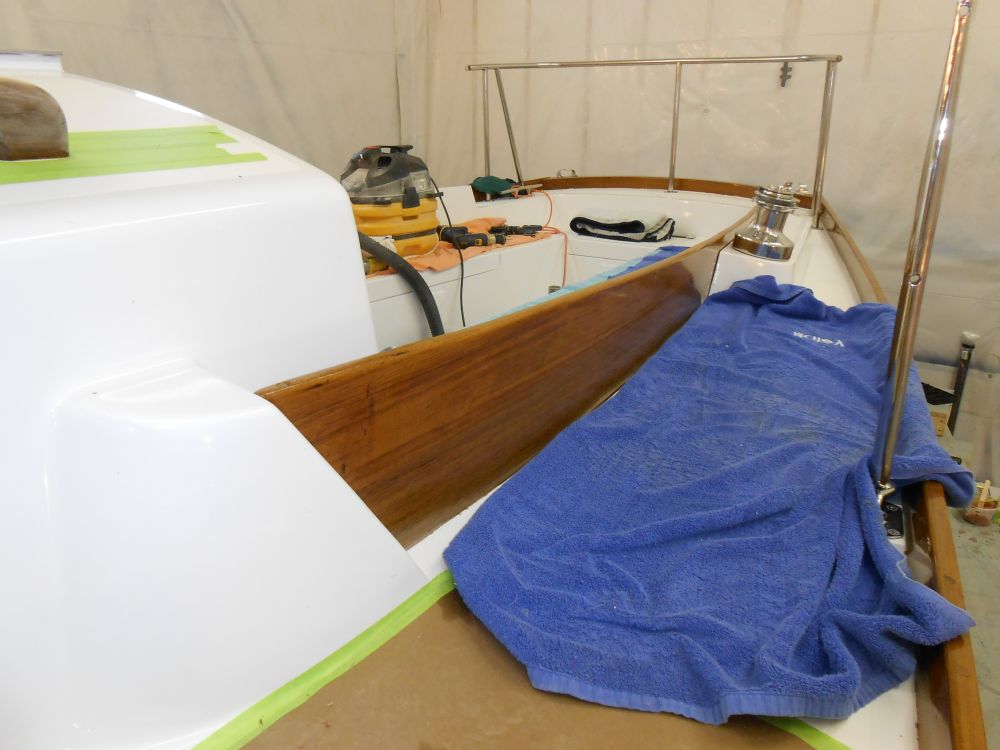
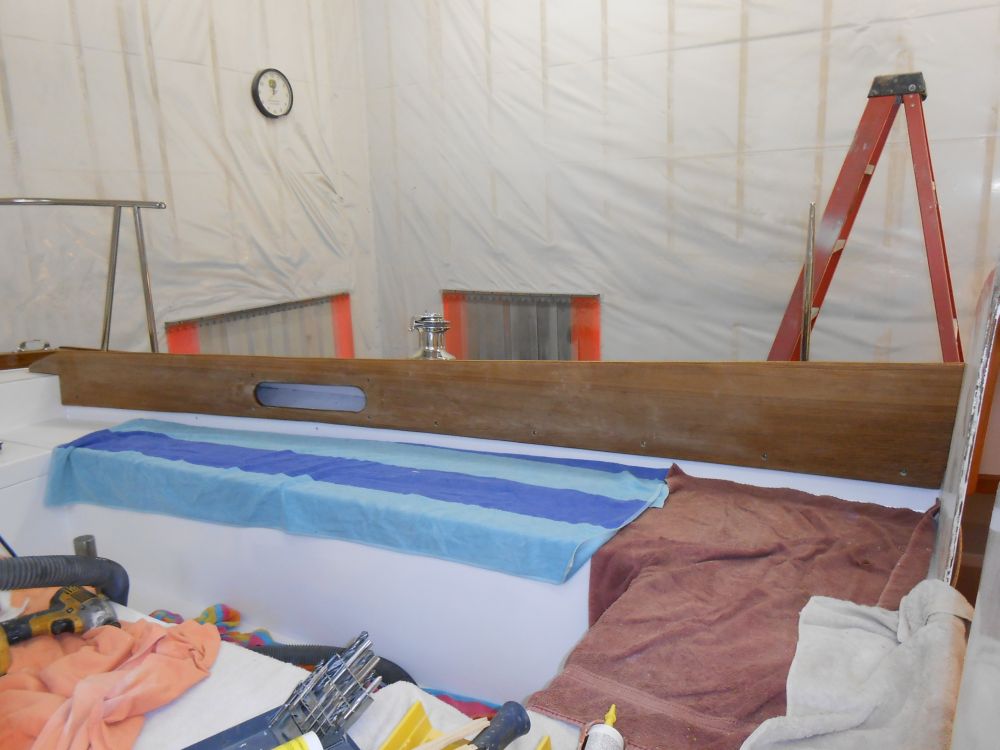
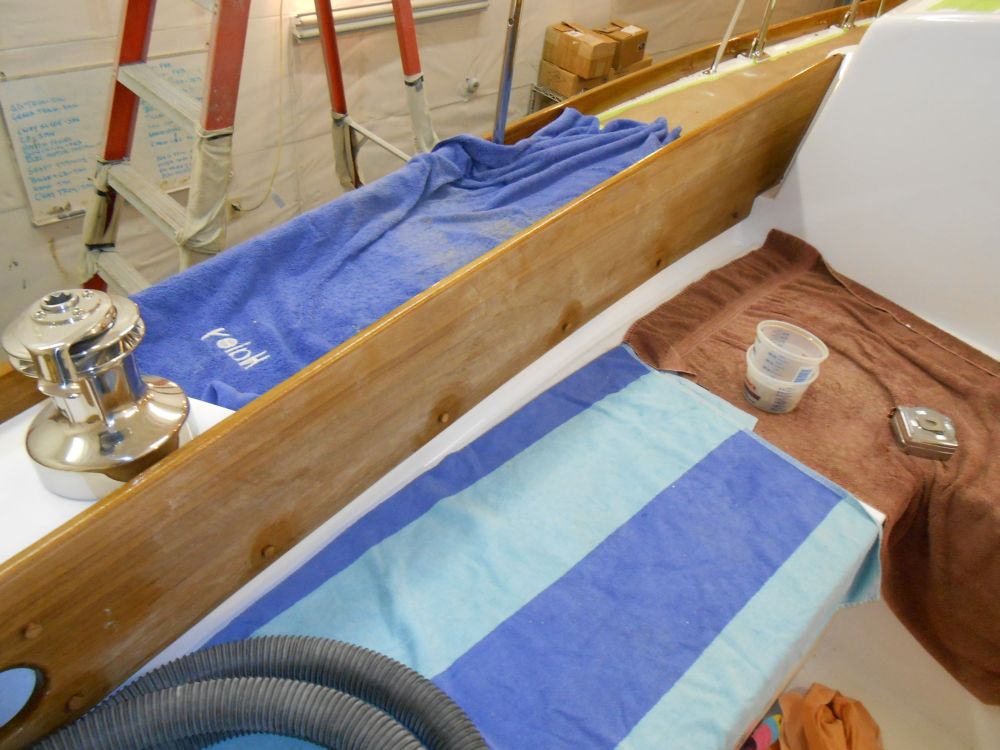
After cleaning up the excess sealant as needed, I installed the starboard coaming in the same way. Later, I bunged all the screw holes in the coamings.

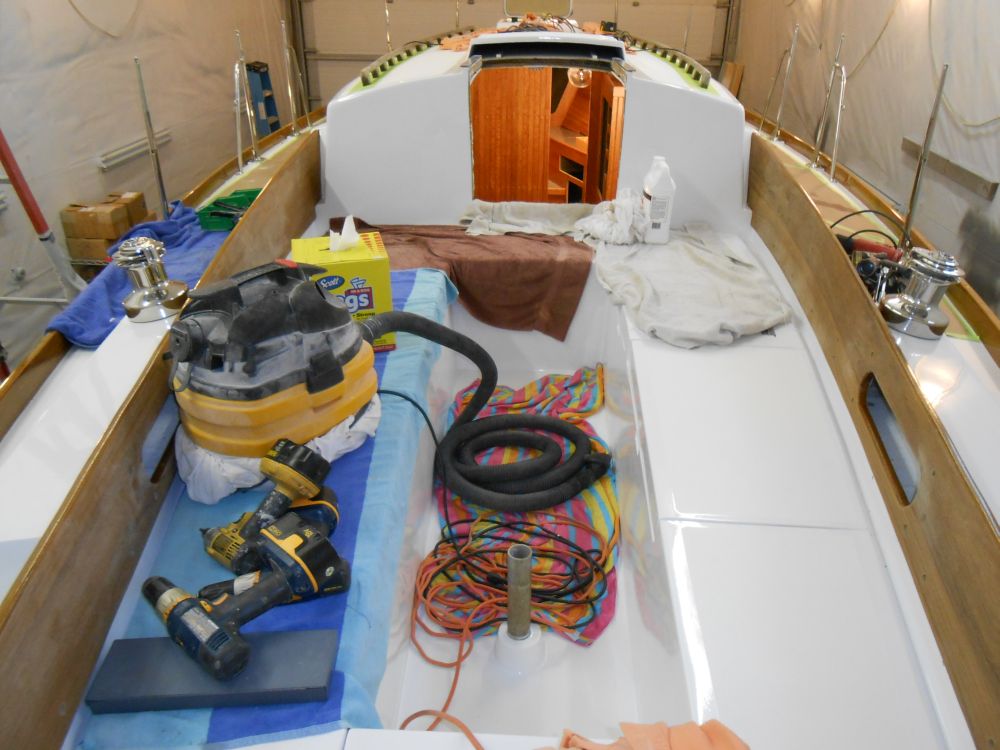
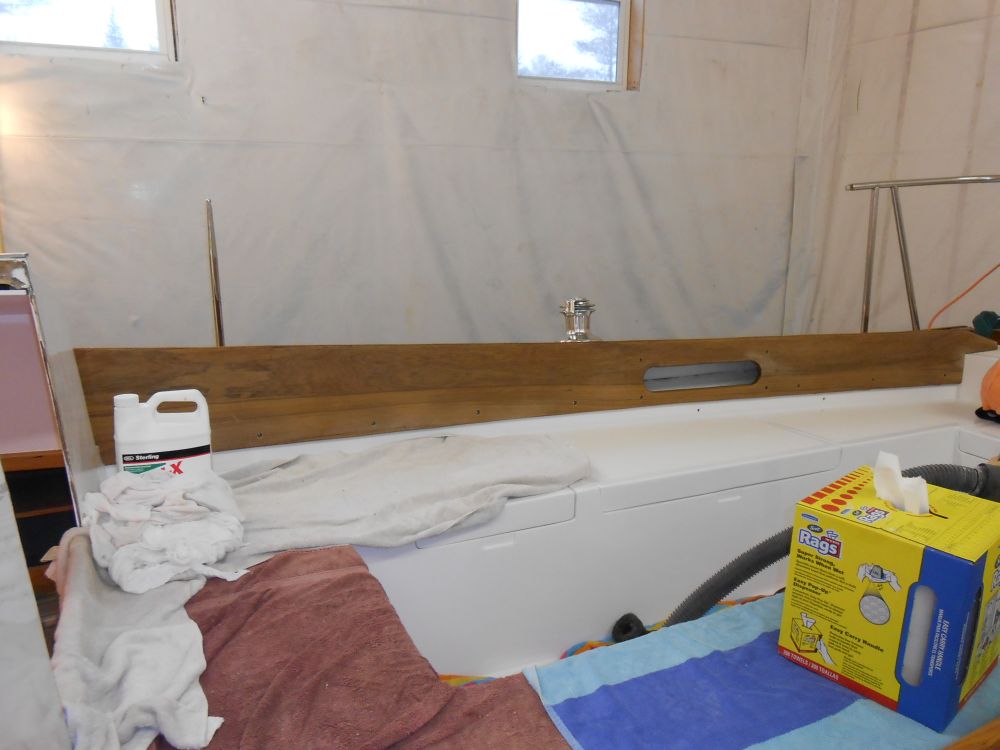
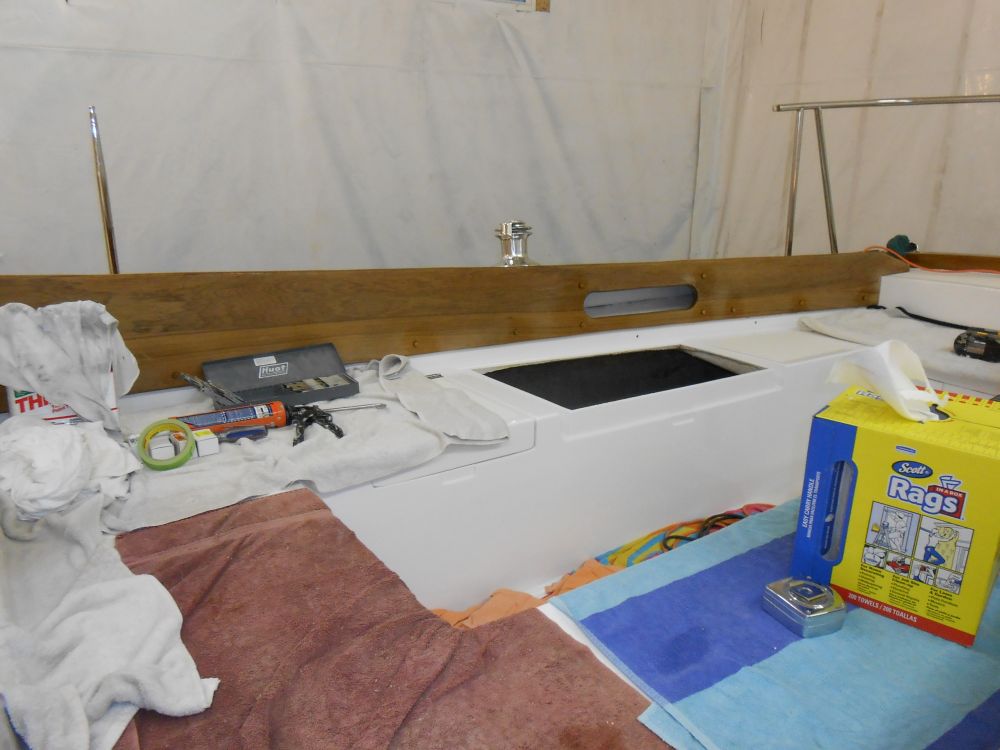
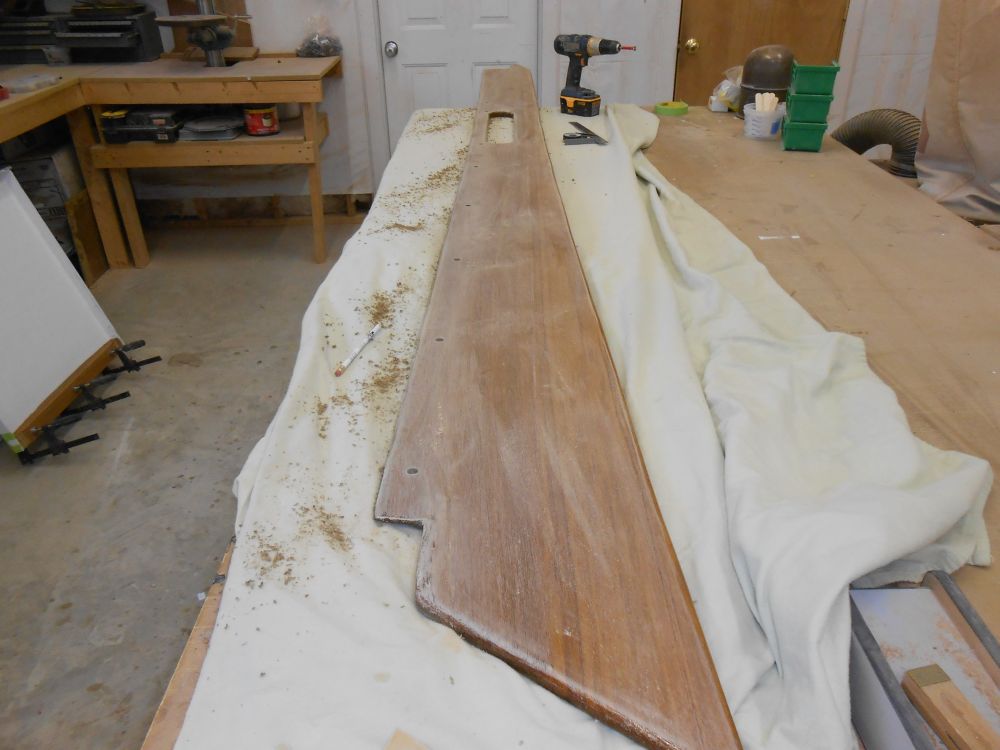
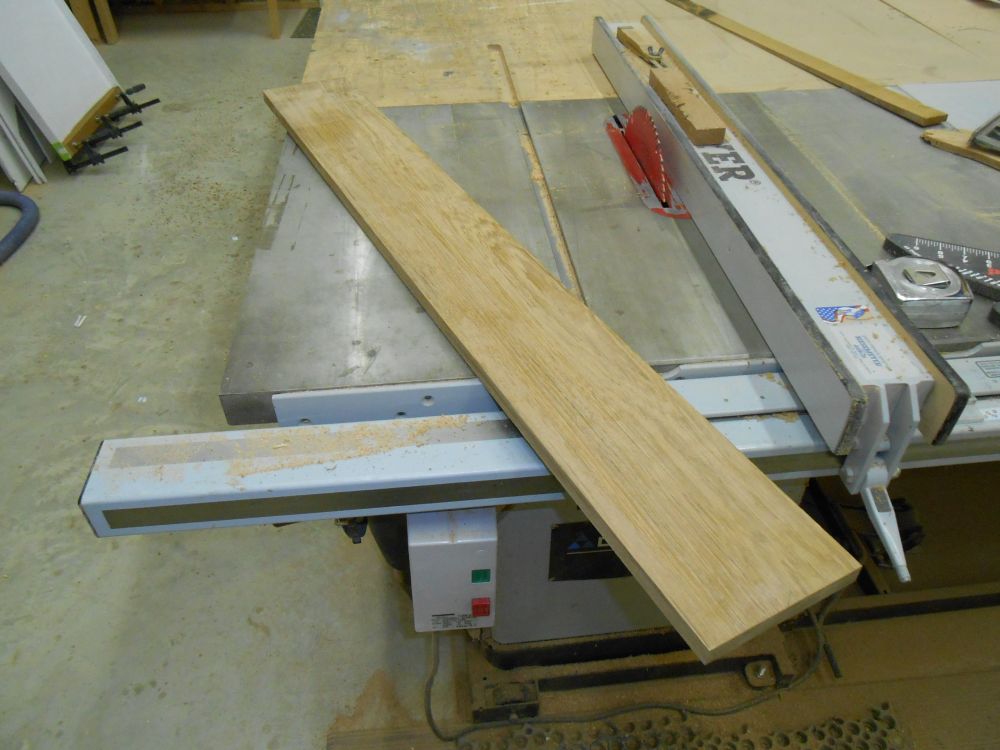
With the coamings in place, I made some rough measurements across the aft end of the cockpit, and prepared a teak board for the trim there, resawing the 3/4" piece needed from some thicker stock on hand. I'd cut and fit this presently, but I had some other things to do first.
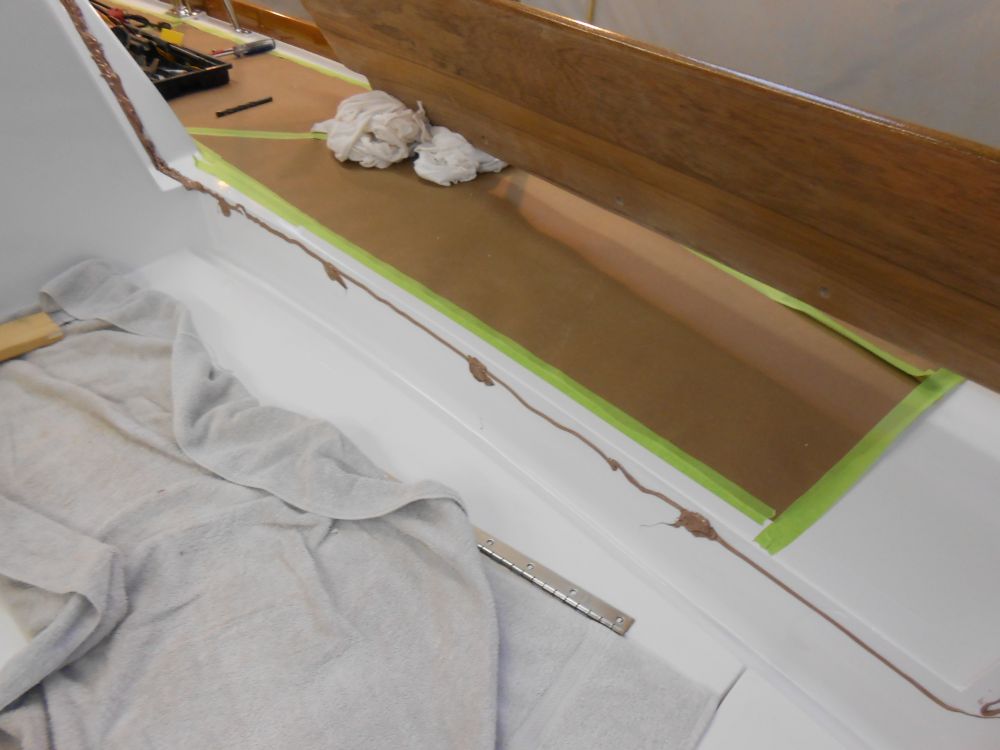
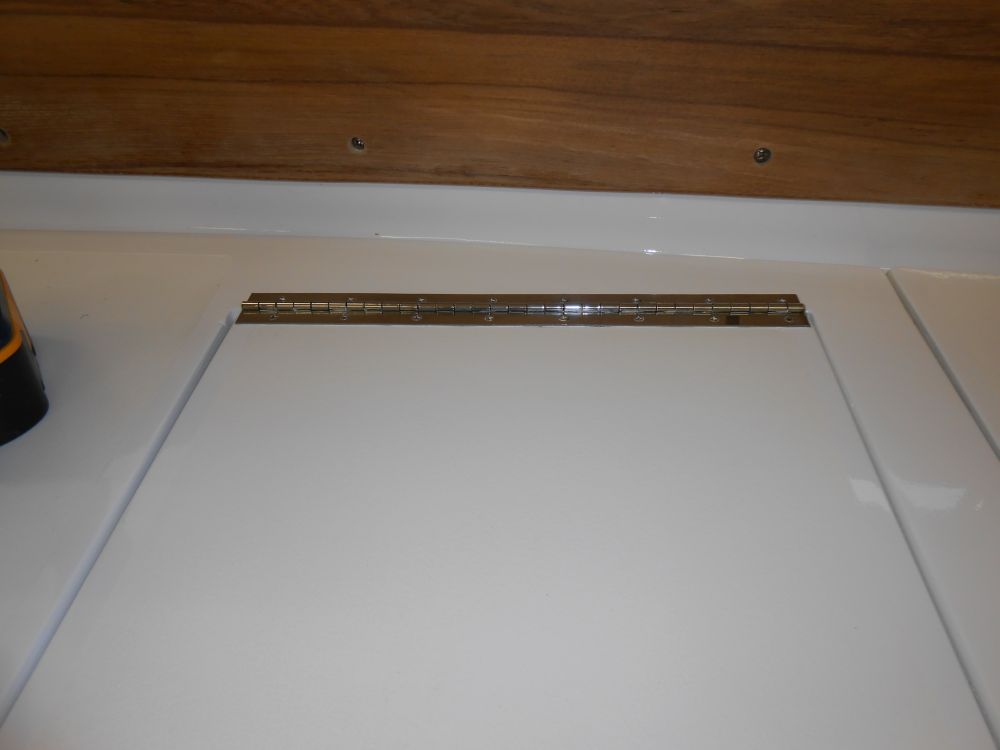
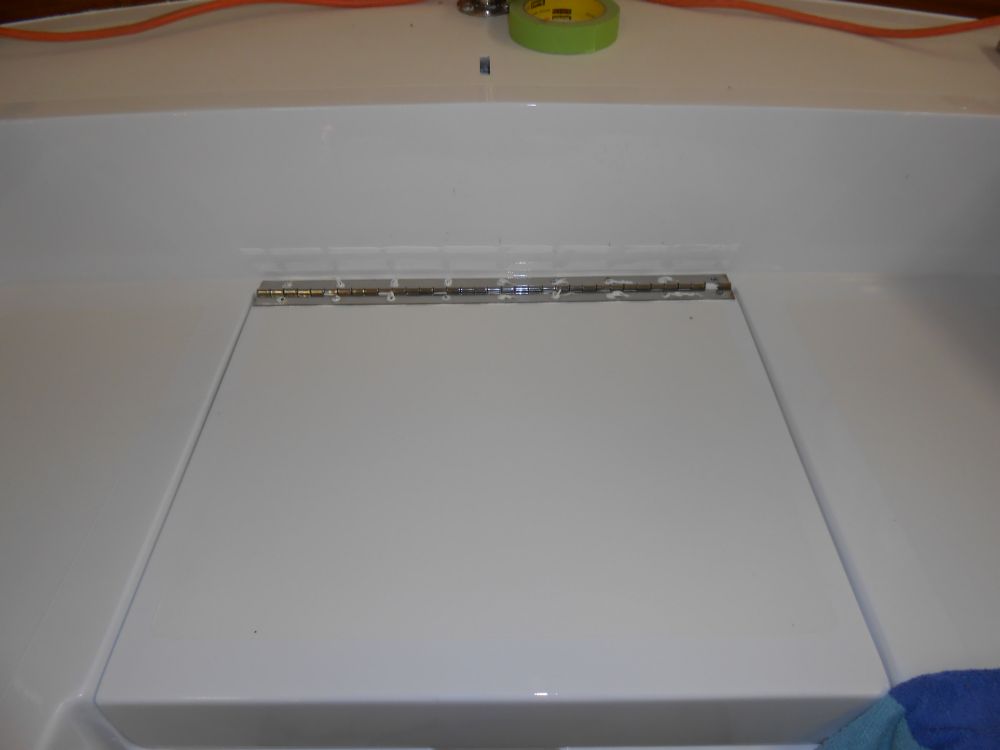
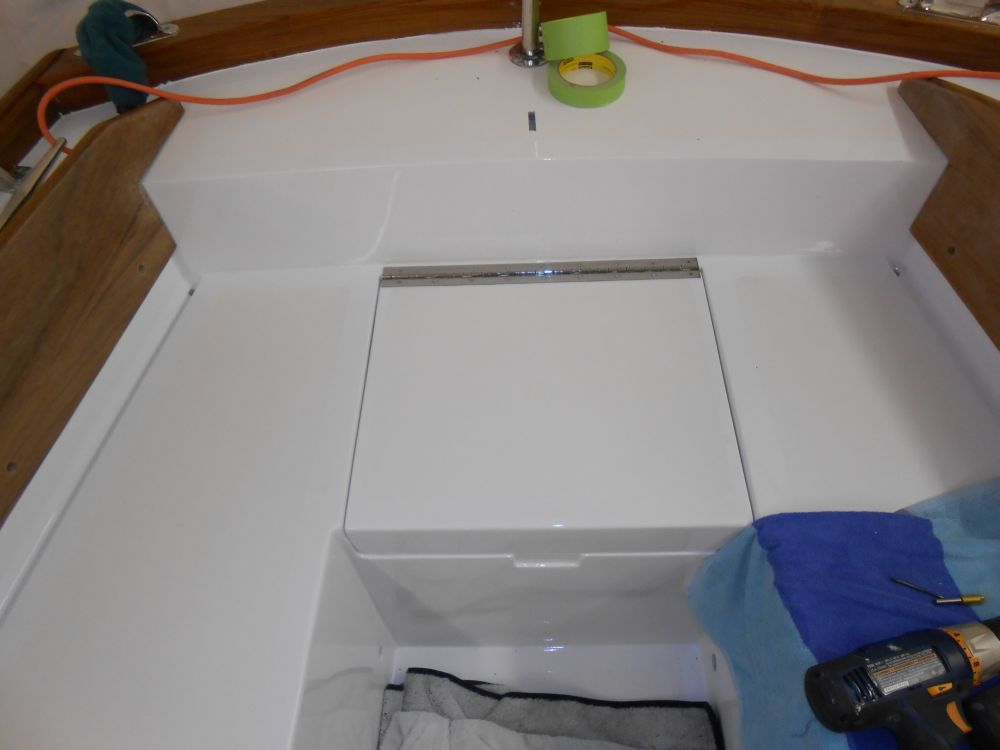
While I was in the cockpit, I proceeded with the piano hinges on the three hatches. With new fasteners now on hand, I drilled and tapped the two smaller hinges (icebox and lazarette) for the surface-mount hinge, then installed the hinges with #6 machine screws and sealant.
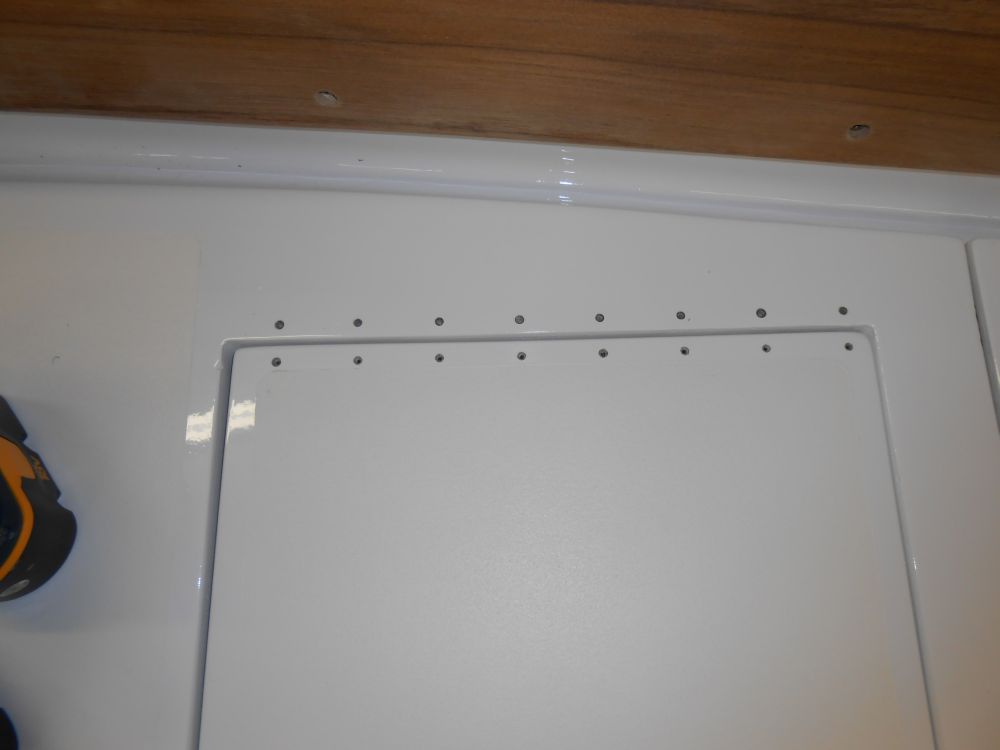
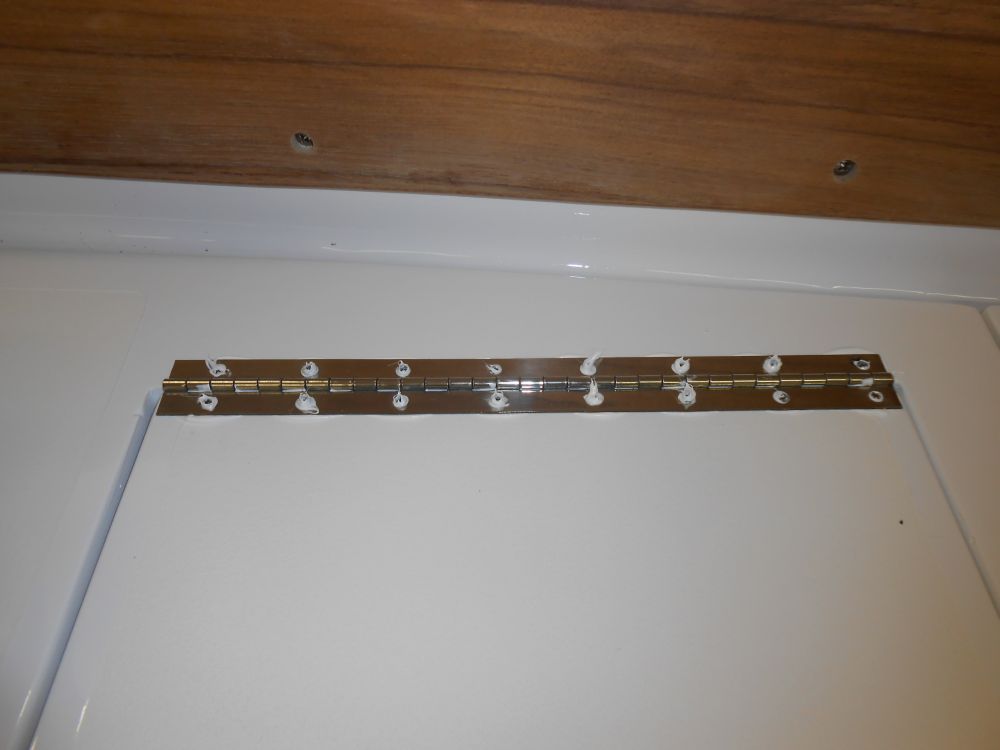
The larger hatch for the starboard locker required a hinge mounted to its underside, since the gutter outboard of the opening obviated the possibility of a surface mount. The little edge extensions I'd built on the hatch meant that I needed to add a 1/4" thick length of fiberglass to the underside of the hatch to provide a flush surface on which to mount the hinge, so I epoxied in a piece of prefab fiberglass stock and set the hatch aside.
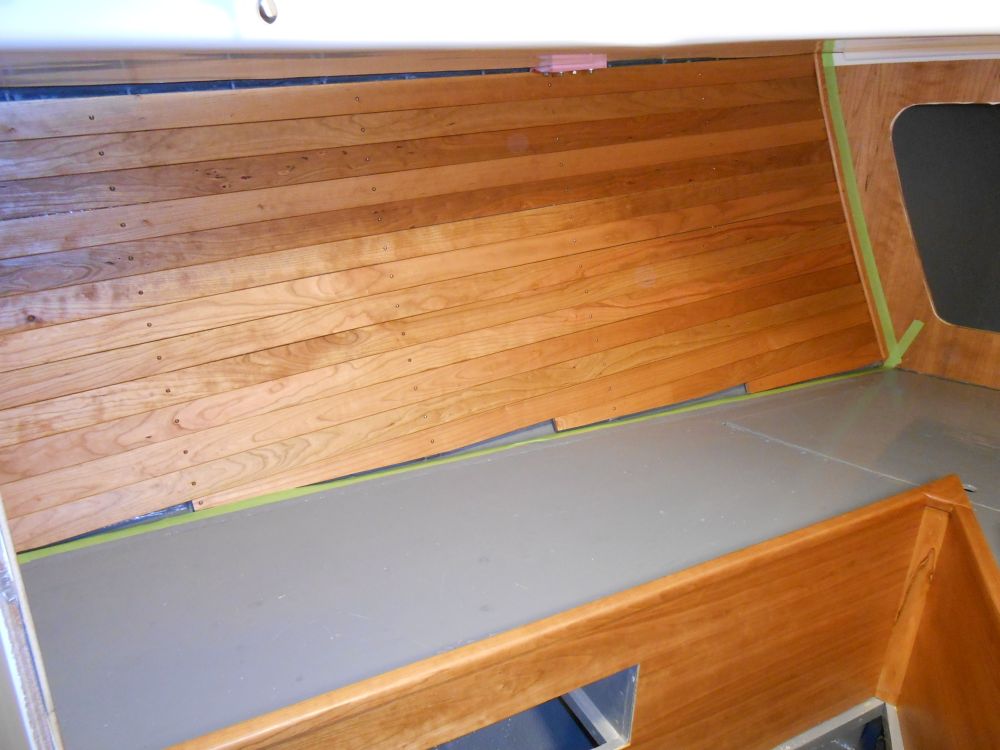
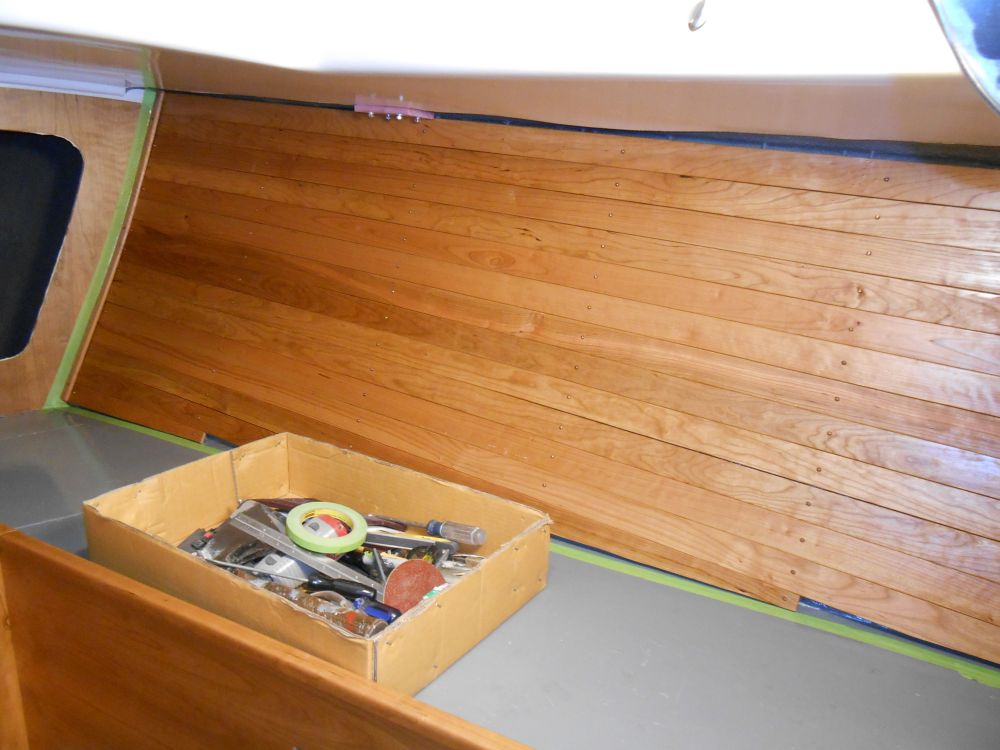
Finally, I masked off around the forward cabin ceiling planks, and applied another coat of tung oil to the boards, which I'd continue doing as needed till I'd achieved the buildup I wanted.
Total Time on This Job Today: 8.75 hours
