
110 Cookson Lane | Whitefield, ME 04353 | 207-232-7600 | tim@lackeysailing.com
Snow Lily | Friday, January 25, 2013
Starting once more with the coamings, I applied a fourth coat of varnish to the outboard sides.
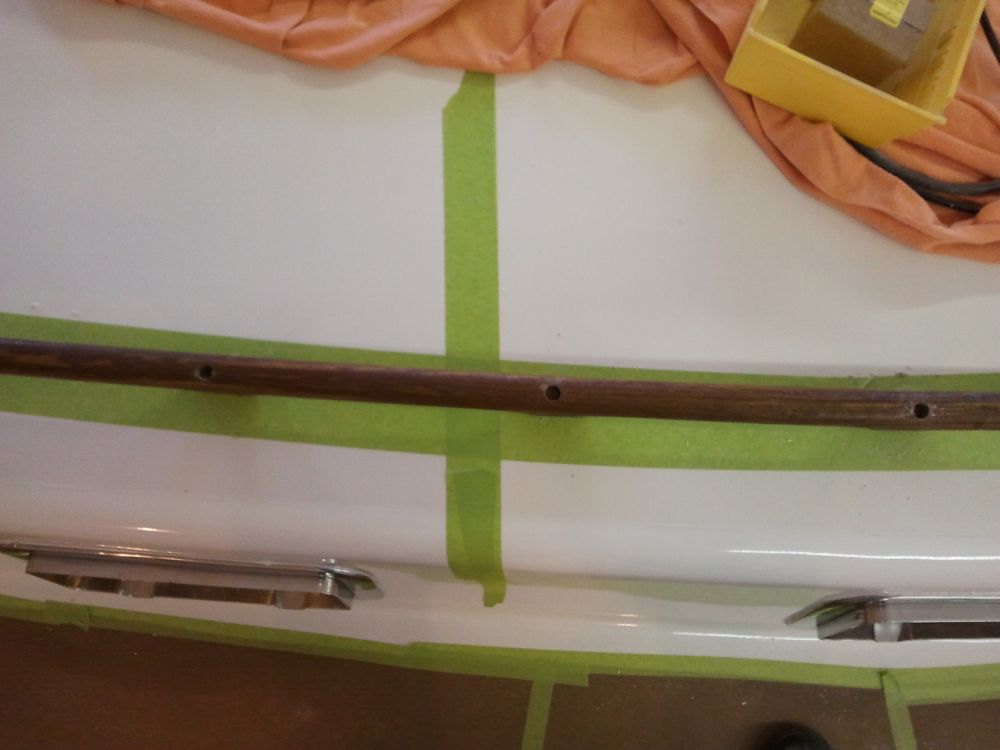
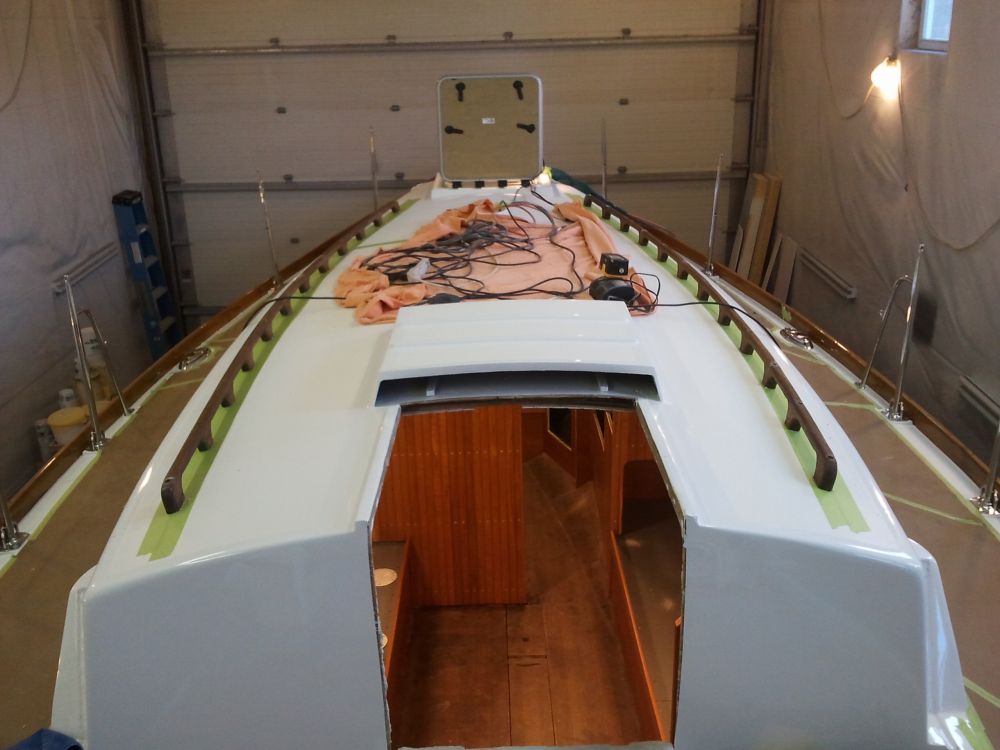
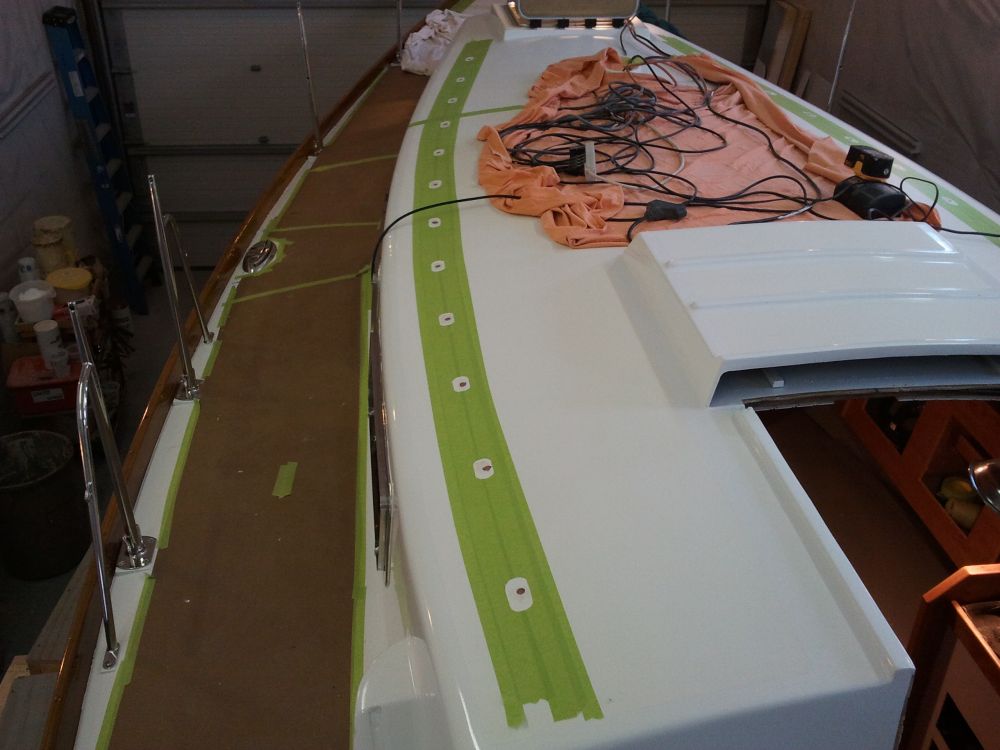
Next, I prepared the handrails for dry-fit installation by boring 1/2" countersinks and fastener holes through the rails. Then, after laying some tape down on the coachroof in way of the rails' presumed location, I did some preliminary layout to determine where the rails should go. The only obstruction belowdecks was the main bulkhead on the port side, so I started with that baseline to avoid having a fastener end up too close to--or in--the bulkhead. I used a strip of tape to mark the location from above. From there, it was straightforward to locate the rail with the fasteners on either side of this mark.
After eyeballing the position from above and belowdecks, I decided it looked best with the center of the rail about 4" from the edge of the coachroof nonskid at the cabin side, or 3-1/2" to the side of the rail, so I laid out and temporarily installed the rails with as many fasteners as required to form it into the curve of the cabin trunk. Then I used the drill to mark the locations of any holes where I'd not yet installed a fastener.
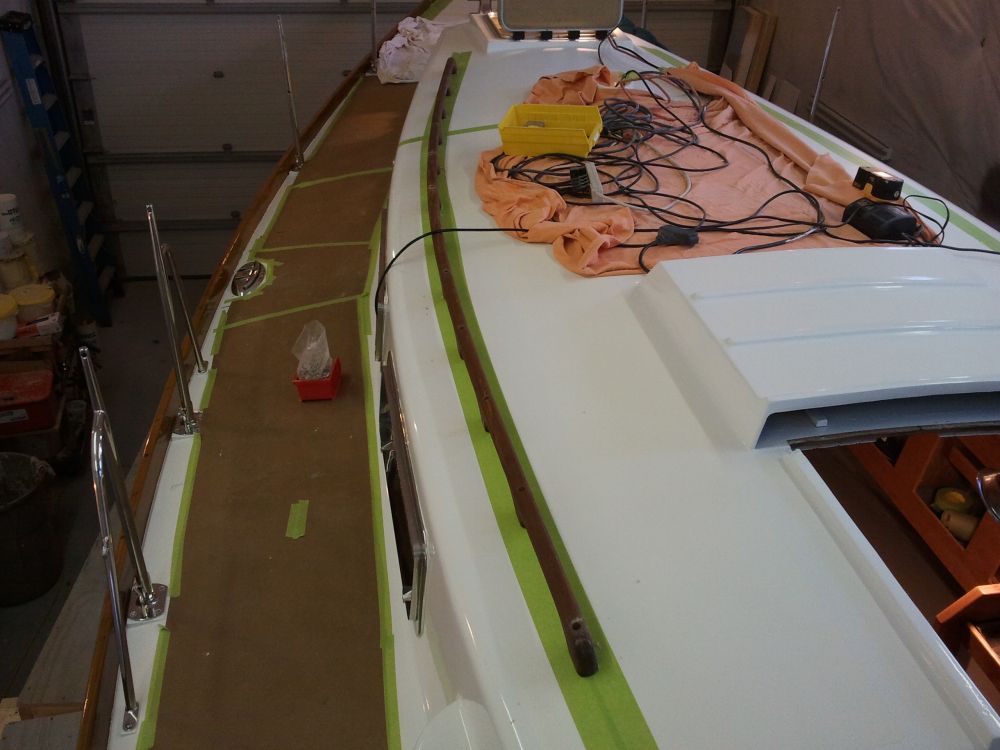
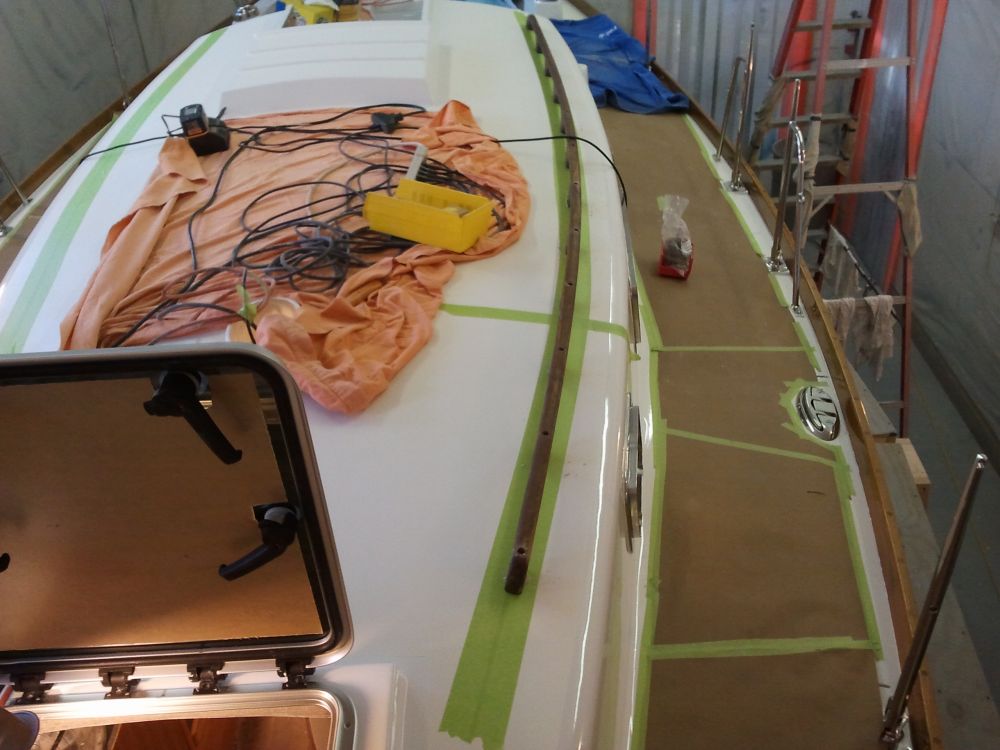
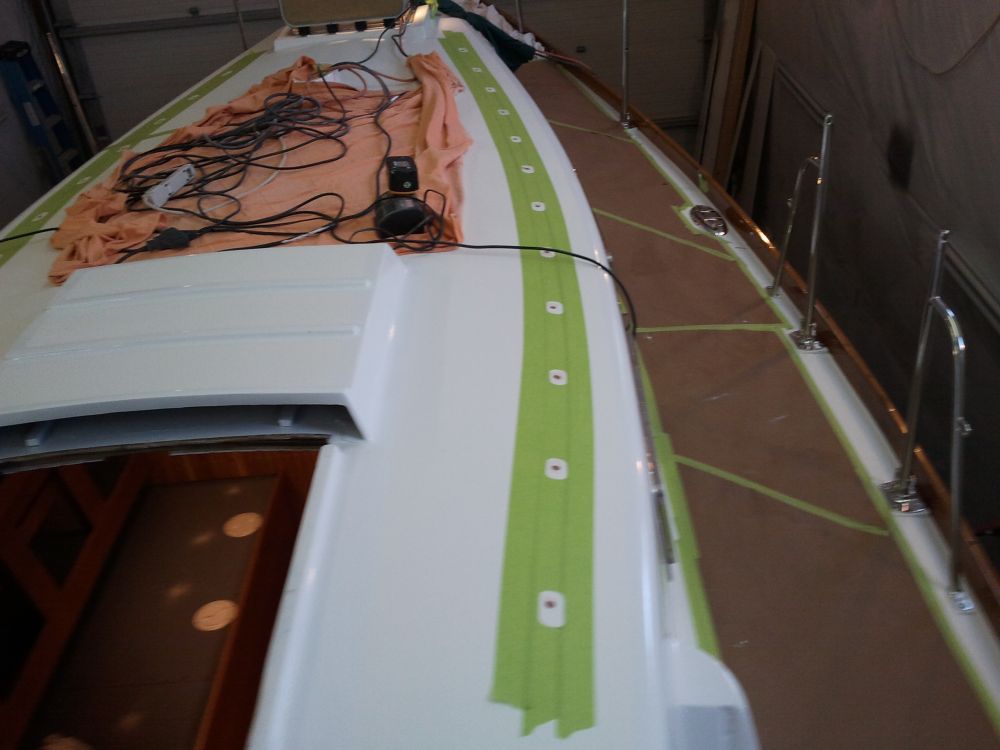
I repeated the process on the starboard side, keeping the rail aligned the same distance from the cabin side and aft end of the cabin.
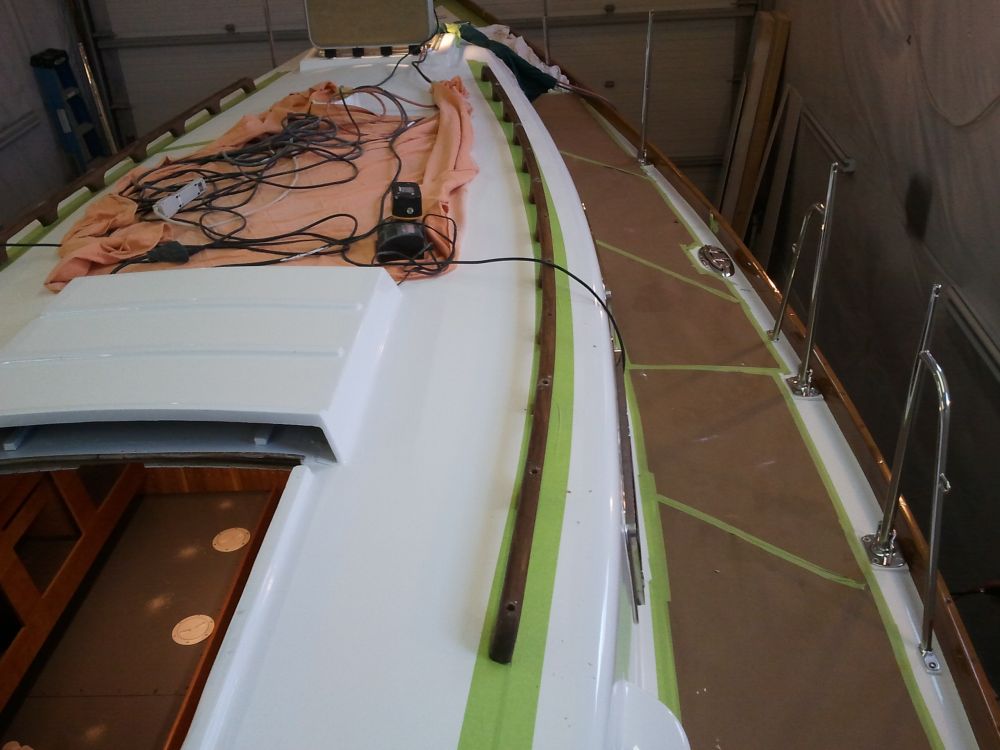
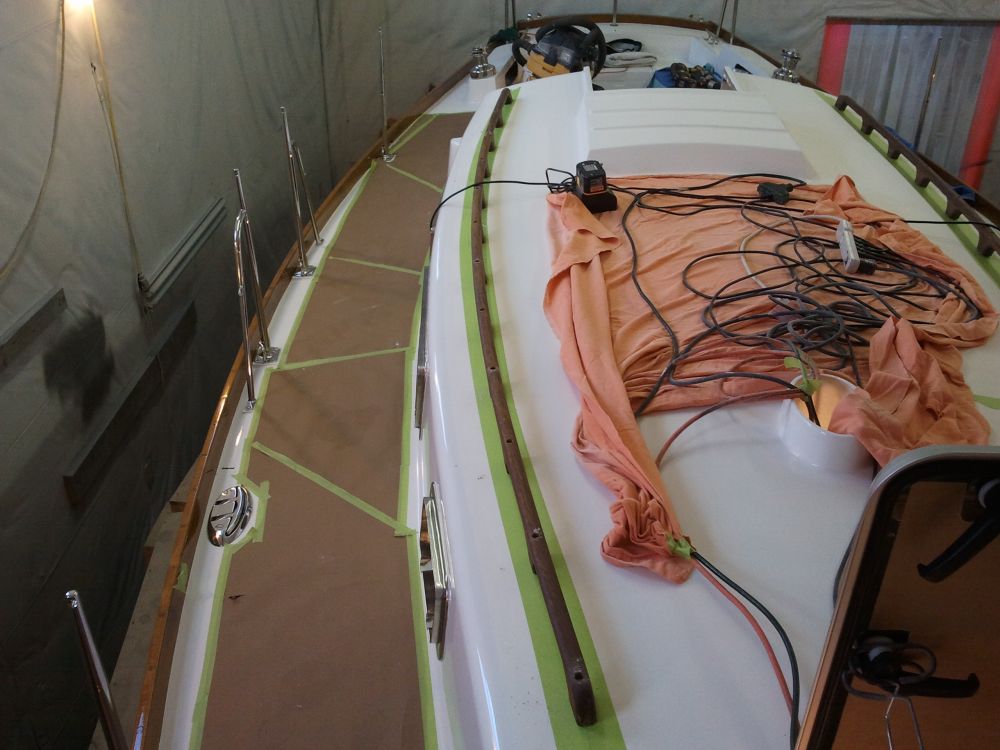
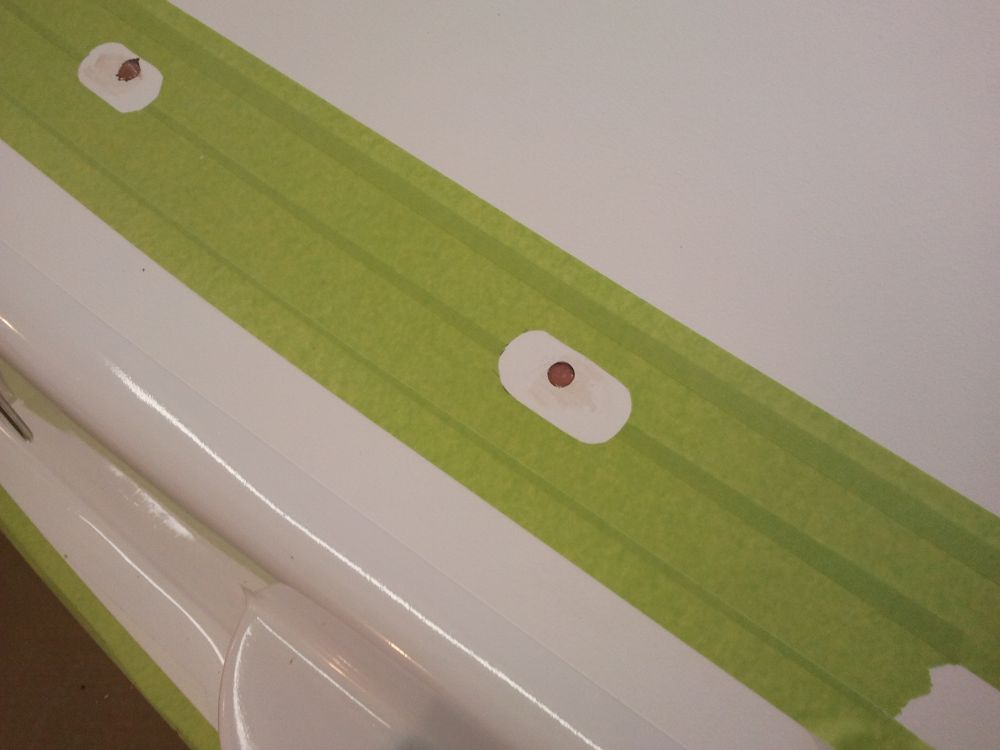
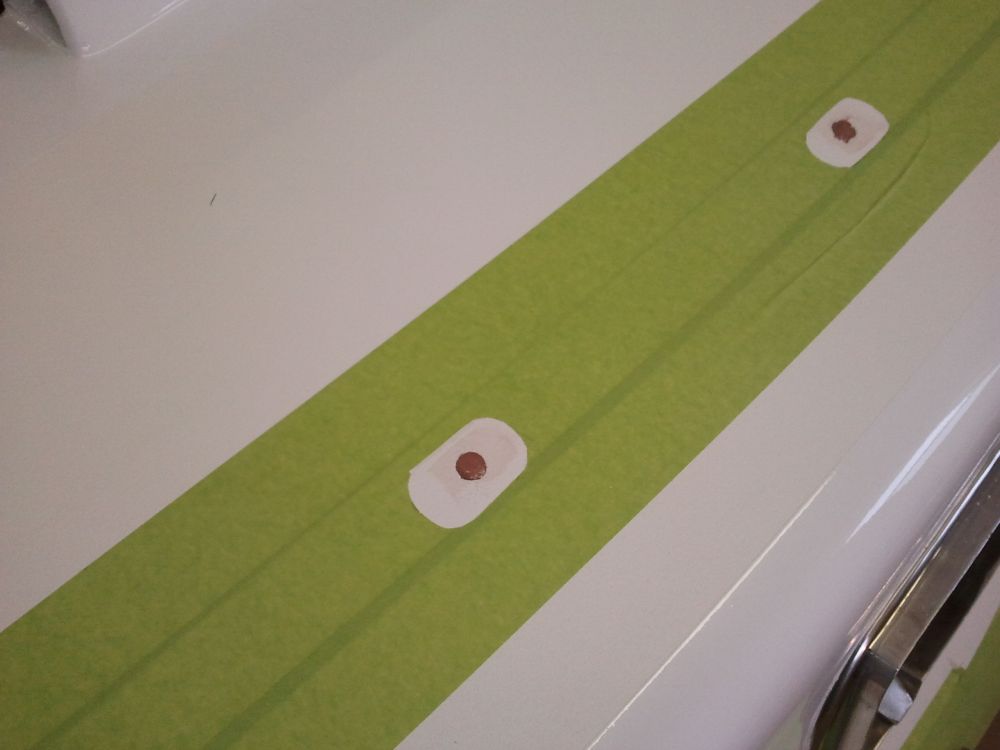
After tracing around the rail bases onto the masking tape, I removed the rails and fasteners, then cut out the tape where the bases would go. With a larger bit, I drilled through the top skin and core to open up the holes in the usual way, then, after cleaning up and covering any through-holes from the bottom side, filled the voids with an epoxy mixture.

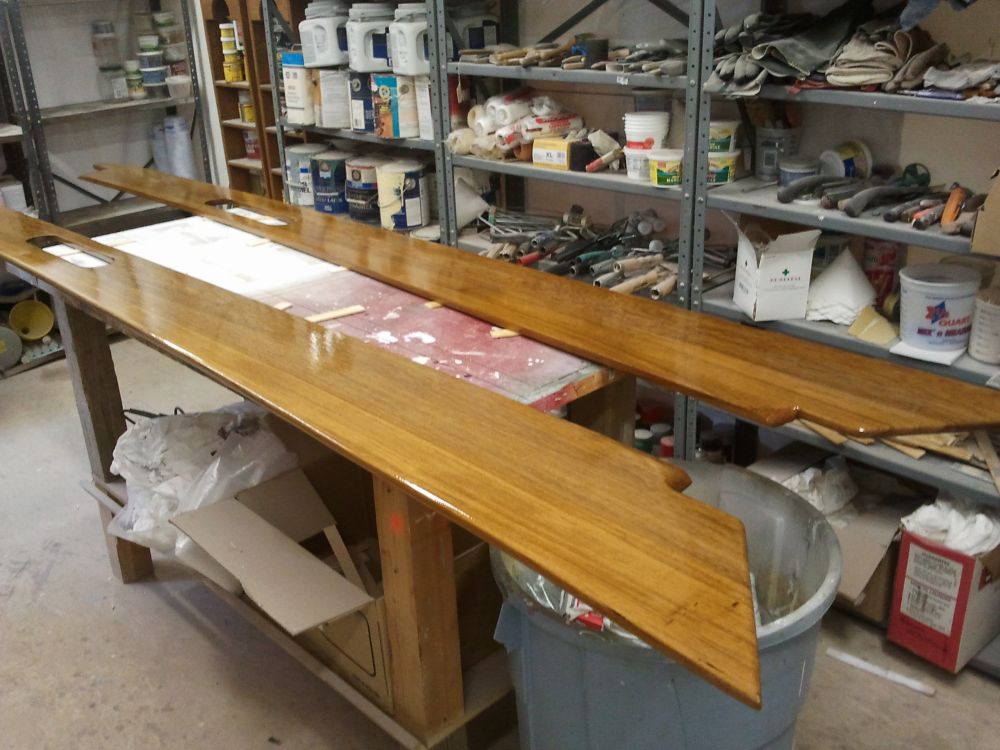
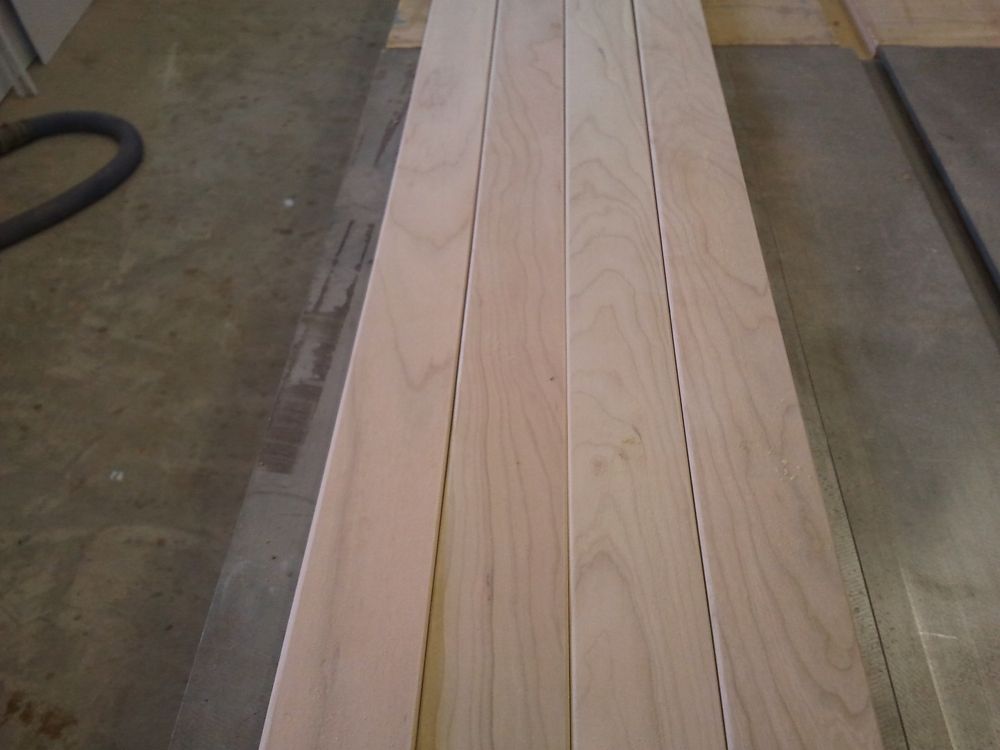
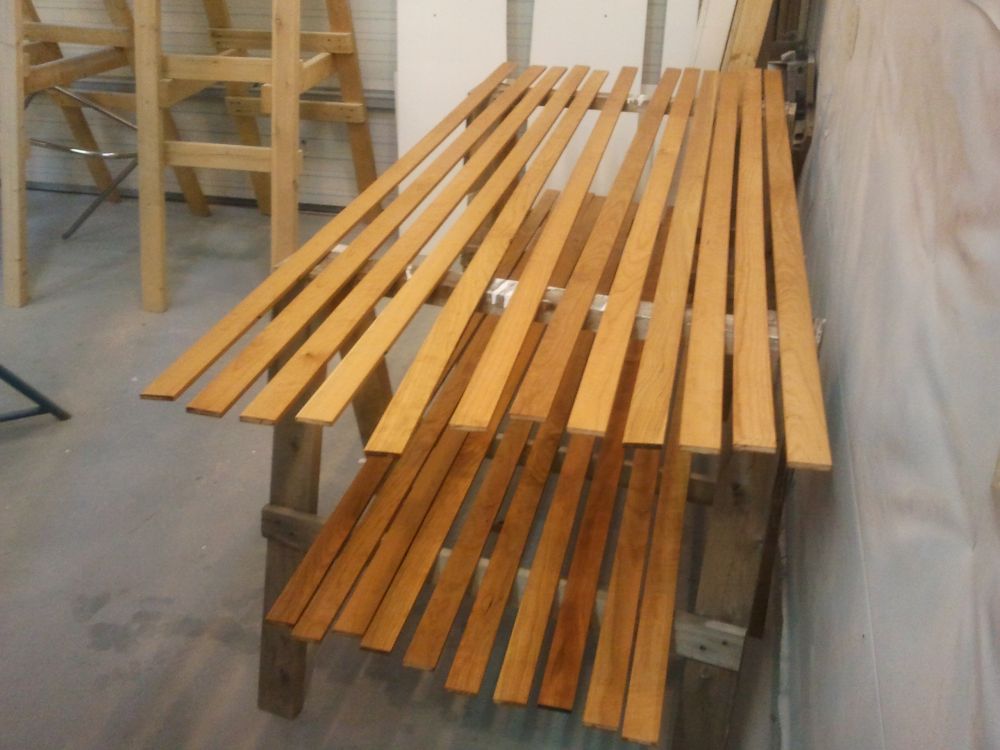
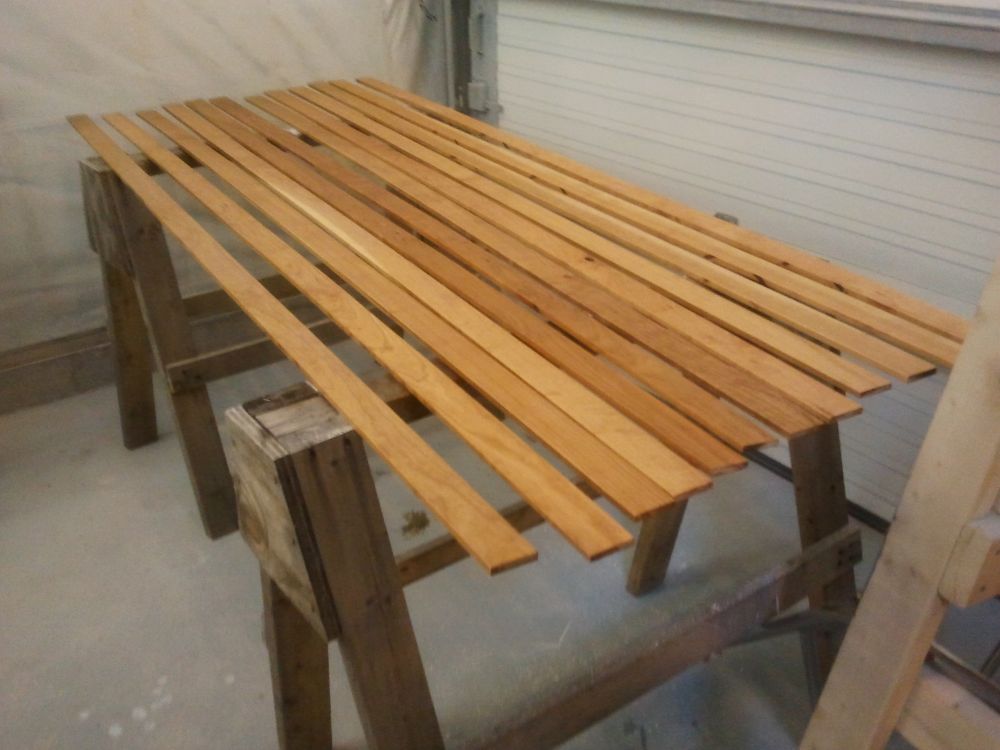
Next, I turned to the forward cabin ceiling (hull sides). Earlier, I'd surfaced and milled cherry into the strips I needed, but before I could begin to install them I had a couple additional steps. With a block sander, I eased the top edges of each strip slightly, creating a slight chamfer to remove the sharp edge and form a hint of a v-groove between the strips once installed.
After easing both edges of all the strips and solvent-washing, I applied a coat of natural tung oil to all sides of the strips to seal the wood. I'd apply the remaining finish once the strips were in place, but this ensured that the back sides were protected.
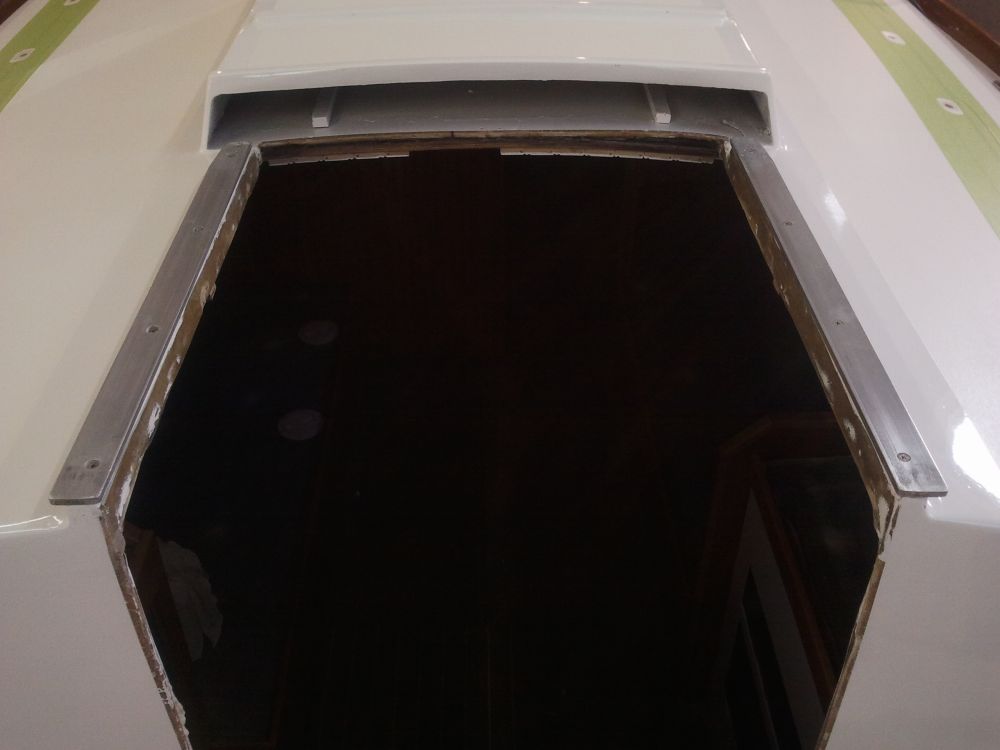
In order to build the companionway trim, both inside and out, I first needed to reinstall the sliding hatch. This meant that I needed to remember how the whole thing went together and was trimmed out in the first place, at least as a starting point and even if I didn't need to exactly recreate the trim as it once was (which I wouldn't, necessarily). The original sliding hatch trim was largely in poor condition when I removed it many months earlier, but I'd saved the pieces for reference.
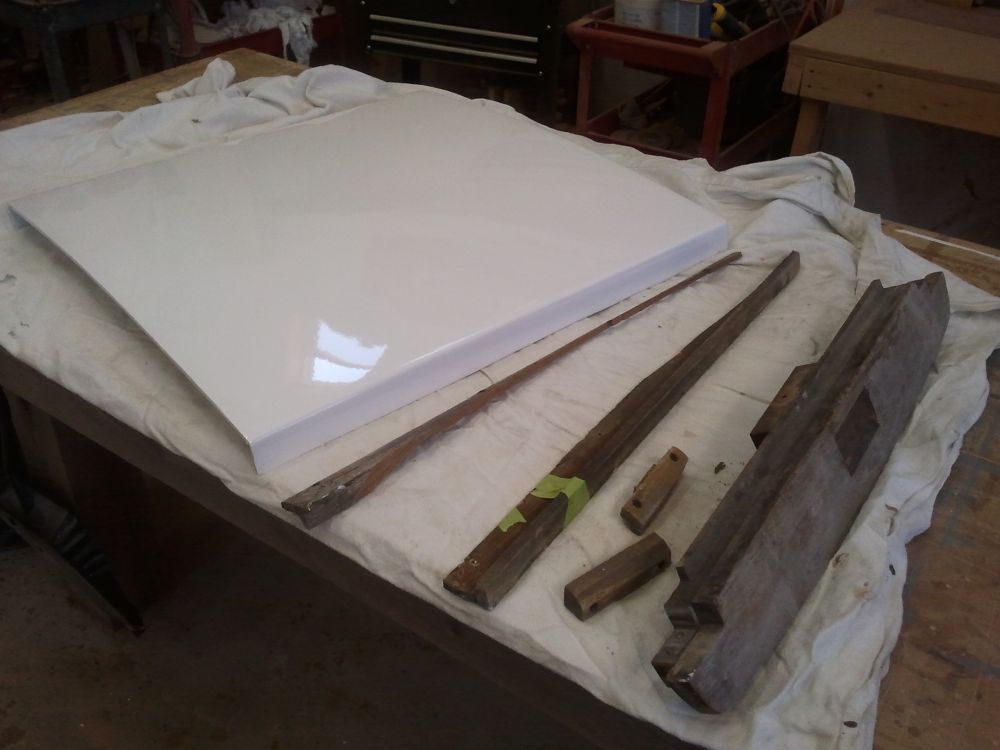
Between mocking up the splintered sections of wood and careful reviewing of photos that I'd taken before and during removal, I started to mentally piece together what was actually required to make the hatch work so I could mill whatever trim was required to support and slide the hatch, as well as improve aesthetics. Some aspects of the original trim were strange, so I didn't tie myself to making an exact copy.
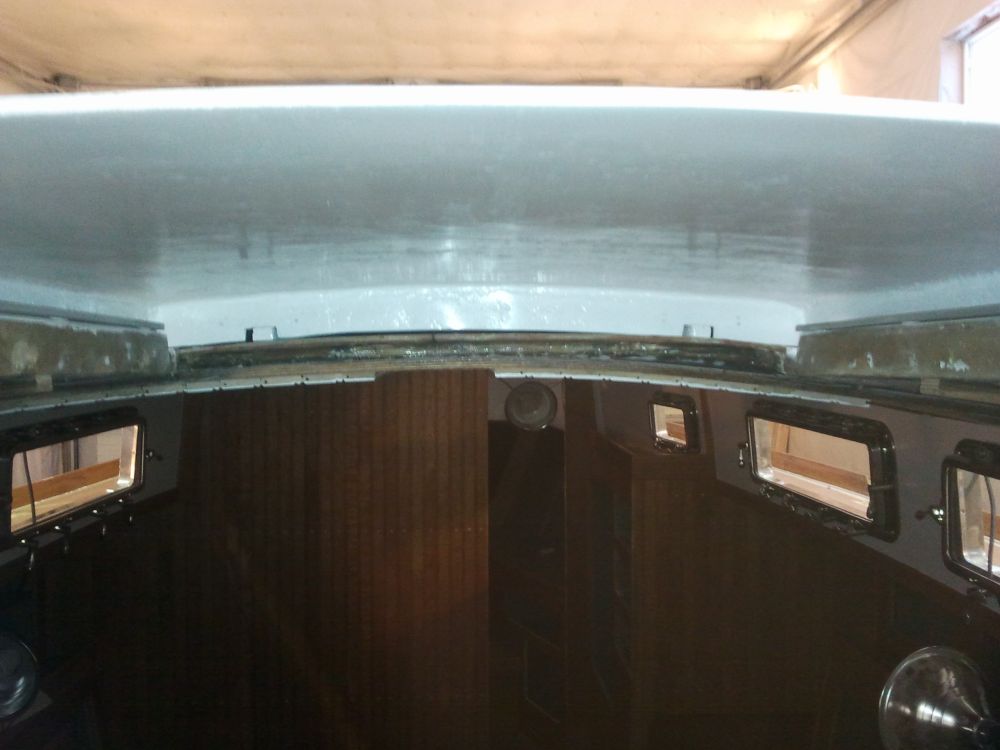
To help understand how things needed to come together, I first cleaned up and reinstalled the aluminum slides on each side of the hatch opening, which then allowed me to test-fit the hatch to determine clearances and other aspects of its relationship with the trim and slides.

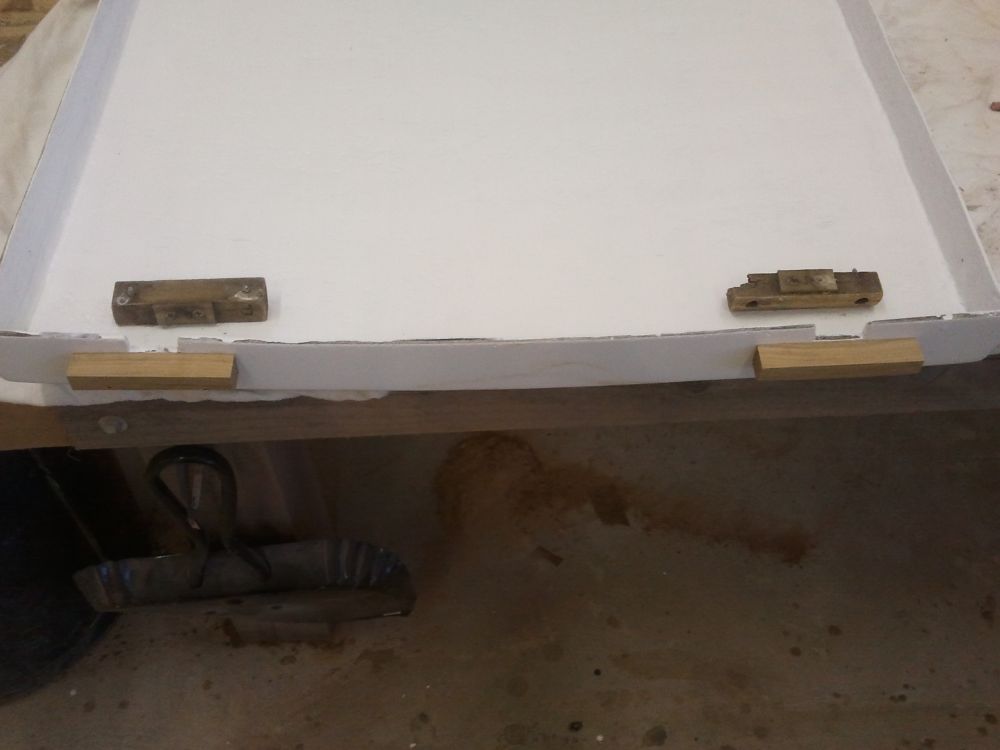
With this information in hand, I ordered some slim Delrin to use as the bearing surfaces where the hatch would ride on the rails, then got to work on the one part of the new construction that I could at this point: two small blocks on the forward (hidden) end of the hatch that would support the Delrin bearings at that end, where it rested and slid on wooden cleats within the molded seahood. Using the old blocks as guides, I made new ones from teak and installed them.
Total Time on This Job Today: 8 hours
