
110 Cookson Lane | Whitefield, ME 04353 | 207-232-7600 | tim@lackeysailing.com
Snow Lily | Tuesday, February 26, 2013
With two clean, straight edges on my throttle control enclosure box mold base, I trimmed the opposite sides straight and true on the table saw, then retrimmed the original edges, eventually ending up with about a 1" wide mounting flange all the way around.
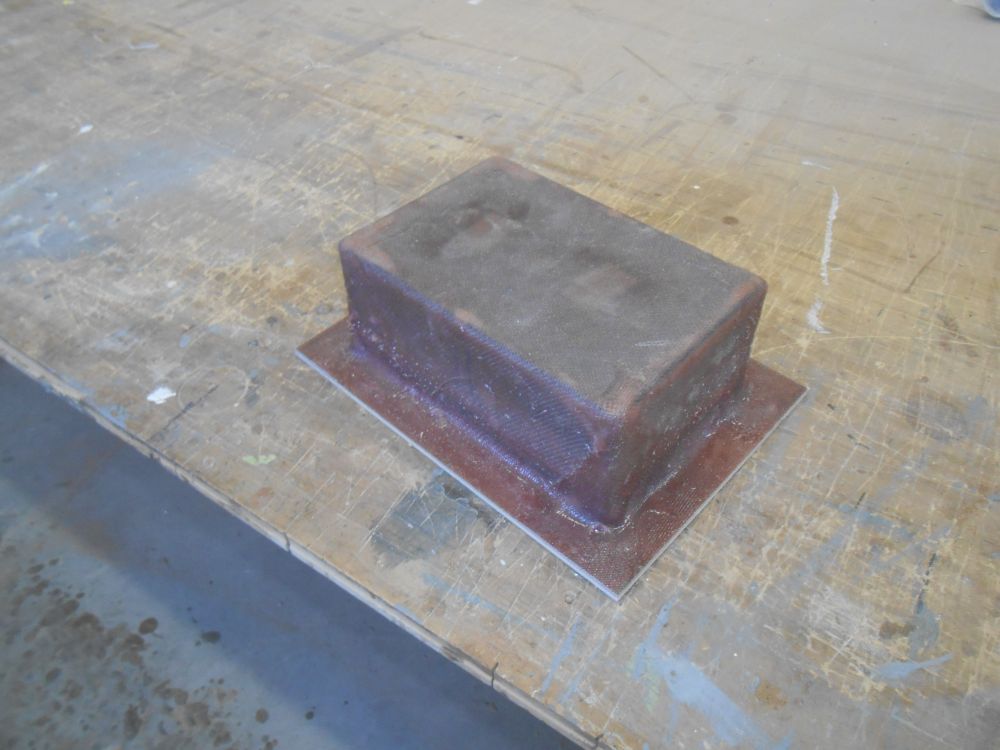
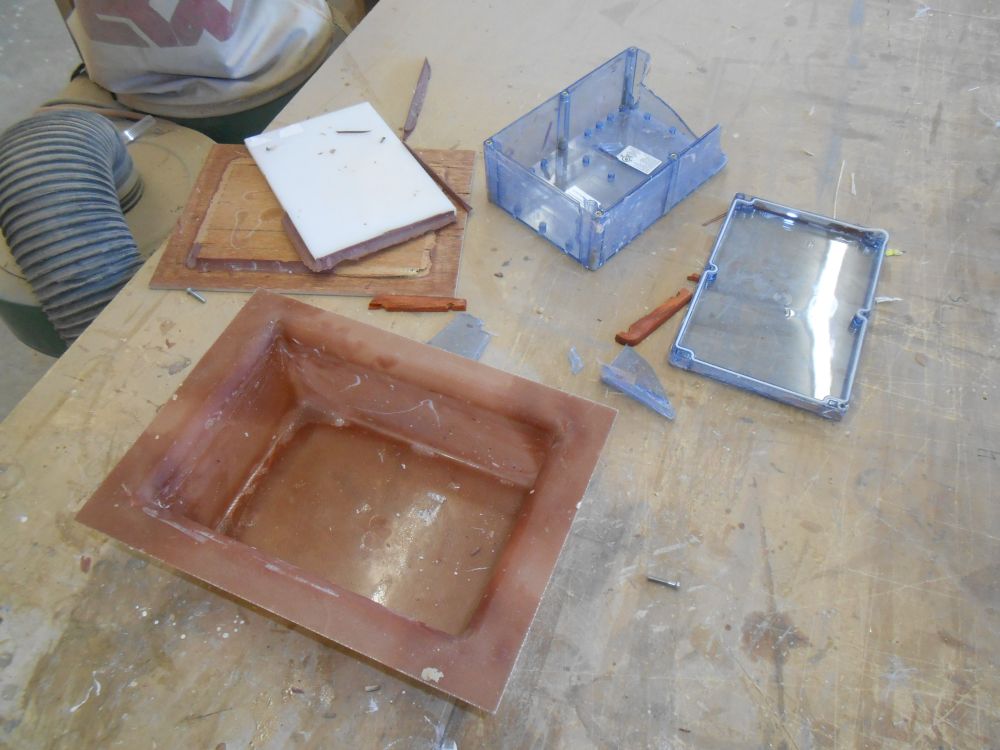
With the trimming complete, I worked on removing the molded part from the mold itself. As anticipated, the square inside corners and deep profile made release a little challenging. I'd hoped to perhaps save the plastic box I'd used as the mold, though I'd always planned it to be sacrificial if needed. After some moments of trying, eventually I determined that I'd have to destroy the mold to remove it. Release itself was never a problem; it was just the straight sides and tight corners that prevented easy removal of the part.
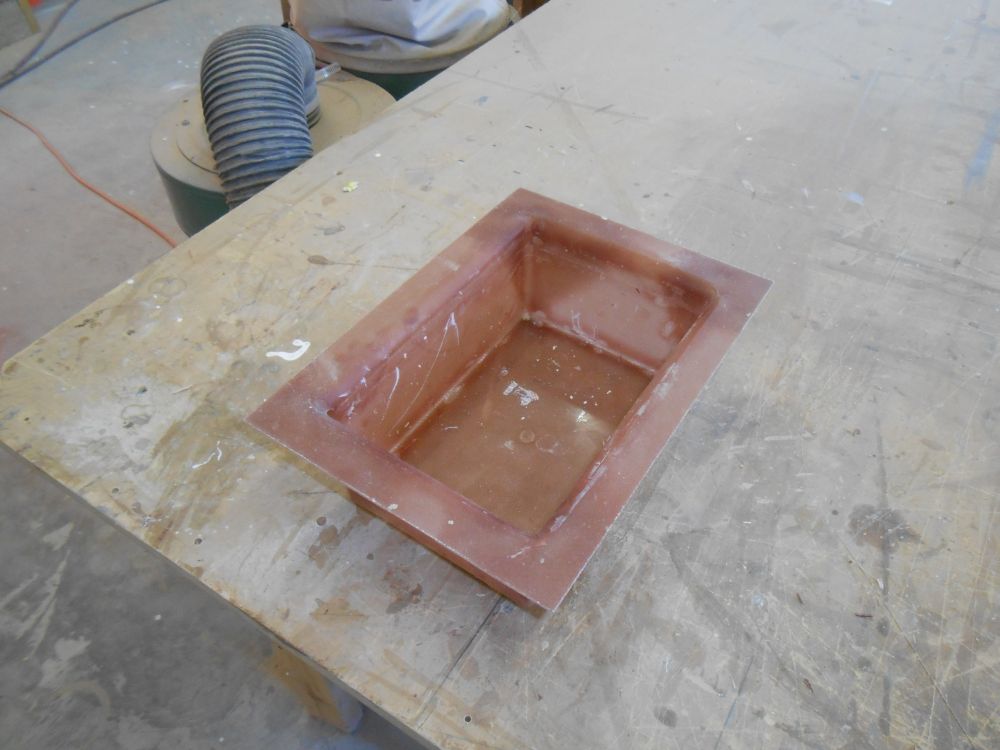
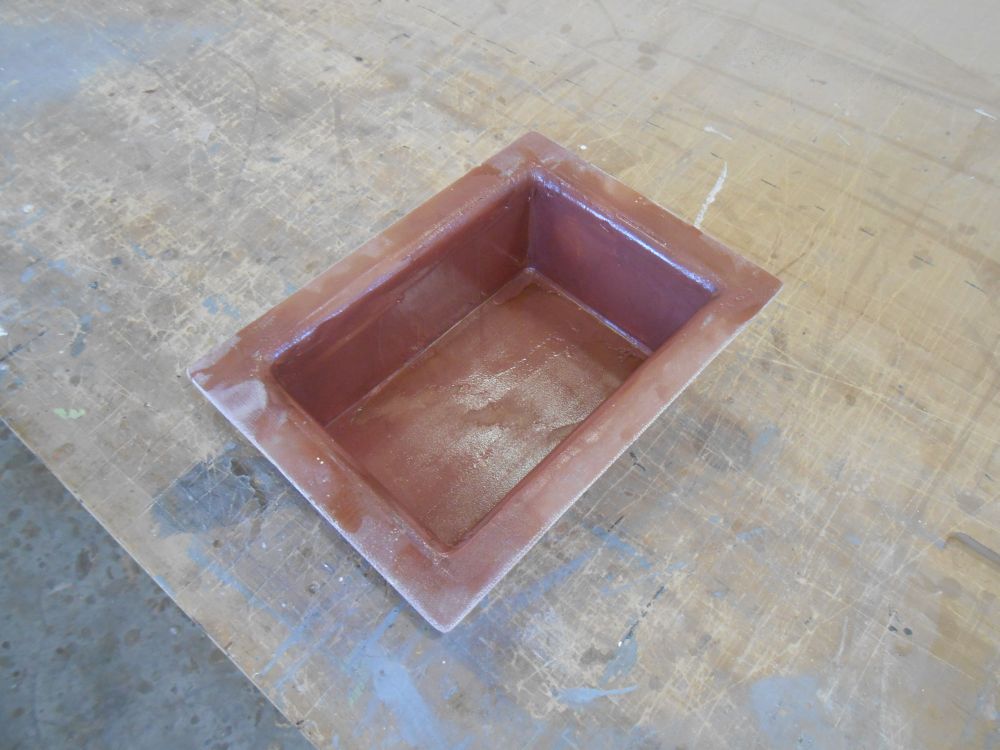
After dewaxing the part, washing, and sanding inside and out, I applied some fairing compound to fine-tune the inside corners and other areas, the first step towards priming and painting.
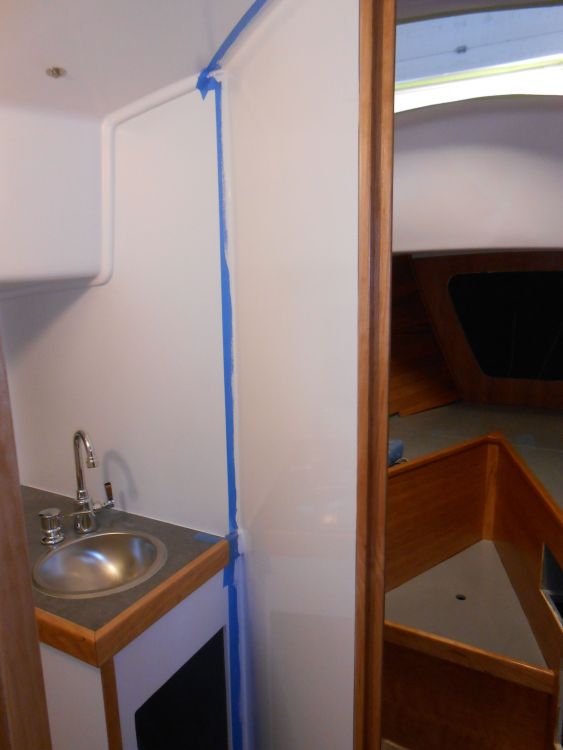
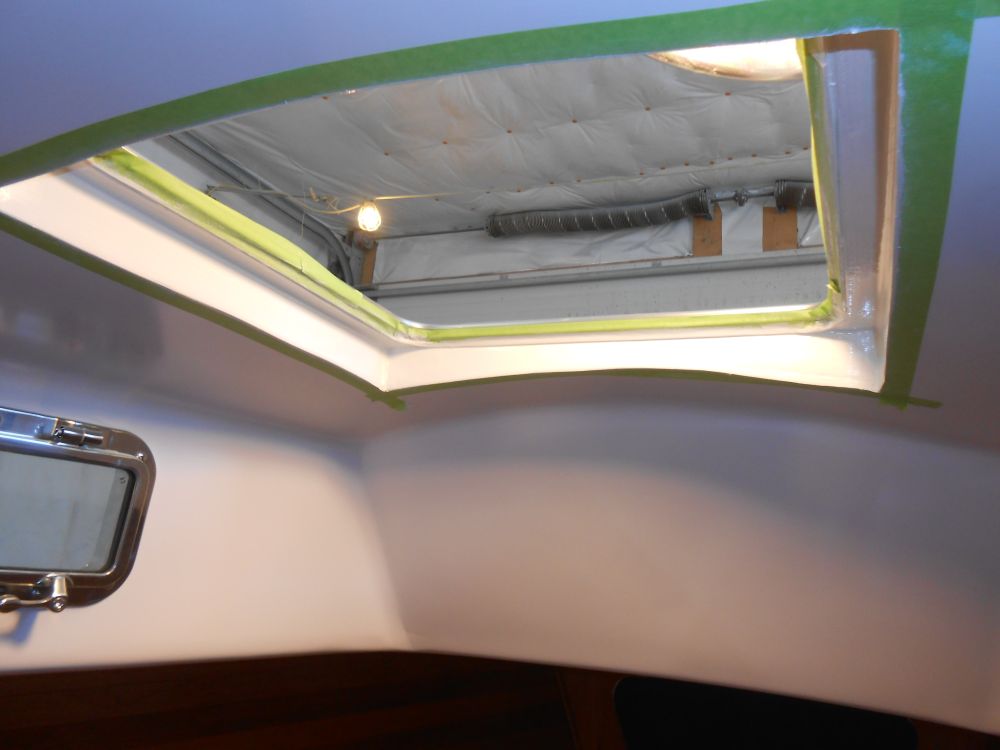
After an appointment with the rigging contractor, during which he delivered the new main boom and measured for the new lifelines, among other things, I continued work in the head, where I sanded the new primer on the bulkhead surface. After cleanup, I applied the first coat of semi-gloss white enamel to the bulkhead, as well as the forward hatch surround.


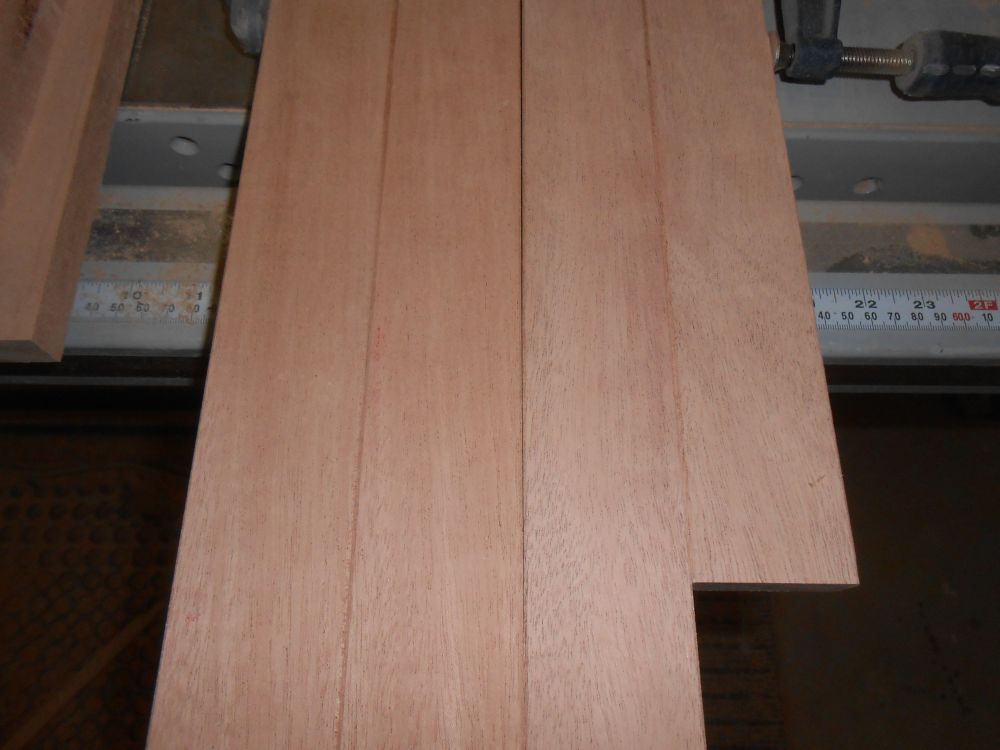
One of the last major remaining interior trim projects was the cabin sole. The first step in the process, whenever I decided to lay the new material, was to prepare the stock. Starting with several 3/4" thick Khaya boards, which were planed and dimensioned but not smooth, I sanded both surfaces to remove planer marks and otherwise prepare the stock for milling.
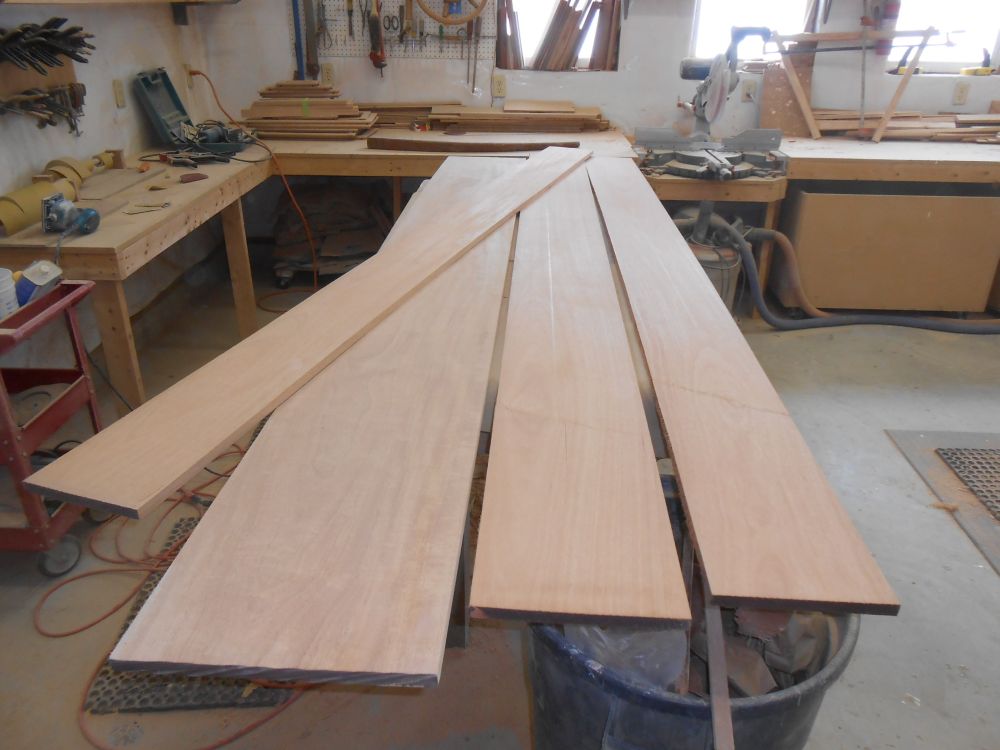
I'd learned my lesson during earlier experiences with this species, and knew that the boards tended to have internal tension that would release once I started ripping the stock to width. To mitigate this, I began by ripping the wide boards into narrower sections to help release the pressure before final dimensioning.

Next, I ripped the boards to 2" width. Then, I used a router to mill very small chamfers at all four edges of the board. These would form a small V-match at the planks' conjunctions once installed.
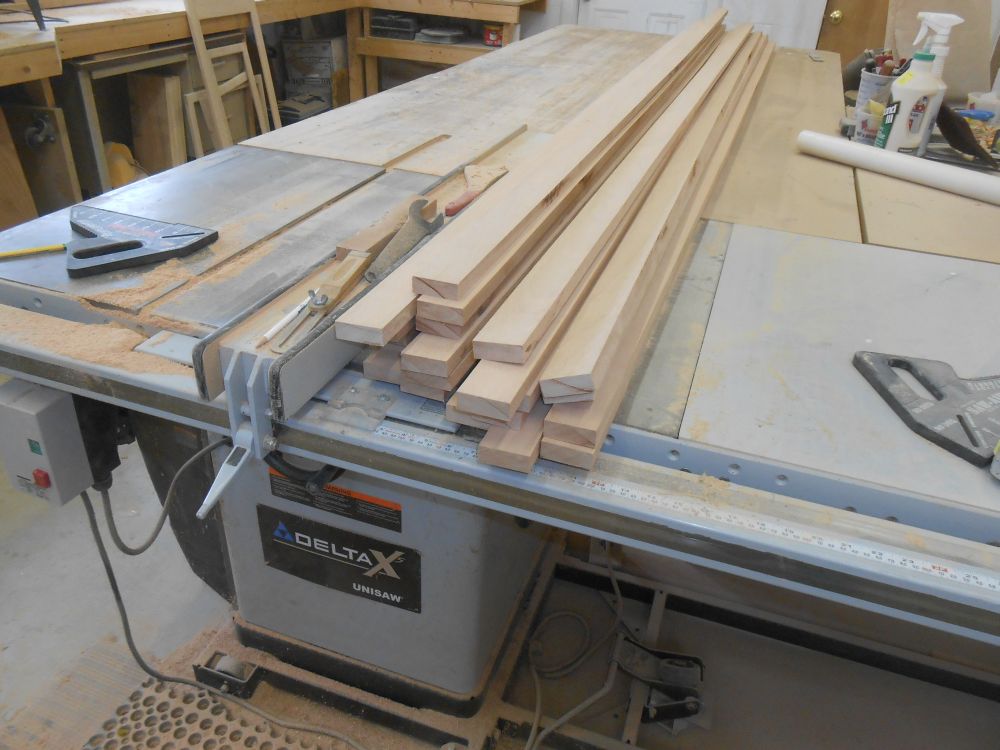
Finally, I resawed the 3/4" thick planks into two finished boards, 1/4" thick, completing the milling process and bringing the day to a close.

Total Time on This Job Today: 8 hours
