
110 Cookson Lane | Whitefield, ME 04353 | 207-232-7600 | tim@lackeysailing.com
Snow Lily | Wednesday, February 6, 2013
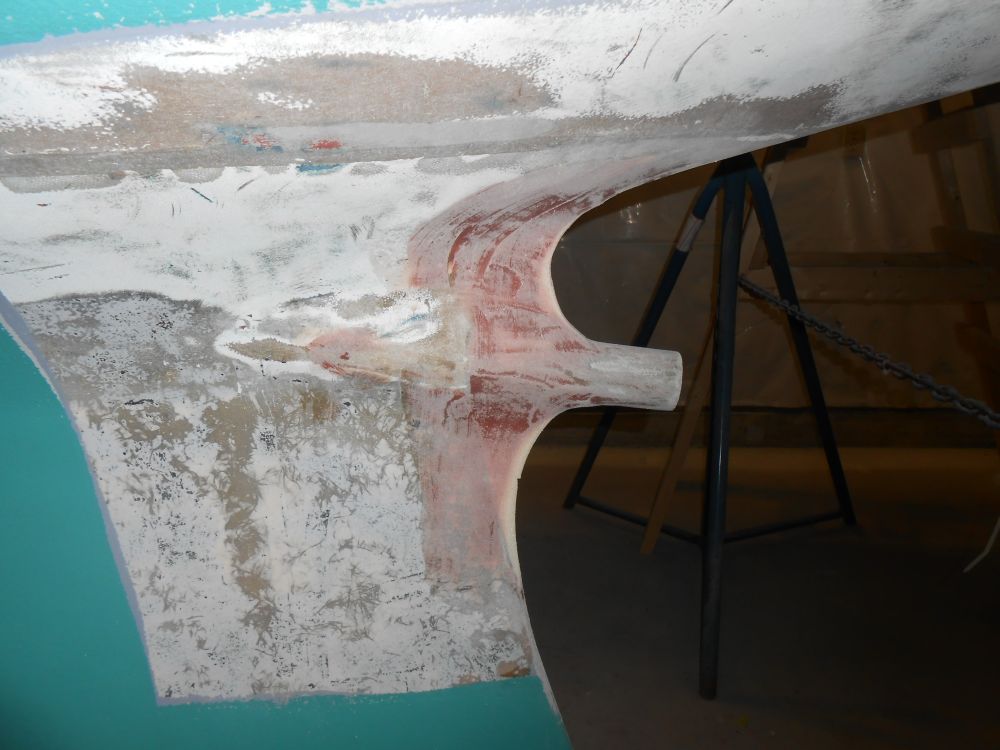
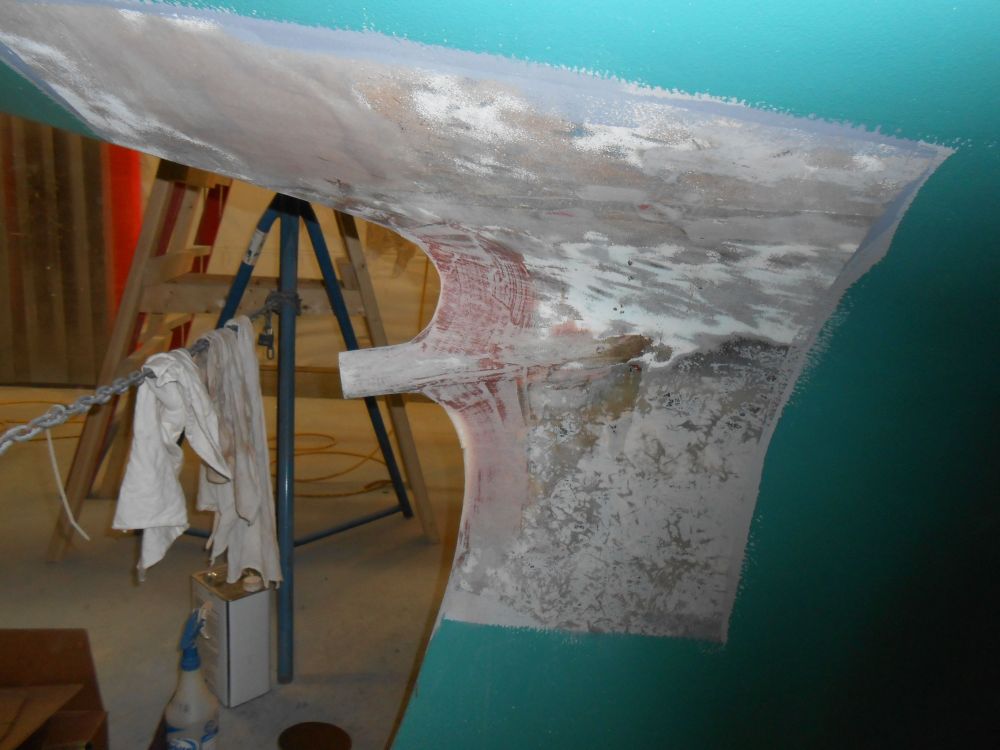
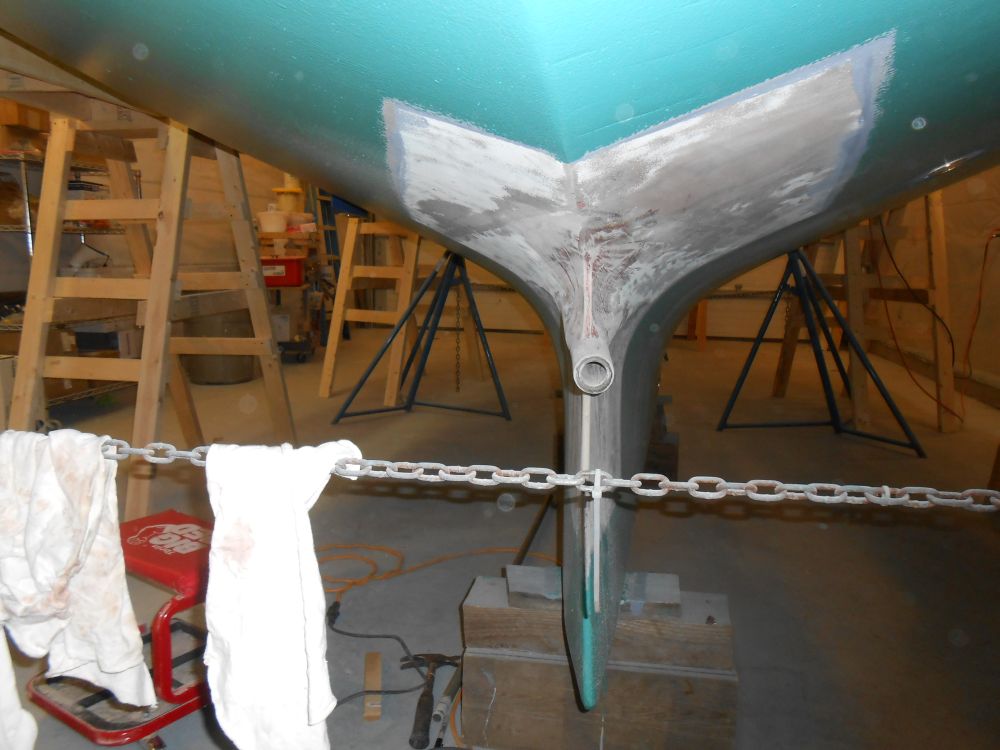
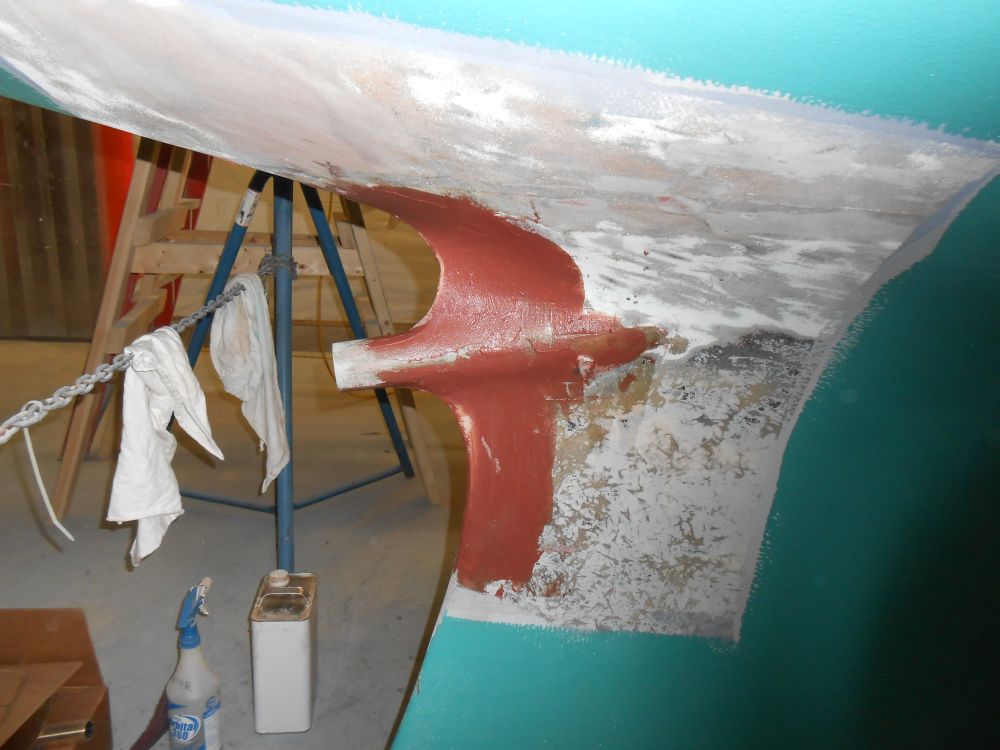
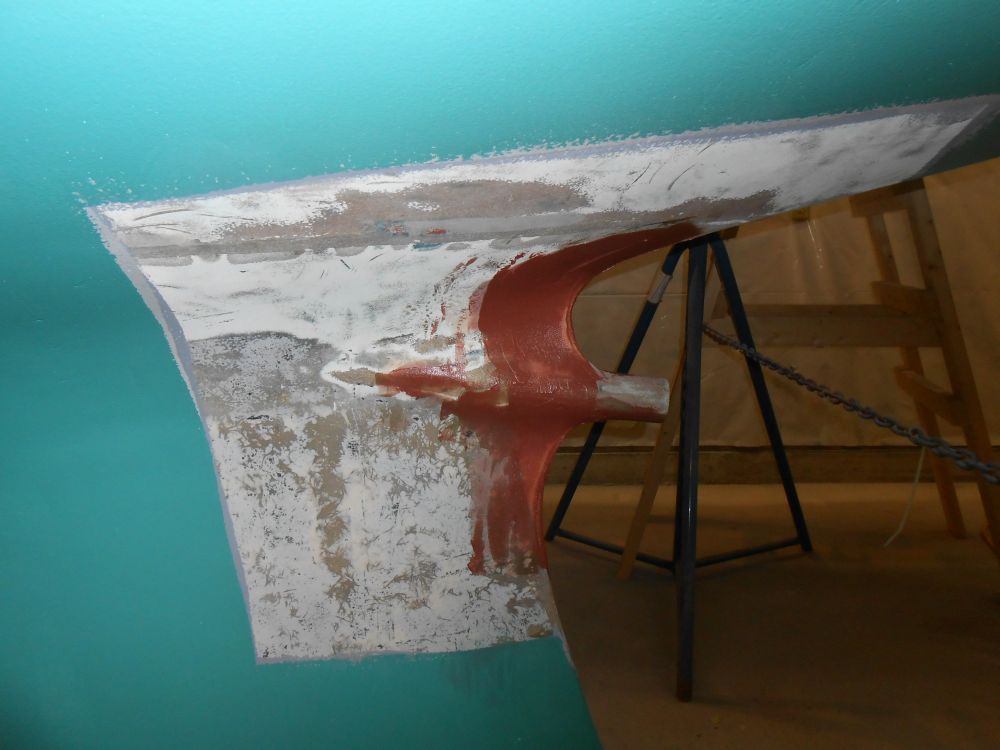
Getting started, I washed and lightly sanded the new fairing around the shaft log extension, then applied additional fairing compound as I continued fine-tuning the shape of the area.
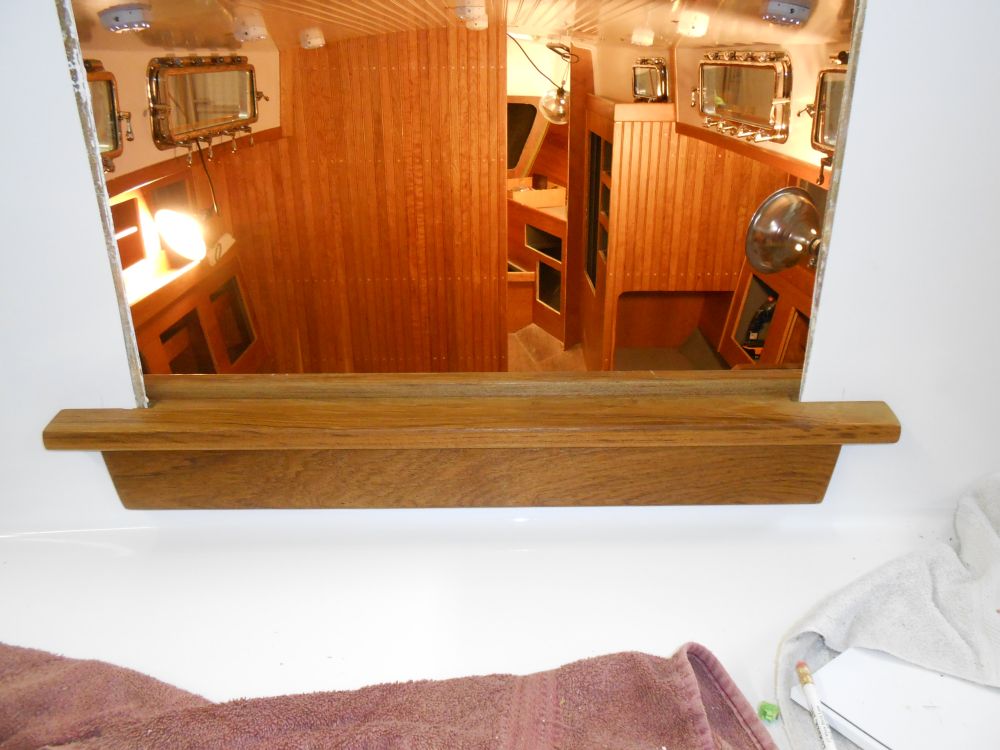
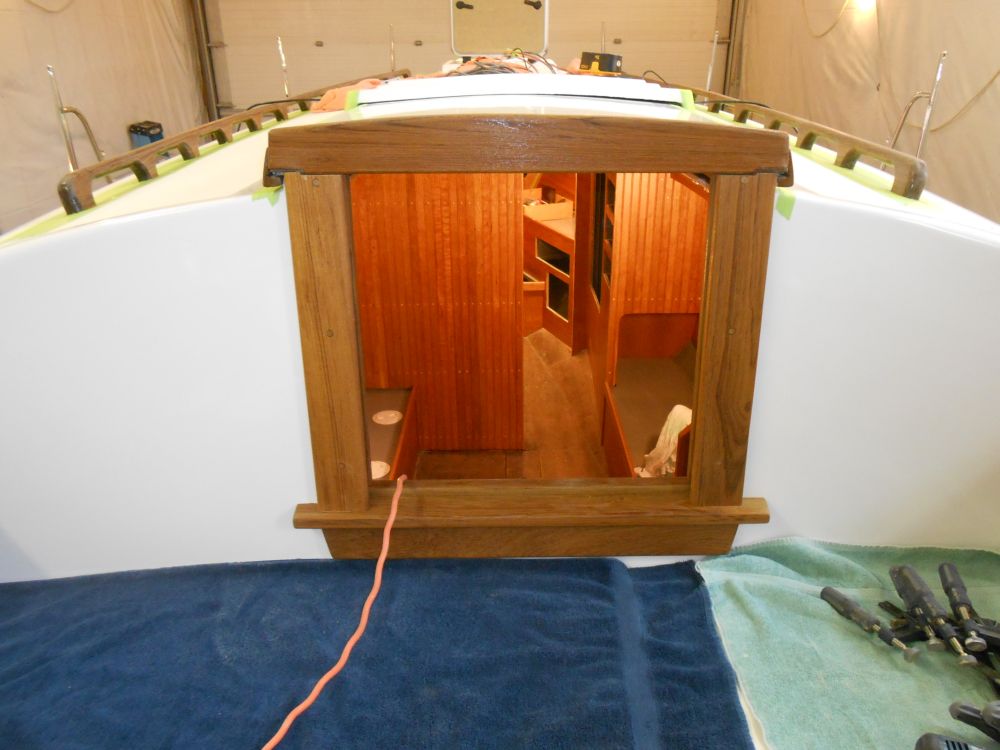
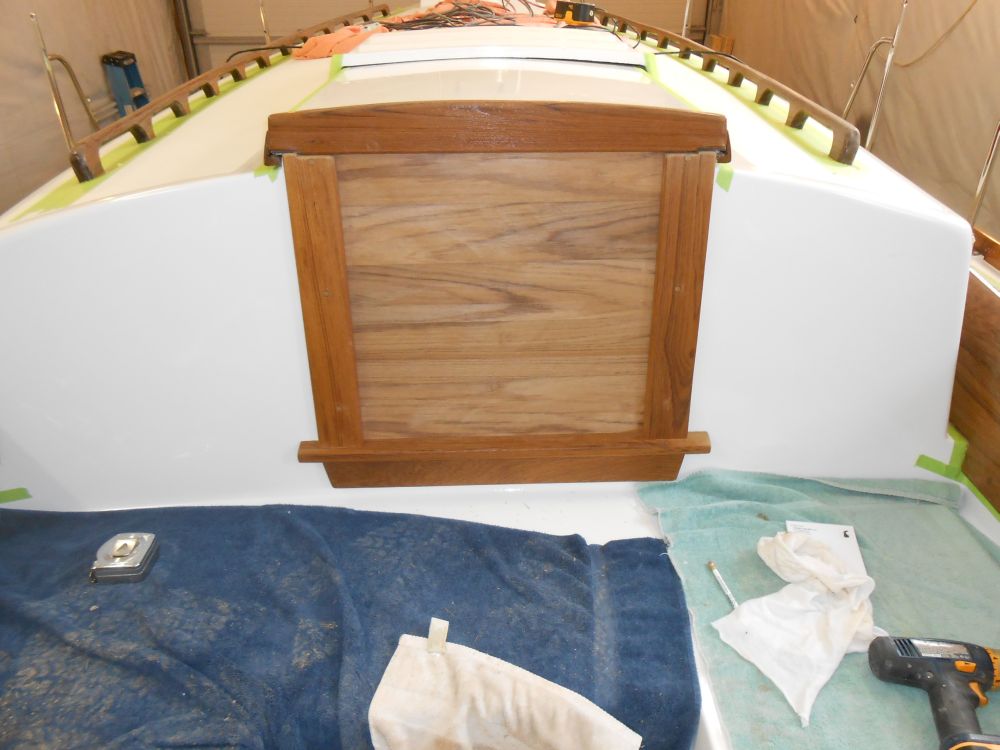
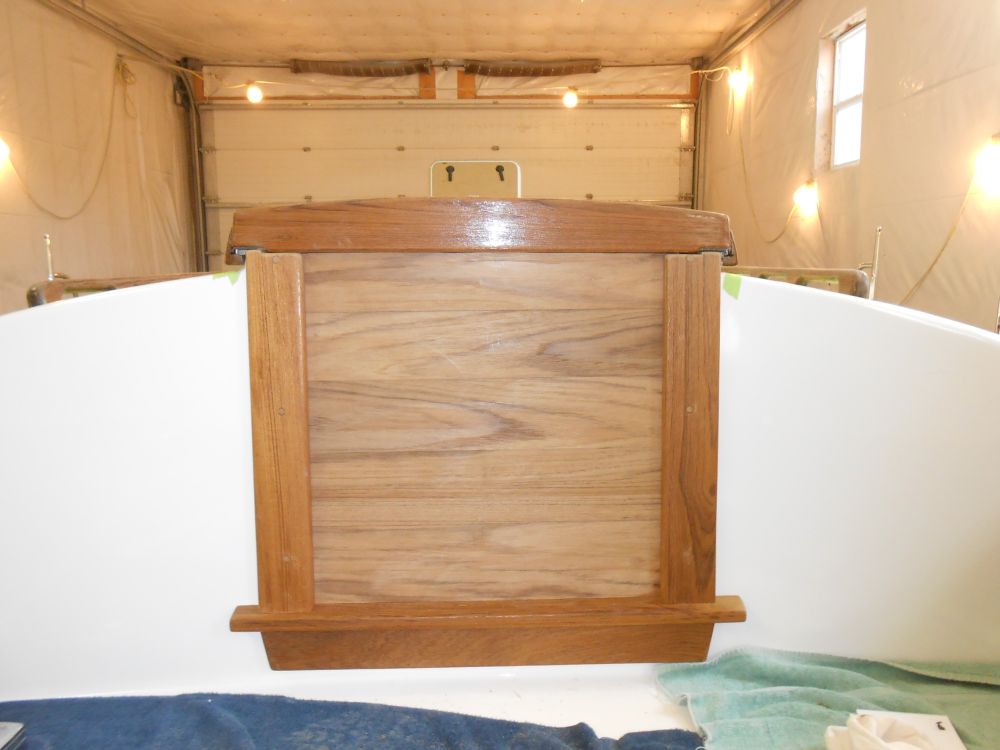
Next, I installed the new exterior companionway trim that I built earlier, beginning with the stool and apron. After a dry-fit, I installed the pieces permanently with sealant and screws from the inside.
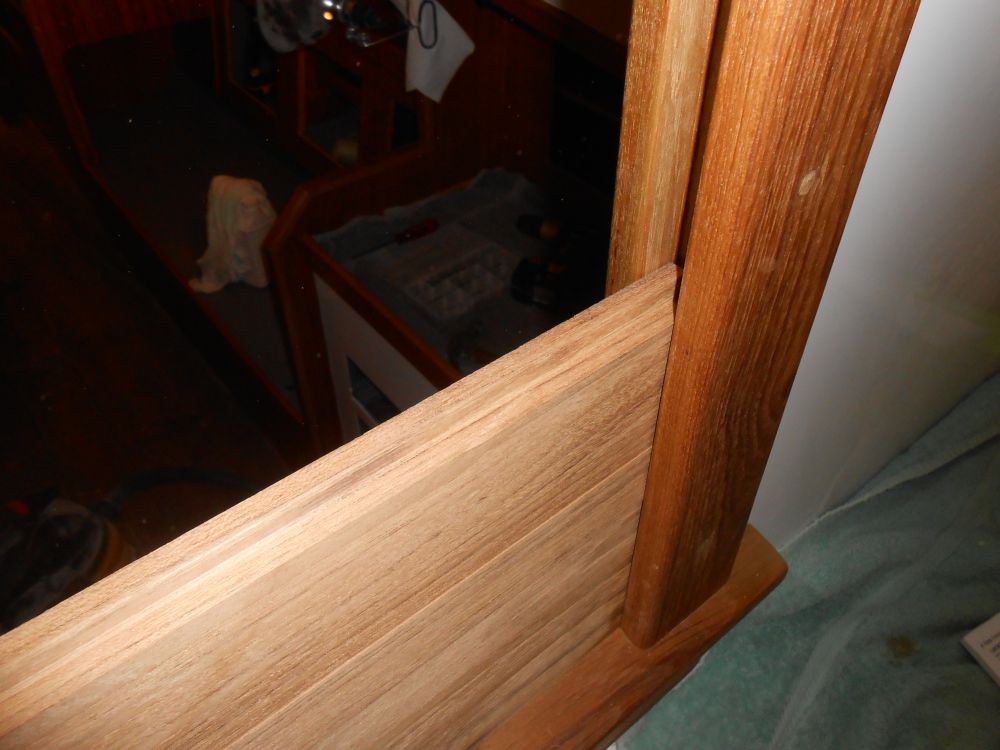
With the base pieces in place, I clamped the vertical sides in place and drilled screw holes from the inside into the back of the trim, then removed it for bedding before securing it permanently with screws. Then, I cut off the top edge as needed to bring it flush with the companionway tracks and allow passage of the companionway sliding hatch over the top.

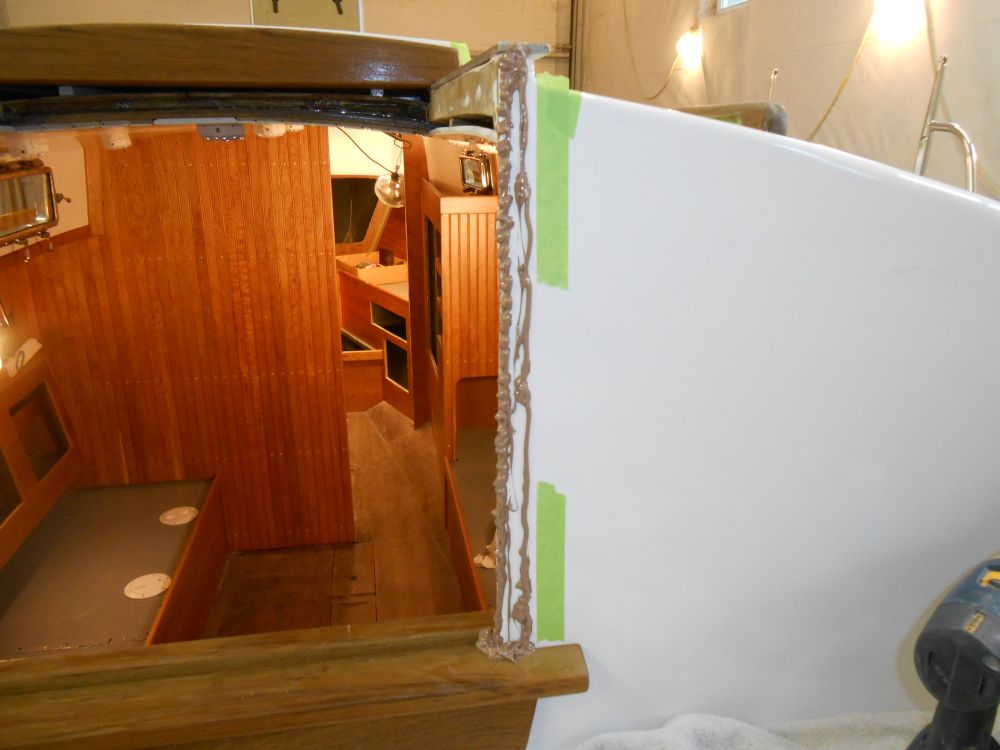
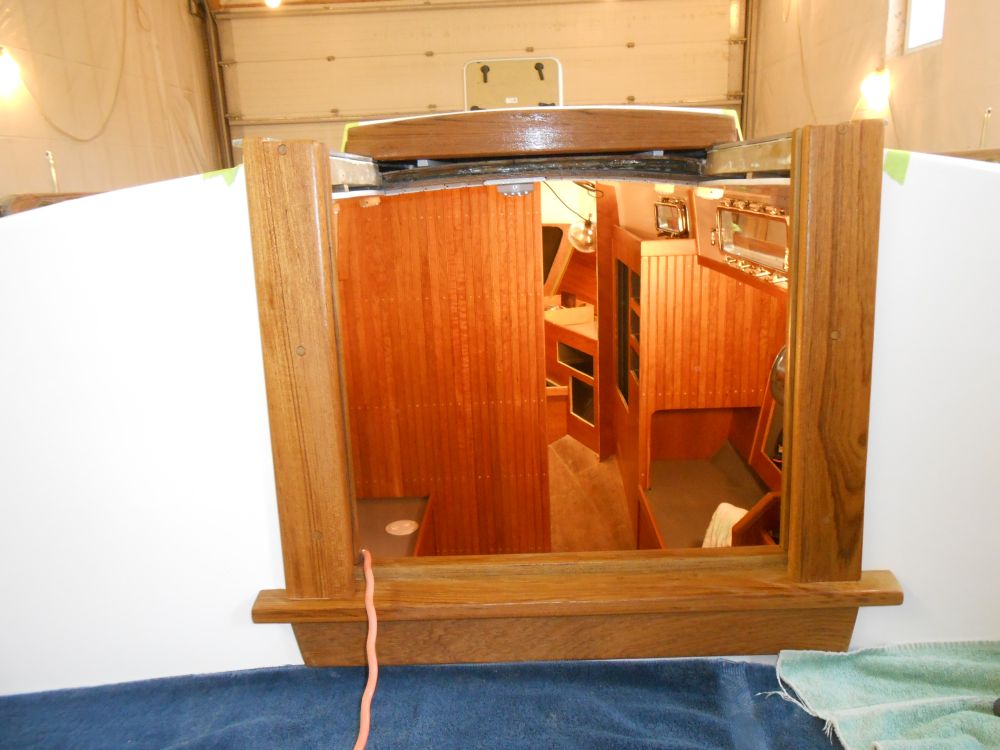
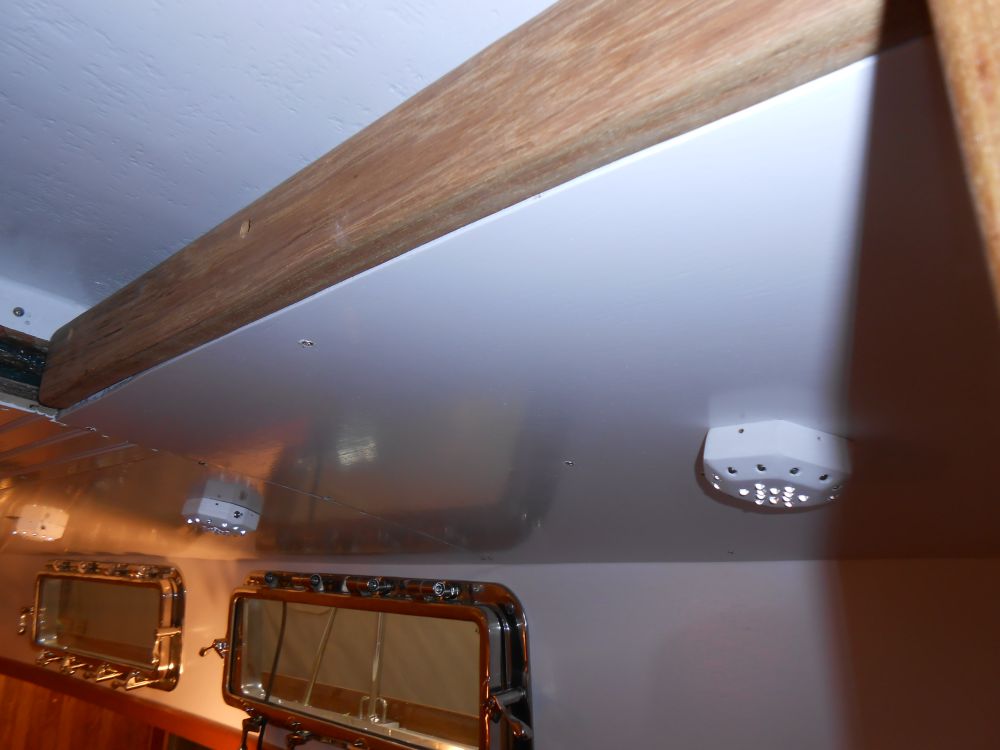
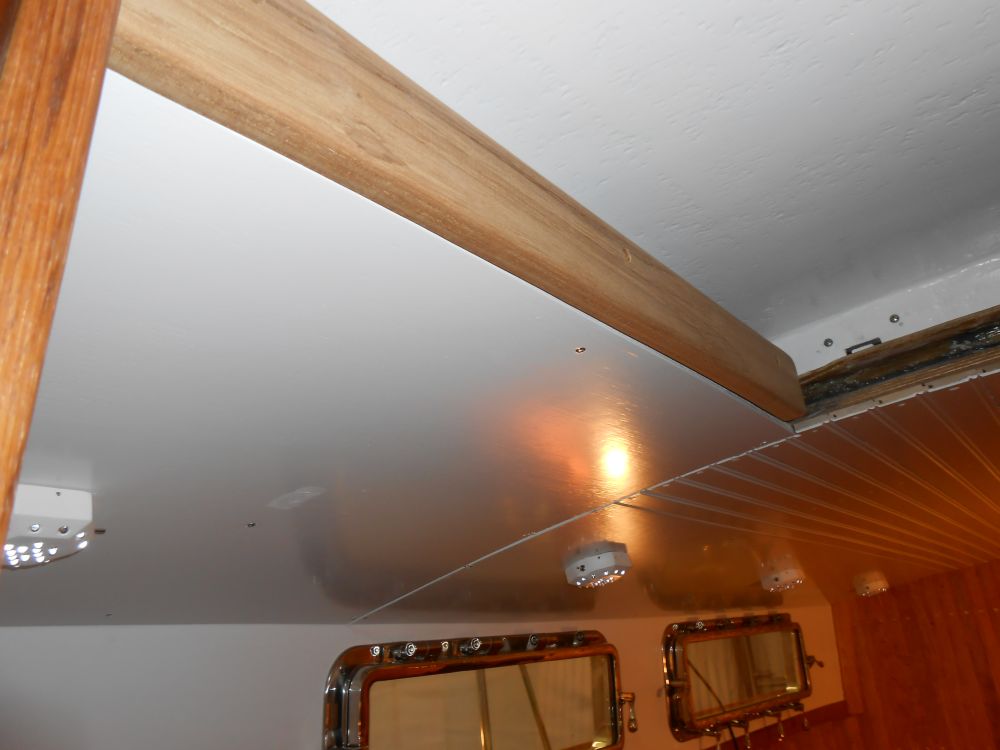
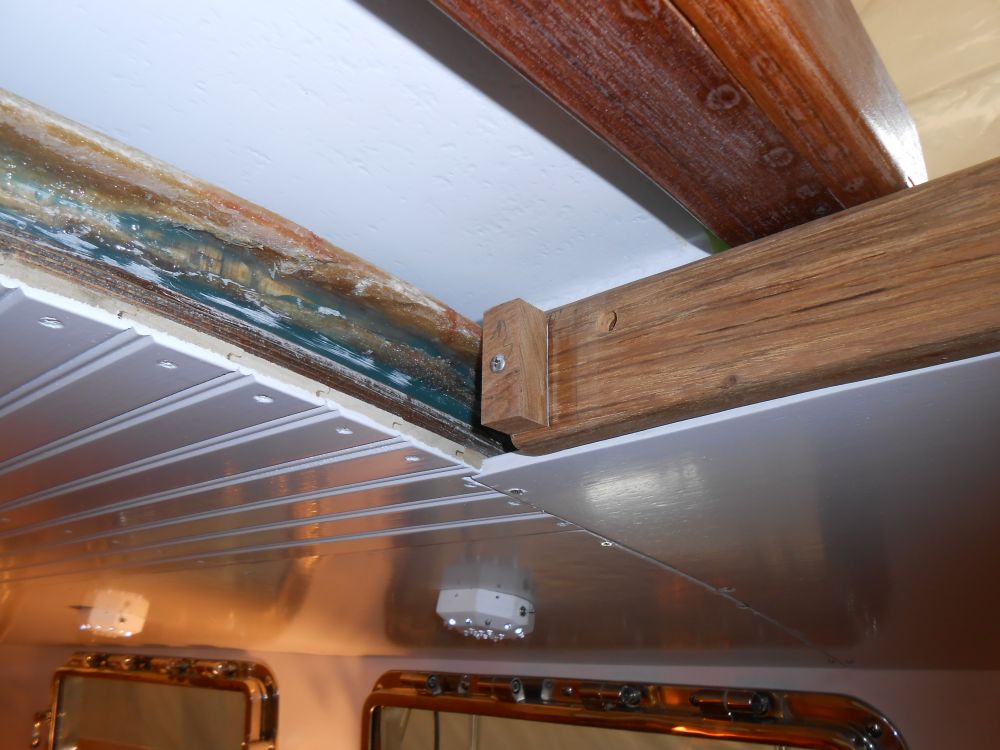
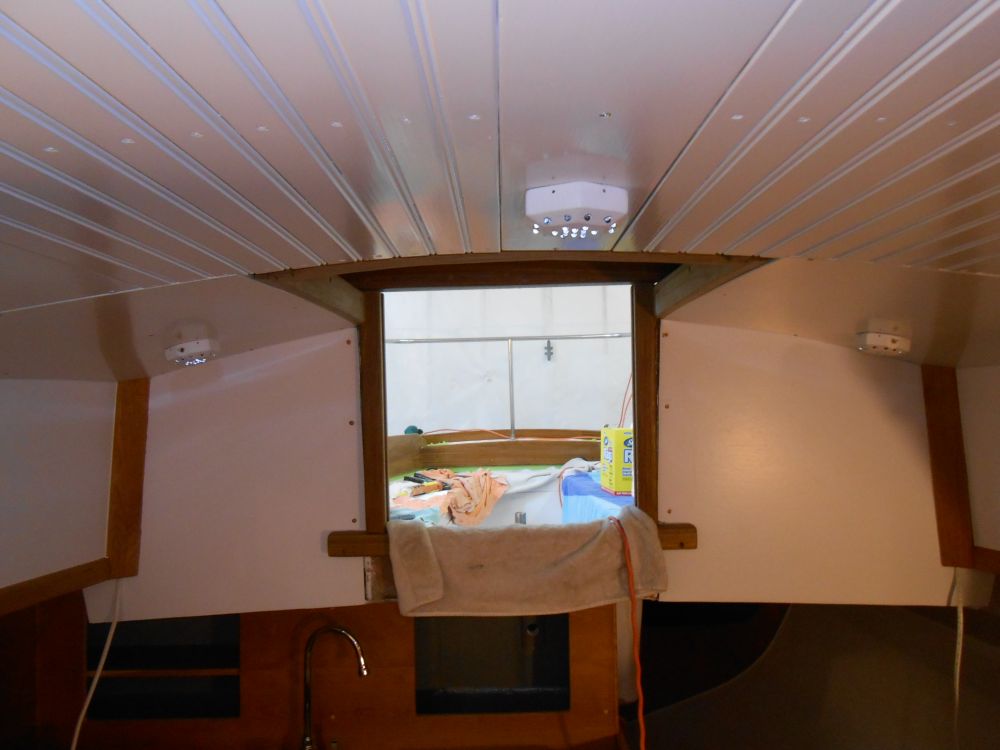
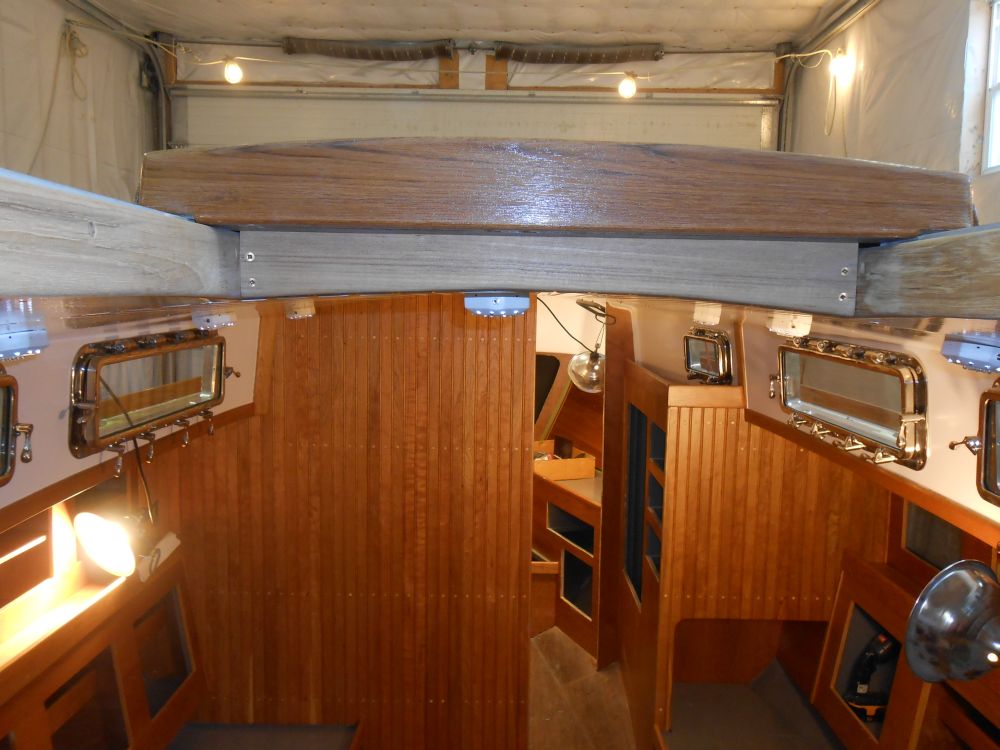
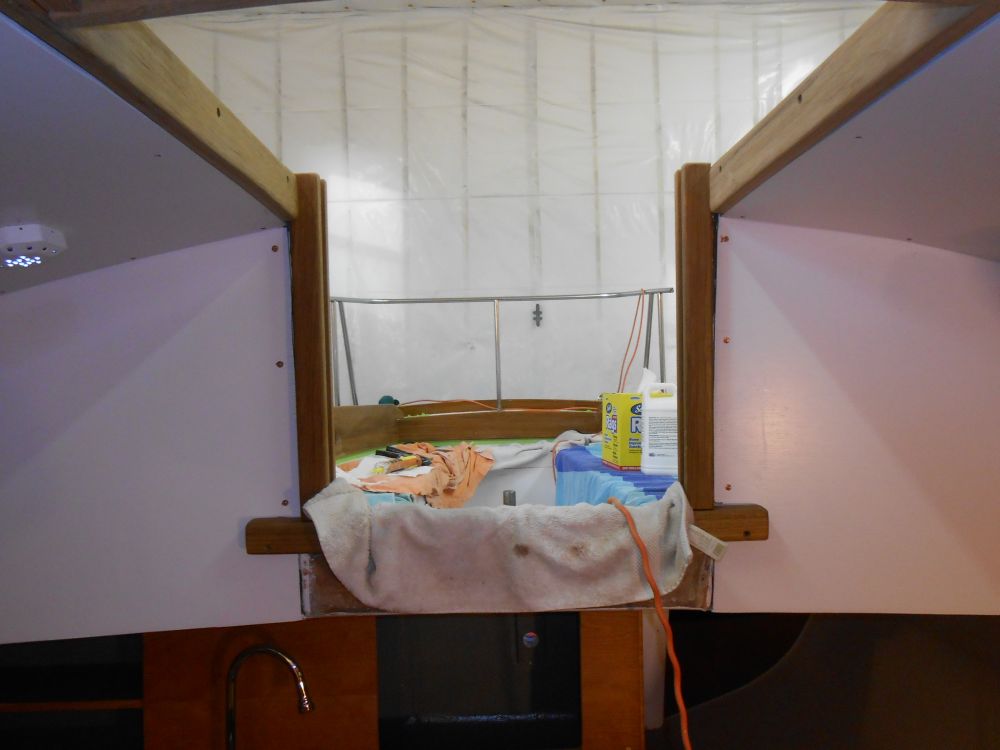
Inside the opening, I prepared two additional pieces of trim for the edges of the opening beneath the sliding tracks. I scribed the lower edge of the trim to be flush with the surface of the overhead, and after fitting, milling, and sanding secured the new trim with screws. Later, overhead trim pieces would cover the seam between the companionway trim and the overhead.
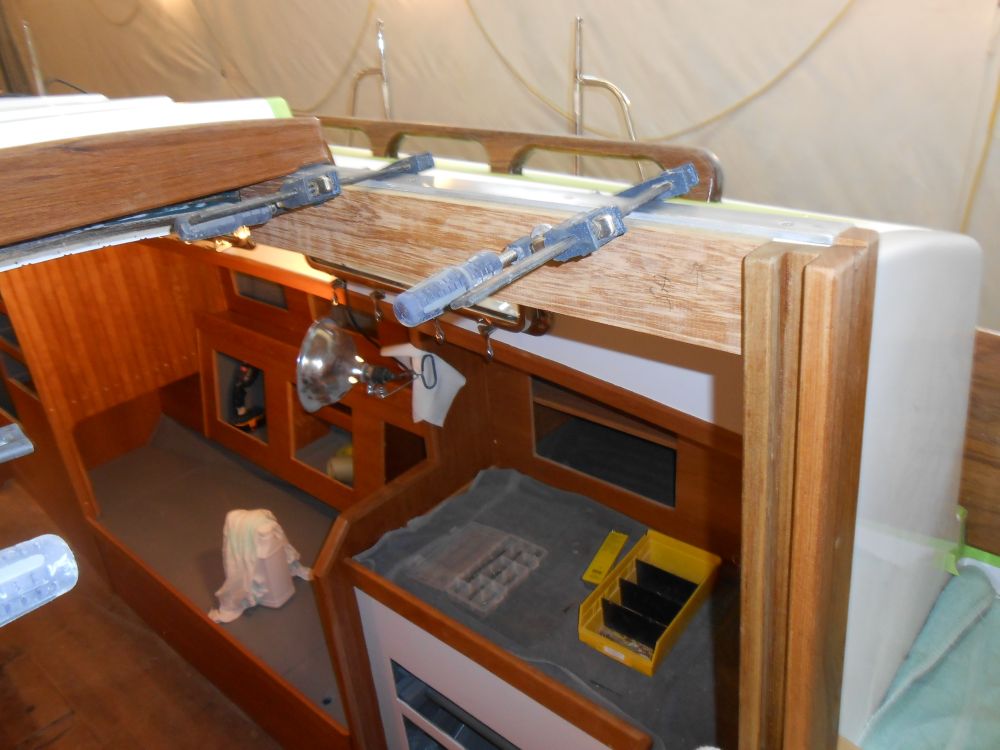
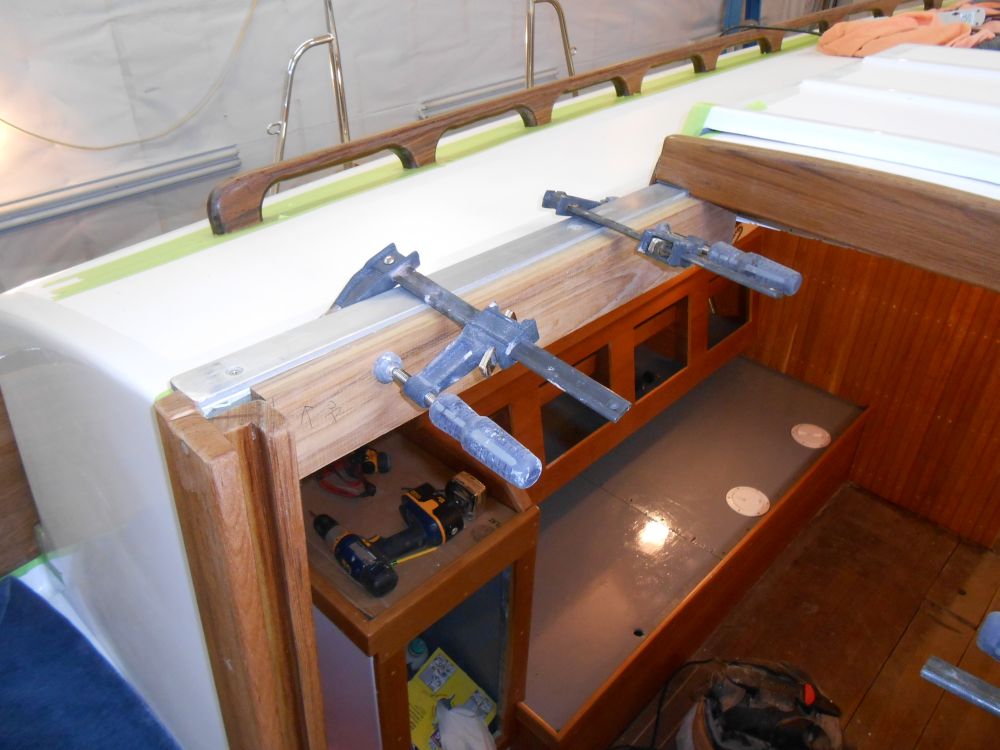
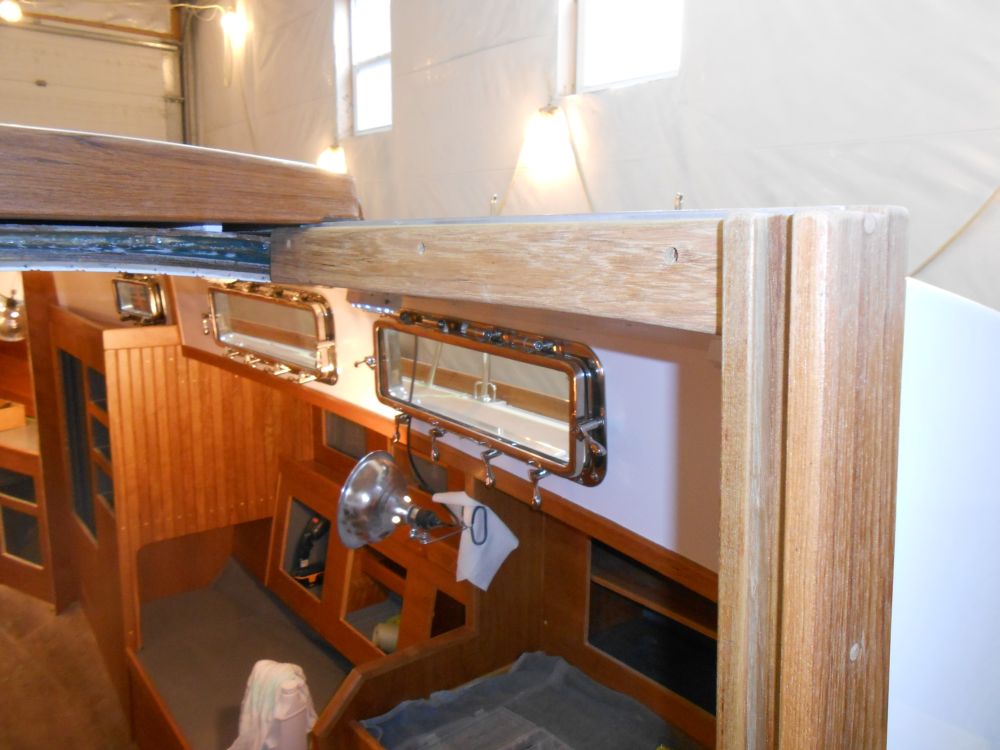
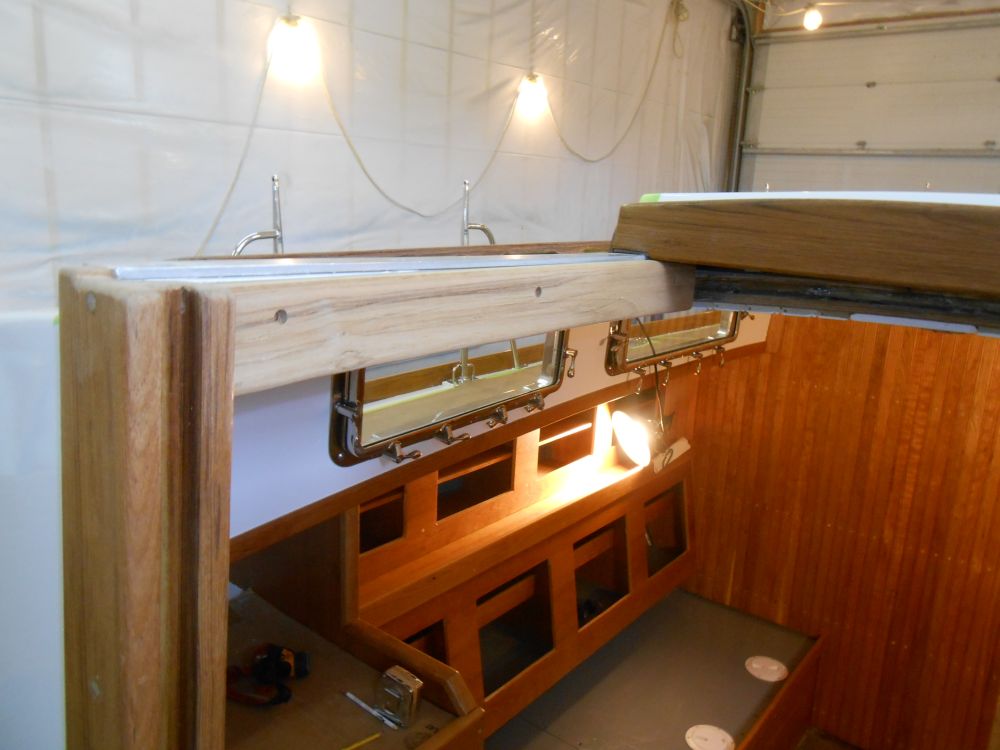
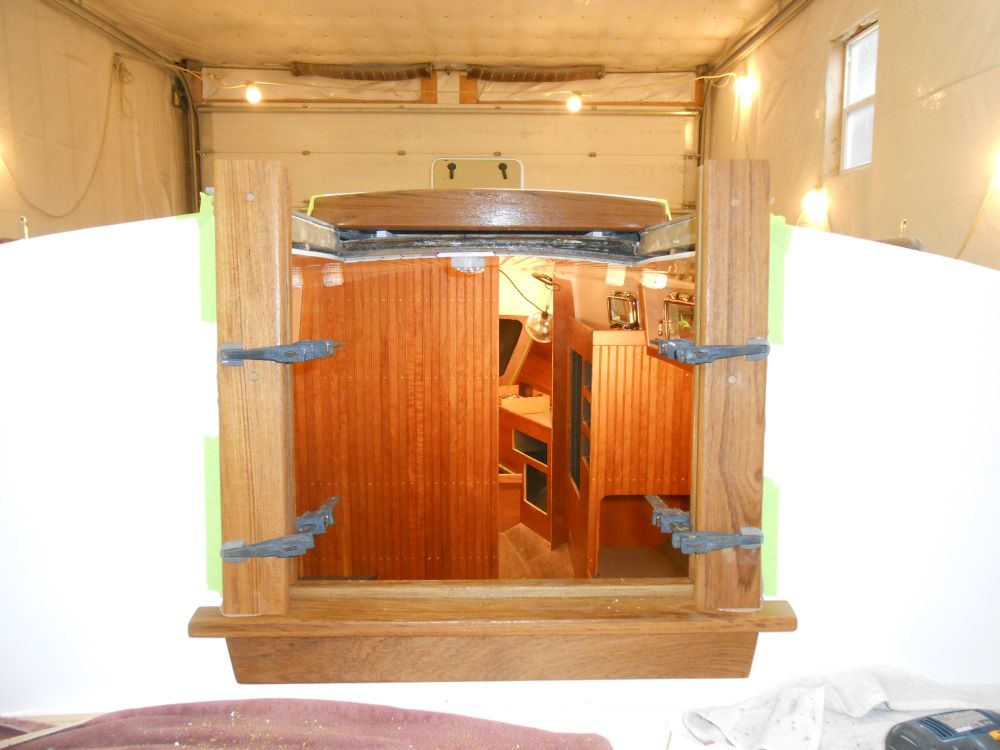
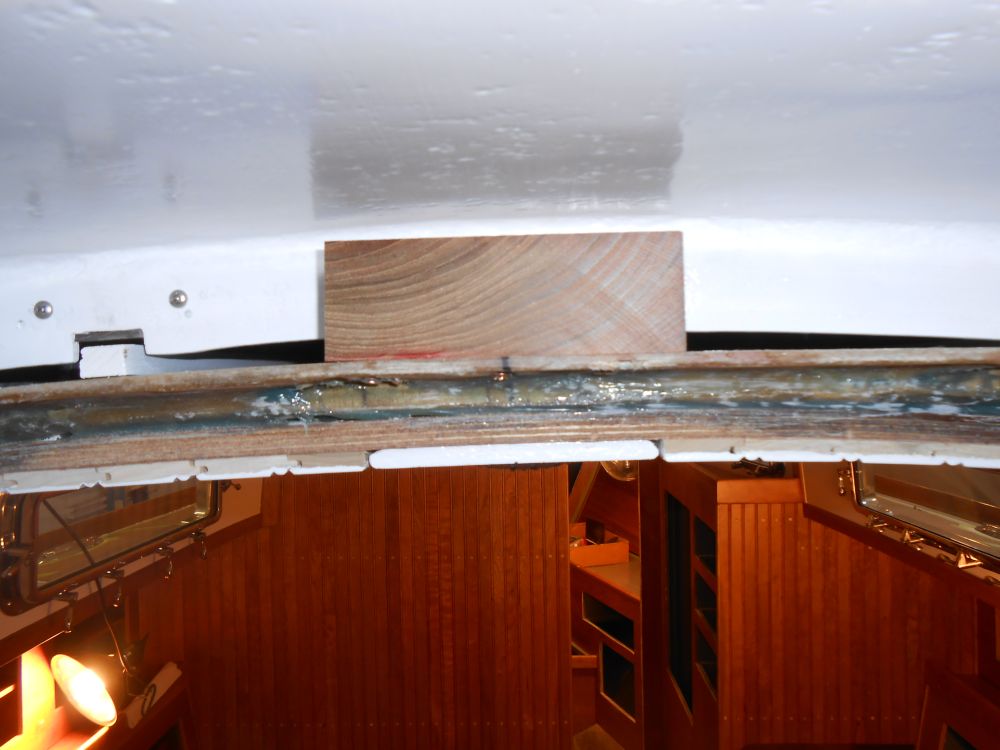
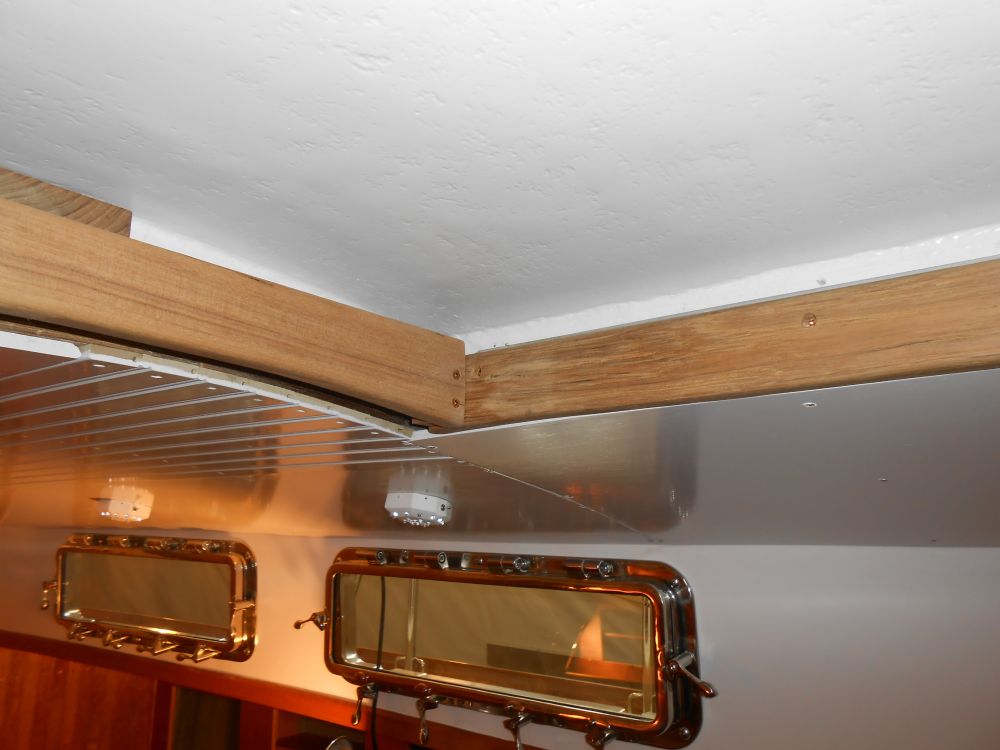
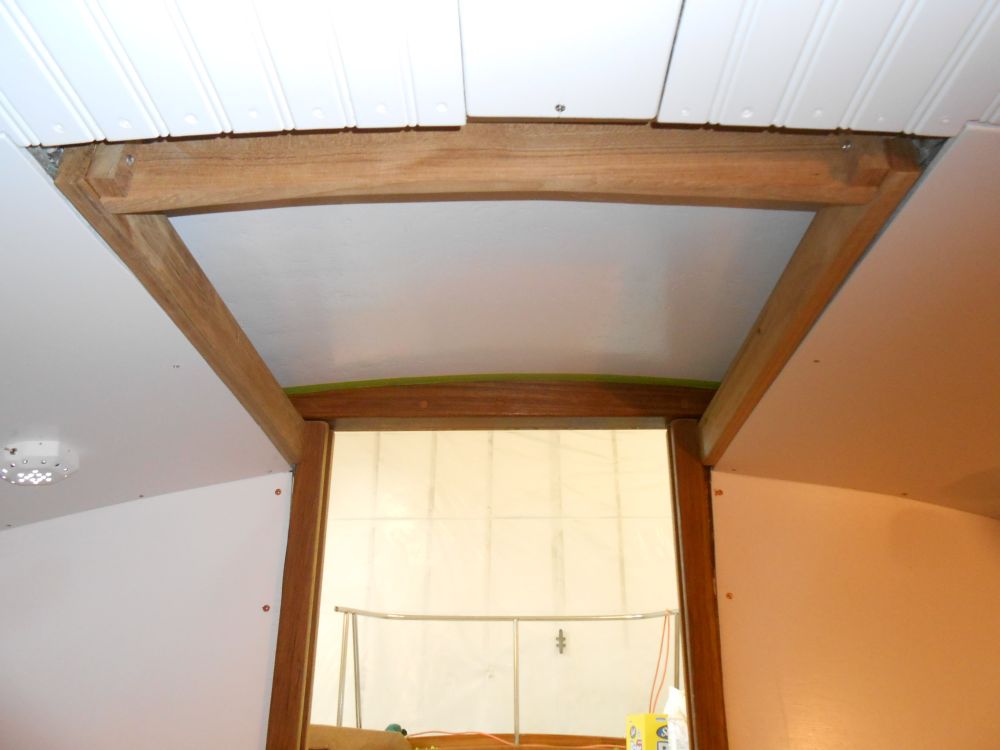
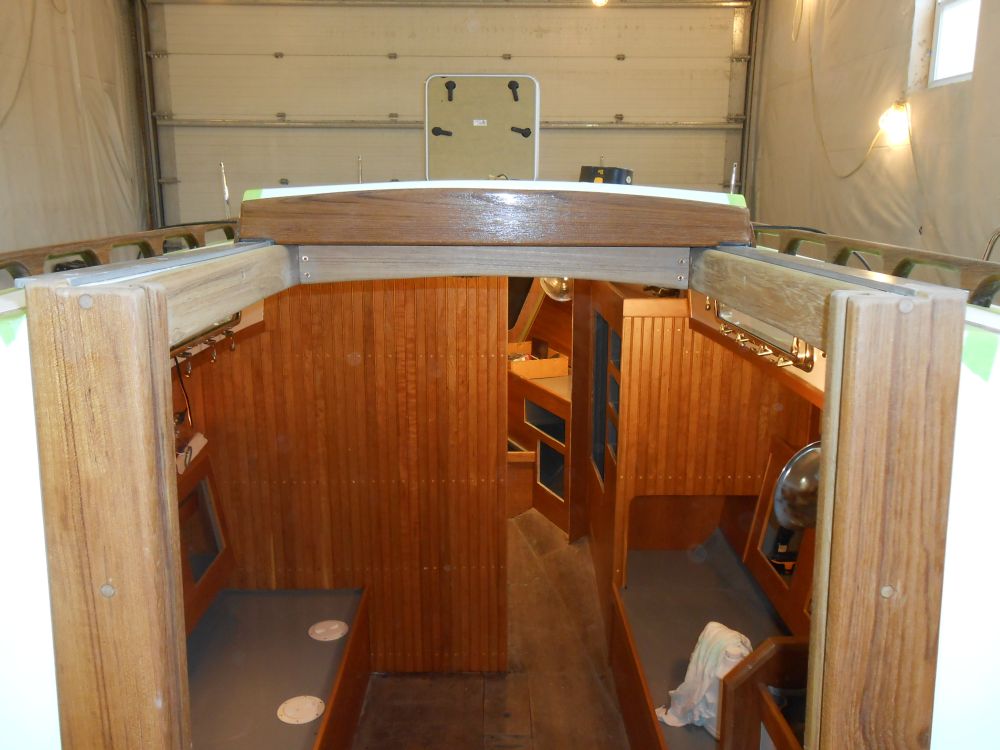
At the forward end of the opening, there as a large gap between the overhead and the opening, with a very unfinished and rough appearance to the fiberglass. The trim for this area needed to not only cover the gap and provide a place for overhead trim to rest, but also needed to be removable with relative ease in case the hatch ever needed to be removed for whatever reason. The area also had to provide stops for the companionway slide to prevent it from coming out too far.
After some consideration, I made some layout marks and installed small cleats near the forward end of the new side trim, equidistant from the aft part of the companionway opening. I secured the blocks with glue and a single screw to hold them while the glue cured.
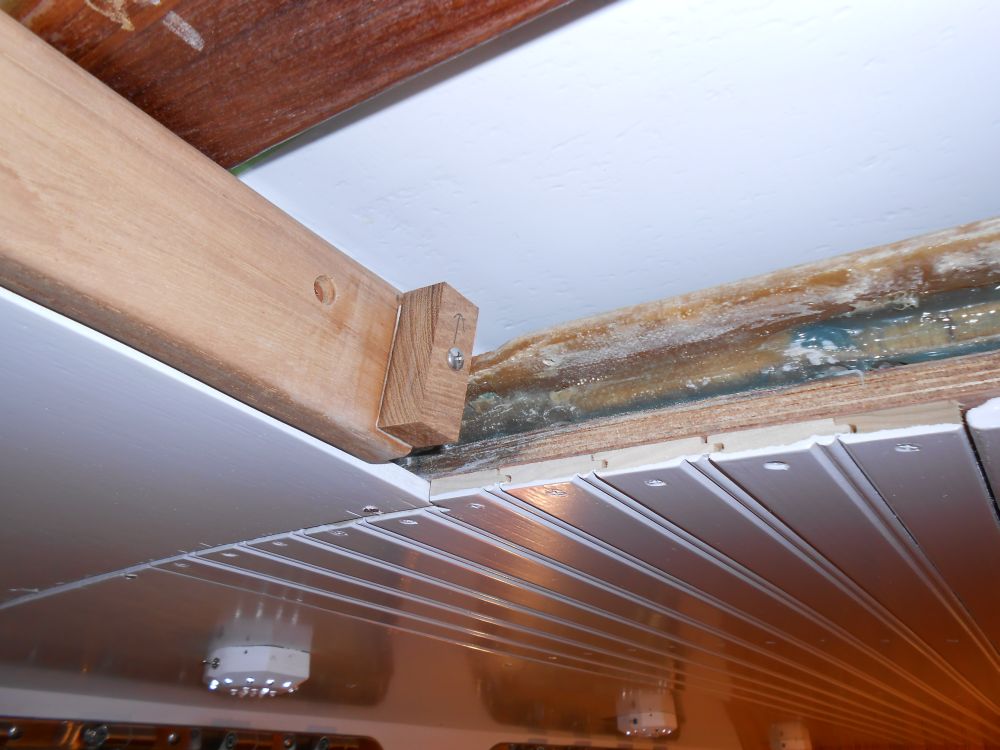
I cut an oversized piece of teak to fit the opening, allowing it to hang down past the overhead, then scribed the shape of the overhead on the trim. While I had the trim out for final shaping, milling, and sanding, I installed a stop block inside the opening, screwing into the block from beneath to secure it. This would prevent the hatch from sliding out and off its tracks, but the block could be easily removed if needed.

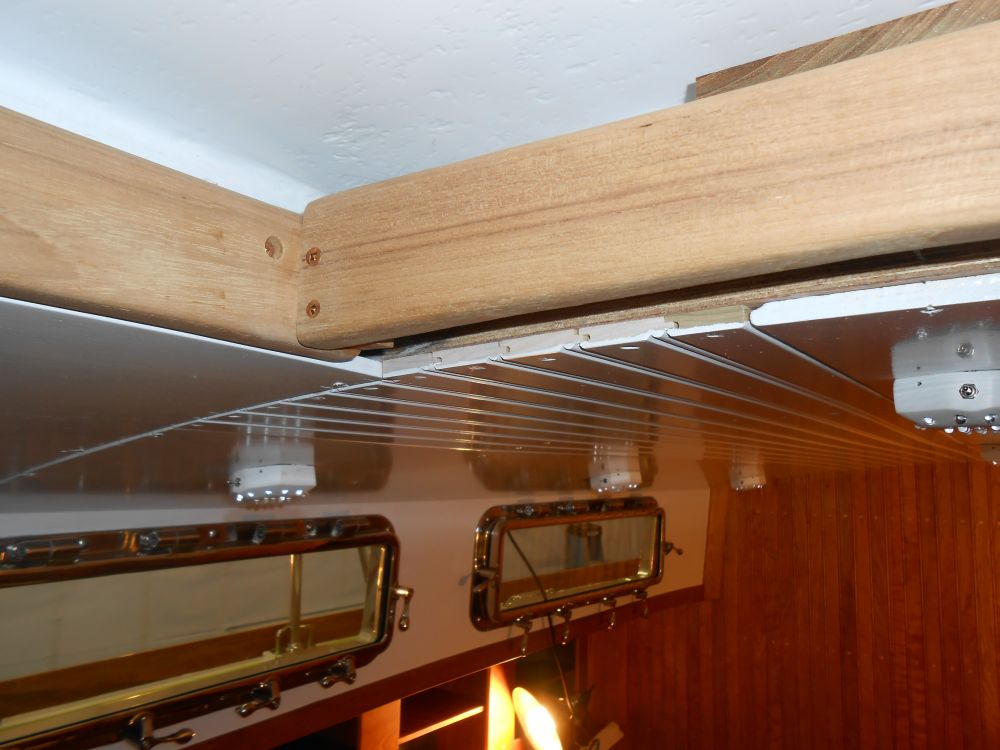
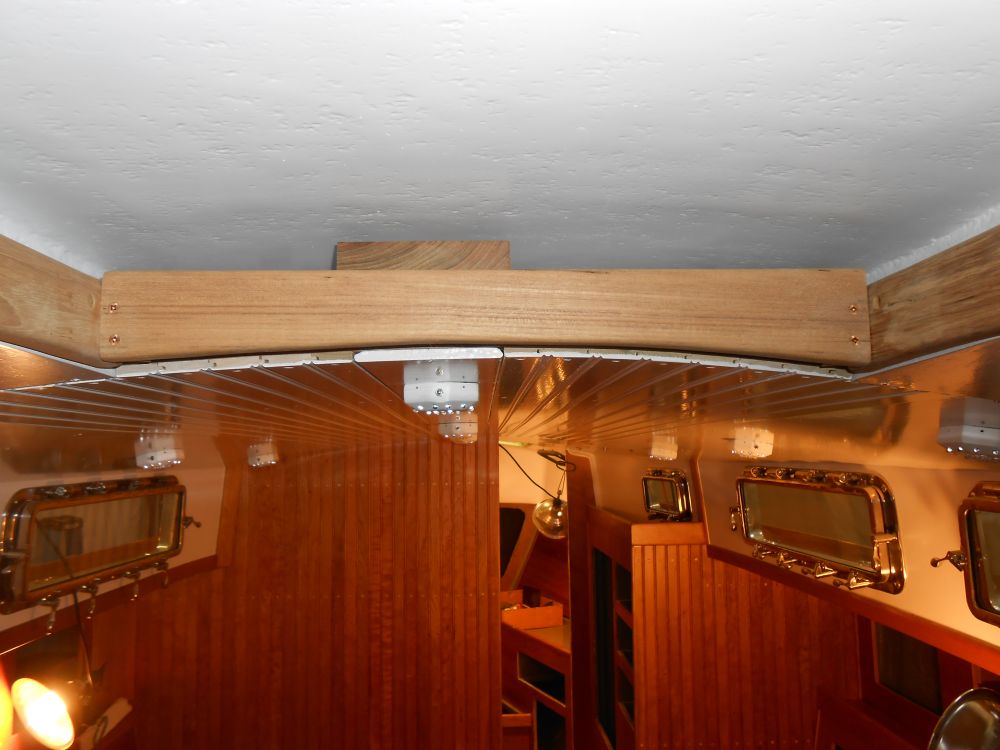
I installed the transverse forward trim with screws into the cleats on the sides, leaving the screws exposed so this trim could be removed if needed. I allowed the top edge to extent up high enough so that it also formed a stop for the companionway hatch when opened completely.
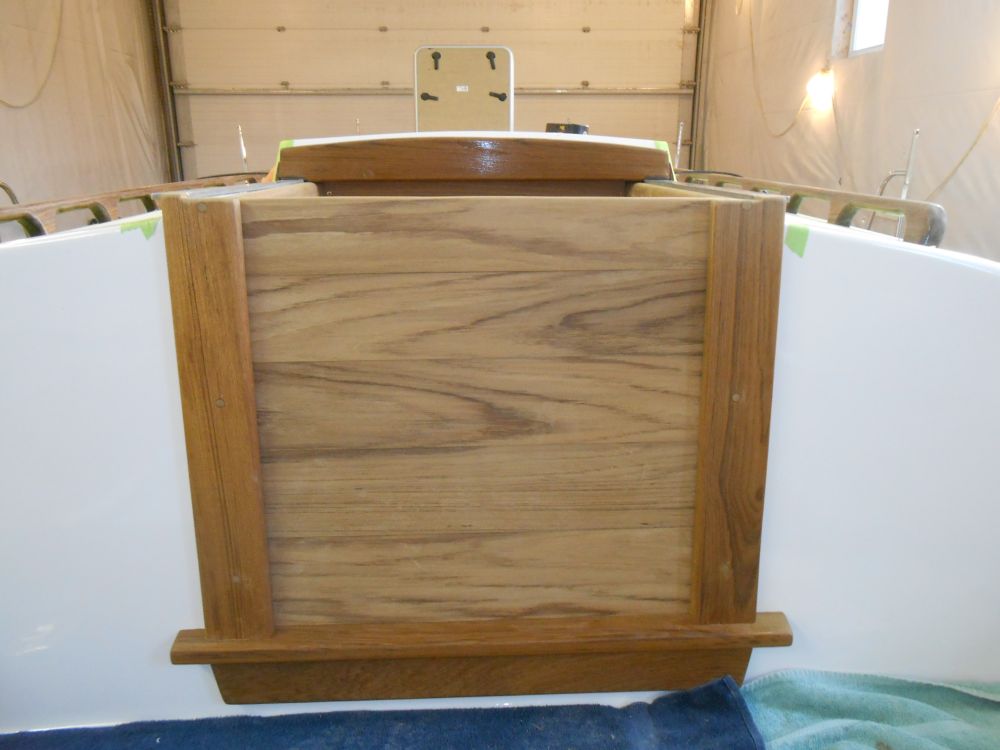
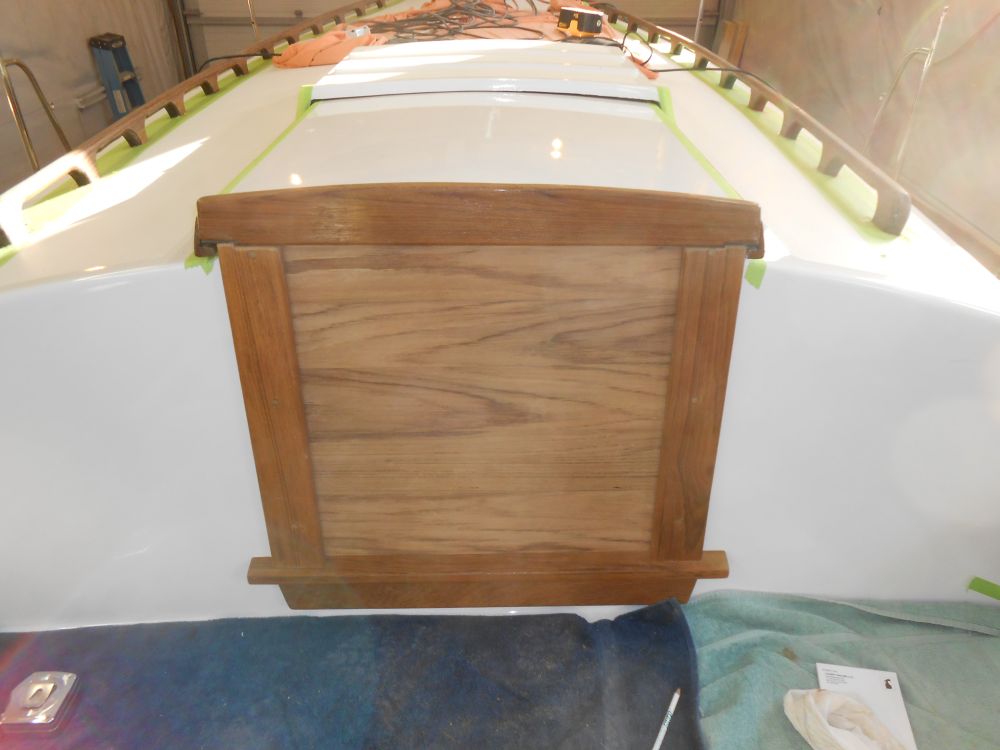
I decided to press on and get the swashboards built now--no time like the present. I had a piece of 6/4 teak in stock that I thought might be just enough, so I resawed its thickness in half, leaving me with boards 11/16" thick--which was just what I needed to fit easily in the 3/4" slots--and made up the boards required to close off the opening. I fit the lowest board to match the angle and step of the stool, then cut overlapping rabbet joints between the boards to shed water from the outside.
With the milling operations complete, I sanded all the boards smooth and set them aside for finishing.
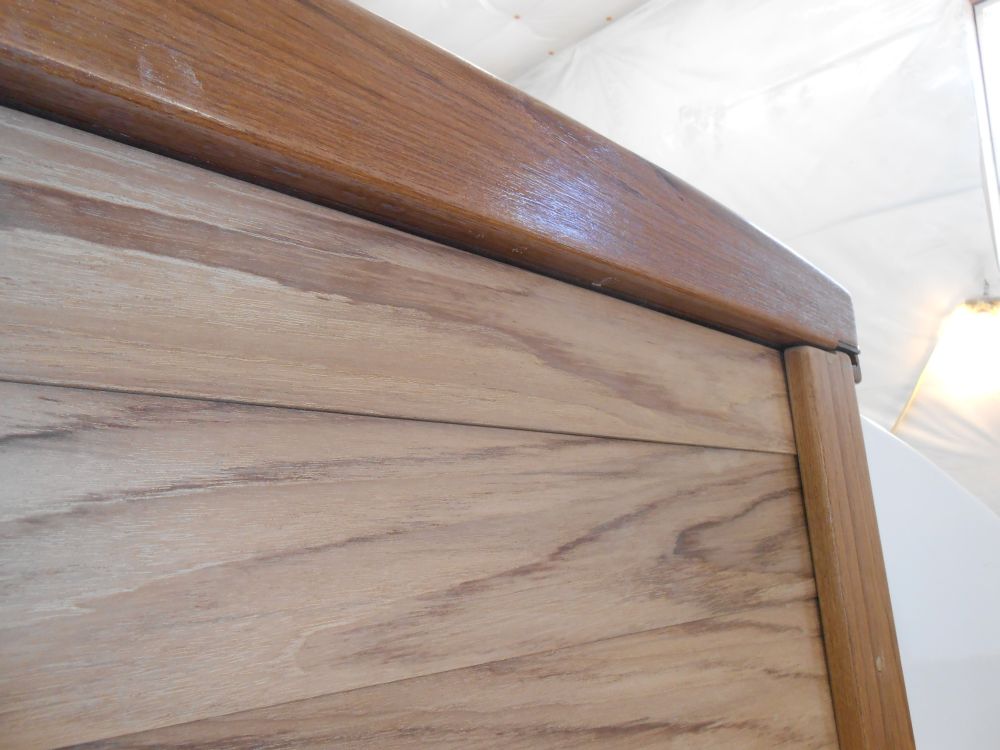
Inside the boat, I wrapped up the companionway trim with three pieces around the edges of the hatch, and bunged all the screw holes from the day's work as needed. I left a small space at the top edge of the side trim to allow the overhead panels to be slipped in and out. Later, I'd install some trim along the remaining lower edges of the after bulkhead.

Total Time on This Job Today: 8.75 hours
