
110 Cookson Lane | Whitefield, ME 04353 | 207-232-7600 | tim@lackeysailing.com
Snow Lily | Monday, February 4, 2013
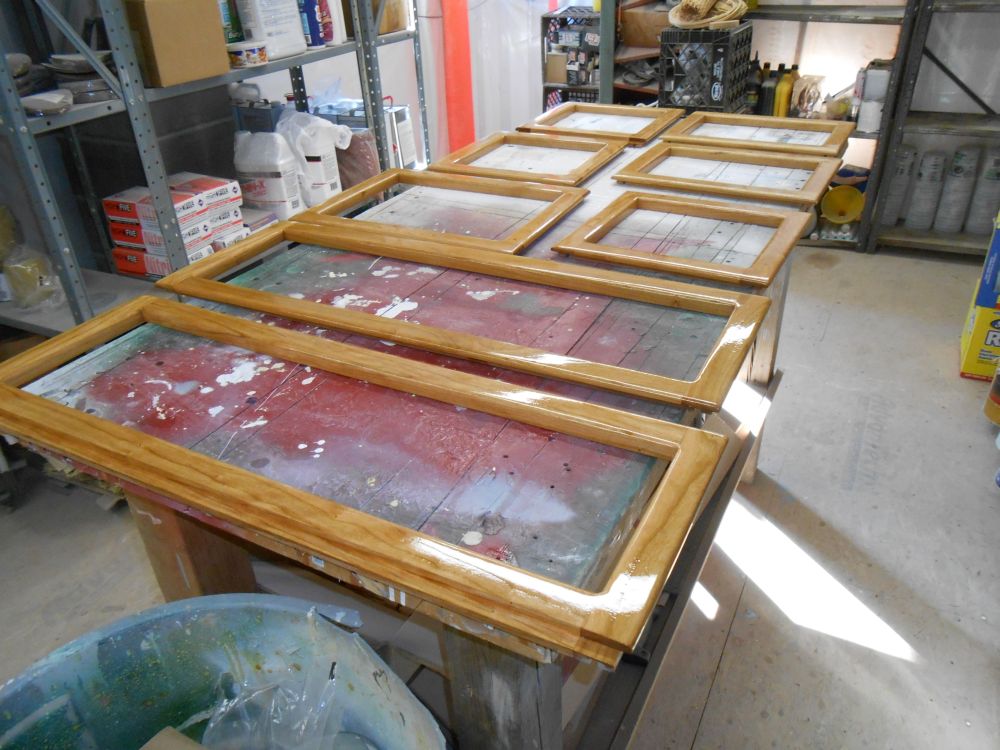
I got started with another coat of varnish on the cabinet doors.
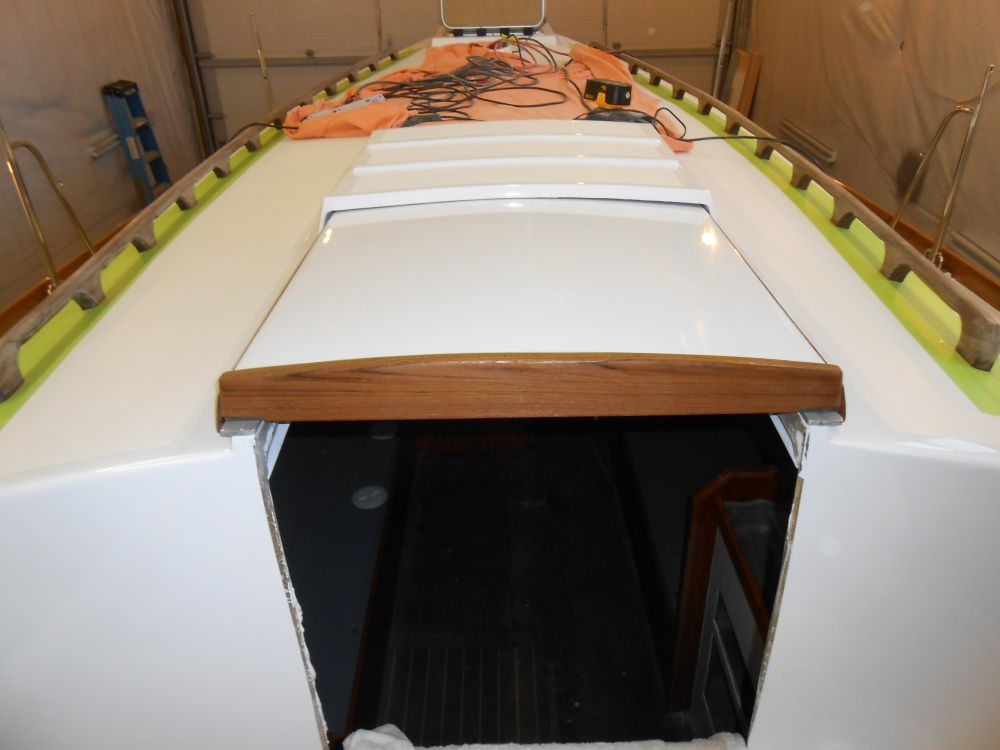
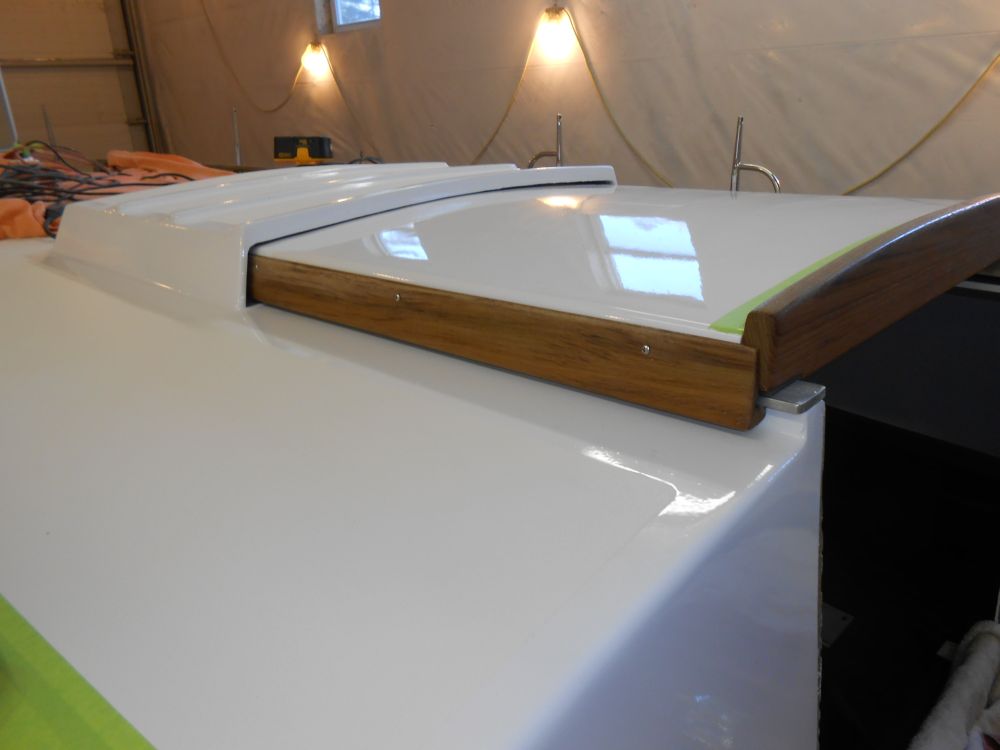
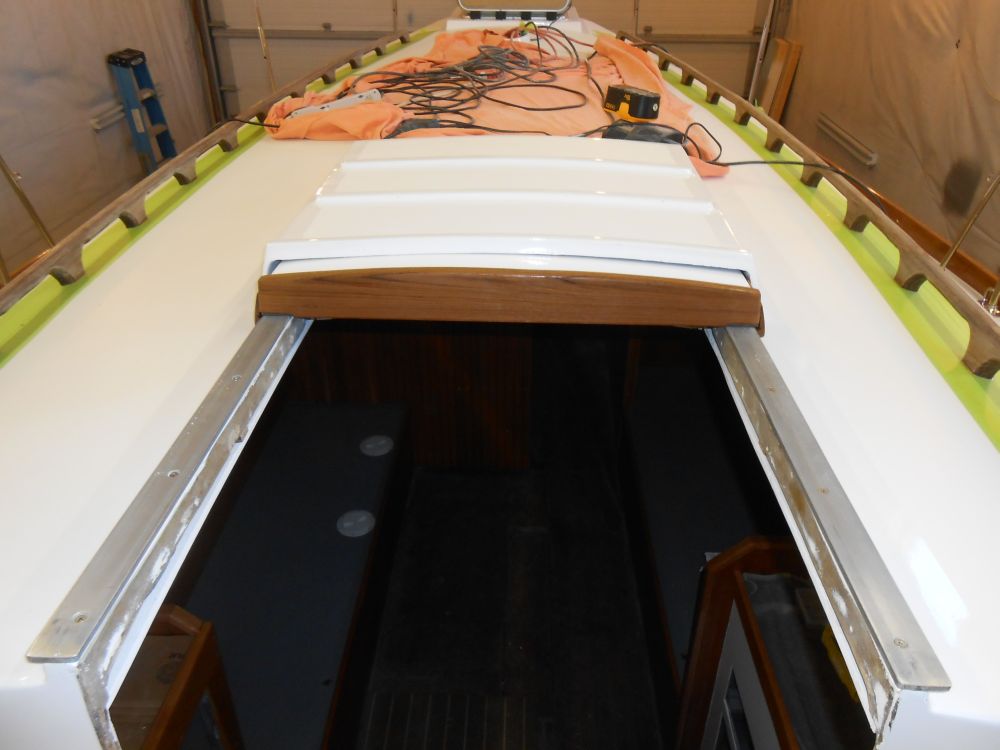
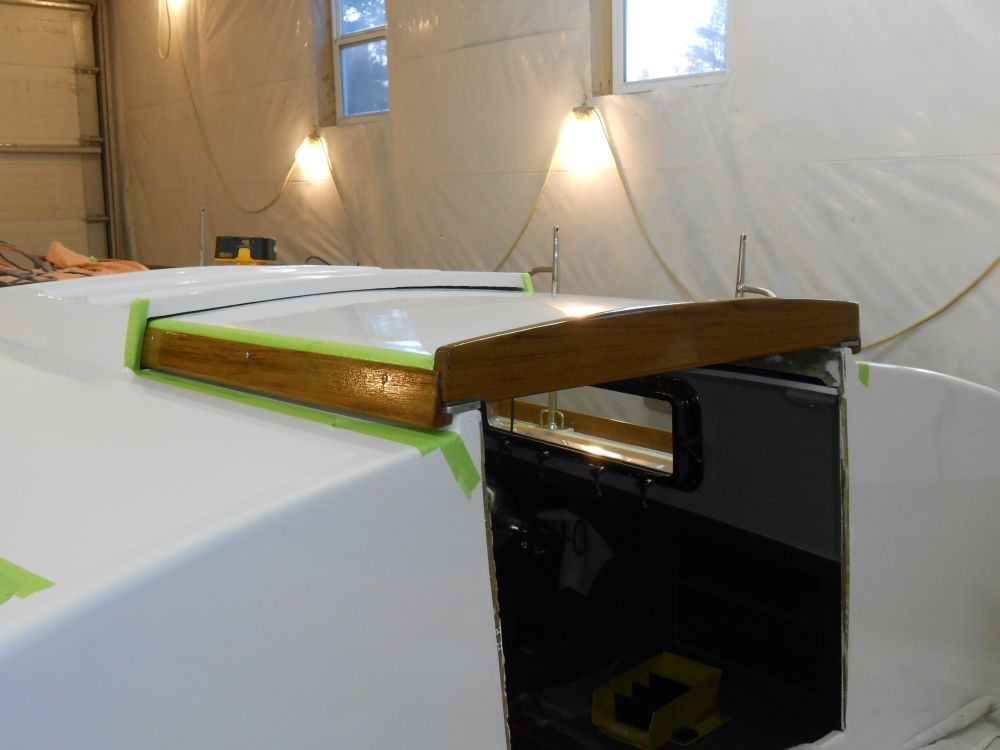
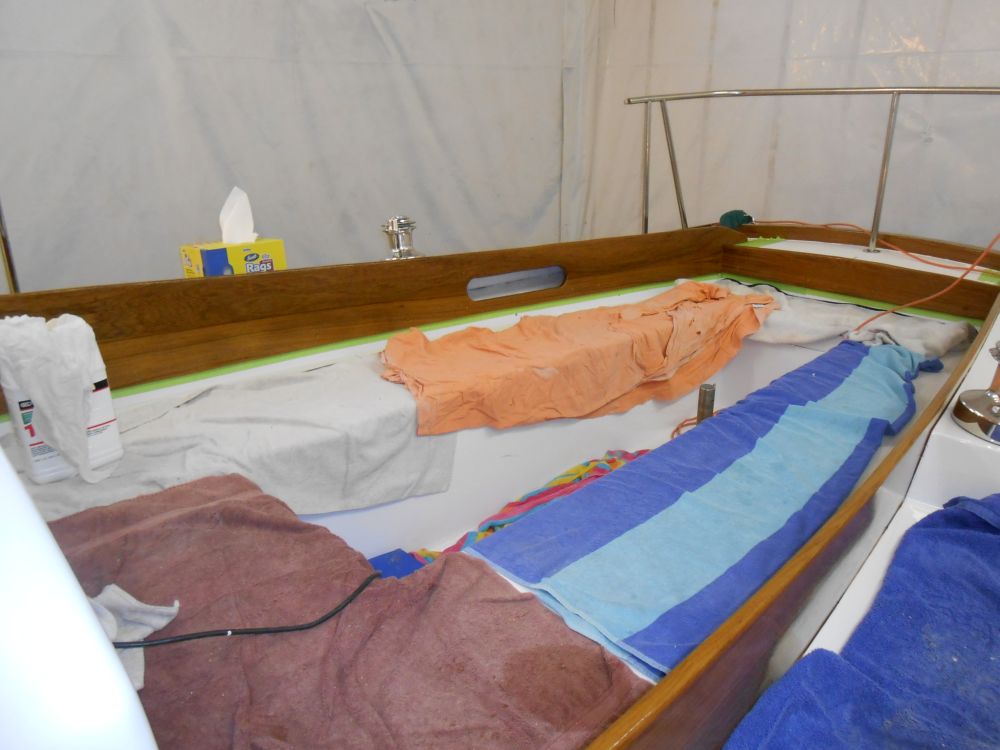
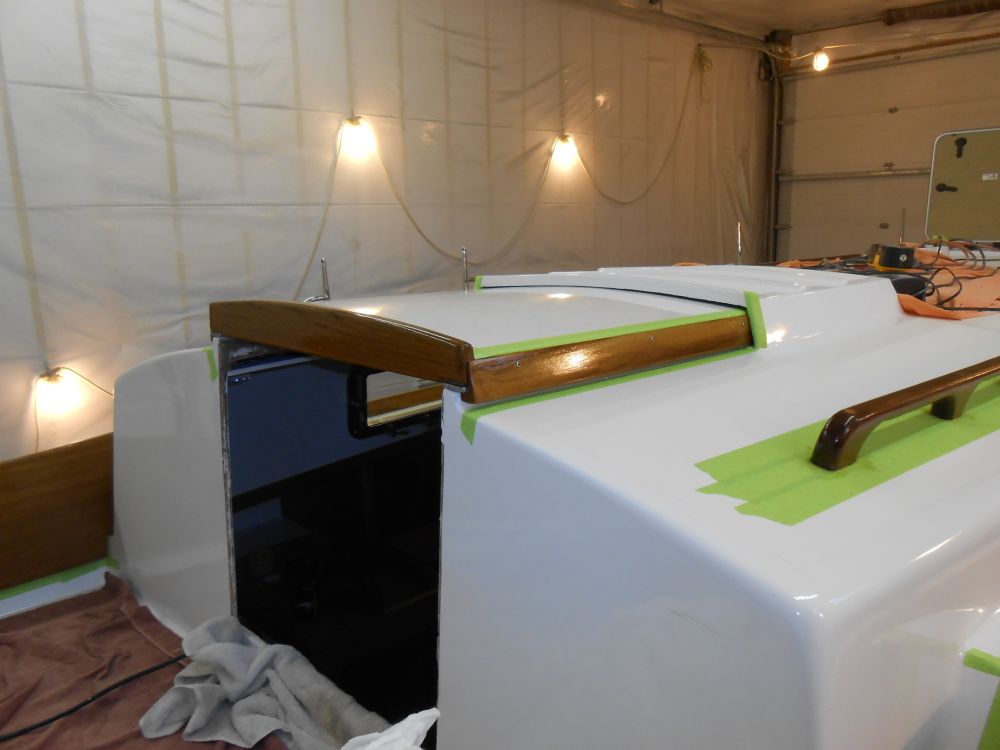
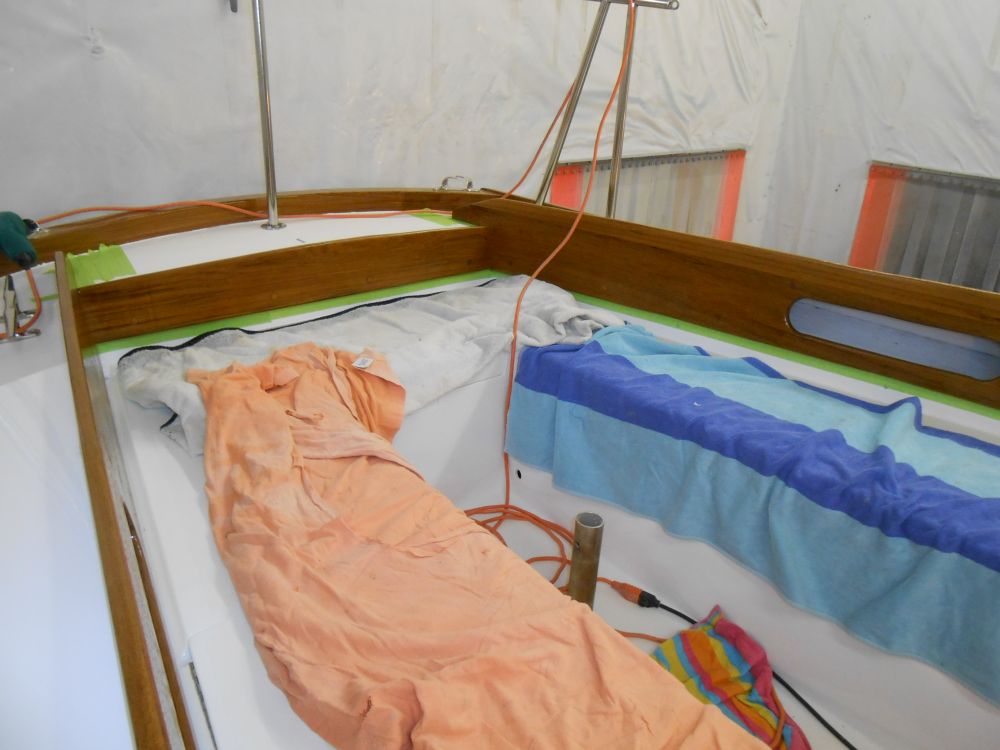
Next, I installed the after cockpit coaming, securing it with sealant and four screws before bunging the screw holes.
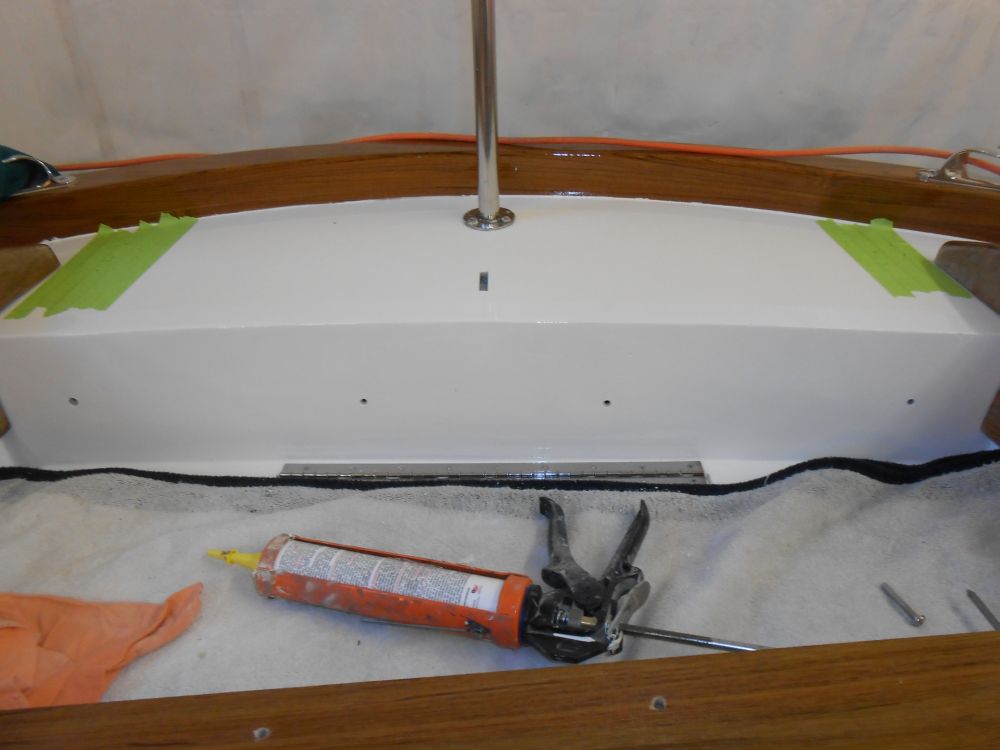
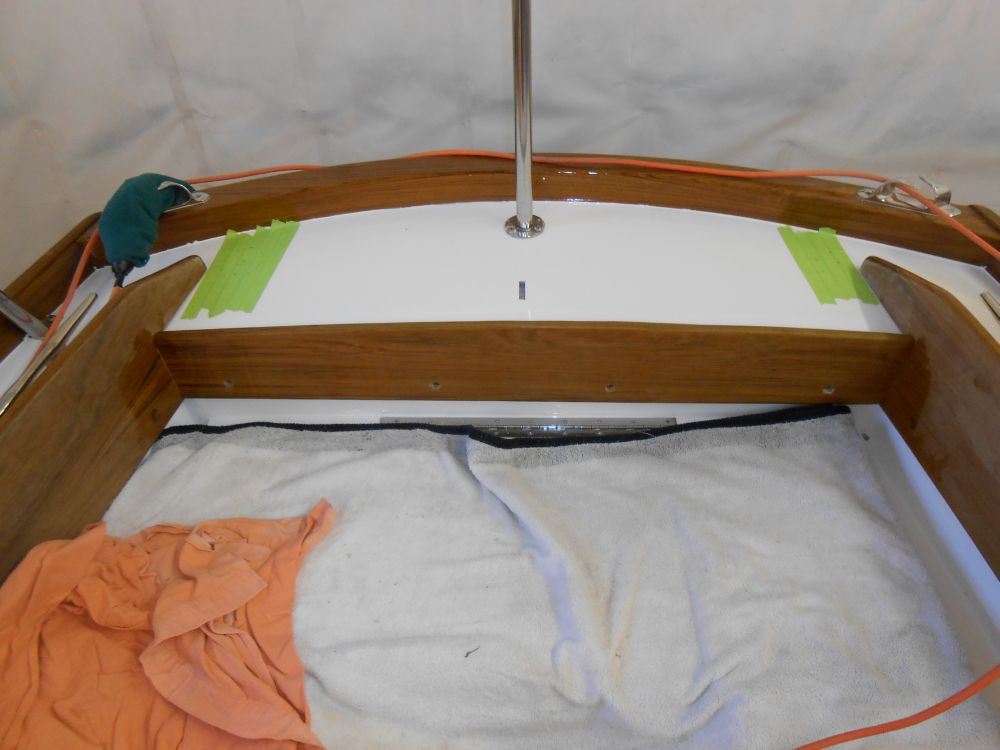
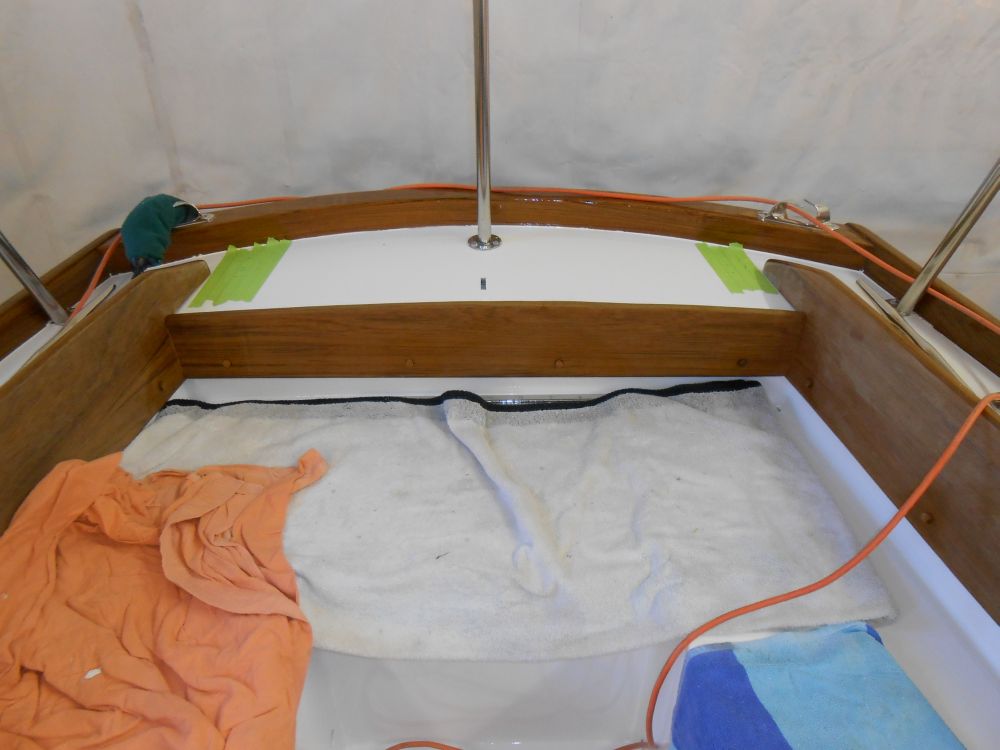
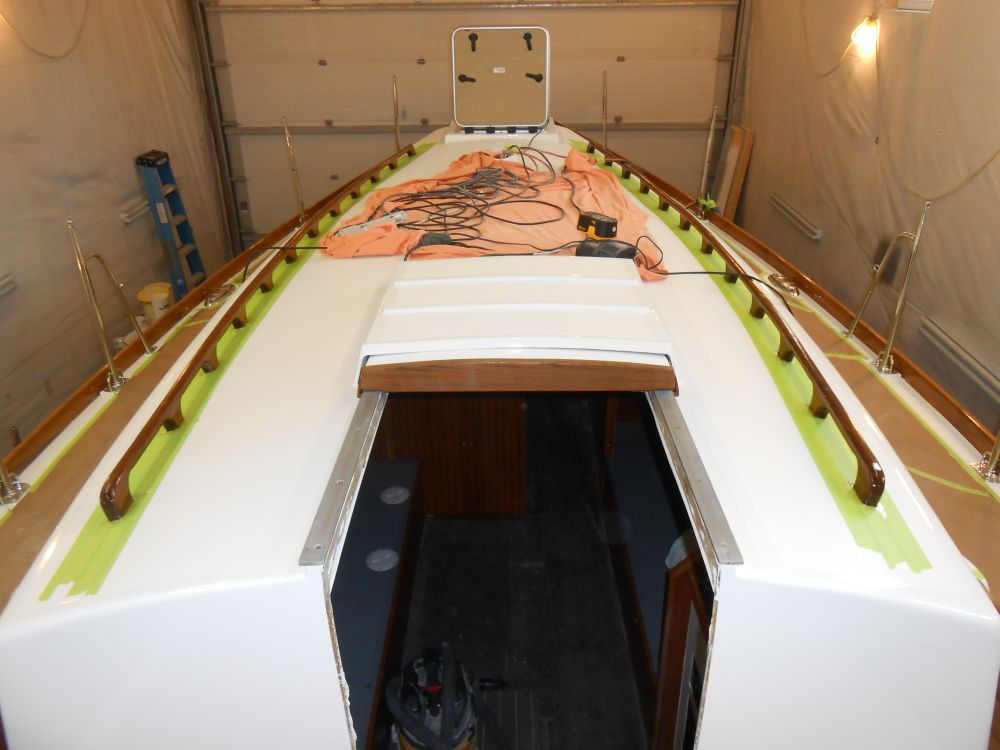
Meanwhile, I installed the companionway hatch and its side trim to secure it in place.

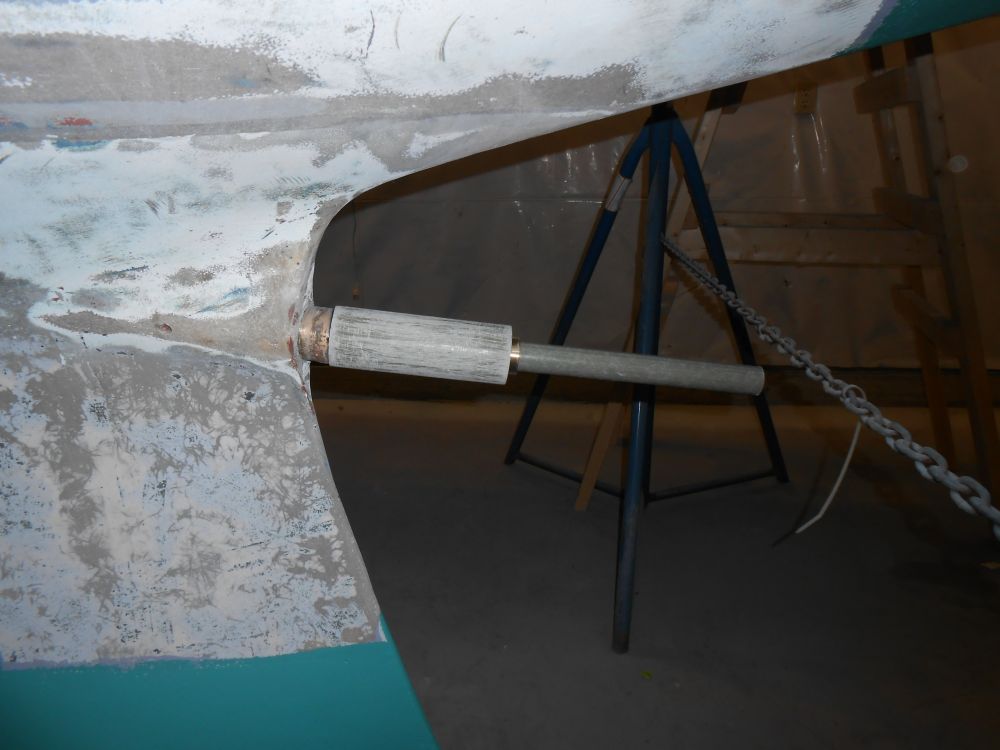
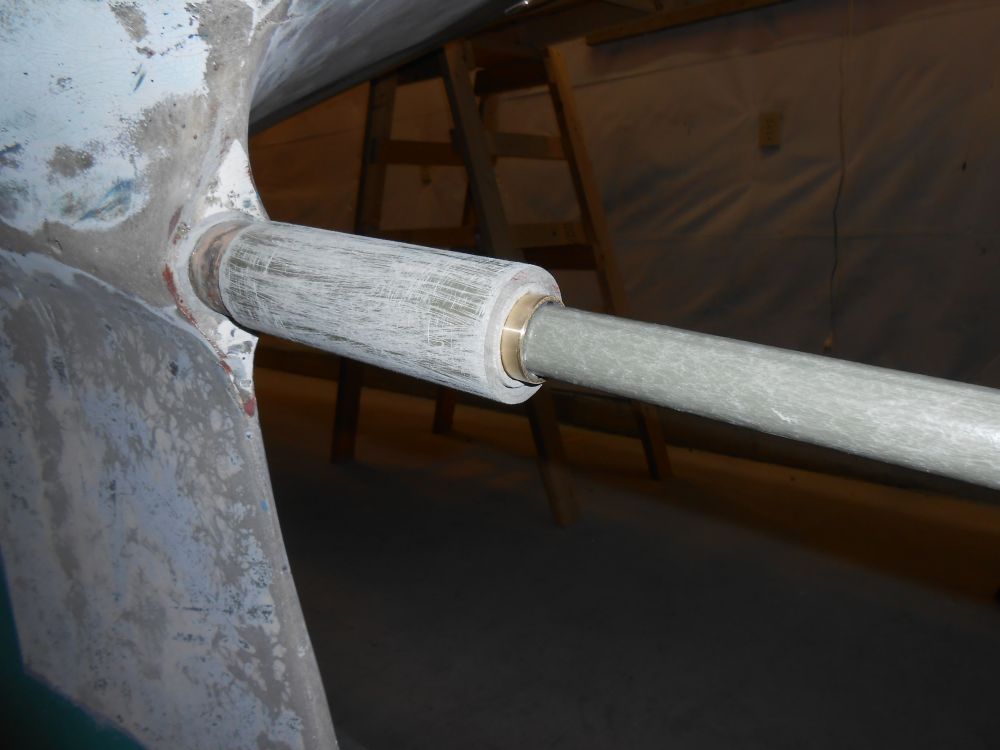
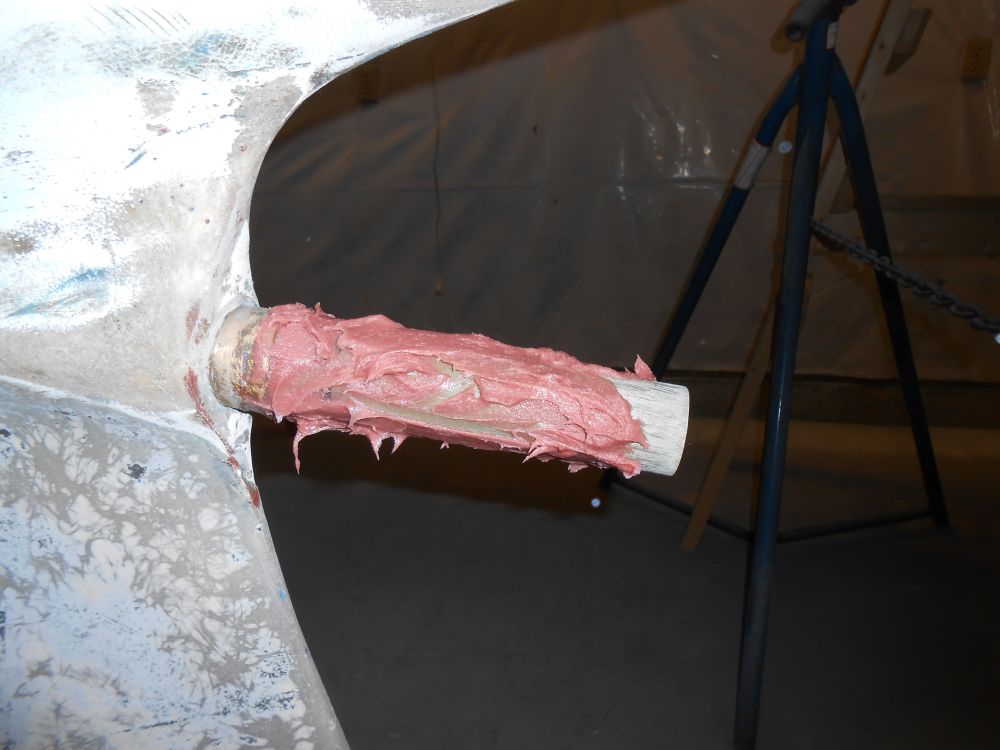
Shifting gears, I turned to the shaft log, which I needed to extend slightly to allow enough clearance for the propeller. My plan was to insert a section if fiberglass tubing into the existing bronze stern tube, securing it with epoxy and then glassing from outside as necessary to hold and support the additional length.
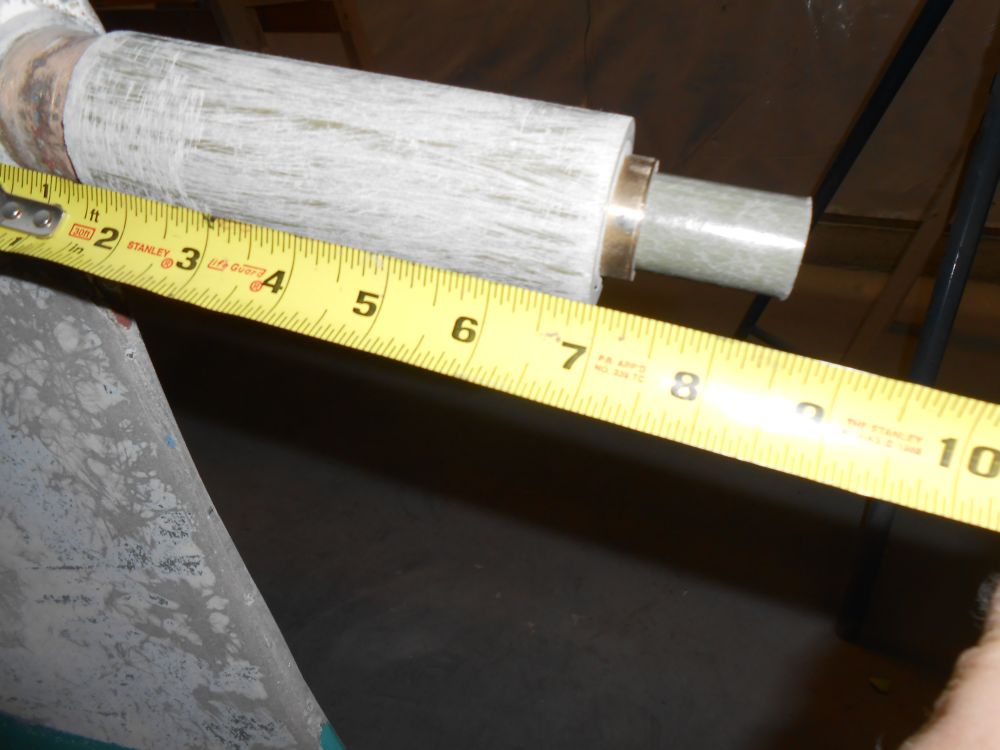
First things first. With a length of fiberglass tubing inserted as far as it would go, and a 1"diameter tube serving as a shaft stand-in, complete with Cutless bearing, I determined roughly where the prop should end up, and made a reference mark on the fiberglass tube, erring on the side of caution, as I could always cut the tube shorter.
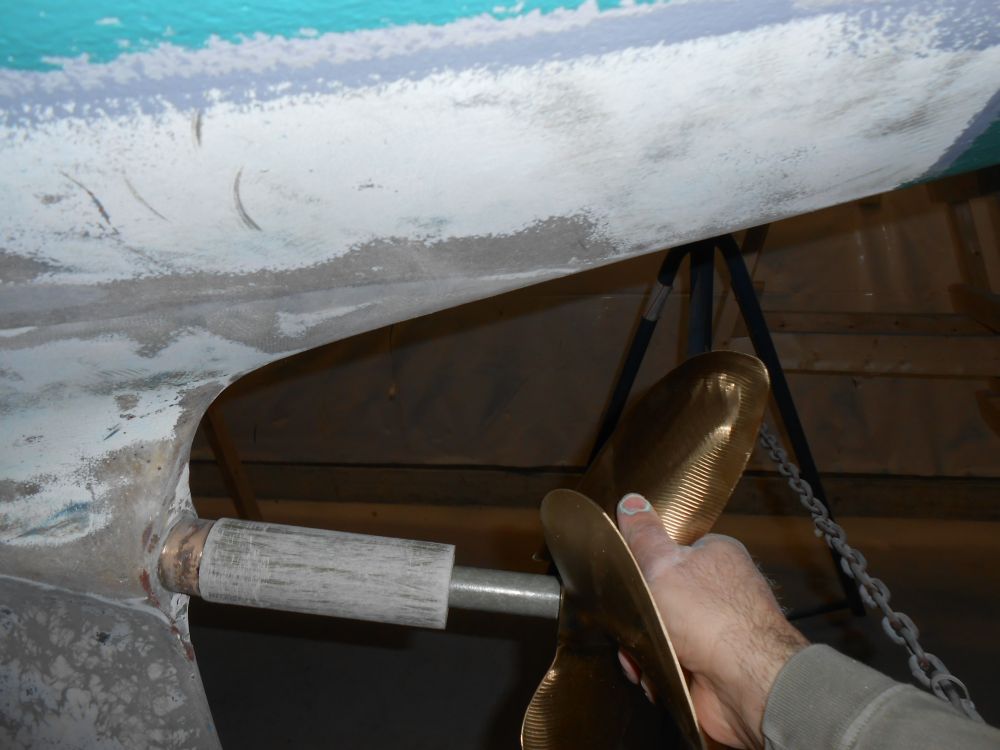
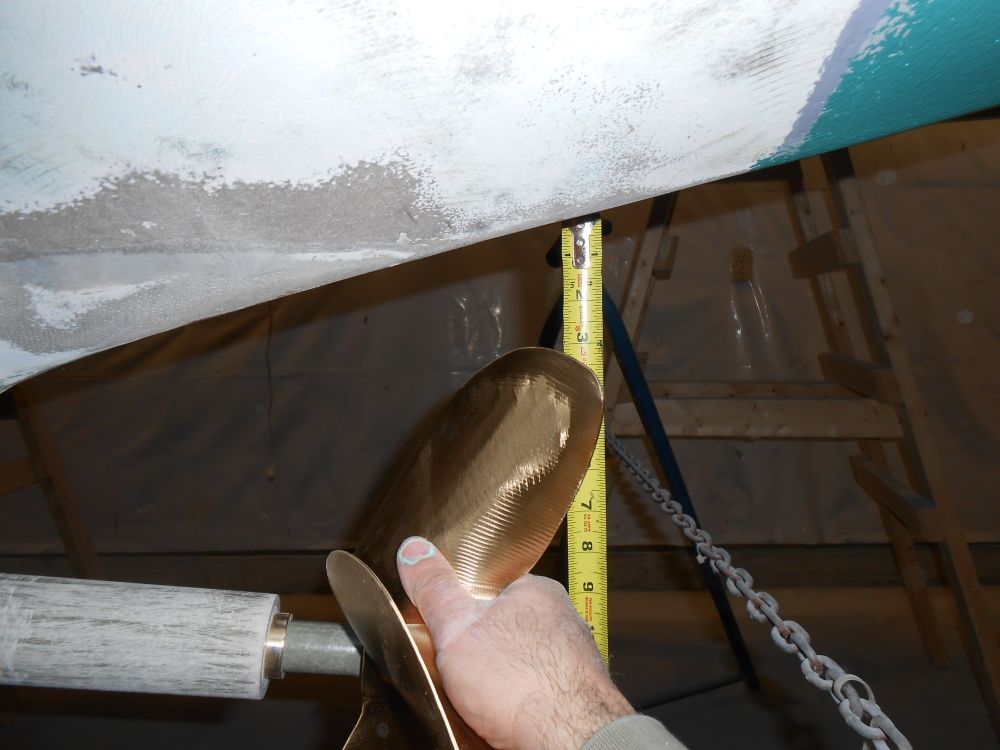
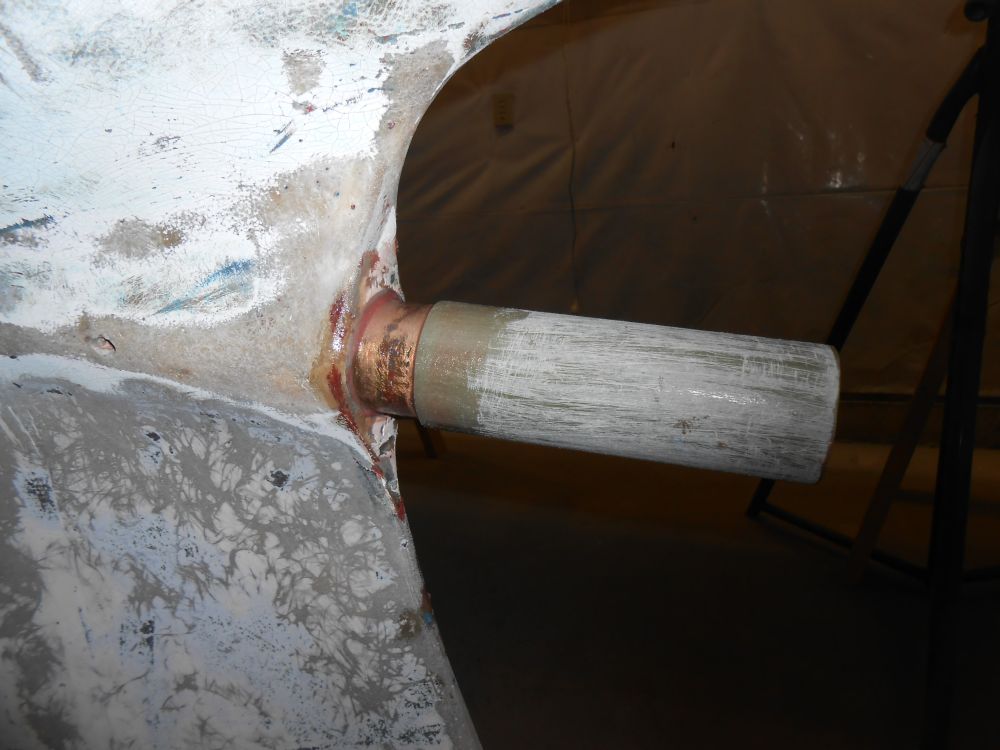
With the tube cut to length, I added a second section slipped over the first, which would add stiffness and thickness. Then I held the propeller in place at the end of its "shaft" to measure potential hull clearance, which could be anywhere from 2-3" at the blade tip depending on where exactly the propeller ended up when all was said and done. I was going for a minimum of 2", so things were in good shape.
Next, I secured the new tubes in place with epoxy, and left the assembly to cure before continuing. The next step would be to start to create the final shaping and fairing around the extended tube, and to tie it in smoothly with the surrounding keel and hull as needed to provide the requisite support.

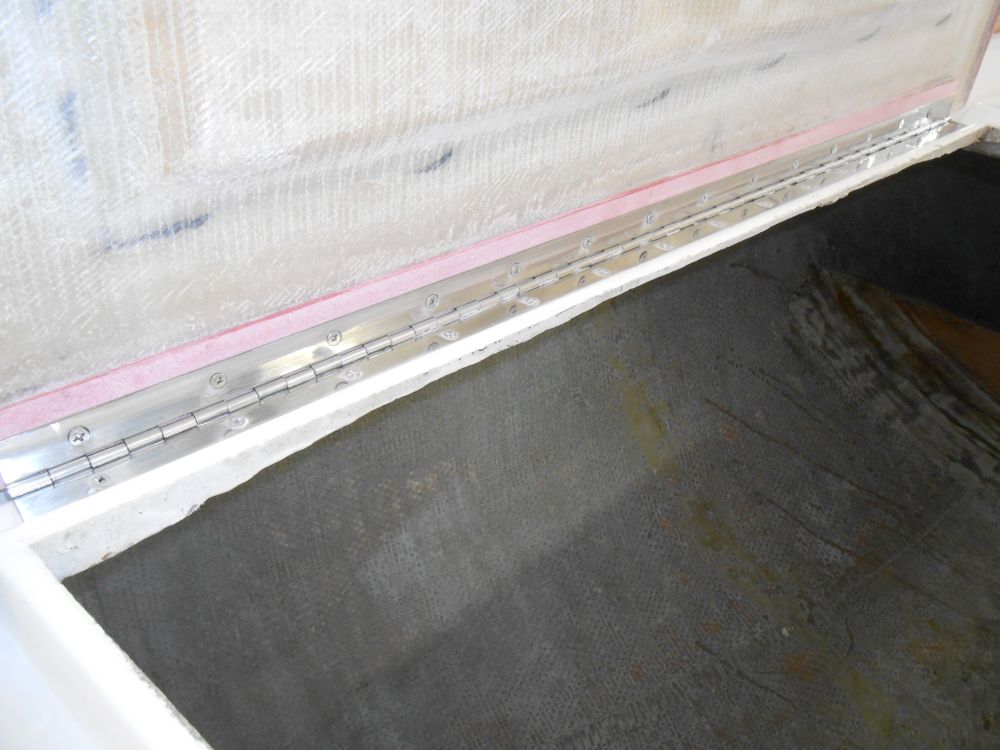
After a mid-day appointment, I finished up the installation of the starboard cockpit locker lid, with new, shorter screws now on hand.
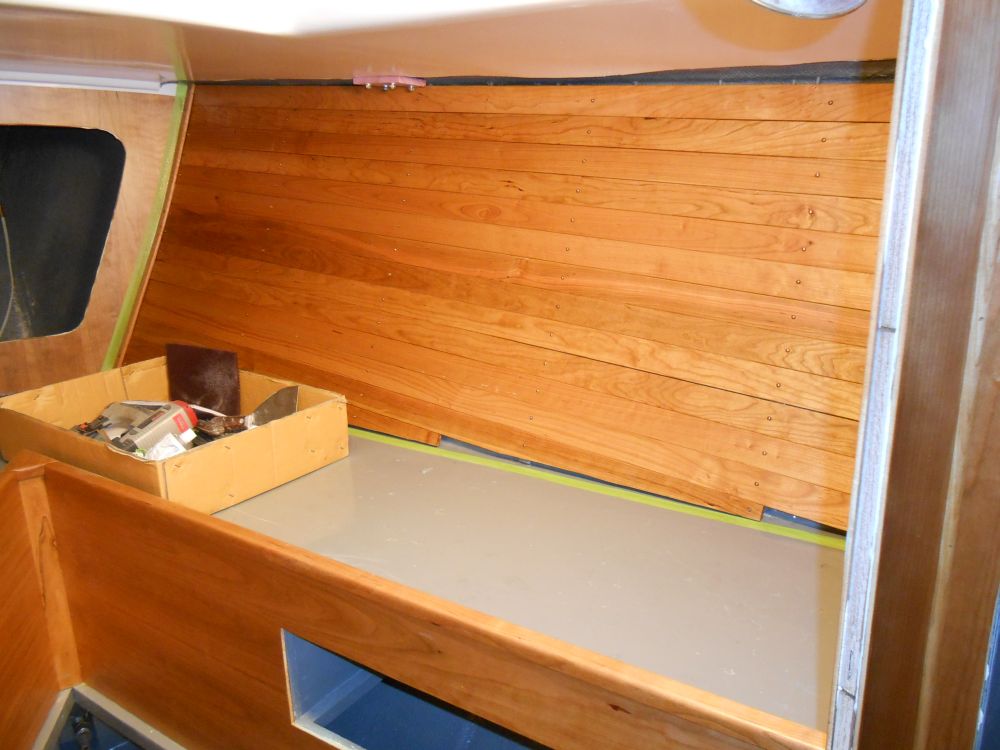
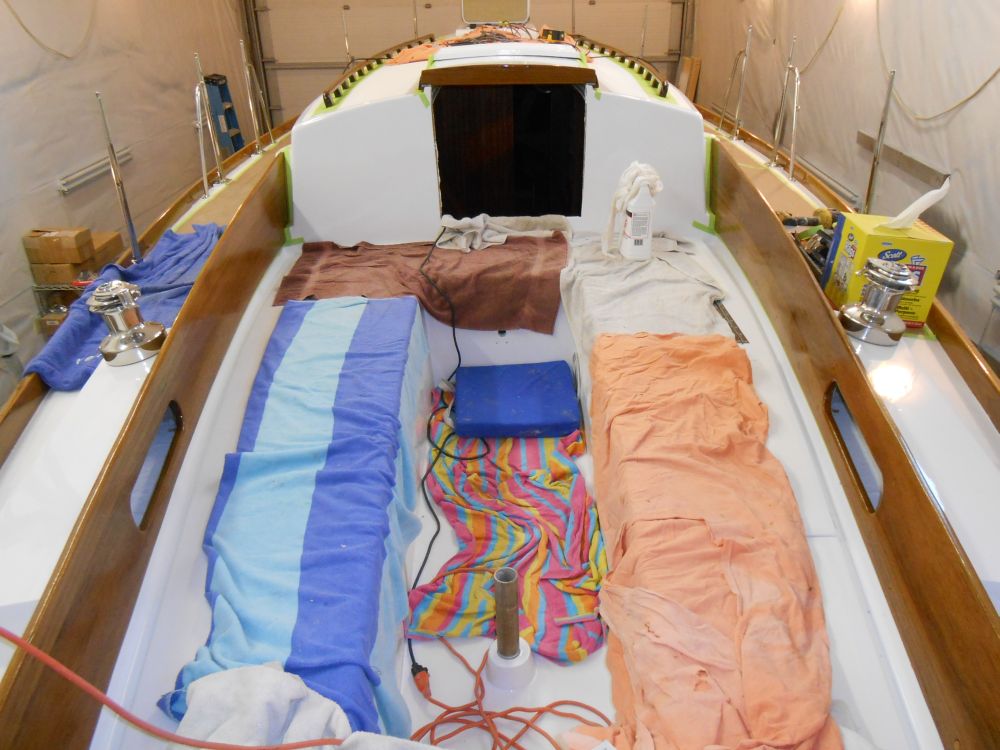
In the cabin, I worked on some odds and ends, including some minor surfacing work within the forward hatch opening to prepare for paint, and additional tung oil on the forward cabin ceiling.
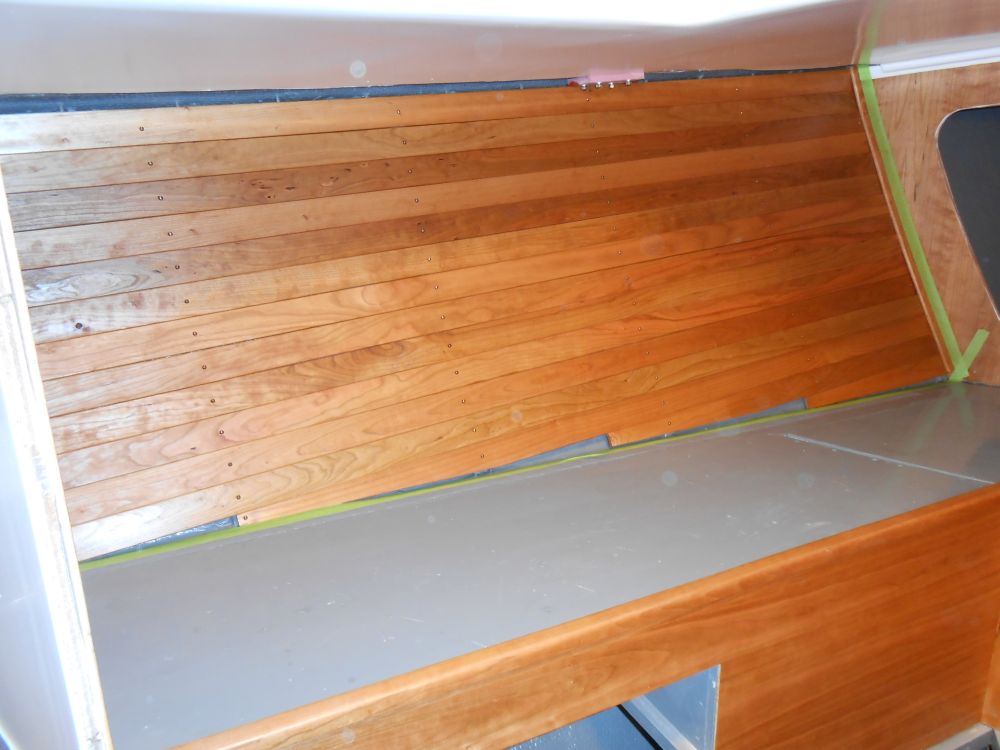
Back on deck, I masked off the coamings as needed, then, after paring away the excess bungs and lightly sanding, applied a coat of varnish to the inside faces of the coamings, the first of several needed to catch this side up with the outboard faces, to which I'd applied 4 coats before installation. Once the two sides were even in a few days' time, I'd finish up with a few additional coats to all surfaces. I also varnished the handrails and companionway hatch trim.
Total Time on This Job Today: 7 hours
