
110 Cookson Lane | Whitefield, ME 04353 | 207-232-7600 | tim@lackeysailing.com
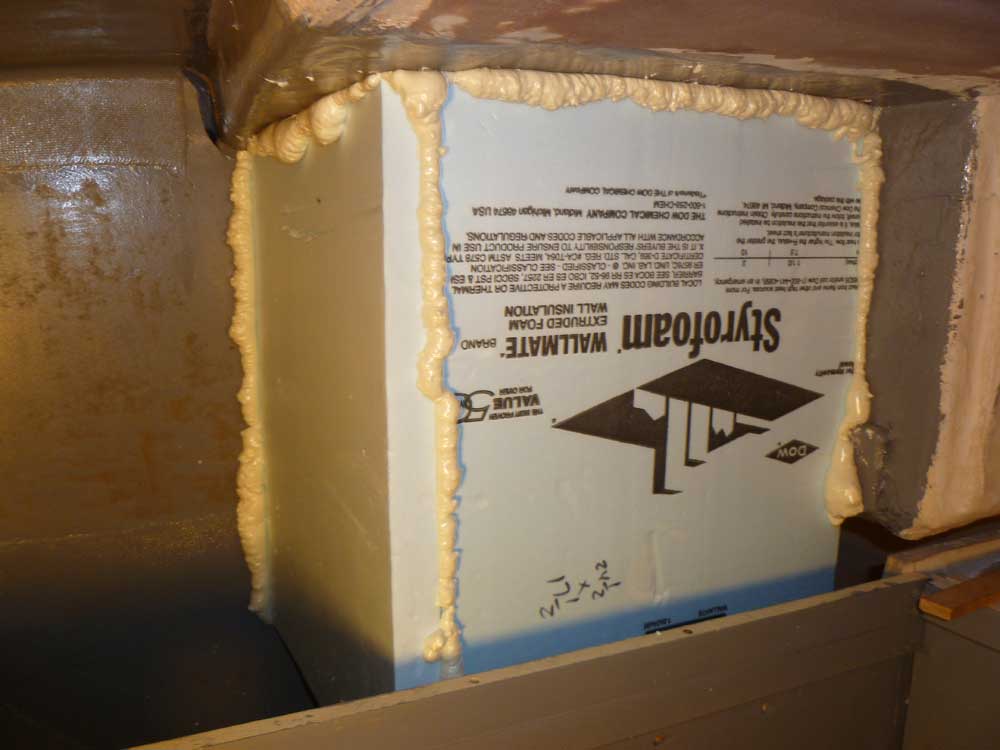
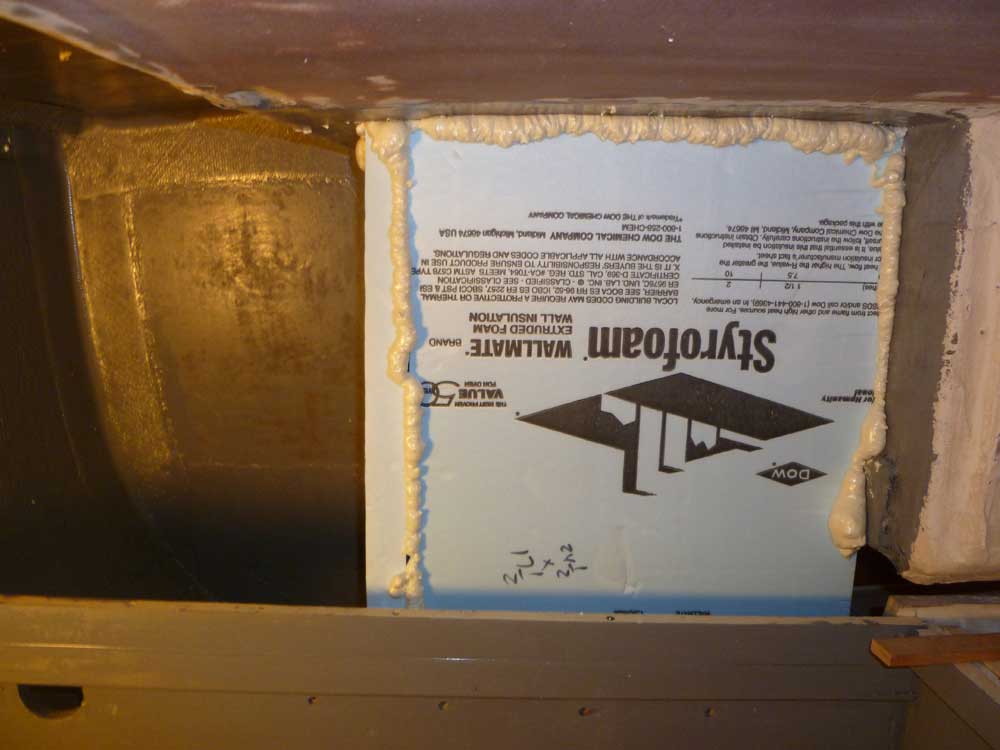
In order to move forward with the galley construction, I had to insulate the cockpit-loading icebox. So over the course of the morning, I cut and fit blue styrofoam insulation around the box, on all sides. In most areas, I could fit 3" of insulation; slightly less between the icebox liner and the cockpit because of space constraints. I used two layers of 1-1/2" foam for the job, and staggered the various seams between pieces, using polyurethane spray foam to seal the seams, edges, and also as a sort of adhesive which, along with friction, held the foam in place.
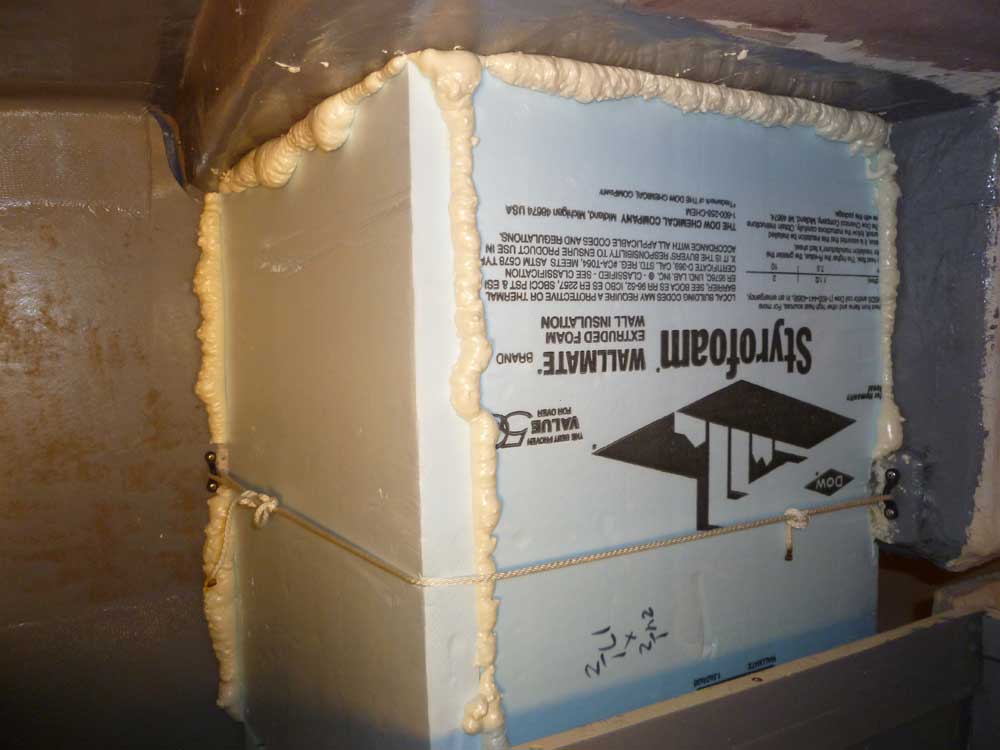
As a safeguard against the foam moving, I secured a line around the back of the completed foam, securing it to eyestraps that I attached at each end.
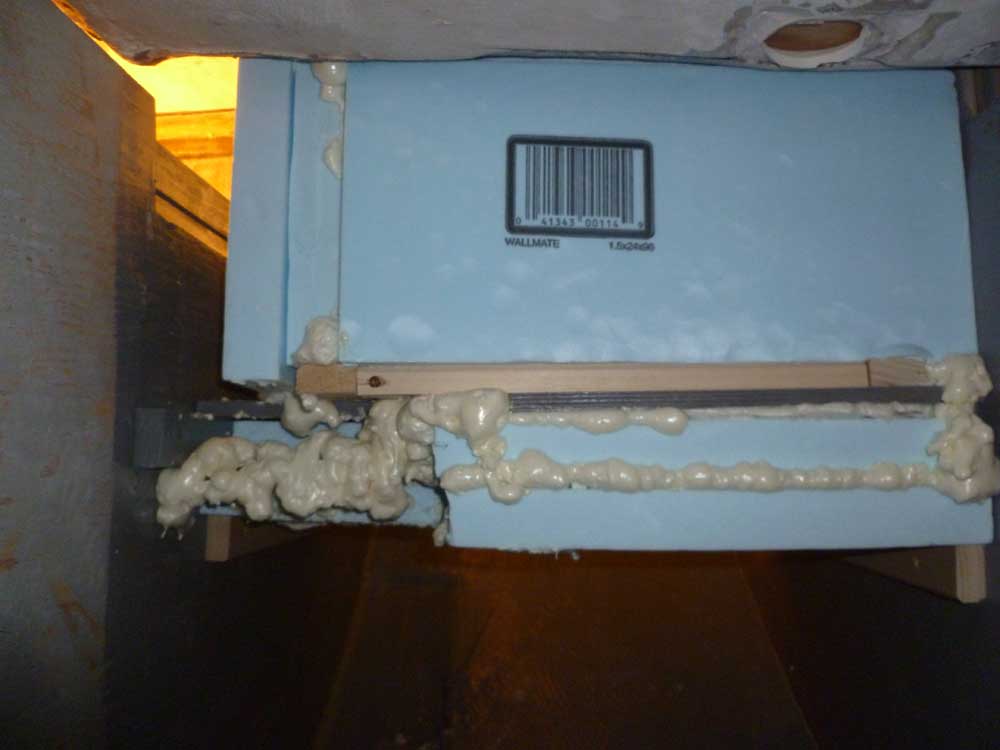
Beneath the icebox support platform, I began by securing a drain hose to the icebox drain fitting, and ran the hose through the nearby bulkhead into the galley area, where I'd later attach it to an overboard fitting (equipped with shutoff valve). I added two layers of foam as well, securing them with the spray foam and a pair of hardwood cleats. I'd planned to add an additional piece beneath the cutout area around the drain, and then to fill the drain void with spray foam around the fitting, but I ran out of the foam before I could complete that task, so I'd have to come back to that later. Because I accessed the bottom side of the icebox from the quarterberth, this wouldn't affect the remaining galley construction.

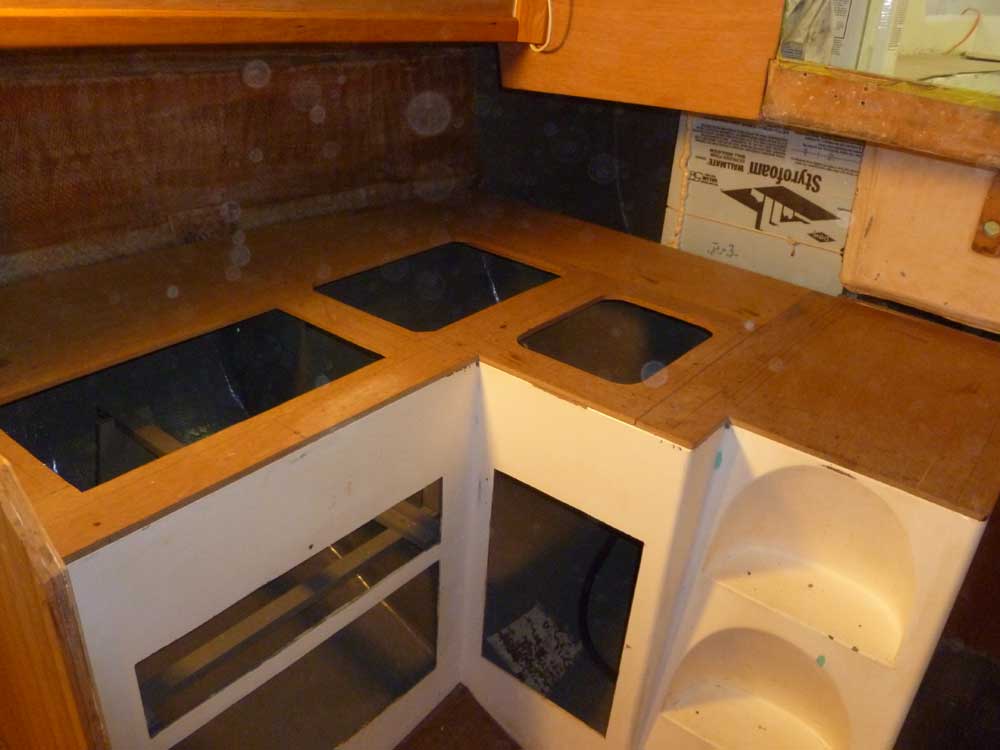
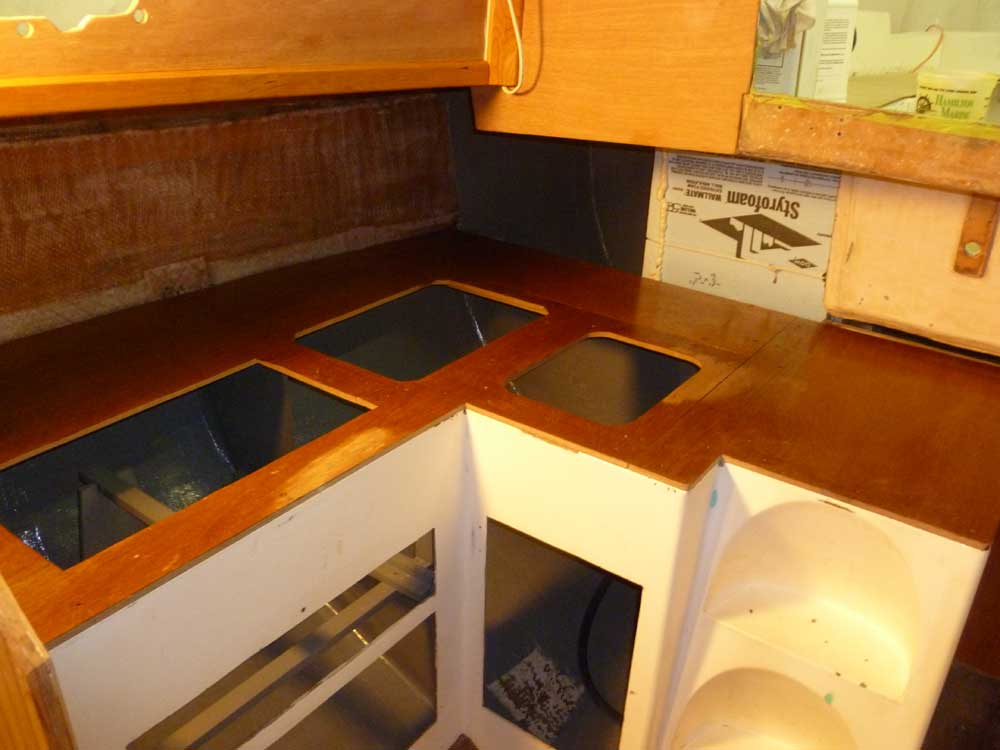
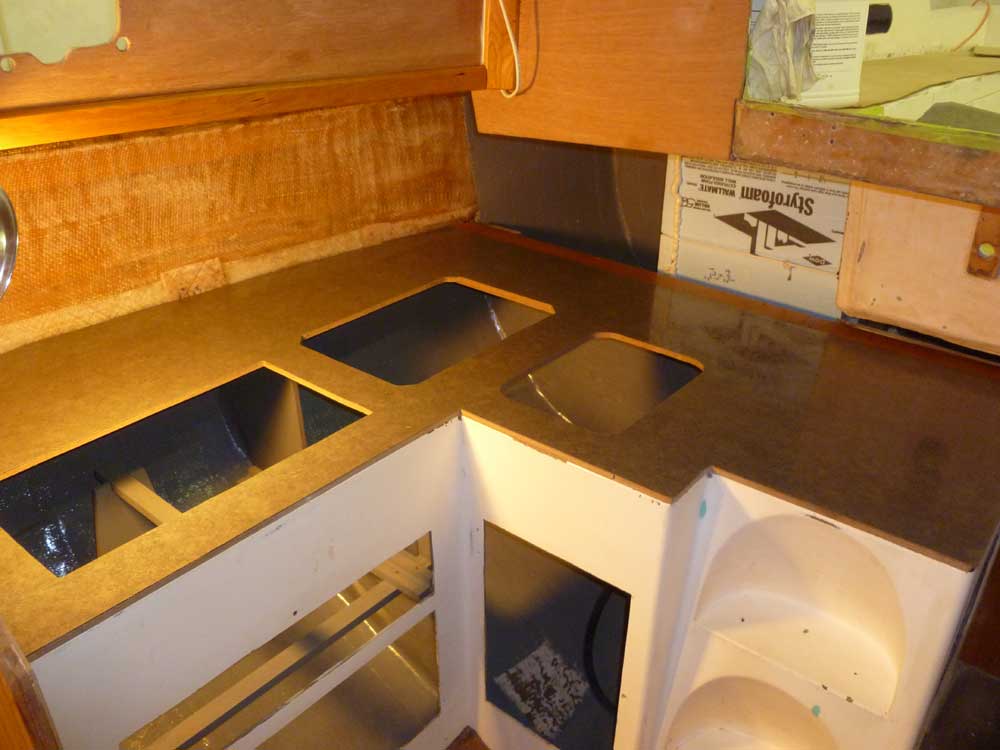
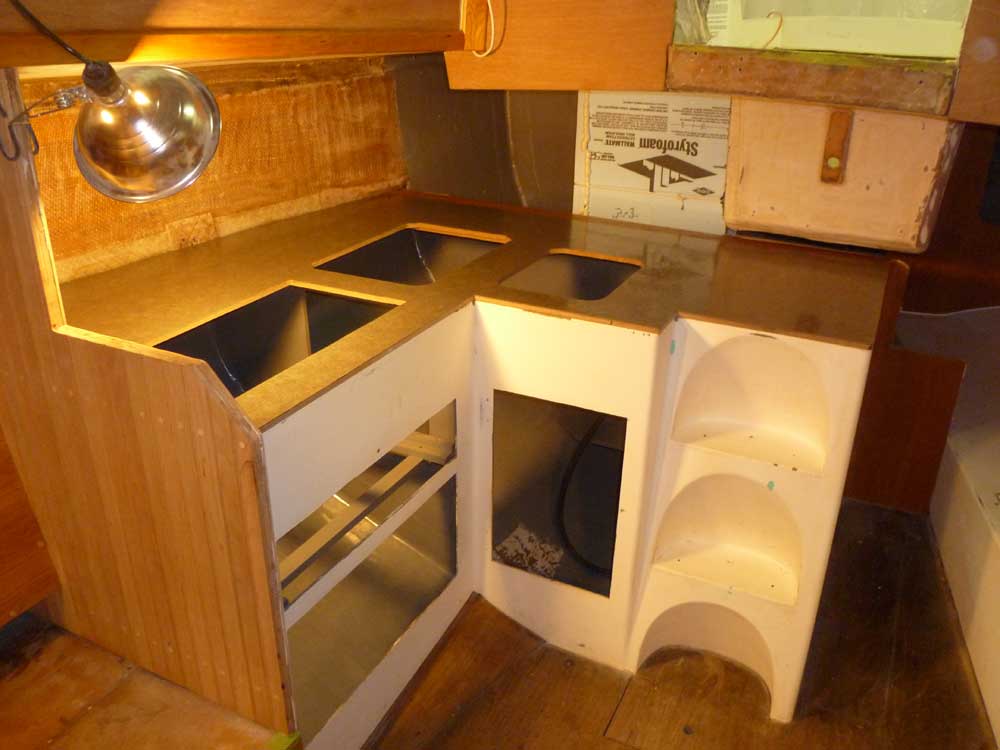
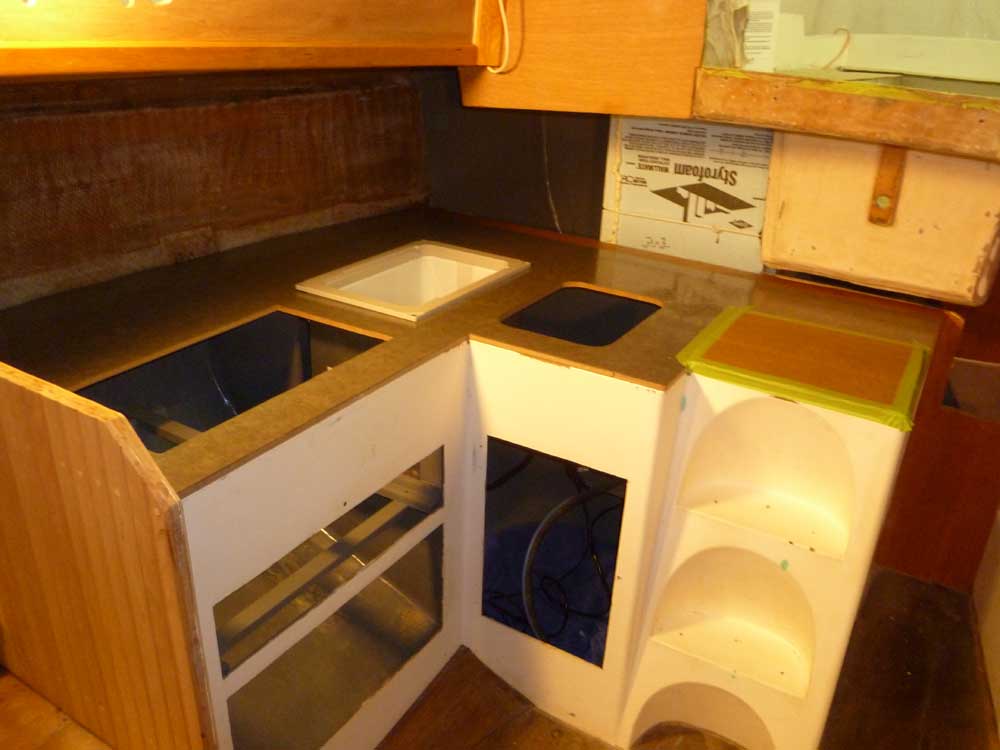
After some keel and propeller clearance measuring work required in advance of the electric drive shipment and eventual installation, I got back to work in the galley. After a final cleanup of the area, I returned the countertop pieces to their final locations and secured them with screws into the various cleats and flanges; at the seams between the three separate pieces, I applied glue to the supporting flanges for additional strength.
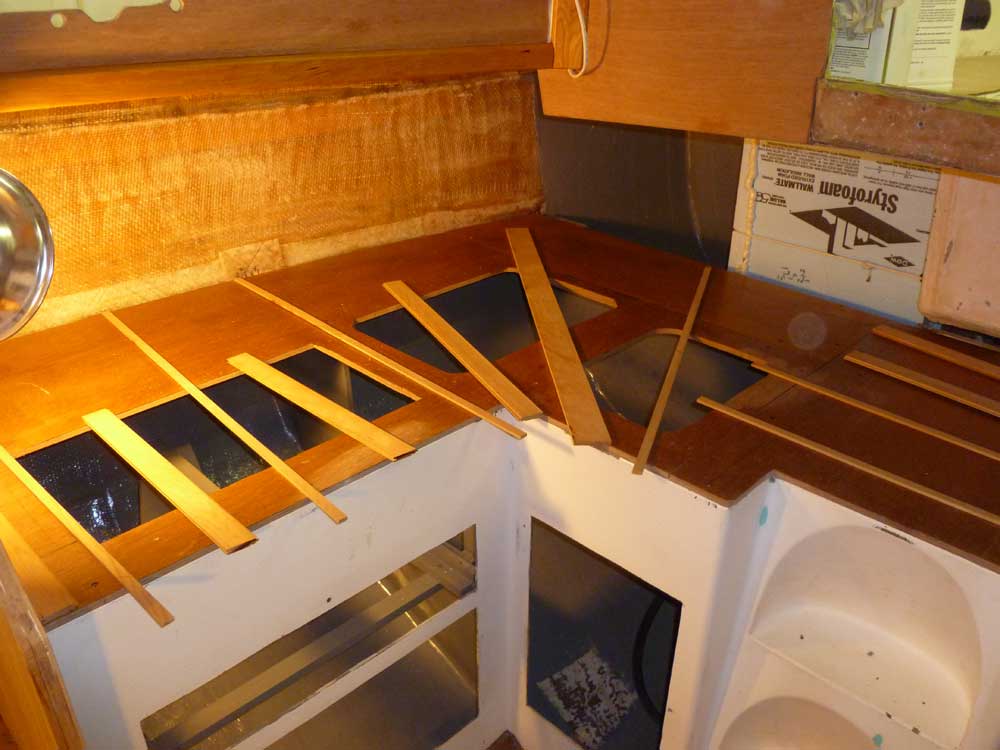
After solvent-washing the top, I applied contact cement to the plywood and to the underside of the laminate, and once it was ready, installed the laminate, positioning the pre-cut sheet over a series of wooden strips to hold the contact cement apart till I was ready before pulling out the strips one at a time and securing the laminate in place with a roller.
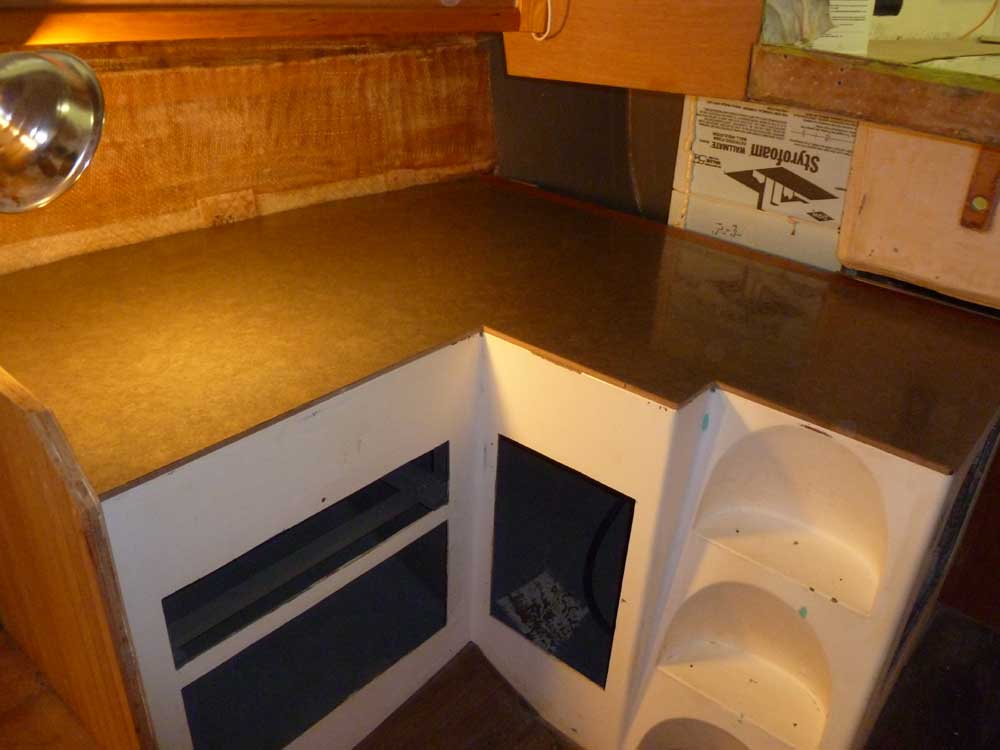
Then I used my laminate trimmer to open up the three openings in the counter.
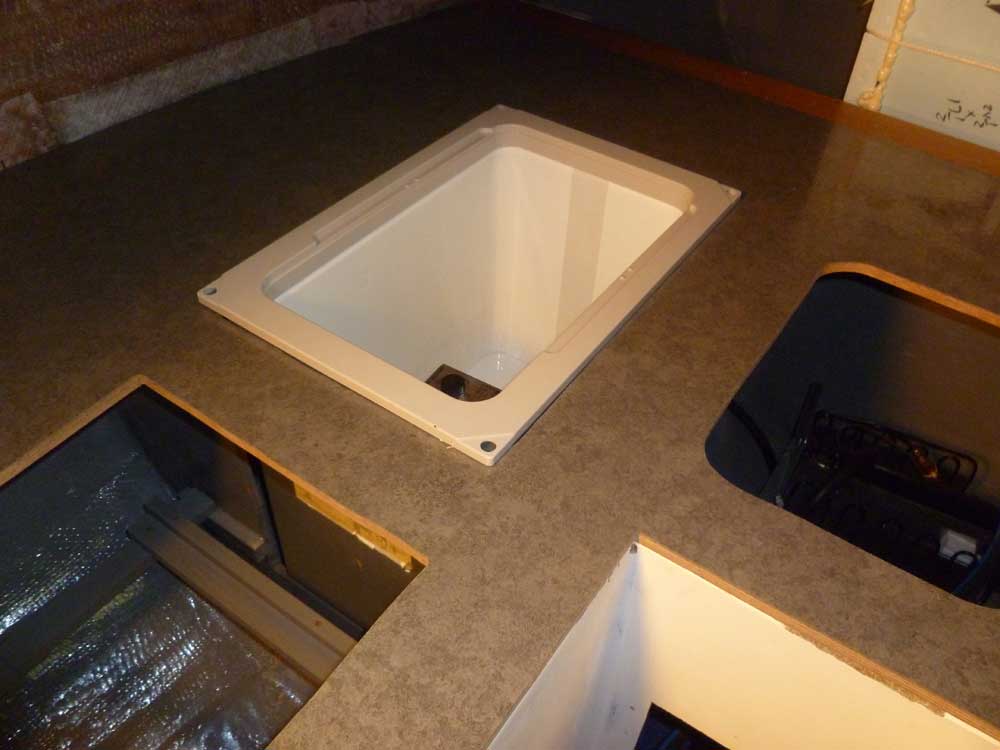
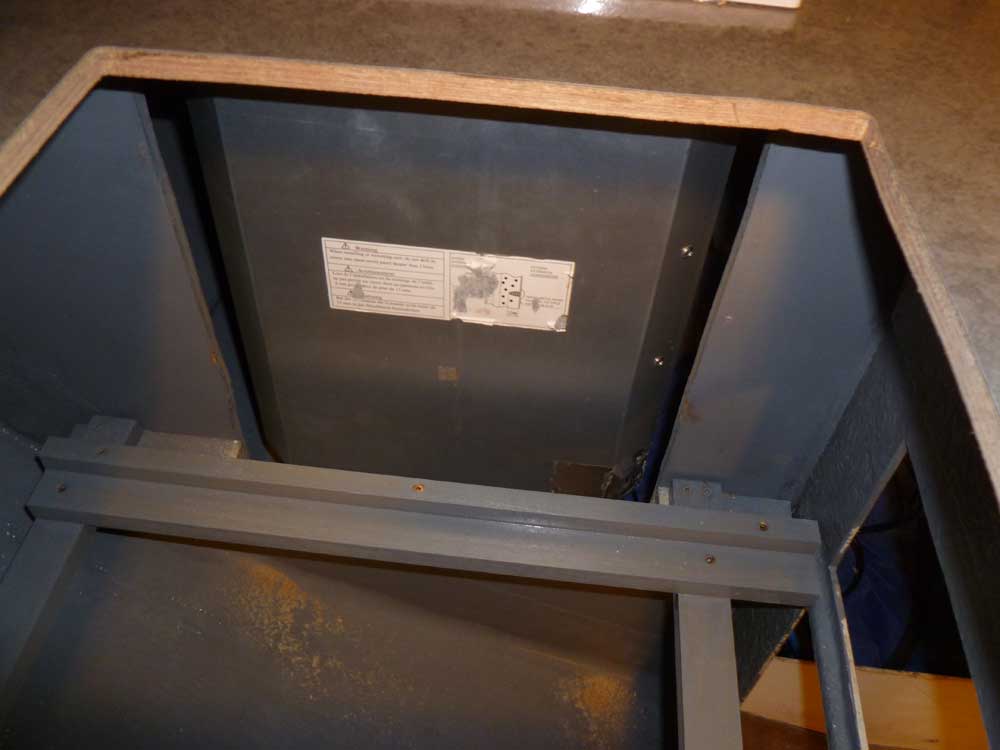
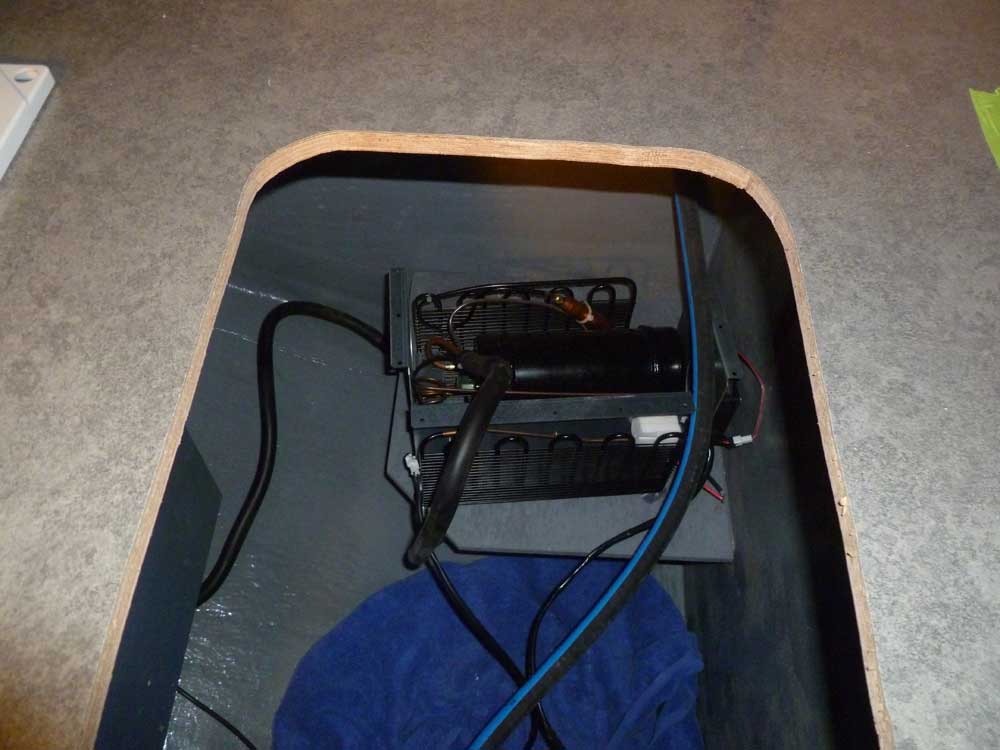
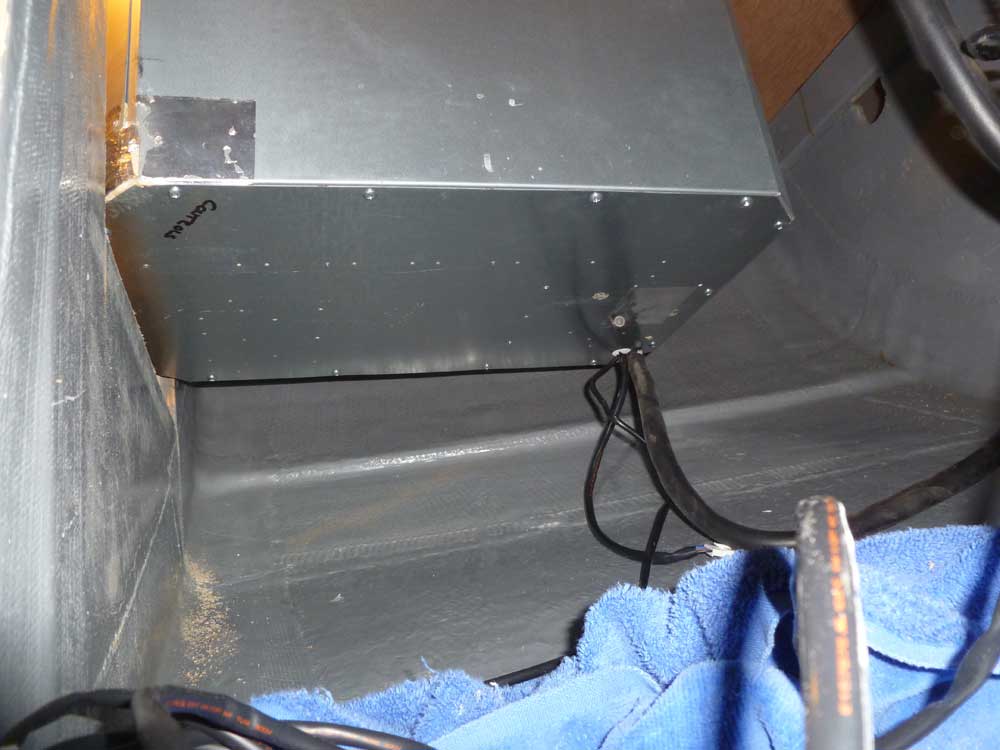
My final task of the day was to install the Engel drop-in refrigerator. Because clearances were tight, I wanted to put this in place immediately. After carefully bringing the unit up into the boat, I uncoiled the compressor unit that I'd detached from the refer earlier and lowered it into the space beneath, before angling the refrigerator into place and through the opening. The opening was necessarily tight, as there was virtually no flange around the top edge of the unit--foolishly little, frankly, but I'd planned the opening accordingly and found that the unit fit without any particular issue. Phew. Removal, should it become necessary, would also be possible.
I did have to remove part of the cleat that I'd recently installed for the galley drawer support at the base of the bulkhead opening I'd previously cut for the refrigerator, as the bottom part of the refrigerator wouldn't clear it, but that was easy enough and its removal didn't affect anything.
A slight gap shows next to the "flange" in these photos since I'd not yet secured the unit with fixing screws, but this does highlight just how minimal the "flange" is. For now, I placed the compressor unit on its new shelf, but didn't fix it in place; that would come next time.
Total Time on This Job Today: 8 hours
