
110 Cookson Lane | Whitefield, ME 04353 | 207-232-7600 | tim@lackeysailing.com
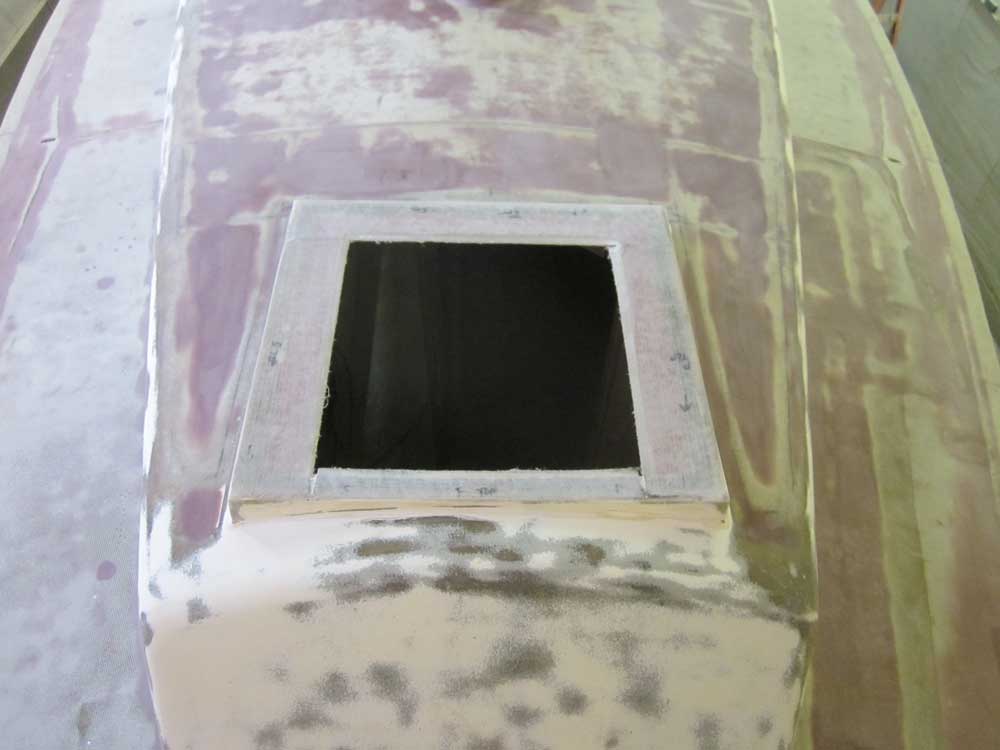
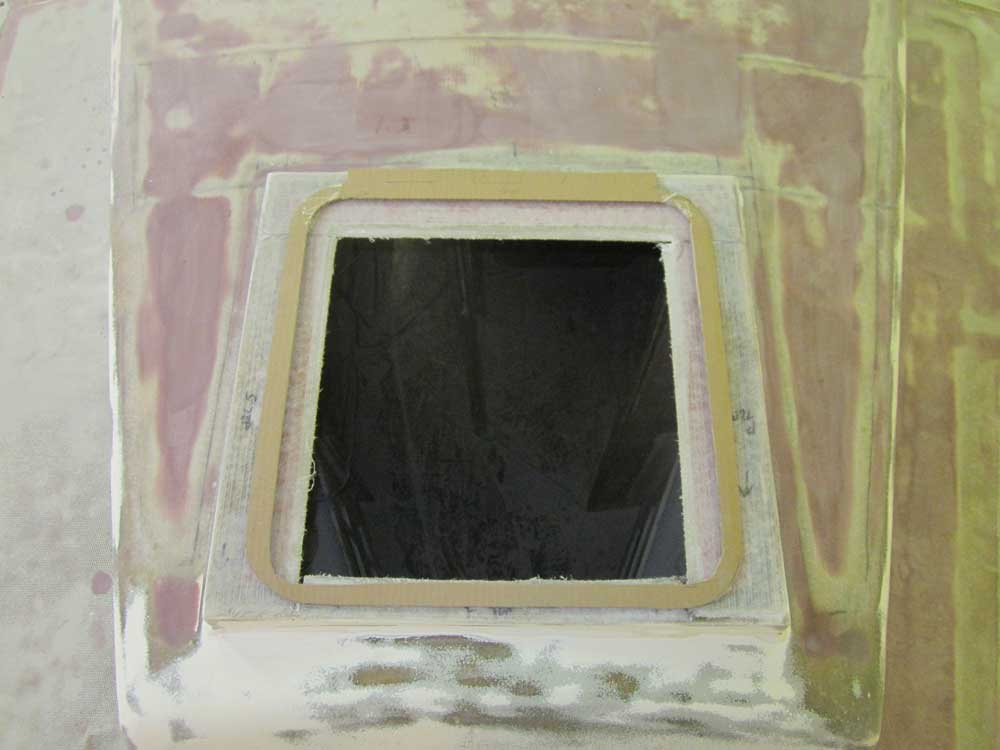
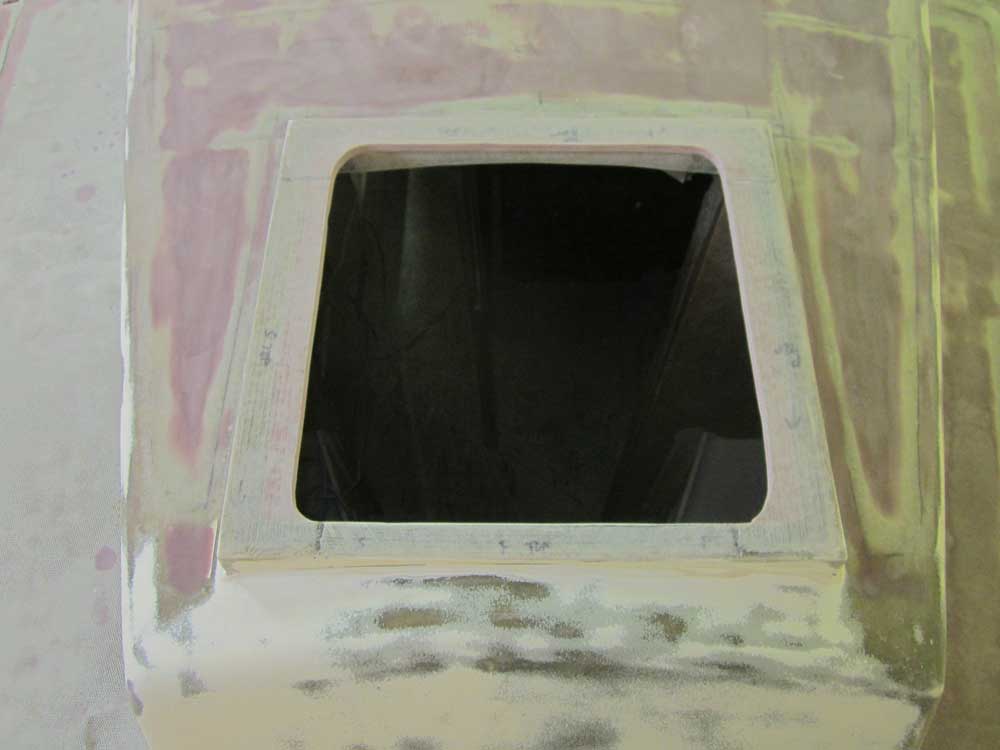
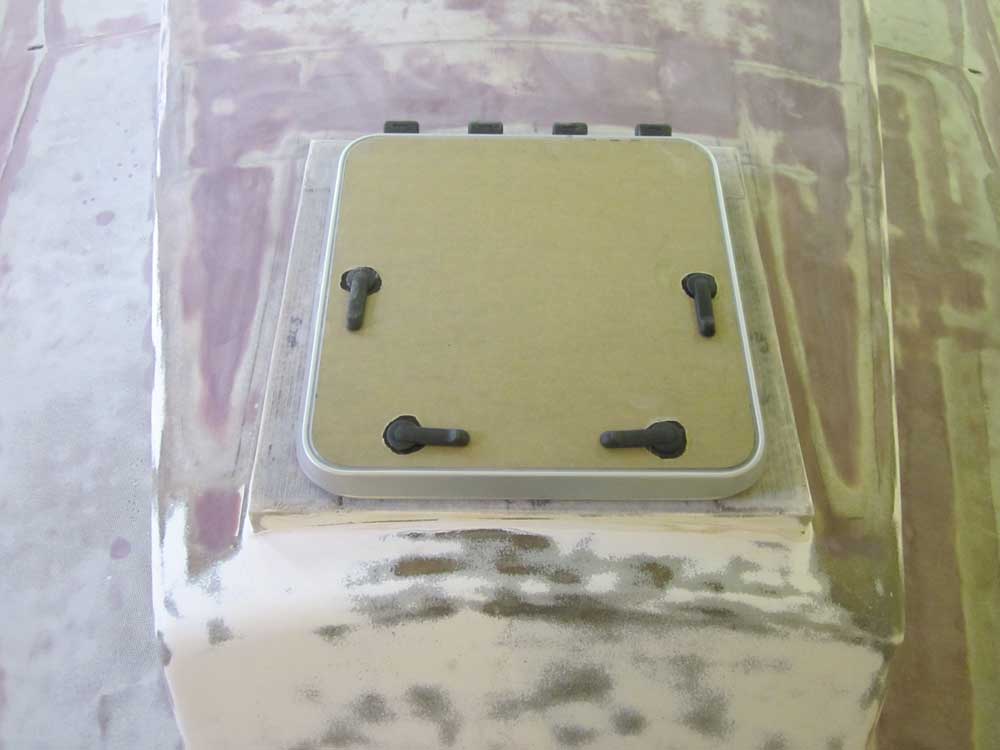
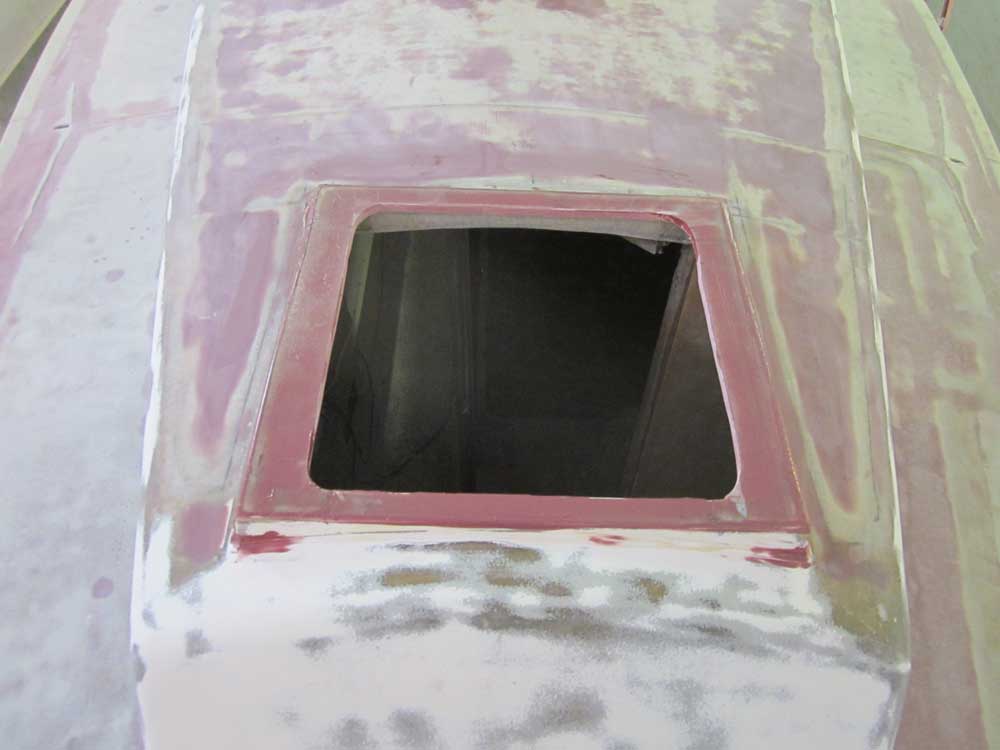
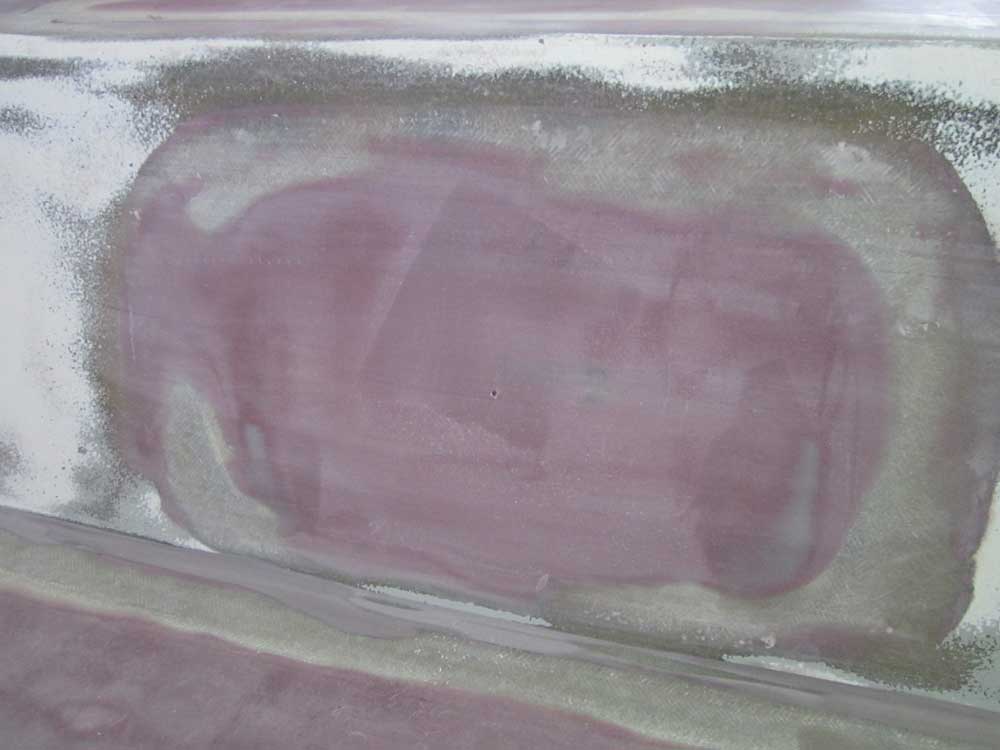
Beginning, as usual, with sanding work, I lightly sanded the new fiberglass at the forward hatch, inside and out, and trimmed any overhanging material from the inside. Afterwards, I used a cardboard template of the hatch to mark the new opening, and cut it out.
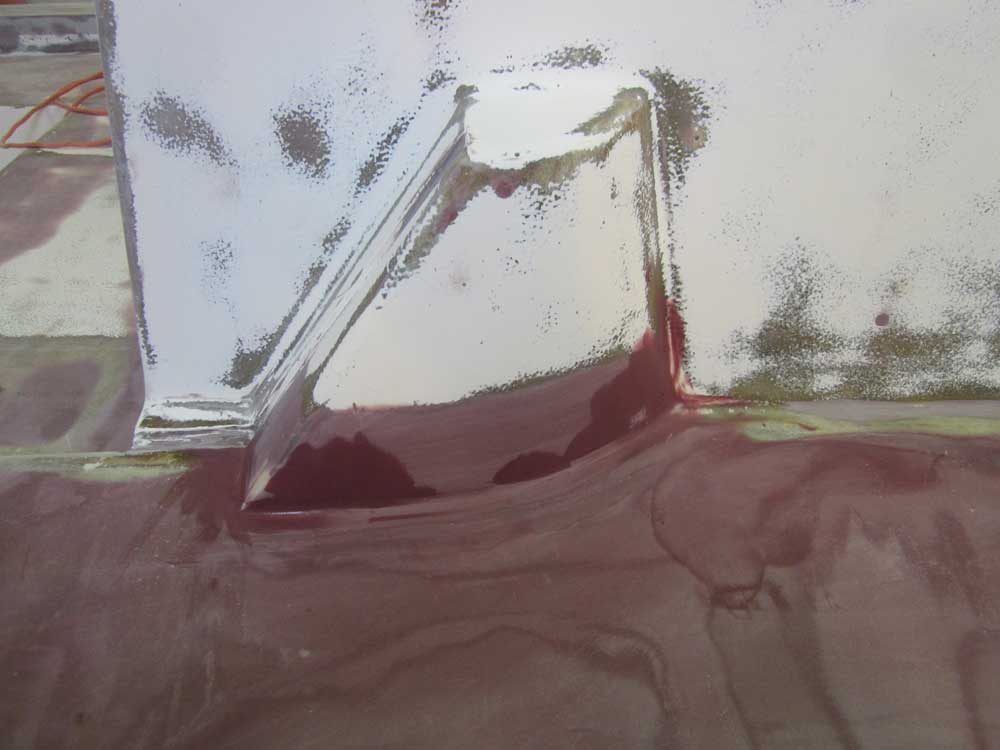
Once the new opening was cut, I applied a coat of fairing compound to fill the weave of the fiberglass cloth and smooth the hatch base.
After sanding the mast partners, I cleaned up and applied a little fairing compound to fine-tune the surface and lower fillet.
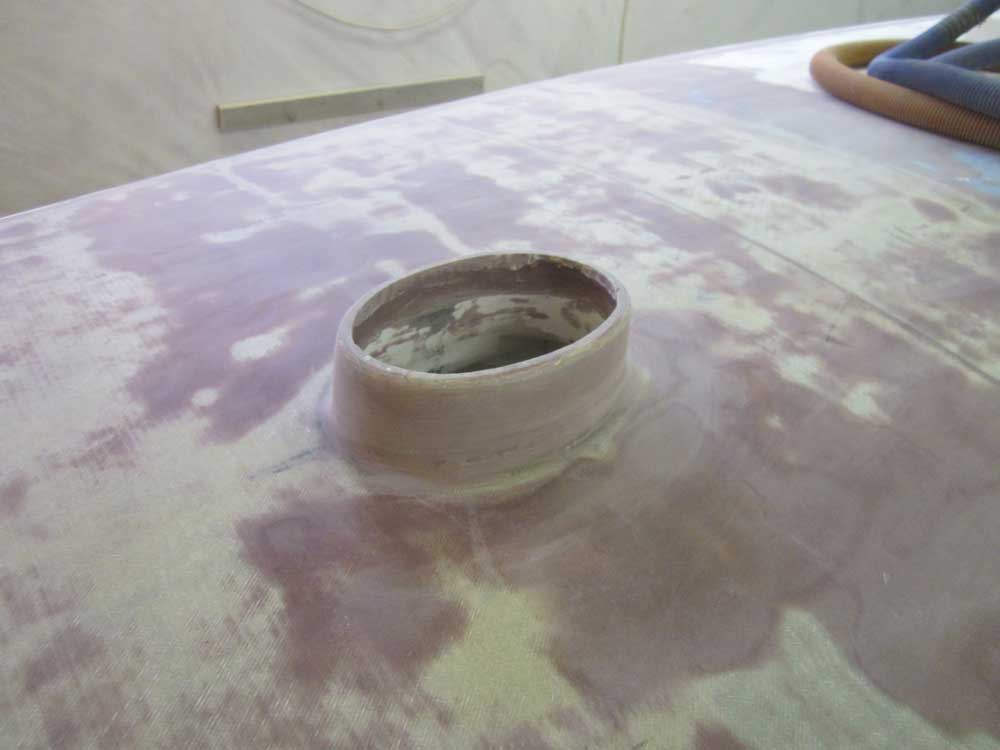
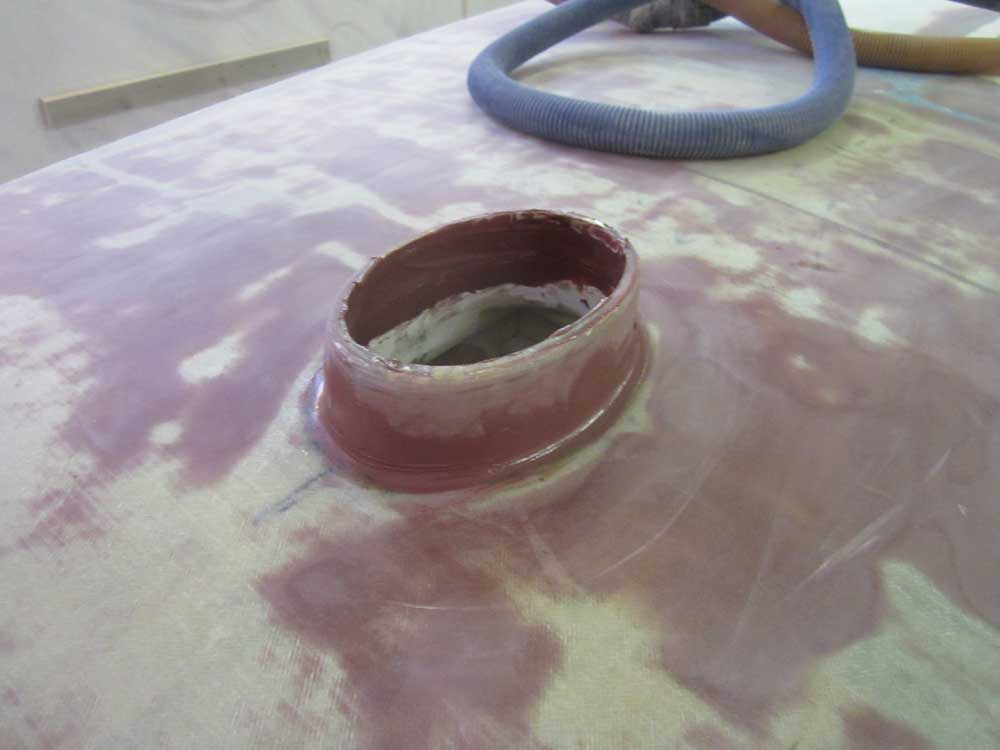
Similarly, the coaming blocks required just a bit of final fine-tuning and filling some pinholes.
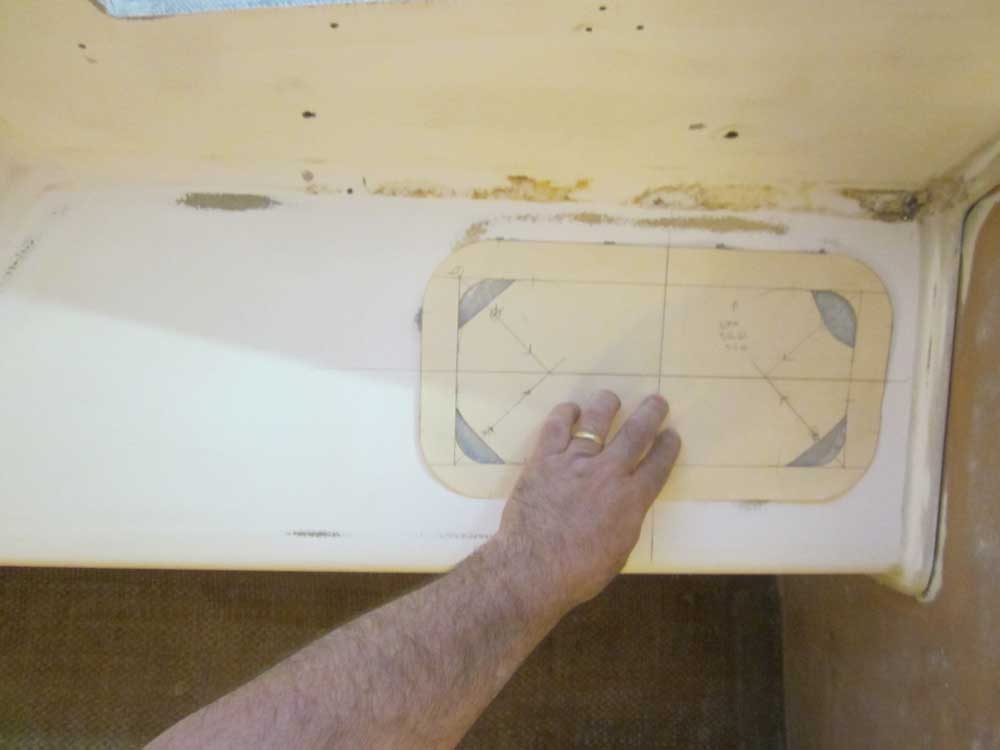
With some boats in storage leaving for the season and others to move in the process, the middle of the day was a bit disjointed, but as time allowed I worked on some templates for the new ports. We ordered the metal port templates from New Found Metals, but the templates had not yet shown up, and I wanted to do at least some preliminary layout sooner than later, and possibly cut the rough holes to prepare for the templates later.
Using measurements from NFM, I made a single template of each size of port, the 512SS for the forward ports and 726SS for the main cabin ports. I left the centers intact, other than taking out enough at the corners for marking purposes, to maintain structural integrity of the templates, but the overall exterior dimensions were accurate representations of the overall size of the ports.

My immediate concern was determining whether there was any requirement or need to change the position of the forward two pair of ports versus the original locations, which I'd filled in and faired to an extent that I had the option of changing the ports' locations if desired. While there seemed no reason to do so, I wanted to be sure the new ports would fit inside the boat, as the original locations were relatively close to bulkheads inside the boat.
After marking horizontal and vertical centerlines on each old opening from inside, I tested the fit using the template. In each case, there was enough room for the overall size of the port, so without specific reason to relocate them it seemed to make sense to keep them centered in more or less the same locations.
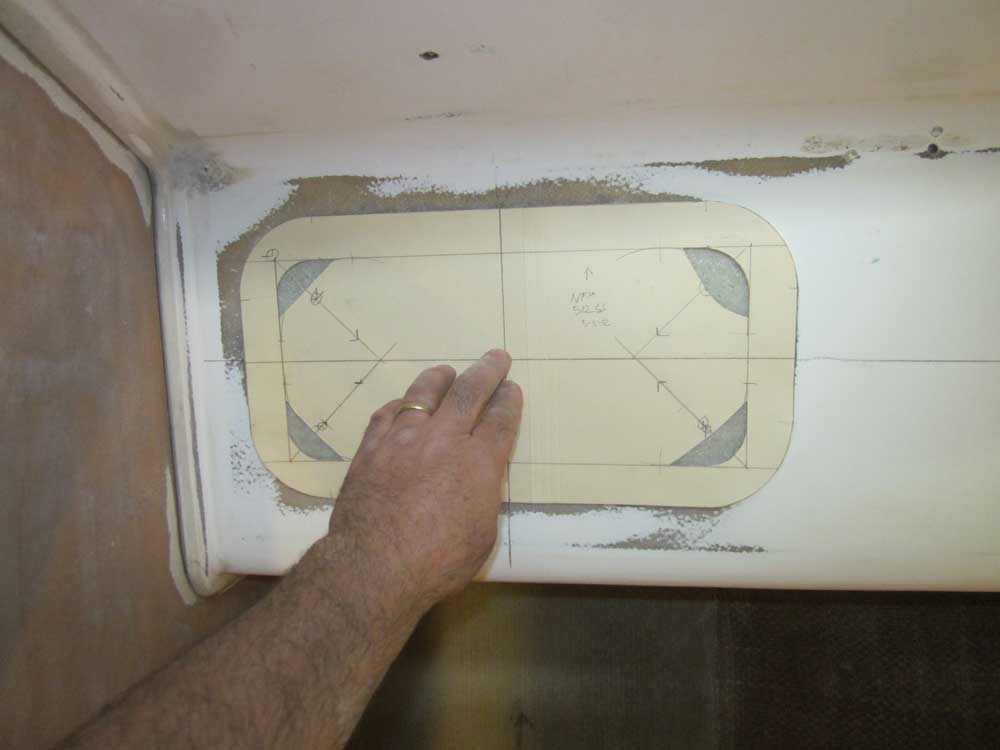
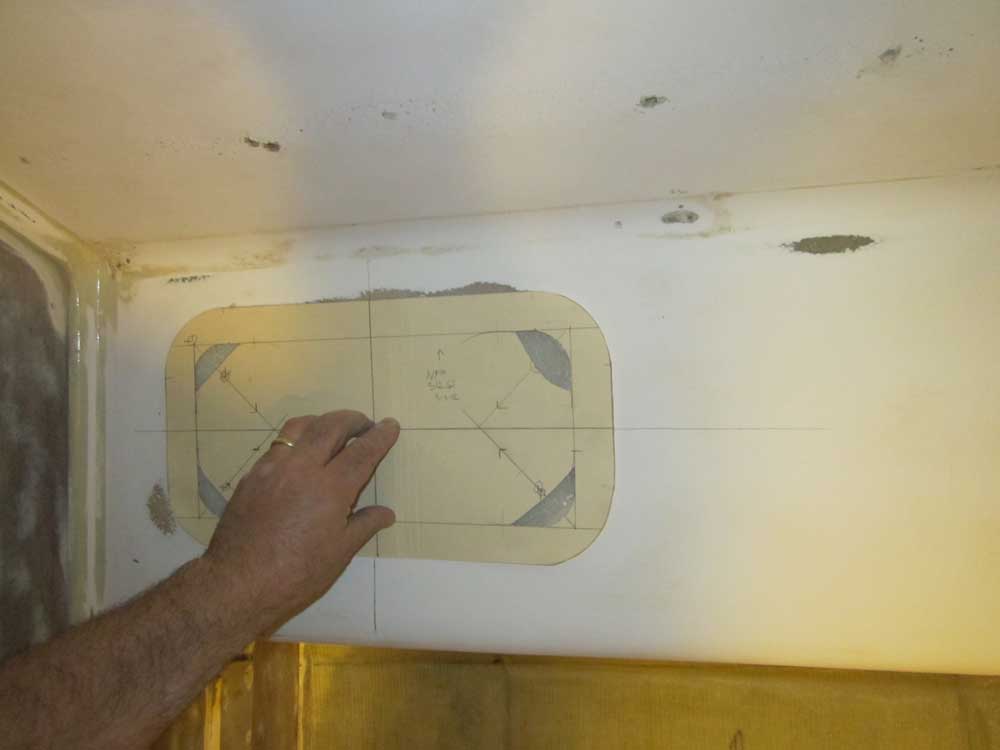
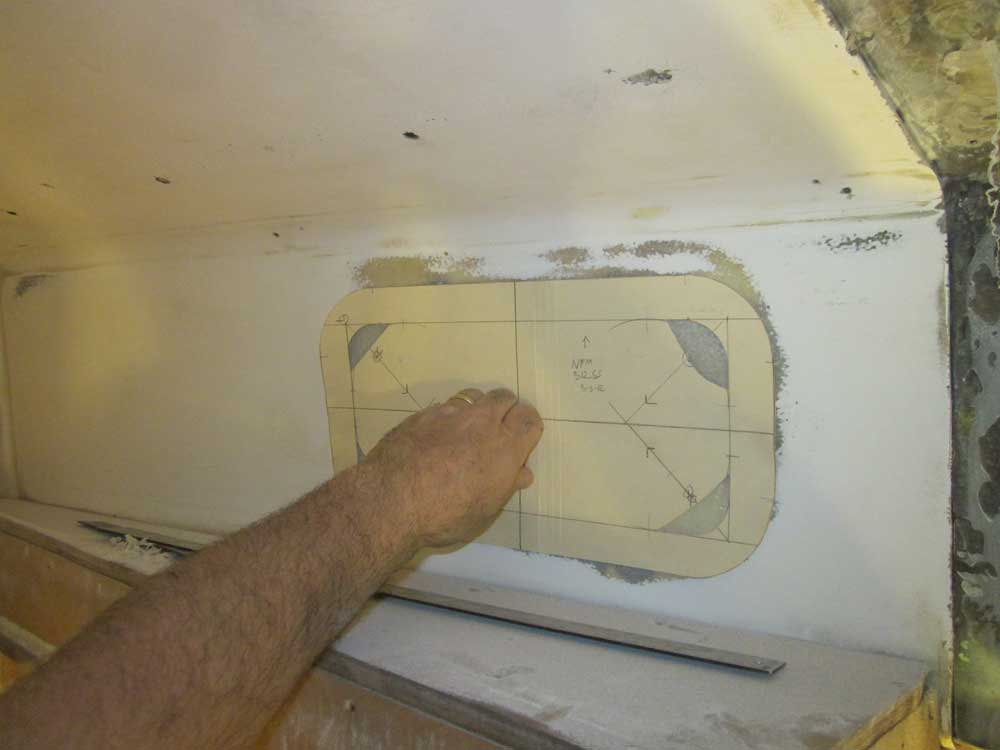
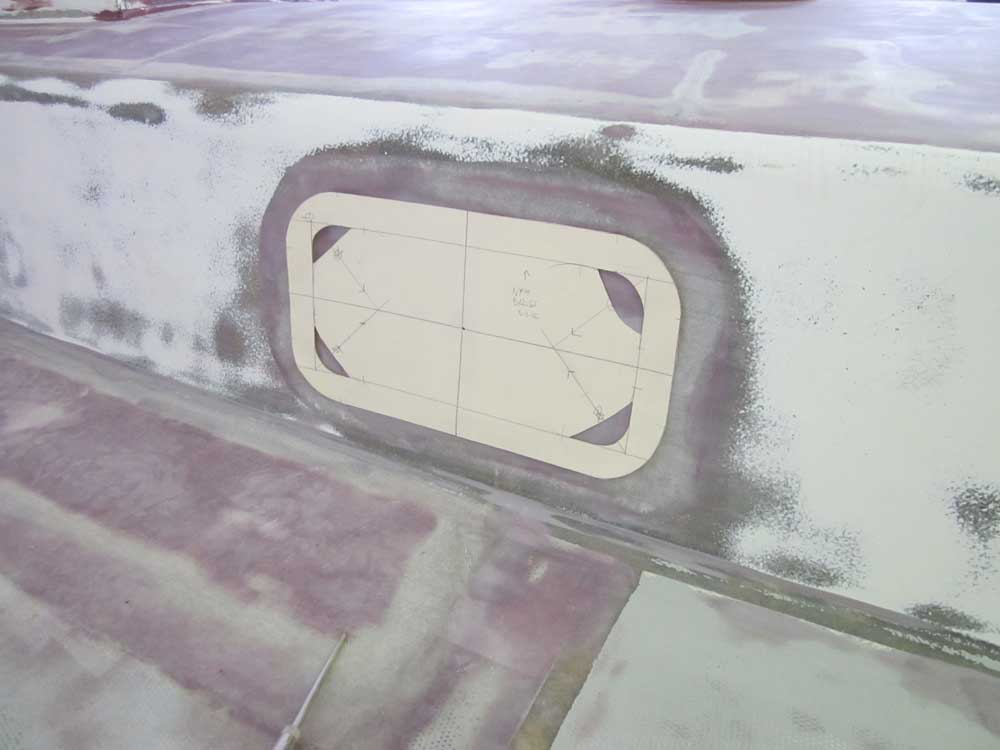
Because of the nature of the exterior patches, it was harder to determine the centers of the opening, so from inside I drilled a small hole through the center of the old openings as previously determined. This allowed me to easily locate the template over the exact centers of the original openings from outside, and at least provided a basis of measurement and location. Final positioning would depend not only on this, but on ensuring proper visual alignment in relation to the large after ports, as well as aesthetic considerations with the overall shape of the cabin trunk. I'd work more on this question in the coming days.
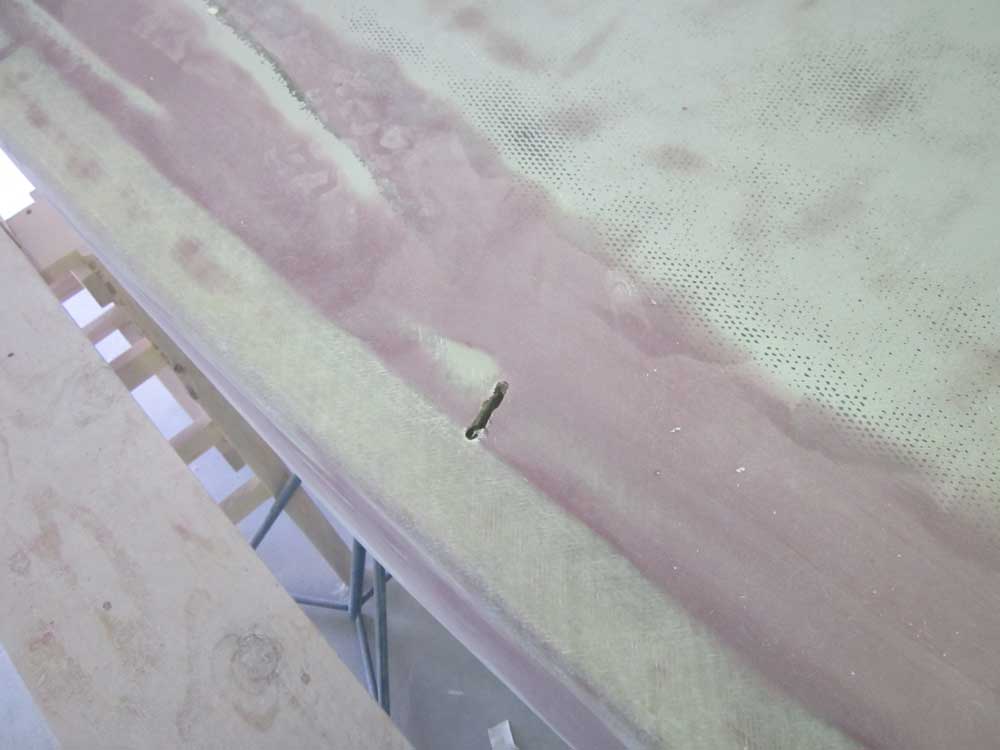
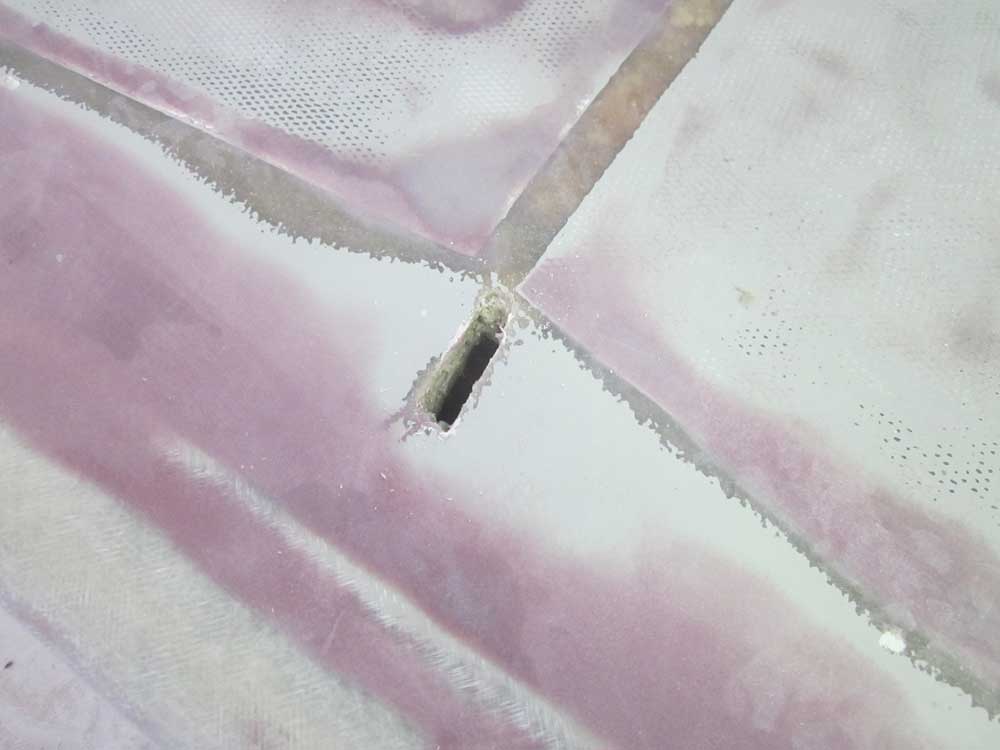
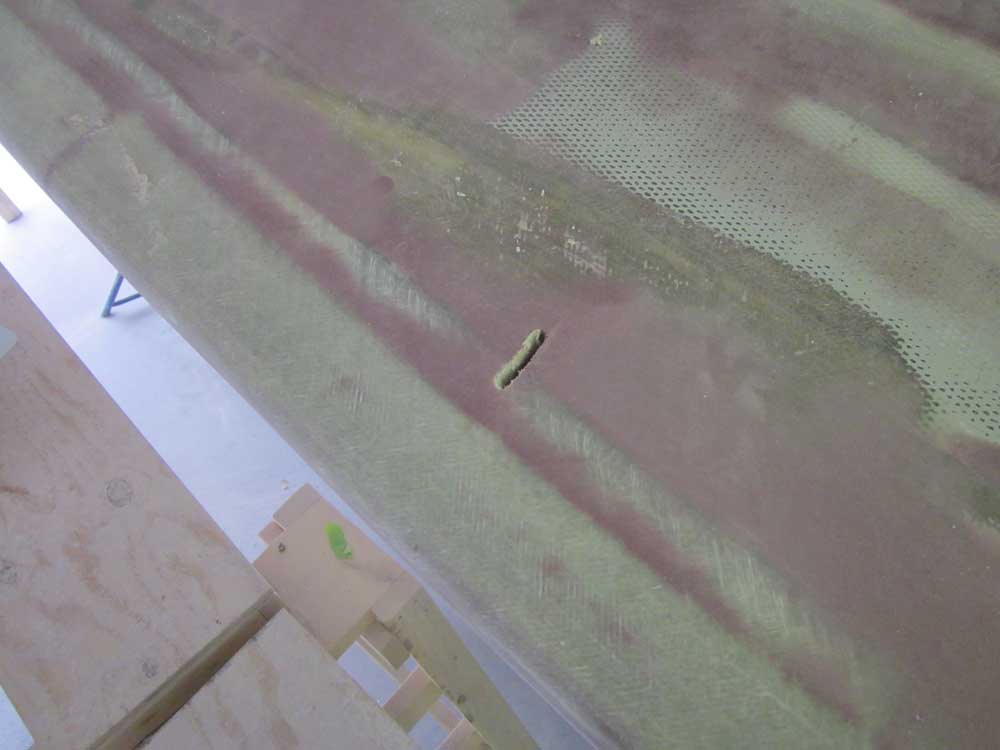
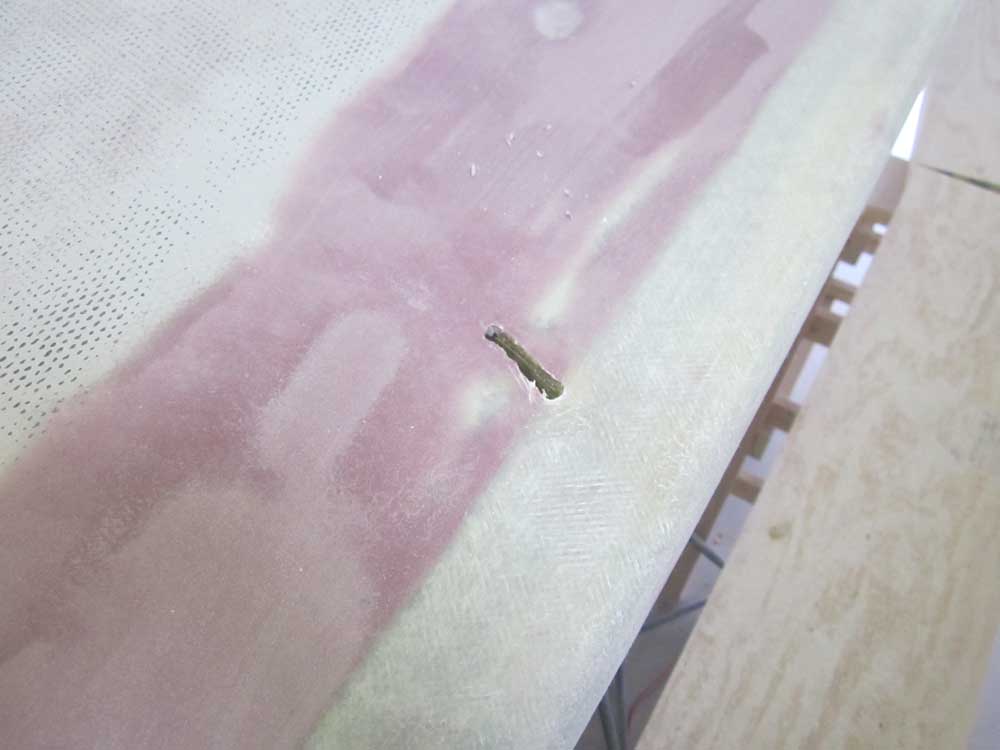
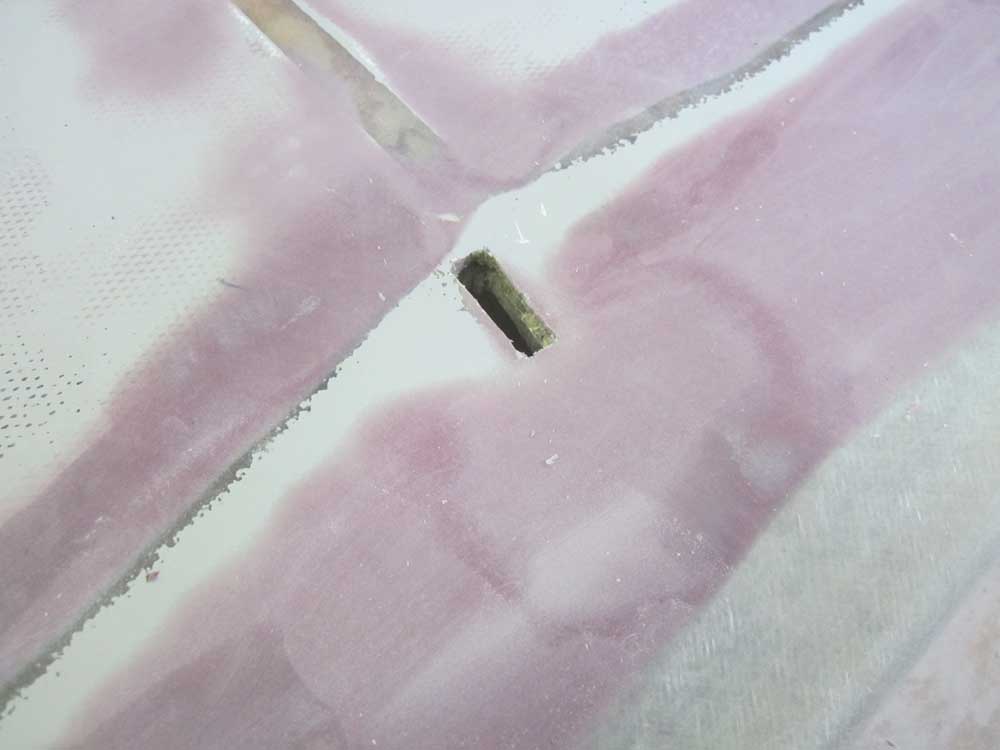
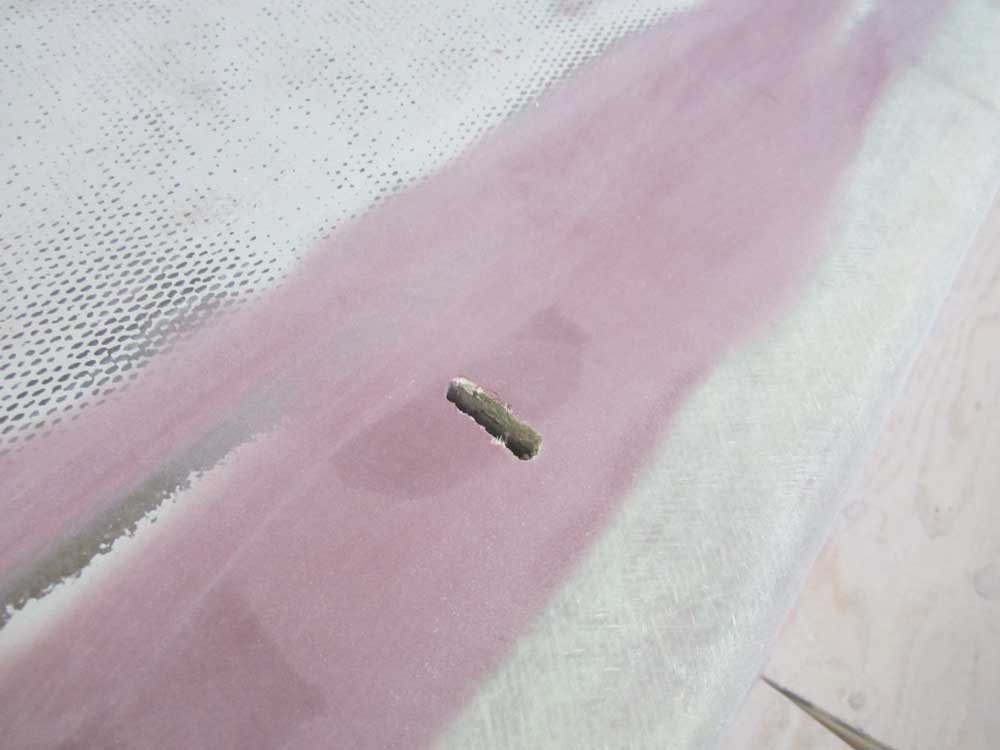
One other small detail to take care of before essentially wrapping up the deck repair and surfacing work was the chainplate locations. During various construction stages, I'd paid little attention to the original chainplate slots, allowing fiberglass and fairing compound to partially or completely cover them, since I could relocate them from beneath using the original slots and boltholes as needed. I'd want to rebuild each slot at some point, as the slots for the main chainplates and backstay were larger than they needed to be, but for the moment just locating and roughly recutting the slots for the four lower shrouds was important before priming the deck, as I wanted to avoid unnecessary cutting or filling afterwards.
From inside, I used the original slots to drill upwards from beneath, marking the two ends of each slot, and then reamed out the area between the holes, which was easy since the slots were only partially filled from the top.
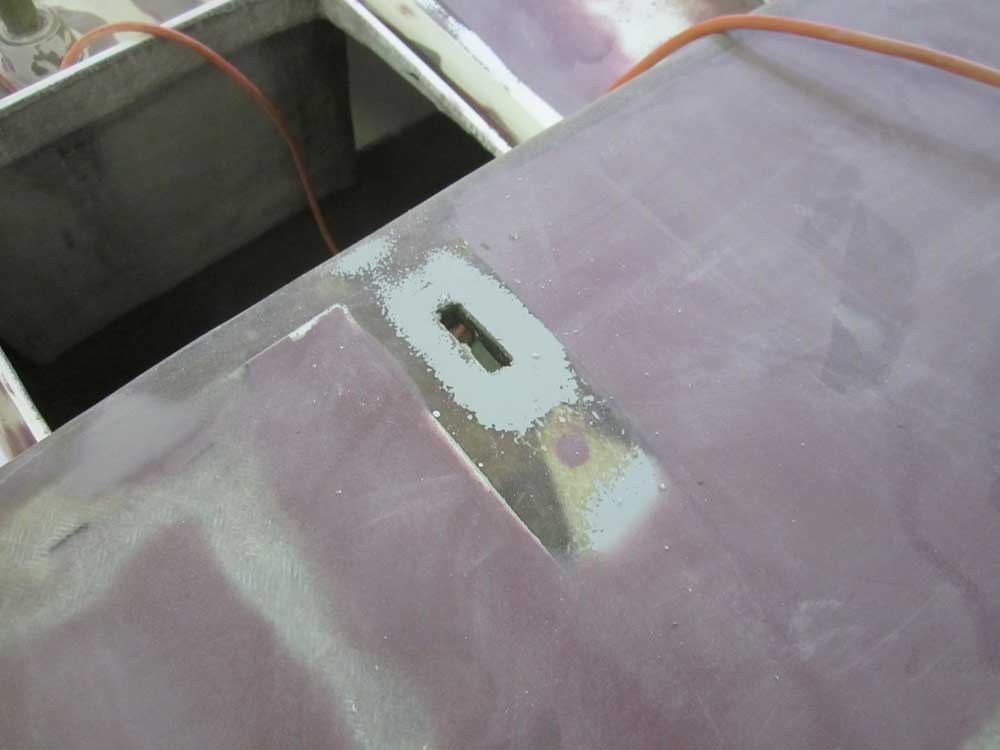
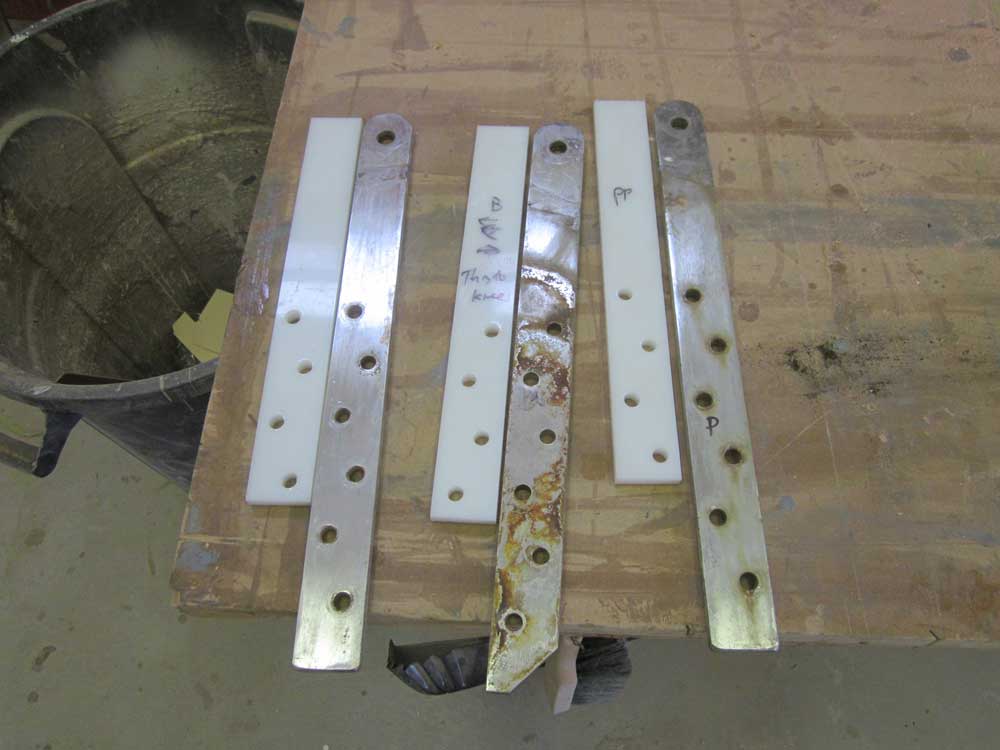
Before I could reshape the large slots, I'd need to rebuild the port main chainplate knee, which I'd removed earlier since it was in poor condition and in the way of other critical structural repairs in the head area. I didn't want or need to do this right now, as my focus was on completing all the hull and deck repair and surfacing work so I could apply high-build primer, but with this eventual project in mind I prepared plastic blanks simulating the size and shape of the main chainplates (and backstay) that I could use to epoxy and fiberglass the new openings tightly to the correct size.
Total Time on This Job Today: 5.75 hours
