
110 Cookson Lane | Whitefield, ME 04353 | 207-232-7600 | tim@lackeysailing.com
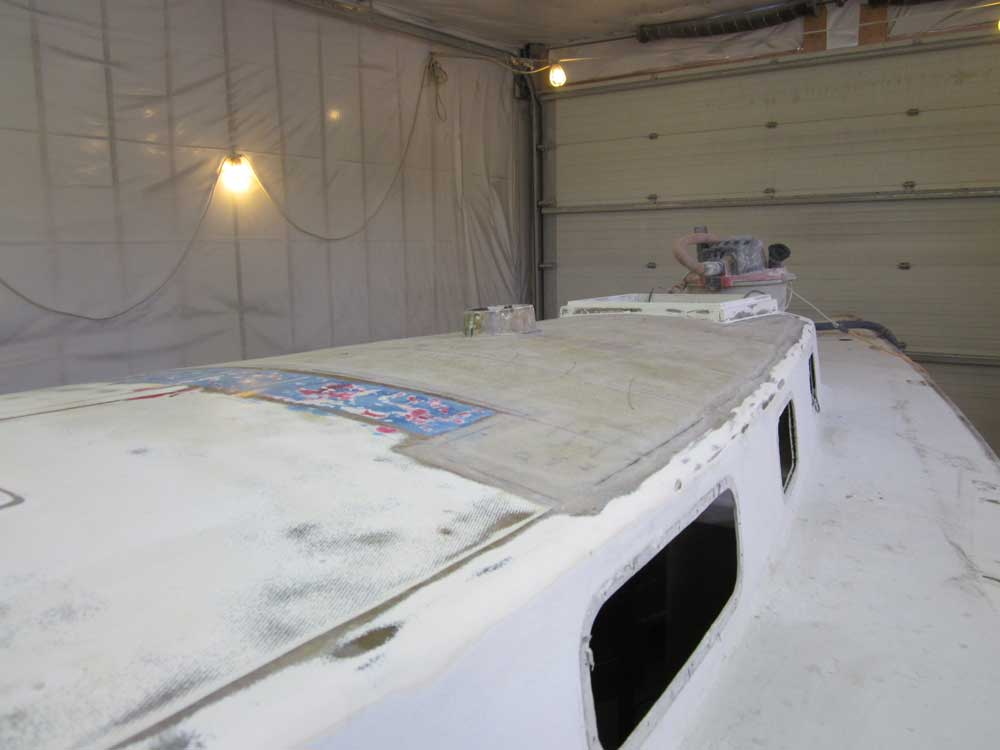
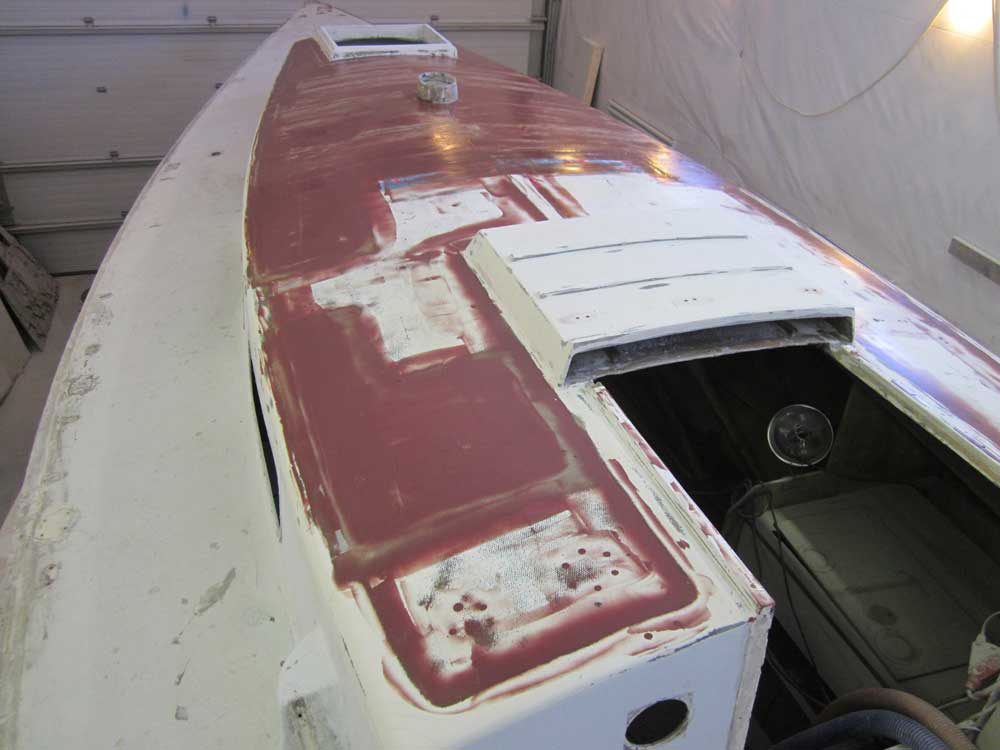
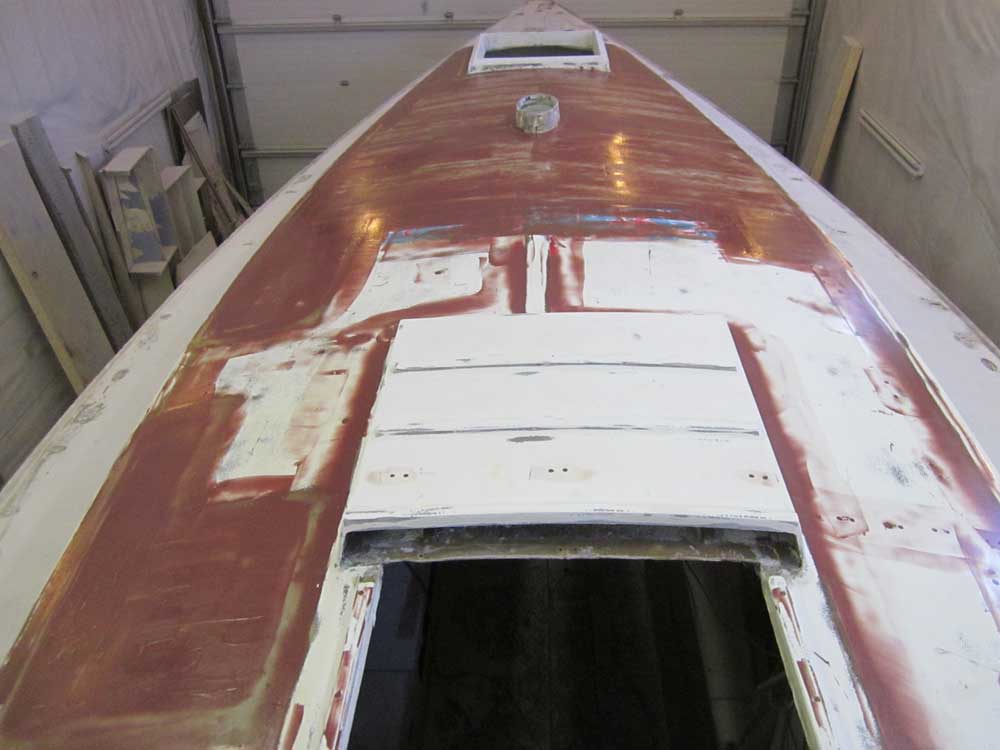
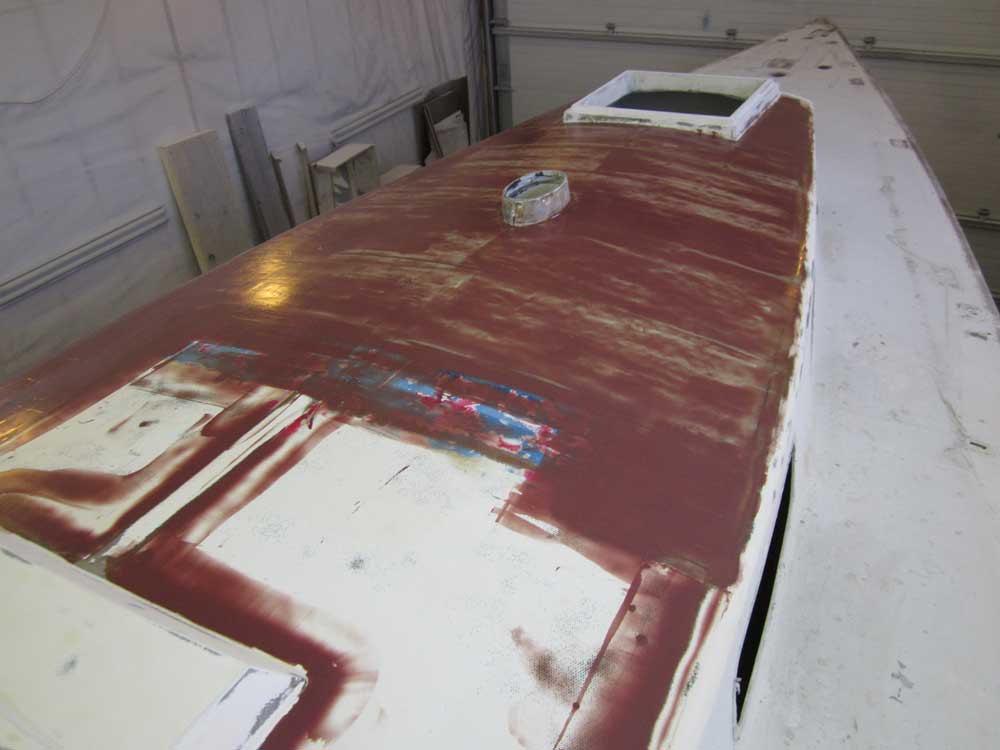
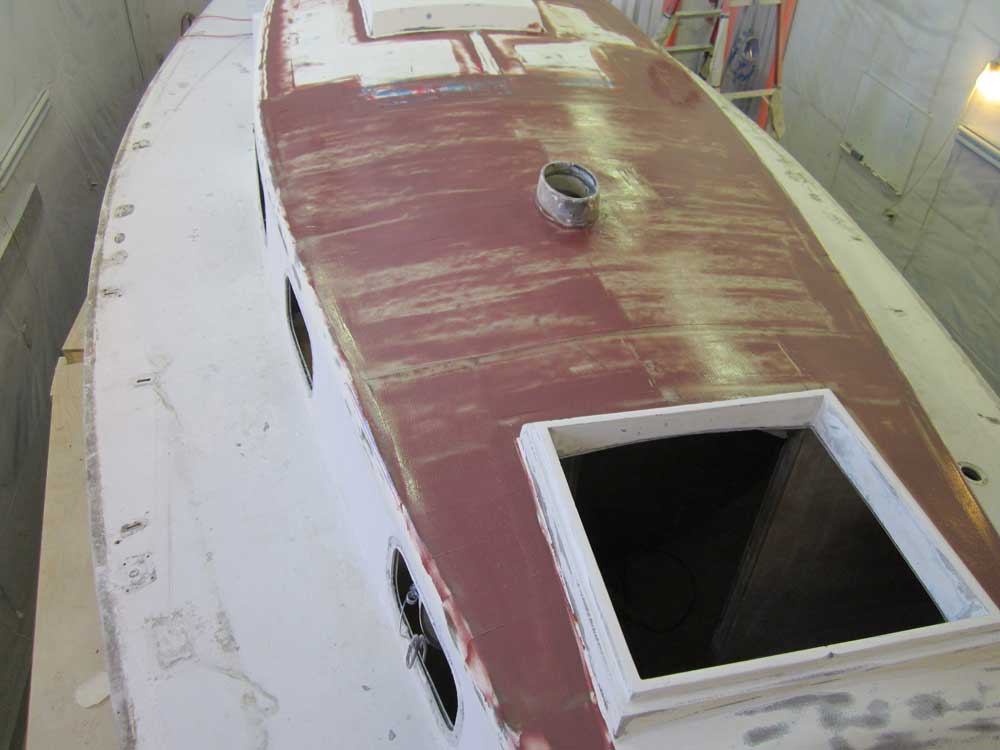
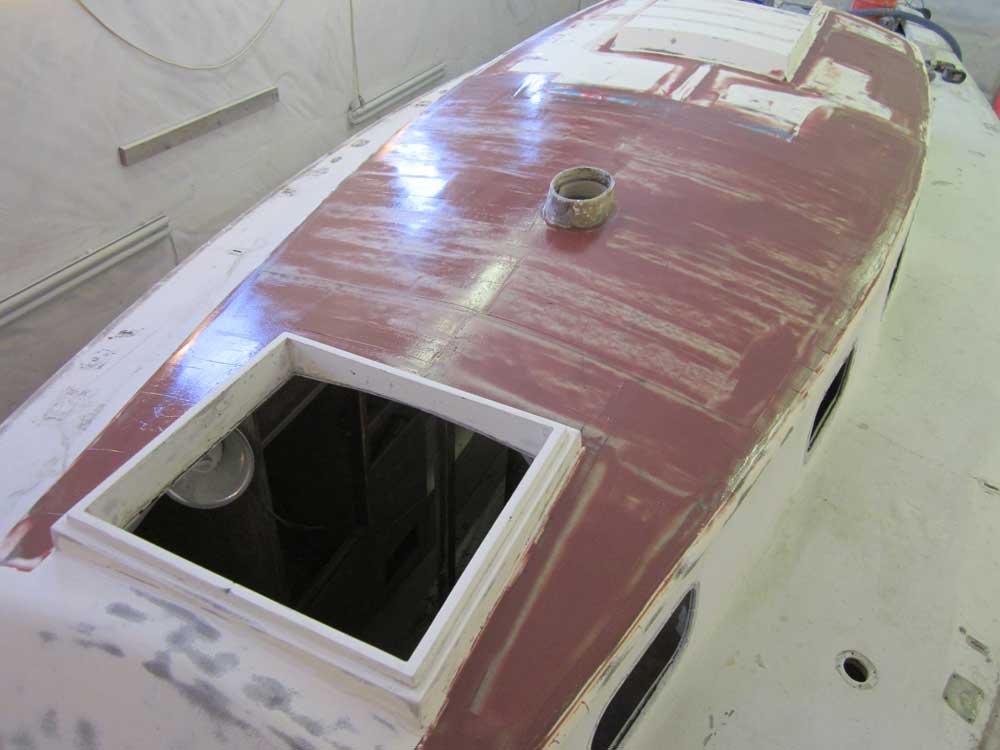
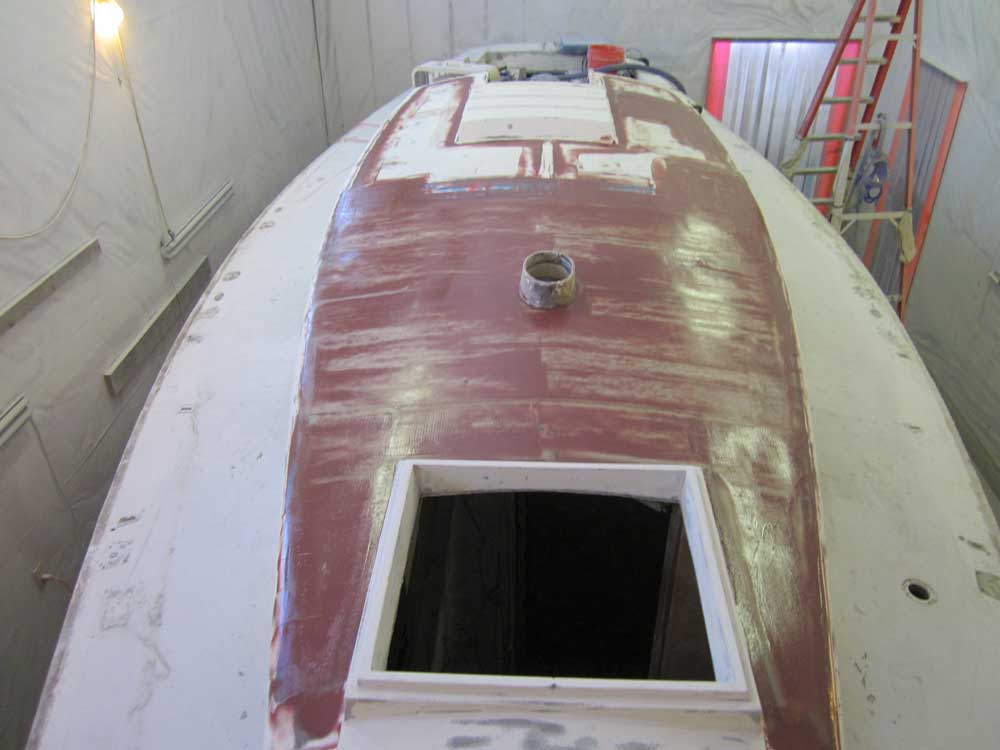
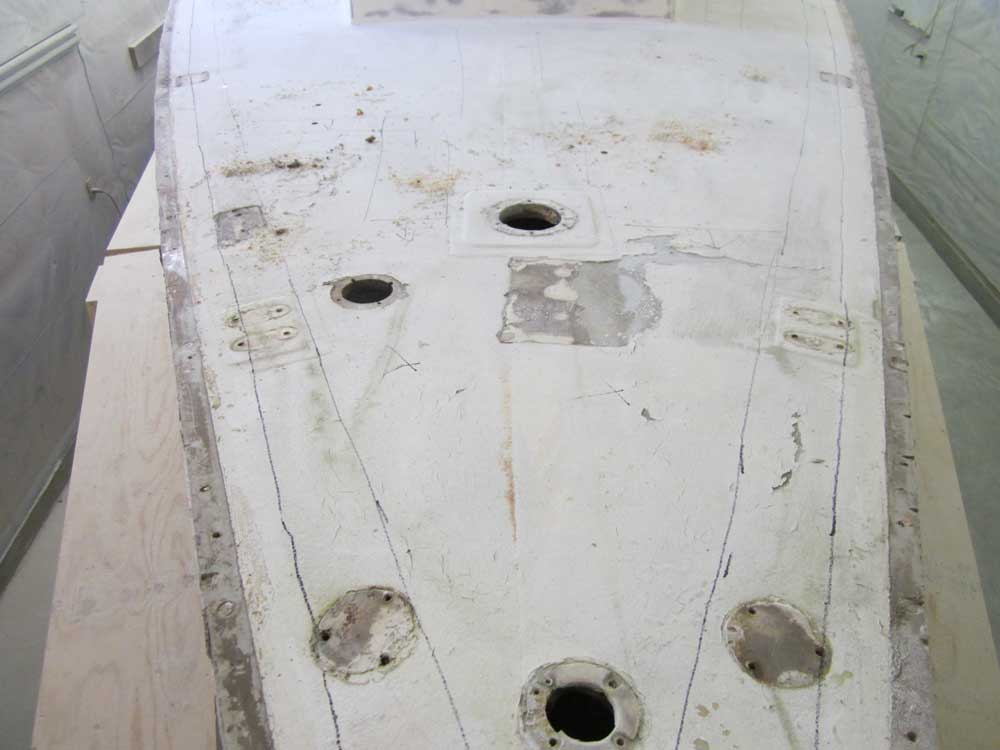
After the usual water wash, I sanded the new coachroof fiberglass, smoothing the edges and seams and lightly sanding all field areas. I was pleased with how well the new material conjoined with the adjacent edges; it was very smooth and even, and the overall coachroof shape was basically fair, with only a couple small low spots.
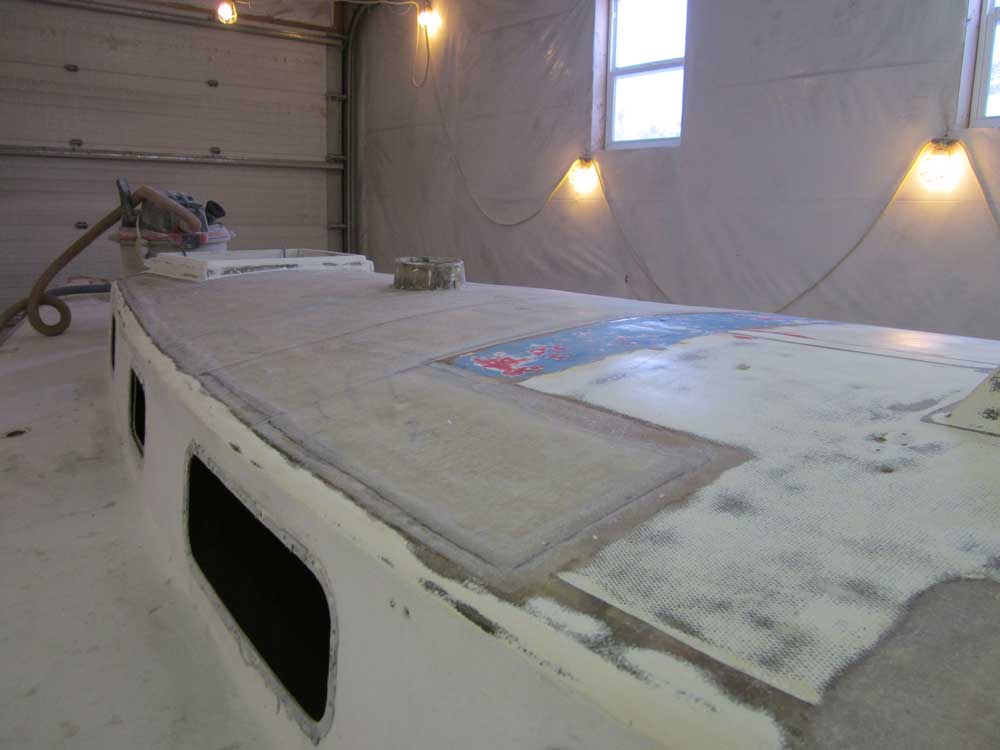
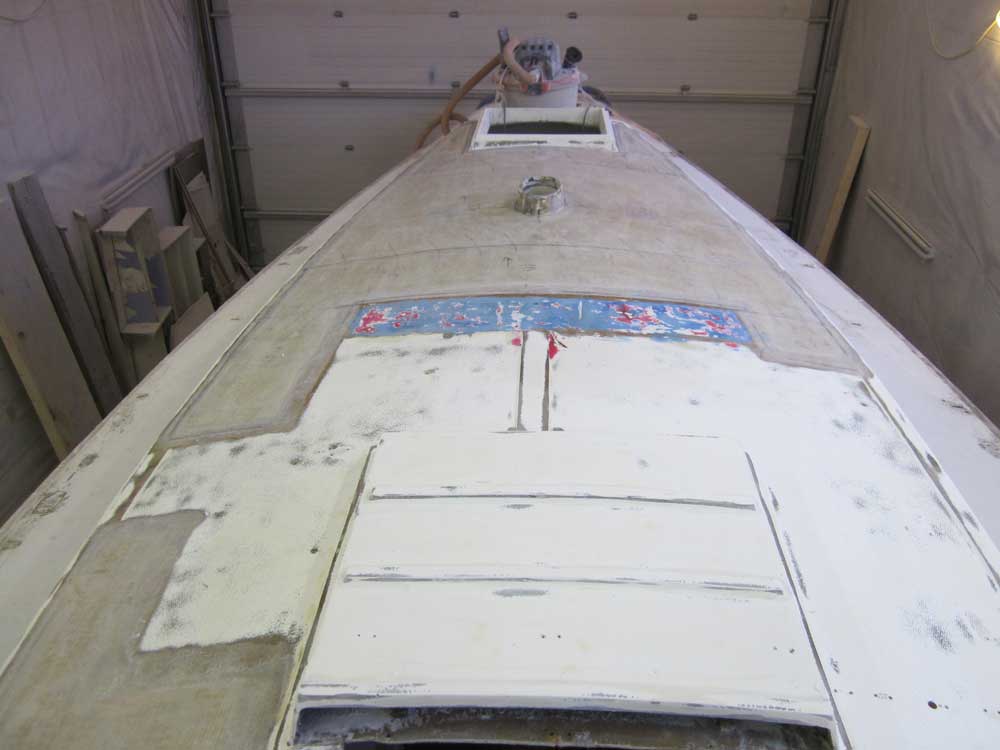

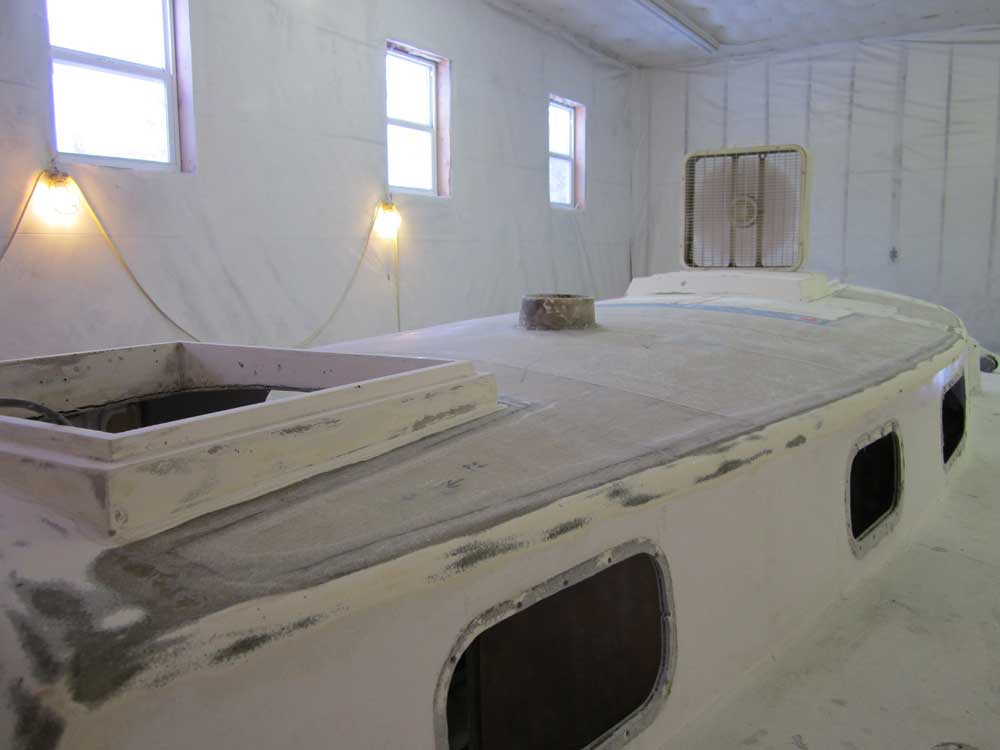
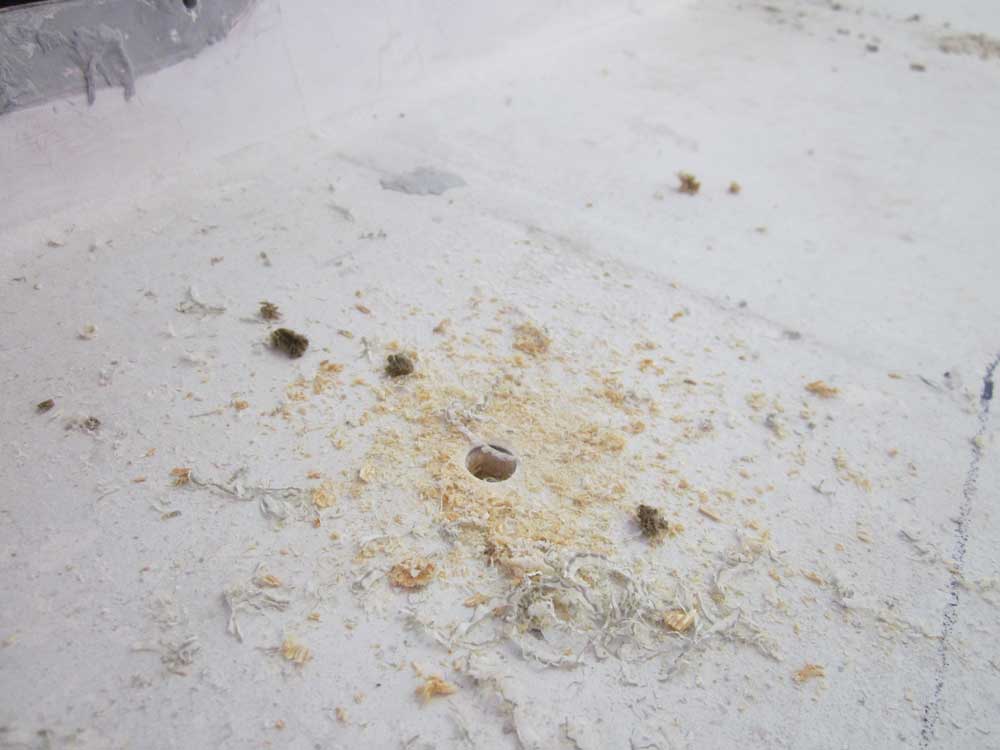
Next, I prepared several fastener and core test holes in the after portion of the coachroof, reaming out the tops of the holes and opening them as needed to accept filler, the first step in patching these areas. After cleaning up and solvent-washing the entire area, I applied the first coat of fairing compound, a generally thin skim coat to fill the weave of the cloth and begin the minor filling required.
The original nonskid surface had been recessed slightly from the edges of the molded pattern, a transition that was too significant to sand completely away, so in those remaining areas at the after end of the cabin trunk, I applied fairing compound to begin to fair the edges in with the field.

With the coachroof repair well on its way to completion, I moved on to the sidedecks, portions of which would also require repair. To begin, I measured out a few reference marks along the edges, in particular along the outboard edge. The core material only began inside of the inward hull flange, to which the deck was secured, so after making some representative measurements from inside to register the average distance, I transferred these to a consistent line around the perimeter of the deck; any cuts I made to open the deck for recoring would stay inside this line.
I also marked a line about 3" in from the gunwale, signifying the innermost edge of the tabbing I'd eventually be installing over the hull-deck joint to reinforce it. During the sidedeck preparations, I expected to sand and grind this area to prepare for the tabbing as well.
Finally, I marked 3" out from the cabin trunk, again to signal the furthest point of any cuts I might make, leaving ample room to tie the new repairs into adjacent areas.
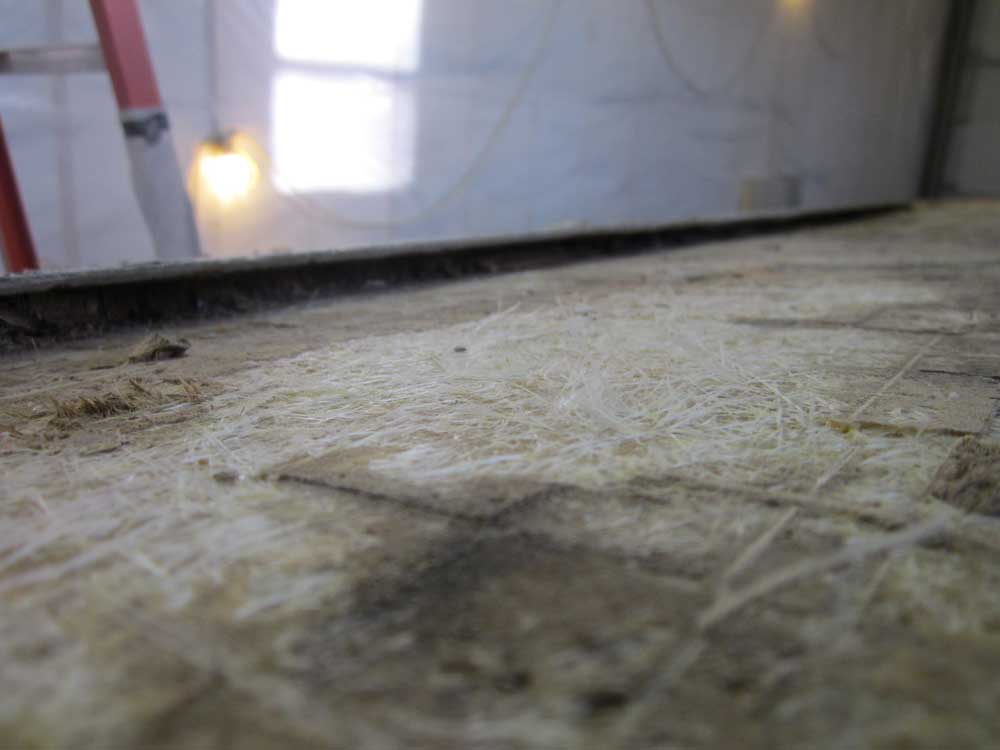
With the edge marking complete, I sounded the entire sidedecks and foredeck, drilling test holes as needed to confirm the condition of the core in various areas. As I went, I marked out the areas to be repaired. In general, there was nothing surprising in my findings: I'd known all along that the after ends of the sidedecks on both sides were suspect, as well as portions of the foredeck, and the inspection bore out these expectations.
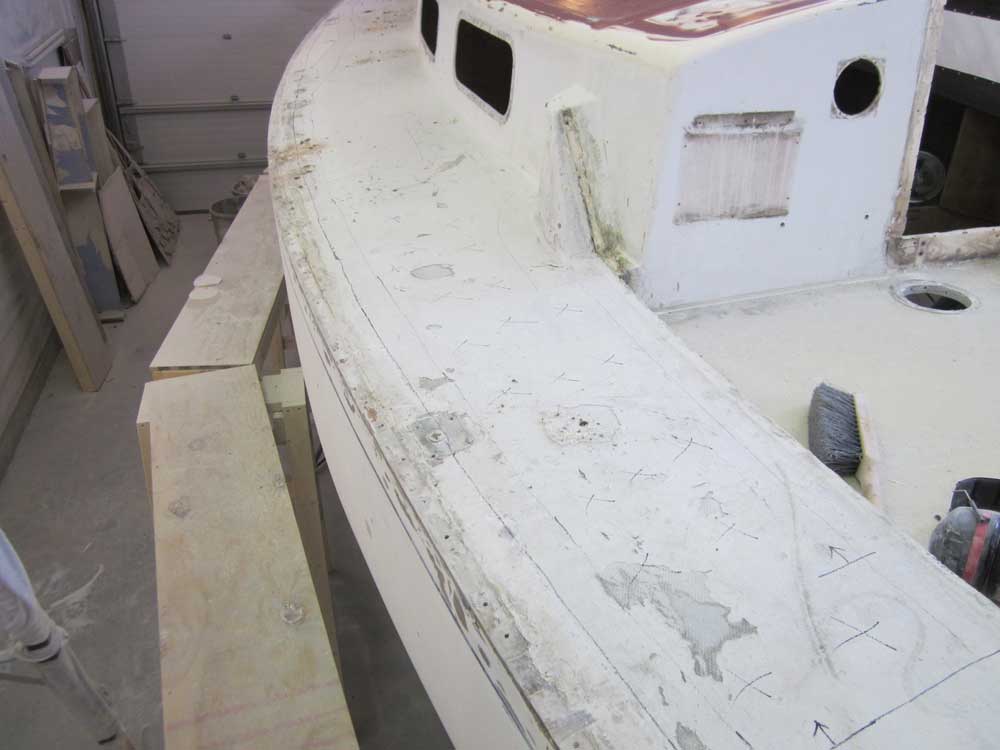
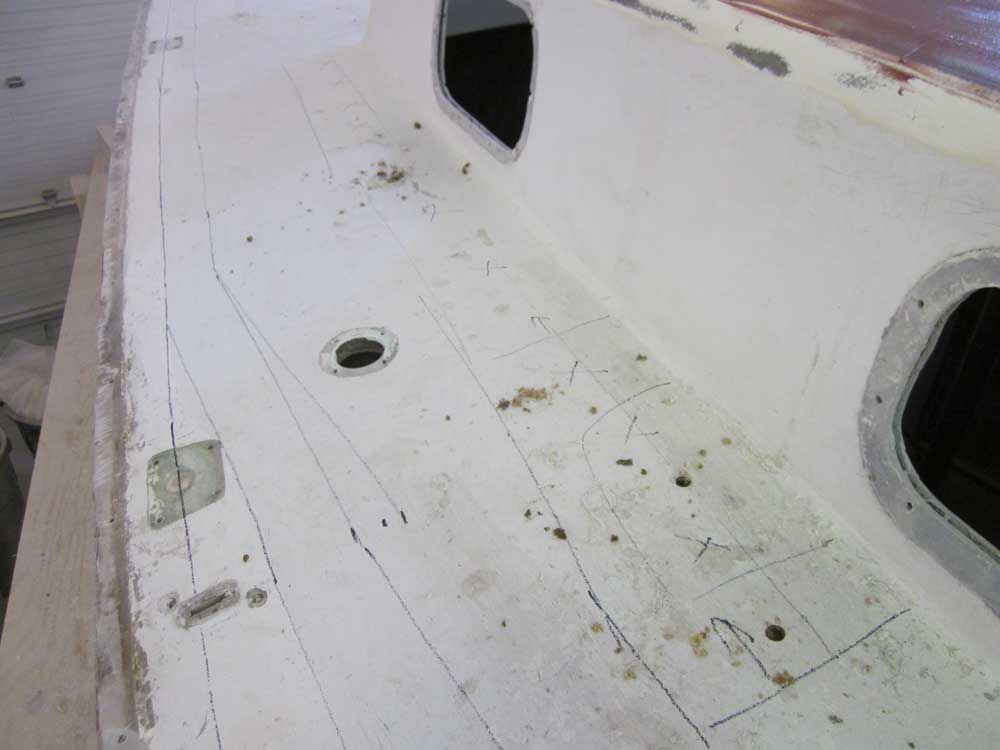

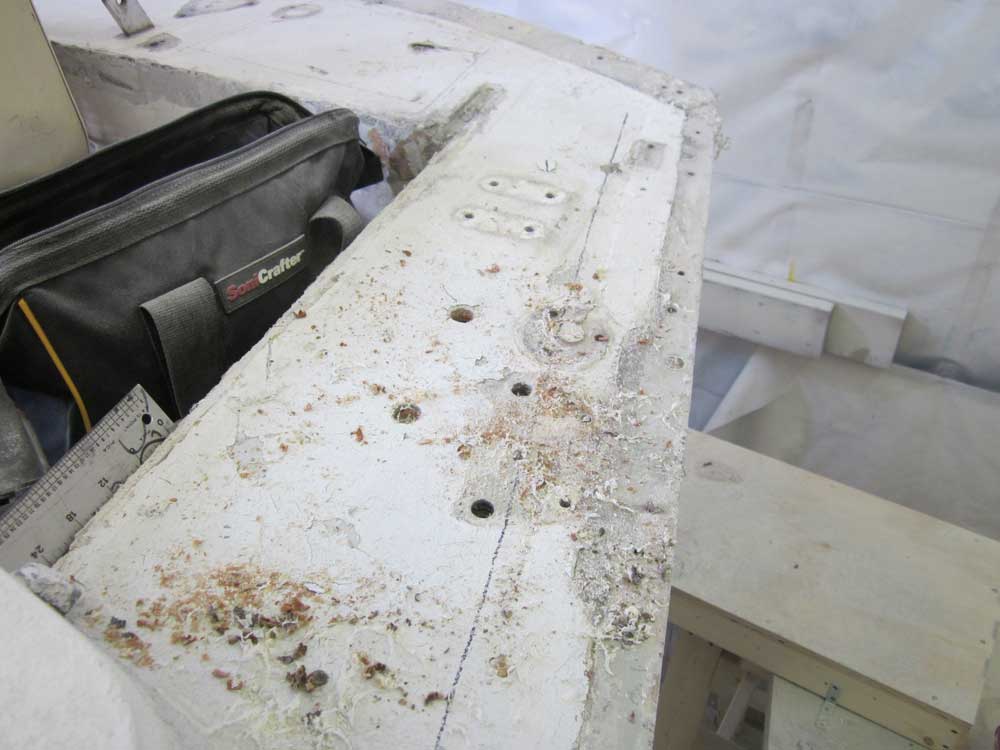
There were large areas (6-8' long, and across the width of the sidedecks) running from the winch islands in the cockpit forward on each side; these, along with the forwardmost 4' of the foredeck, were the most significant areas requiring repair. In addition, there were a few smaller areas towards the forward end of the port sidedeck. Test holes in other areas revealed dry, bright core. I also had questions about the centermost portion of the foredeck, which seemed to be a plywood "beam", as is commonly found, but I thought I'd wait till I opened the forward part of the foredeck before determining how--or whether--to proceed with the questionable areas.
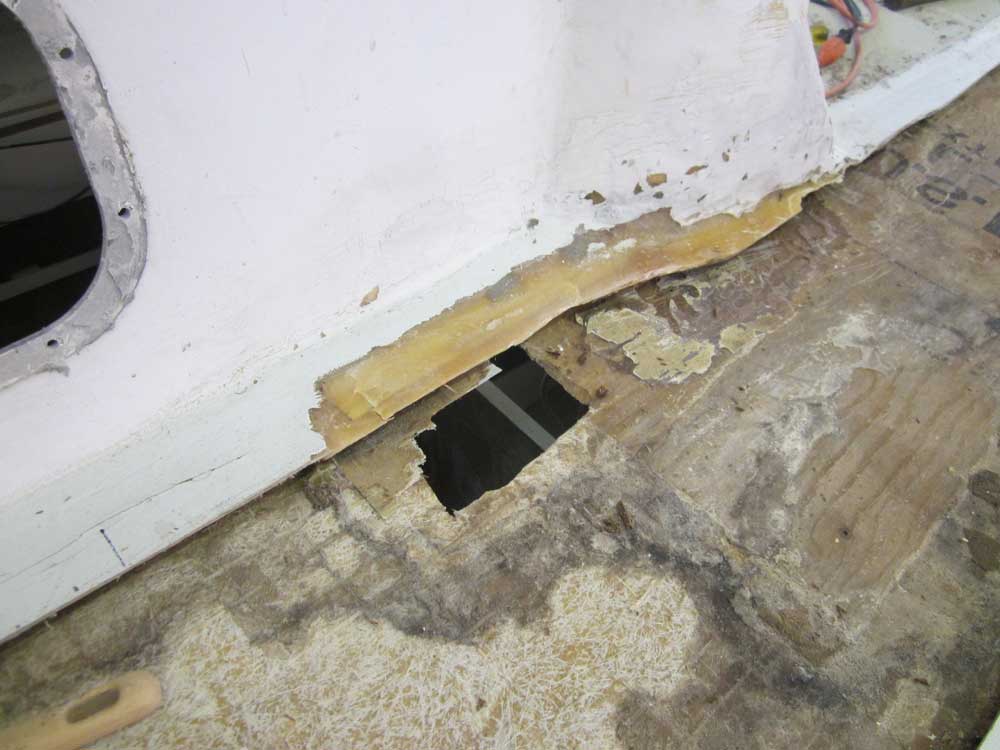
With the general repairs marked out, I began at the after port sidedeck and cut along the marked lines. In no time at all, I'd removed the top skin, mostly intact, revealing more core in terrible condition--nothing surprising, of course. The core here was a mix of rotten balsa and more kerfed cheap plywood, courtesy of the Mad Plywood Dervish.
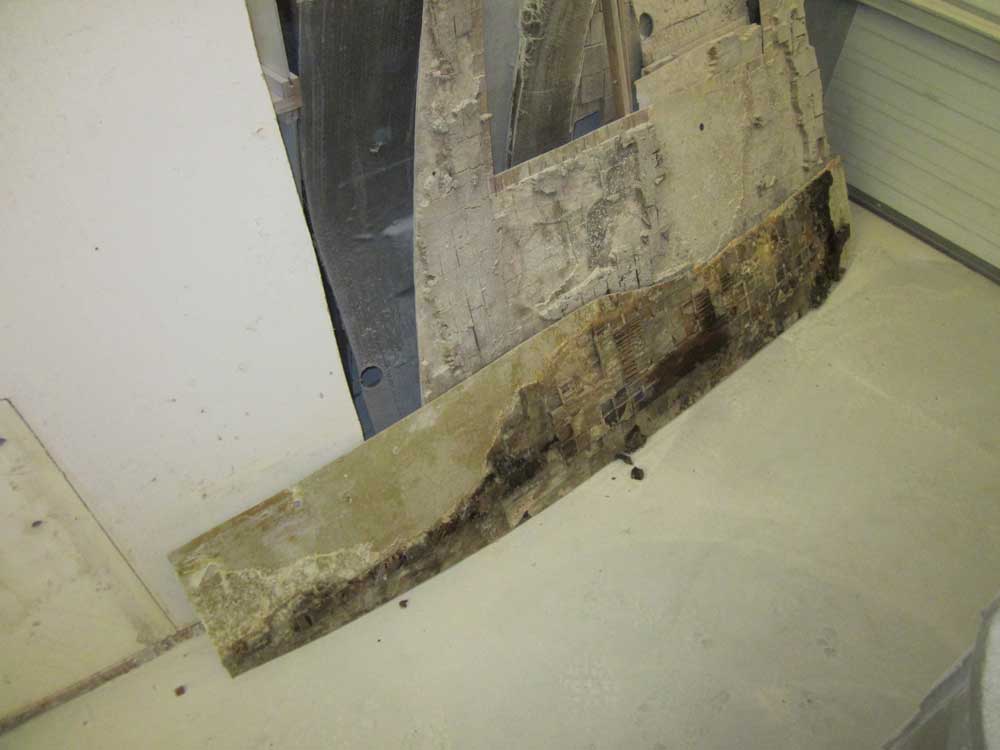
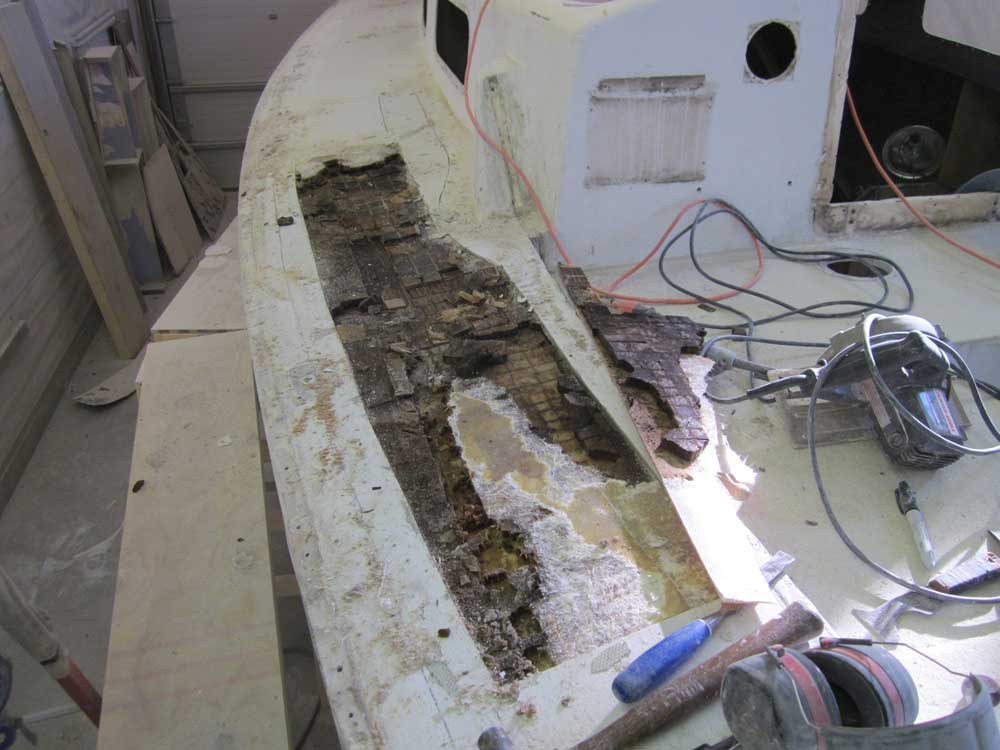
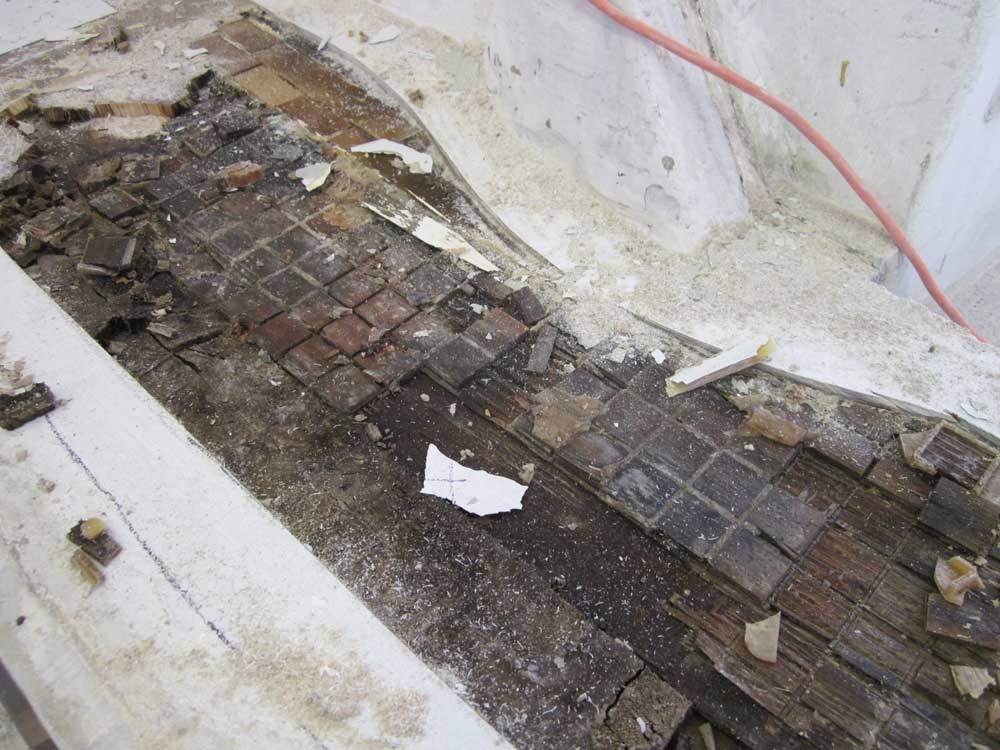
Over the remainder of the afternoon, I removed all the core from this area, including reaming most of it from beneath the overhanging edges on both sides. It took a while to dig the wet plywood out from beneath the overhanging edges (where applicable), but I eventually succeeded, layer by layer. This process also revealed some suspect glasswork in way of the molded cockpit coaming block at the aft end of the cabin trunk, which block I'd been looking at for weeks trying to figure out what someone had done to the bottom edge, which was lumpy, bumpy, and unfair. Now it became clear, and although removing the delaminated fiberglass from the decks below this area brought the cut line closer to the coaming than I'd desired, it was all for the best. I'd work out a way to incorporate the new repairs appropriately.
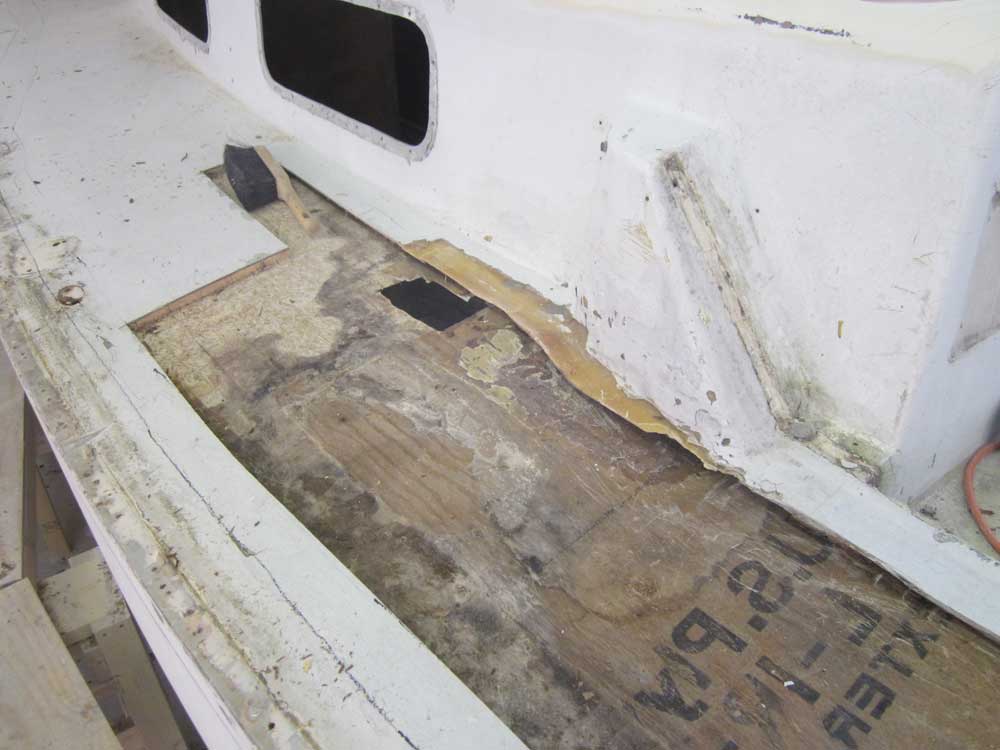
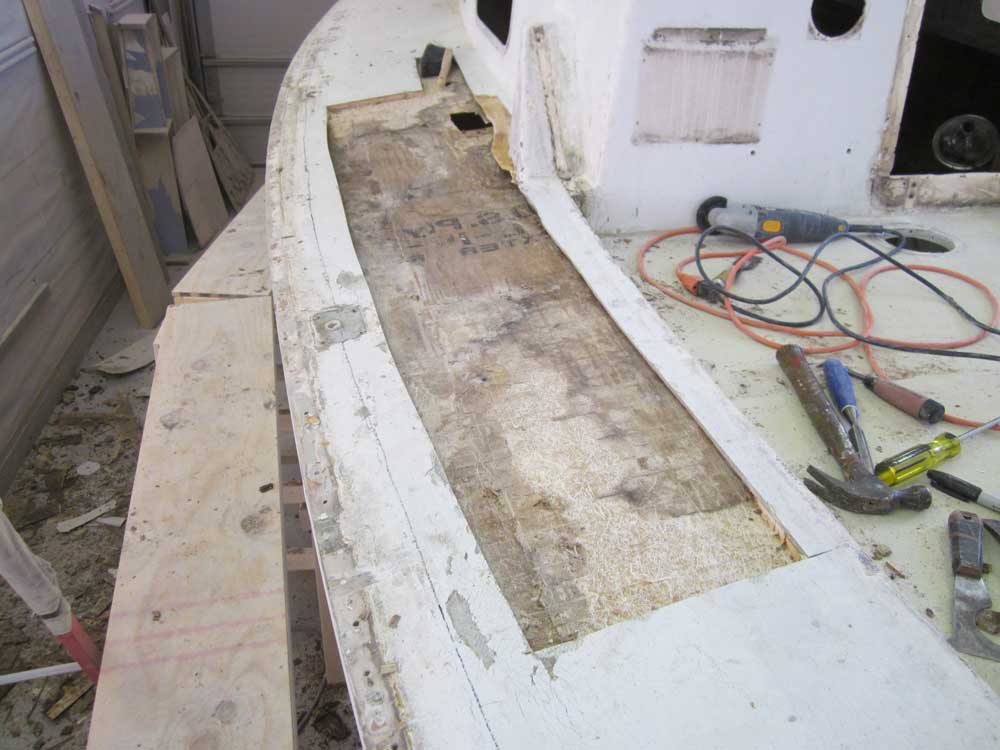
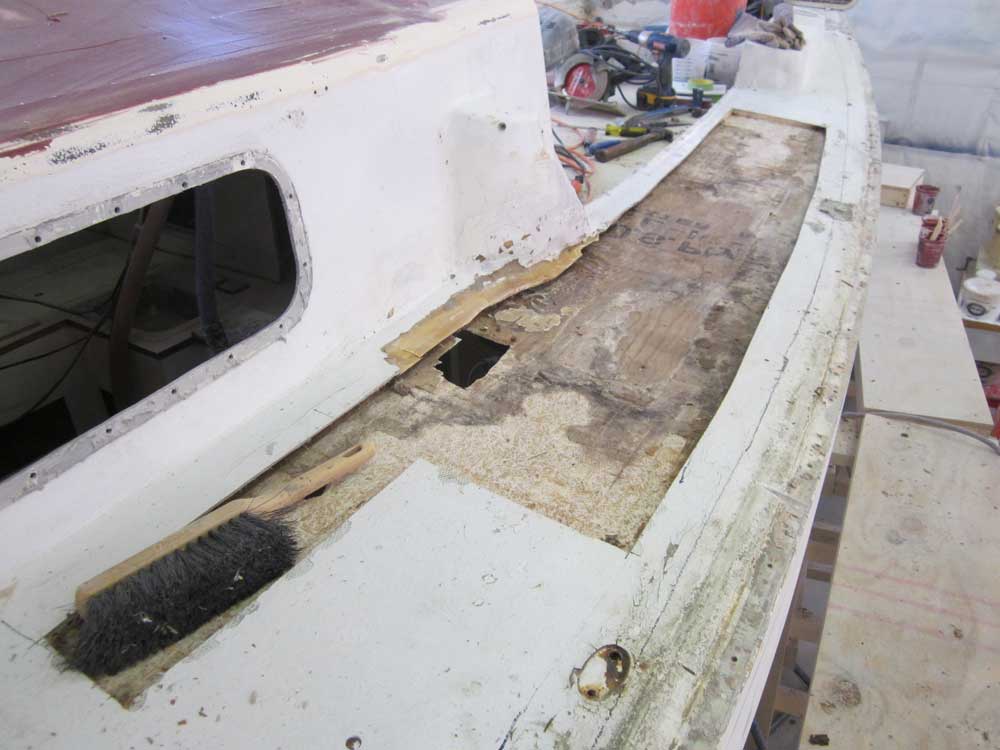
I wasn't sure what the purpose of the rectangular hole near the forward inboard edge of the newly-uncored area was all about, but it'd been in place before I began the repair, and I'd noted it during my interior sanding earlier. So it was no surprise when the thin fiberglass that had been over this hole simply peeled away with the core. At least now I could repair it properly.
Total Time on This Job Today: 8 hours
