
110 Cookson Lane | Whitefield, ME 04353 | 207-232-7600 | tim@lackeysailing.com
The boat seemed to be resisting continuing attempts at an easy disassembly. Perhaps she didn't yet understand that the disassembly was all for the greater good.
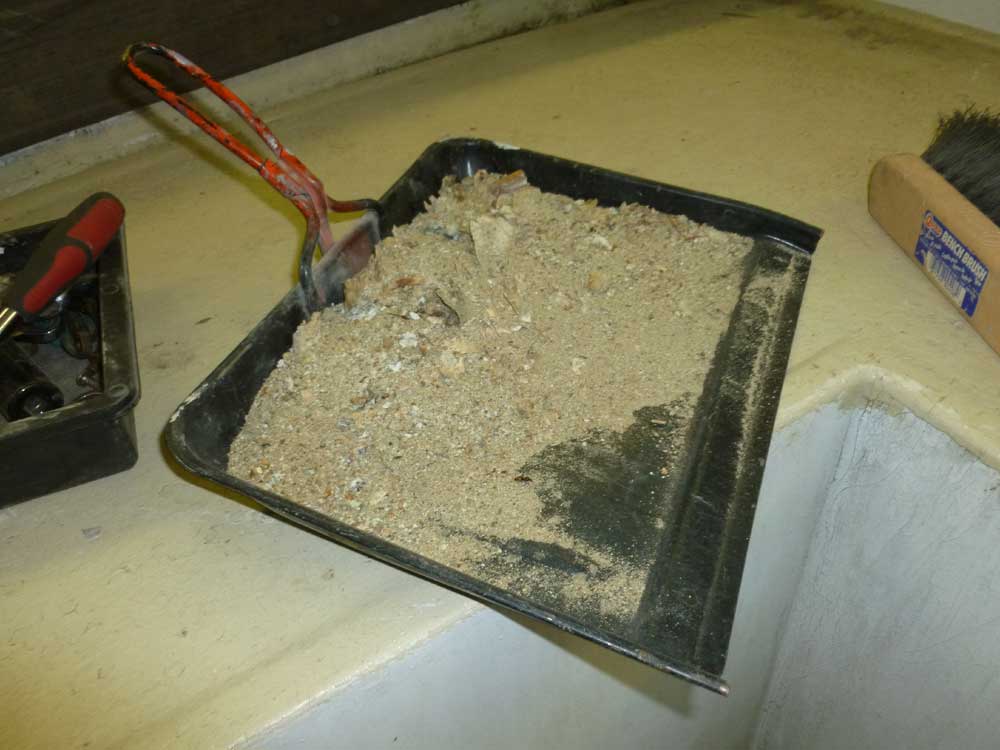
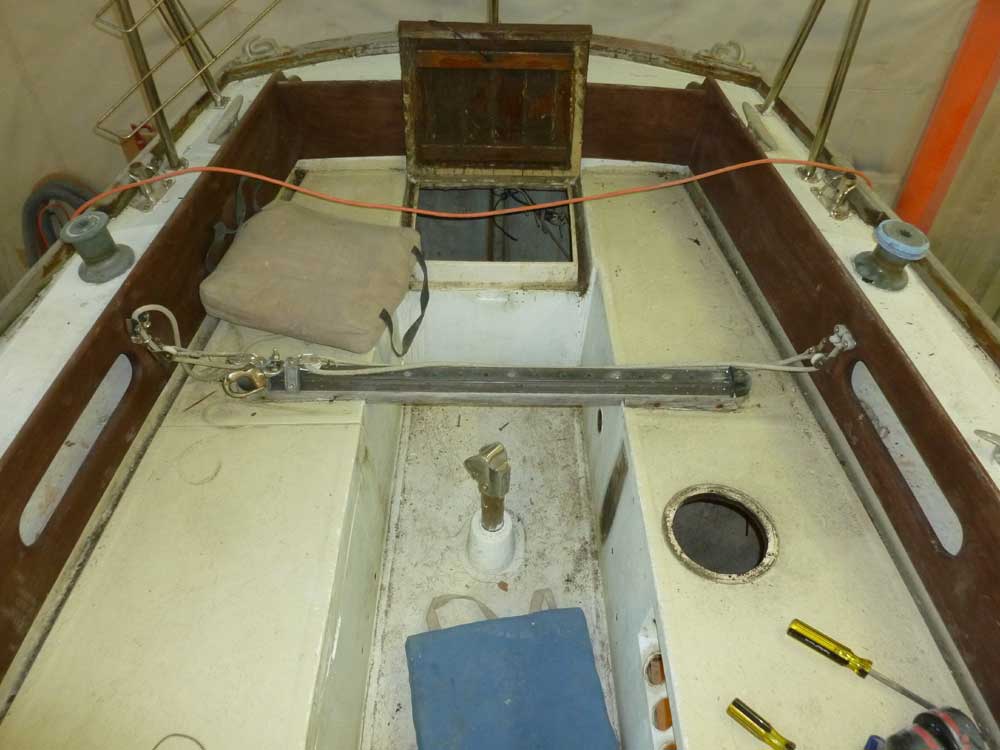
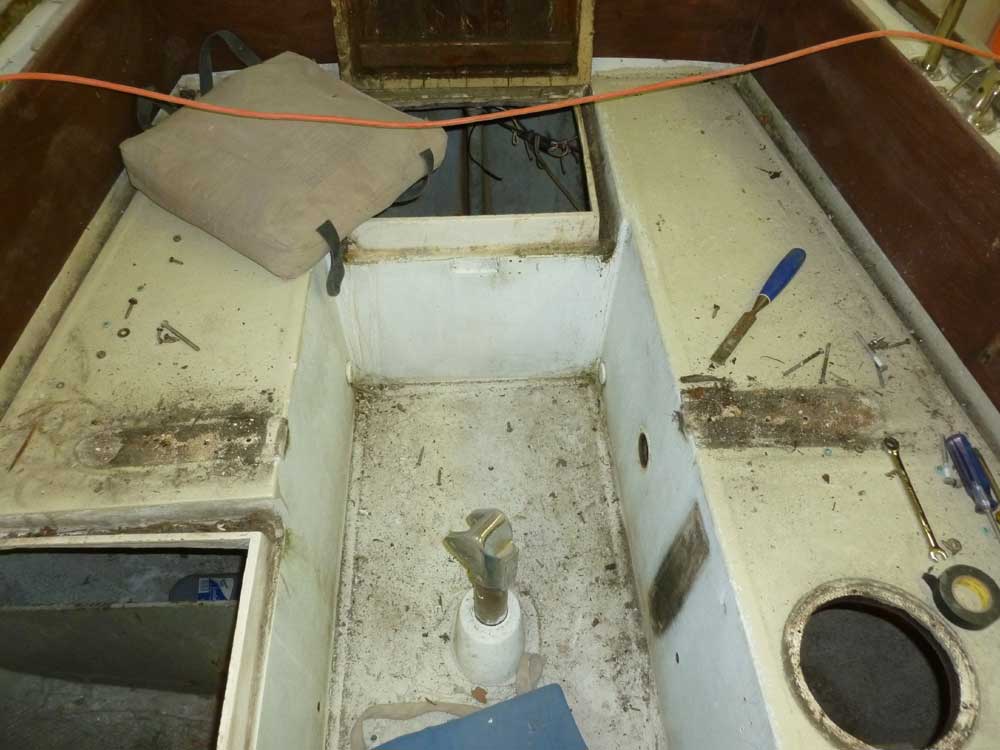
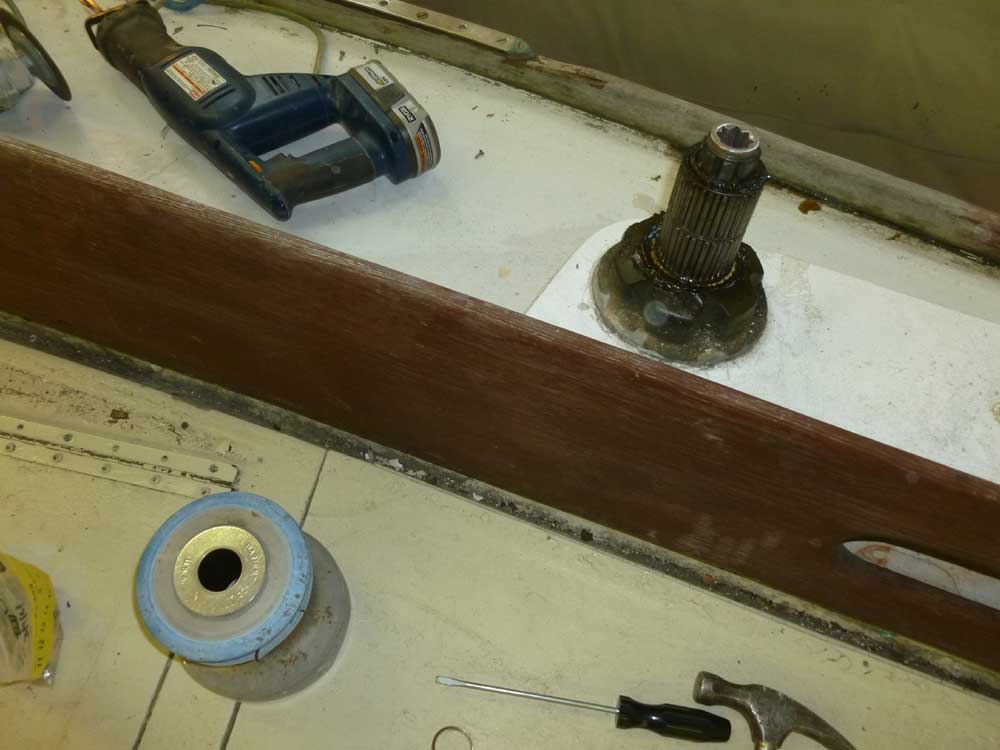
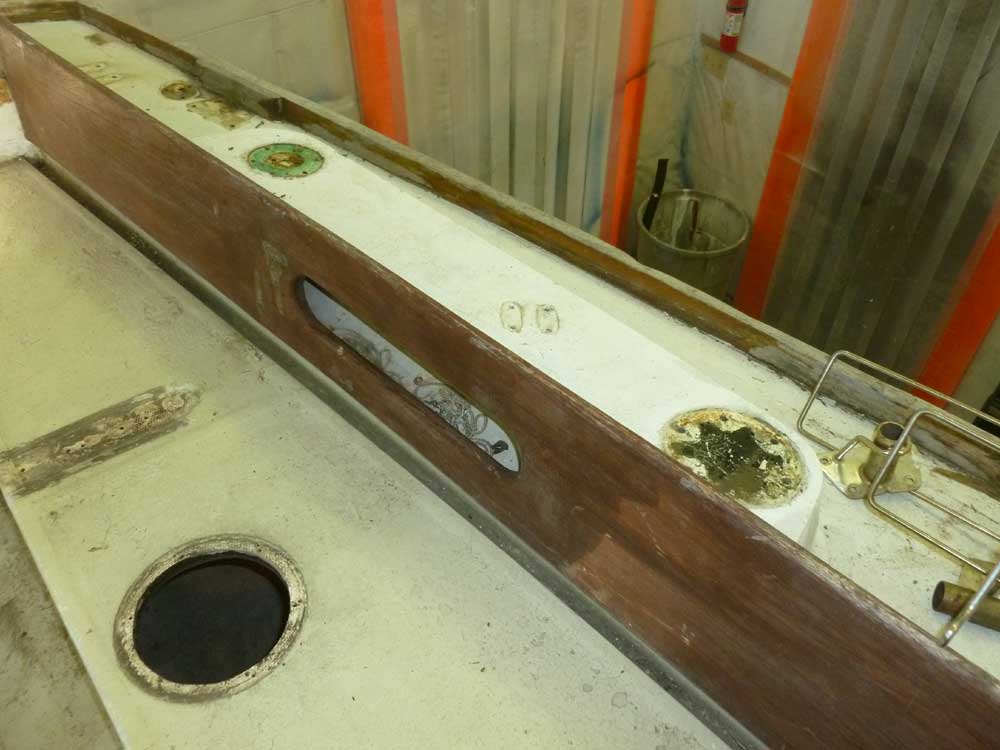
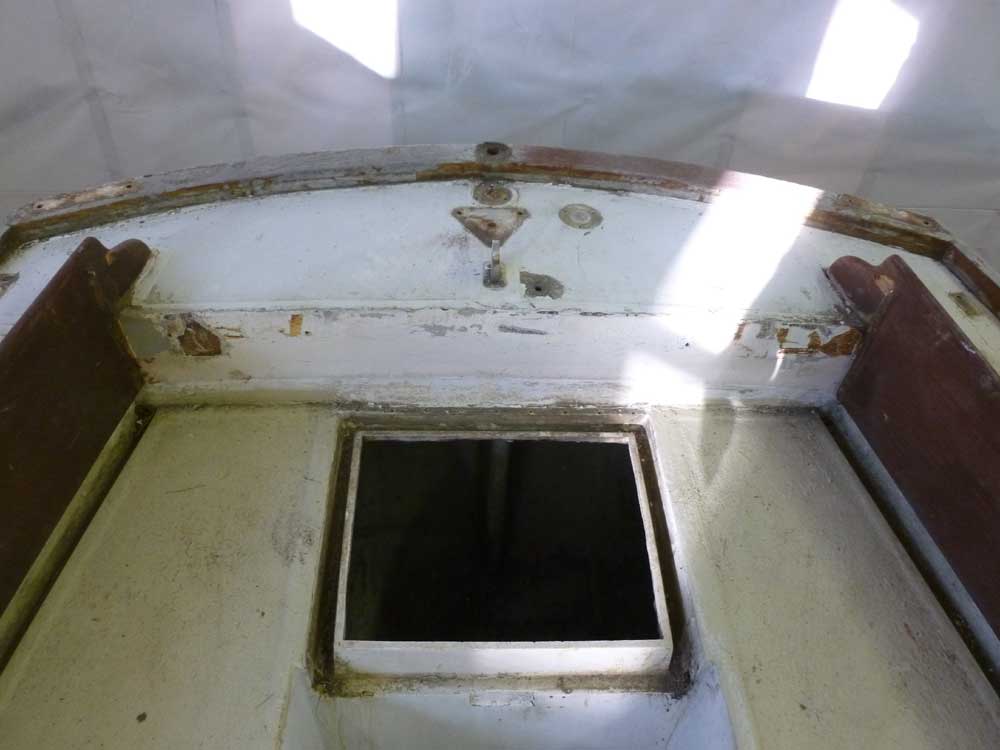
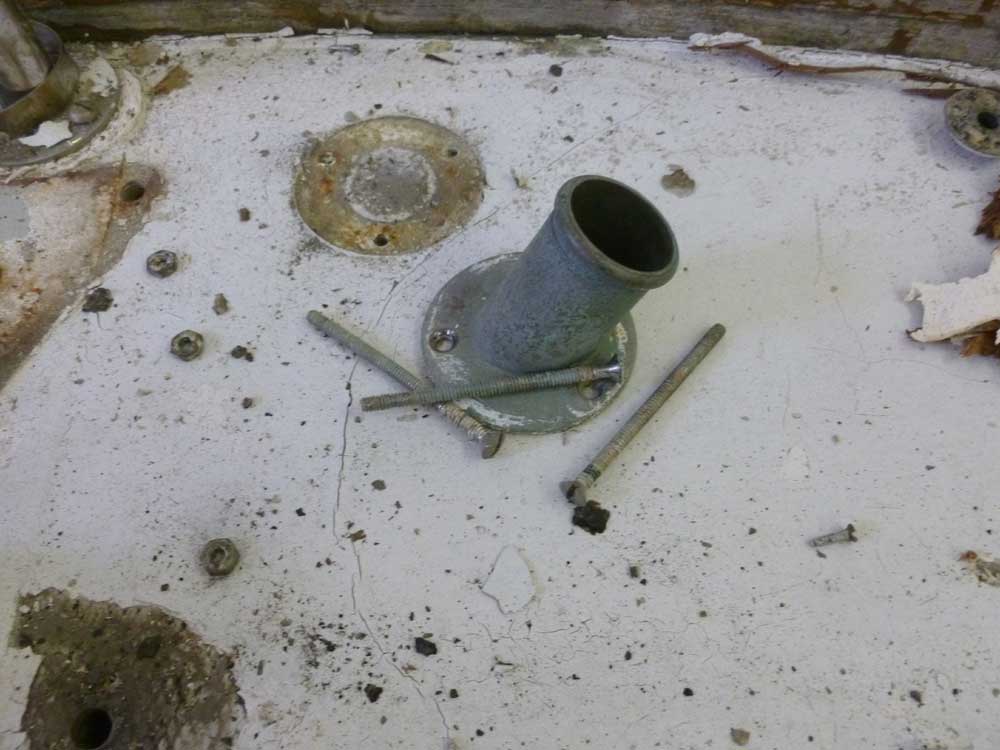
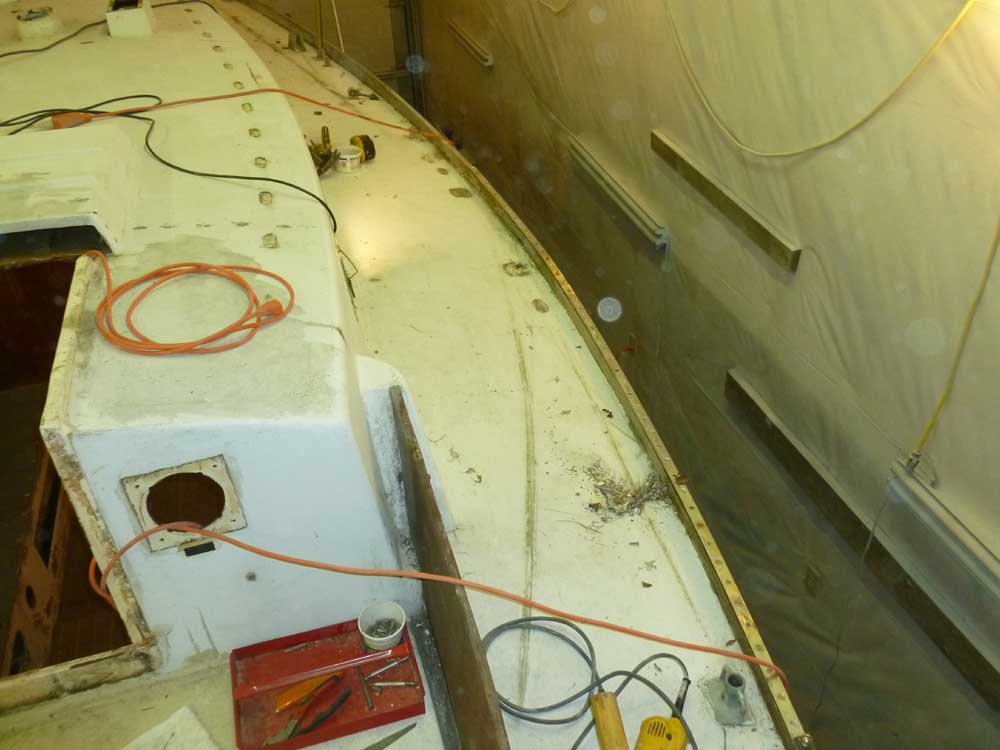
This was one of those days where things that I'd expected to be easy were hard, but fortunately several things that I'd expected to be hard turned out to be easy, so it all balanced out. To begin, I got back to the pedestal. Since the aluminum backing ring was already broken of its own volition (corrosion), I simply removed the remainder from around the four bolts securing the pedestal, which solved the removal problem. With some effort, I hammered the bolts up from beneath to loosen them, then removed the pedestal, revealing a large pile of aluminum detritus beneath.
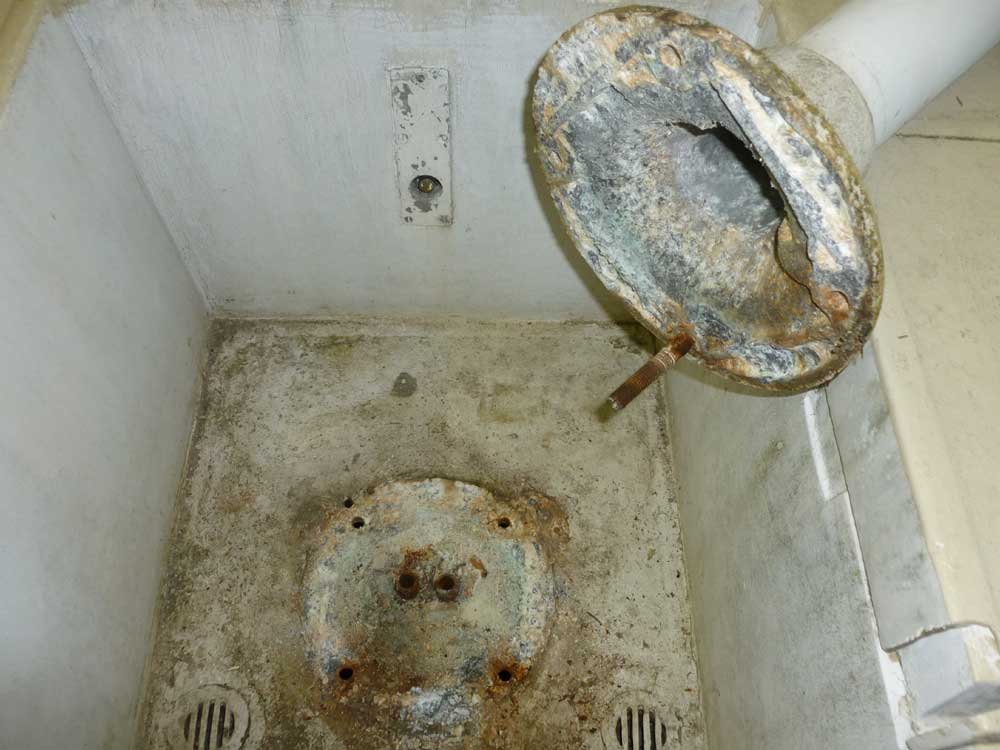
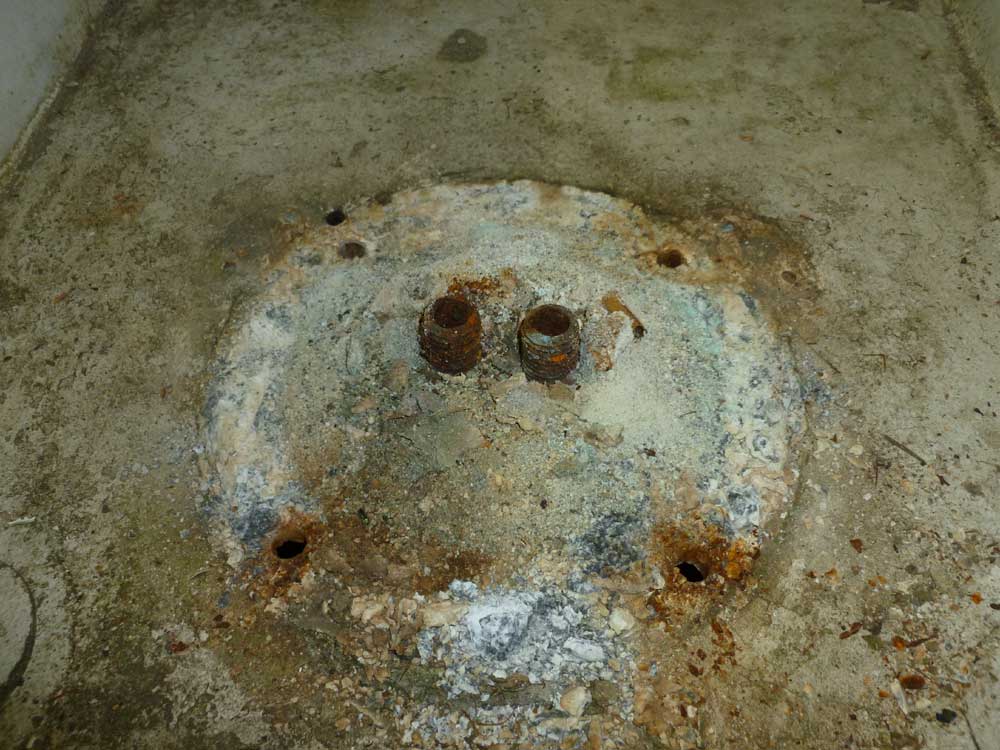
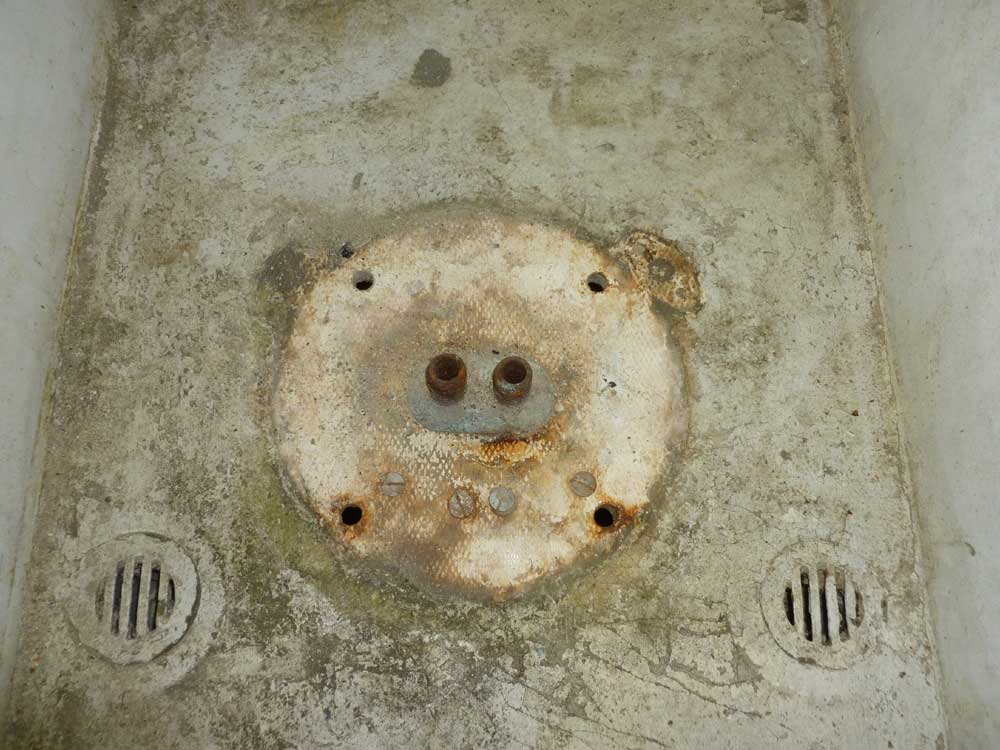
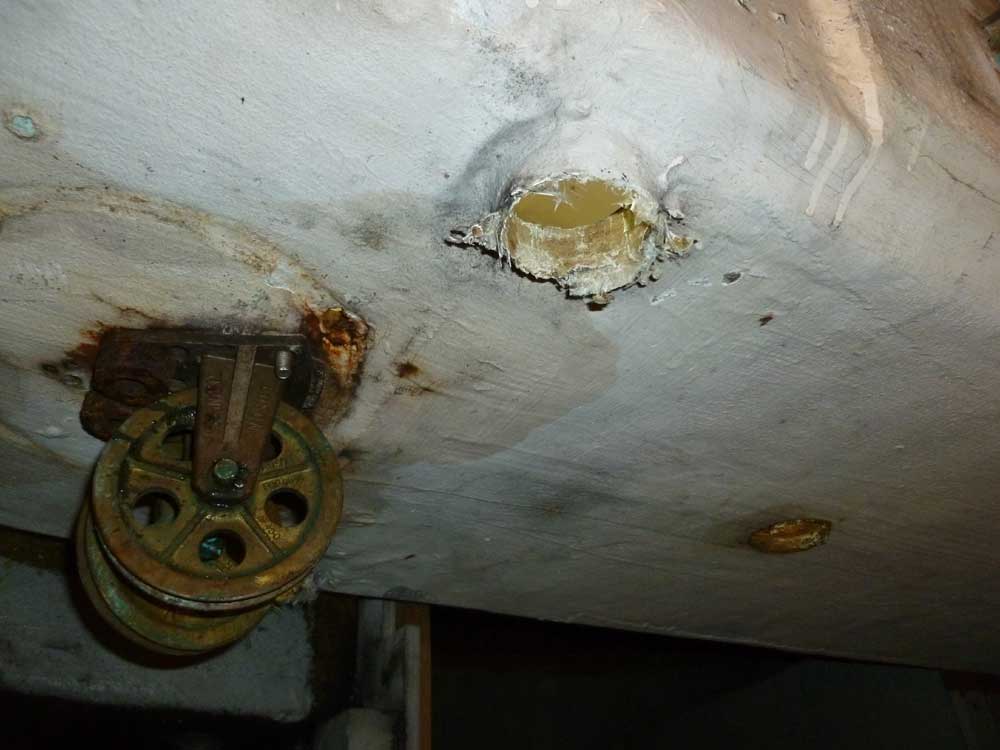
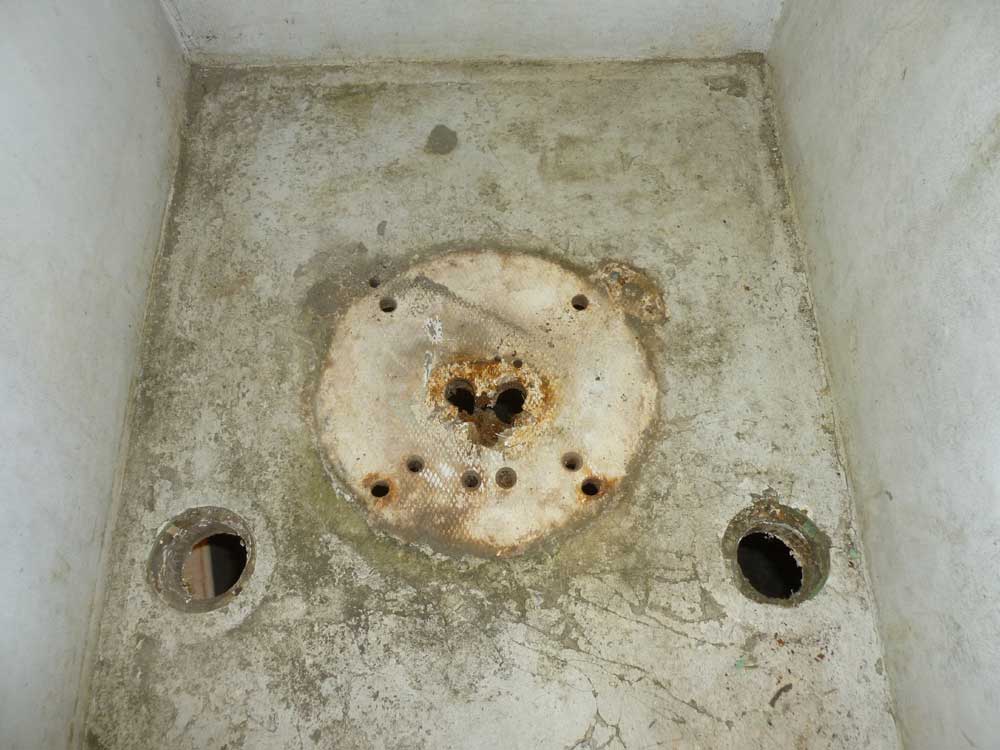
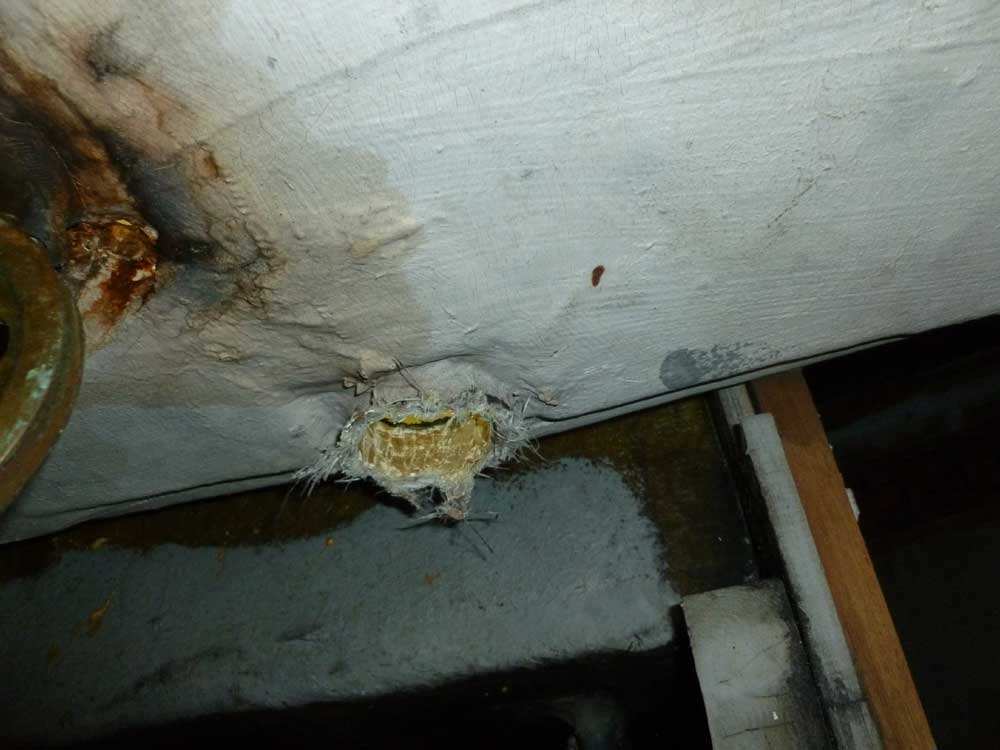
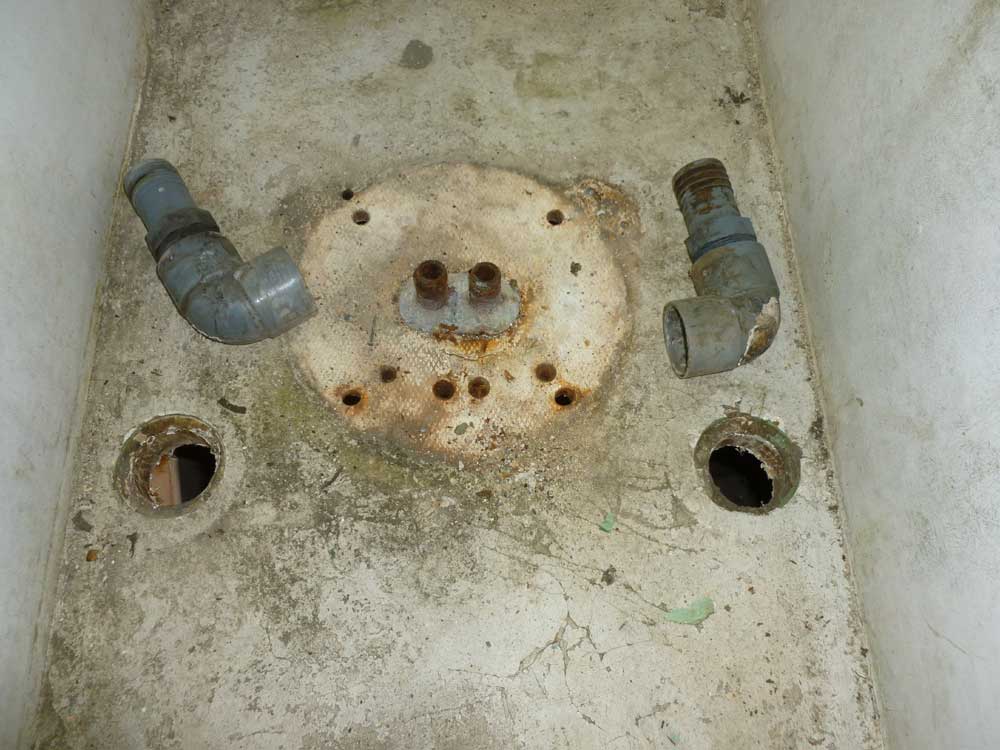
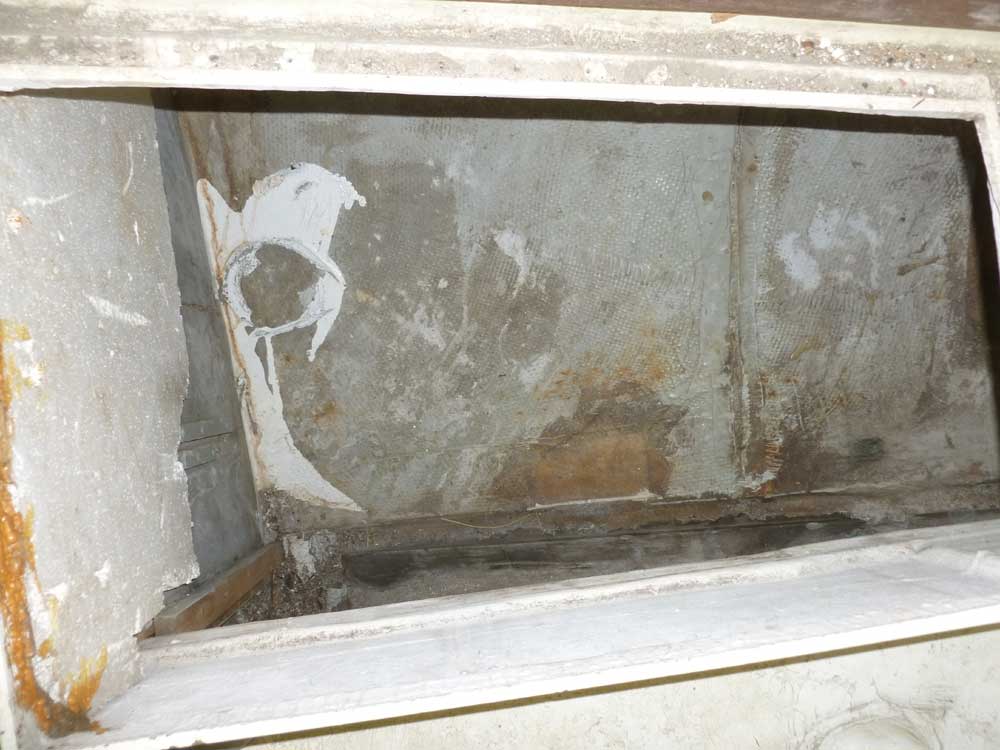
All that remained was the lower sheave assembly, which featured two threaded pipes running through the deck, though which the steering cables had once passed. These pipes were apparently once threaded into an aluminum thing of some sort, the heavily corroded and worn out remains of which was tenaciously gripping the deck and pipes. Eventually, I split the mess apart with a chisel, and with effort got the assembly out. The deck was badly deteriorated beneath the area, though this was no surprise. While in the area, I also removed the two plastic cockpit scupper elbows, which were loose anyway and were probably overly restrictive to drainage.
Next in my immediate goal of clearing the cockpit was the traveler. The bolts were corroded into the aluminum track, but fortunately spun free without much trouble, and before long I'd removed the traveler and its decrepit wooden base.
Four sheet winches and two cleats were next, all located on the winch islands outboard of the cockpit. The winches were in OK operating, but poor cosmetic, condition. One of the aluminum cleats was bent.
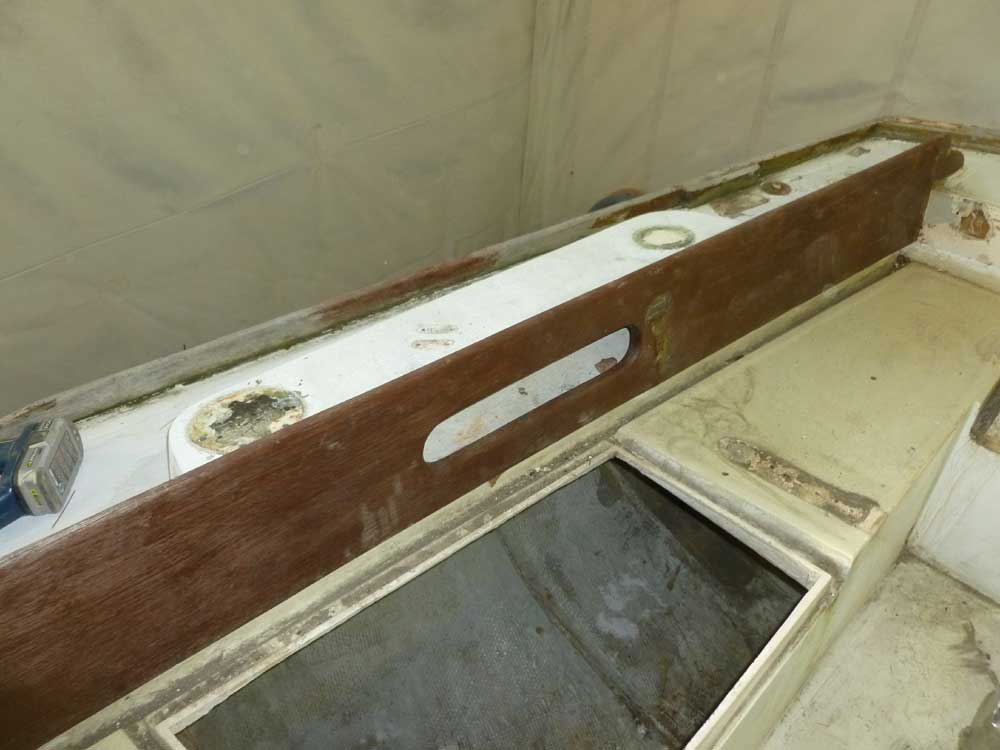

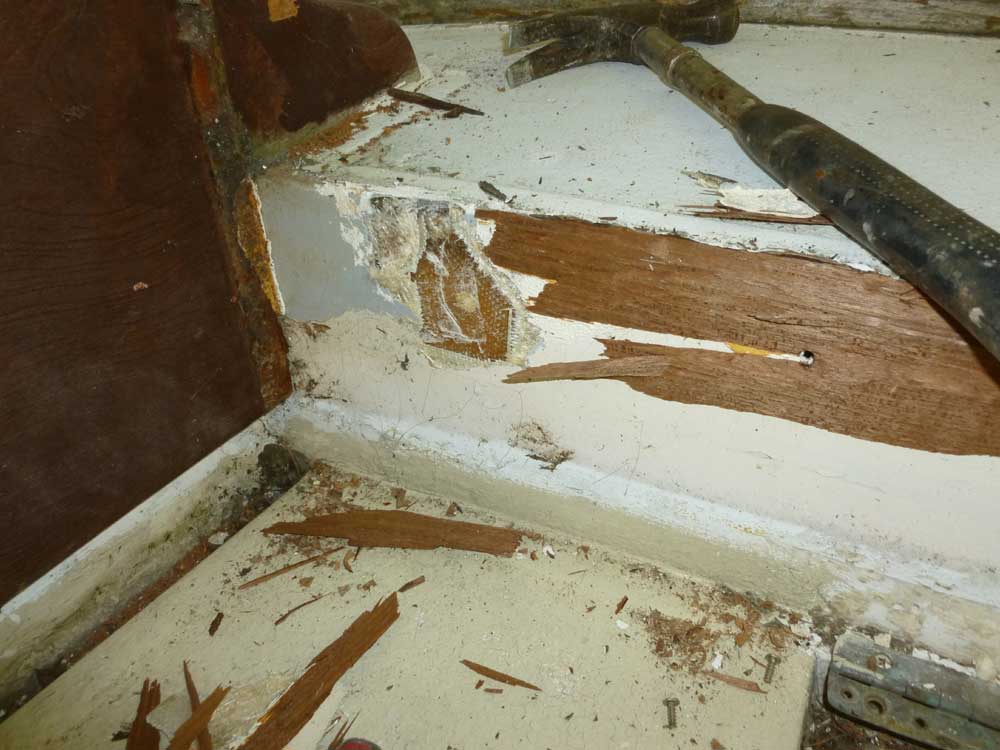
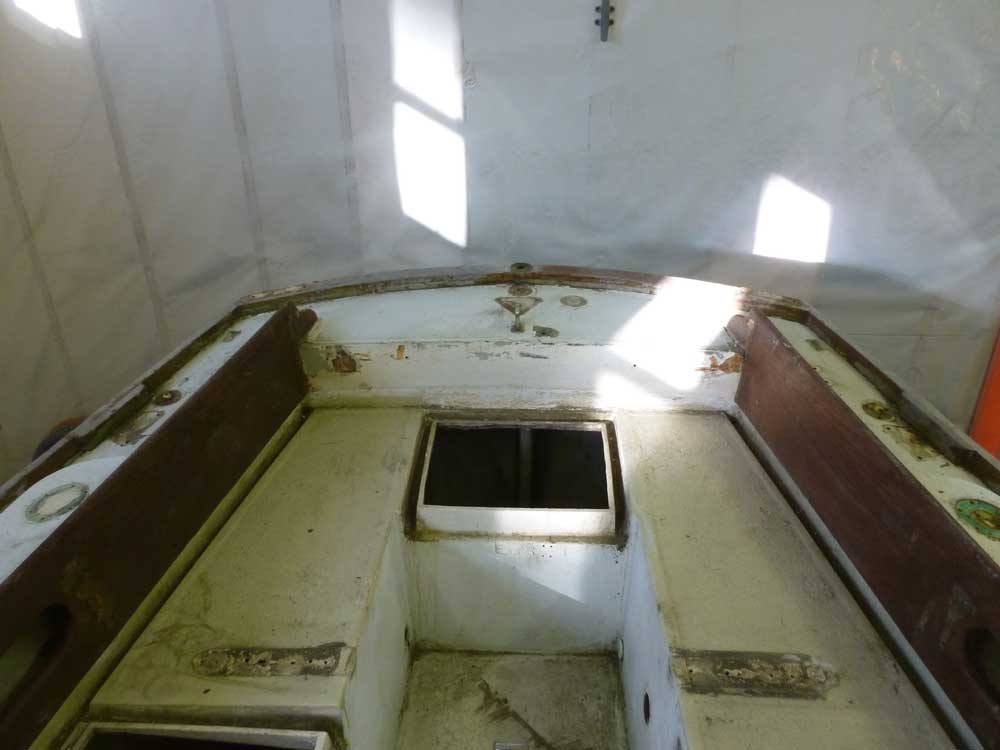
The wooden cockpit coamings were in poor condition, but I hoped to save them intact for measurement and patterns to make new construction a little easier down the road. The aft section, running athwartships between the side pieces, had to come out first, so I drilled out the bungs to remove the screws (which turned out to be through bolts). This was bad enough, but then I discovered that the coaming was secured in 5200 or similar polyurethane adhesive--and plenty of it.
Removal turned into an hour-long fight with chisels and other destructive tools to pry the wood, bit by bit, off the fiberglass, where it was permanently stuck. In one area, the bond of the adhesive was tenacious enough to pull away some of the fiberglass. Eventually, I completed the removal of this section, leaving behind some of the adhesive to be dealt with during later steps.

With distaste, I determined that the long side coamings were similarly installed, with bolts (many of which were inaccessible from the back side) and the same bulbous beads of 5200 peering from the seam between coaming and deck. Though I'd been anxious to remove the coamings, I decided to attack these on a separate day, and instead to move on with other deck hardware.
Continuing with the aft end of the boat, I removed some unnecessary dividers from the starboard cockpit locker, which opened up the area for access to the bolts securing the stern pulpit and other installations around the stern of the boat. I'd feared the worse for these fasteners, but was pleased to find that most came off without issue. Using multiple sets of locking pliers, I could remove the fasteners all at once from above with my impact gun, making short work of it (relatively).

Someone used comically long bolts to secure the flagpole socket. Fortunately, the nuts spun off easily.
After a substantial amount of crawling in and out of cozy spaces beneath the cockpit on both sides, I completed the hardware removal in the after third of the boat.
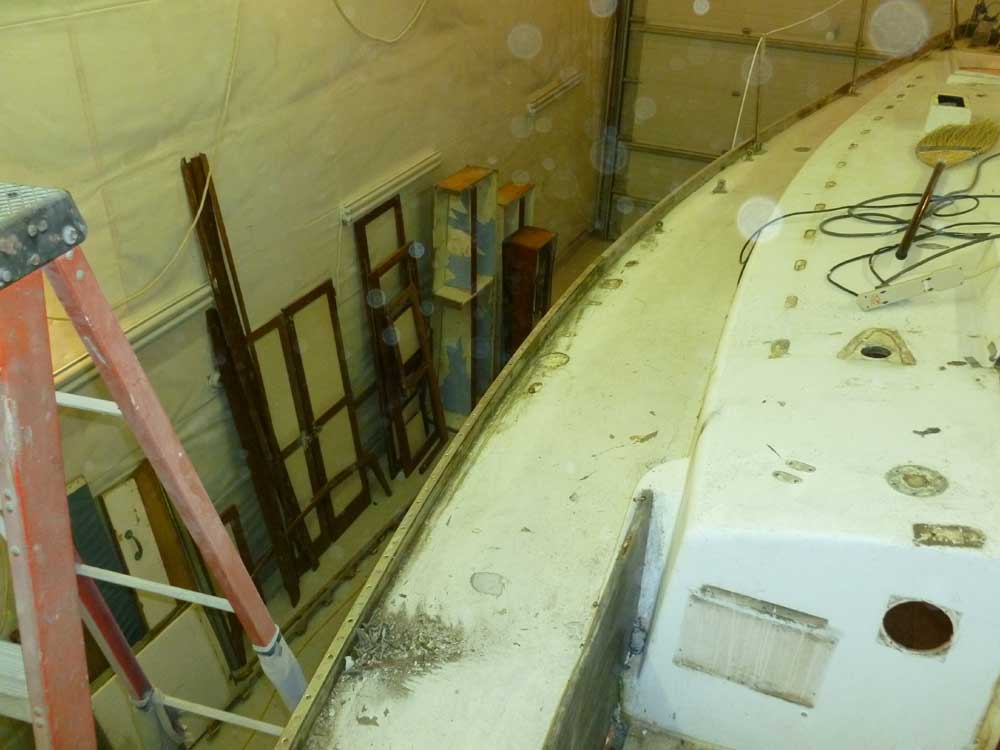
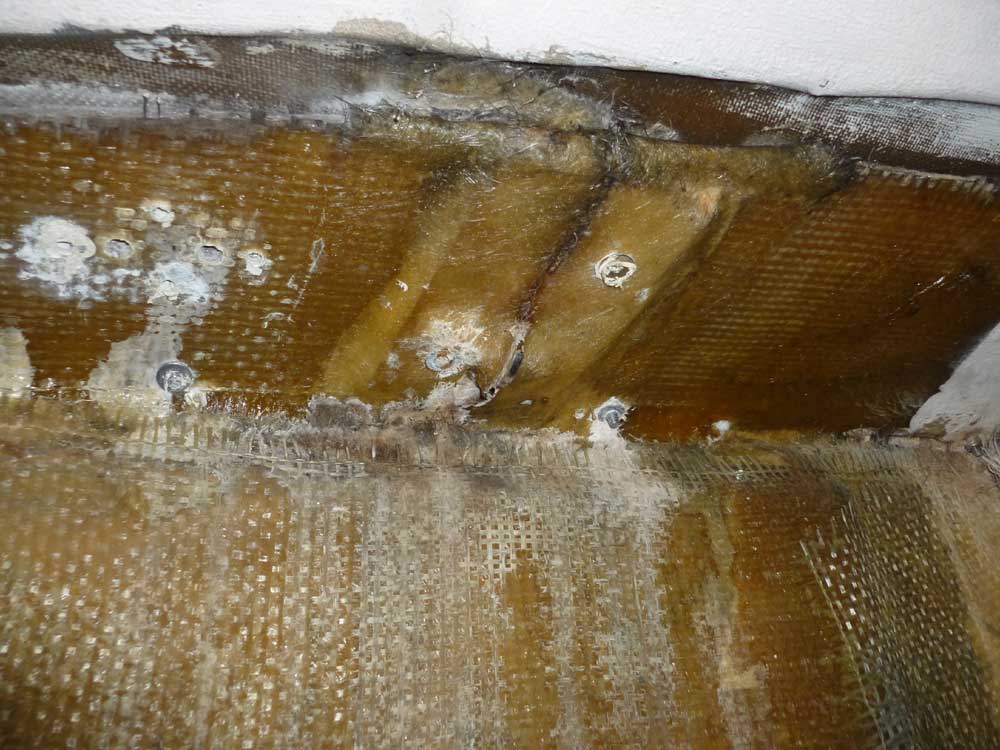
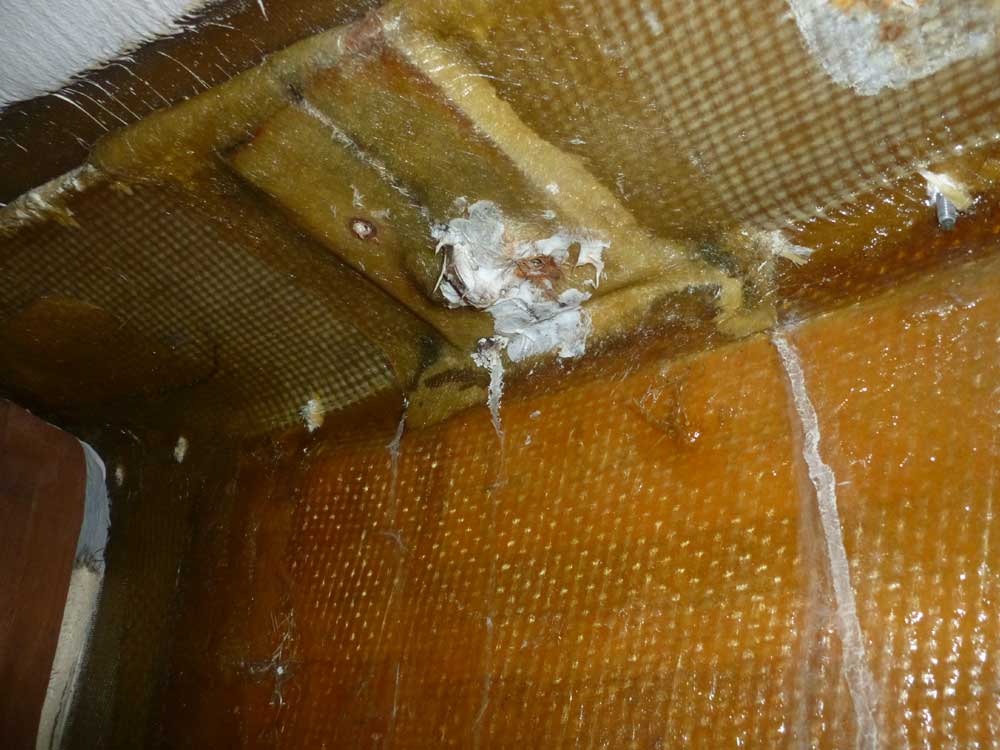
Continuing forward, I worked in the saloon to remove the deck hardware on both sidedecks, as far forward as the chainplates. These areas contained several stanchion bases (few of which matched), padeyes, and other installations, but even though the nuts on many of the fasteners looked badly rusted, I found that they came off without undue effort. Clearly, most or all of the hardware had been leaking water for some time, though.
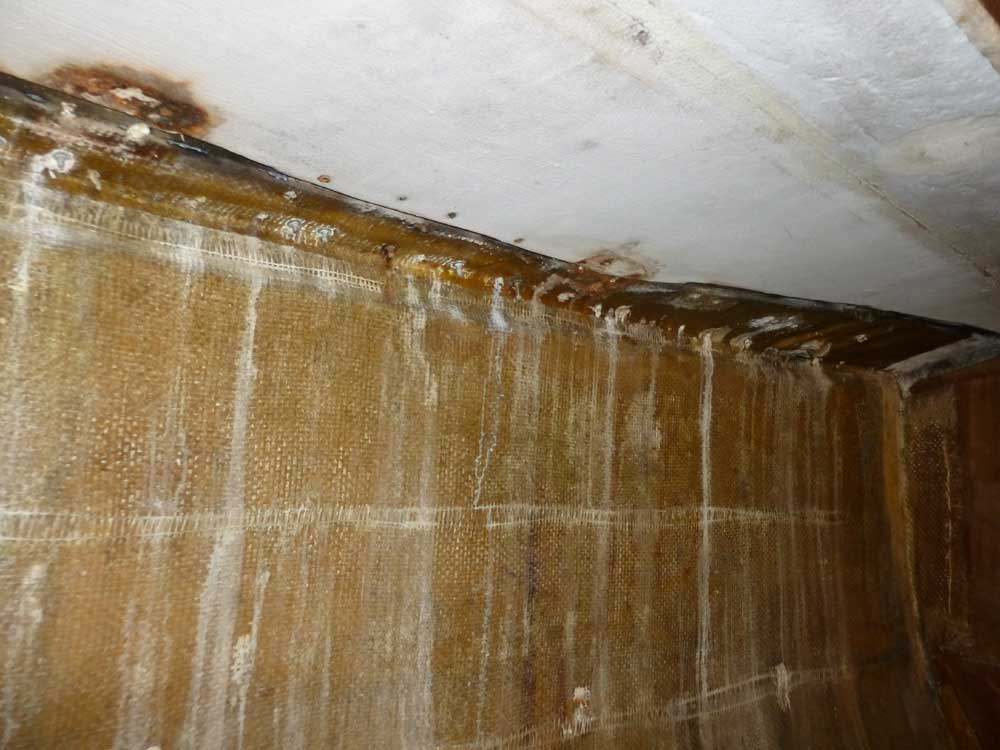
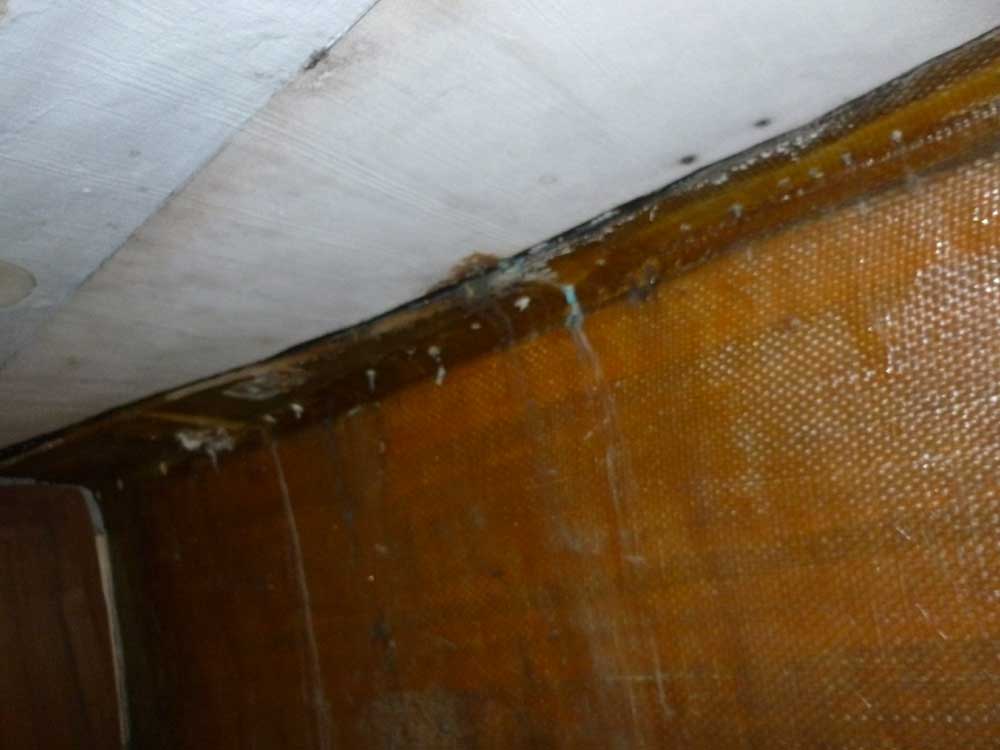
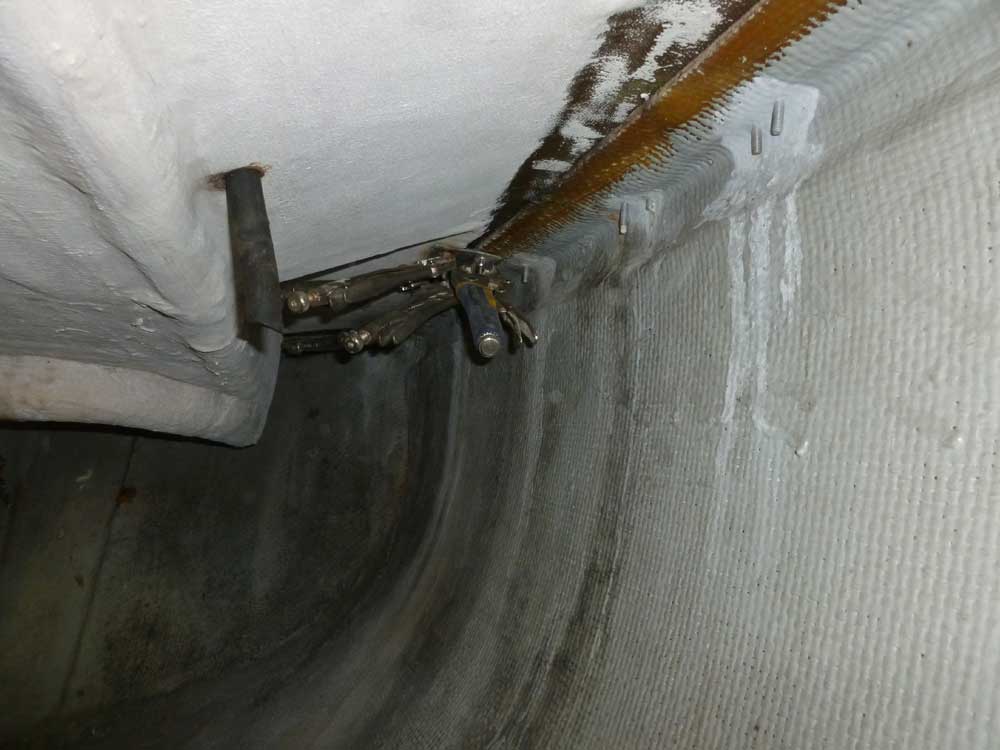
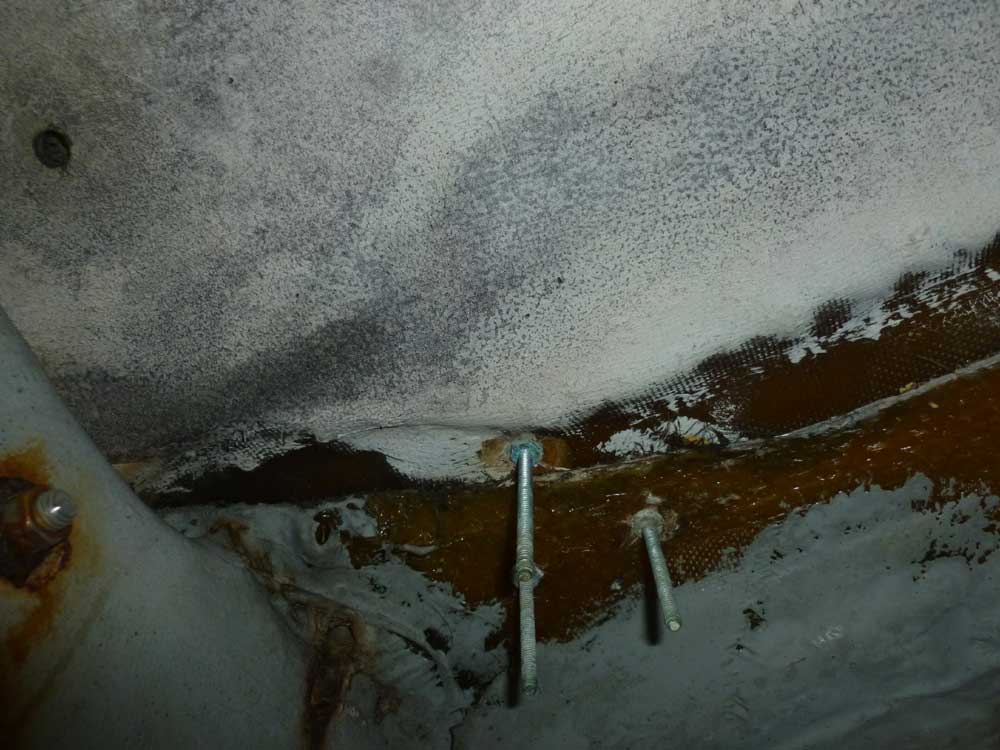
The aft lower chainplates (and forward lowers, though I'd not gotten there yet) passed through the deck and seemed to be metal plates glassed beneath a widened area of the inward hull flange. There were two bolts through the deck as well, and I removed these; I was not yet sure of how to proceed with these chainplates otherwise.
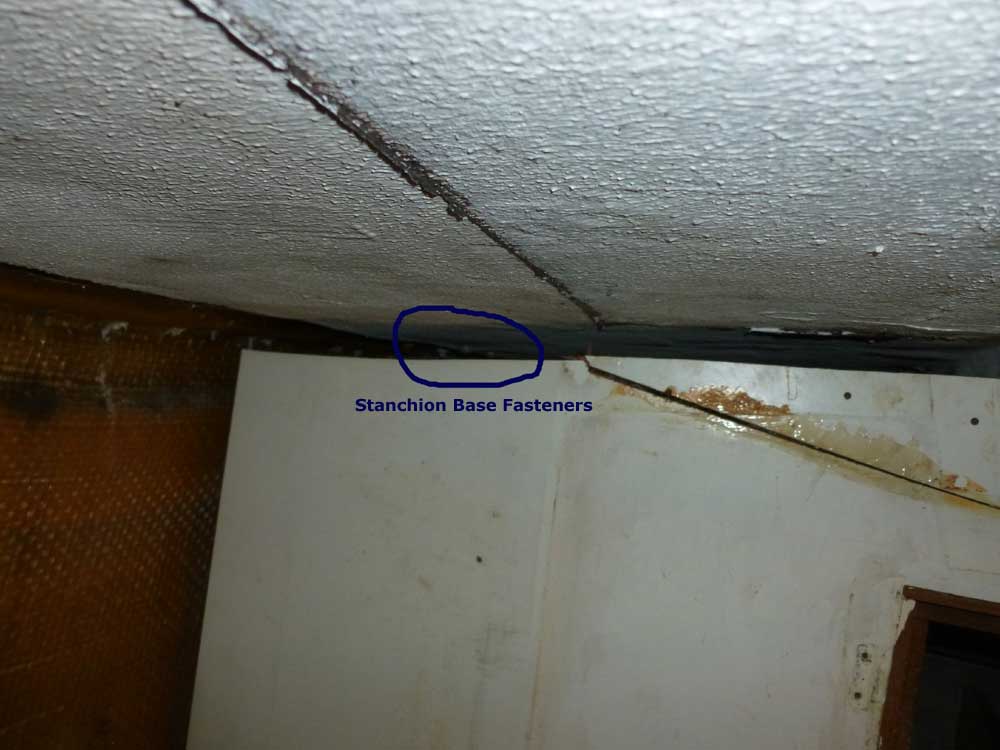
Removing additional hardware forward of this point would require that I pick up again with interior panels removal in the head and forward cabin. That would be for another day. Meanwhile, there was one stanchion base remaining outboard of the cockpit on the starboard side, but I puzzled over how to reach the fasteners. It was located about a foot aft of the bulkhead that defined the icebox in the galley; I could see the fasteners through the gap, but could not reach without improving the access.
At first, I thought I could crawl through the tunnel extending from the quarterberth beneath the cockpit and then beneath the icebox to starboard, but upon looking at the outboard space I realized there was less than I'd thought, and I'd not be able to get to the fasteners that way after all. I'd address this on a new day.
Total Time on This Job Today: 7.25 hours
