
110 Cookson Lane | Whitefield, ME 04353 | 207-232-7600 | tim@lackeysailing.com
I spent the morning finishing up the new electrical panel wiring, and wiring up the new kill switch for the Autotether.
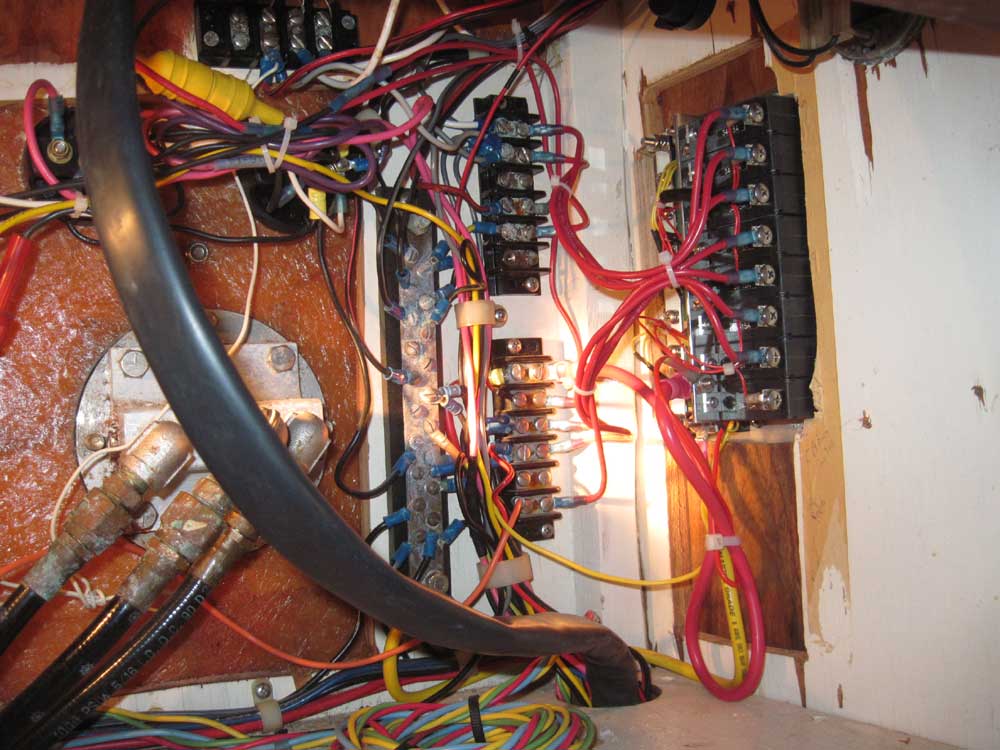
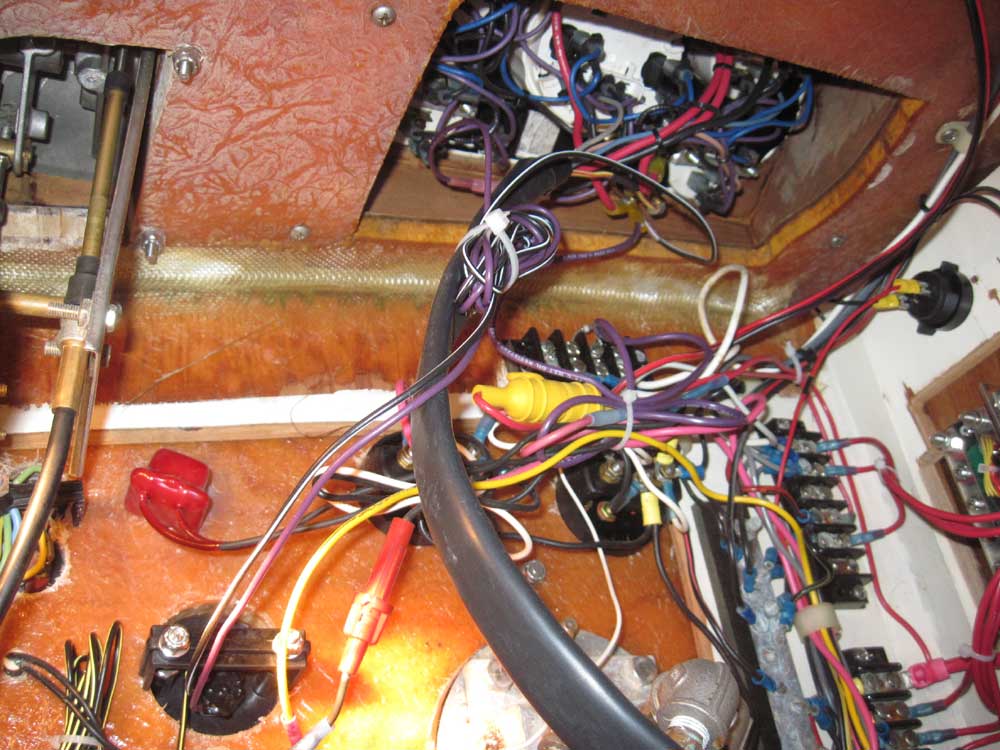
The panel wiring was straightforward: a series of wires running from the already-installed (and existing) terminal blocks to the appropriate circuit breakers in the new panel. I left the other original wiring intact, beyond that which needed to be replaced for the new panel's installation.
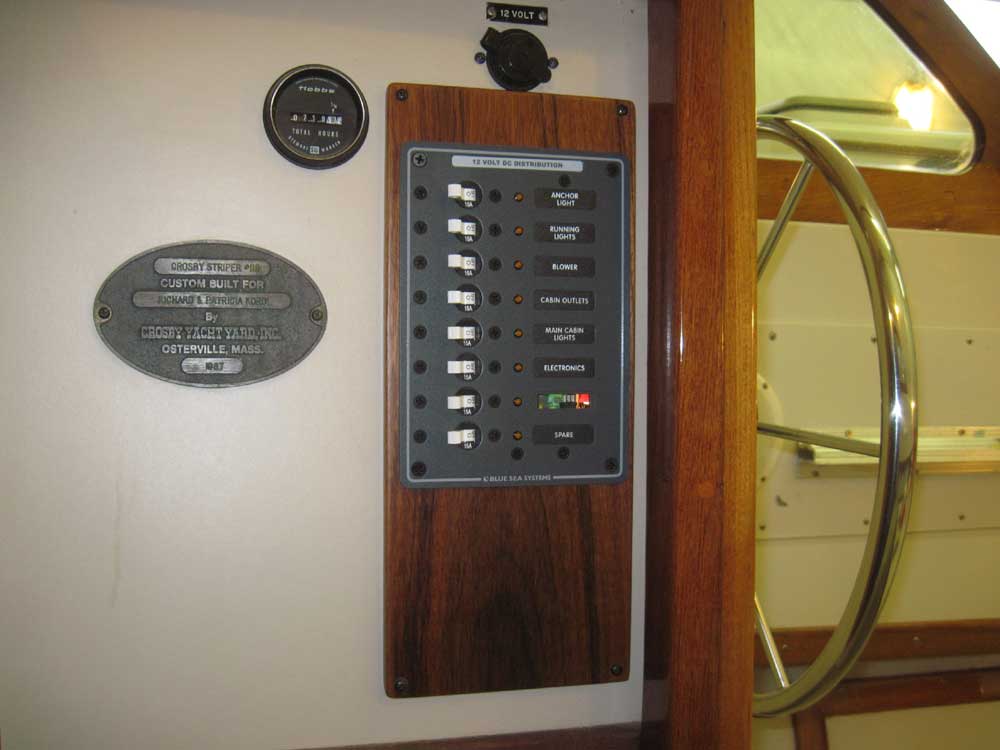
With the wiring complete, I added the appropriate labels to the panel. The empty space at the bottom is the breaker for the trim tabs, which label I had to order separately since I didn't have one on any of the label blanks I had in the shop.
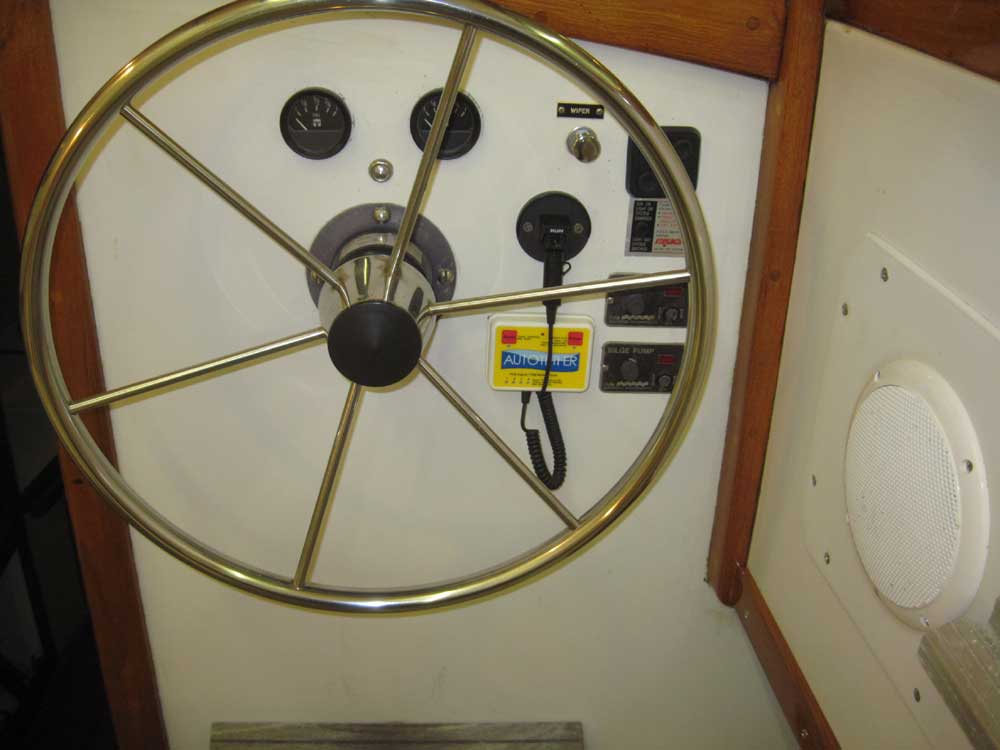
Following the rough schematic supplied with the Mercury-built universal kill switch, I attached the necessary two wires to the appropriate terminals on the back of the engine instrument panel, and secured the excess wire. Then, I installed the Autotether unit itself, just below the kill switch, with the supplied Velcro tabs.
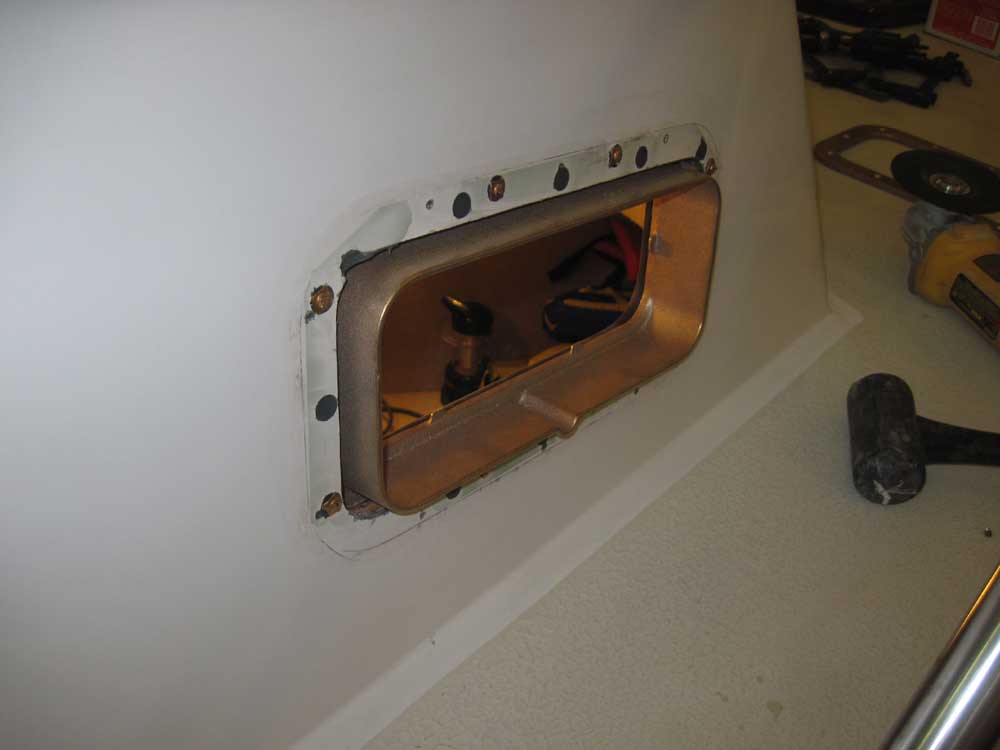
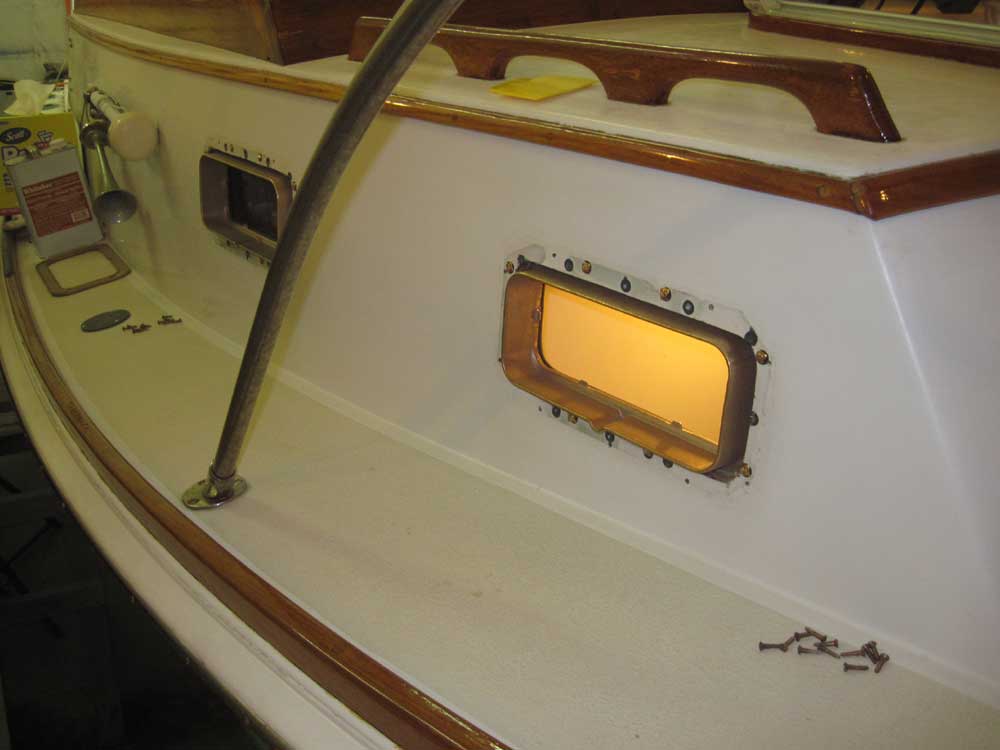
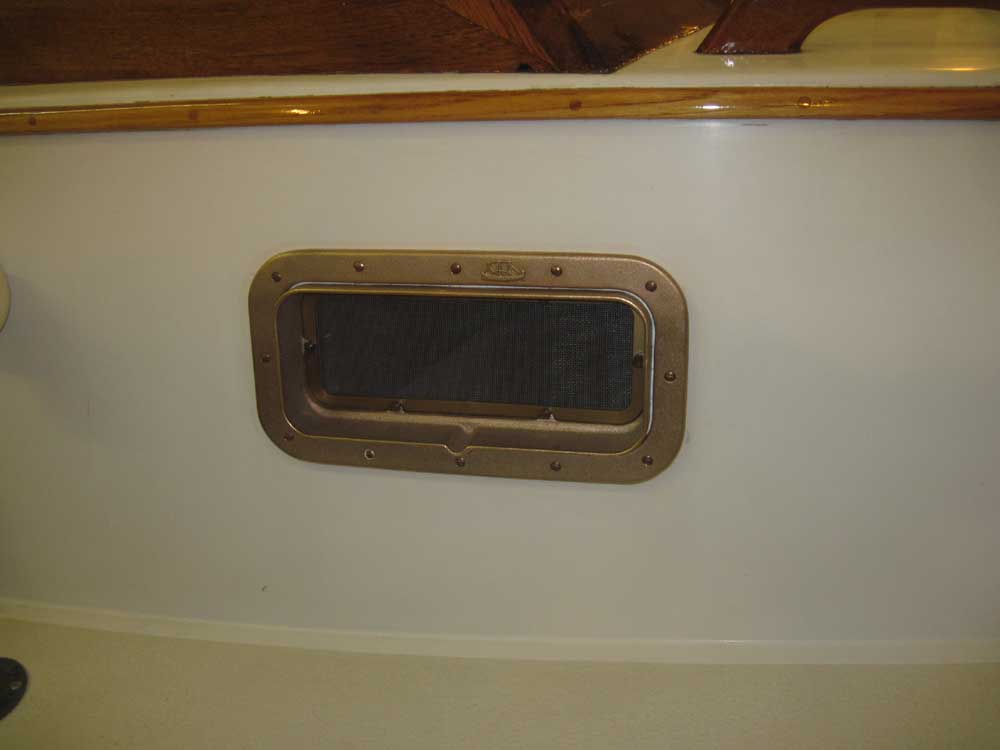
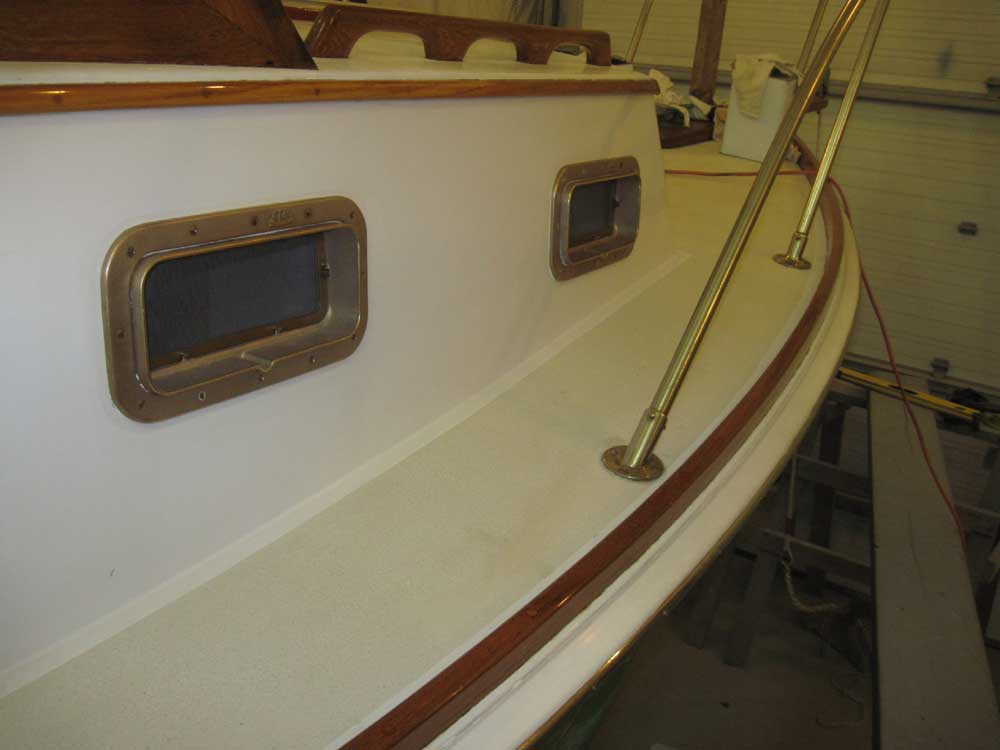
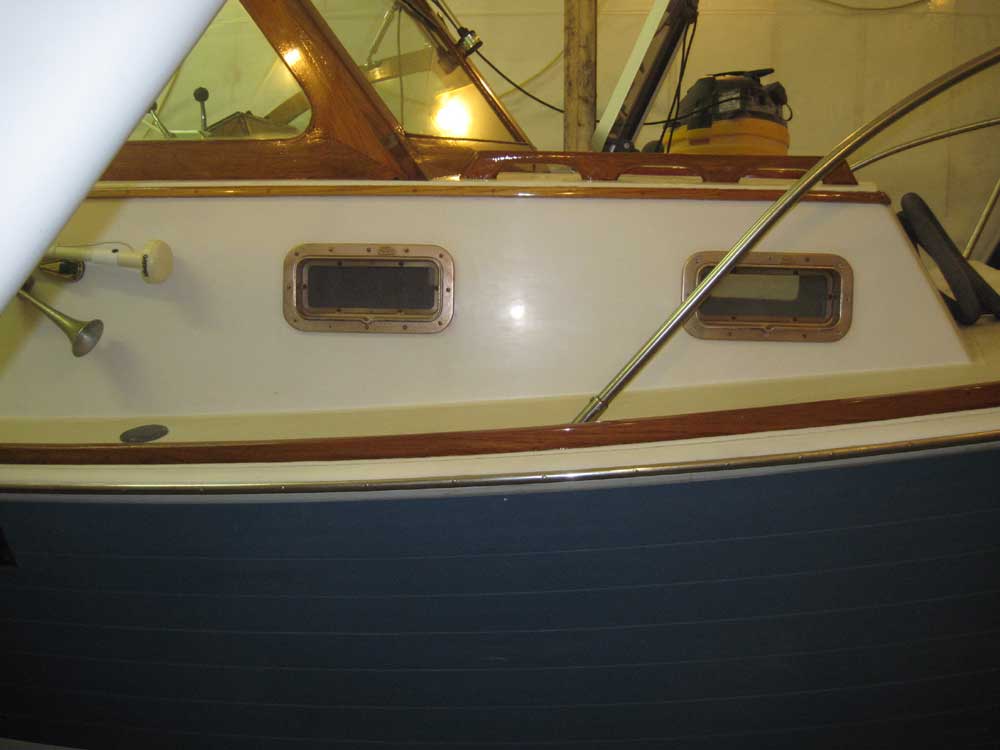
I moved onto the final installation of the new bronze ports, beginning on the starboard side. The fastener hole locations and inside of the port openings were already prepared for the installation, so it was a relatively straightforward task to insert the port body from inside the boat, aligning it with the masking tape I'd applied during the initial layout and drilling the new holes to accept the supplied #10 bronze fasteners.
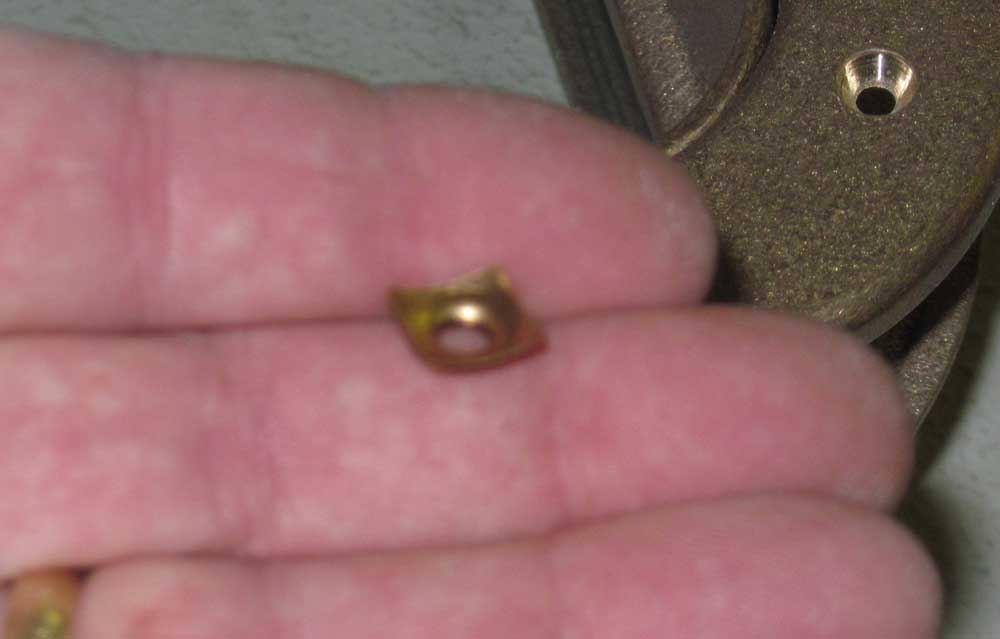
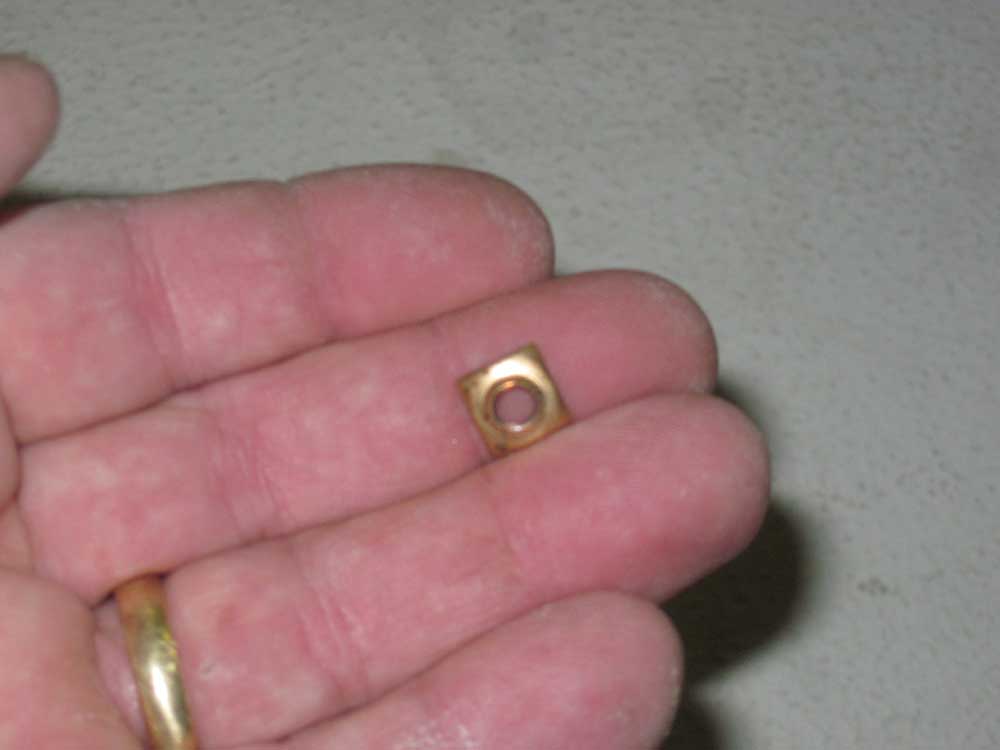
From outside, with all the fasteners pushed through their holes, I secured the supplied bronze clips to the ends of the bolts. I'd had my doubts about these little threaded clips when I first saw them, but they turned out to be easy to use and effective.
To install, I threaded the clip onto the protruding end of the fastener till it was tight to the fiberglass. The back side of the clips featured sharp corners on the concave surface, which corners dug slightly into the fiberglass as I tightened the fastener from the inside, preventing the clip from turning. This allowed me to tightly secure the ports with ease.
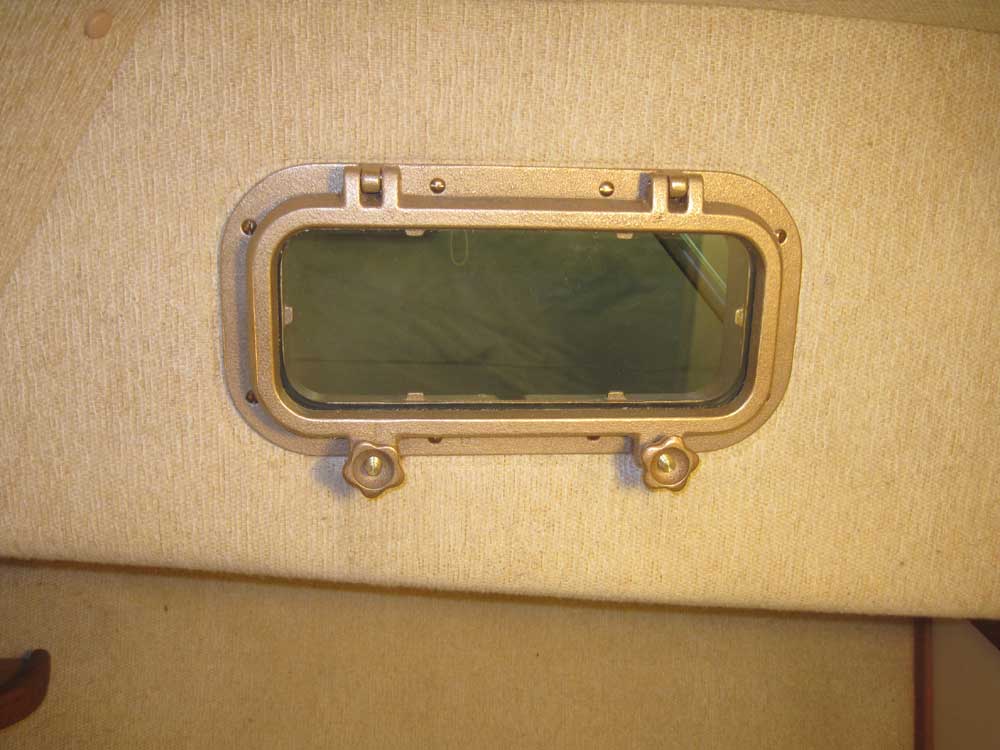
Afterwards, I cut off the excess bolt length flush with the ends of the clips. The design of the trim rings, with their recessed backs, was intended to hide and cover these slip clips. I liked that the port bodies and trim rings didn't have to be installed at the same time and didn't rely upon each other for their means of attachment.
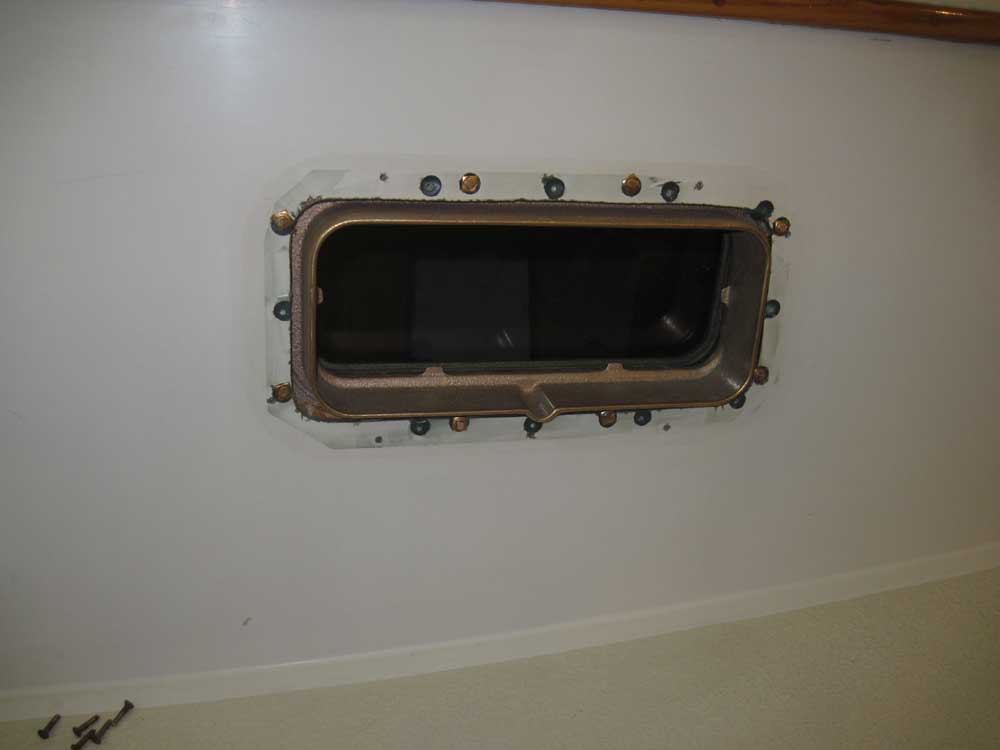
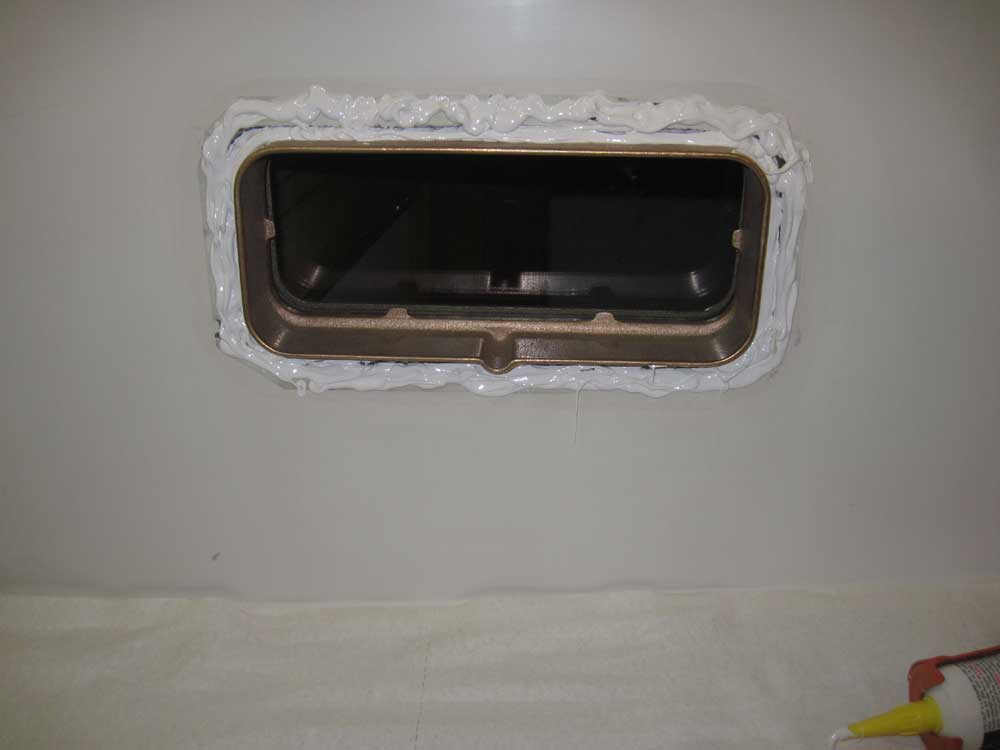
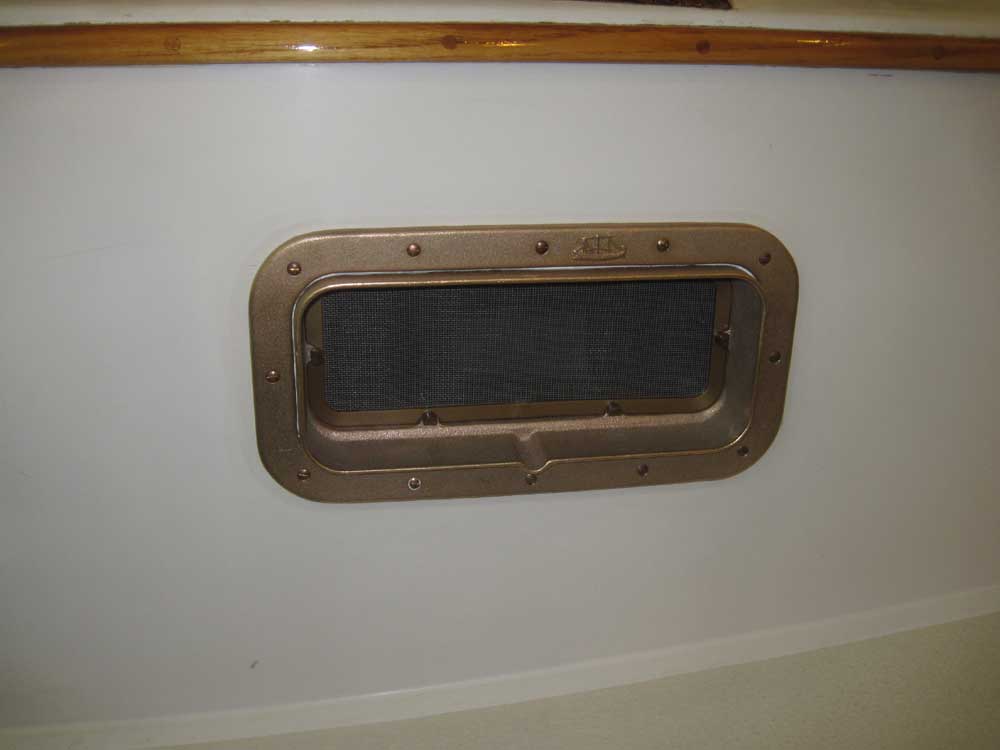
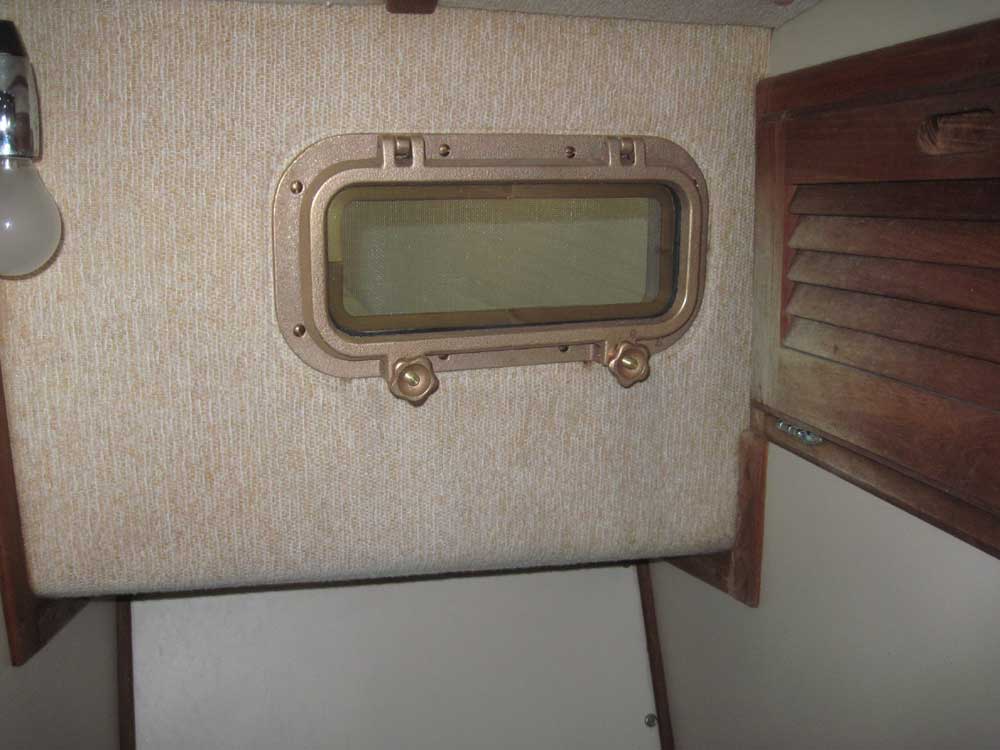
Now that the port bodies were secured, I placed the trim rings and drilled the holes for their fasteners--oval head tapping screws. After cleaning up the drilling residue and solvent-washing the surrounding areas to remove pencil marks and otherwise clean the surface, I filled the remaining gap between the port body and the cutout in the cabin trunk with sealant, added more sealant over the top of the fastener clips and all over the bonding surface for the trim rings, and secured the trim rings with the supplied screws.
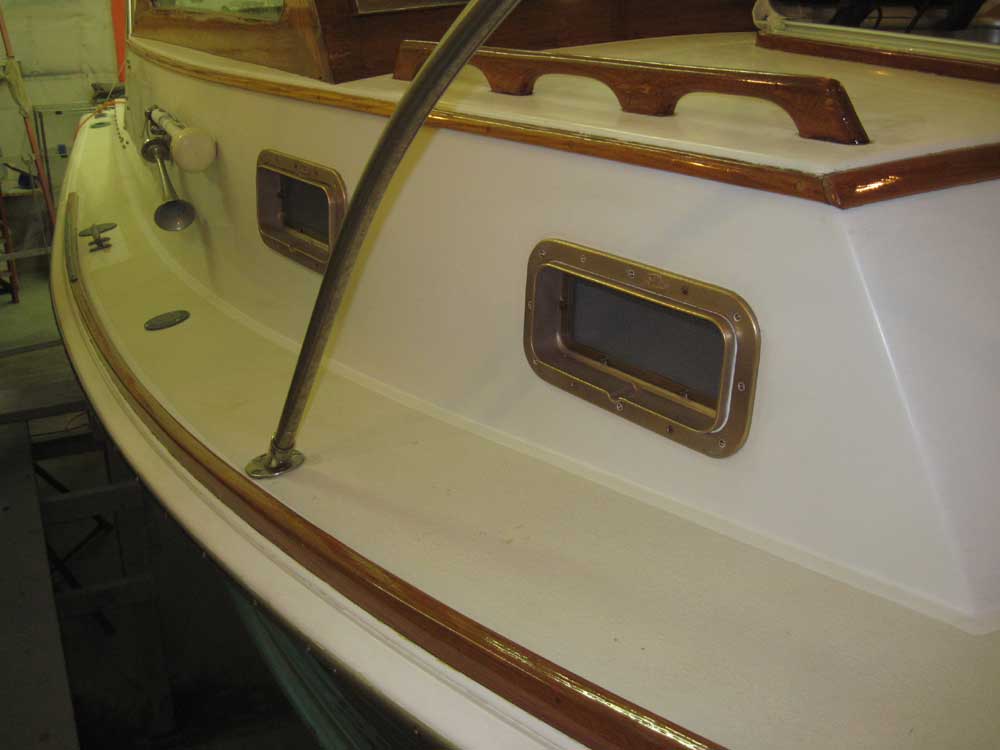
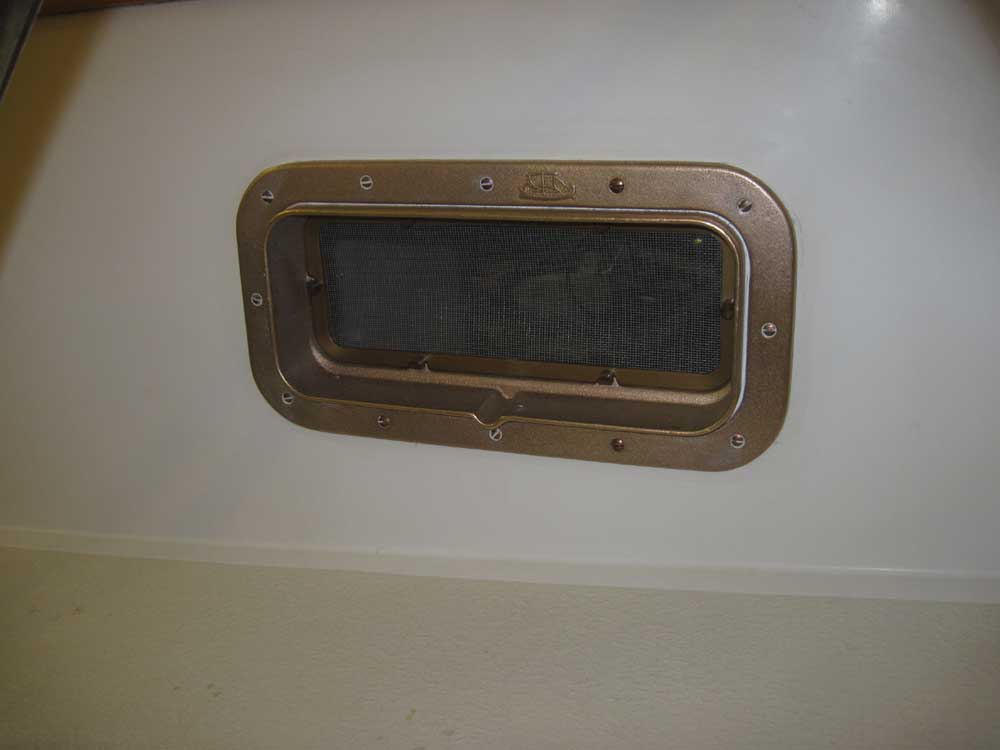
After cleaning up the sealant, I installed the port screens, completing the starboard side. Tomorrow, I'd install the port ports.
Total Time on This Job Today: 6 hours
