
110 Cookson Lane | Whitefield, ME 04353 | 207-232-7600 | tim@lackeysailing.com
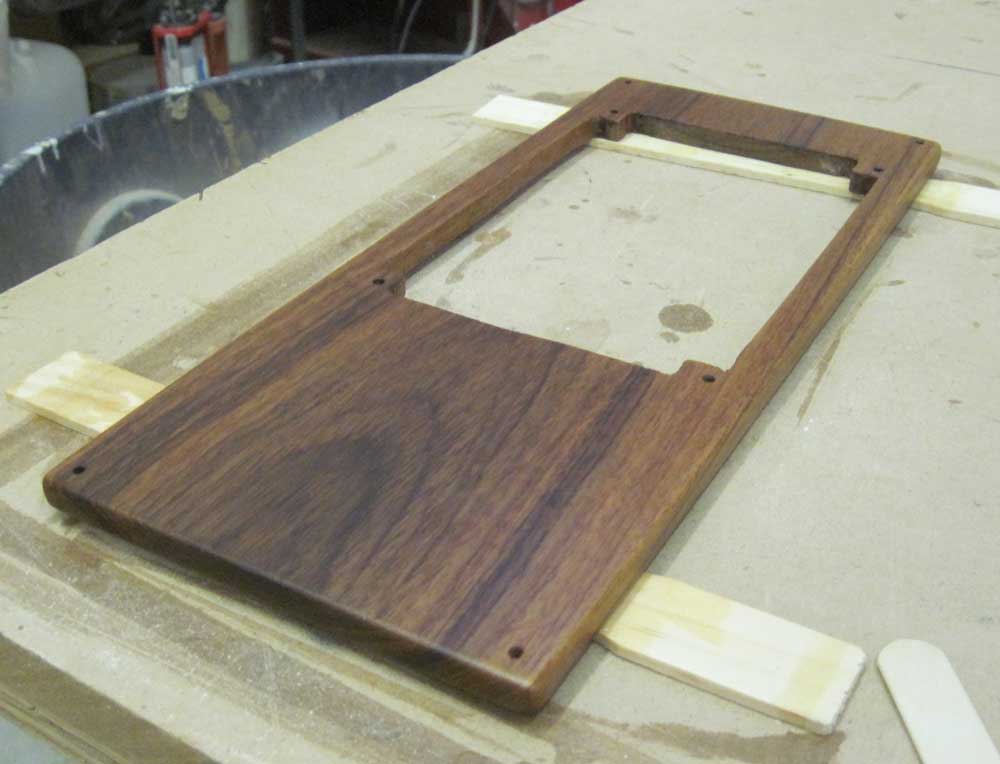
Though I'd spent most of Thursday wrapping up work on another project at the shop, I had time late in the day to sand and revarnish the electrical panel backing board, and also to run out to the graphics shop to pick up the new vinyl for the transom.
First thing Friday morning, I installed the new vinyl. The owner selected gold leaf vinyl with a white outline for both name and hailport. Installation was quite straightforward, as I was able to use the faint outline of the old name to align the new, and the flat, straight transom meant there was minimal layout work required.
![]()
Afterwards, I spent a couple hours reinstalling the various hardware and removable wood trim from the cockpit and helm/windshield areas.
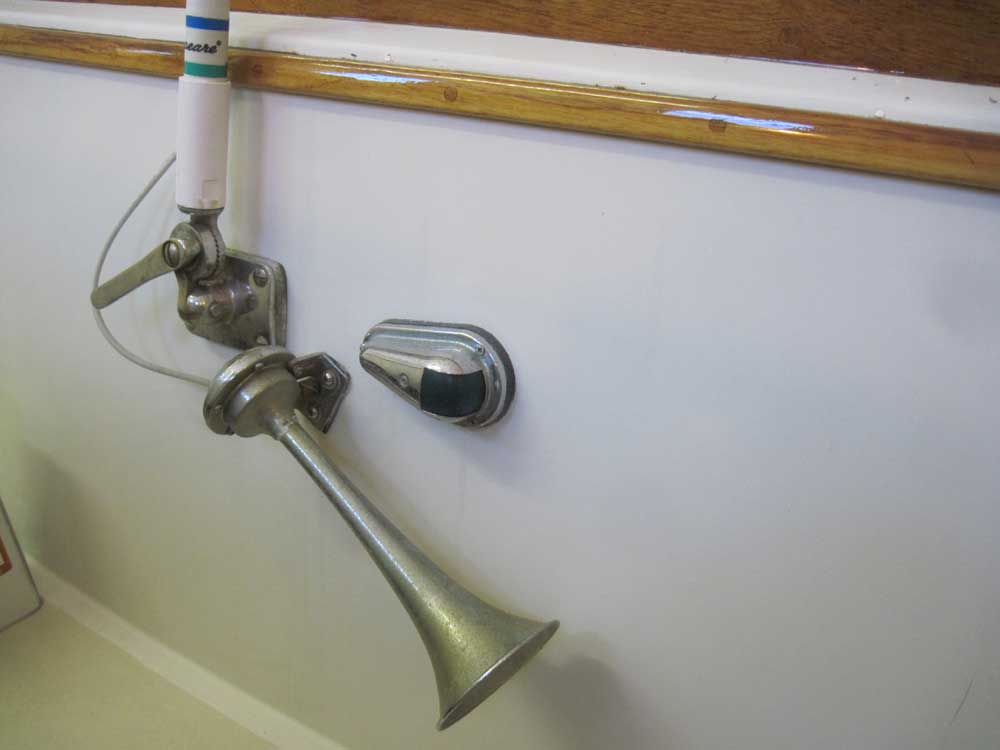
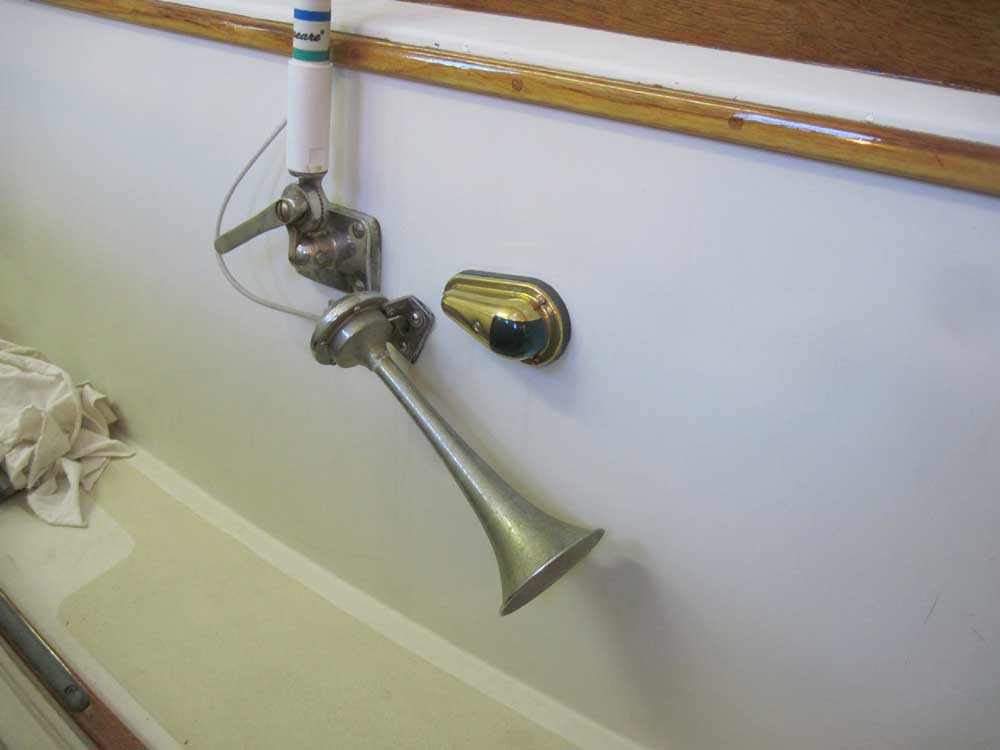
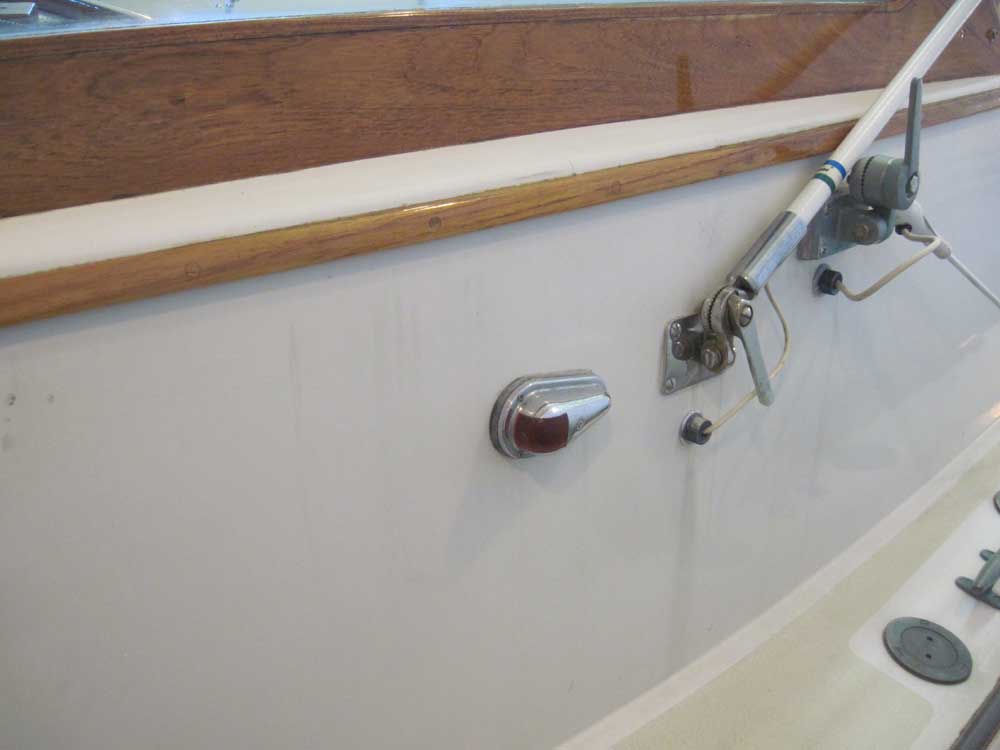
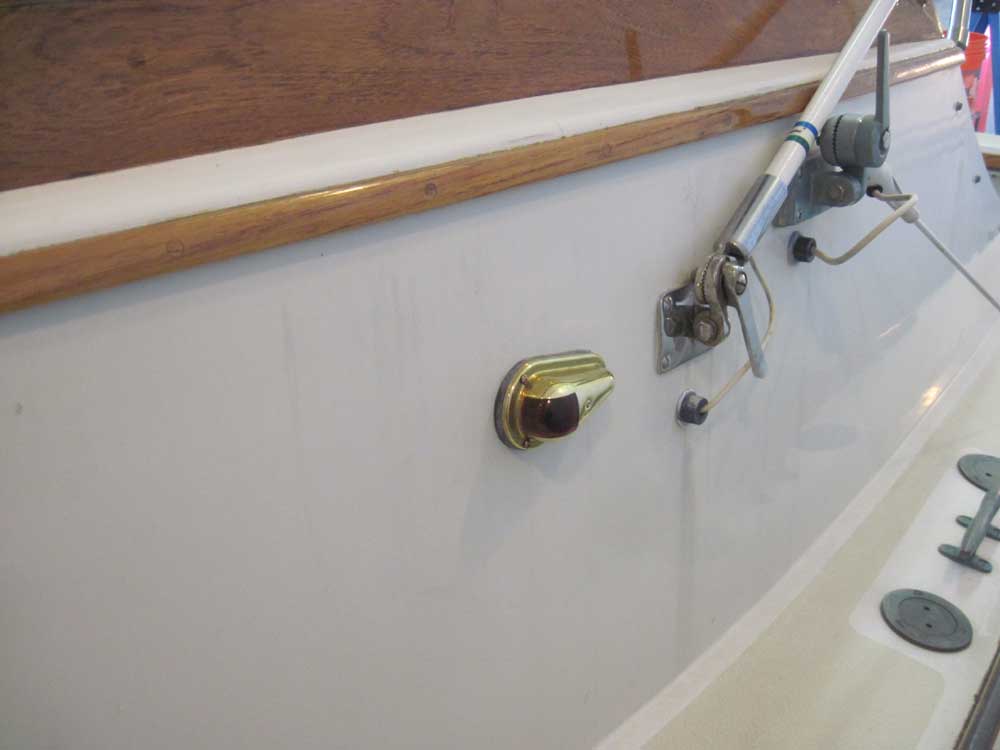
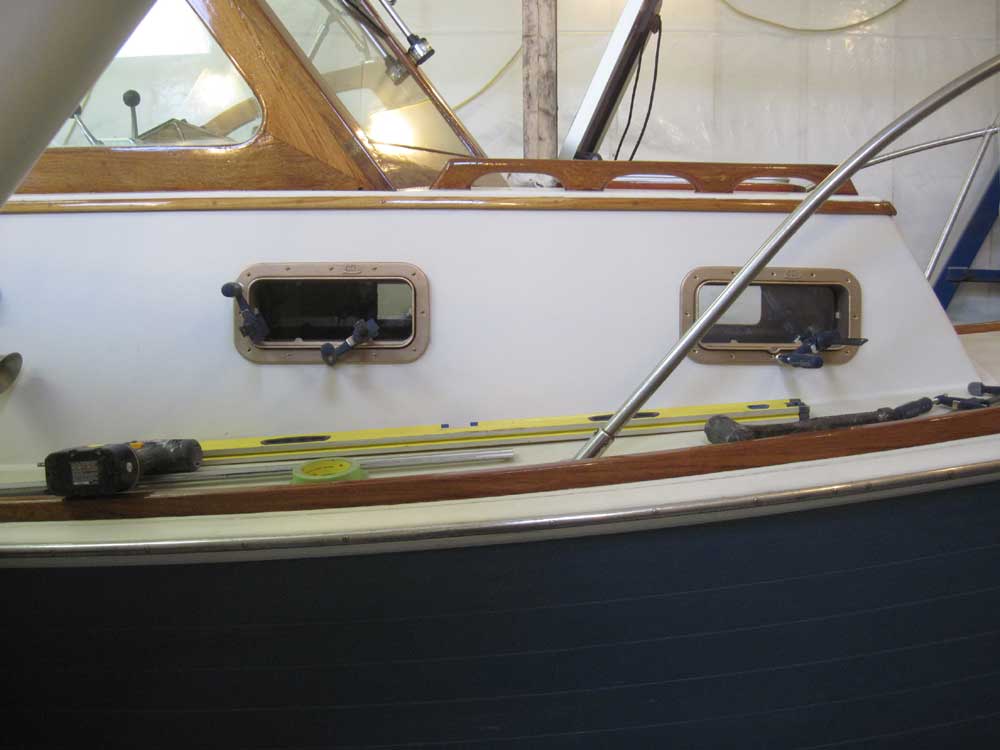
In an effort to upgrade various cosmetic concerns with the boat, the owner purchased some readily-available brass housings for the stock Perko teardrop sidelights mounted on the sides of the cabin trunk. I replaced the originals, which were chrome-plated and somewhat pitted after 20-plus years of service, with the new housings.
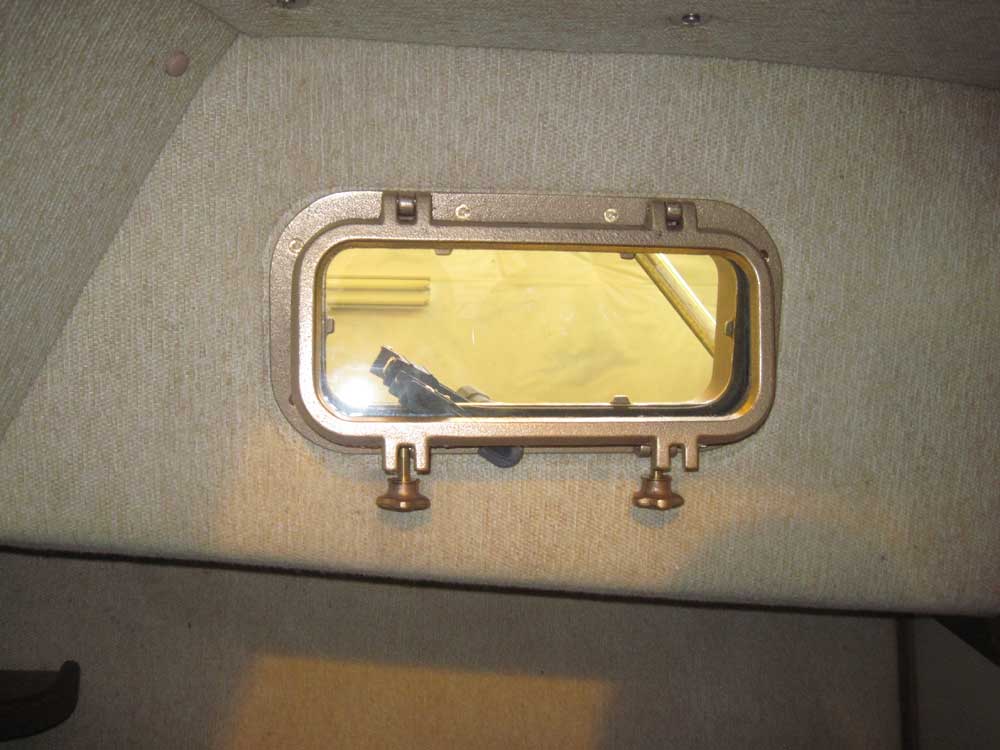
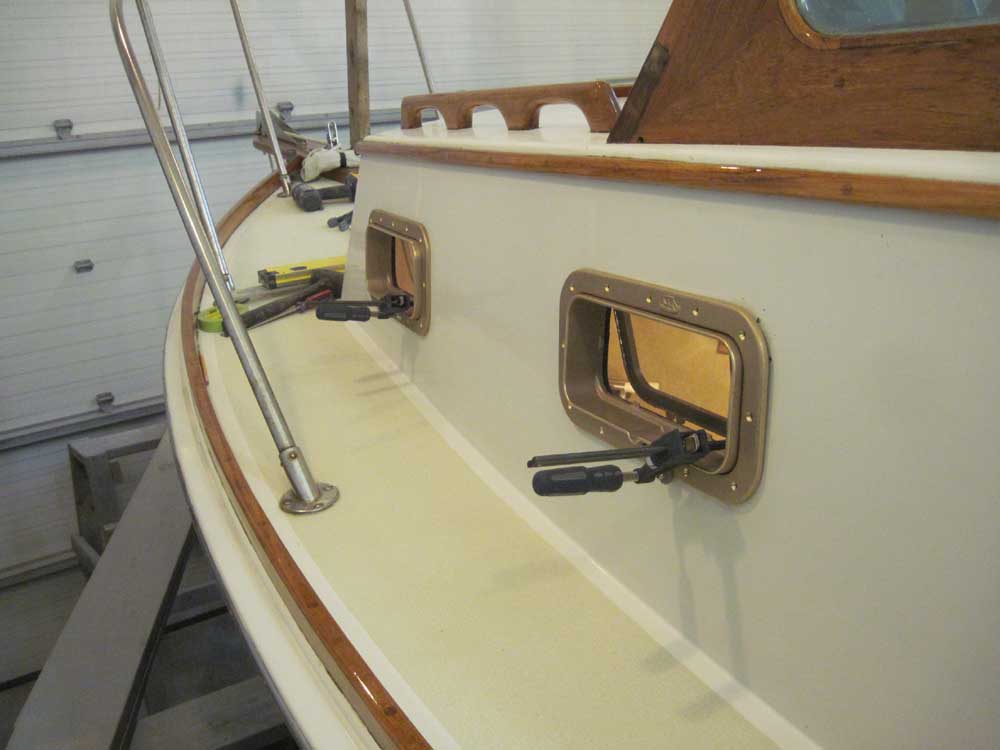
I spent the remainder of the day working on the new ports' layout and installation. The existing openings were somewhat larger than the opening required for the new, slightly smaller, ports, which meant that fitting and aligning the new ports wasn't quite as simple as placing them in the openings and bolting them down. Each port could move forward and aft, and up and down, within the old cutout, so properly aligning each unit required some eyeball work, not only to ensure that the ports were straight and properly positioned to the eye, but also that the port was more or less centered in the available opening so that the mounting bolts and screws would pass through the fiberglass.
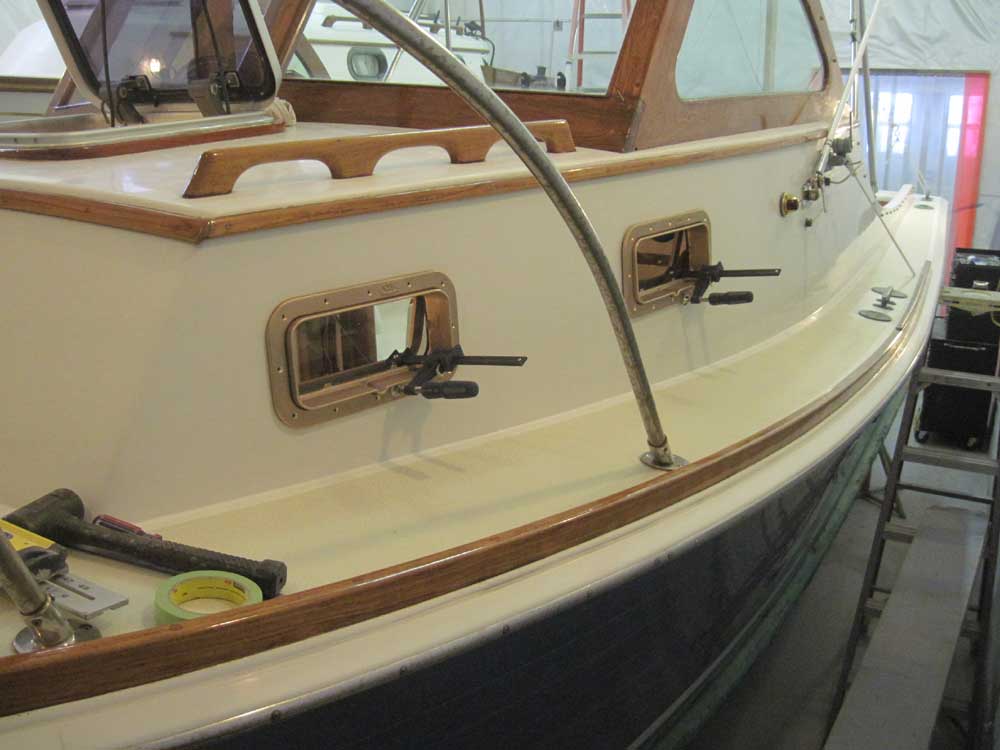
I began with the starboard pair, since I had a better view available to help me get the alignment right. I temporarily clamped the ports and trim rings in place, adjusting things hither and thither till I'd satisfied the various installation requirements.
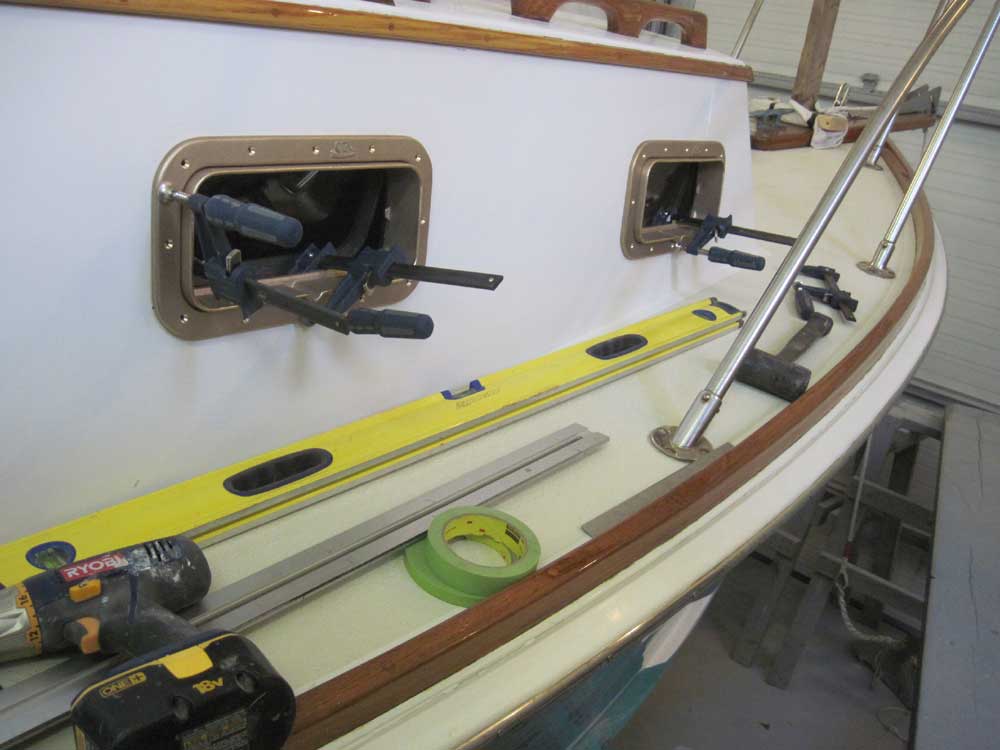
The original ports' factory installation wasn't quite as careful and precise as one might have hoped, leading to some minor quirks in the alignment; nevertheless, there was little I could do to correct the minor positioning issues, given the need to stay within the existing openings. Fortunately, the issues were minor and would not be noticeable to the normal passer-by.
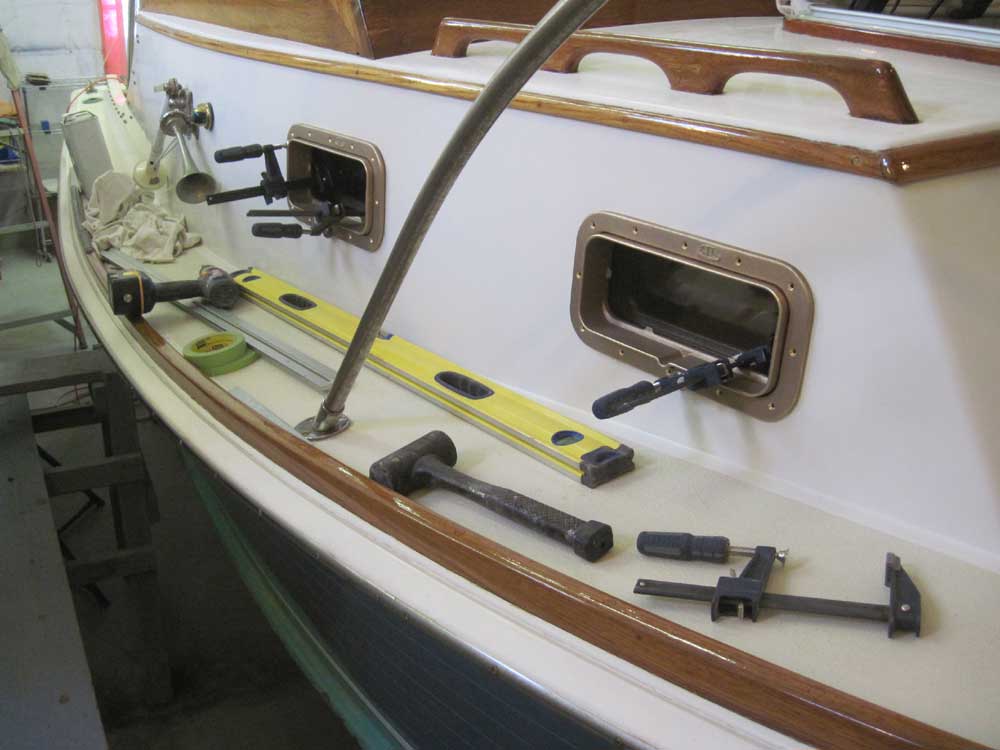
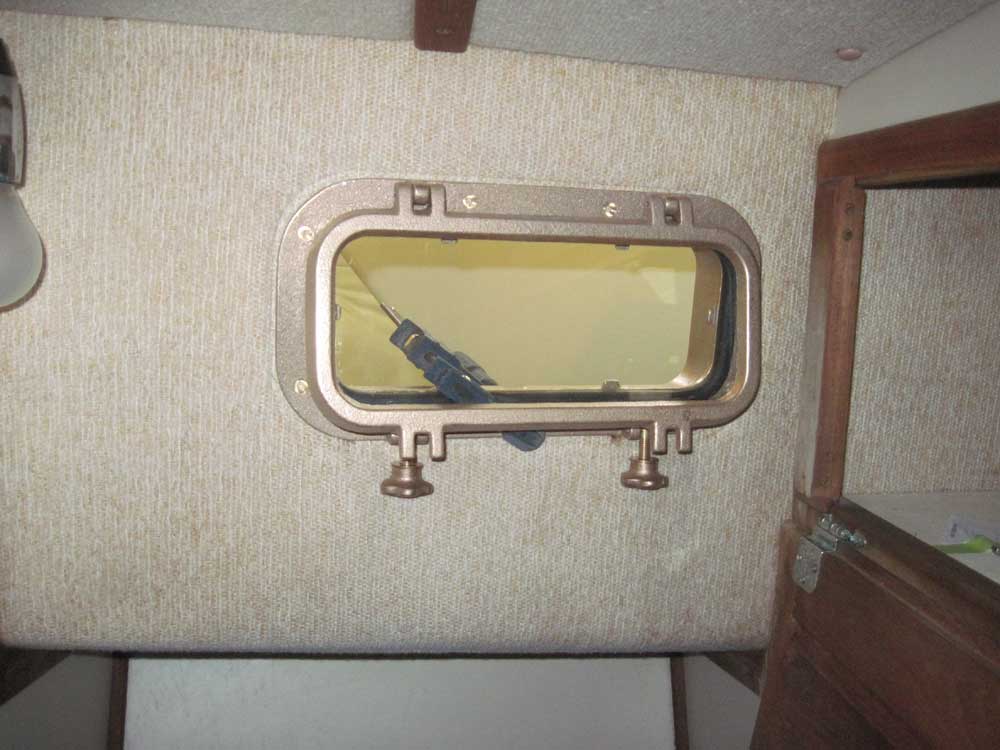
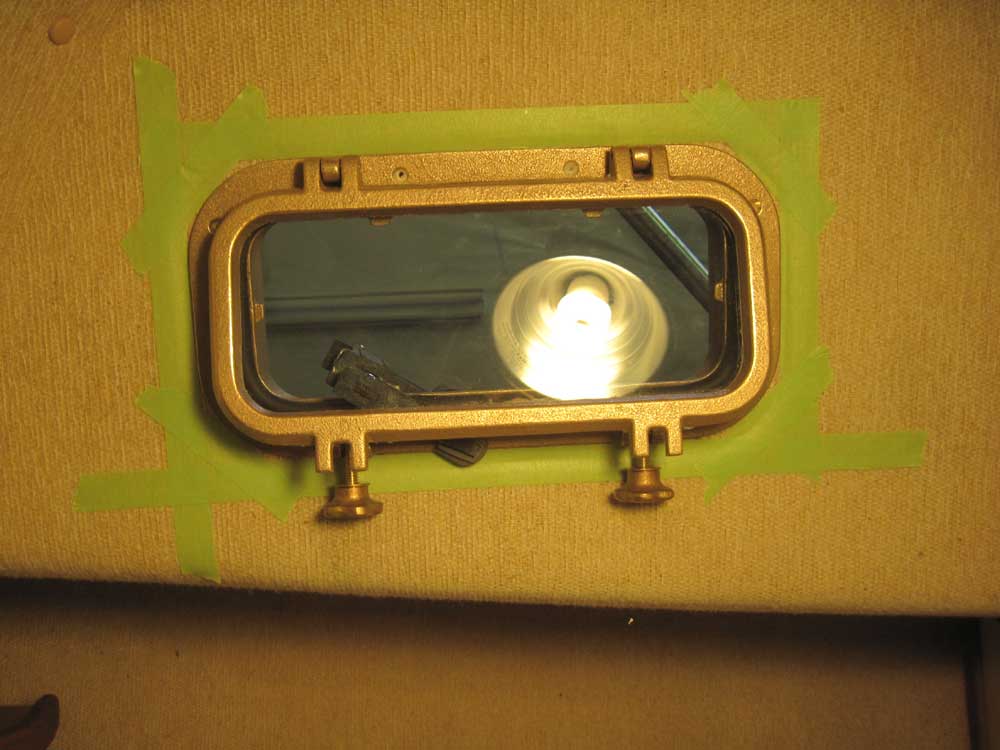
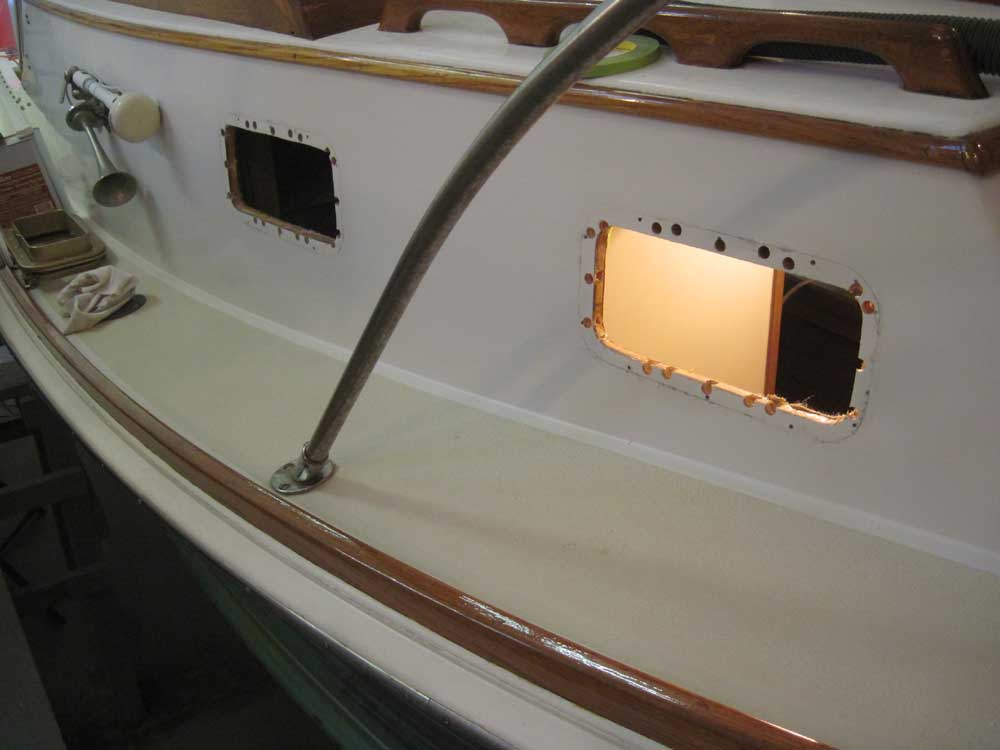
After several trips back and forth from the cabin to the deck, double-and triple-checking the alignment and screw hole positioning on both the inside and outside, I determined that the ports' positions were where they should be. Outside the boat, I traced around the trim ring with a pencil to ease repositioning later. Inside, I demarked the edges of the port frame with masking tape to achieve the same future ease of realignment. Then, I used a self-centering pilot bit to drill pilot holes at each bolt location.
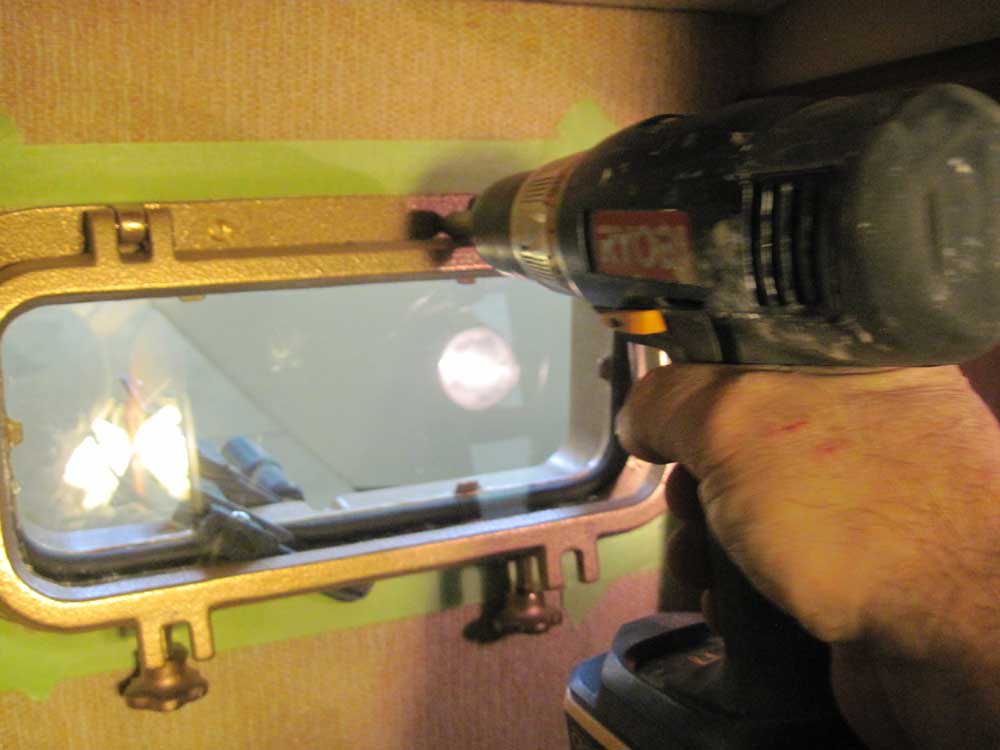
Outside, I used the same bit to drill pilot holes at each screw location on the trim ring. These ports would be installed with through bolts from the inside, which bolts would be secured outside the boat with small clips designed to fit within the back of the trim ring. The exterior trim ring provides no structural purpose other than to seal and cover the opening around the port, and would be secured with screws from outside.
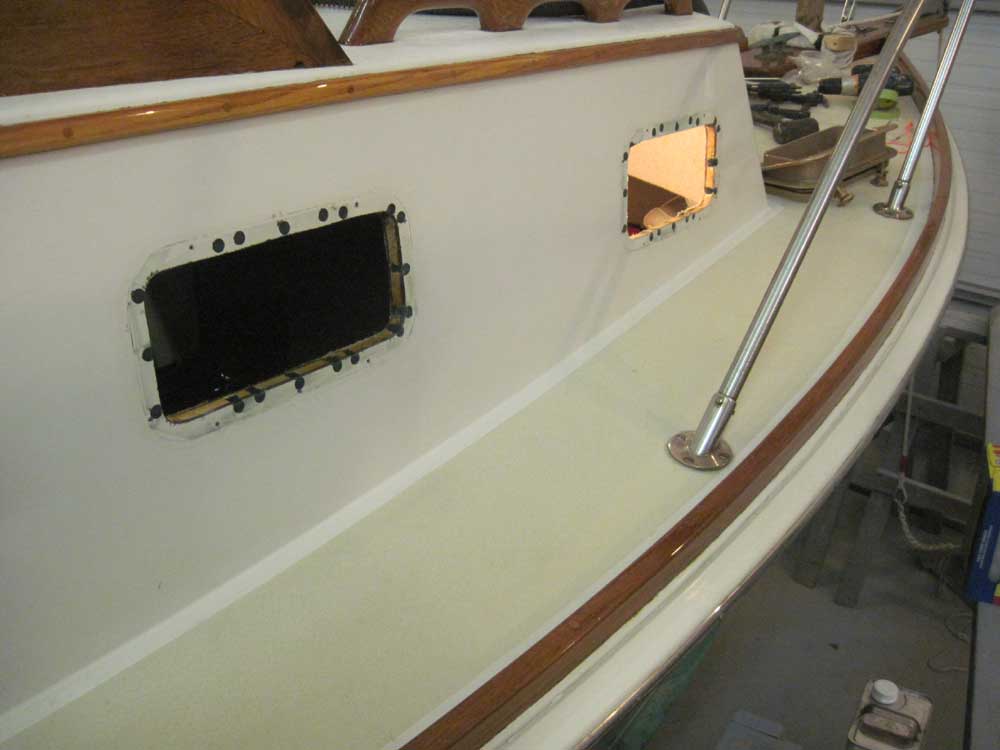
I repeated the alignment, layout, and marking process on the port side. The original openings here were better aligned than their counterparts to starboard.

With the pilot holes marked, I removed the ports, and used a normal drill bit to extend all the holes from inside the boat through to the outside; then, at each location--both for the port bodies' through bolts and the trim rings' screws--I drilled 1/2" holes through the fiberglass and core to the inner skin of the cabin trunk, removing the core so I could fill the voids with epoxy and eliminate chances of water ingress through the fastener holes.
This process brought me to the end of the day; I'd continue the port installation next week.
Before leaving, however, I sanded the electrical panel backer and applied a coat of satin varnish, which meant that this job was complete and I'd be able to proceed with the electrical work next week.
Total Time on This Job Today: 6.75 hours
