
| Skeedeen
| Monday, April 5, 2010 The first task on my list was replacing the sanitation hoses in the boat. The existing hoses were probably original, other than a short section of newer hose that had been spliced in place with a quick connector inside the hanging locker. I began by removing the old hoses. The original system featured a system of hoses that allowed material to be pumped in nearly any direction, resulting in a lot of excess hose and complexity. After a discussion with the owner, and based on his usage of the boat, we decided to forego some of the complexity and replumb the system as simply as possible, at least for now. |

 |
|
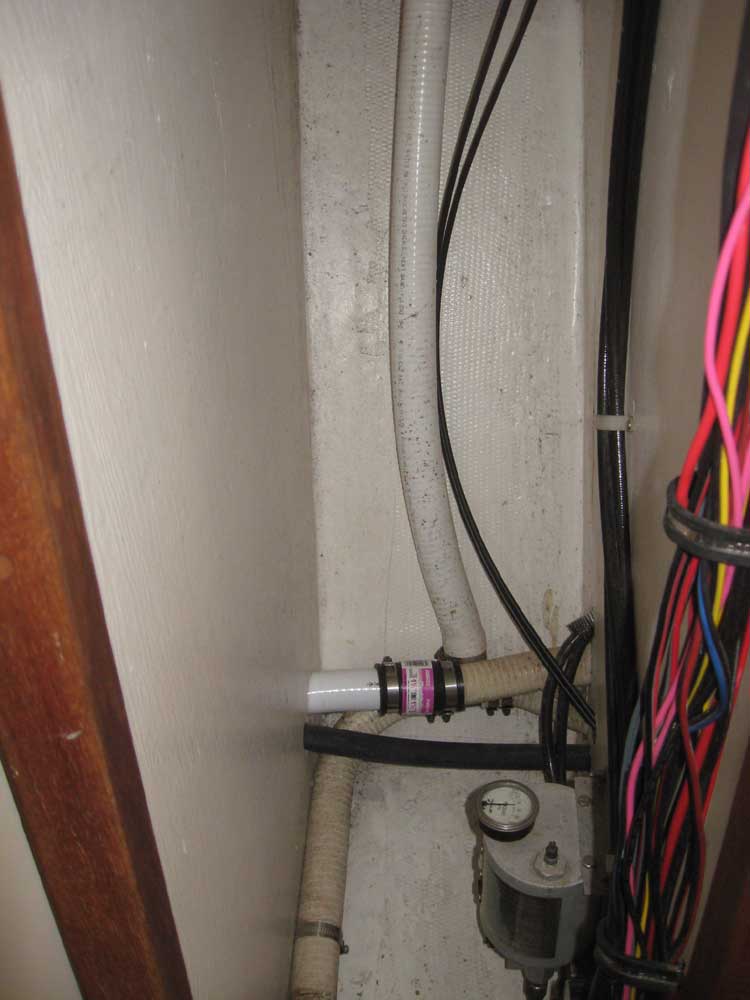
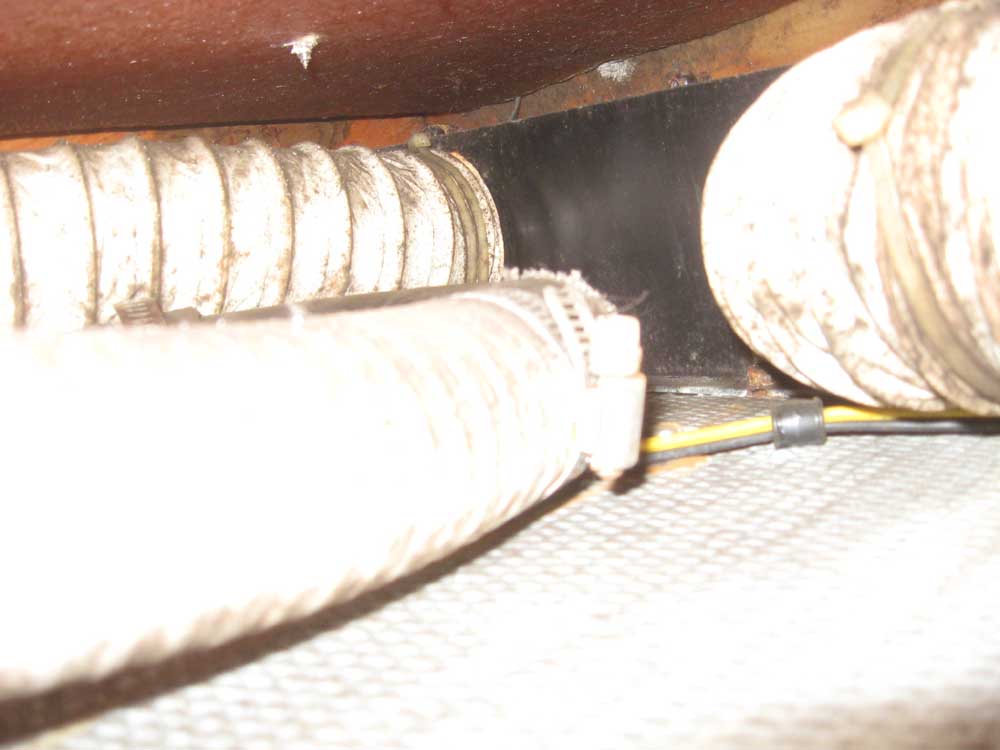
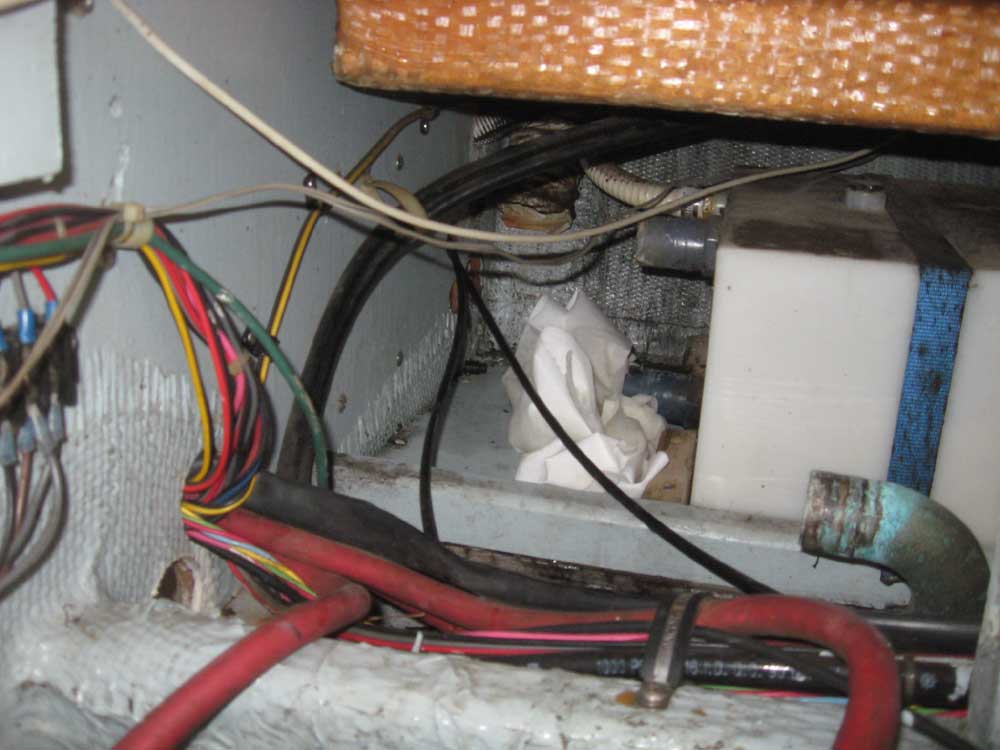
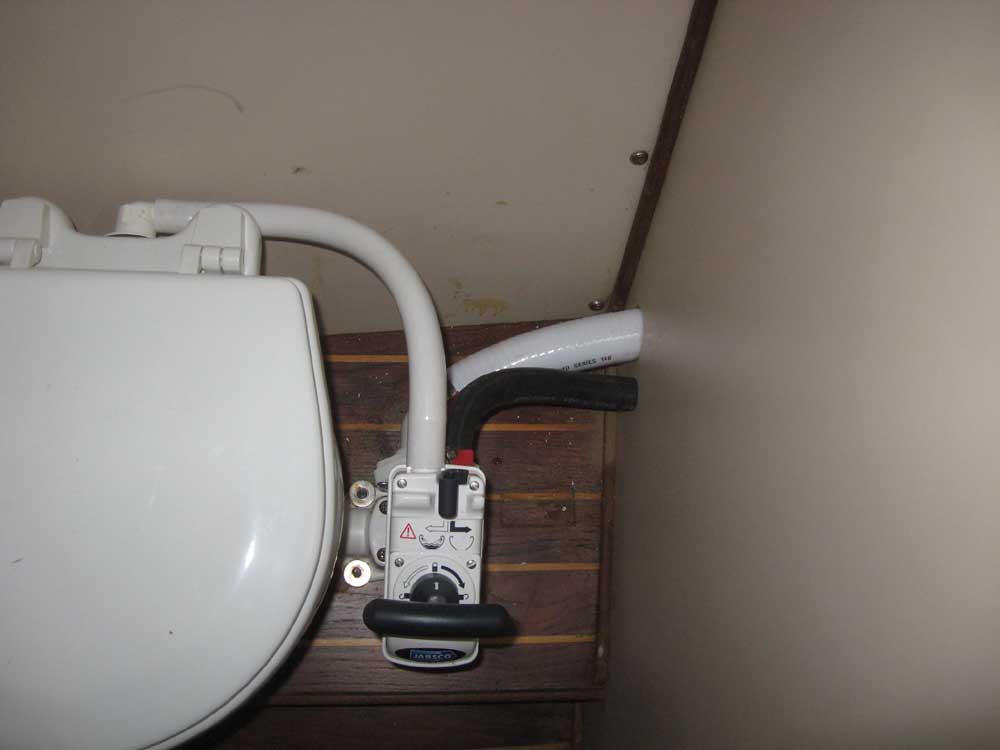
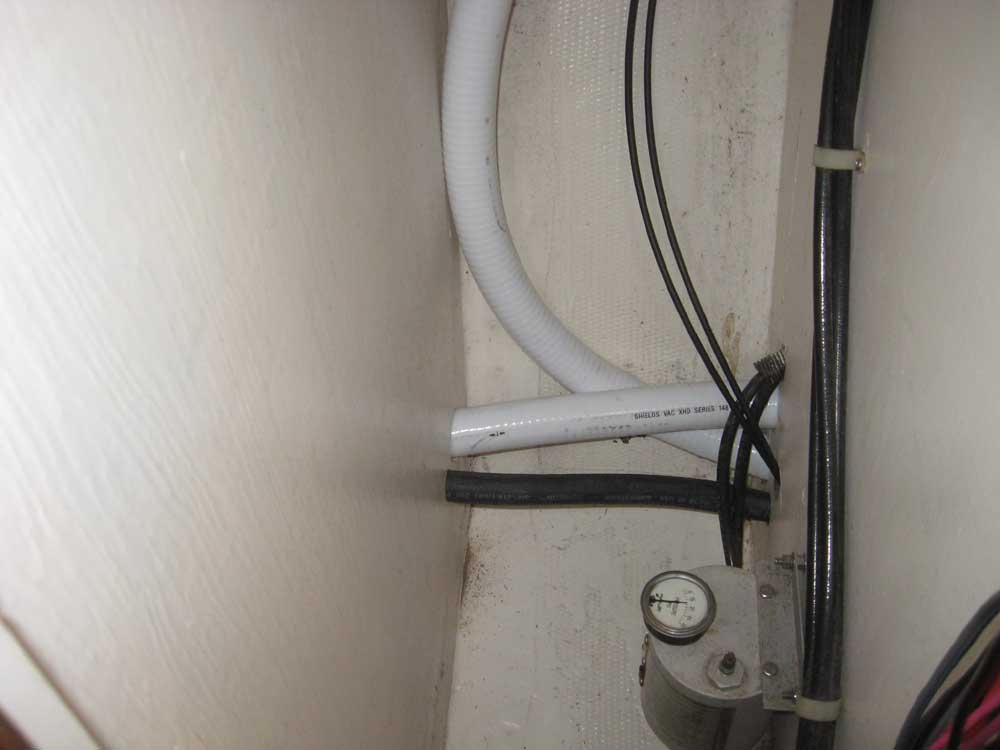
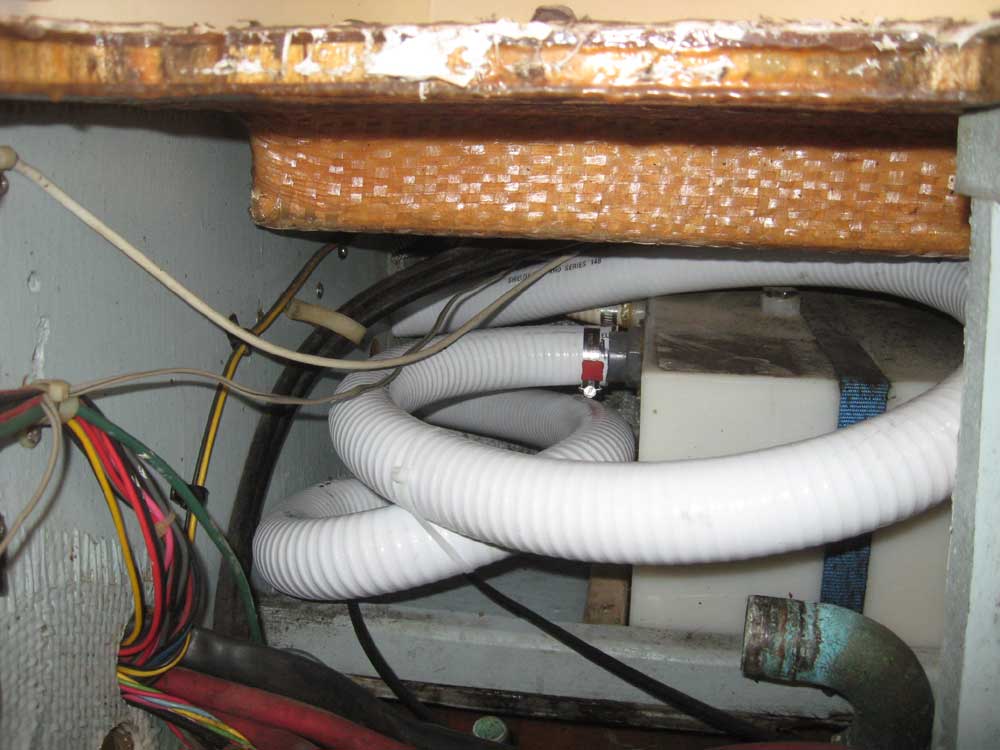
Access was poor, with the tank located beneath the deck next to the engine, all of the components having been installed before the deck was in place during the boat's original construction. Perhaps the most difficult was the location of a vented loop, which at first I didn't even know existed in this installation, but which became clear as I began removing hoses, only to find that some of the hoses I'd cut weren't loose after all, and that they led to this well-hidden vented loop fitting. The loop fitting, with two hoses attached, was located behind the cockpit liner to starboard, and touchable through a nearby access panel--but not removable, at least not without removing every other hose and component in the space. In these photos, the loop is invisible past the white plastic blower unit. Since we didn't plan to replumb in the same way, this loop was obsolete at this point, so, rather than waste a lot of time removing the fitting--which might have proved nearly impossible anyway--I simply cut the hoses with my hand buried in the locker through the access panel, and abandoned the bronze fitting--which was screwed to the inside of the hull--in place. This allowed me to remove the last of the old hoses. |

  |
|
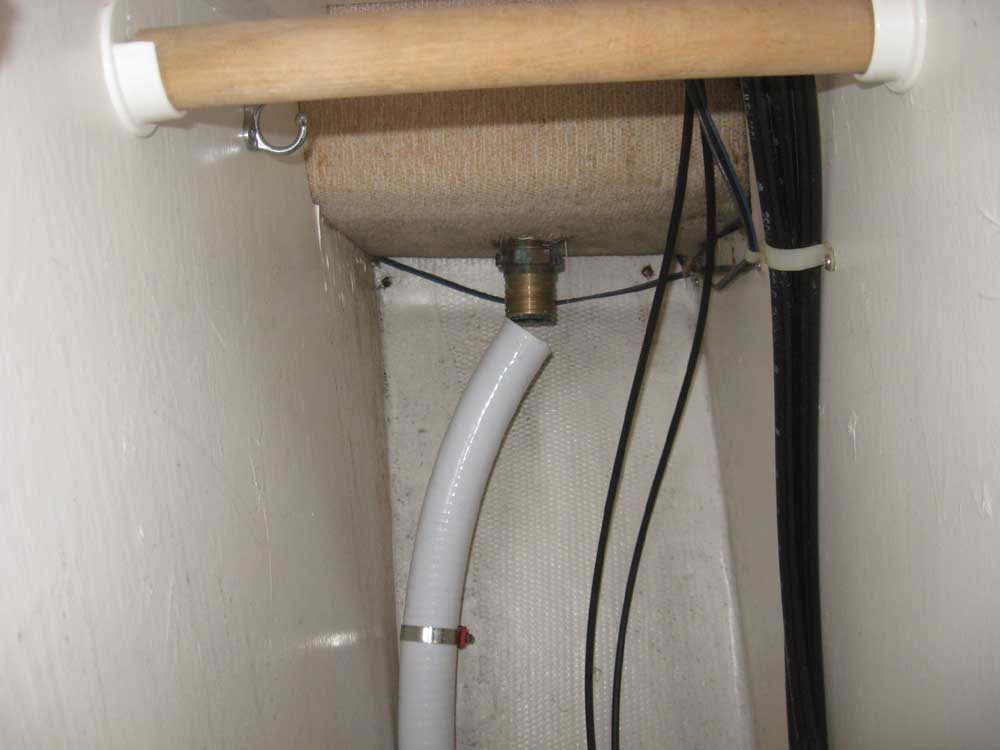
The deck plate fitting, visible through the hanging locker, turned out to be just beyond my reach. The hose clamp on the old hose was turned in such a way that I couldn't see the screw, so I took some blind photos to determine which direction it pointed so I could grope blindly with a 7mm socket and ratchet to try and remove the clamp. This proved to be impossible, but I could cut the hose and clamp easily with a reciprocating saw. Unfortunately, getting the new hose on this fitting was not possible at this time, since I could not reach that far into the locker given the confines of the locker opening: the opening was too narrow to allow my shoulders to pass through far enough to allow my arms to reach the fitting. Coupled with a heavily-barbed fitting and the difficult sanitation hose, I had to leave this hose unattached for the moment while I tried to figure out some way to get it on. |
 |
|
The decision as to whether to replace the head's intake hose, which seemed to be in fair condition, was made easy when I accidentally sliced through it with a knife while working on a nearby discharge hose. So I replaced the intake hose as well. In the space provided, I couldn't make the new hoses lead at an awkward, unreachable angle from the bulkhead cutouts to the appropriate hose nipples on the nearby tank, so I had to loop the hoses around to make them fit; there's not nearly as much excess hose as the final photo makes it appear, however. |
 |
|
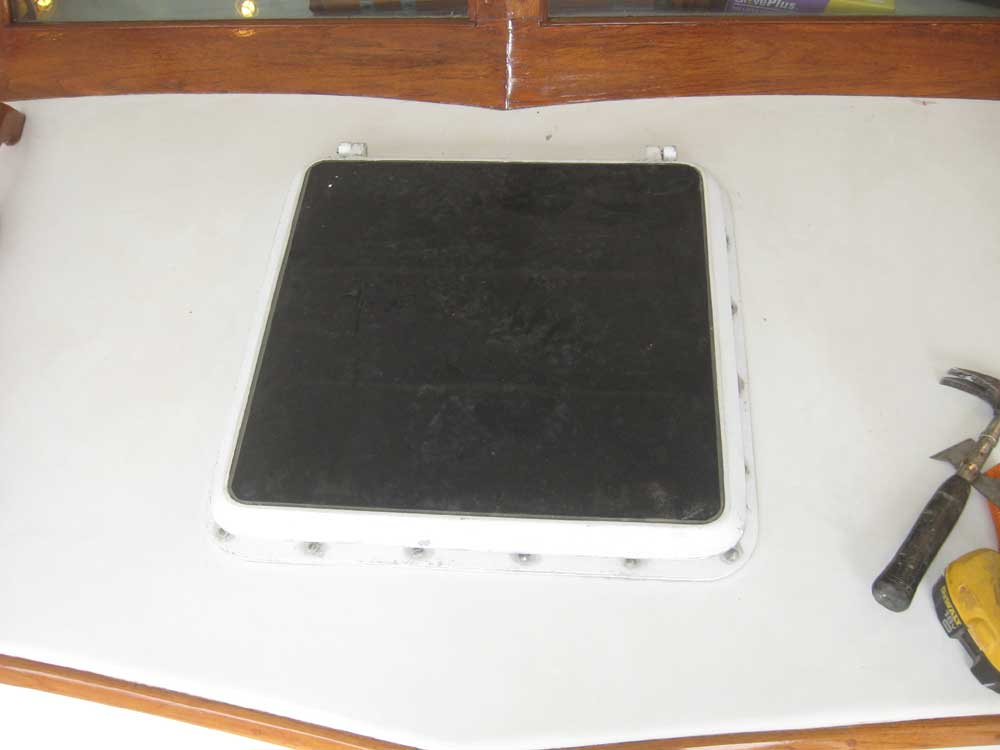
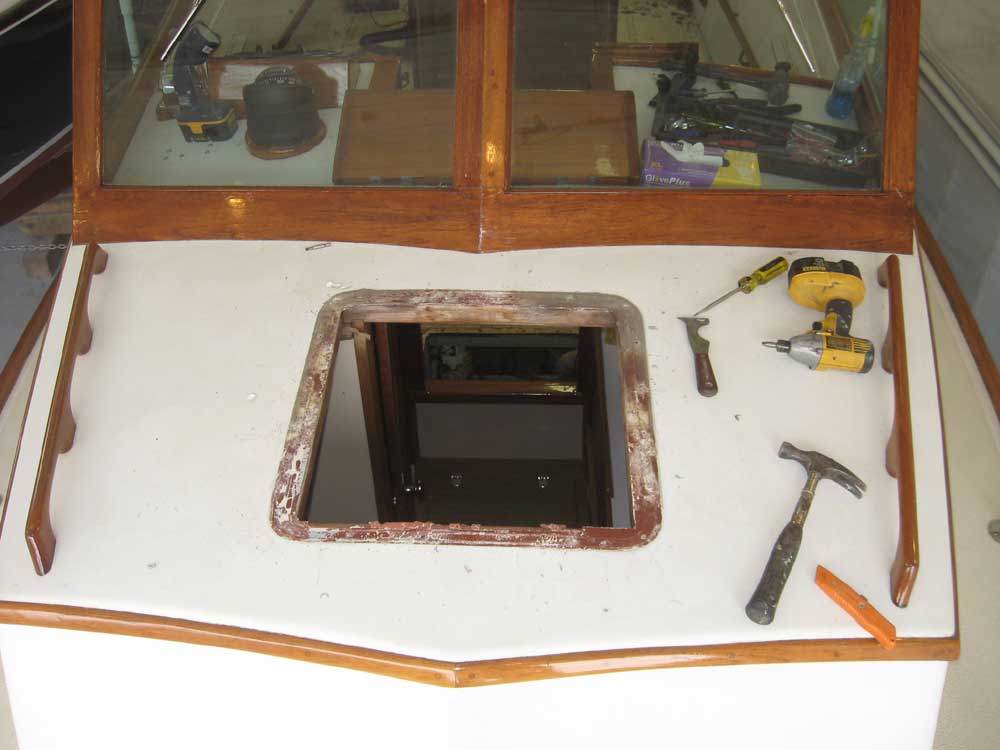
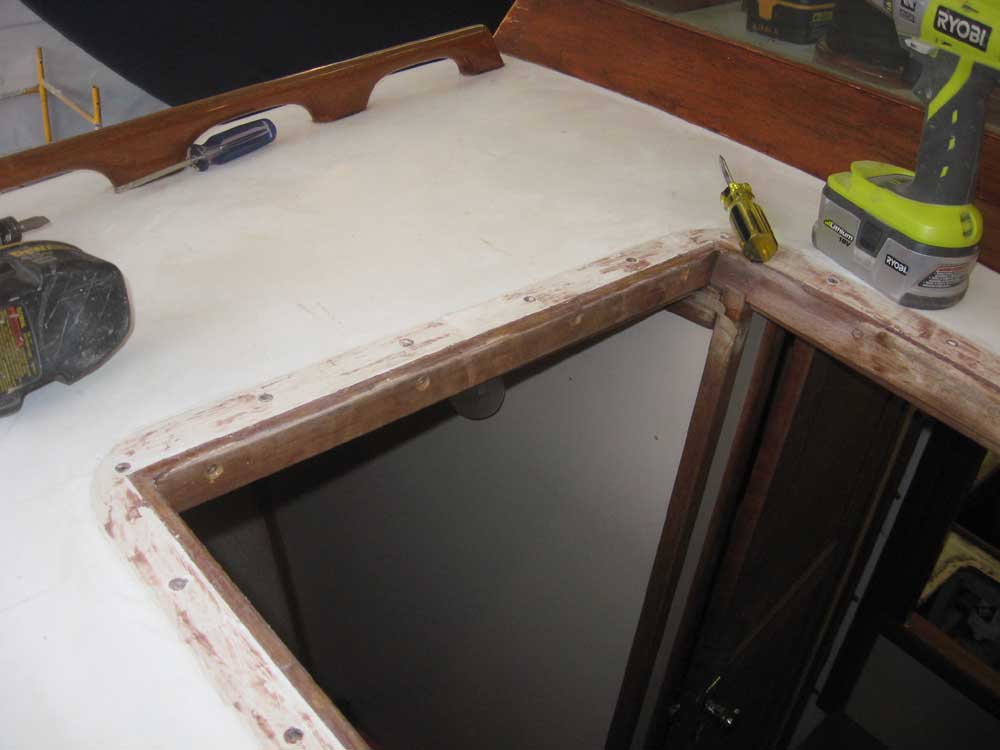
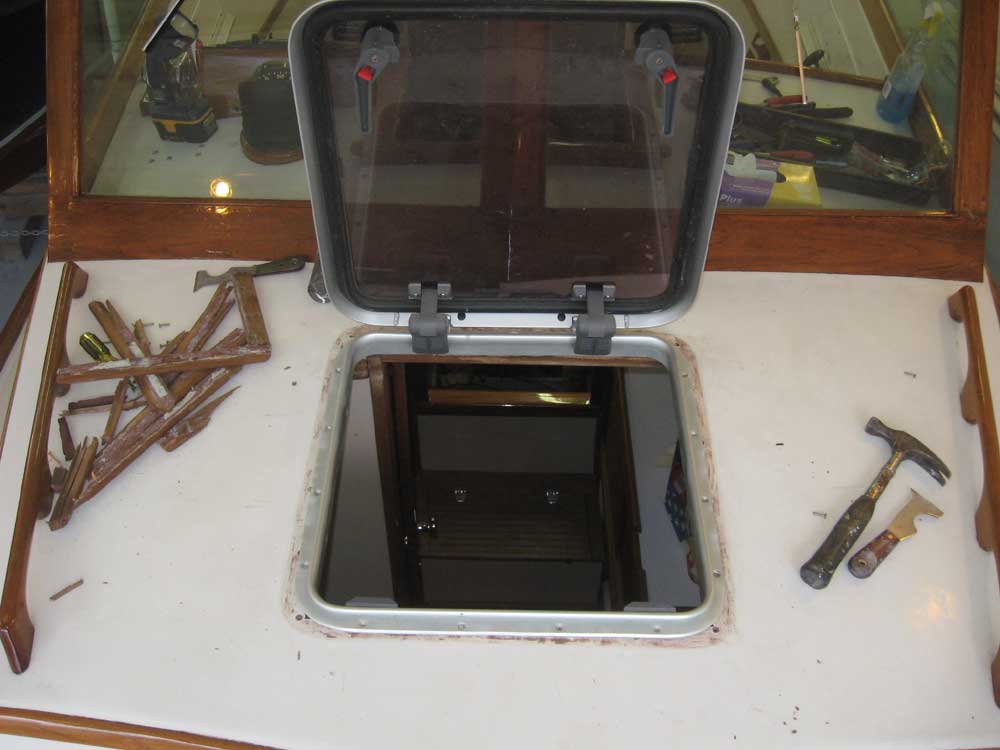
Another upcoming item on my list was to
replace a plastic deck access hatch, located right at the head of the
companionway where everyone stepped, with a stronger, watertight
aluminum hatch. Space for the larger aluminum hatch would be
tight, but I'd measured and it would fit, with just a slight
modification to the engine box front required. To this end, I removed the plastic hatch and scraped away the sealant. I'd await delivery of the new hatch before modifying the cutout as needed. |
 |
|
The boat's original Bomar forward hatch was in poor condition, and slated for replacement. I removed the hatch, and discovered that it was a flat-base hatch, with no spigot. The lightly-used replacement hatch that we'd agreed to use, and which I had on hand, featured a normal 1" spigot, and as a result it wouldn't fit in the opening the same way. To widen the opening, I removed some trim pieces from around the edges of the opening, which allowed the spigot to fit within, but the hatch's overall footprint was just a bit smaller--apparently standard sizes weren't so standard 23 years ago--so it looked like I'd need to build a slim wooden frame to cover the opening, which would also help the hatch fit better since the deck had a slight camber, and I didn't want to force the flat hatch into curved submission the way the old one had been. |
  |
|
|
|
