
110 Cookson Lane | Whitefield, ME 04353 | 207-232-7600 | tim@lackeysailing.com
Sailmaster 131 | Tuesday, September 17, 2013
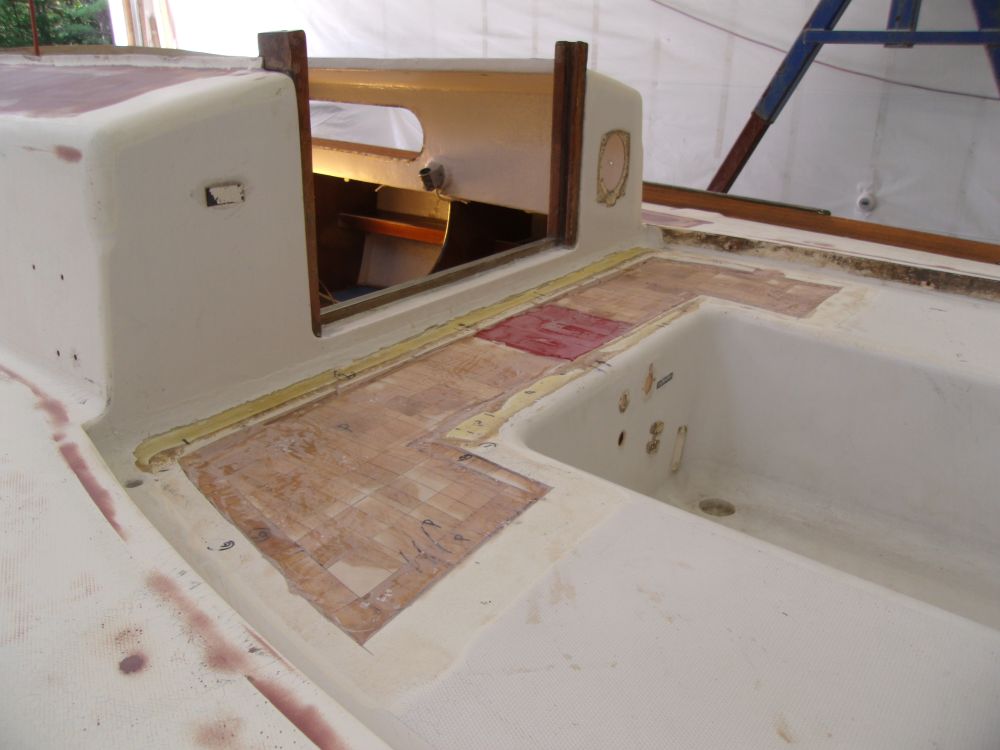
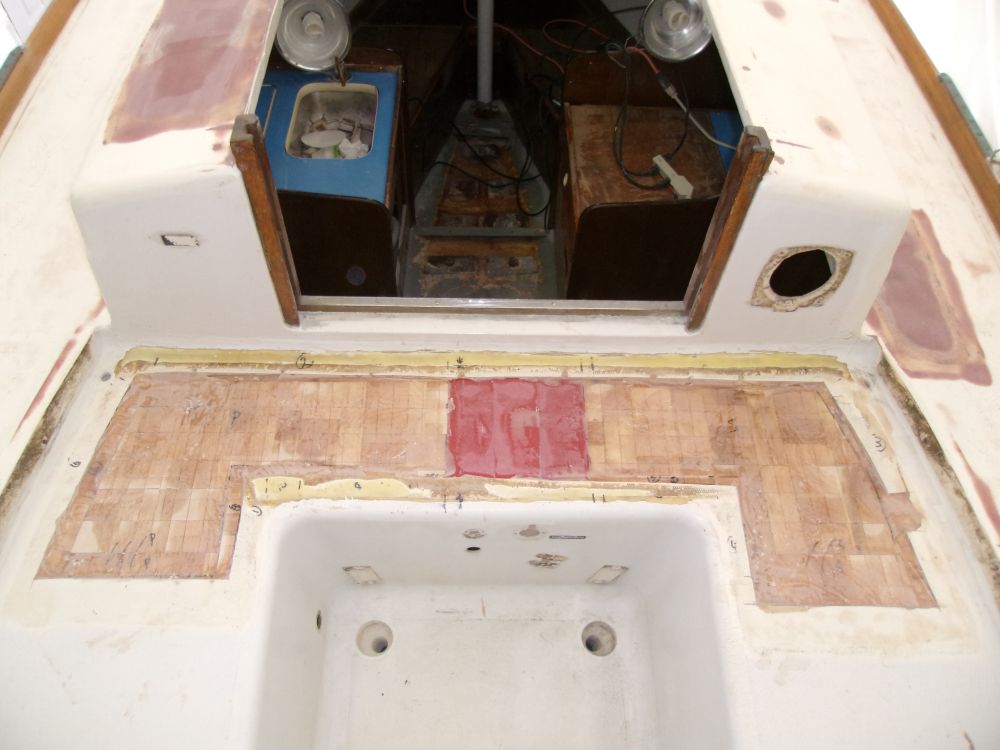
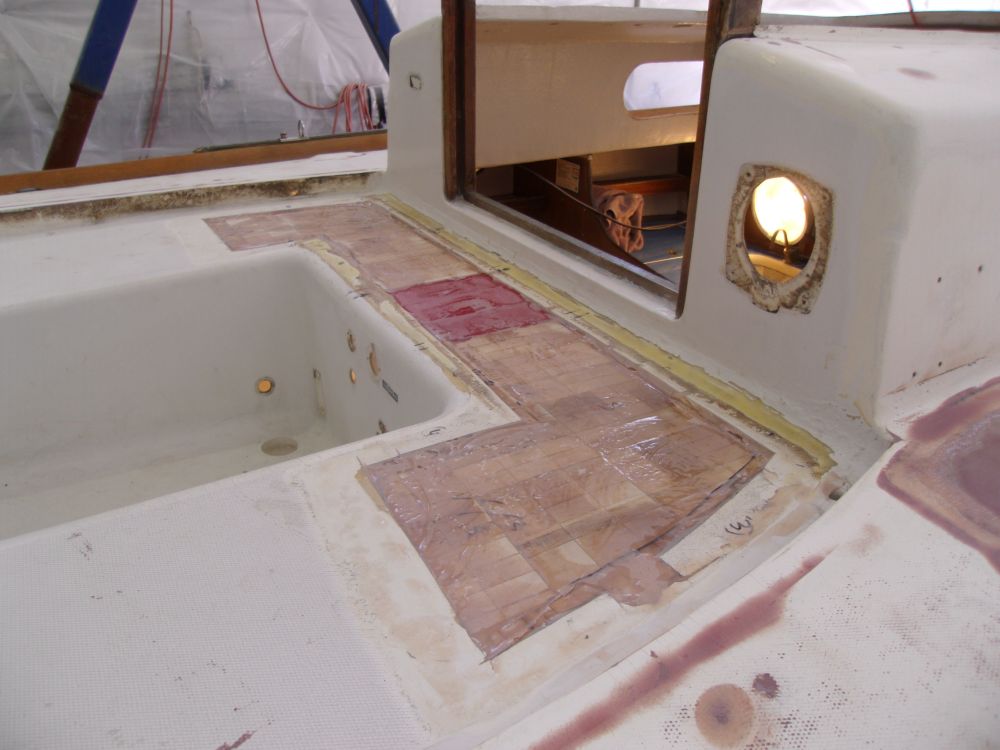
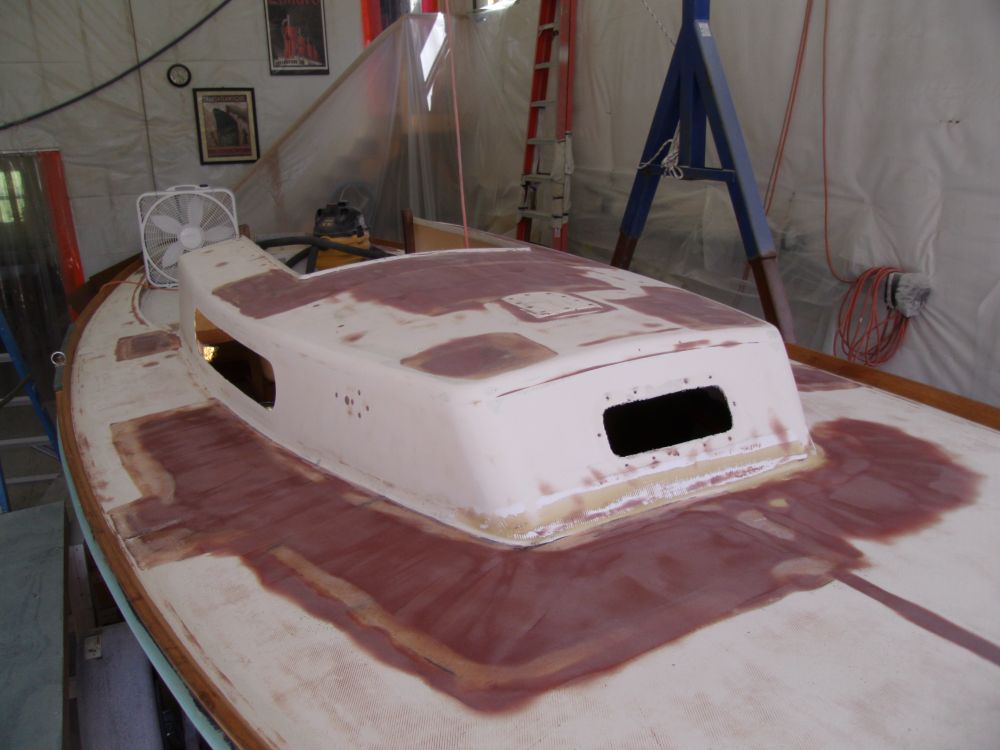
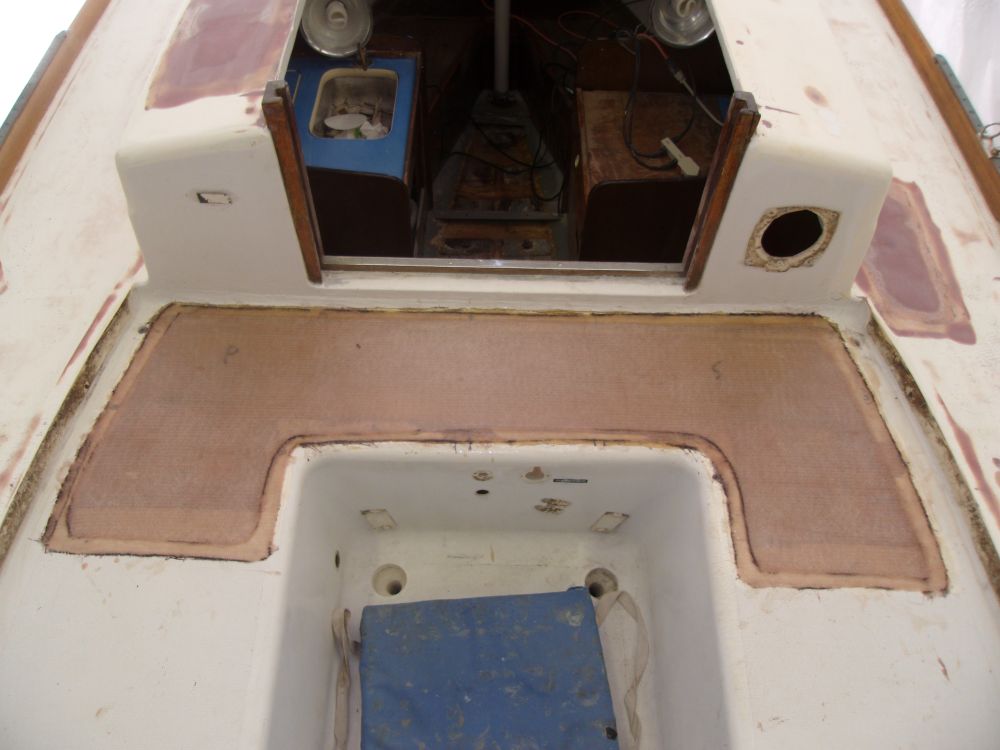
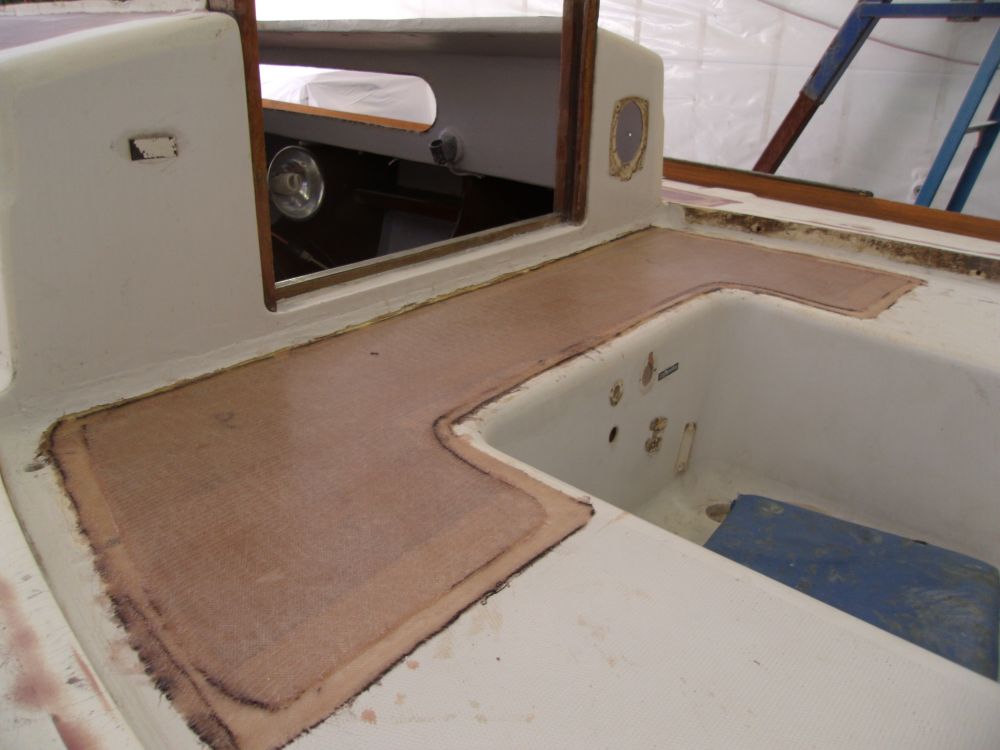
I removed the weights from the bridgedeck core and cleaned up the area with a sander to prepare it for the next construction steps.
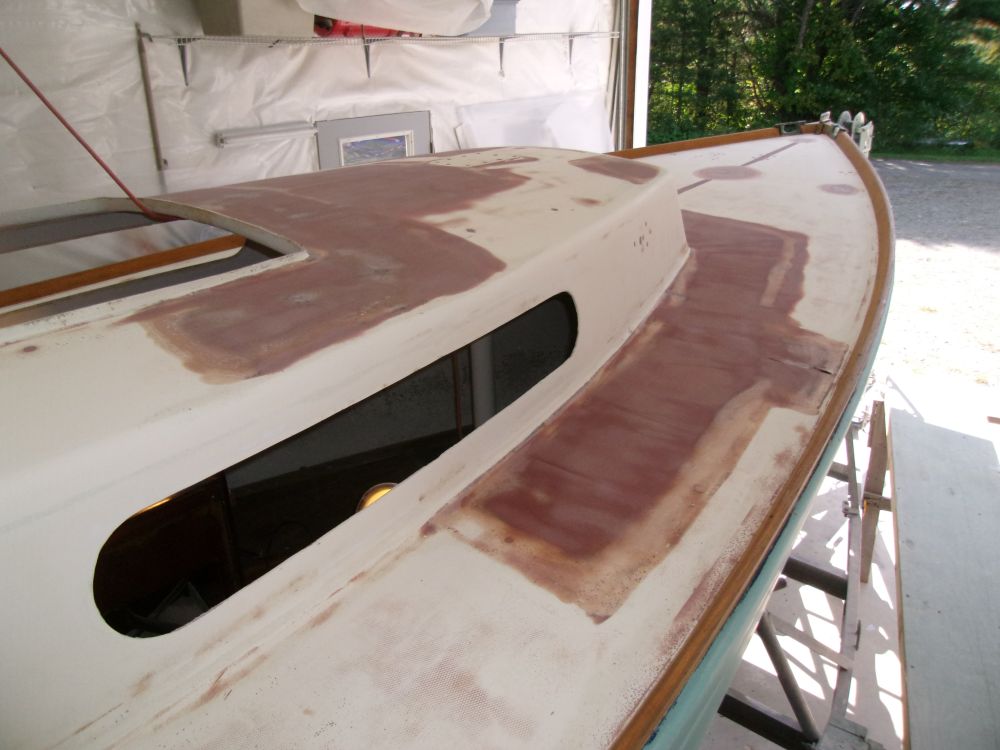
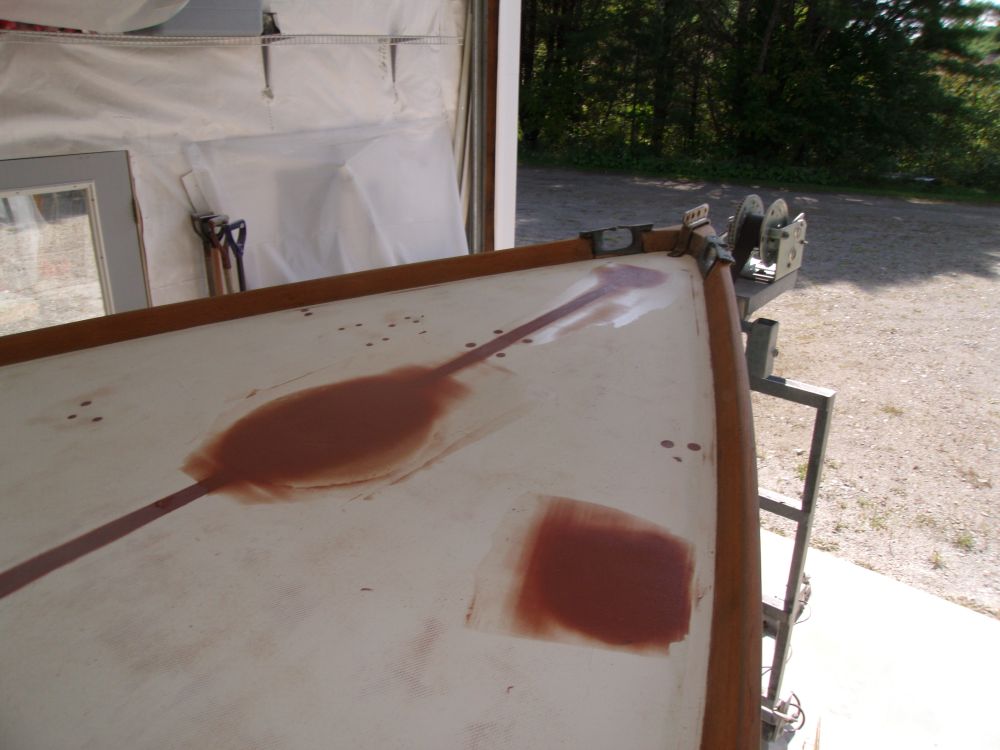
Meanwhile, I sanded the new patches on the foredeck as needed, bringing the edges flush with their surrounds, and lightly sanded the several areas elsewhere where I'd applied filler earlier.
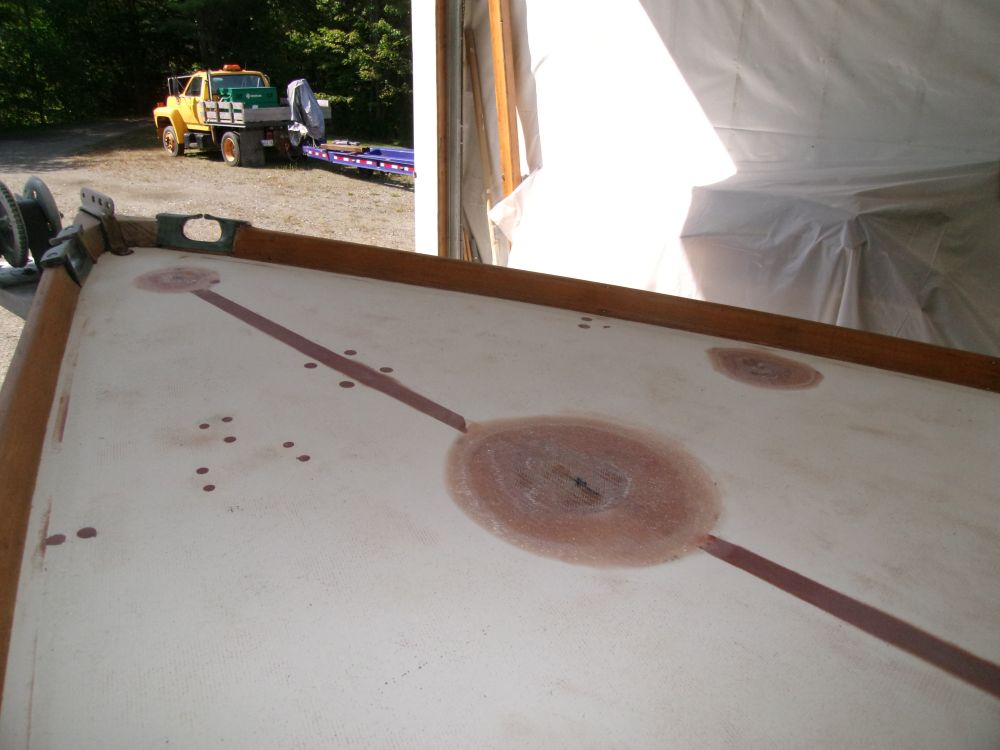

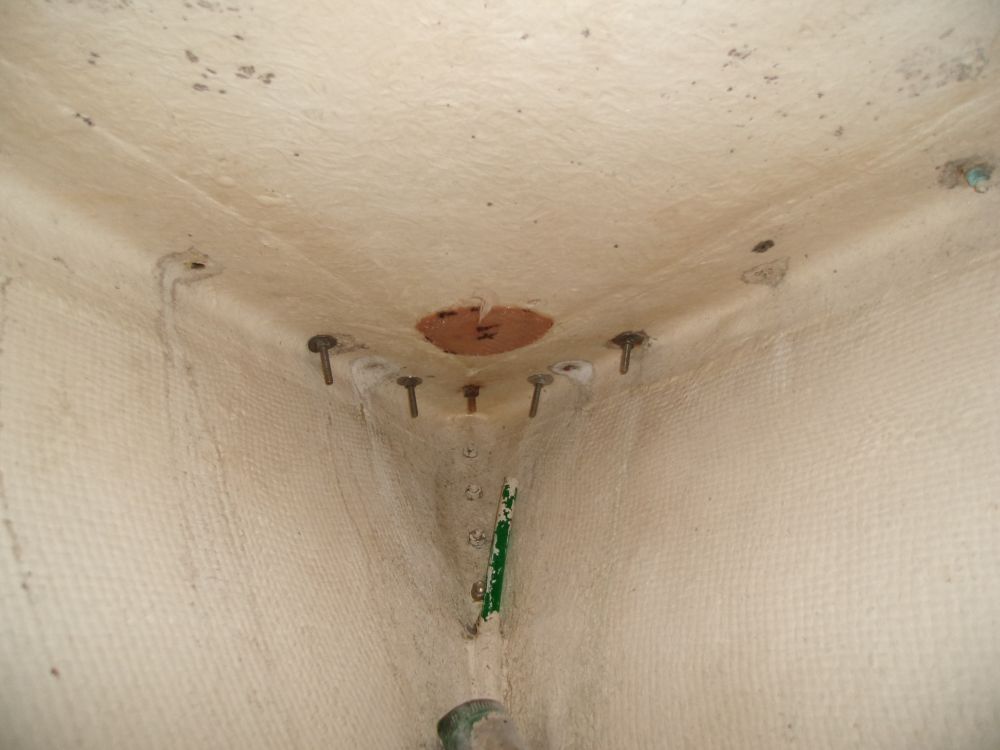
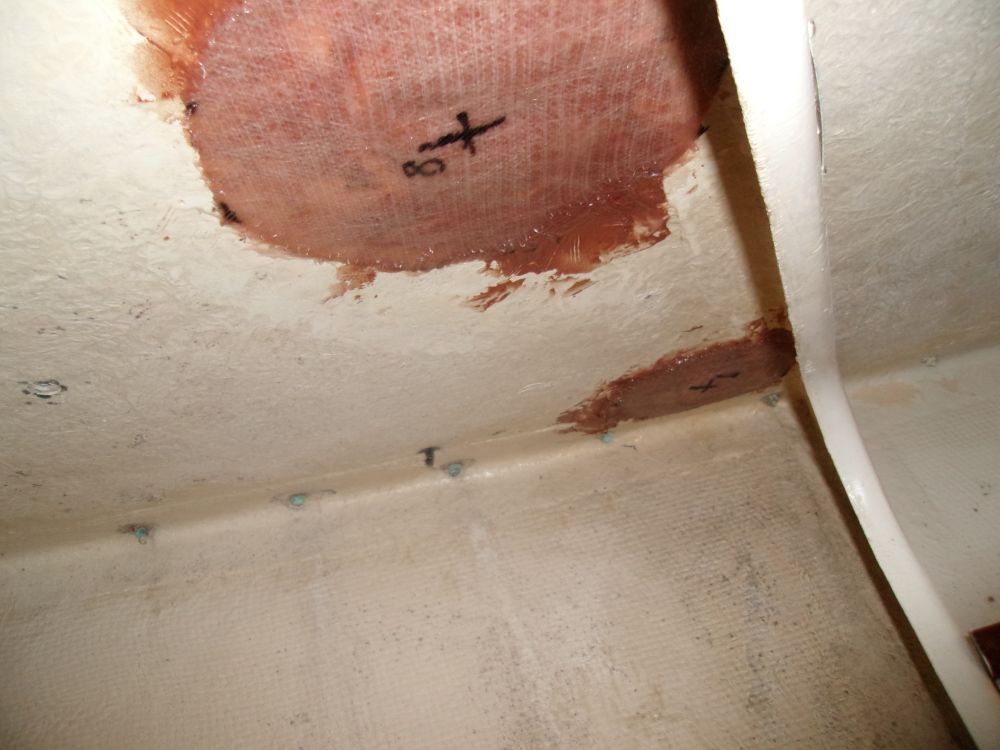
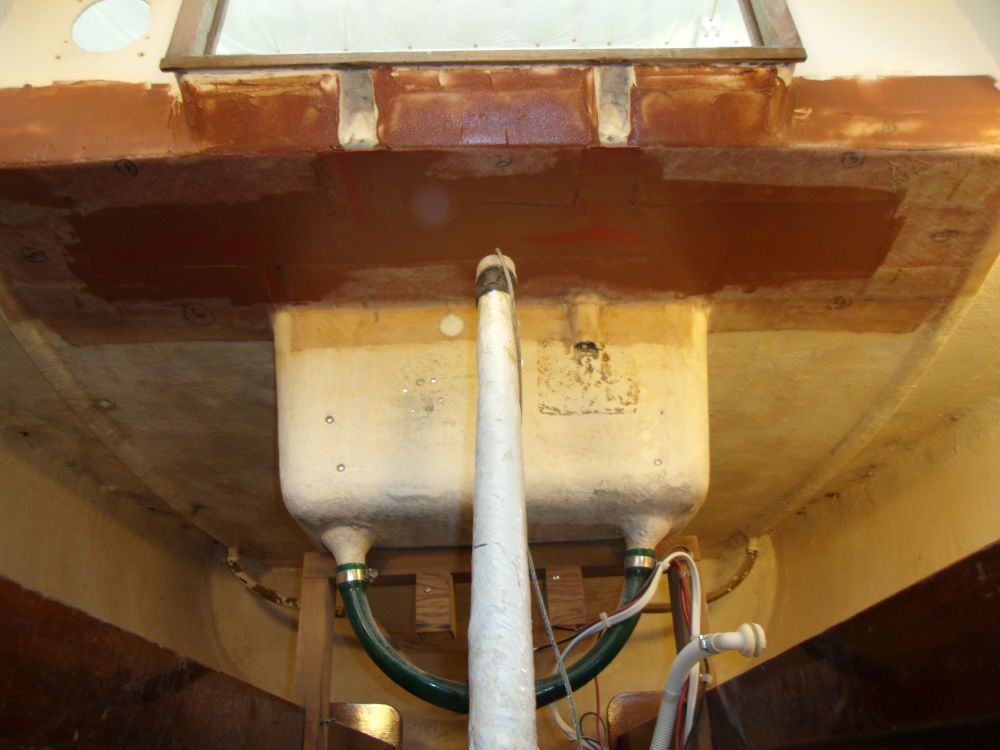
Belowdecks, I removed the tape from beneath the foredeck patches and prepared the underside of the deck by sanding each area to accept new fiberglass as needed, which I then prepared and applied. From above, I installed a layer of fairing filler over the new laminate.
To blend the new tabbing into its surrounding areas below the bridgedeck, I applied a light coat of fairing filler where required, so that eventually these areas would have a better appearance beneath paint.
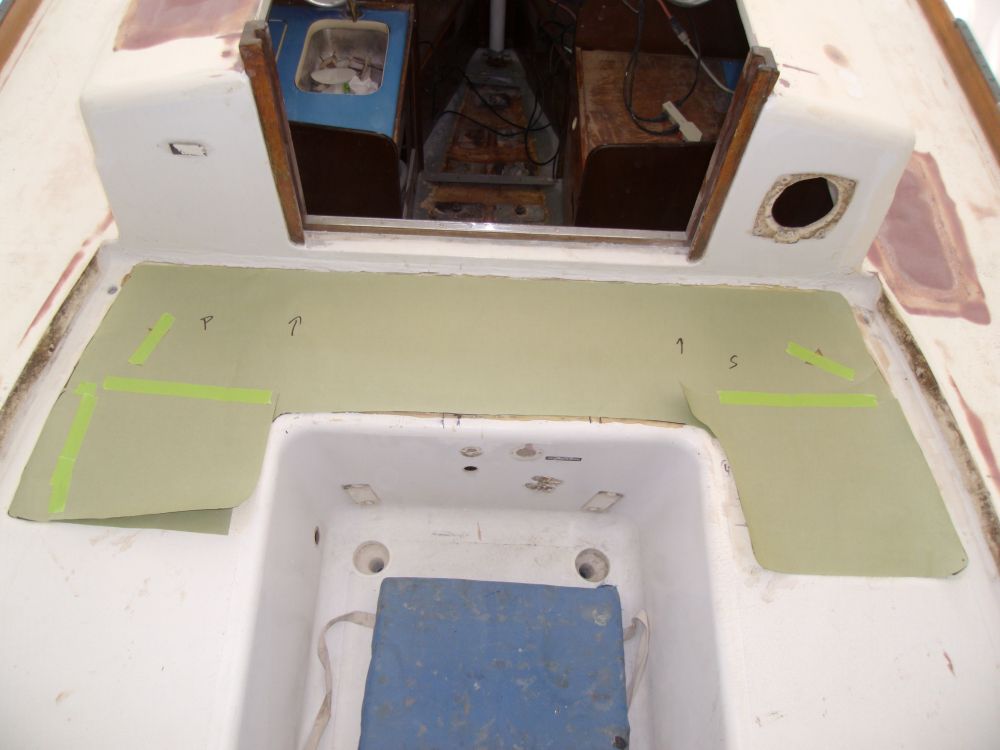
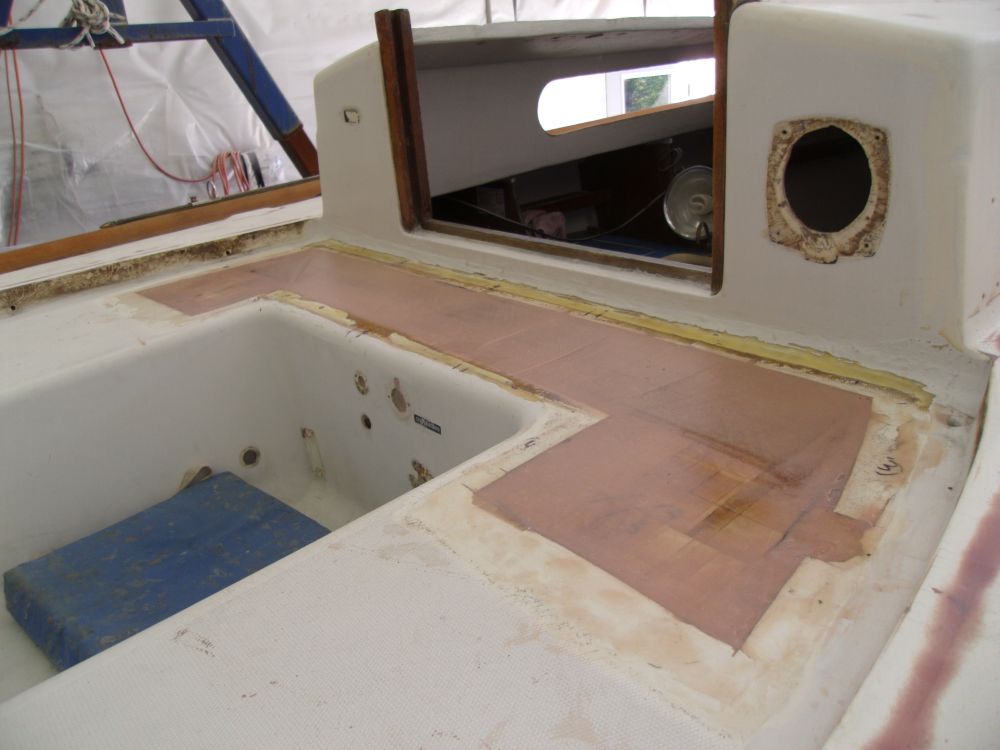
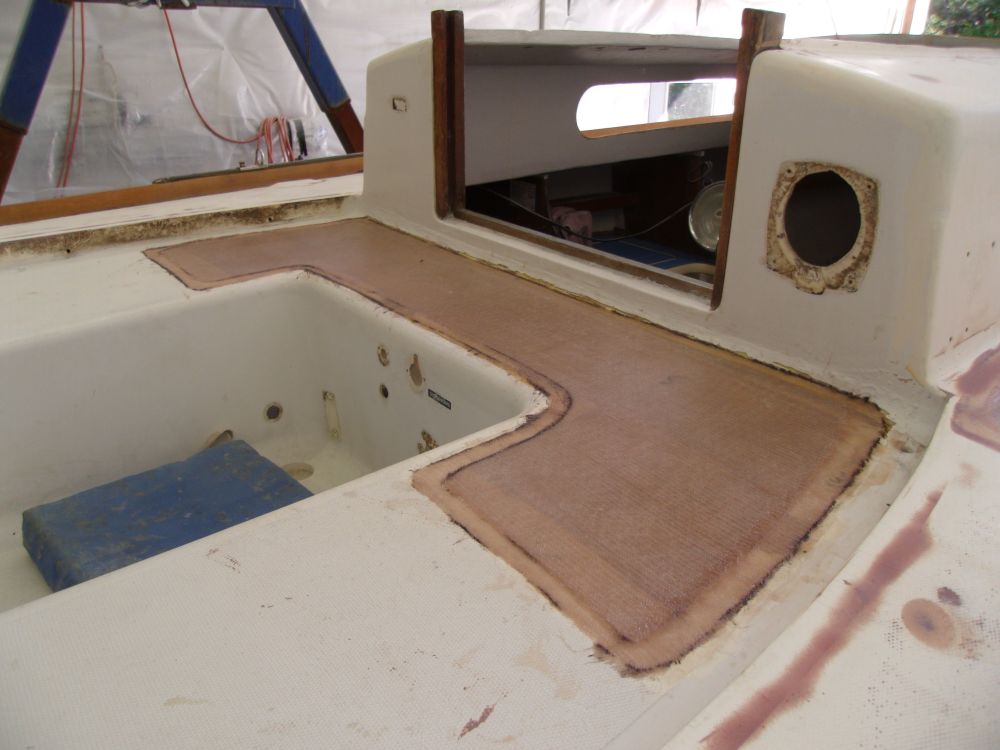
Next, I prepared to laminate the new top skin for the bridgedeck. To begin, I made a pattern of the area, which I used to cut two layers of material as needed. Because of the manner of reconstruction of the bottom skin of the area, the core was slightly lower than the surrounding edges of the original deck, mostly at the forward end, so to make up this difference I added two layers of material cut to fit, which I wet out and installed.
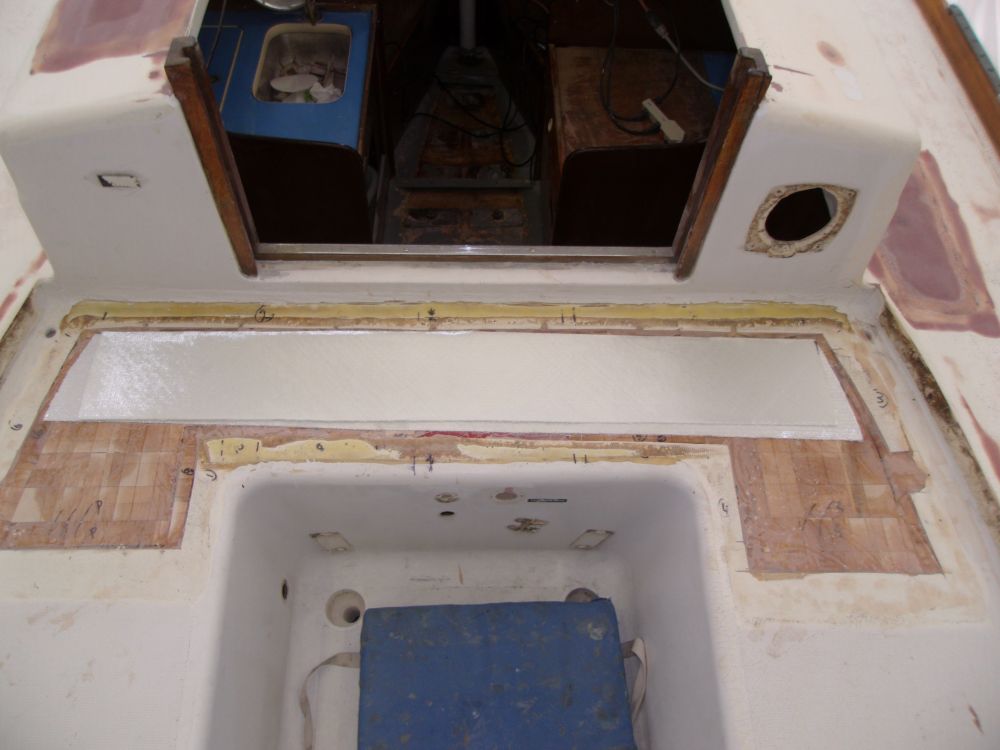
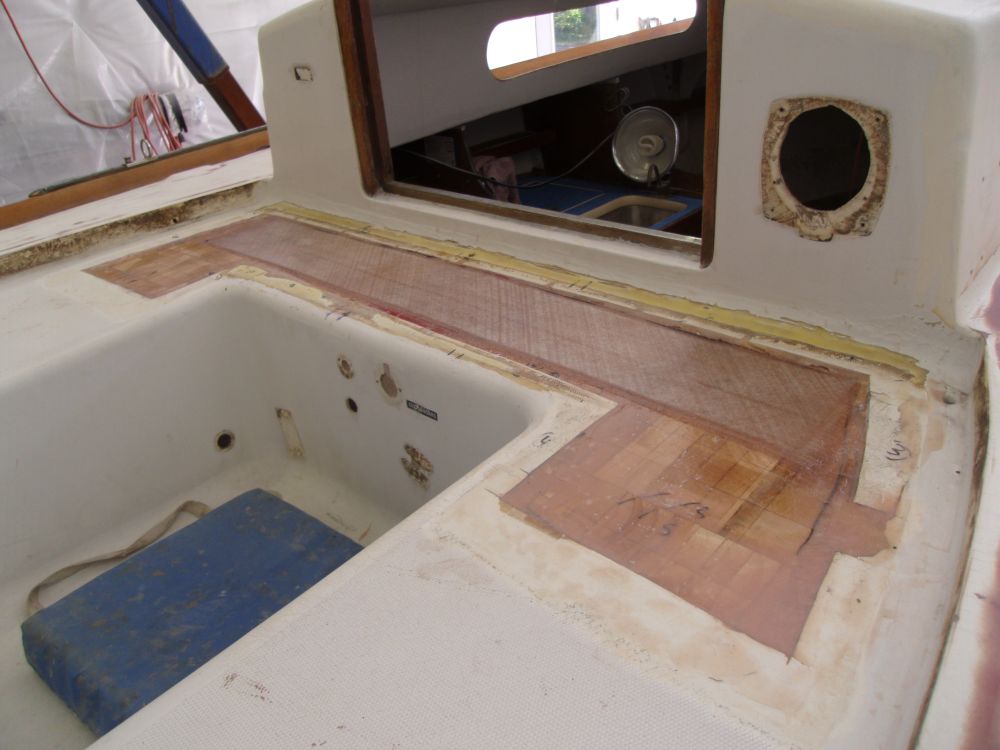
Once the initial two layers in the forward section had partially cured, I used some thickened epoxy to make up any minor remaining gaps to provide a smooth area for the final two laminates.
Total Time Billed on This Job Today: 7.25 hours
