
110 Cookson Lane | Whitefield, ME 04353 | 207-232-7600 | tim@lackeysailing.com
Sailmaster 131 | Tuesday, September 10, 2013
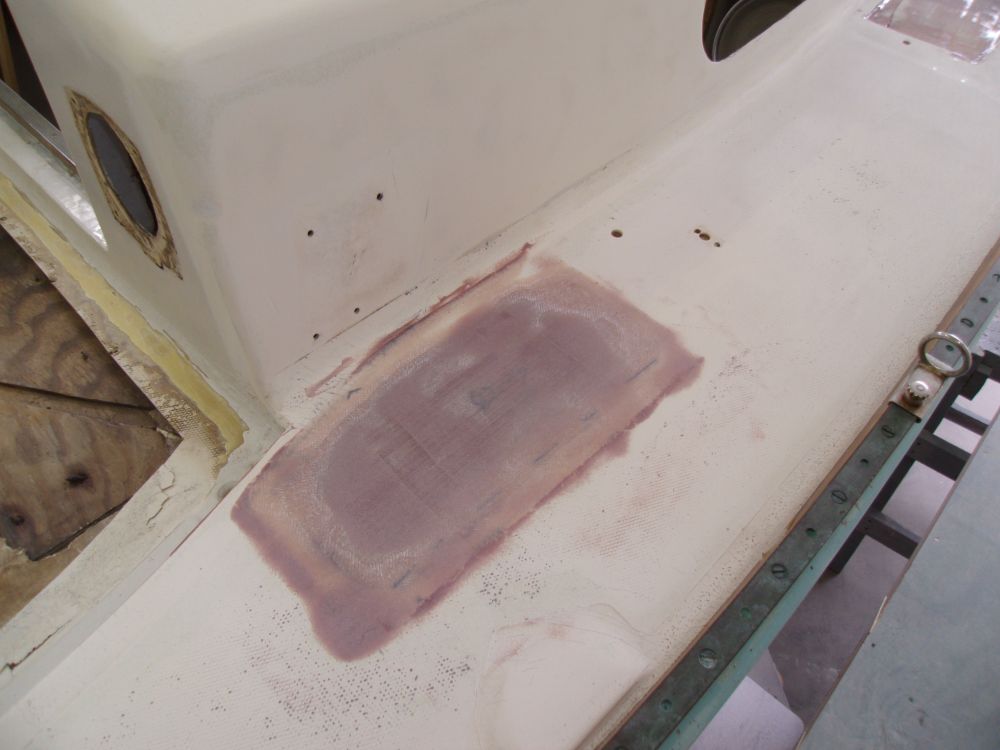
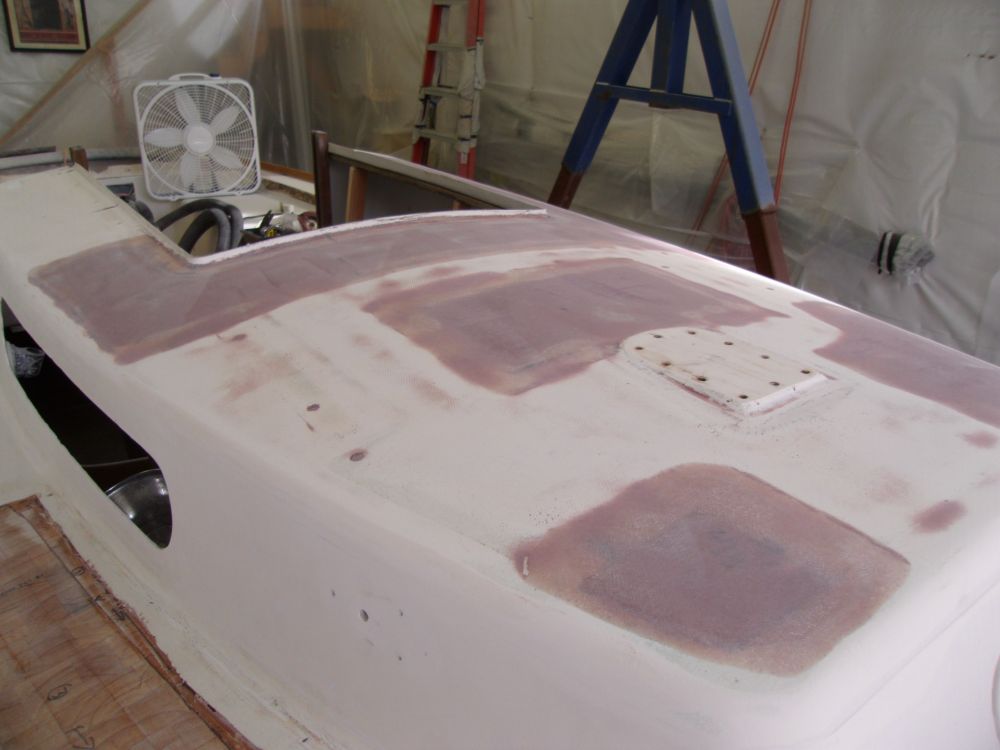
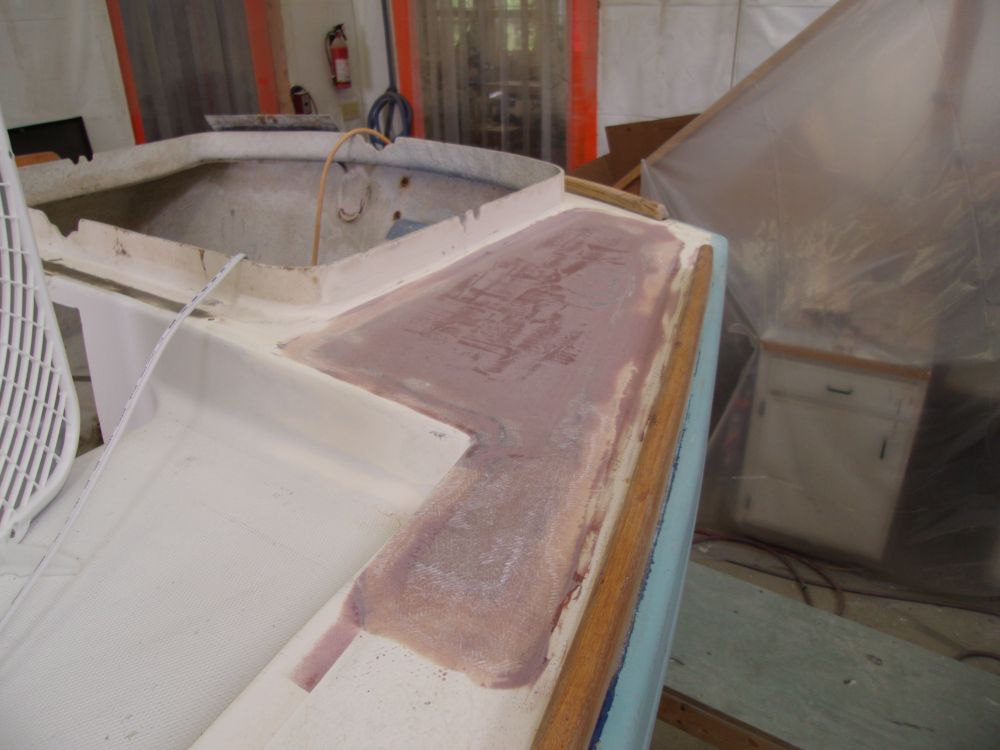
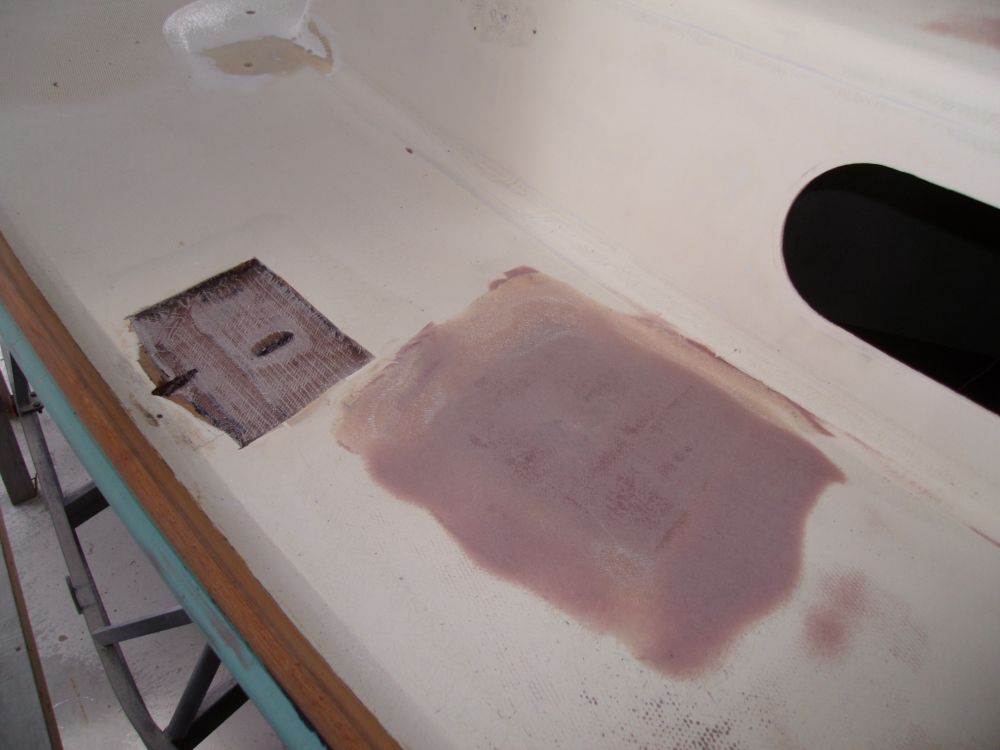
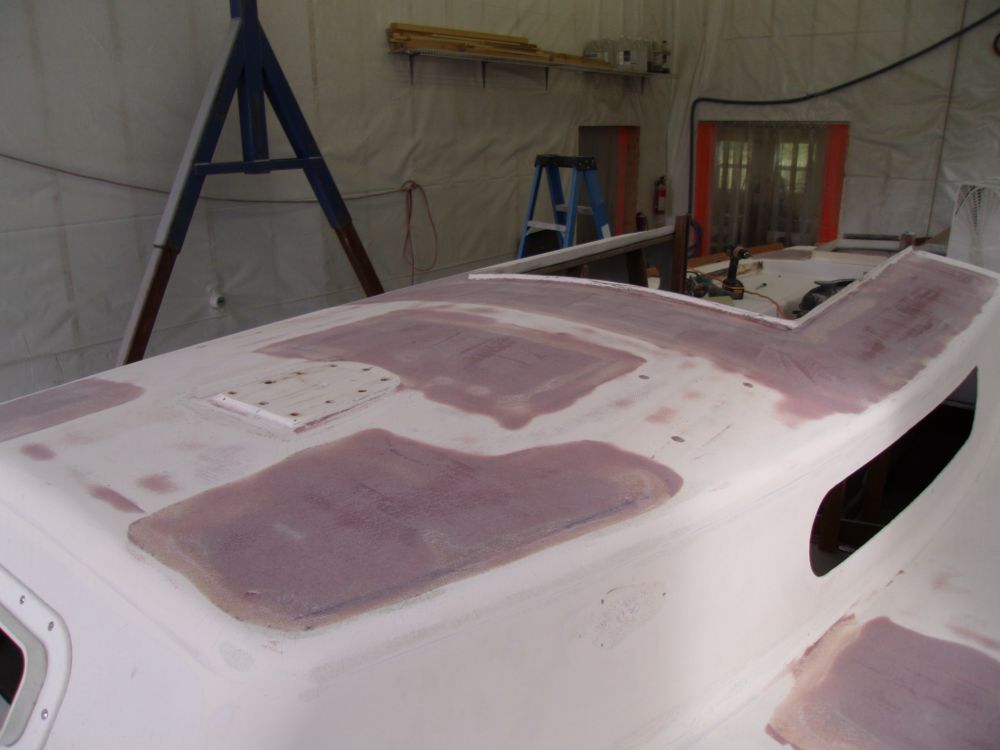
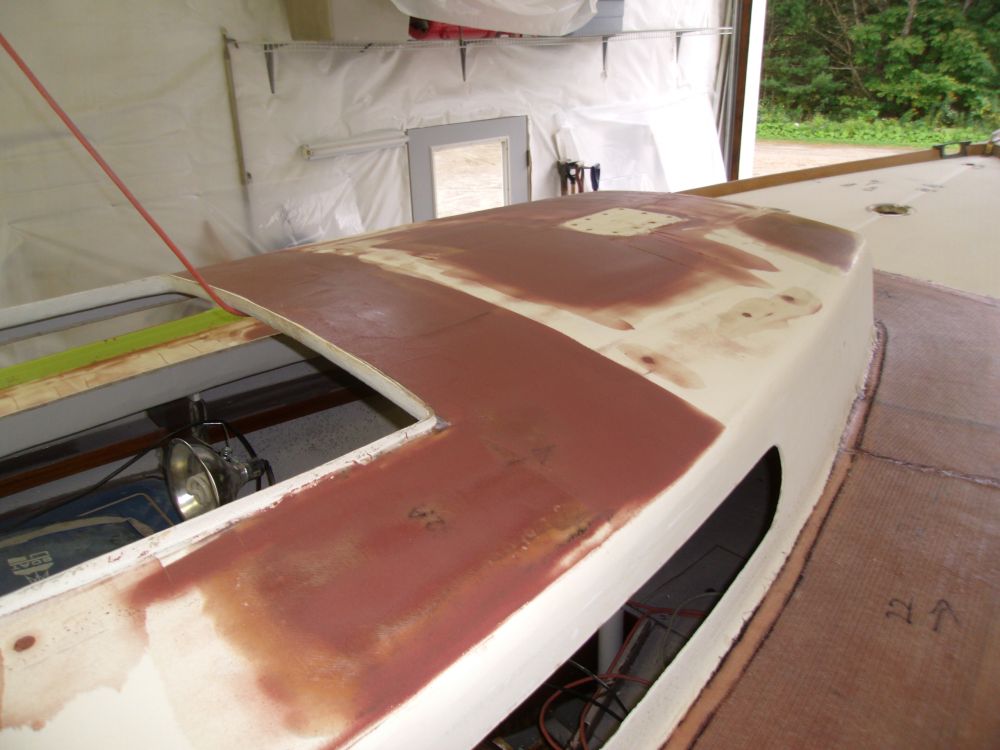
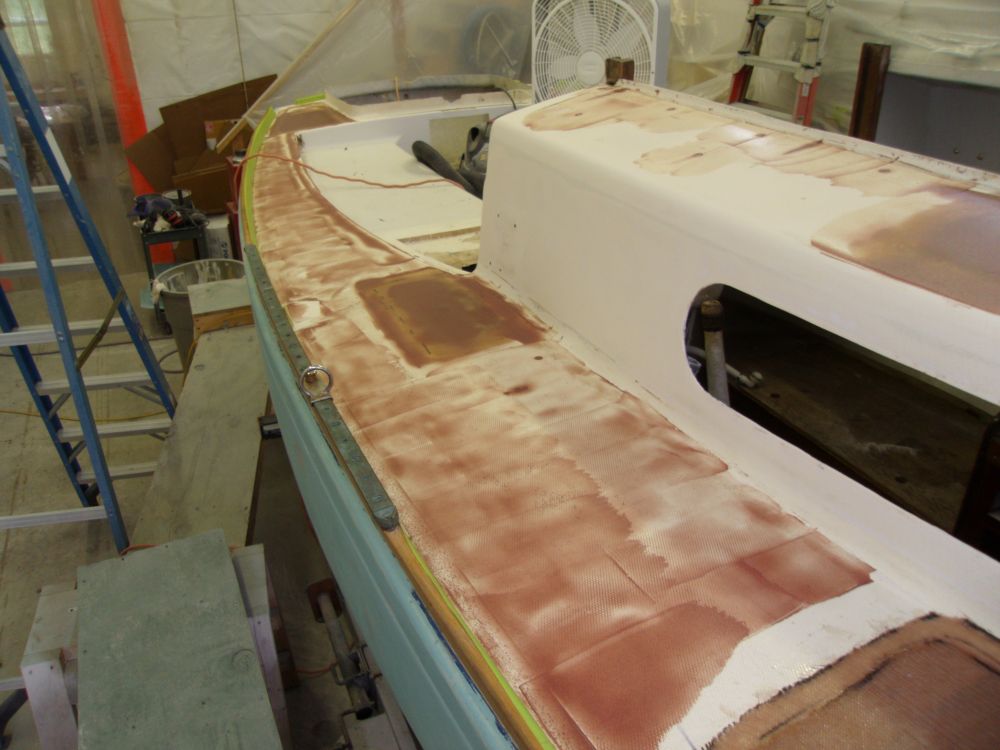
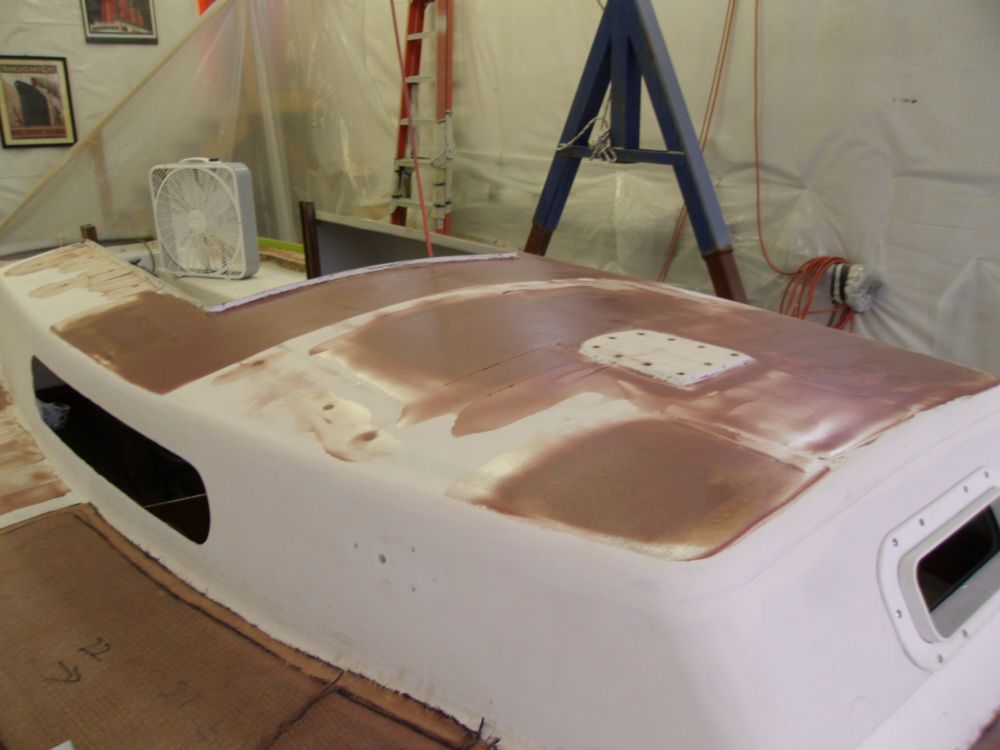
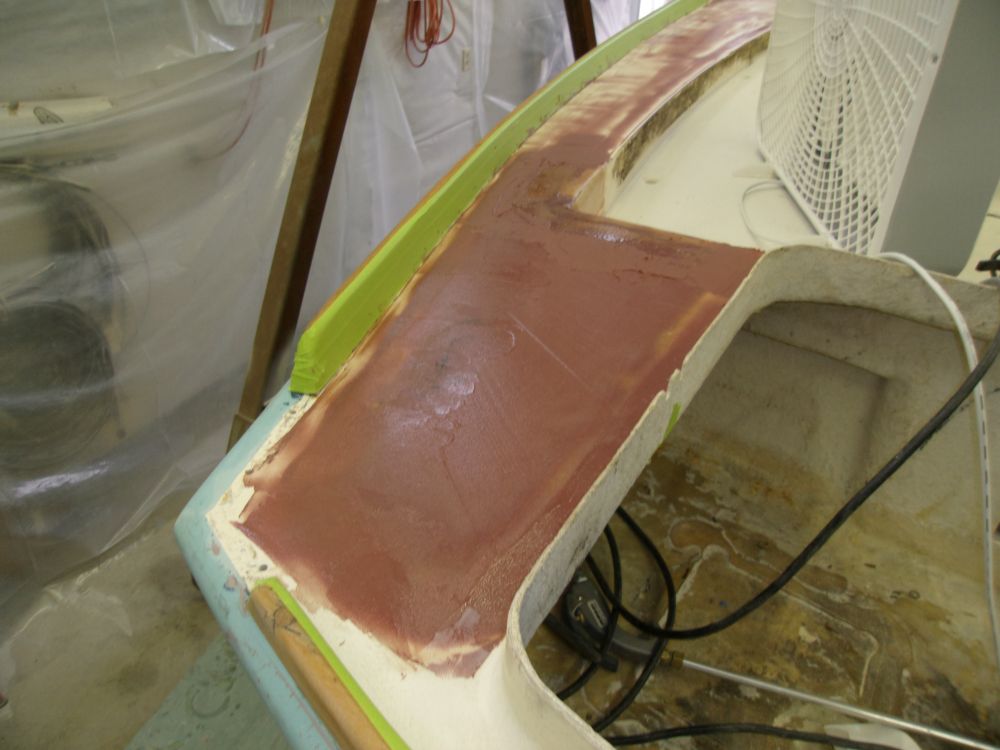
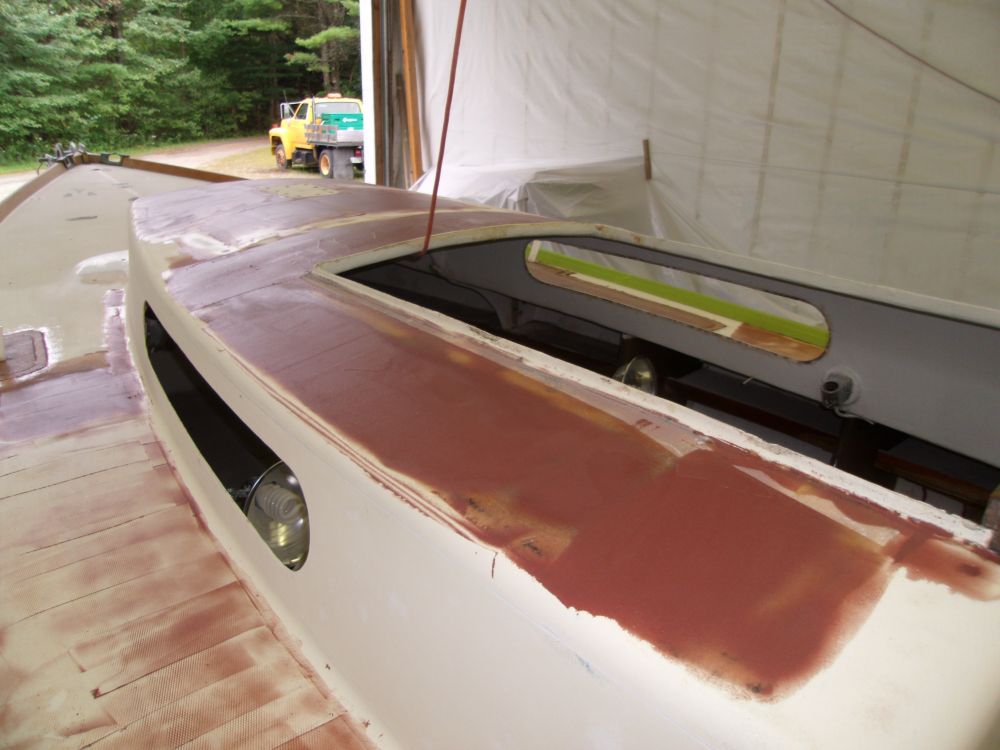
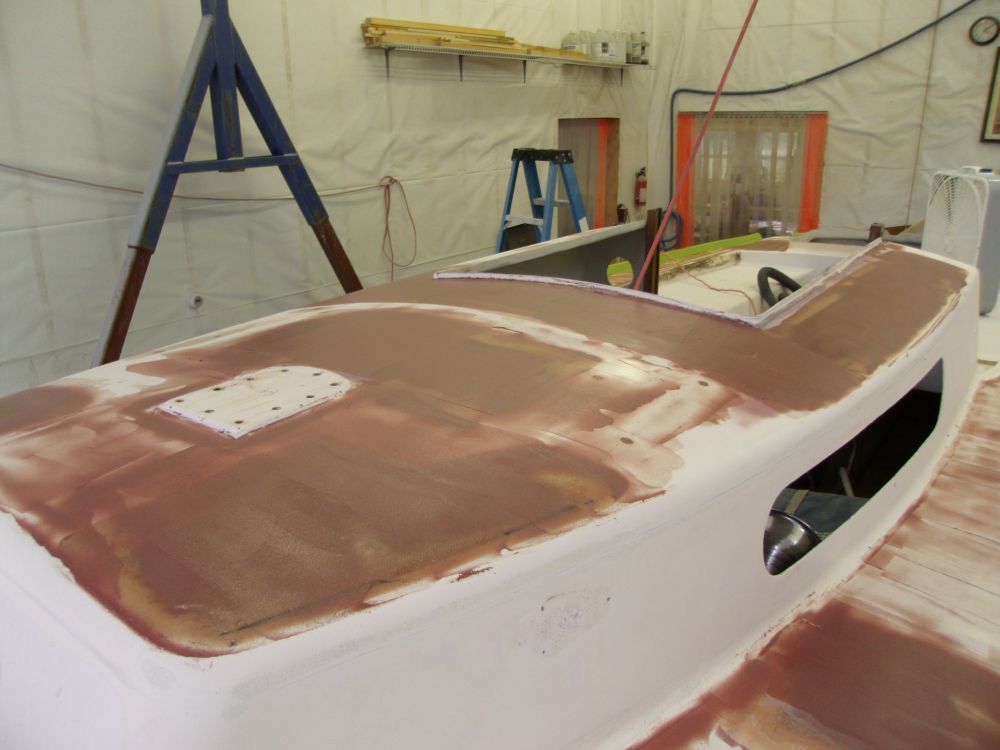
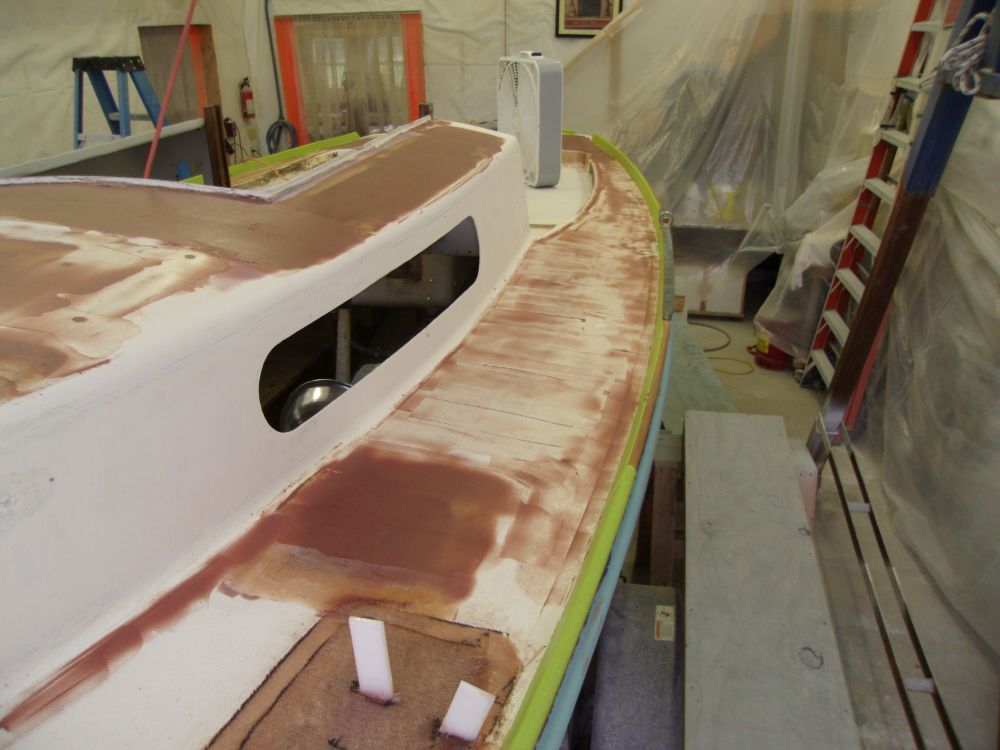
My first step of the day, as usual, was to sand the first application of fairing filler on the decks, using longboard and sander as needed. This process highlighted various low spots that subsequent applications of filler and surfacing would take care of.

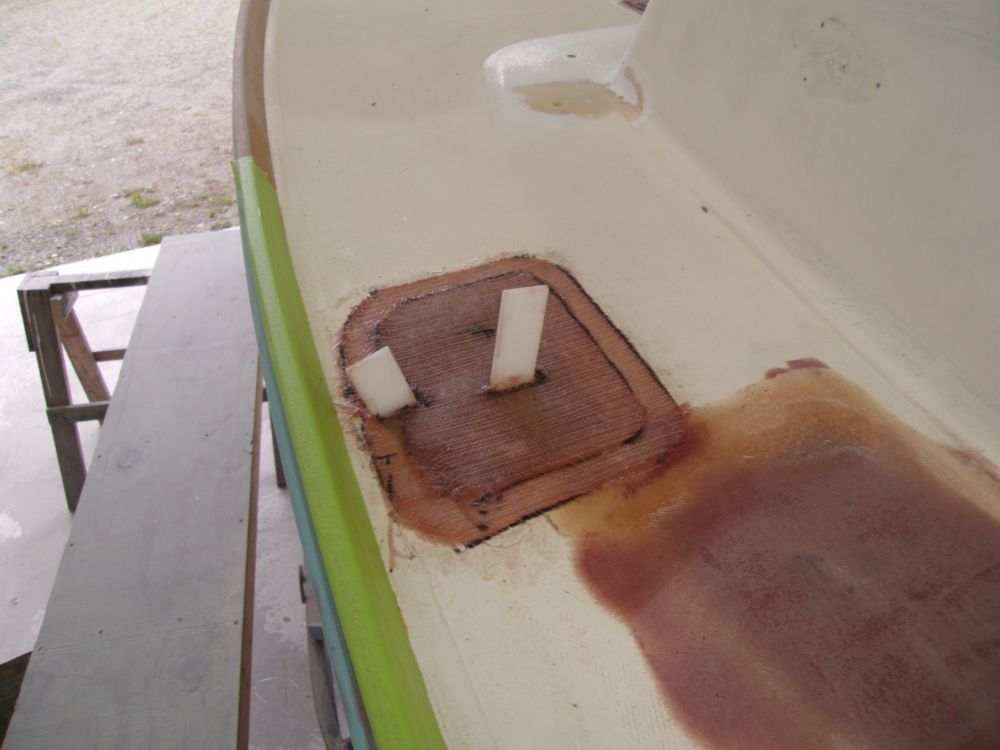
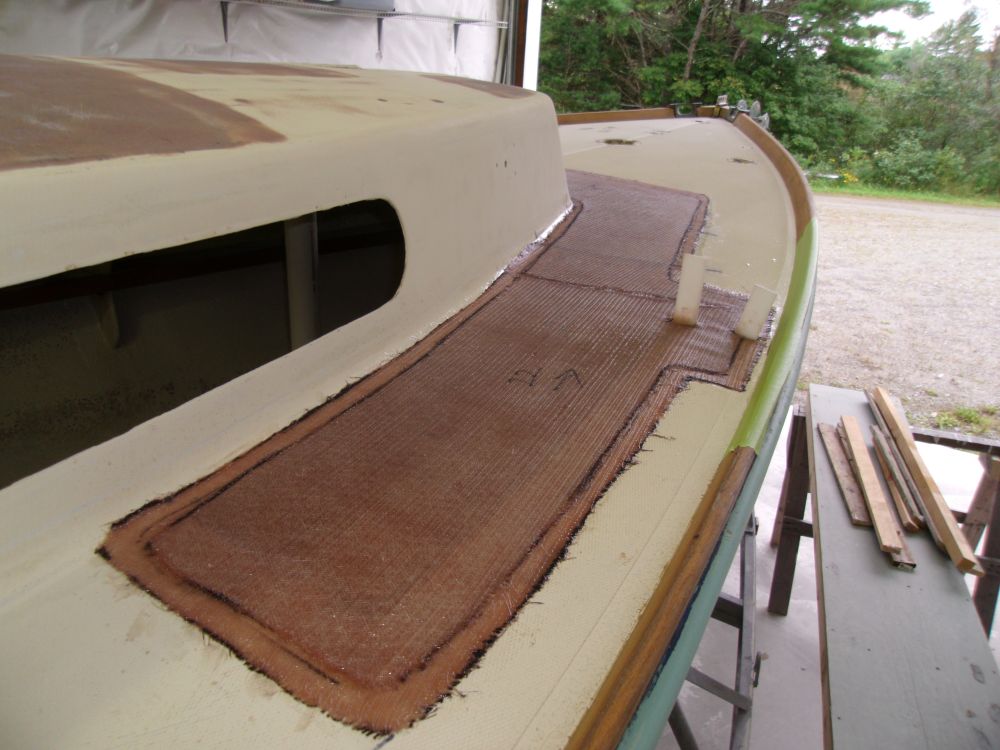
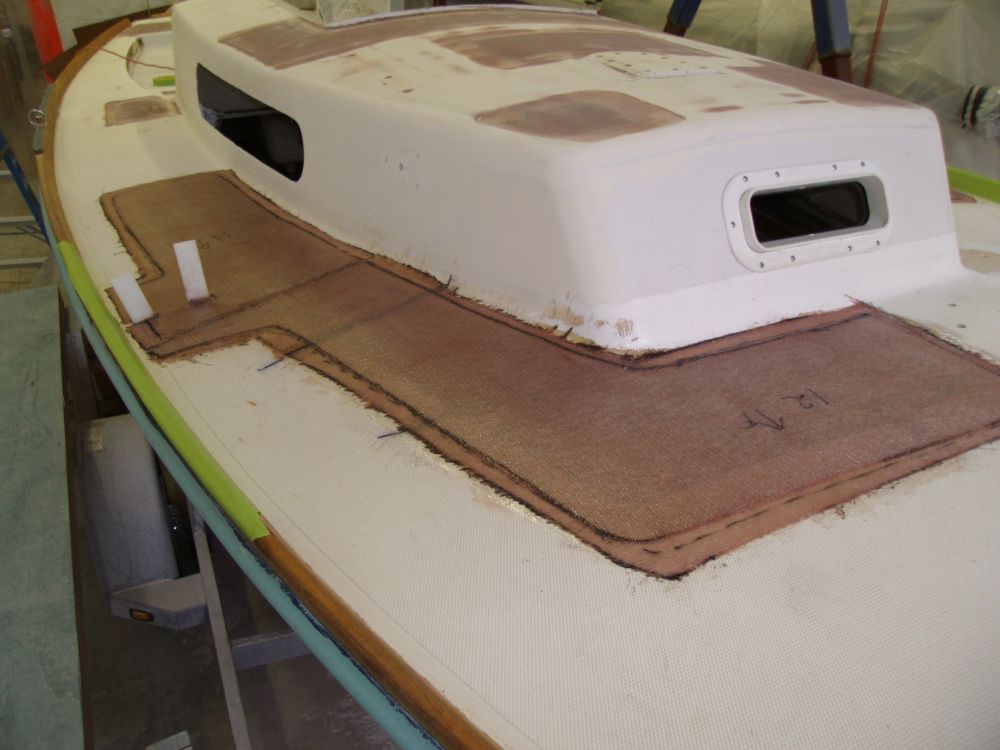
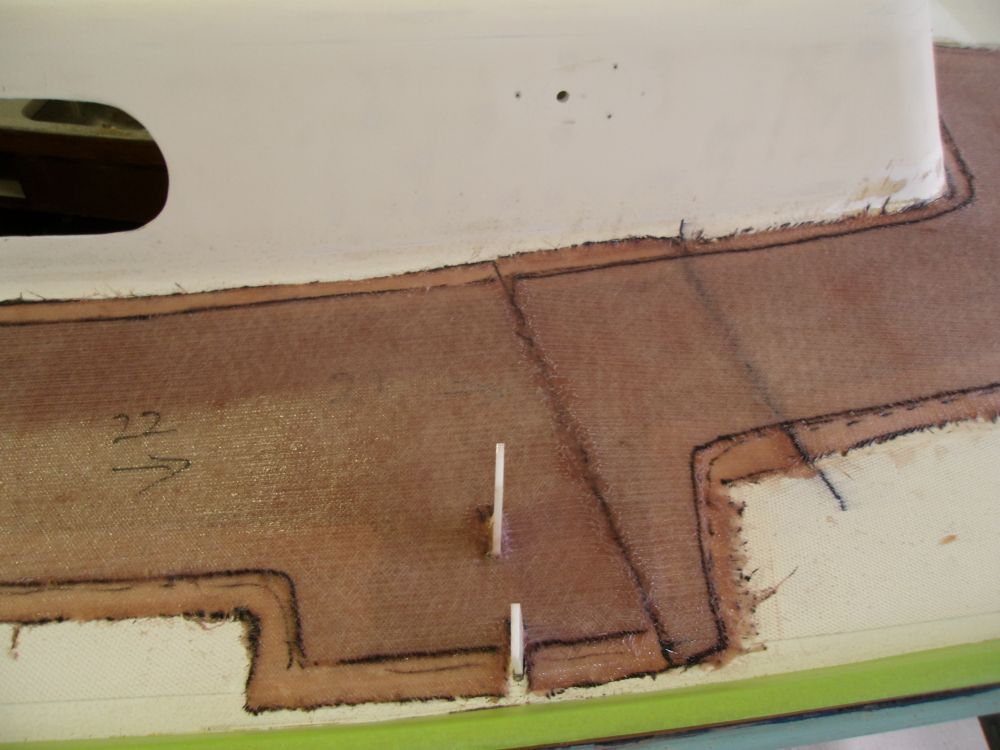
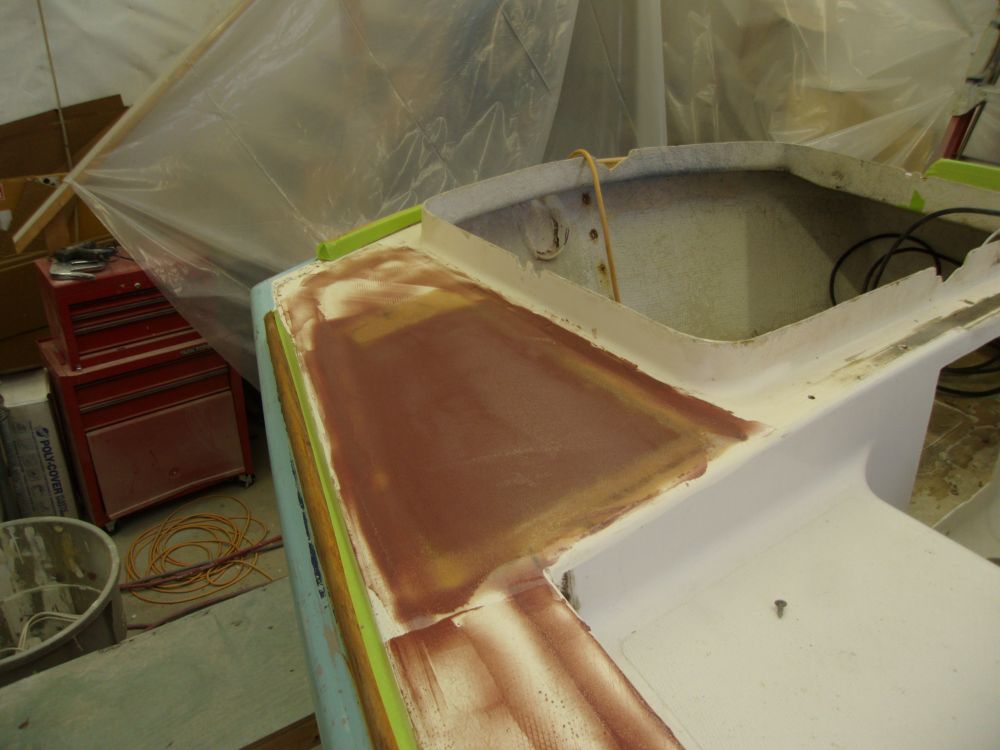
After bring the chainplate voids flush with the edges of the adjacent deck areas, I cut and installed in epoxy resin two layers of biaxial cloth for the new top skins--small pieces on the port side, and larger sections to complete the recore repair on the starboard side, which also incorporated the chainplate area there. To maintain the chainplate slots through the deck, I installed temporary plastic stand-ins that allowed me to fiberglass around the openings.
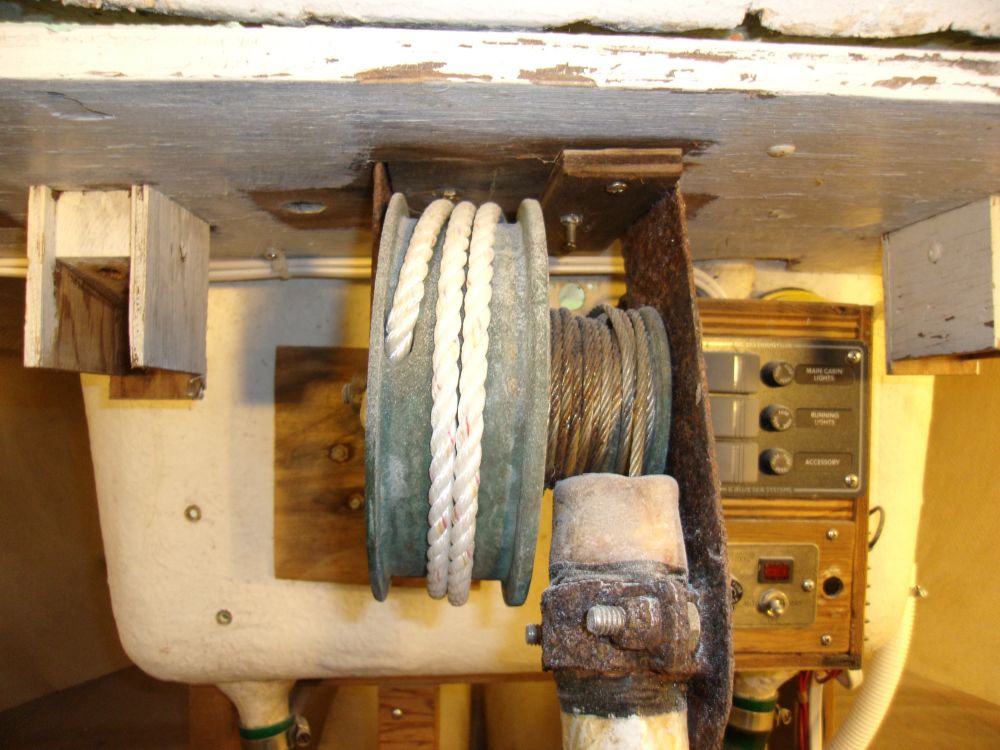
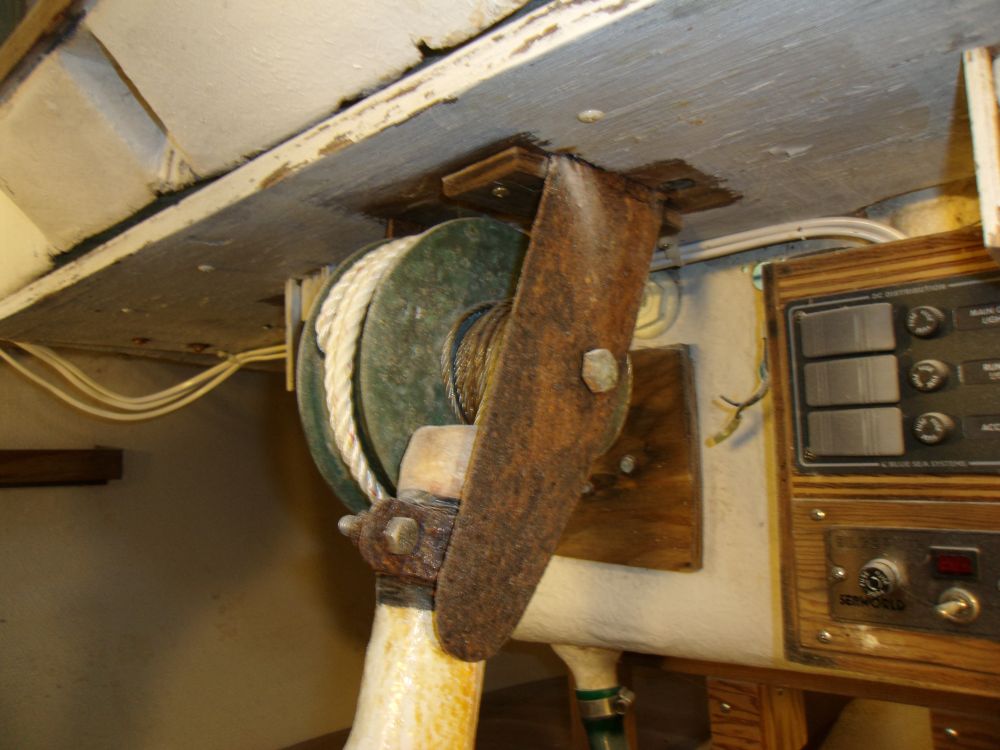
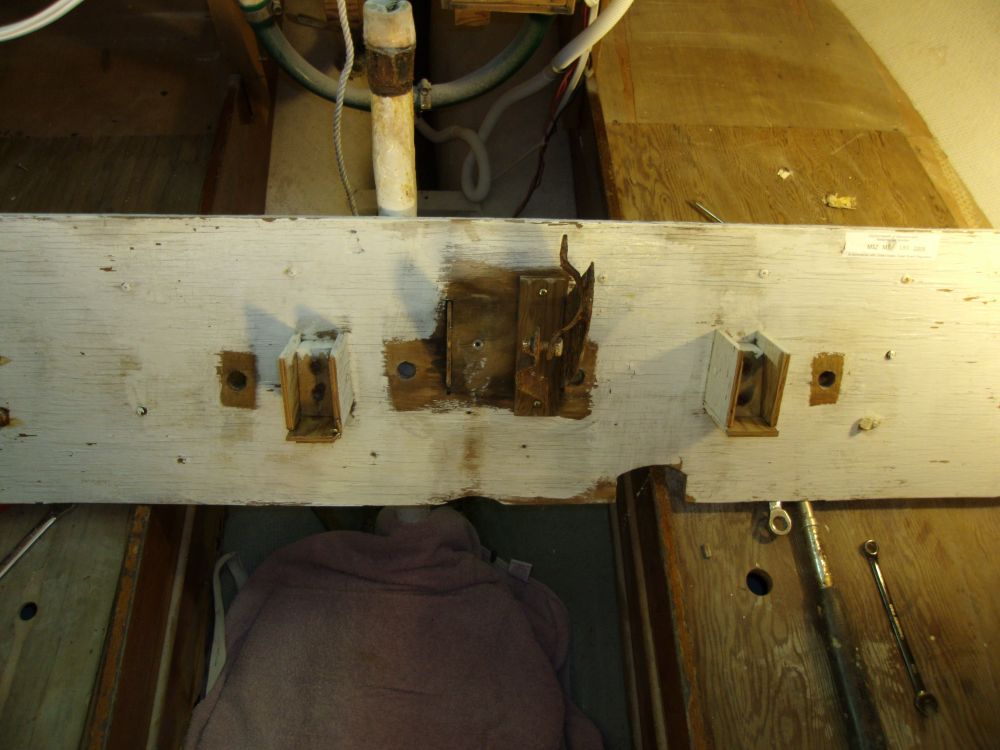
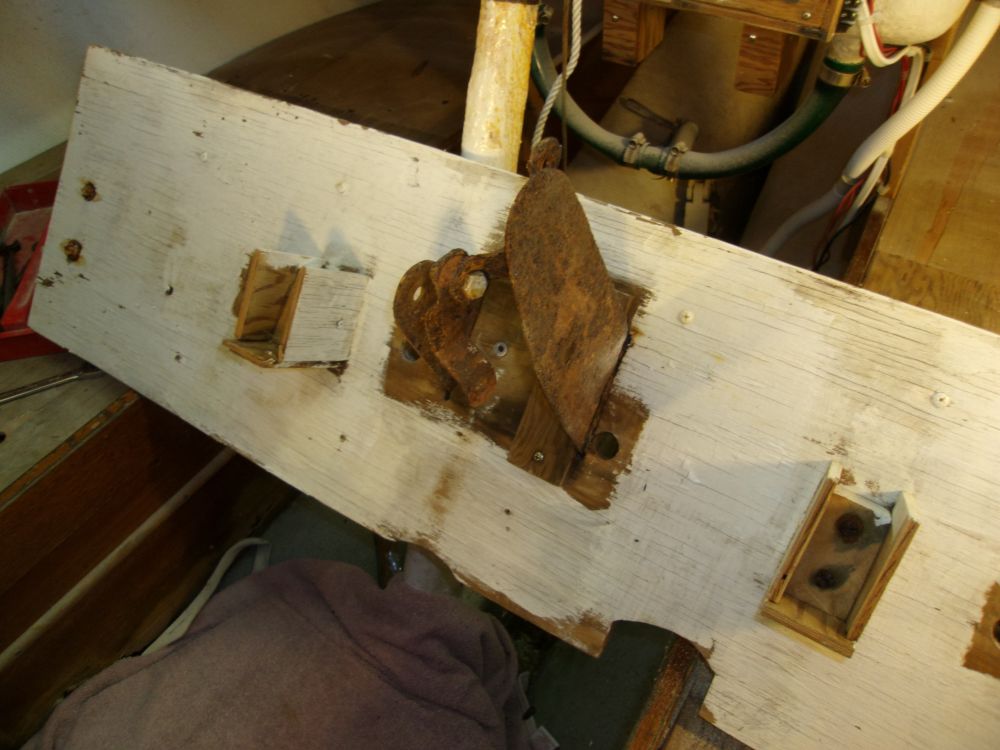
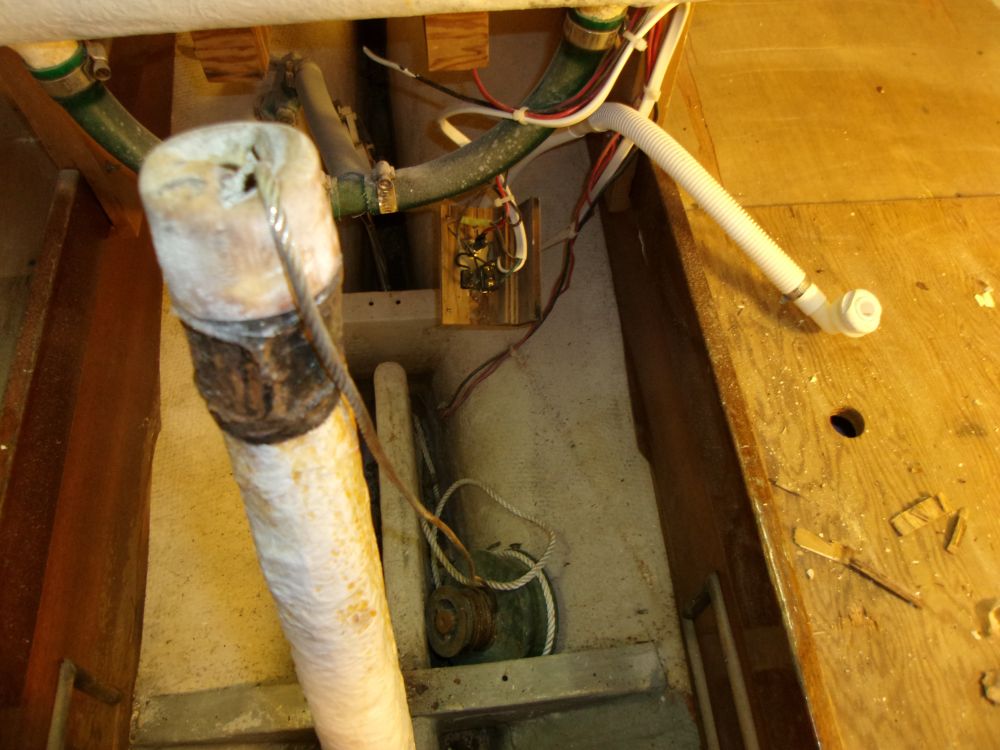
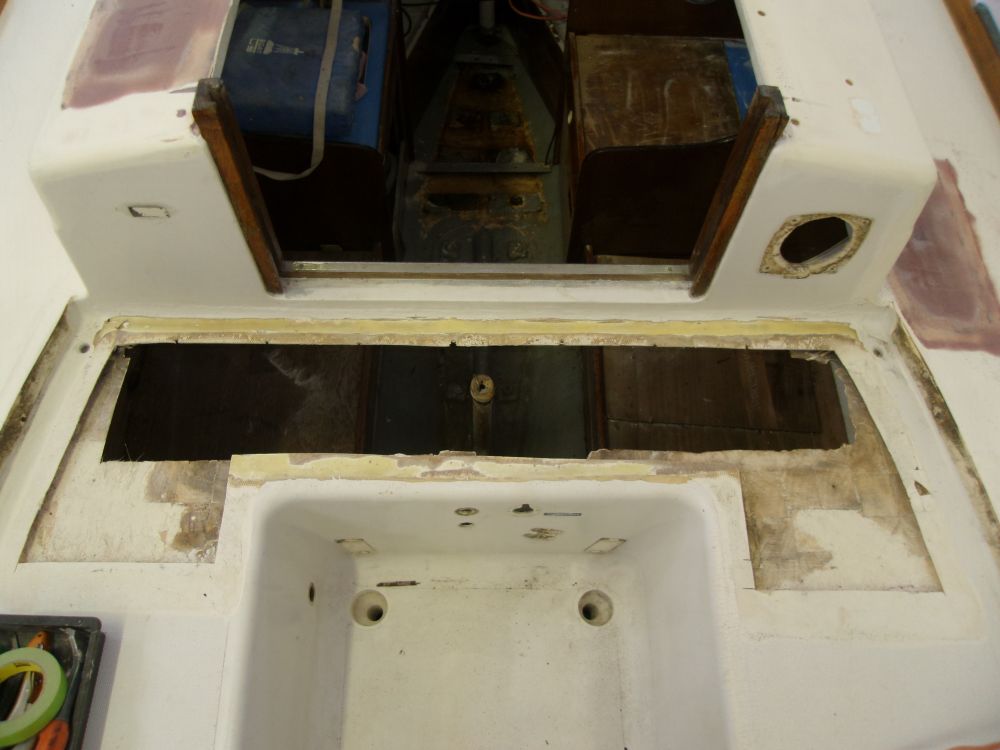
Now that the other recore repairs were sealed up and well on the way to completion, I turned my attention back to the bridgedeck, which would require major rebuilding. While I'd already dissected most of the area, a plywood panel beneath was still in place, held there by the centerboard drum assembly, so my first step was to remove this and its related components, which released the plywood and allowed me to remove it and clear the area so I could move forward with the repairs, which I'd begin shortly.
After final clean-up, I applied another coat of fairing filler to the coachroof, sidedecks, and poop deck repairs as required, aiming to smooth in the low areas. I also skim-coated the adjacent deck areas to help fill any small voids left from sanding the nonskid, and to fill small remainders of the old pattern where needed.
Total Time Billed on This Job Today: 7.75 hours
