 |
110 Cookson Lane | Whitefield, ME 04353 |
207-232-7600 |
tim@lackeysailing.com
|
| O'Day Daysailer 17 Hull Repair |
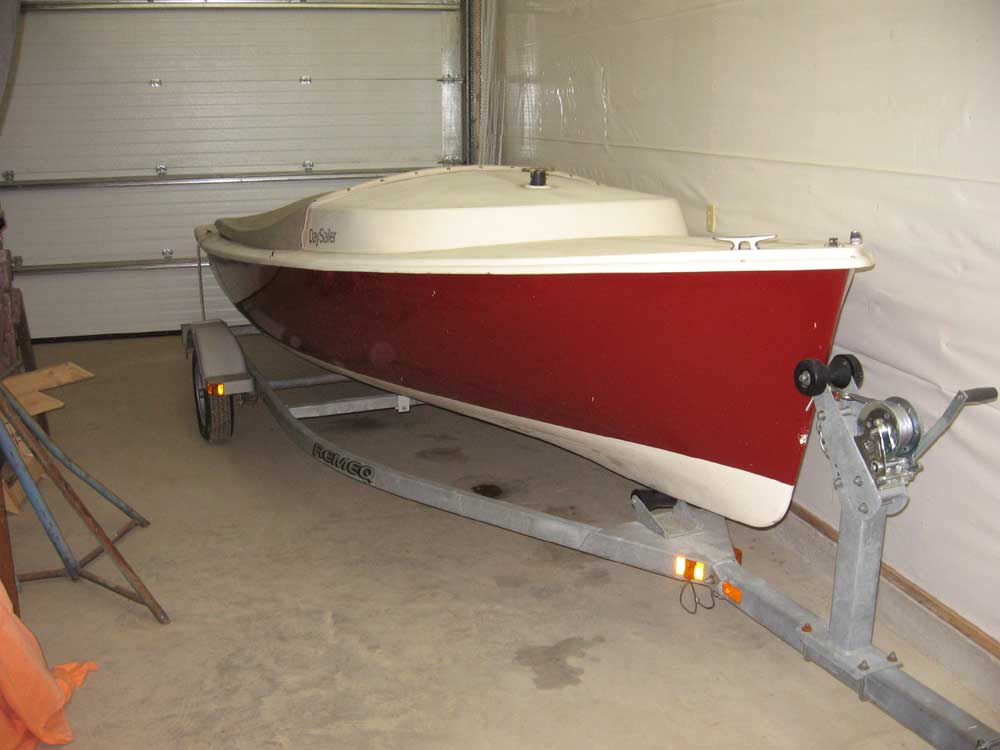
December 2006 - January 2007 Last winter, a tree
fell on this boat when it was stored at the owner's camp. The tree
broke the mast that had been stored on the boat, but the force of the
falling tree also forced the hull down onto the trailer bunks, which
created a short fracture on the port side of the hull aft, and also a
fracture inside the cockpit molding on the starboard side.
After the owner delivered the boat to
the shop, I began with a careful inspection of the damage, as well as
the surrounding hull. I noted a series of stress cracks in the
hull radiating from the trailer bunks, apparently a result of the same
impact from the tree, but they didn't seem to overly compromise the
hull's integrity. Once I prepared a repair estimate and received
the authorization to proceed, I moved the boat inside and prepared to
get underway.
|
|
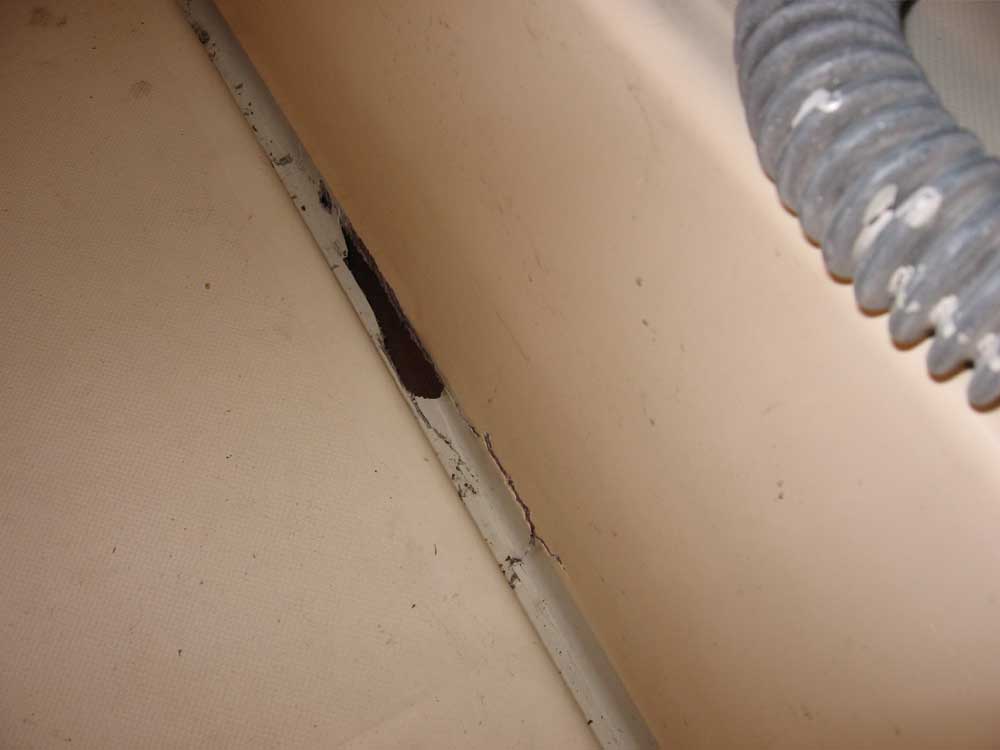
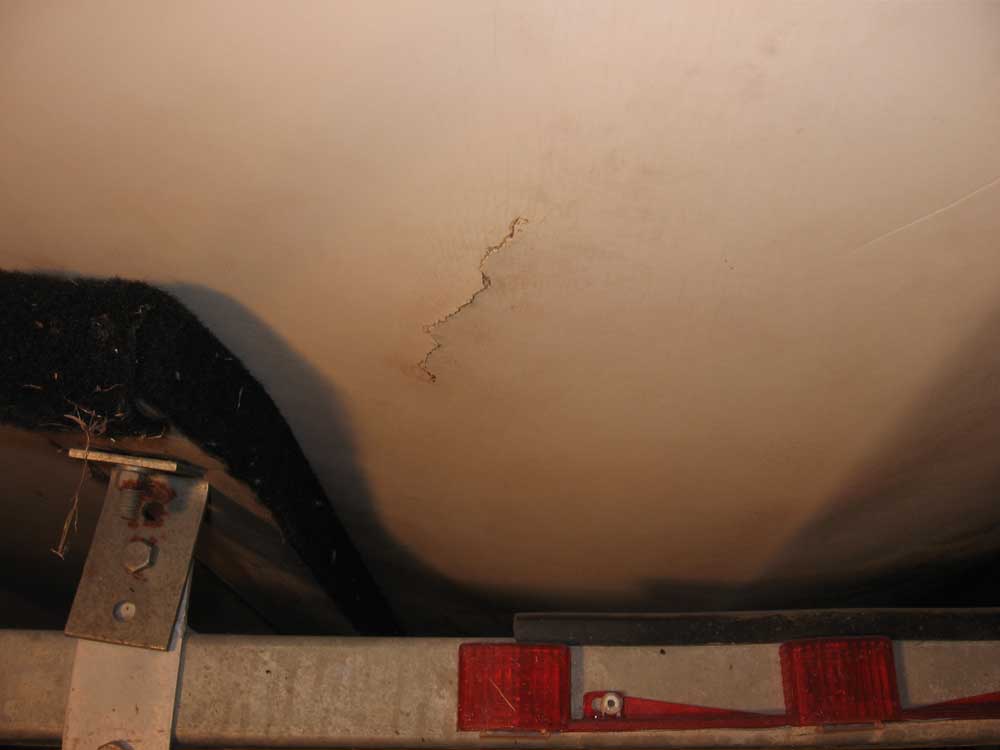
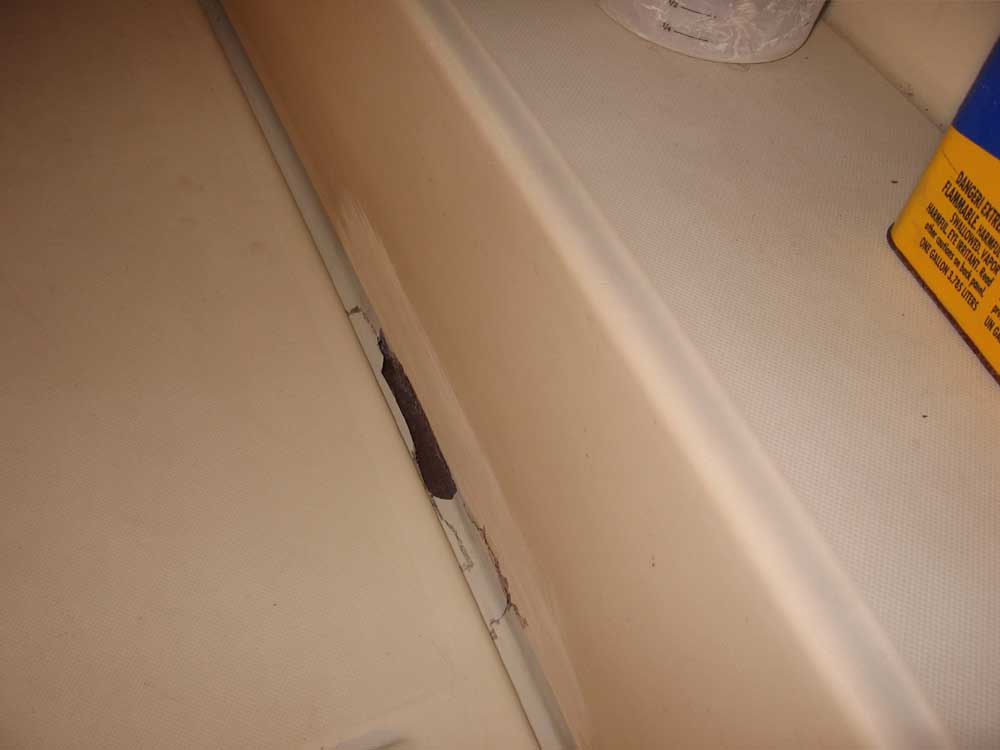
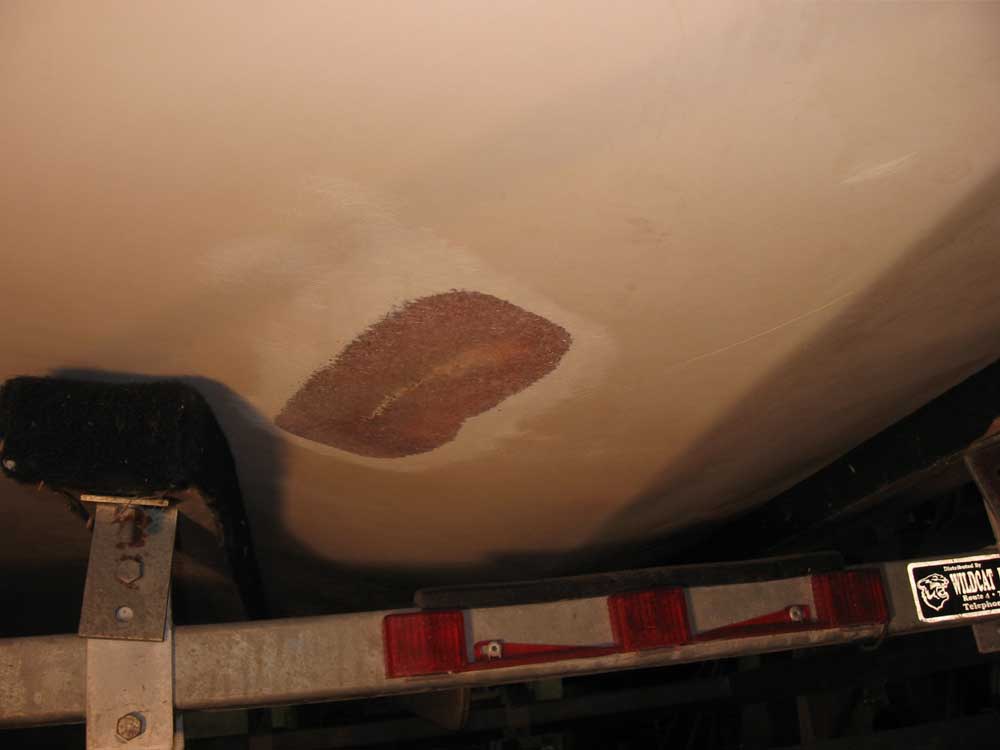
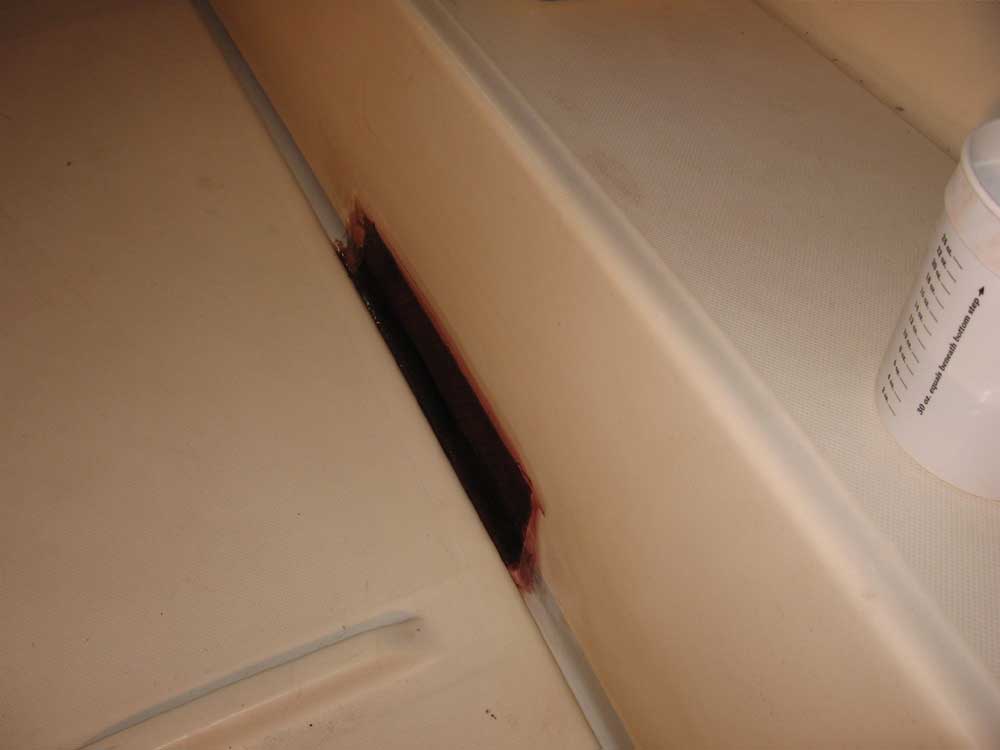
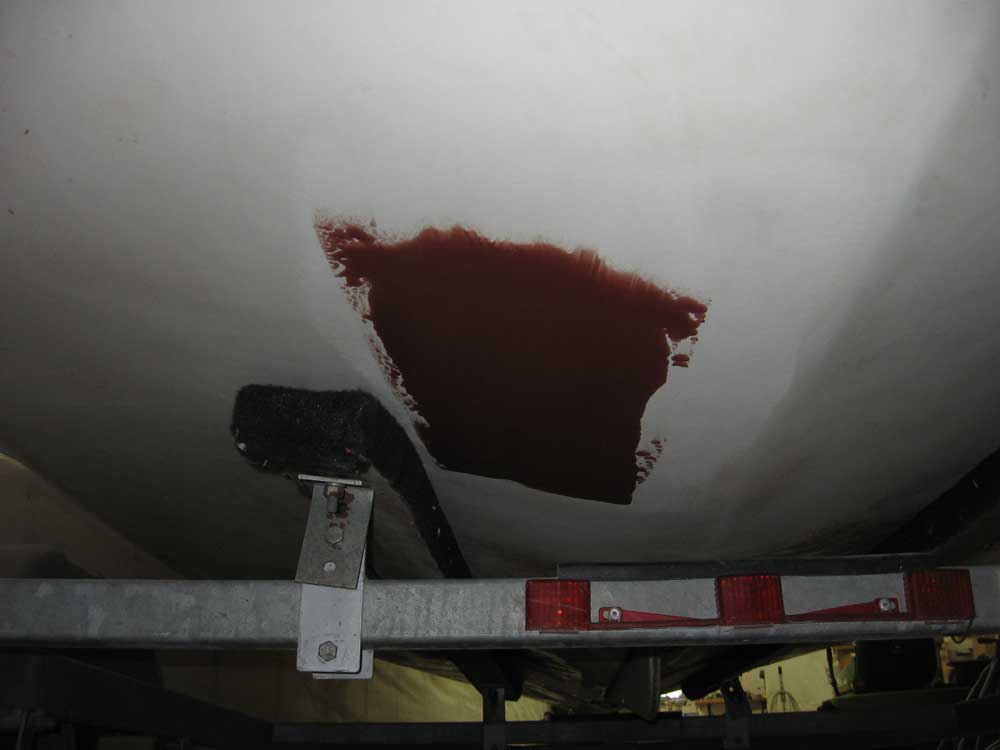
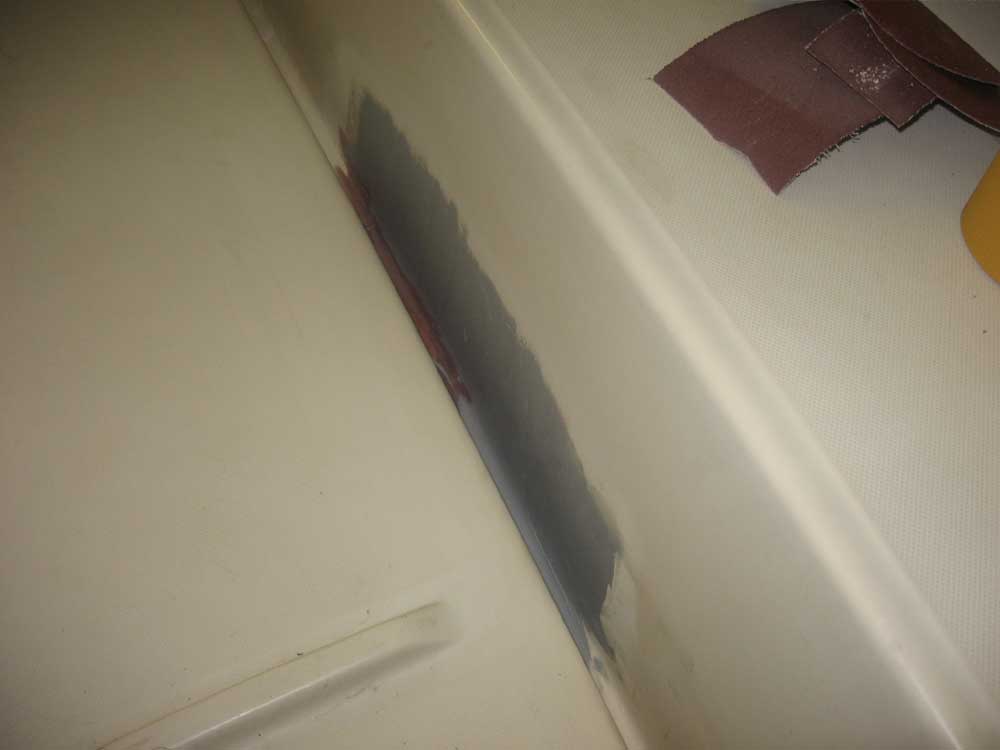
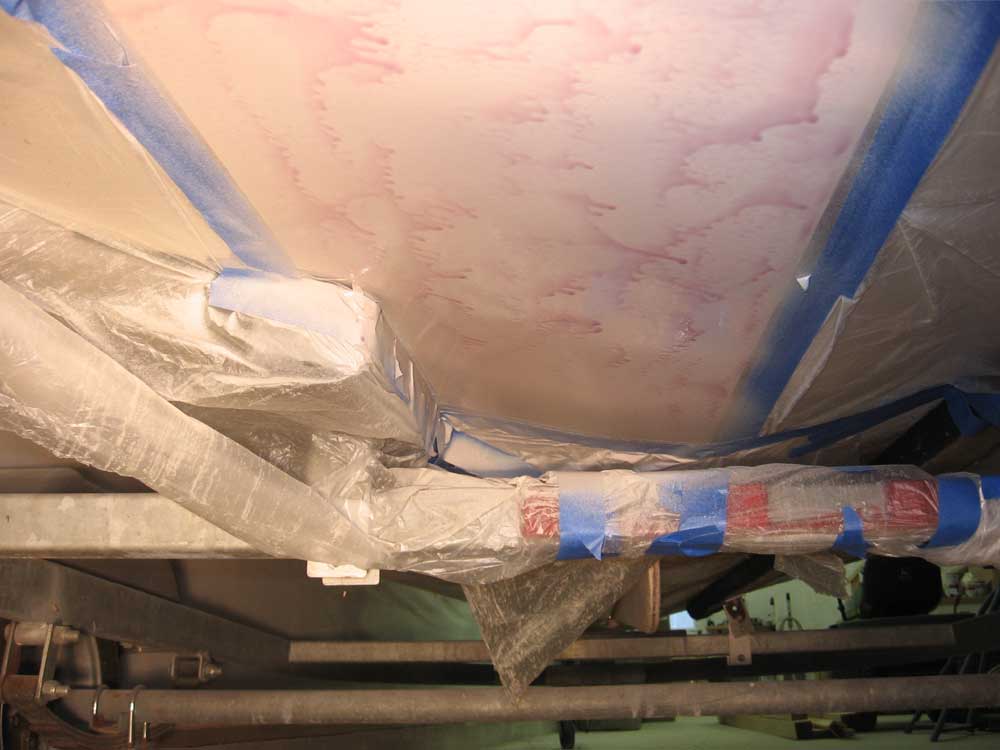
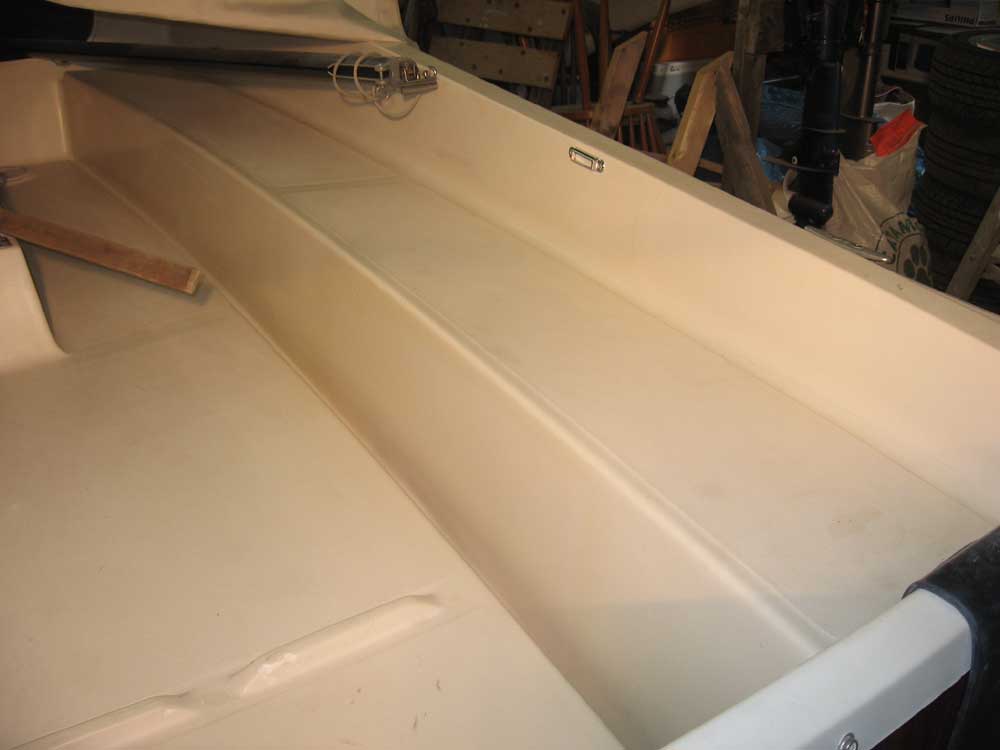
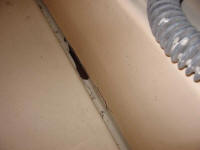
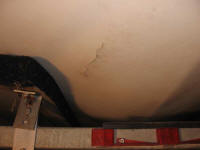
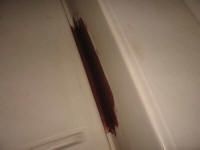
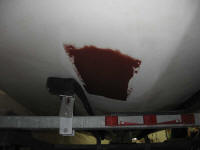
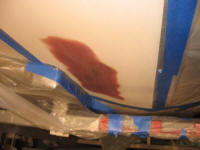
| These photos
show the cockpit (left) and hull (right) of the boat as she was when she
arrived here. The tree's impact shattered a portion of the
deck/cockpit molding in the gutter on the starboard side, about 24"
forward of the transom. The hull crack was on the port side of the
hull, about 12" from the centerline of the boat. |
 |
 |
|
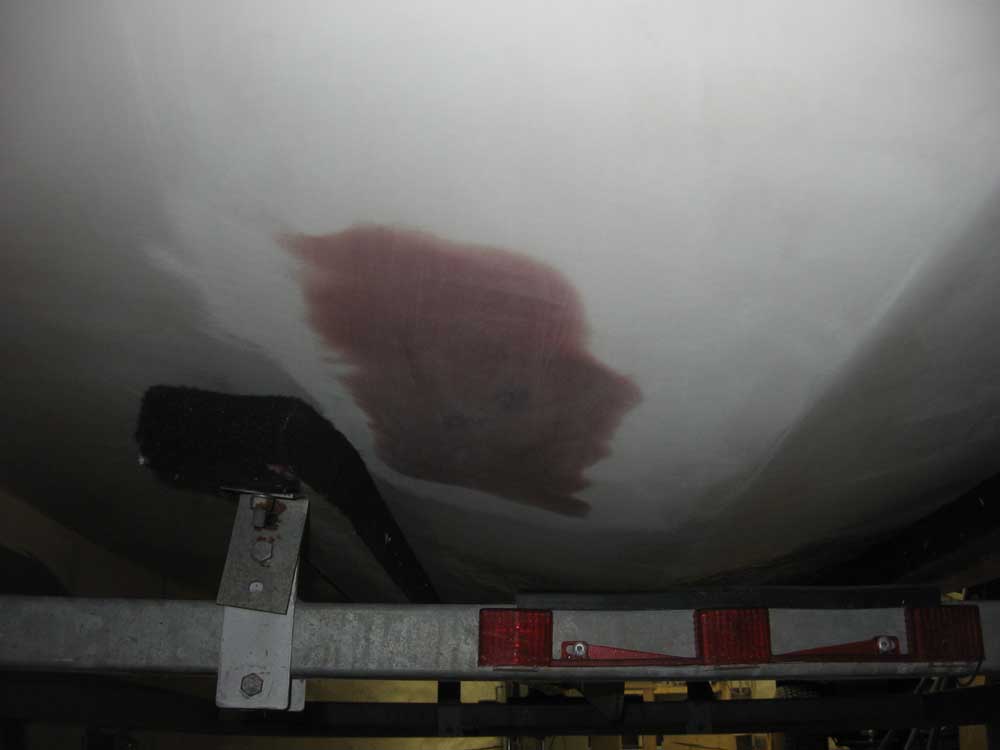
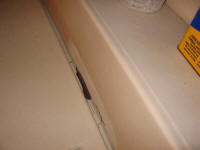
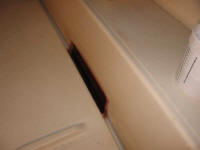
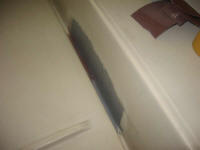
| To begin, I
first dewaxed and cleaned the two areas in question, and then ground
back the hull on either side of the crack, tapering the sanded area back
to gelcoat a few inches back.
In the cockpit, I couldn't machine
grind the area, as the gutter made the space too tight, so I hand-sanded
the area as required. I decided to simply span the entire
shattered area with new fiberglass. |
 |
 |
|
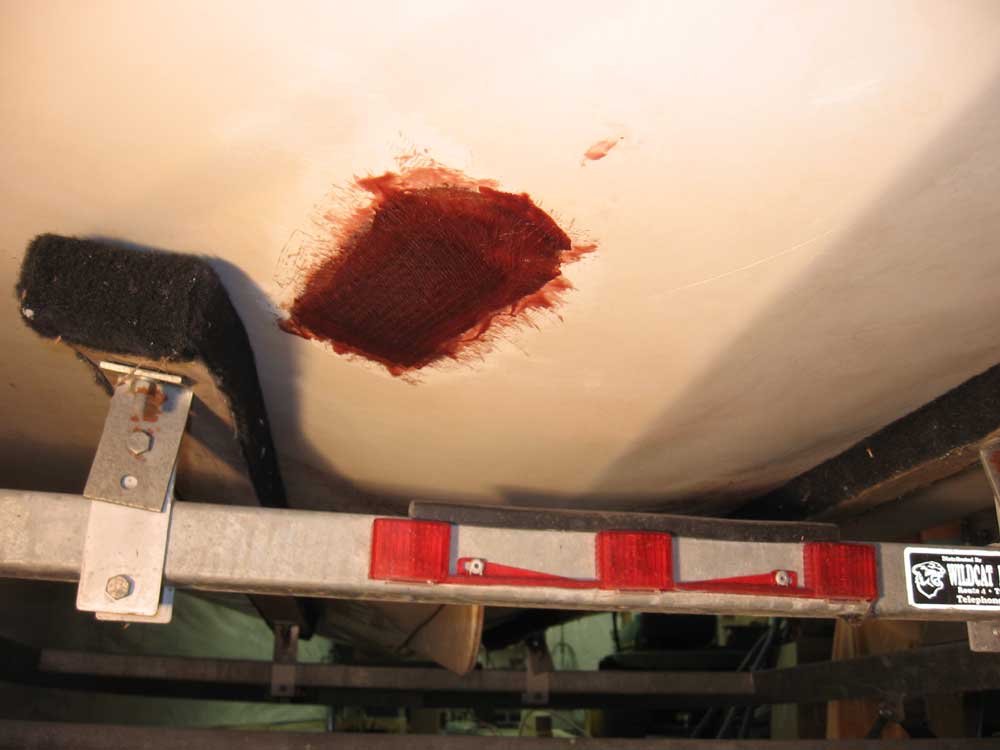
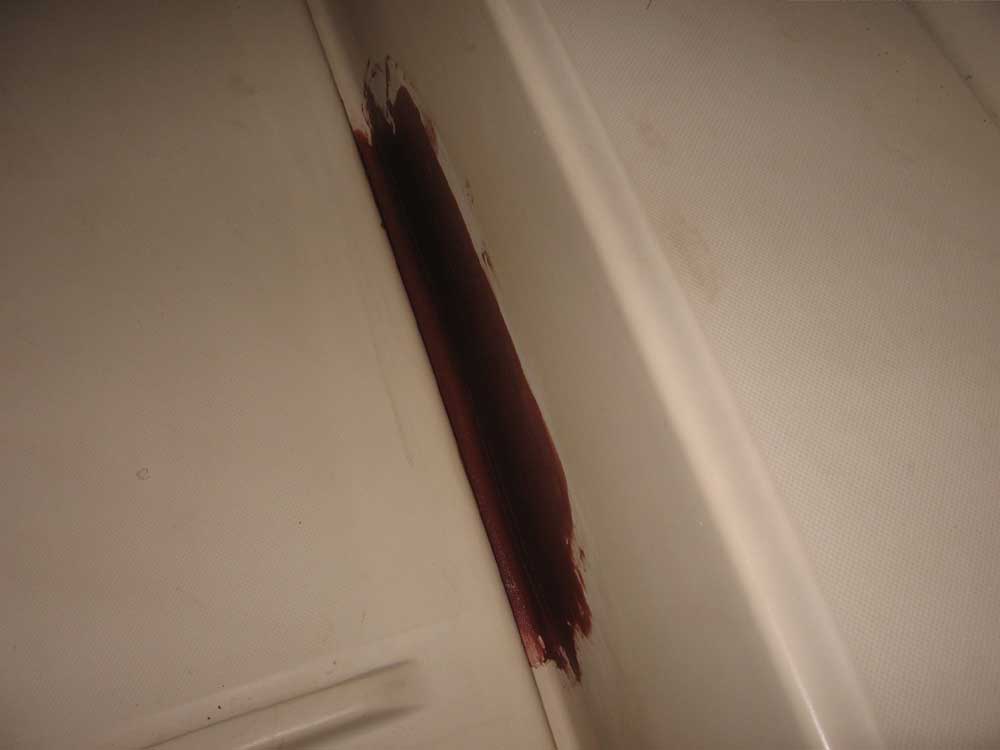
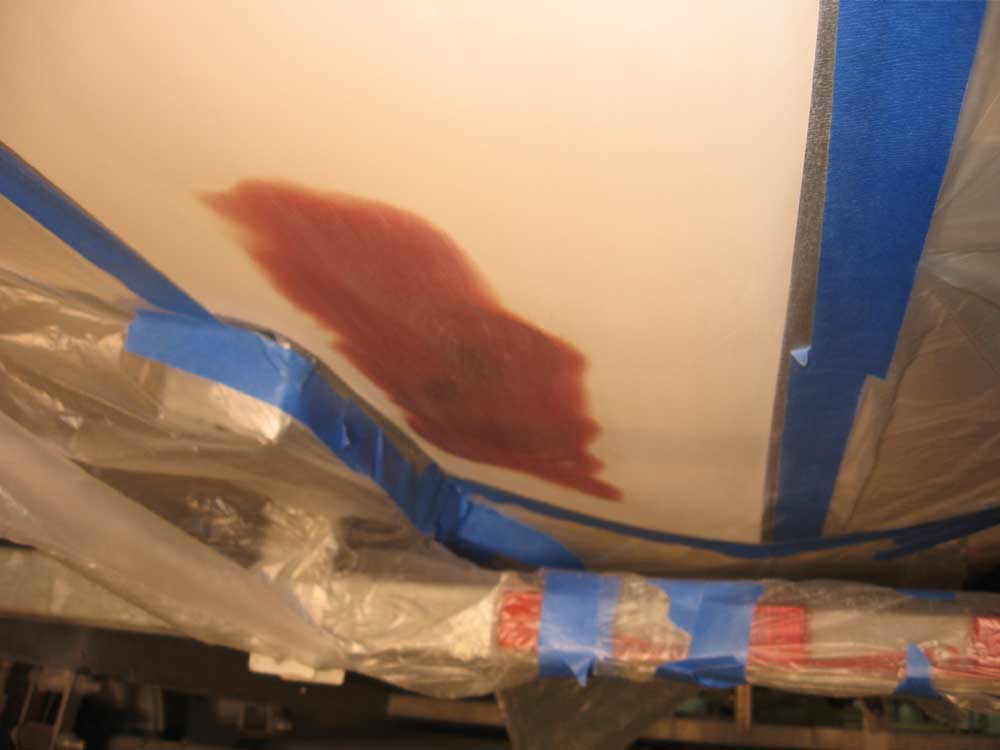
| With the prep
completed, I laminated new fiberglass in place, using epoxy resin and
biaxial cloth. On the hull, I installed two layers of biax,
overlapping each other, to make up the required thickness of the repair;
on the cockpit repair, I used only one layer, which was more than
sufficient given the original construction. |
 |
 |
|
| When the
fiberglass had cured overnight, I cleaned it and sanded to prepare for
fairing. Then, I troweled on a first coat of epoxy fairing
compound. |
 |
 |
|
| After sanding
the first coat, I troweled on a second coat of finer fairing material in
the cockpit to fill some pinholes and low areas. On the hull, a
second coat turned out to be unncessary. When this material cured,
I sanded both areas smooth and fair with the surrounding hull and
cockpit, adn then sealed the fairing compound with epoxy resin. |
 |
 |
|
| When the
resin overcoat had cured, I sanded both areas smooth with 220 grit
paper, and prepared to gelcoat both areas. With proper mechanical
preparation and technique, polyester gelcoat can be succcessfully used
over epoxy-based repairs. I followed the guidelines precisely, and
sanded the repairs and a wider surrounding area with up to 320 grit
paper. |
 |
 |
|
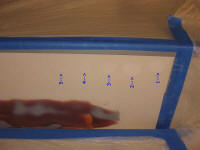
| I prepared a
batch of color-matched gelcoat, refraining from mixing in the catalyst
until I had mixed the color properly. Since curing tends to change
the color of gelcoat somewhat, I dabbed small bits of the mix on the
repair area to allow the basic solvents in the uncatalyzed gelcoat to
flash off, closely replicating its cured color. From right to left
in this photo can be seen the 5 stages of the color adjustment required,
as I added only tiny amounts of coloration to the white base gelcoat
with each addition. |
 |
|
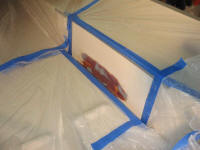
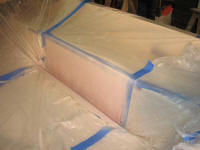
| Once I was
satisfied with the color mix, I catalyzed the gelcoat, thinned it for
spraying, and applied several coats to the repair using a small sprayer.
I started with the actual repaired area, and slowly widened the sprayed
area with each coat, gradually tapering and blending the gelcoat with
the surrounding areas. When I had applied sufficient thickness, I
oversprayed the repairs with PVA, since gelcoat won't fully cure in the
presence of air. The PVA forms a light film and isolates the
surface beneath from air. |
 |
 |
|
| Once the
repair was fully cured, I washed off the PVA with water, and then
wetsanded the repairs with 320, 400, 600, 1000, and 2000 grit sandpaper,
carefully blending the seam in with the surrounding original gelcoat and
removing the orange peel from the spray application. Then, I
buffed out the repairs using a 3-stage process. The newly repaired
areas were virtually indistinguishable from the surrounding, aged
gelcoat. |
 |
 |
|

|