
110 Cookson Lane | Whitefield, ME 04353 | 207-232-7600 | tim@lackeysailing.com
Khasanah | Saturday, March 30, 2013
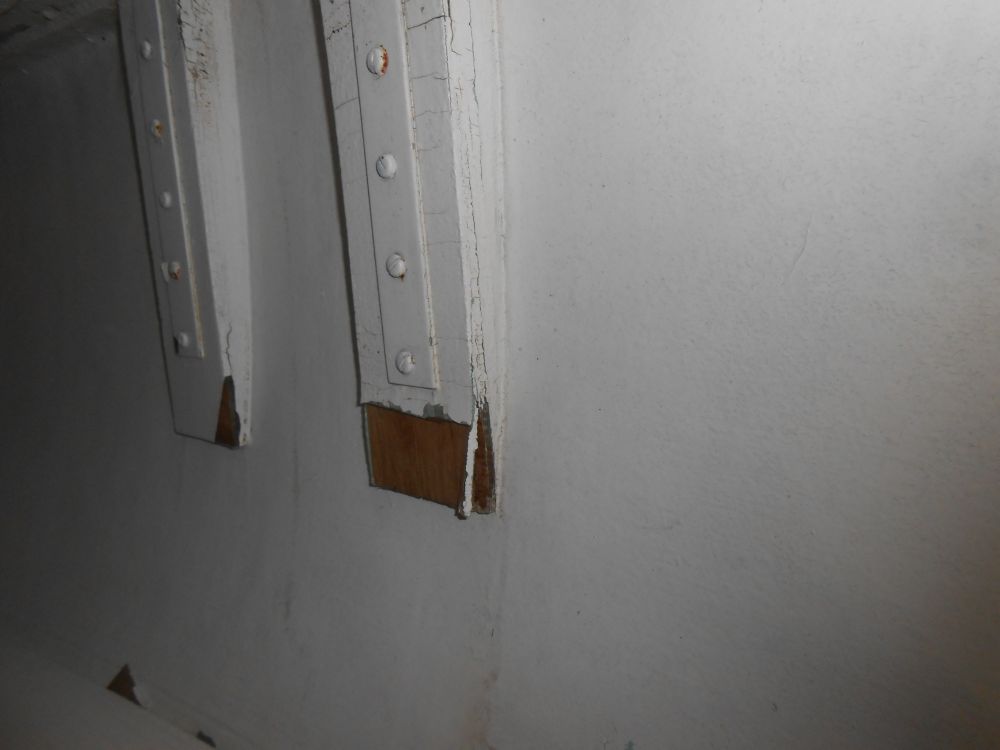
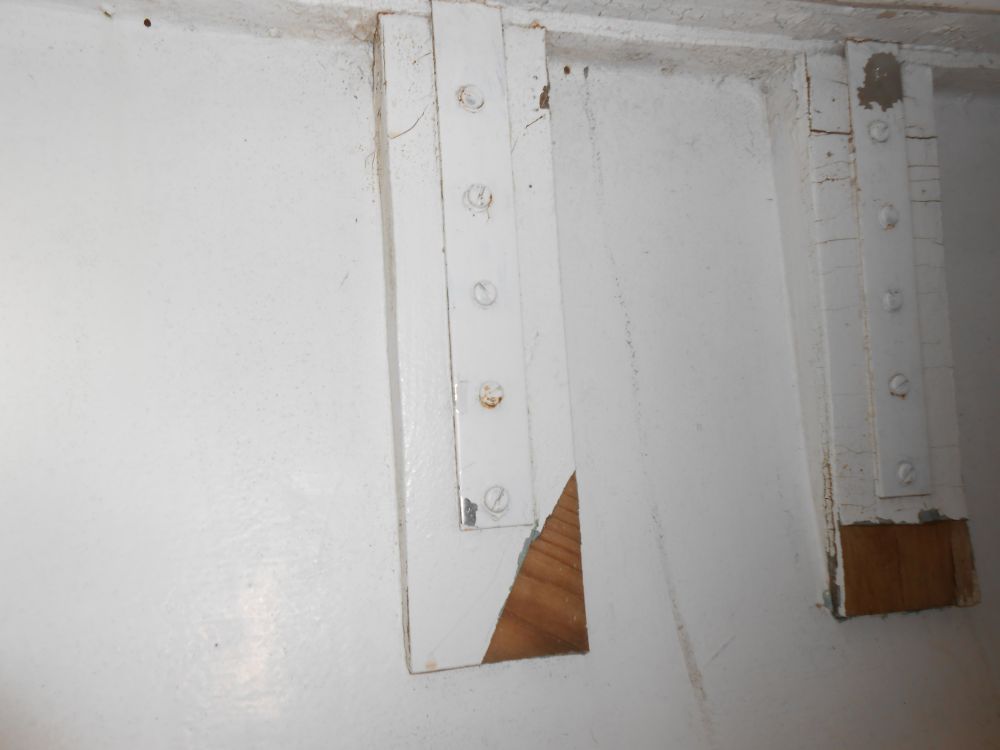
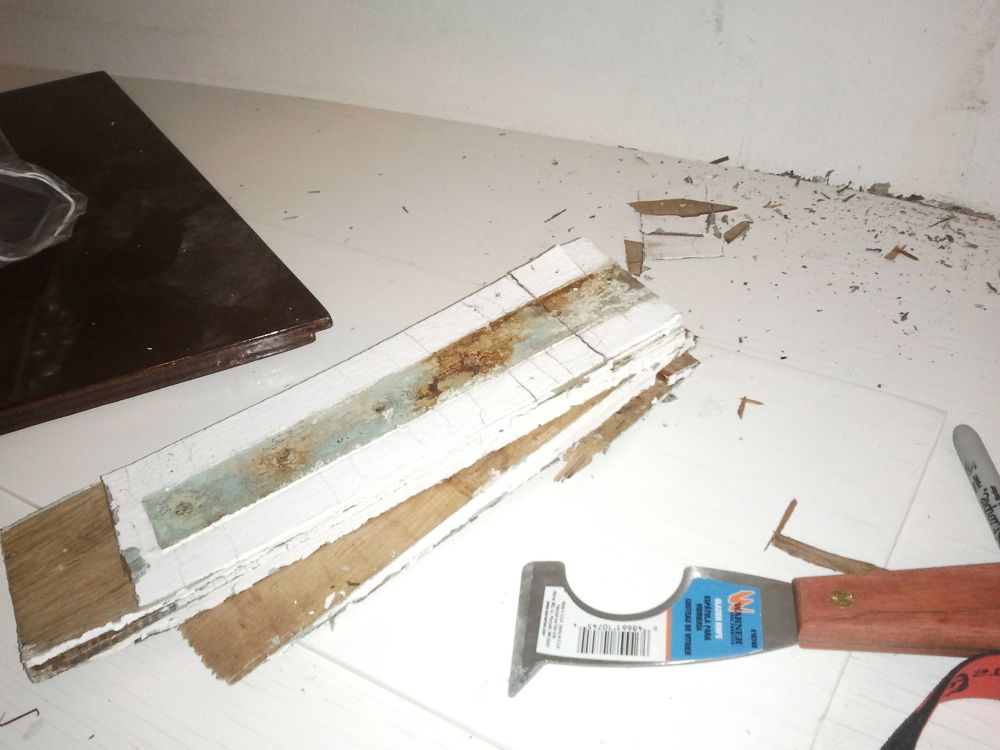
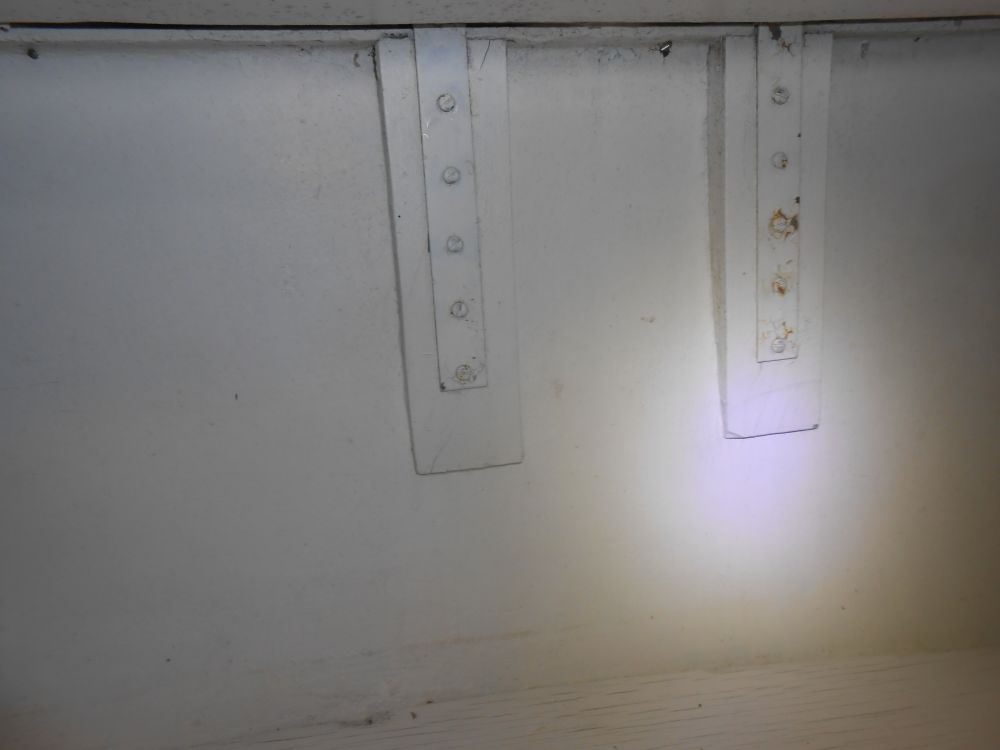
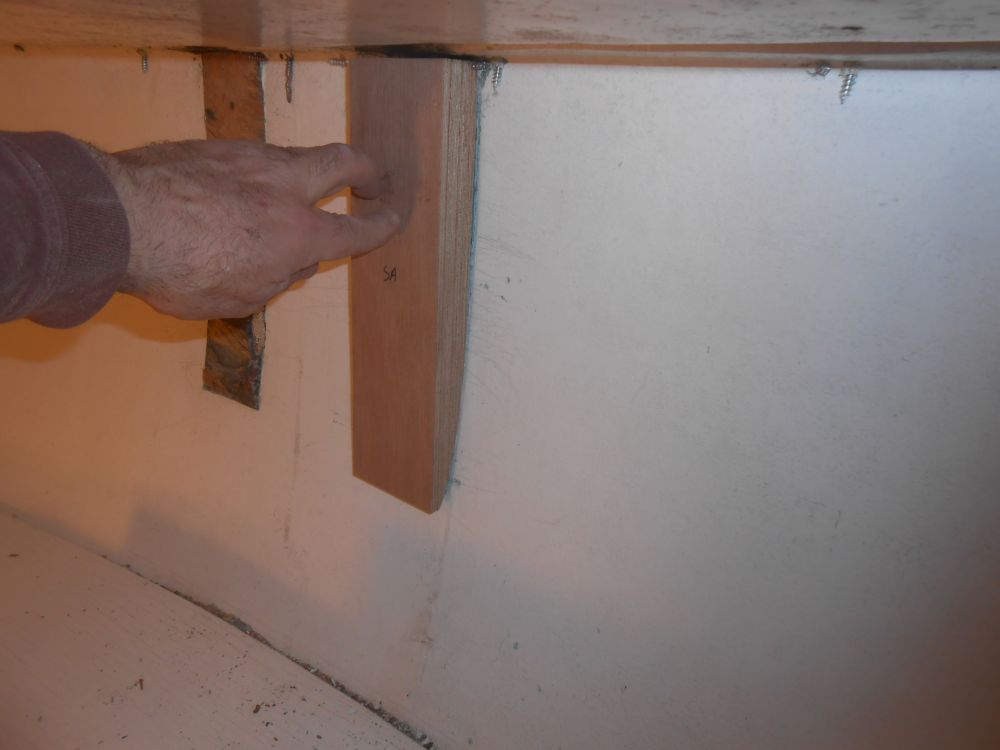
One of the items on the work list was to deal with the original backing blocks for the chainplates. On this boat, the chainplates passed through the deck and were secured with screws to plywood blocks glued to the hull and beneath the deck flange. There were signs of plywood delamination on at least one of the blocks, which prompted the need for a careful inspection of all four.
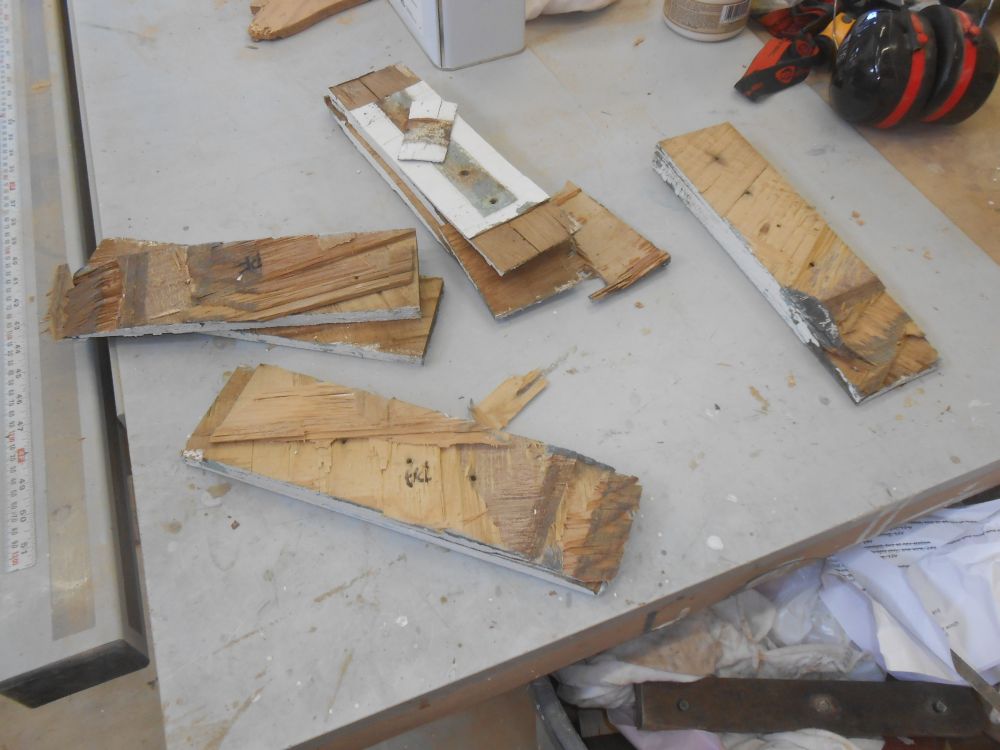
During an inspection at the early stages of the project, at which time I removed the starboard aft block--the worst of the four to start--as part of the inspection, I determined that both starboard blocks were delaminating and required replacement. The fir plywood simply fell apart into its individual laminations when I removed the block, displaying a generally total failure of its original internal bonds. There was no moisture involved in this failure, as the plywood and surrounding areas were dry and unstained.
While the port side appeared sound for the moment, the owner chose to have me replace those as well.
During the week, I made some advance preparations for the new chainplate backing blocks. From marine plywood and epoxy, I laminated a thick blank long and wide enough for the job.
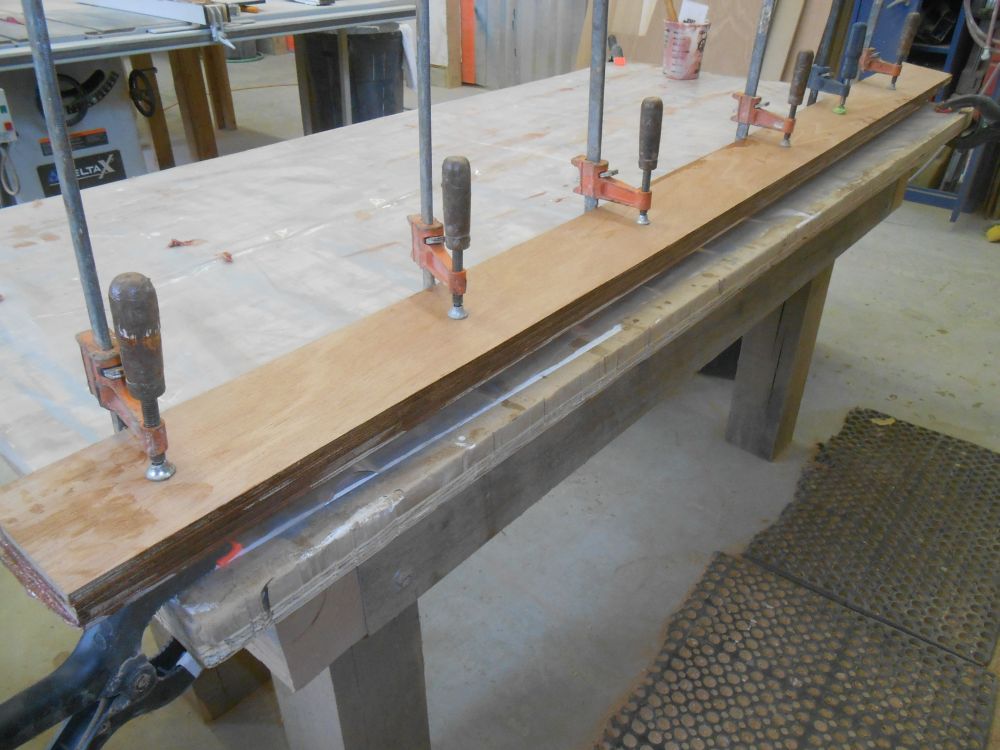
Later, when the blank had cured, I trimmed it to its final width, and cut four pieces to the proper length, using the original block as a guide.
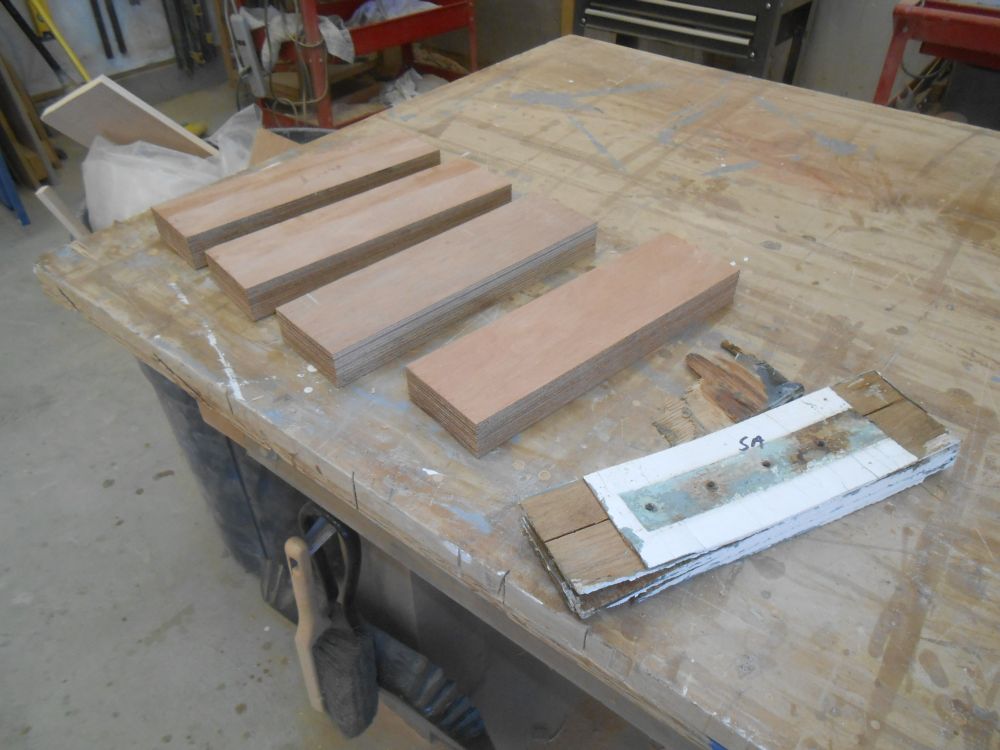
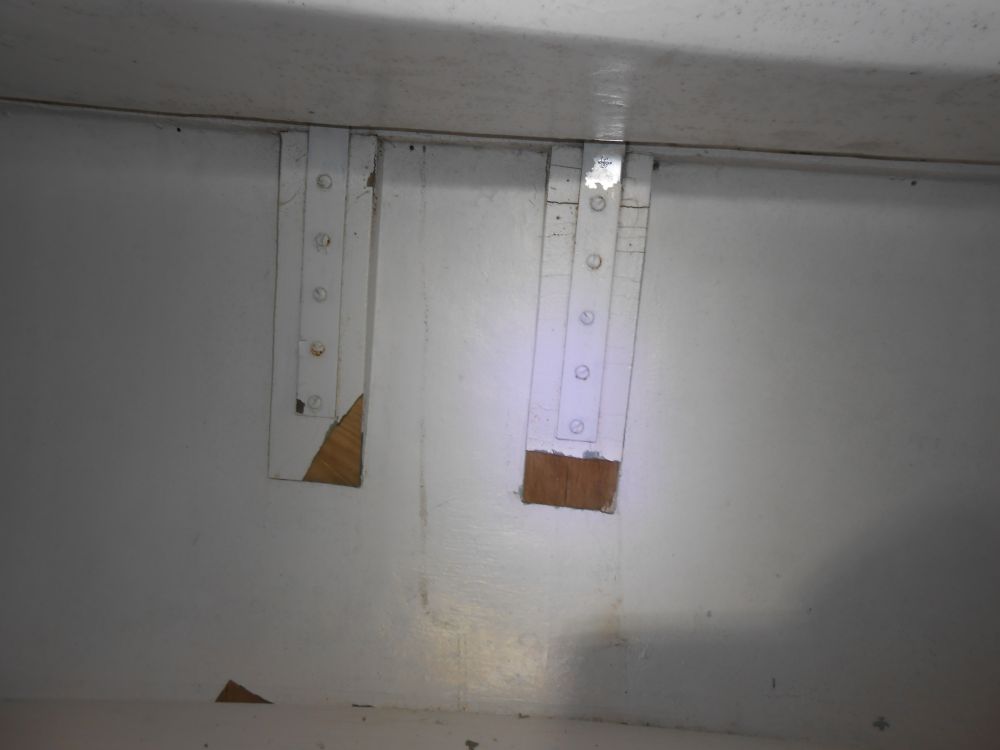
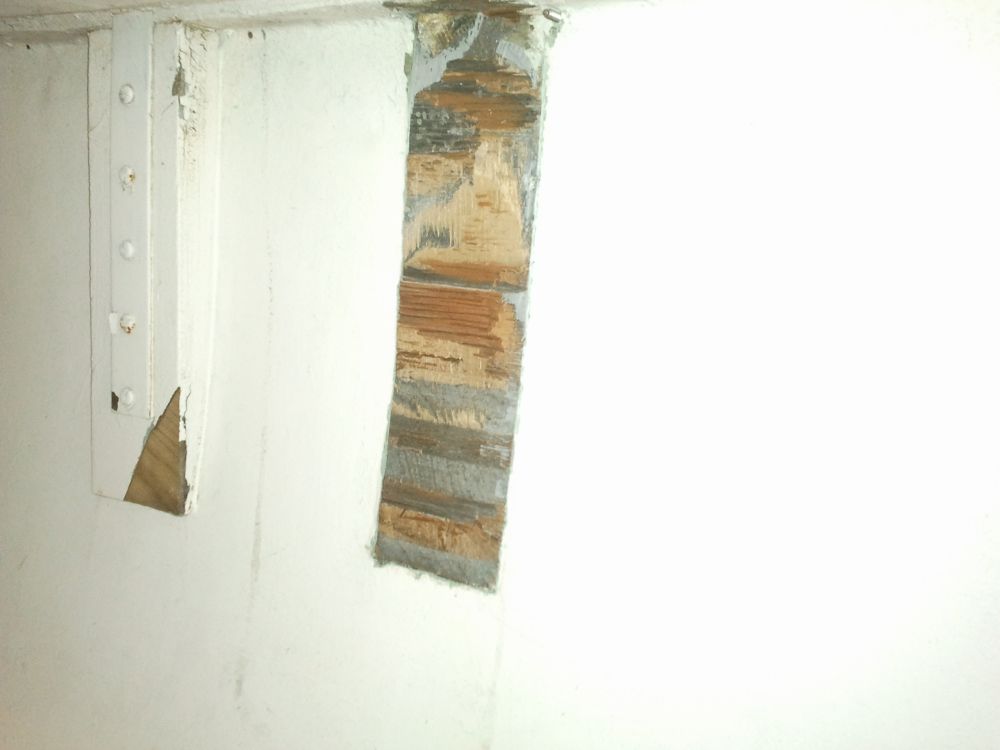
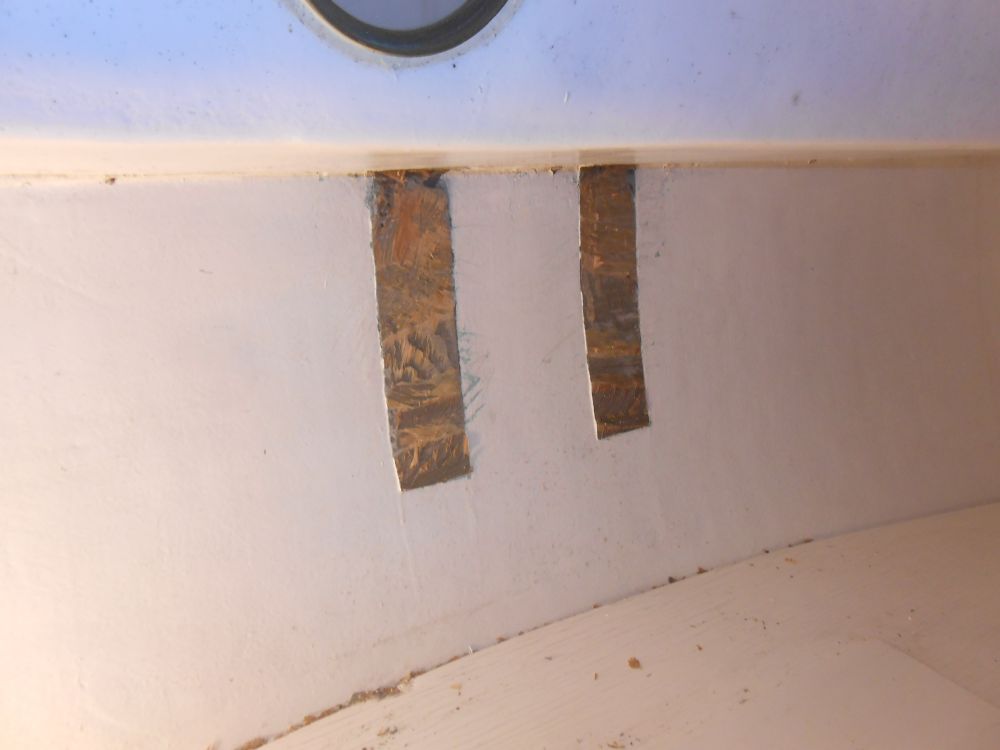
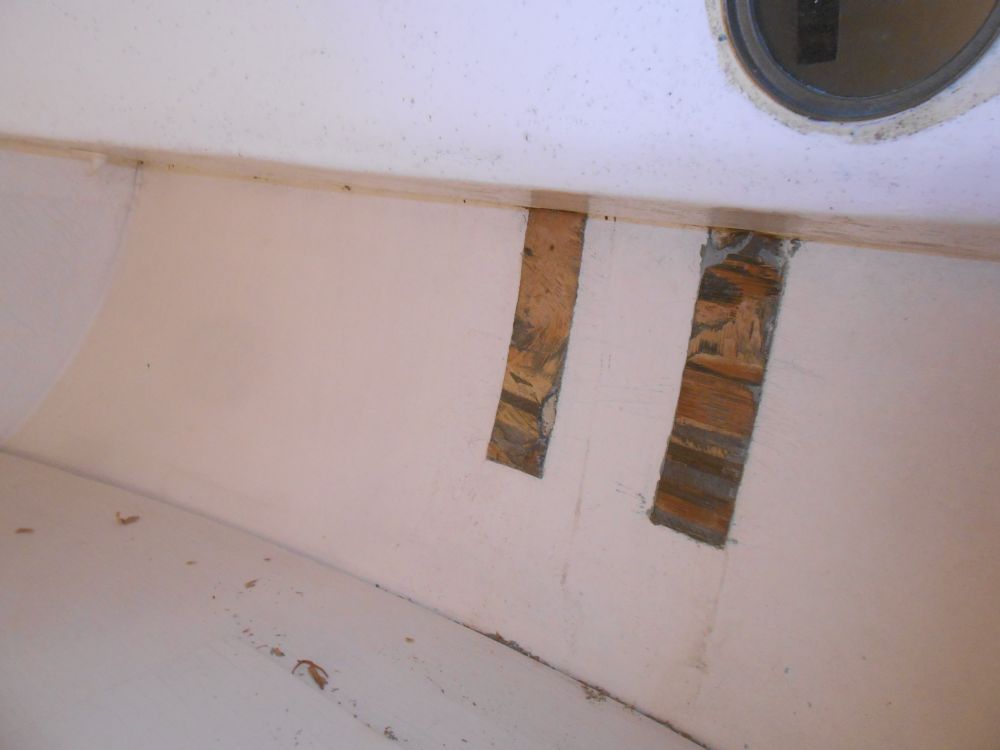
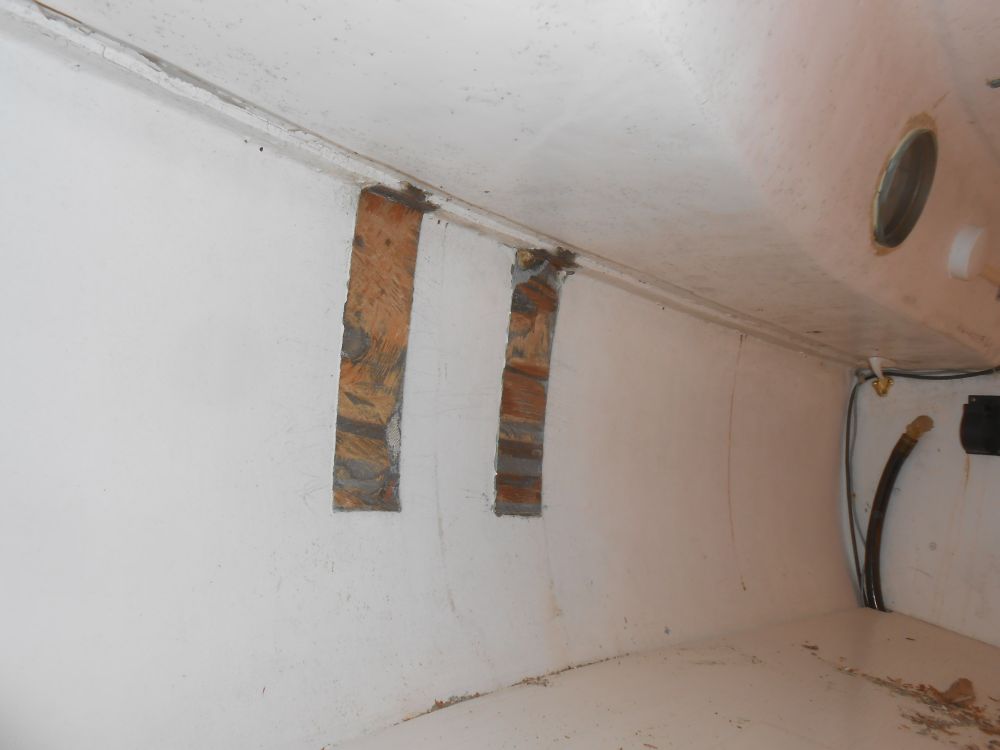
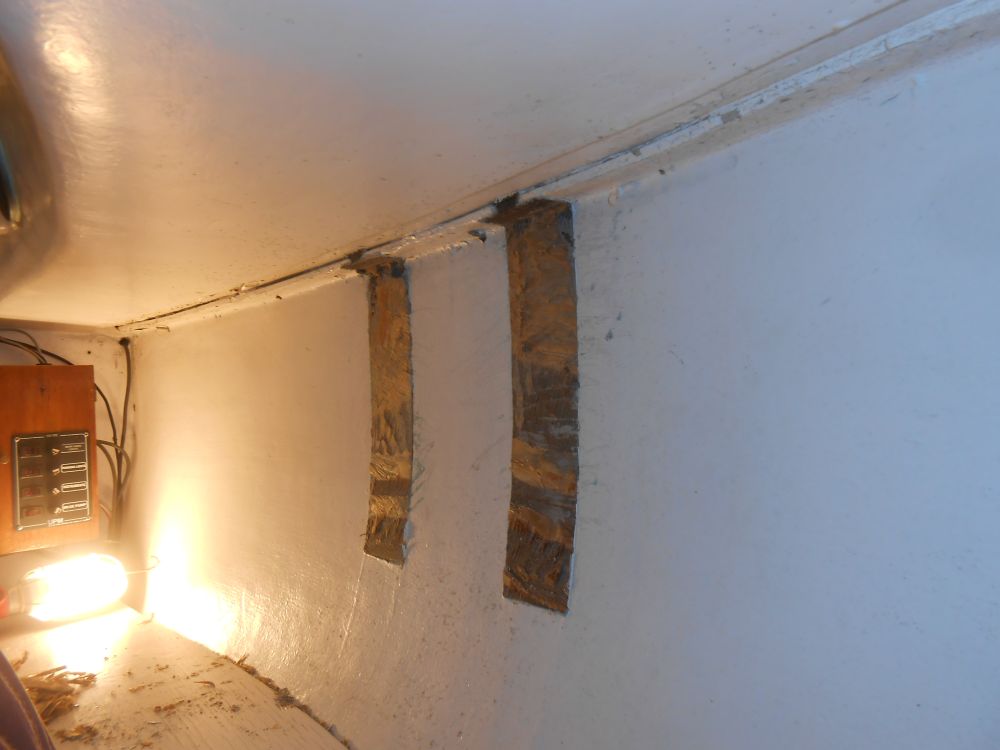
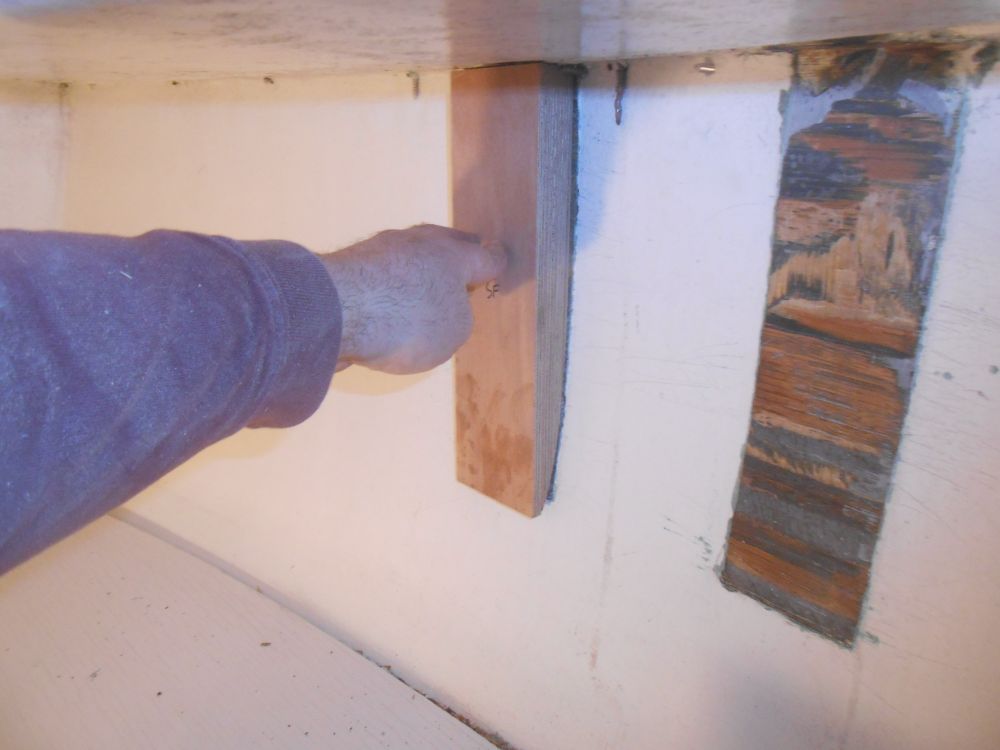
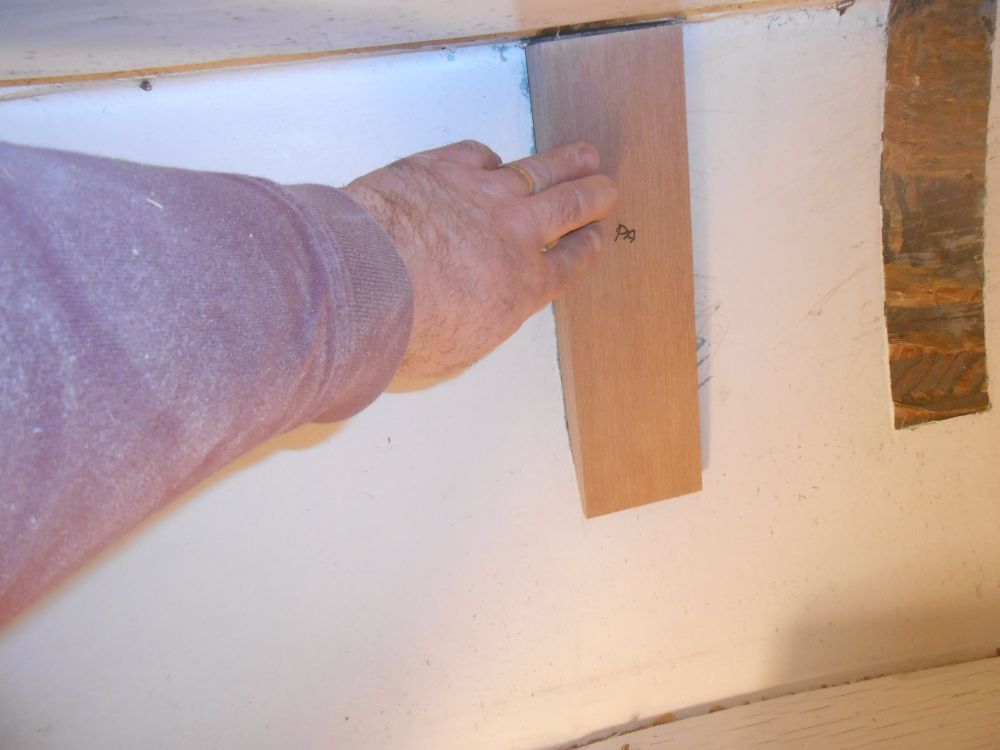
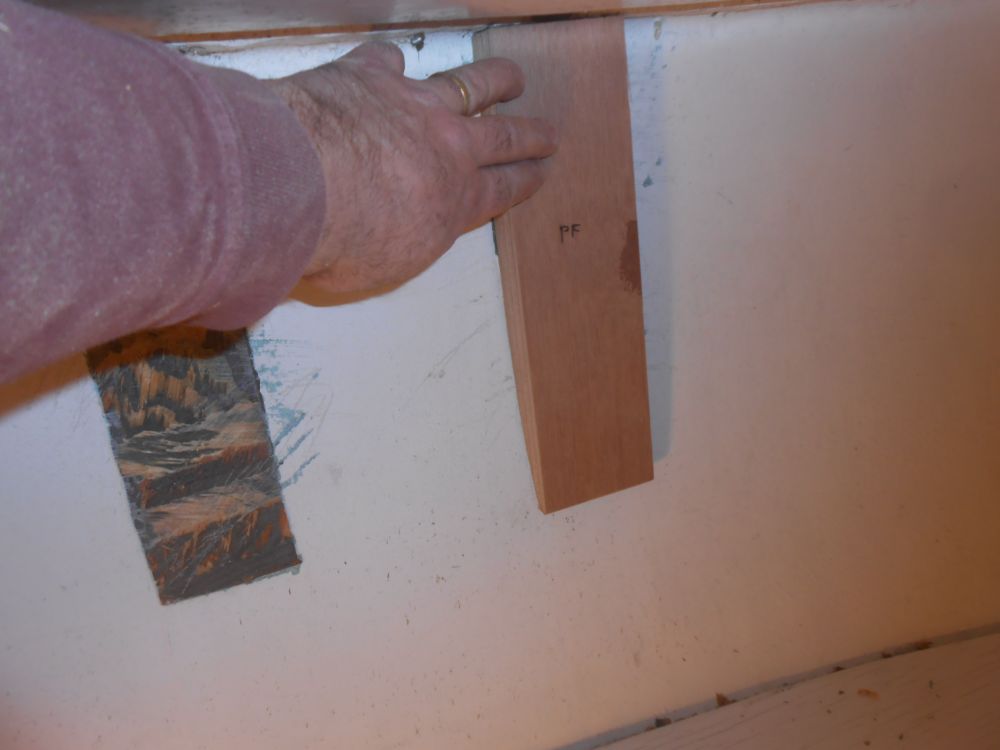
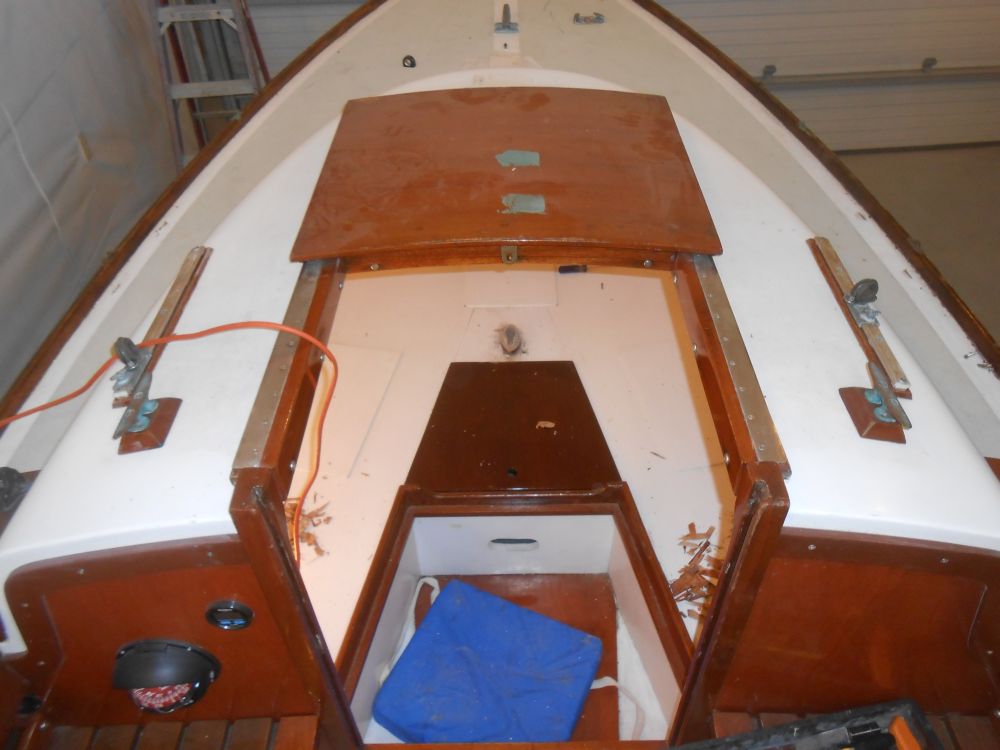
Back in the boat, I removed the remaining three chainplates and blocks. As with the first, the plywood in all cases simply fell apart into its component layers, no doubt exacerbated by the removal process but showing that all four locations were eventually bound for failure otherwise. I managed to save one of the originals intact enough to use as a guide for shaping the new blocks to fit the hull. For the moment, I left the adhesive and plywood residue behind on the hull, but before installing the new pieces I'd grind these areas smooth.
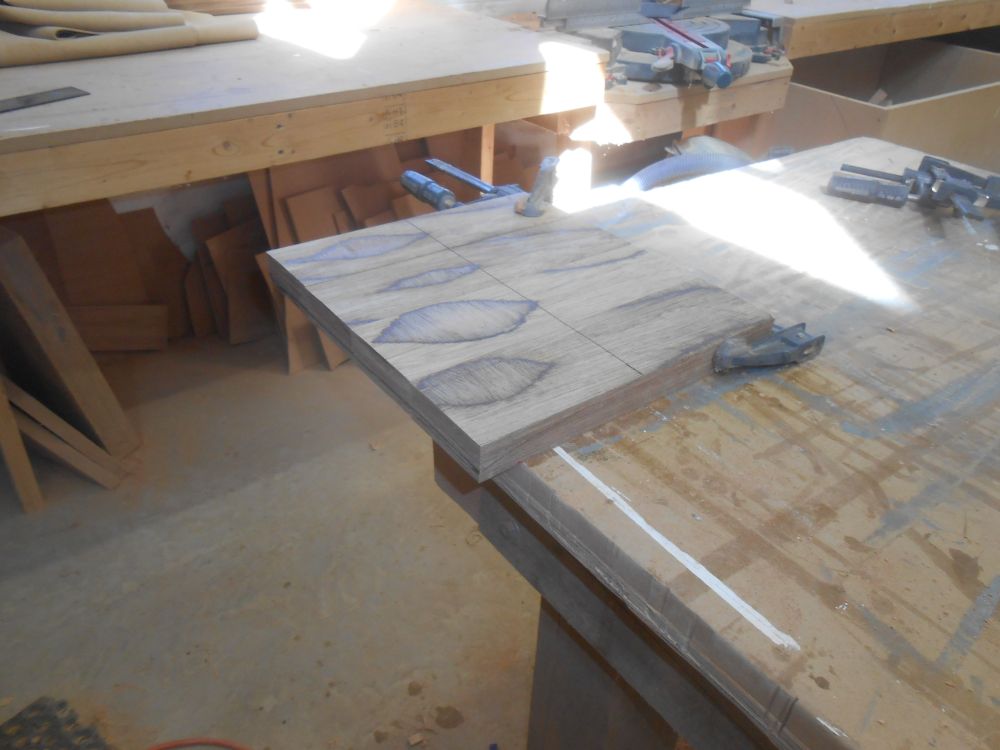
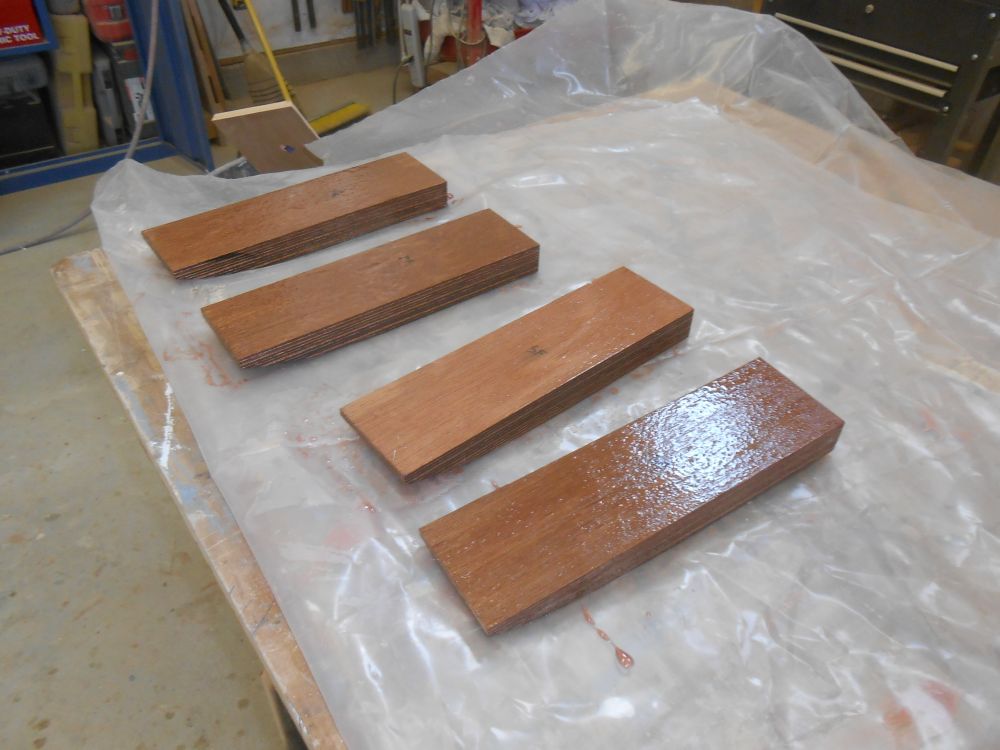
On the bench, I ganged together the four new laminated blocks and, using the most intact of the original pieces as a guide, shaped the new pieces as needed to accommodate the shape of the hull.
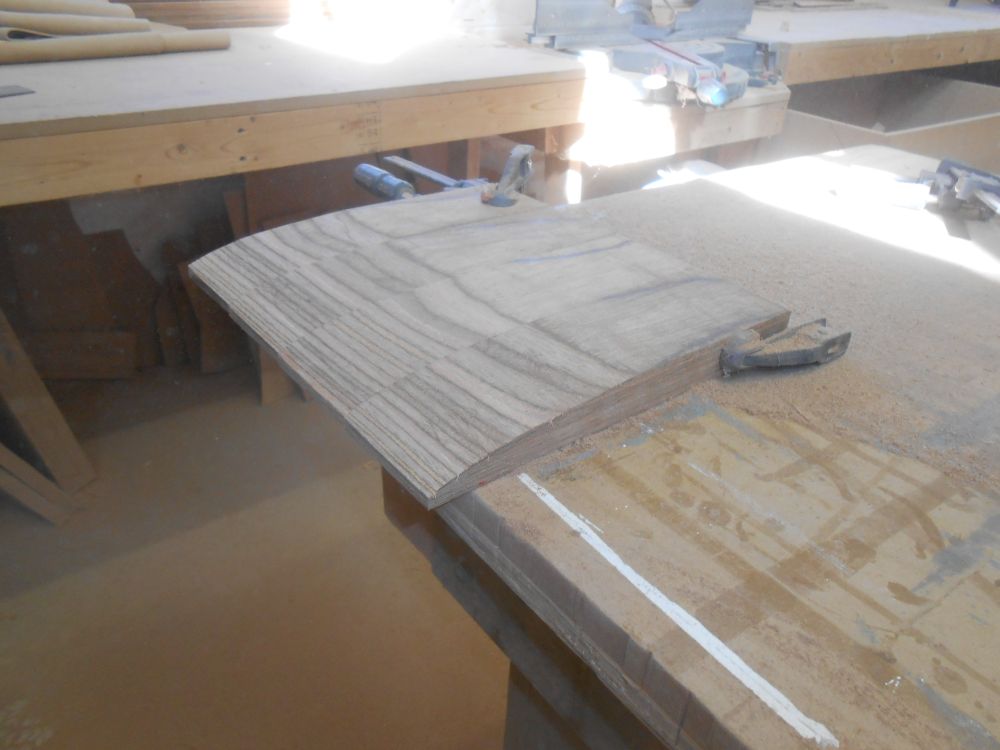
Finally, I coated all sides of the new plywood blocks with epoxy and set them aside.
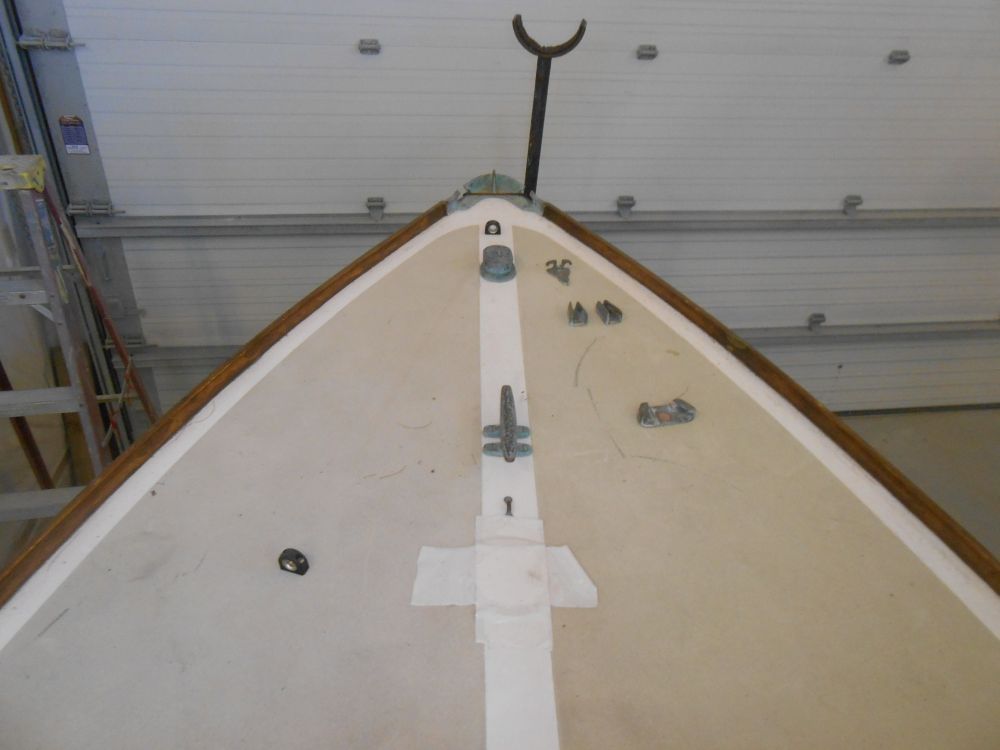
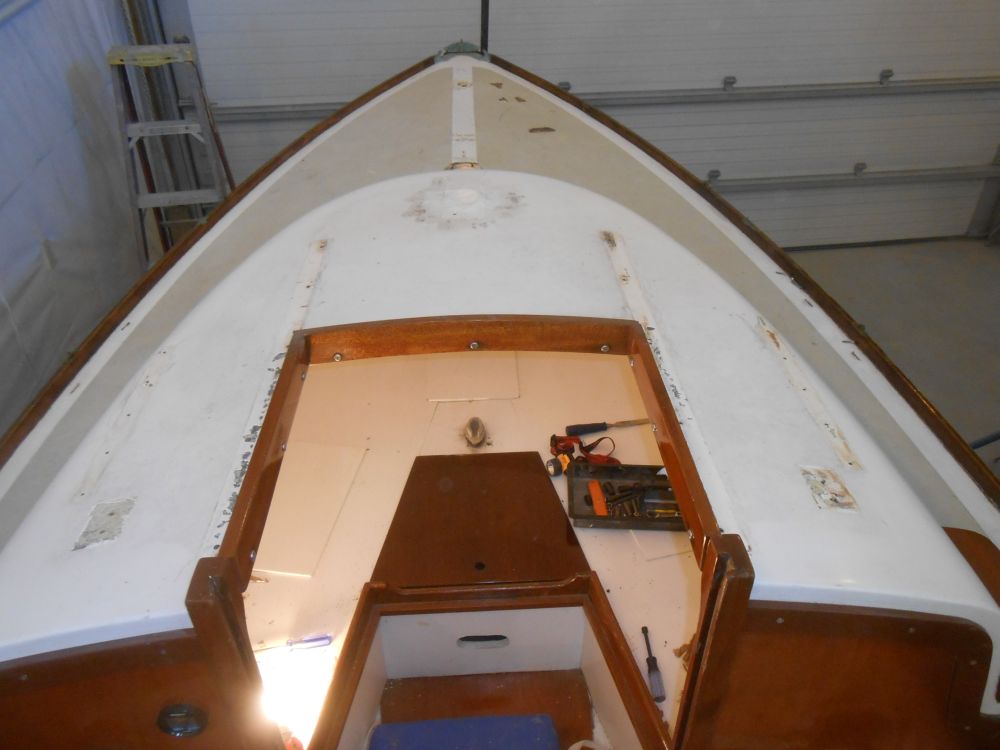
The owner requested that I rebed all the deck hardware and replace or install backing blocks as necessary. The original installations were generally in good condition. Beginning on the foredeck and working my way aft, I removed all the hardware, including the companionway hatch and its runners. I'd order new fasteners and make other preparations before reinstalling the hardware.
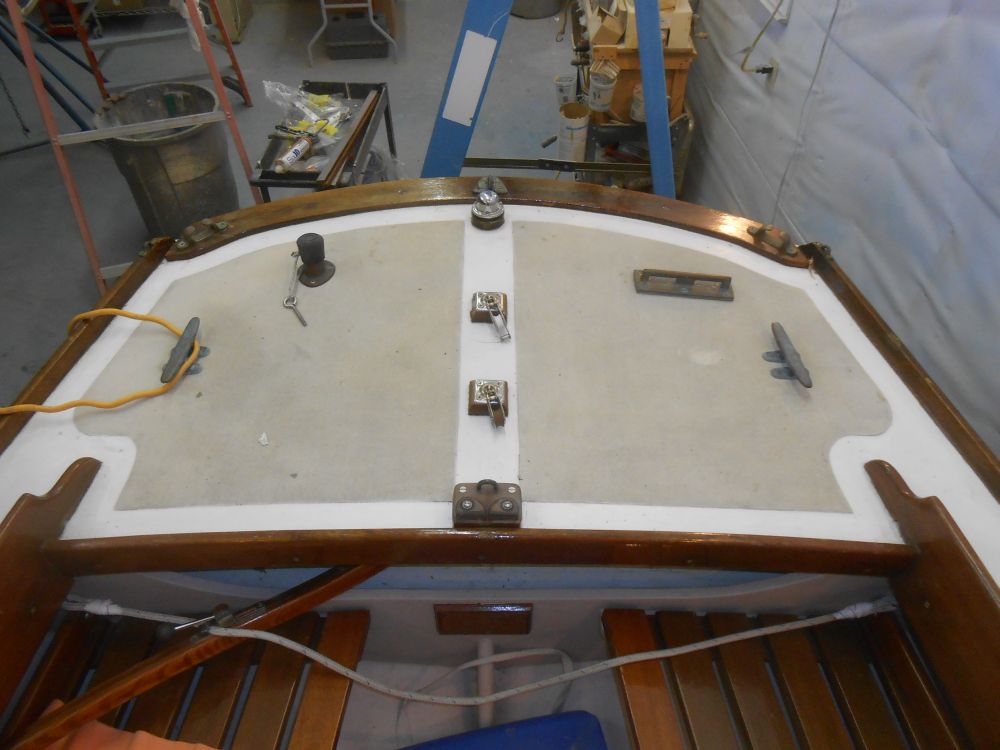
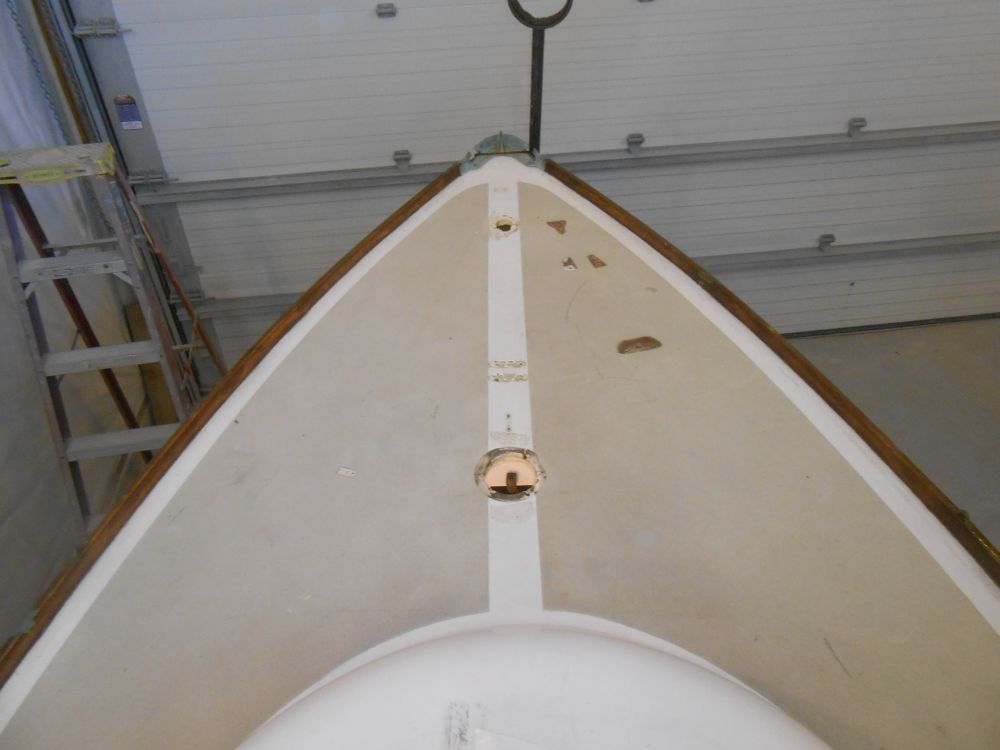
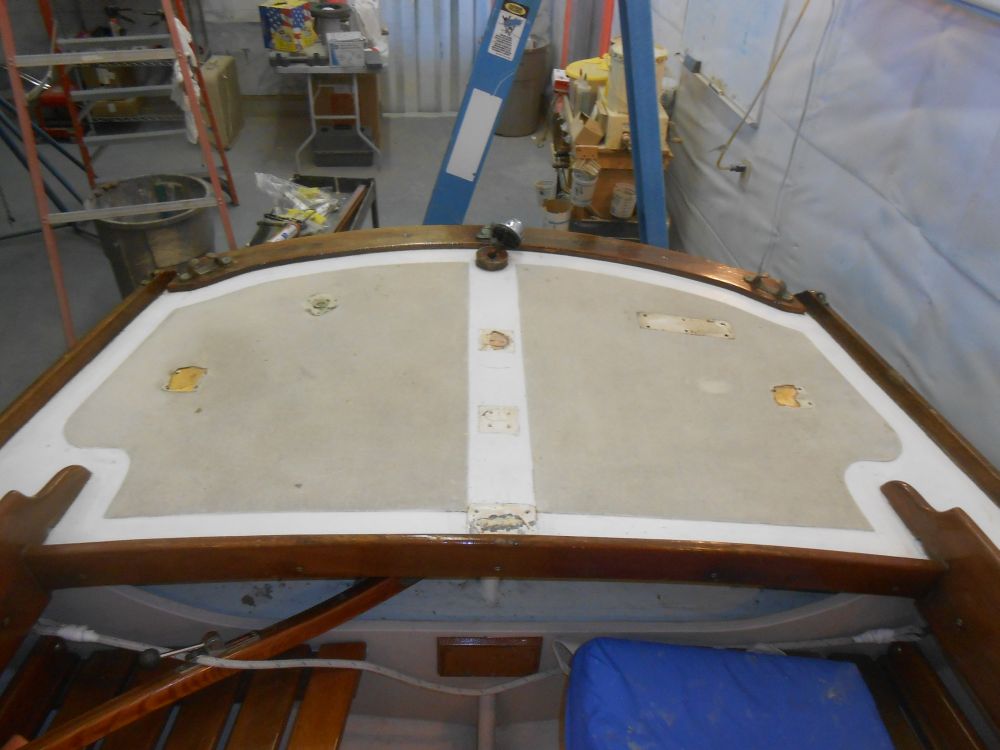
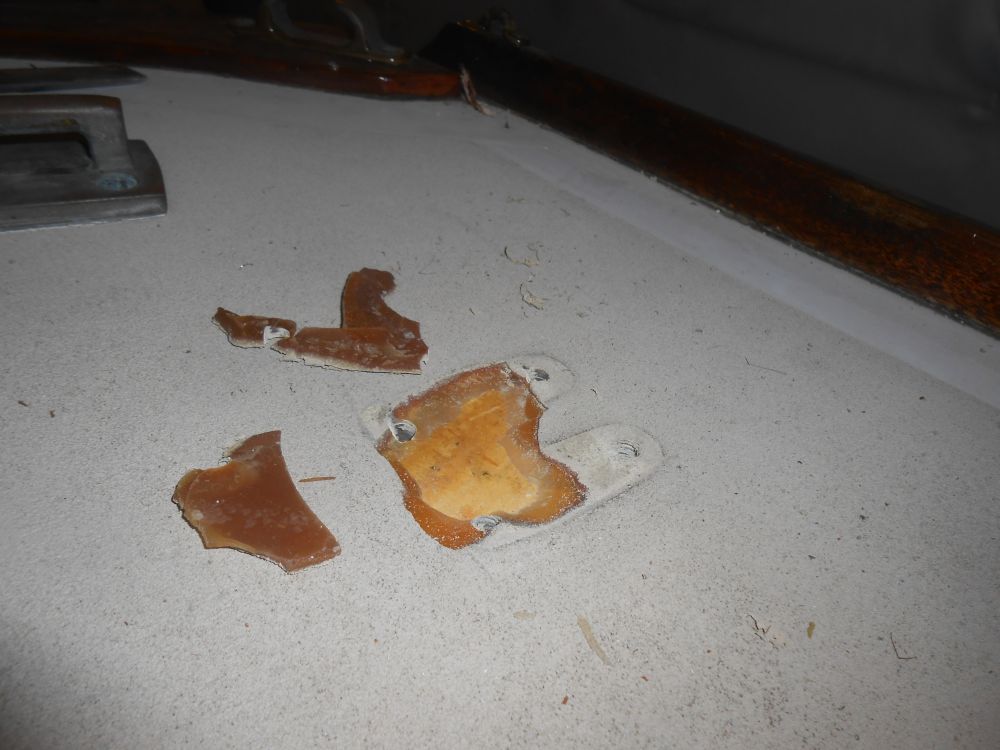
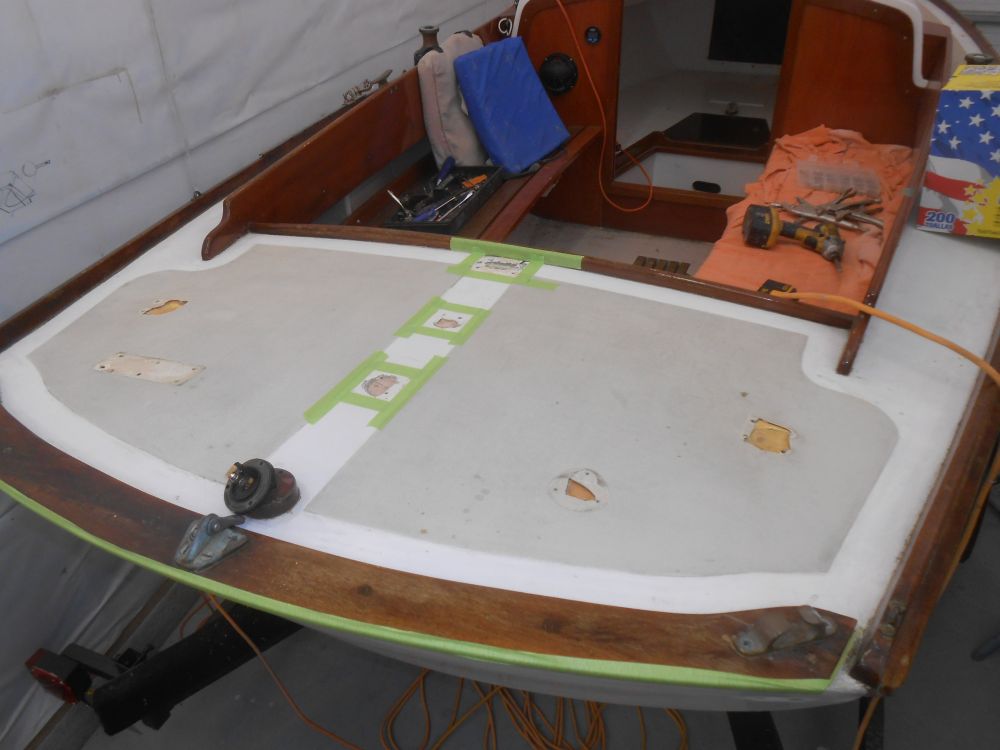
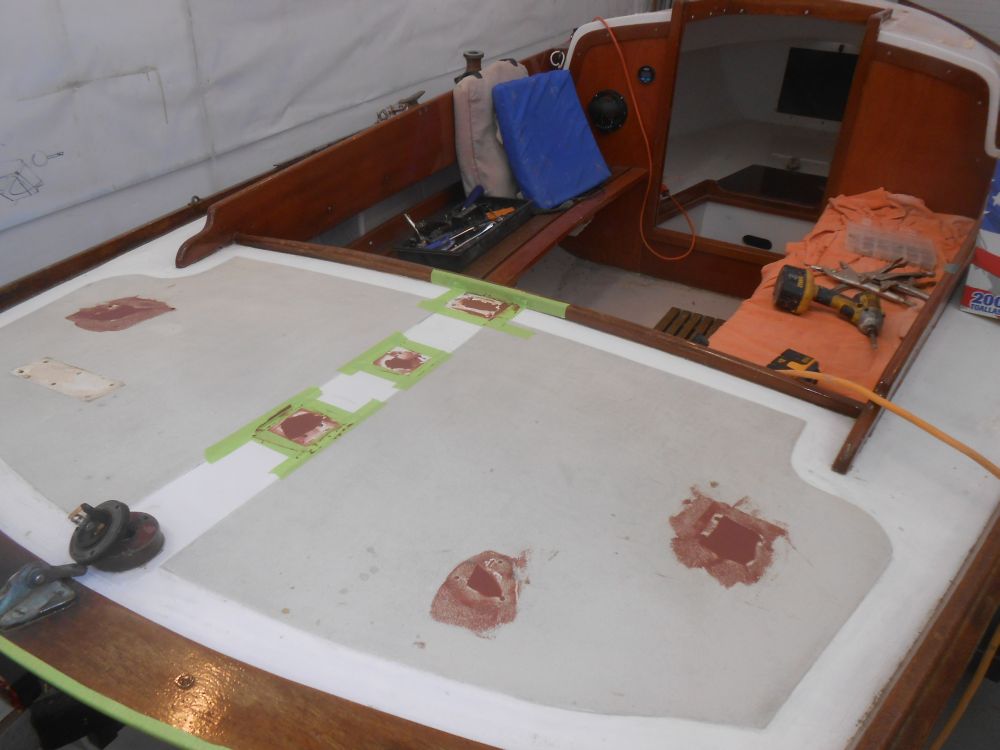
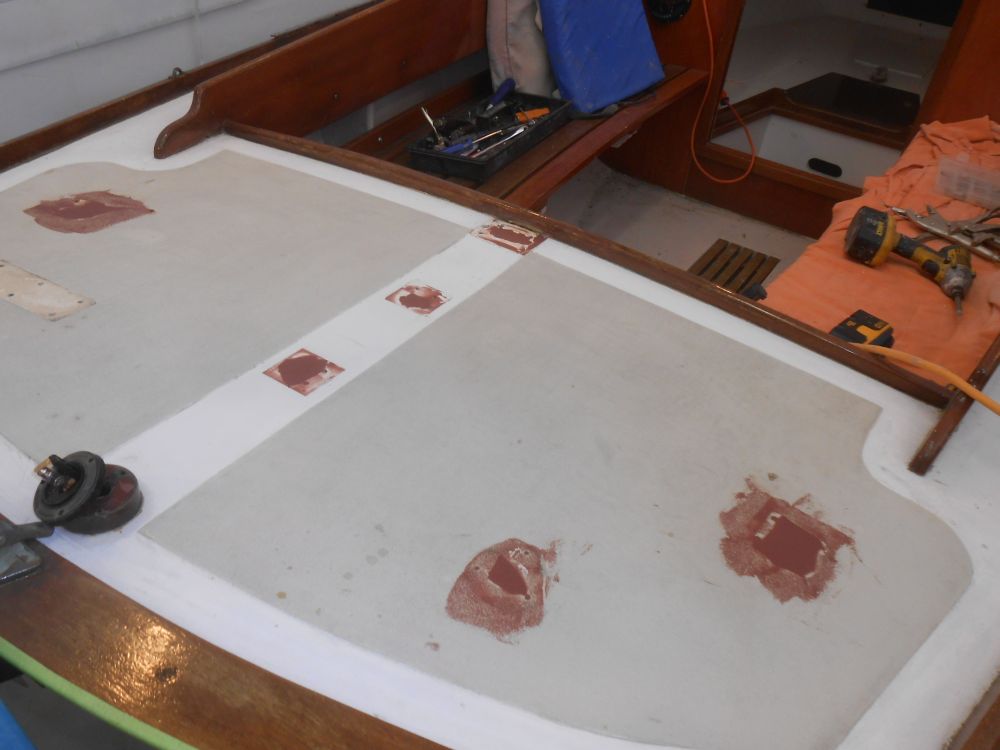
Several hardware items seemed to be bedded in adhesive sealant, particularly on the coachroof (which did no good since the entire coachroof core, as determined in an earlier inspection, was shot and required replacement), and those on the aft deck. This caused some minor damage during removal, particularly on the aft deck beneath the two mooring cleats, and centerline mainsheet blocks, where the well-bonded hardware pulled up little sections of what turned out to be a rather odd, thick resinous buildup that created the raised nonskid pattern areas. The damage beneath the hardware was nonstructural in nature, and easily repairable, but would require me to repaint the nonskid in these areas to hide the repairs, a straightforward task.
Later in the day, after various other tasks and surface preparations to the areas in question, I filled the damaged areas with an epoxy mixture, the first step in the cosmetic repairs required, masking off the areas on centerline within the boundaries of the hardware so the reinstallation would completely cover the repairs.
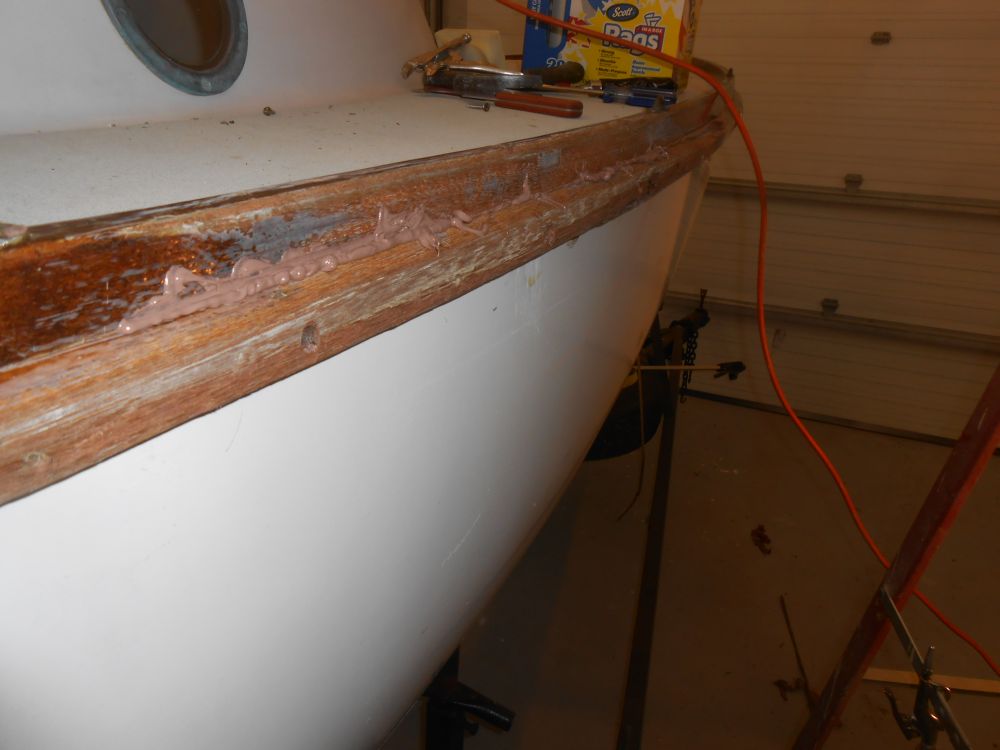
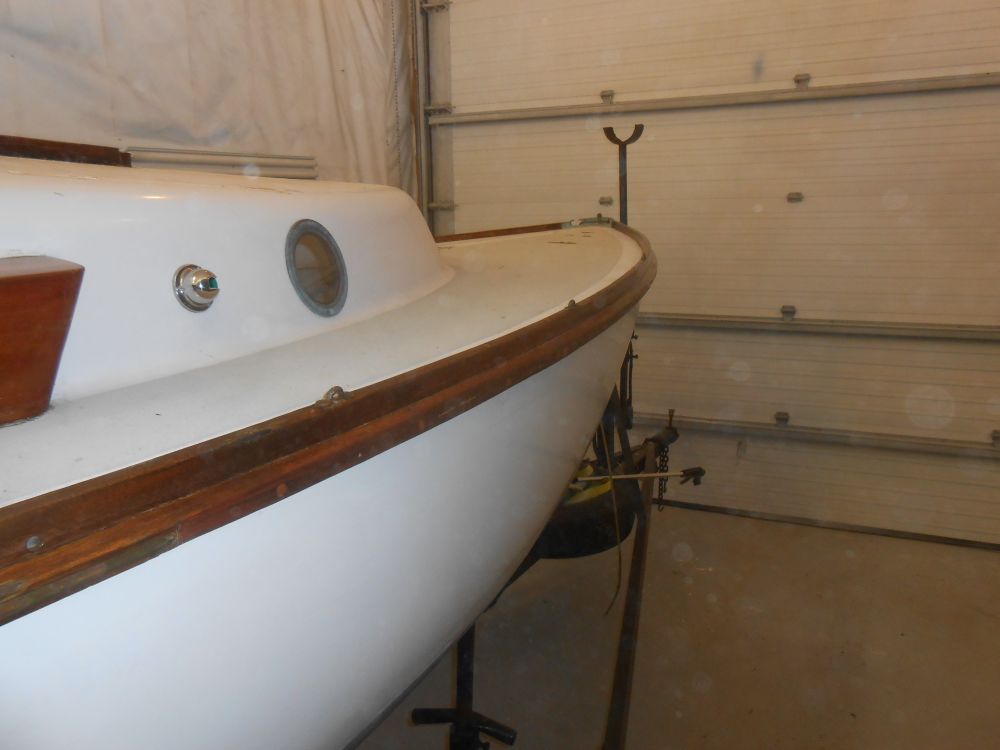
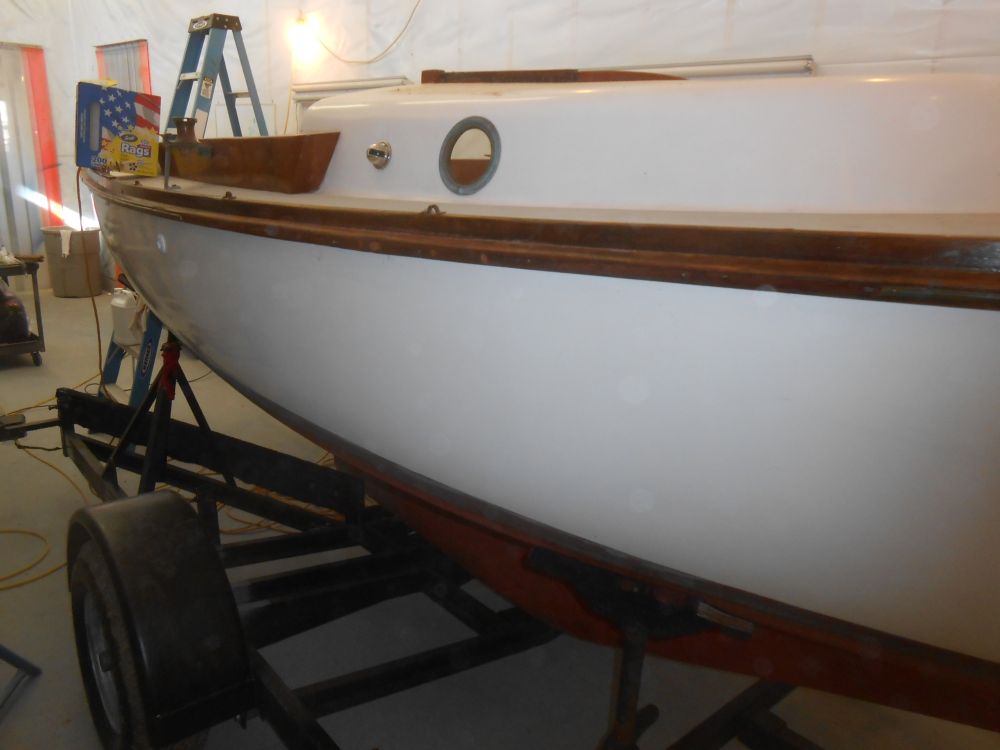
During an incident with a dock during a storm, a section of the starboard rubrail had been slightly damaged and loosened from its fastenings, and a segment of the brass rubstrip ripped away. During an inspection at the beginning of the project, I removed a few bungs and damaged fasteners to determine the scope of required repairs. The wood was slightly abraded, but salvageable, but an area a couple feet in length--both the toerail and rubrail--would require rebedding and refastening, and a new section of brass rubstrip applied to match the remainder.
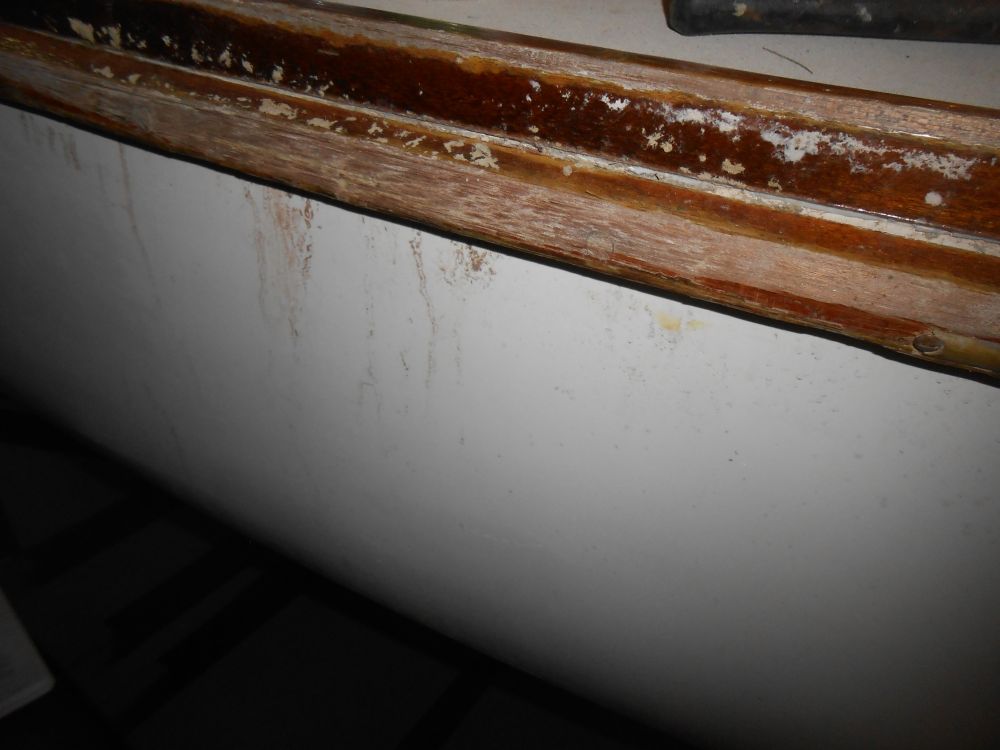
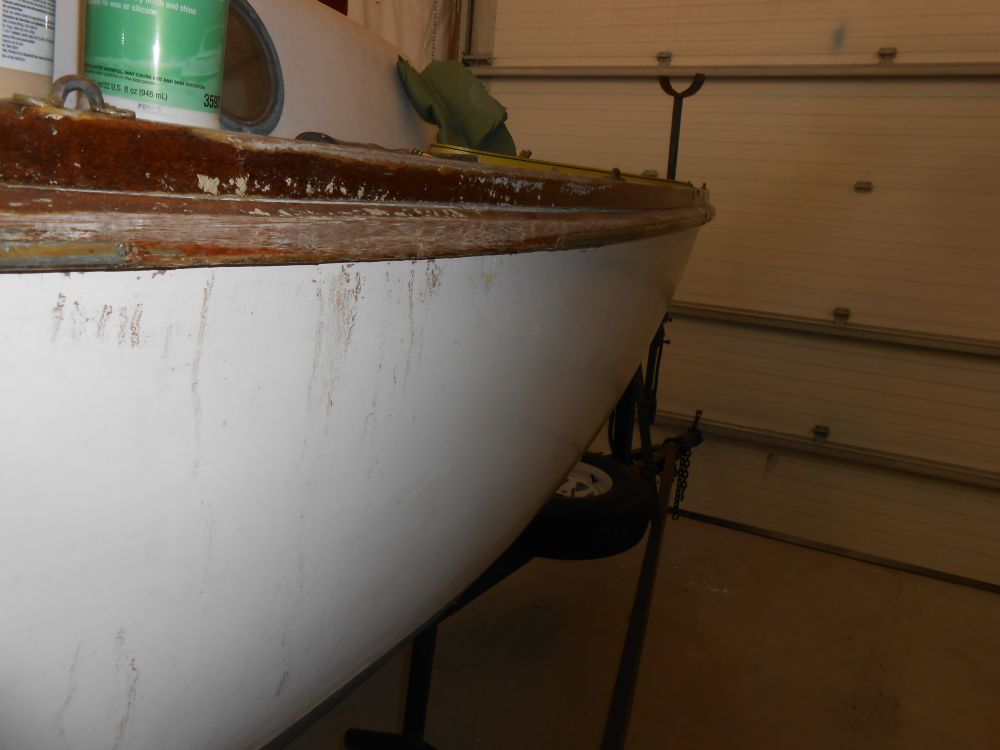
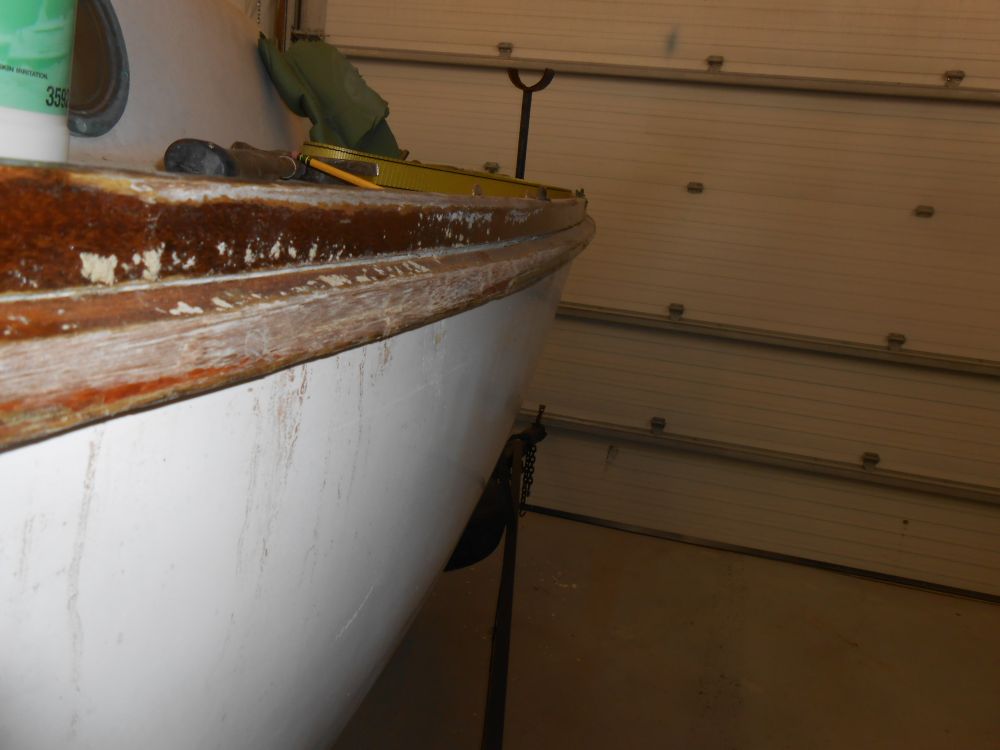
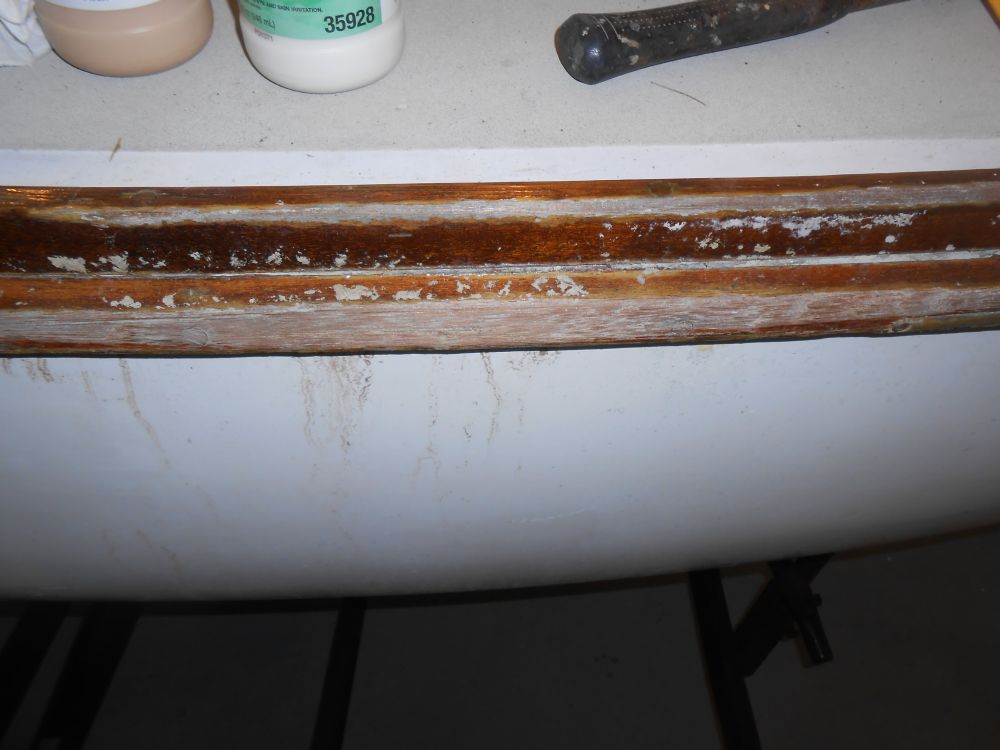
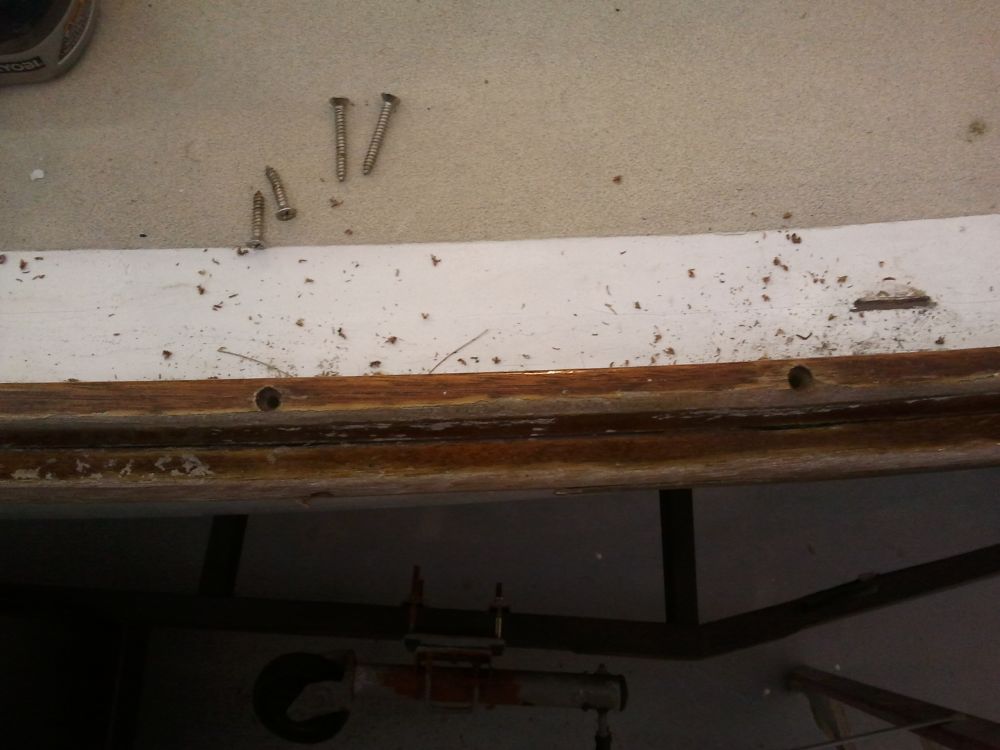
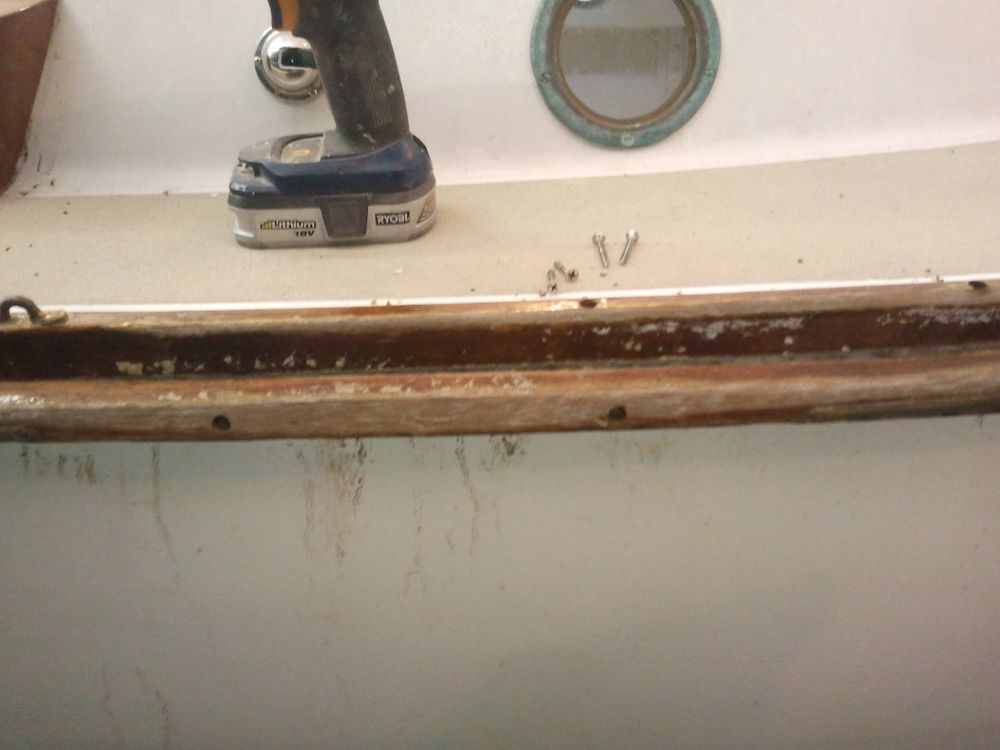
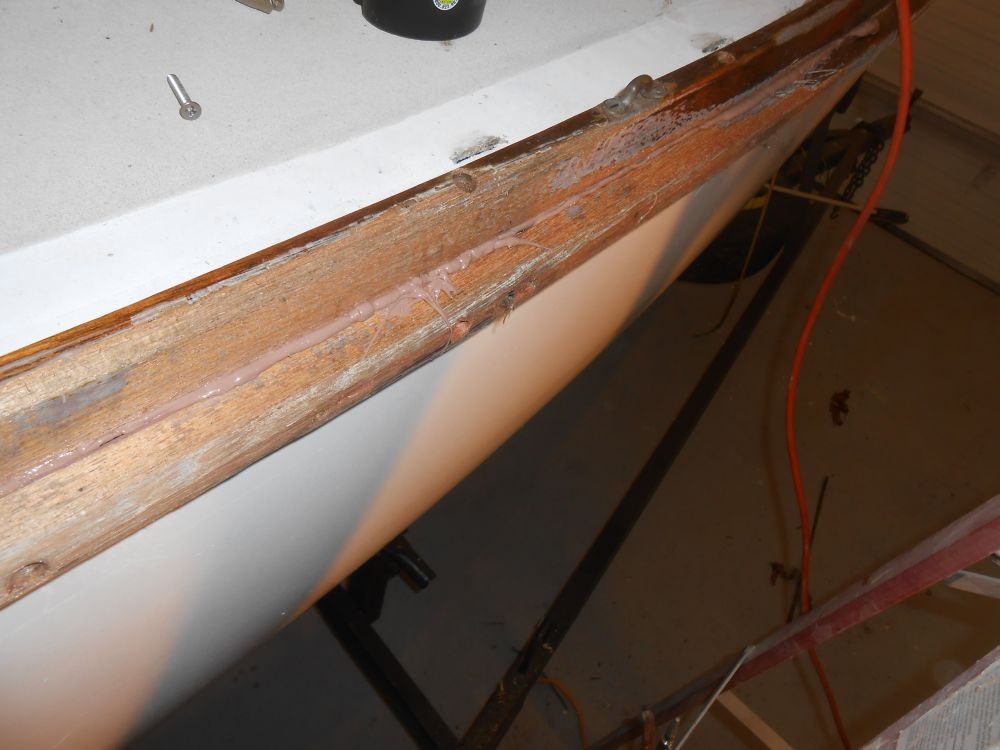
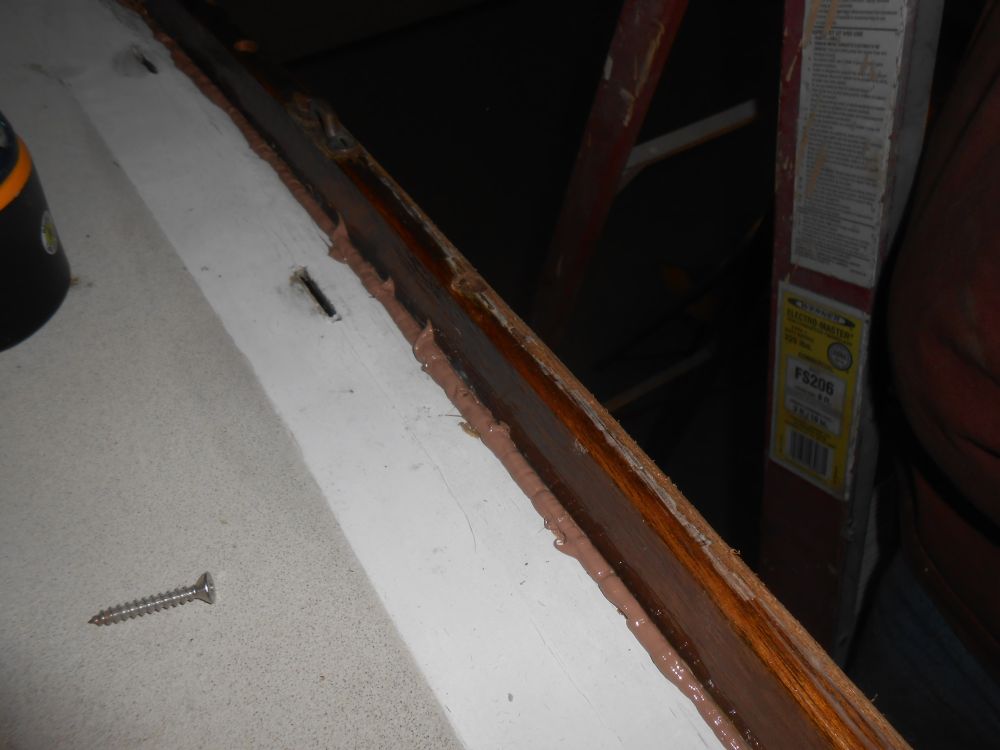
Now, a couple weeks later, I was ready to address the repair. To begin, I cut away the tattered ends of the original brass trim, leaving clean ends near existing fasteners. Then, I removed additional bungs and fasteners from the wooden rubrail and toerail, extending a little past the actual area of damage. This allowed me to pry away the wood from its mountings enough that I could think about getting sealant behind.
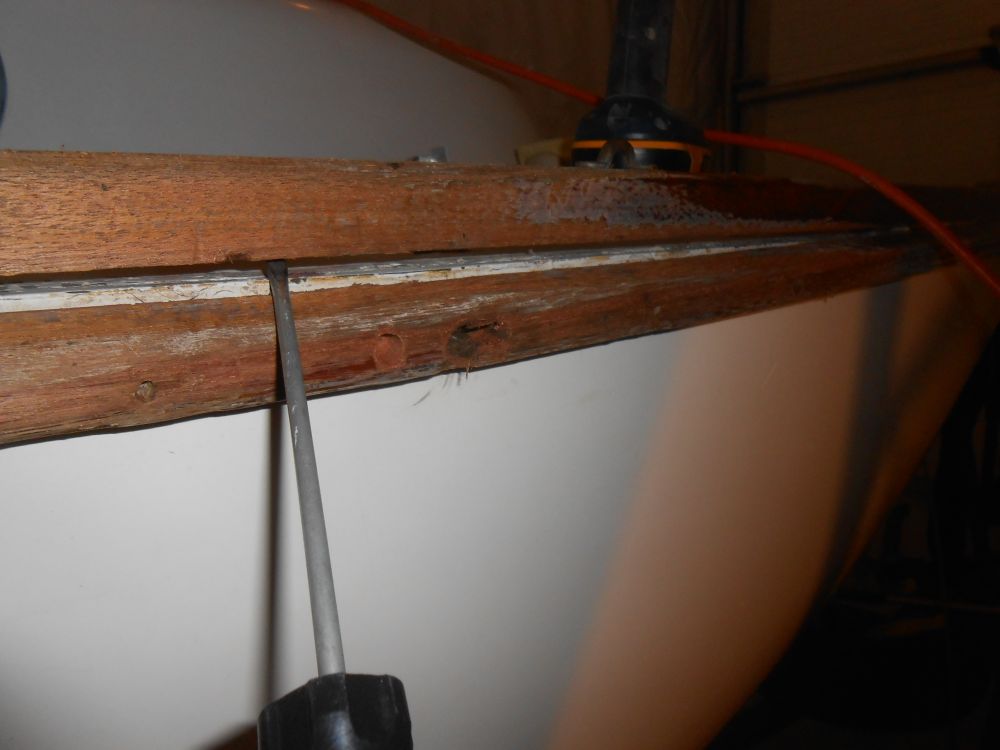
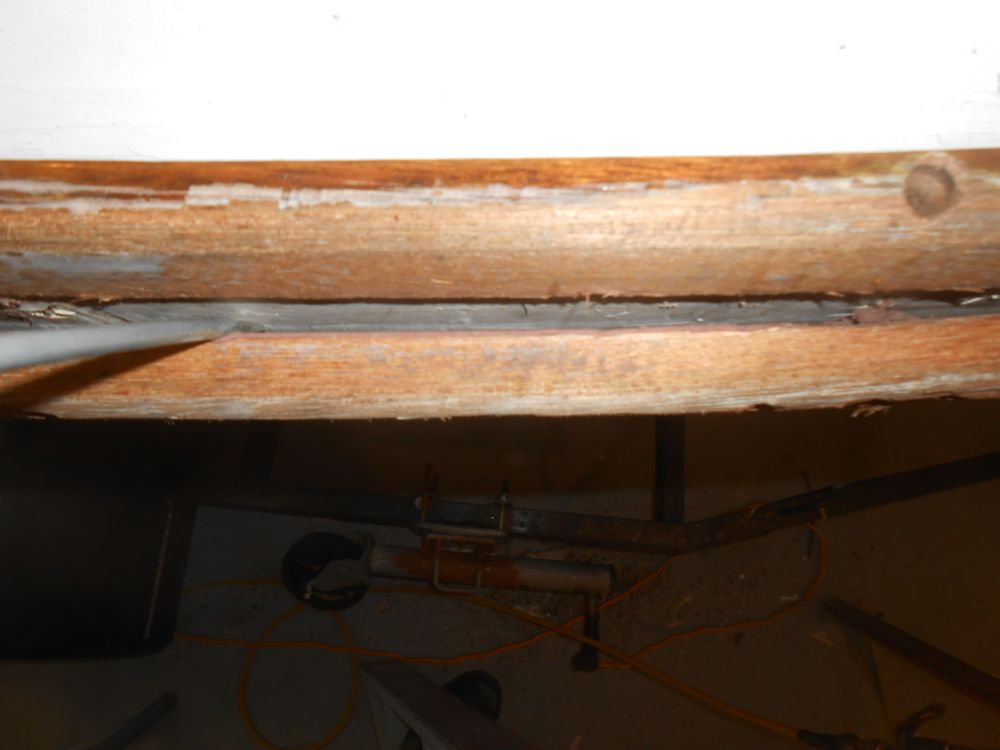
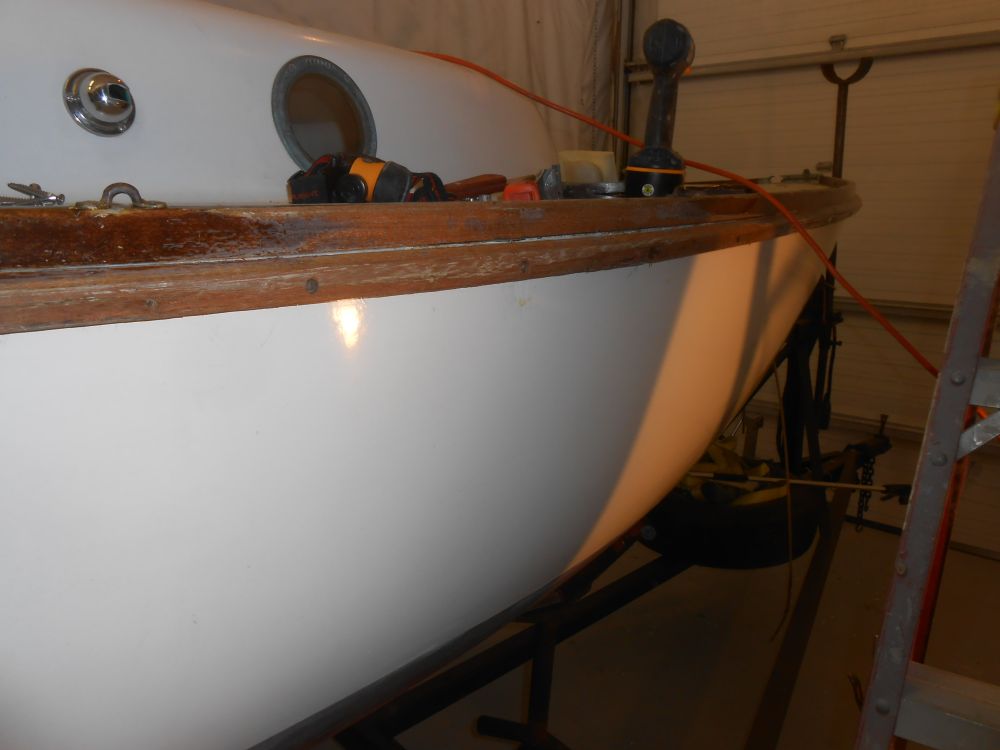
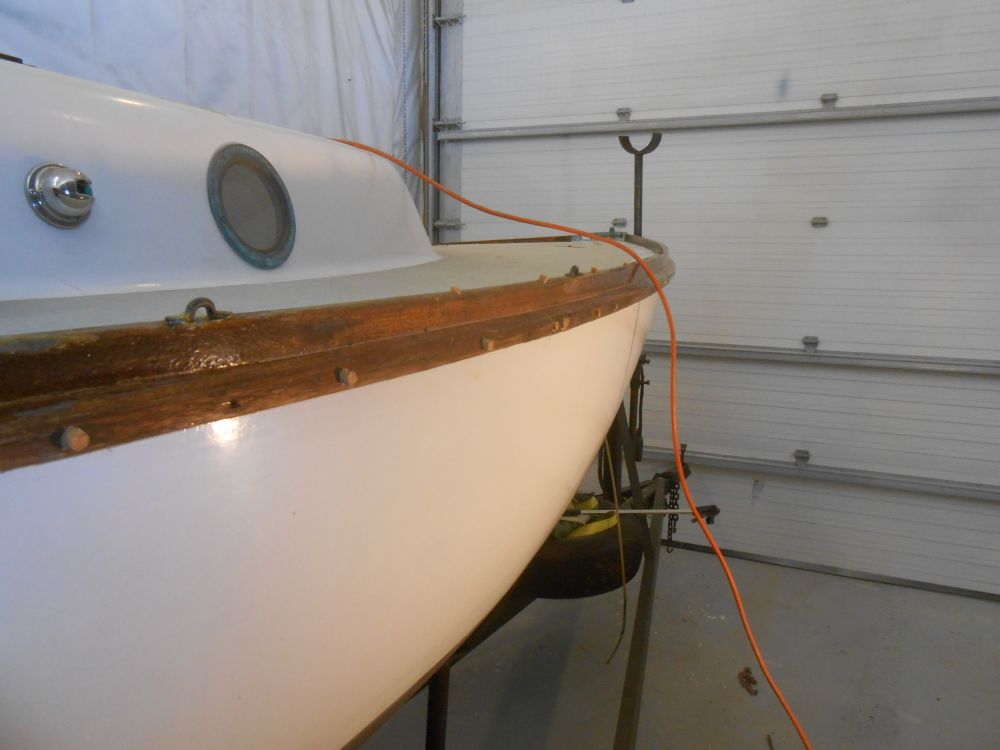
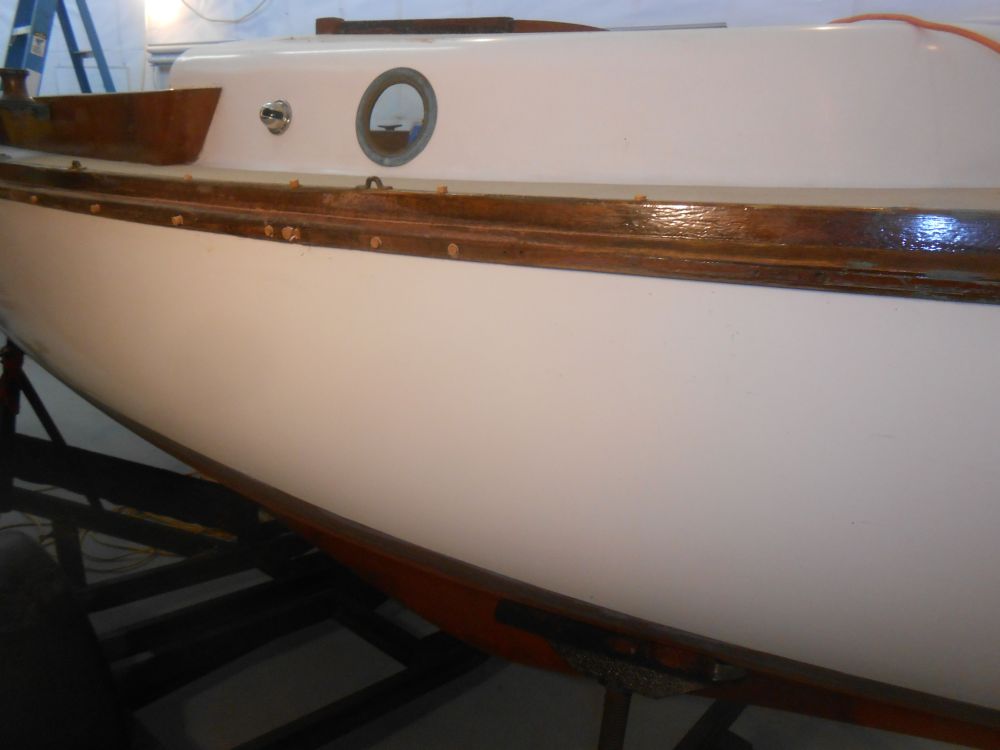
After reaming out old sealant and cleaning the area, I forced new sealant beneath the rails and refastened the areas in question with new screws, after which I cleaned up the excess sealant and installed new bungs in the screw holes. Late in the day, I pared away the excess bung length and sanded the wood clean and smooth as needed. To complete the repair, I'd touch up the varnish and, when that was complete, install a new section of brass rubstrip, all of which I'd take care of in the coming days.

During various conversations and correspondence, we settled on a final plan for the transom, including installing a (hopefully) high quality vinyl woodgrain appliqué and the owner's new name and lettering. The woodgrain was on its way, and to prepare the transom for its application I began by cleaning the surface several times with degreasing/dewaxing solvent to remove any traces of old wax or other contaminants. Then, I prepared a few minor areas, including some old fastener holes near the corners, for filling and fairing to ensure a smooth surface for the vinyl.
Afterwards, I applied a light coat of epoxy fairing material to the areas in question.
Total Time on This Job Today: 7.5 hours (plus 2 hours over several
additional days)
