| Kaholee Refit |
October 12, 2007 I started this morning on the shower box. With two coats of finish paint on the part, there were still dark spots showing through, so I sanded it lightly once more and applied a third coat. Next, I washed and sanded the fill around the transducer fairing on the keel. Then, I applied a couple layers of fiberglass to encapsulate the area, as well as provide impact protection--particularly on the leading edge. I left this to cure overnight. |
|
|
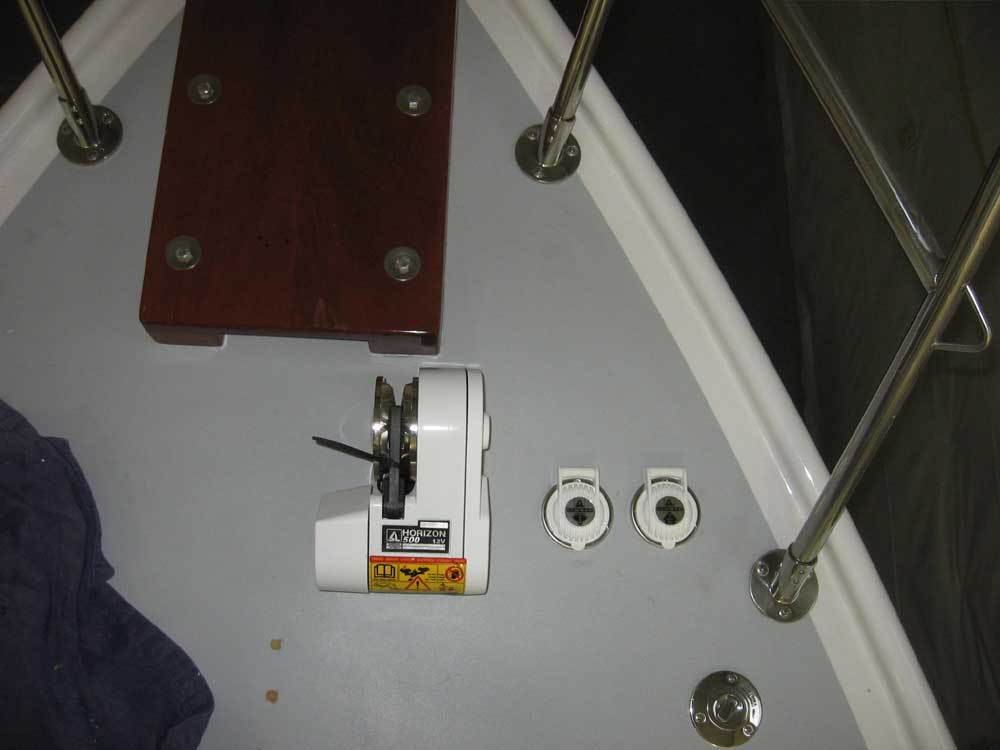
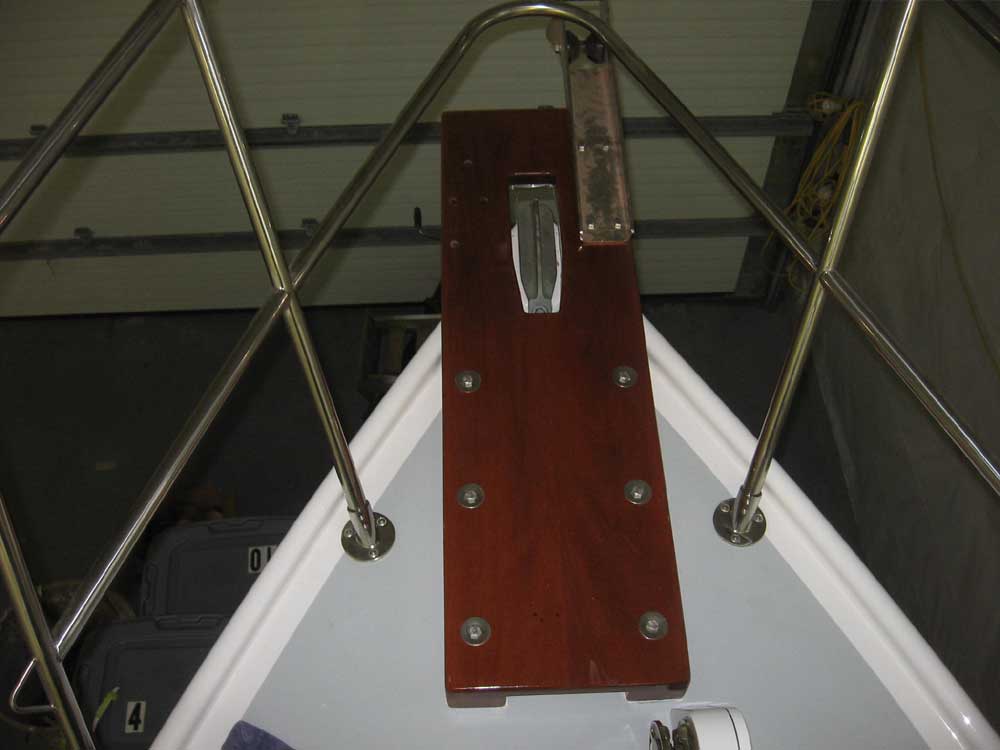
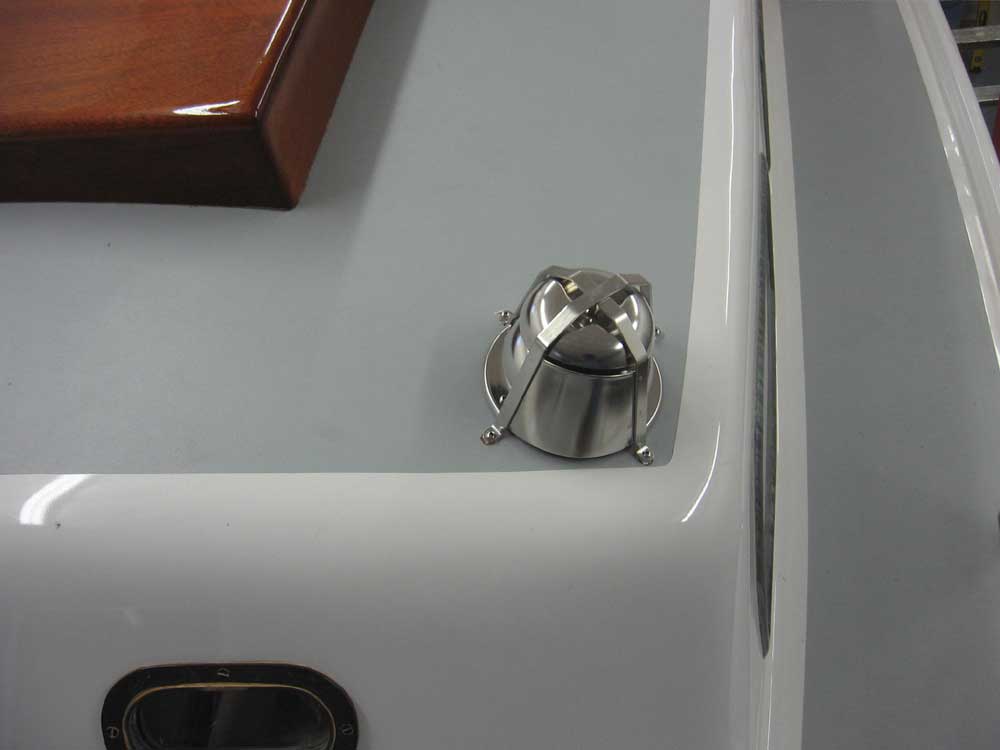
Afterwards, I worked to remove the masking tape and excess sealant from around the various parts that I installed last week, including the Charley Noble, anchor platform, and windlass. Then, I installed one of the two anchor rollers with stainless bolts; the bolts I ordered for the other roller were too short, so I couldn't install that one at this time. At some point in between various jobs, I installed several plumbing adapters that I'd had on hand for a while and wanted to get out of the way, including two pipe to hose nipples on the galley sink faucet supply and adapters to allow me to connect a 1" hose to the sink drain fitting. I also spent a fair bit of time researching and ordering additional parts required for some of the upcoming work--a never-ending task that typically remains behind the scenes. |
|
|
I lugged the new batteries up to the boat and put them in place, at least temporarily. I had to slightly reposition a wire bundle on the port side to allow the battery to slide to the forward end of the battery box, since the wires had interfered with its position before, but otherwise the batteries fit snugly as designed. I ordered a stock plastic battery box for the group 24 engine battery on the starboard side, but for now just set the battery in place on the platform. |
|
|
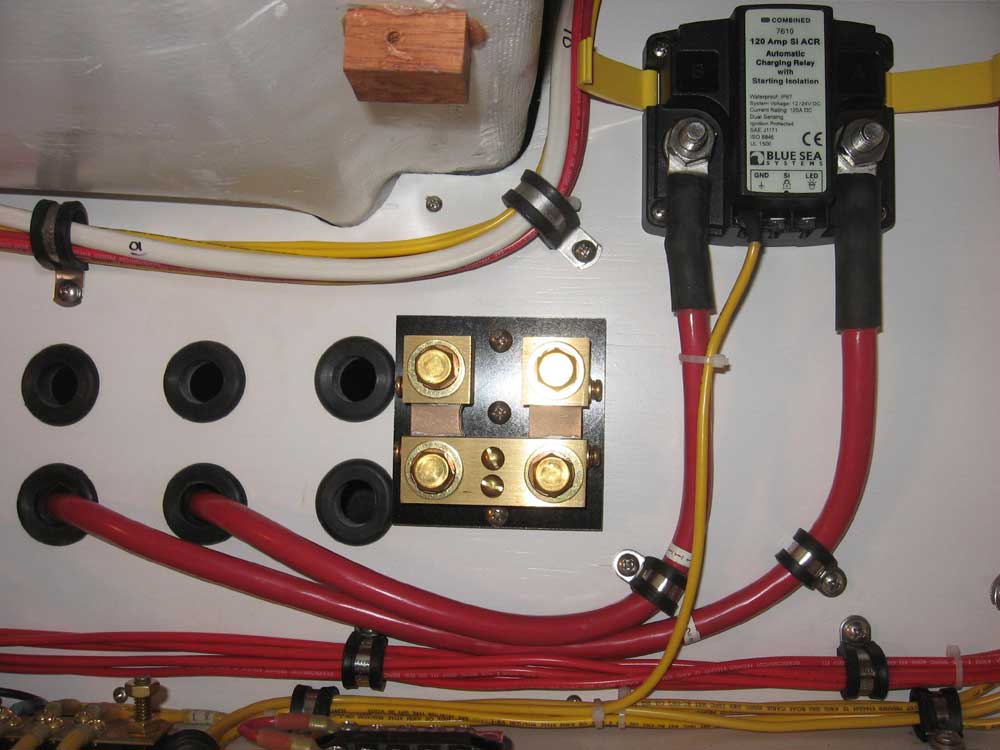
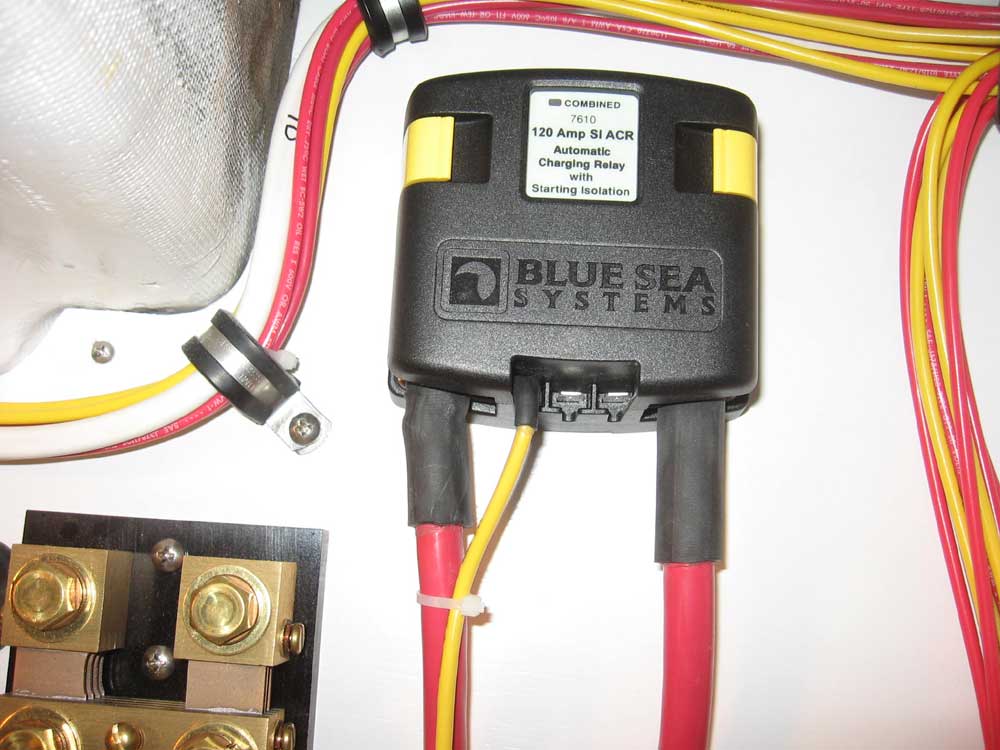
With the batteries in place, it was time for me to attend to the battery cabling and remaining wiring. I needed to complete some of this before I installed the outer electrical panel, since access would be limited afterwards. I spent a bit of time poring over the wiring diagrams for the Blue Seas ACR battery combiner system, as well as the Xantrex battery monitor, and determined which cables needed to go where. Then, using #2AWG cable, I began making up the requisite cable runs. I cut, fit, and installed the two positive leads to the ACR combiner, as well as the small ground wire required, before running out of time at the end of the day. I didn't connect the batteries at this time, and left enough length on the cables to allow for ease of connection whenever required in the future; nothing is worse than battery cables that don't allow enough slack for basic manipulation. (OK, maybe some things are worse...) I also installed nearby a shunt required by the Xantrex monitor, to which the negative cables from the two battery banks would connect in the near future as wiring work continued. |
|
|
|
|
|