| Kaholee Refit |
October 8, 2007 I worked on a variety of miscellany today, choosing to concentrate on several smaller jobs rather than dive back into the wiring work since I knew that I had a 2300 mile trip coming up to Indiana and back during the next several days to pick up another boat for work this winter. I continued with the transducer fairing first thing, and applied a first coat of fill to begin creating a smooth transition between the housing and the surrounding keel. With the amount of fill required, I chose to apply it in stages. Once the first application had cured sufficiently, I applied more. This material is a base only, and later I'll reinforce it with fiberglass cloth and additional fairing compound. |
|
|
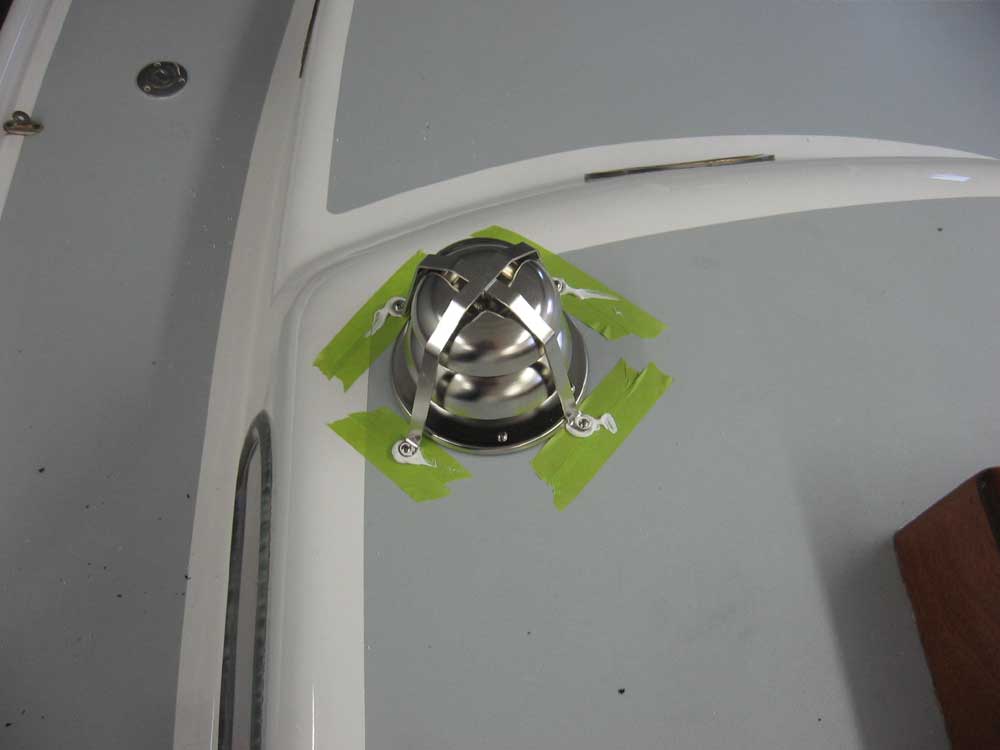
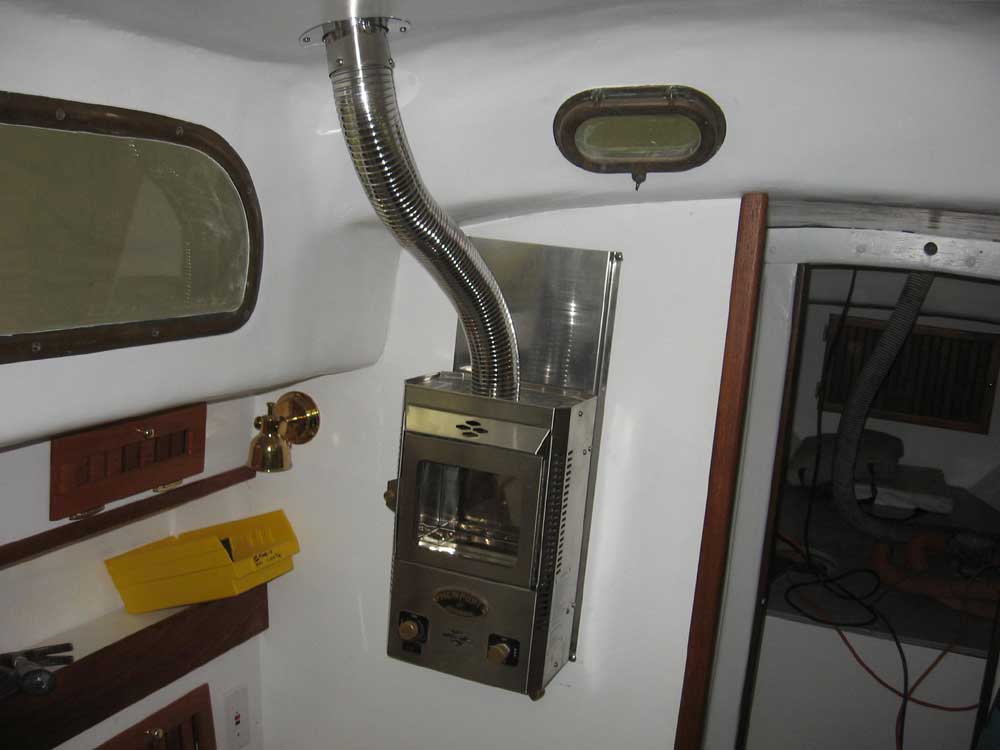
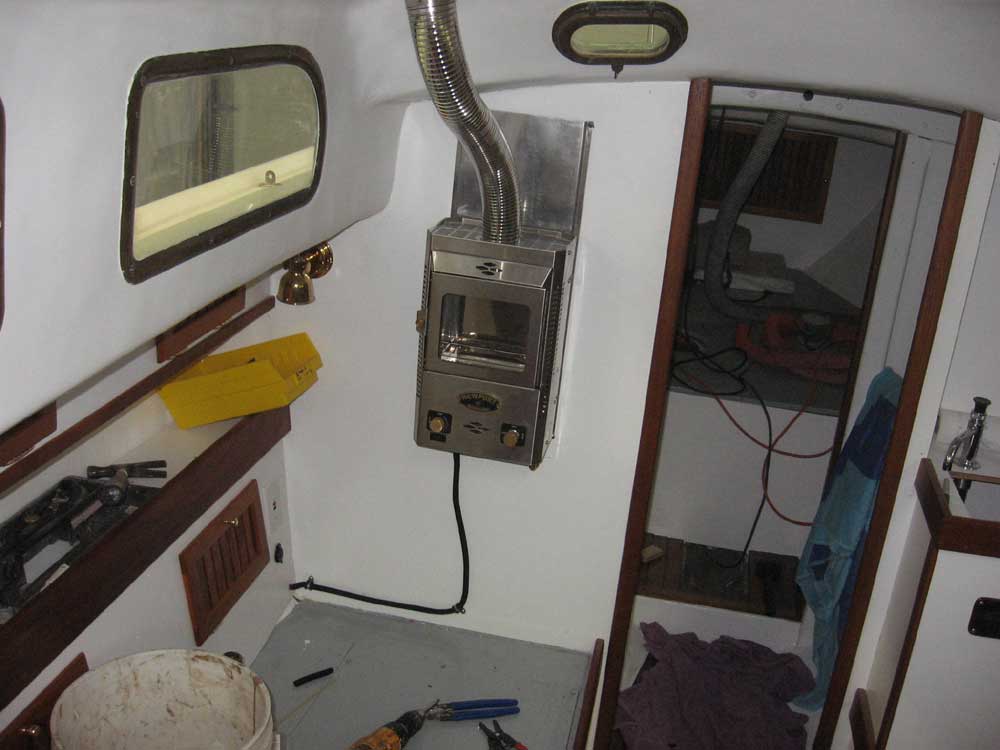
Next, I focused on the cabin heater. With the epoxy plugs in the deck cured, I could install the Charley Noble and the wind deflector in the appropriate beds of sealant; the Charley Noble came with its own rubber sealing ring, so I used that as designed. With the vent in place, I could cut and install the combination intake/exhaust pipe from the heater to the vent. After mocking it up, I cut off about 6" of length to allow it to fit, and struggled it into place; the pipe was barely flexible enough for the curves required, as it turned out, but by unbolting the stove from the bulkhead I could get both ends on as required. I secured the pipe with setscrews at each end, as directed. I wrapped up work on the heater for now by making the wiring connections and securing the wires with split loom and clamps to minimize its cosmetic detraction to the cabin. |
|
|
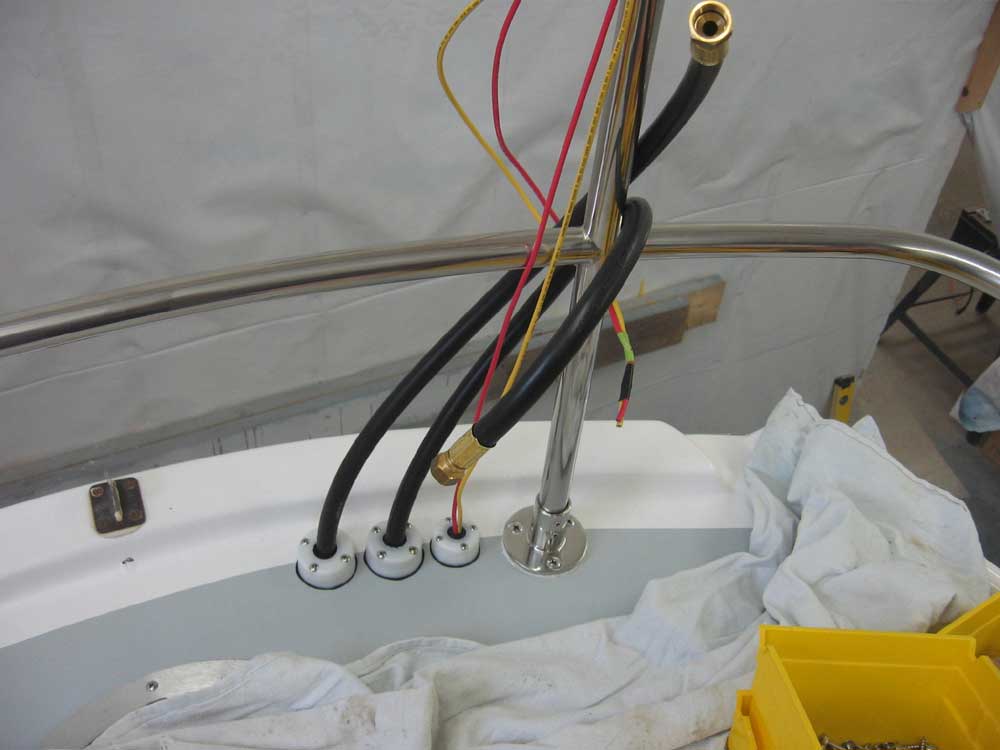
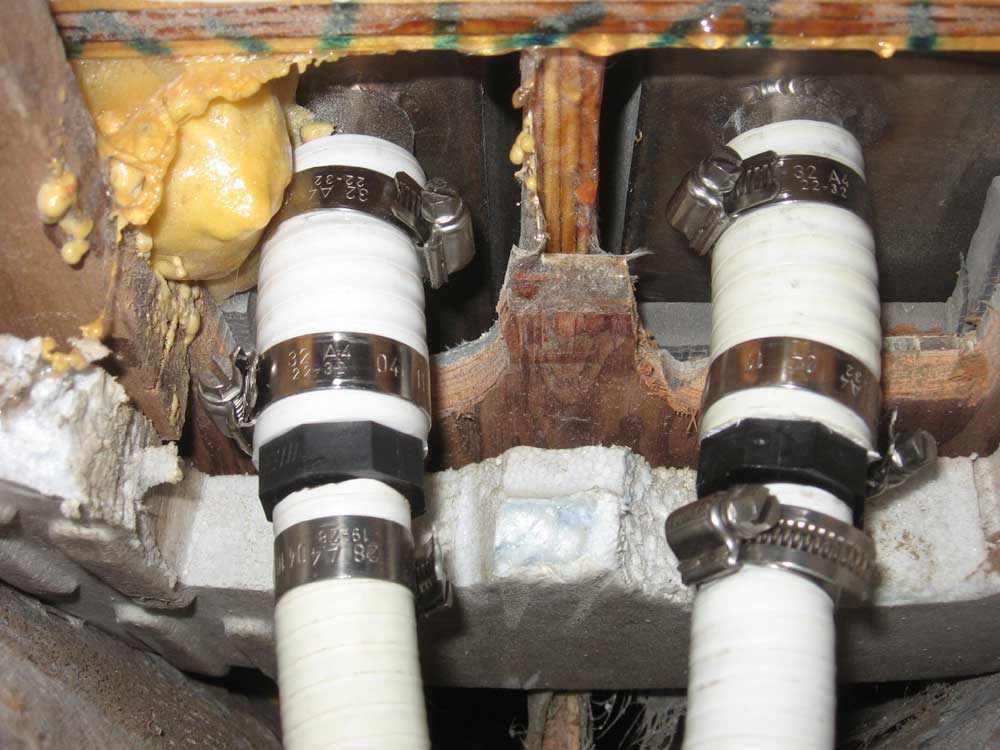
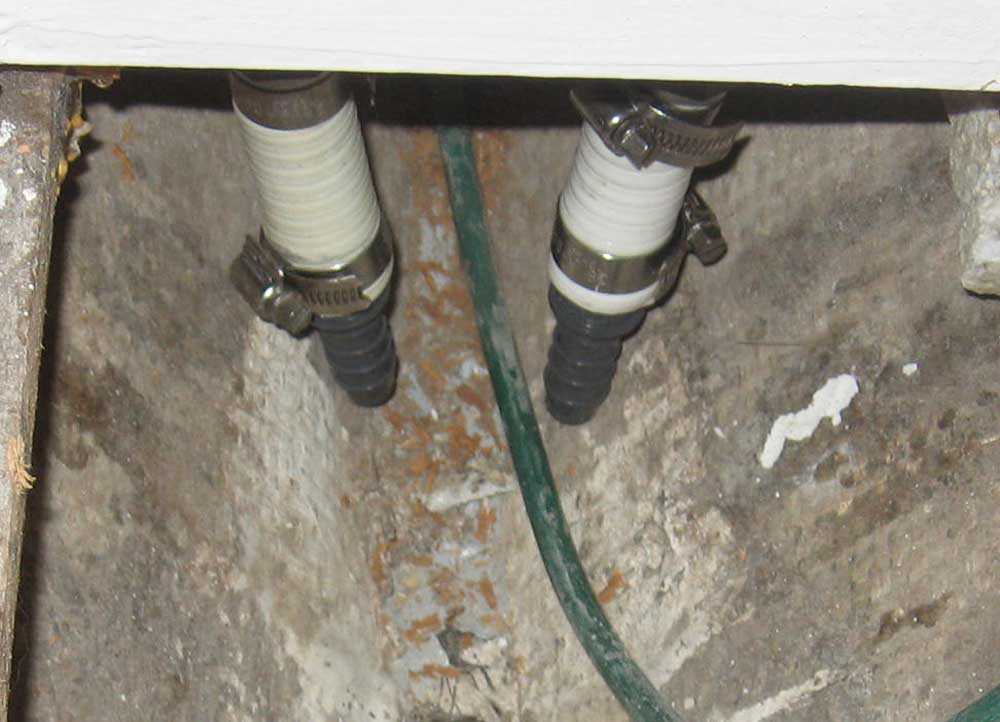
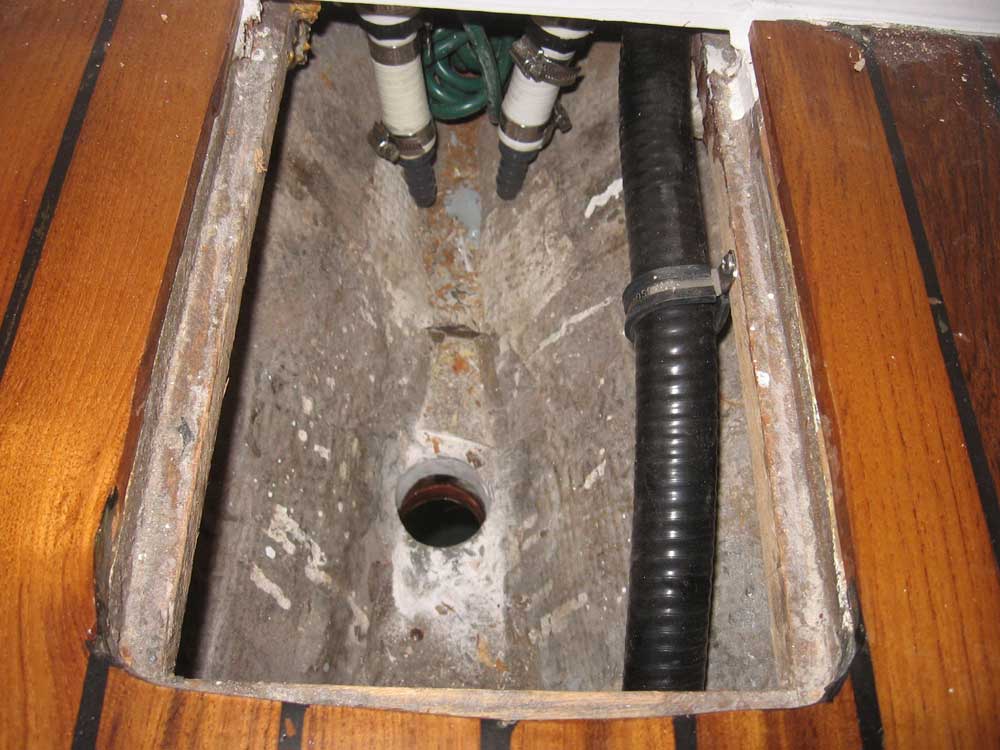
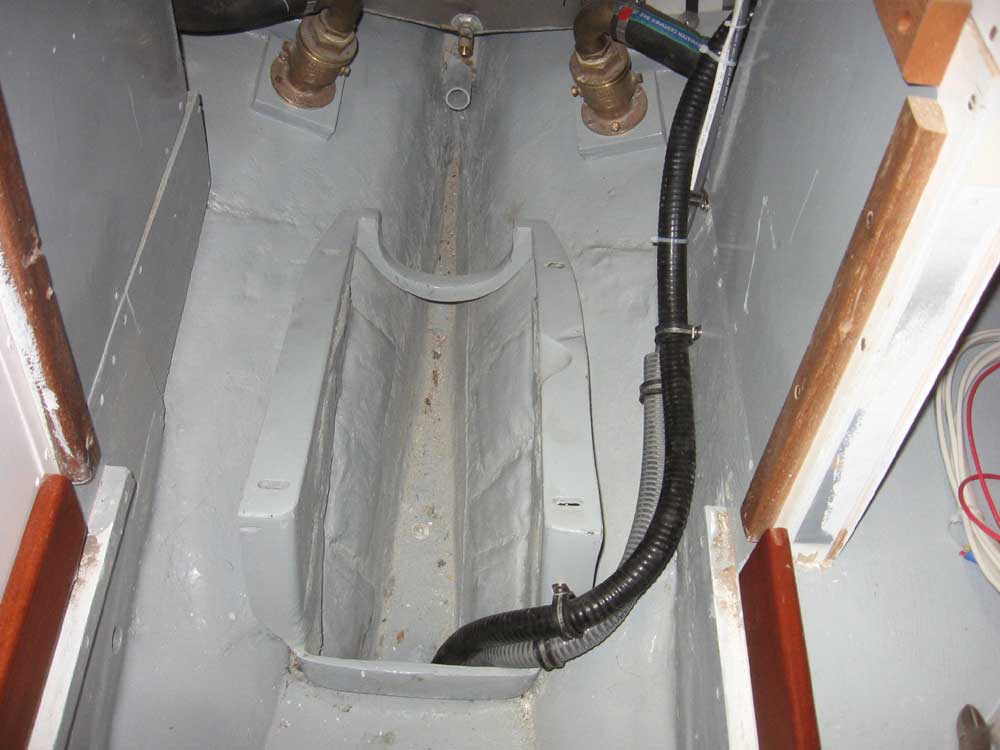
At the transom, I ran the two lengths of LPG hose through the deck and, along with the wiring for the LPG solenoid, secured them and made the connections water tight with cable clams. Later, I'll figure out a bracket for the LPG tank, regulator, and solenoid and complete this installation. |
|
|
|
|
|
|
|
I wrapped up the day with a job that took a surprisingly long time for its outward simplicity: running wires forward to supply the windlass with electrical power. Using the windlass installation manual as a guide, I determined that the windlass required #8AWG cable for the length of the total run at hand. With this determination already made some time ago, I had obtained the necessary wire, along with some 1" hose that I planned to use as a conduit for the wire, since I planned to run the wires through the bilge, as it was really the only option remaining. With the wire protected inside the conduit and secured beneath the cabin sole, I figured it'd be safe and would remain dry. For such a simple plan, the actual execution was amazingly complex. First, I had to determine how to run the wires from the forwardmost accessible portion of the bilge to the chain locker. With the water tanks foamed in place, there was no access beneath the tanks, but since I had previously run some wires to the bow by snaking them above the starboard tank, I knew that I ought to be able to do the same in this case. The issue was getting the wires from the bilge to the top side of the tank, which I eventually accomplished by partially unscrewing the plywood top to the v-berth and running the snake through behind the tank and down to the bilge. With that done, I cut a length of 1" hose and snaked the wires through. Again, this was more laborious than it should be thanks to the "sticky" nature of the hose, which continually hung up the wire snake and, later, the two wires unless the hose was stretched as straight as possible. I got the wires through and then secured the hose out of the way beneath the cabin sole and then through the engine room before running the wire ends into the electrical panel area. Some work remained to secure the wires at the head of the v-berth, as well as the final wiring connections between the two foot switches and the windlass itself. |
|
|
|
|
|