| Kaholee Refit |
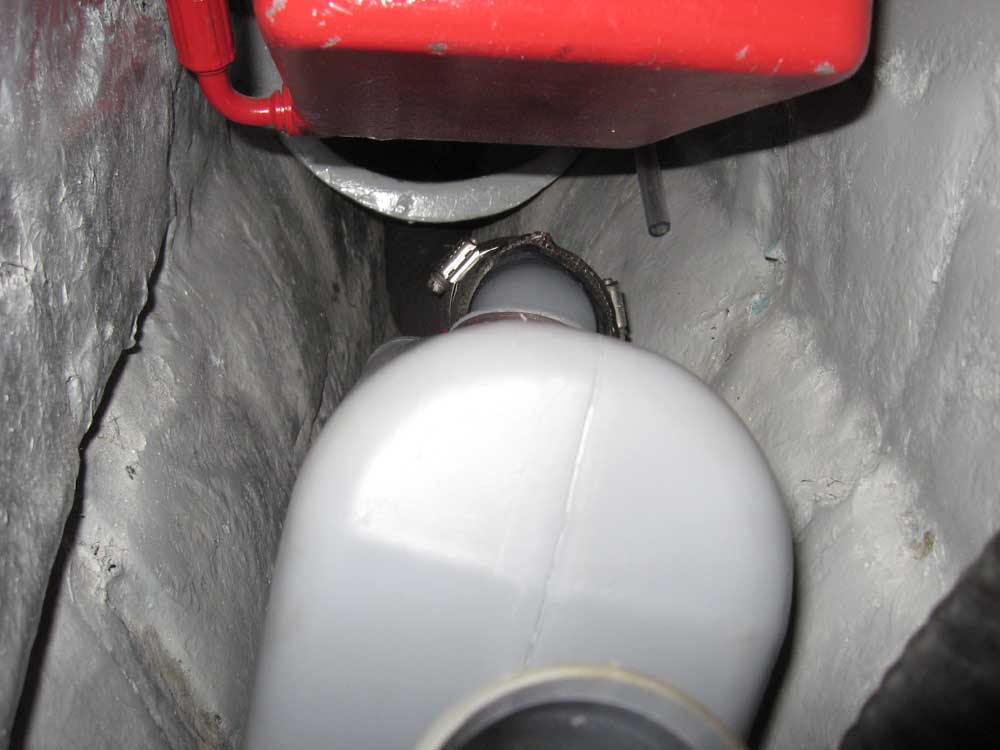
November 7, 2007 I got right back to work on the exhaust this morning. The length of hose I cut last evening was intentionally overlong, so I used the fiberglass elbow to help mock up what I thought was a reasonable length for the hose, and cut it. Then, I inserted the elbow into the hose and tried to make everything fit around the couplings and shaft. Unfortunately, it was abundantly clear that there simply was not going to be enough room for the exhaust to pass by the shaft in this area. |
|
|
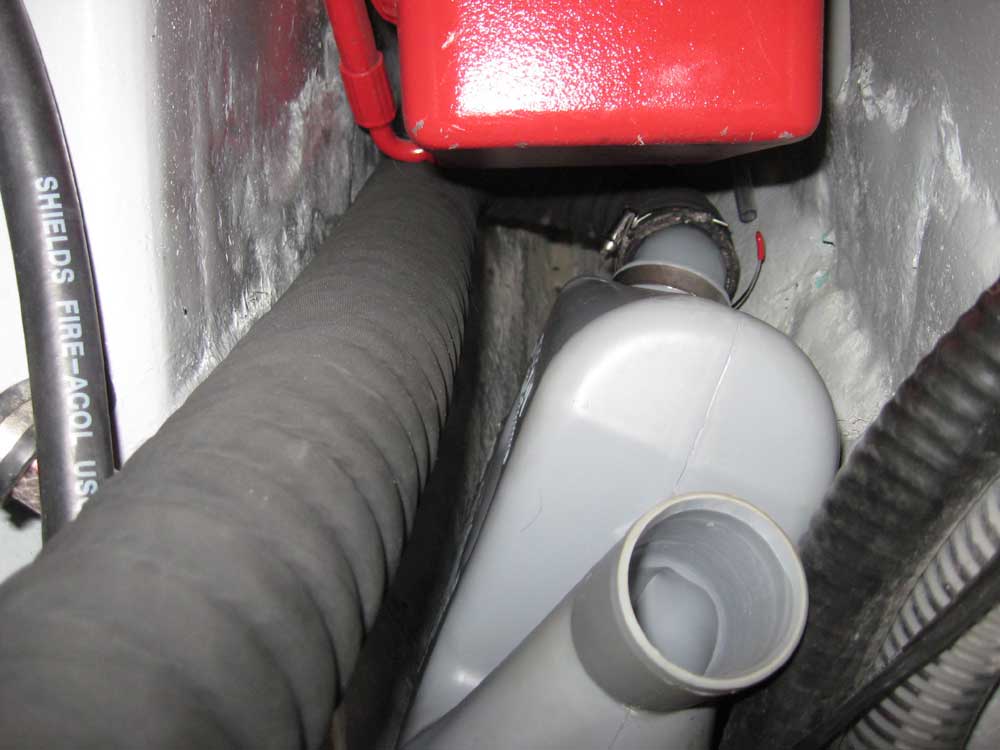
I lay on the cabin sole--no, not in despair--and peered into the space beneath the engine. I discovered that with the muffler in place, it looked like there was actually room above and behind it for a length of hose to connect from the forward side. This was decent news, since if it worked it meant that I could leave the muffler beneath the engine--an ideal location in this boat not only because it is out of the way, but more importantly because it was the only possible location where the muffler could be below the level of the engine exhaust manifold, which is desired to prevent any chance of exhaust water backflow into the engine when shut down. |
|
|
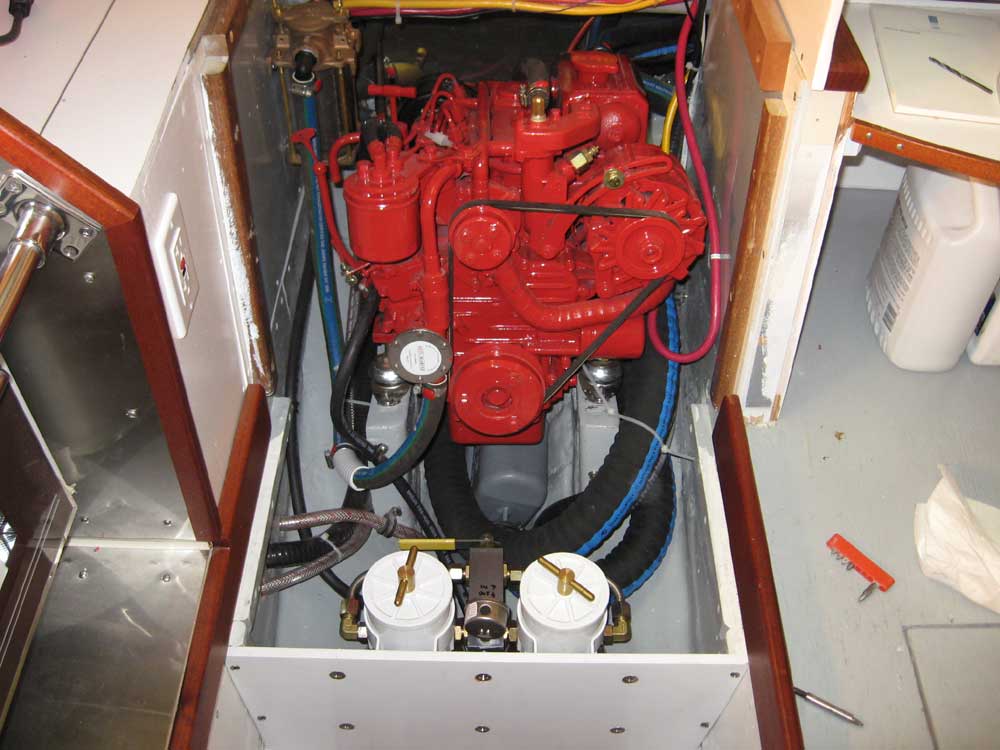
I removed the muffler and short length of hose, attached the remaining long length that I had, and replaced the muffler beneath the engine, bending and leading the hose forward as I did so. It worked! There was adequate hose to allow me to run the second length alongside the engine to port, directly above the outlet section. This made for a crowded engine room, with difficult access to the port side engine mounting bolts and a tighter than desired fit around the fuel filters forward, but it did fit, and it worked--and such are the compromises required from time to time. I managed to connect the hose to the exhaust elbow by running it around the cockpit scupper seacock and then up; I tried to keep the hose on one side of the seacock, but just couldn't make the bends work out properly. The end result was effective and practicable, if a bit more convoluted and bulky than I'd hoped. |
|
|
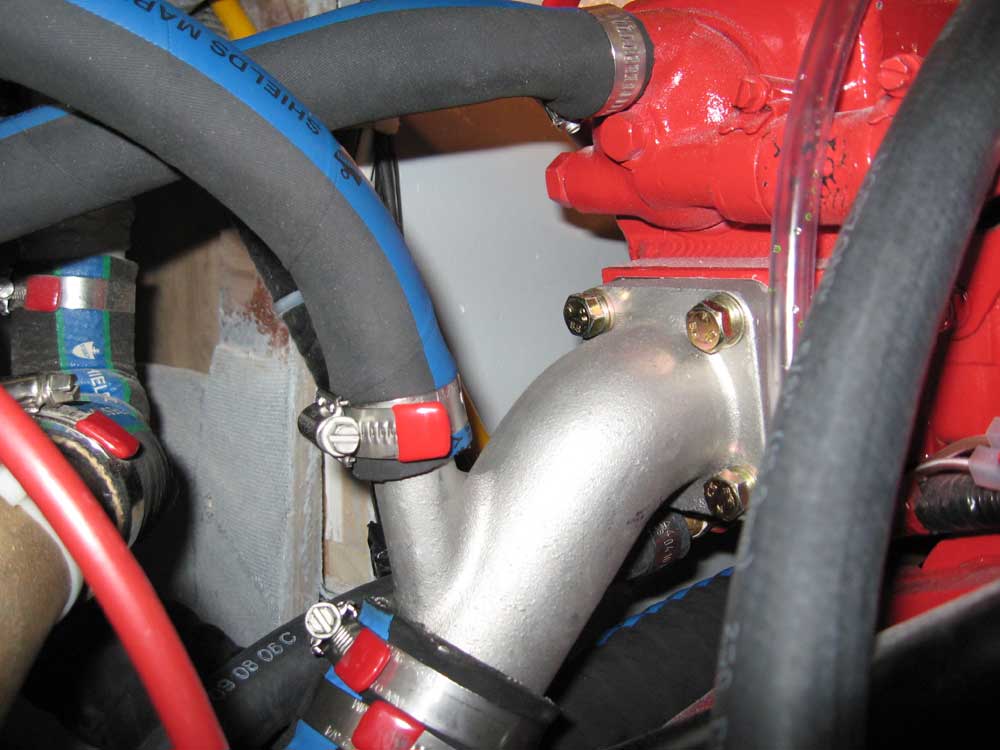
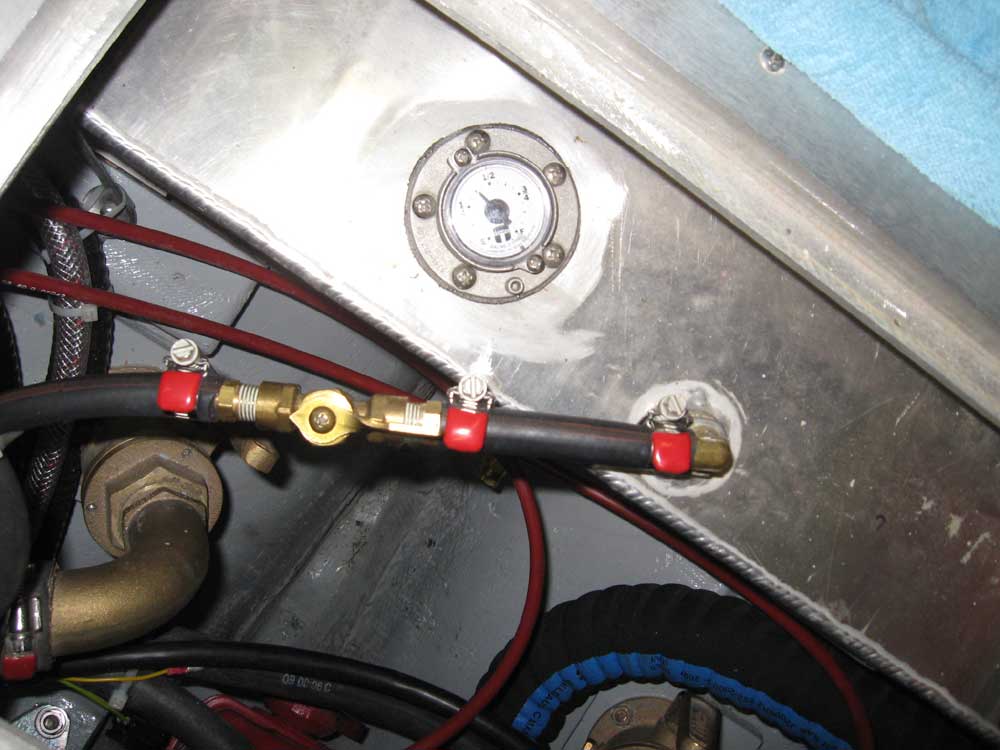
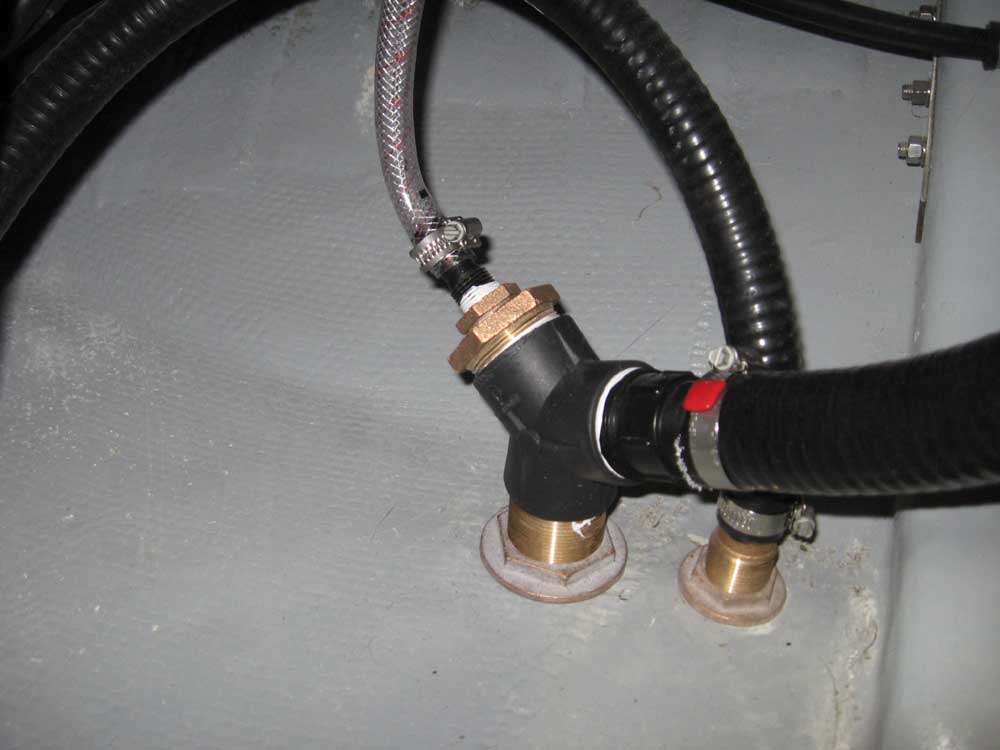
I completed the exhaust system by running a new water injection hose from the manifold and up to a new bronze siphon break loop that I installed as high as I could in the port cockpit locker, and then returned the hose to the exhaust elbow. |
|
|
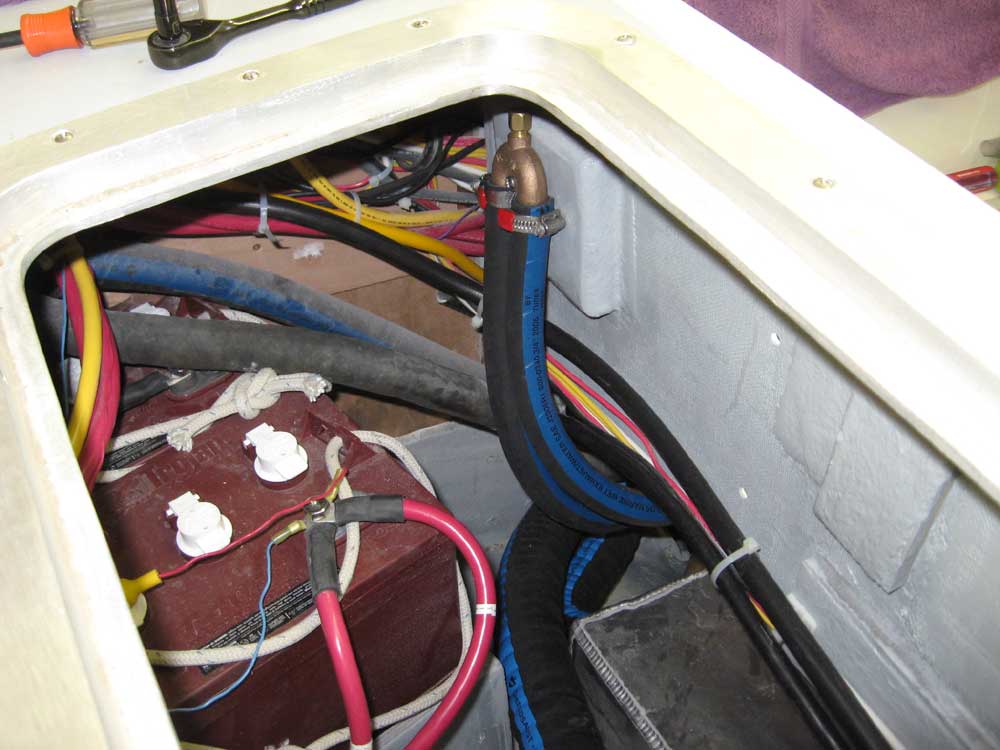
Before buttoning up the engine room and replacing the fuel filter assembly (which I'd removed in order to install the muffler), I somehow coaxed a length of 1-1/2" bilge hose through the engine room and aft to the huge Johnson emergency pump. There was only one possible route for this hose, and I figured I might as well get it in now while the engine room was as "clear" as it was ever going to be. I continued the torturous hose run aft alongside the engine to starboard and back to the outlet at the transom. |
|
|
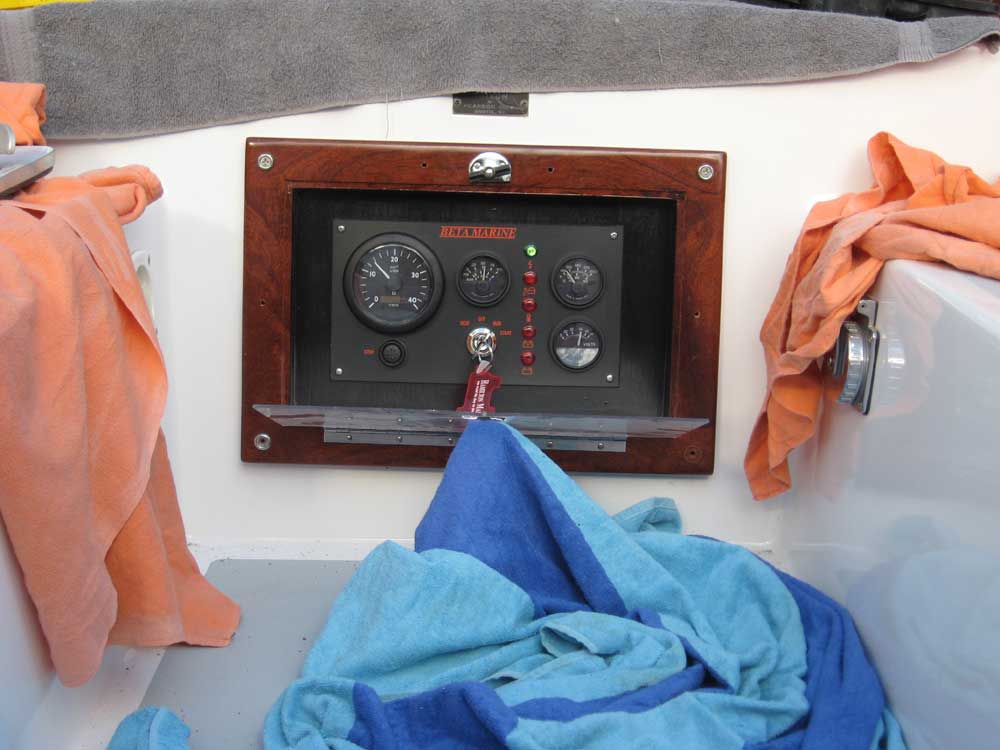
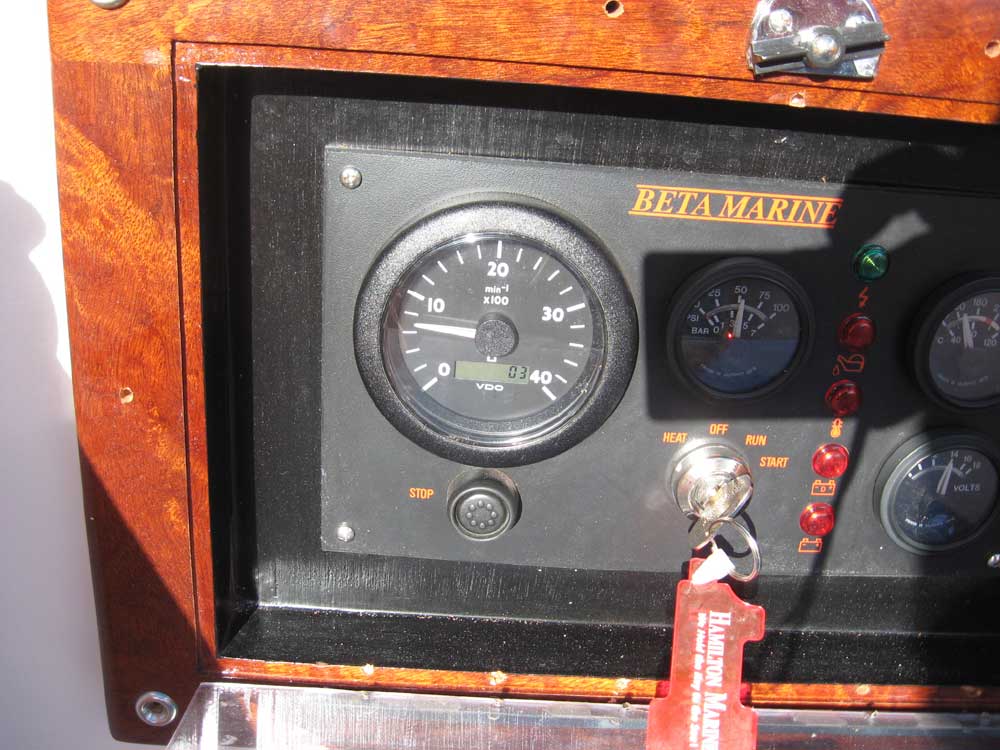
I spent the rest of the morning getting the engine ready for a test run. I rechecked all the fluids and mounting bolts, and added 6 gallons of diesel fuel to the new fuel tank. I filled the two large fuel filters with additional diesel, and briefly searched my inventory for a primer bulb that I thought I had (but never found). Knowing the futility of attempting to prime the fuel system with the tiny mechanical fuel pump lever, I elected to wait till the boat was outside, and then crank the engine as necessary to pull fuel through. Finally, I connected and temporarily installed the engine control panel at the aft end of the cockpit; since I still had one more bilge pump line to run later, I didn't permanently install the panel at this time so that I could preserve access to the lazarette area through the opening. The panel powered up properly once I remembered to turn on the battery switch. |
|
|
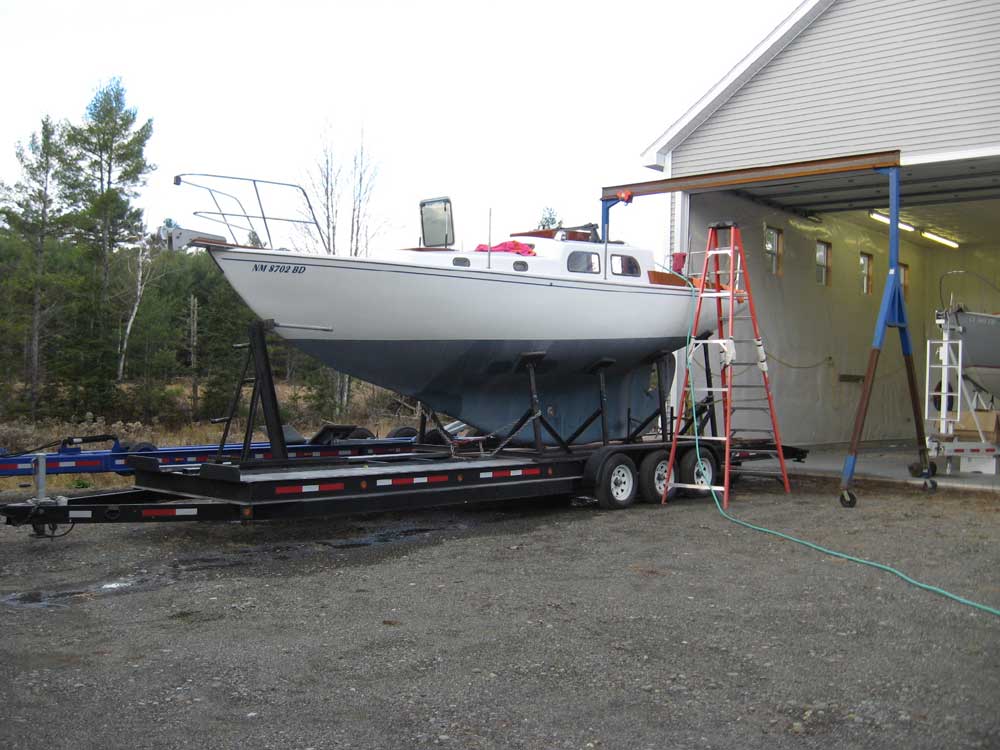
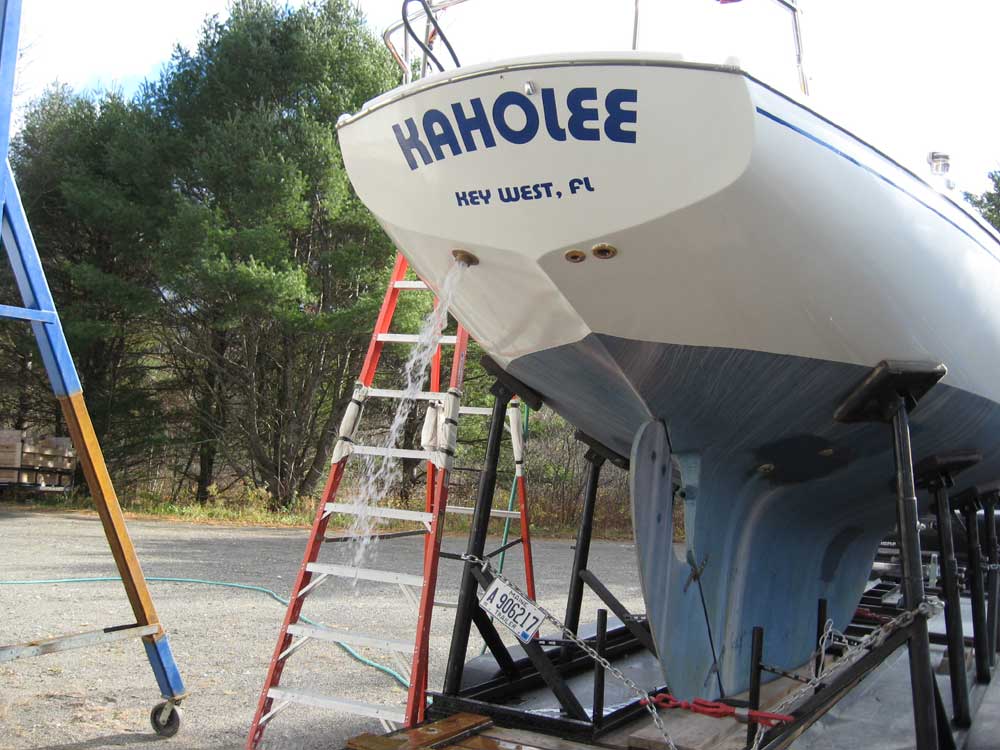
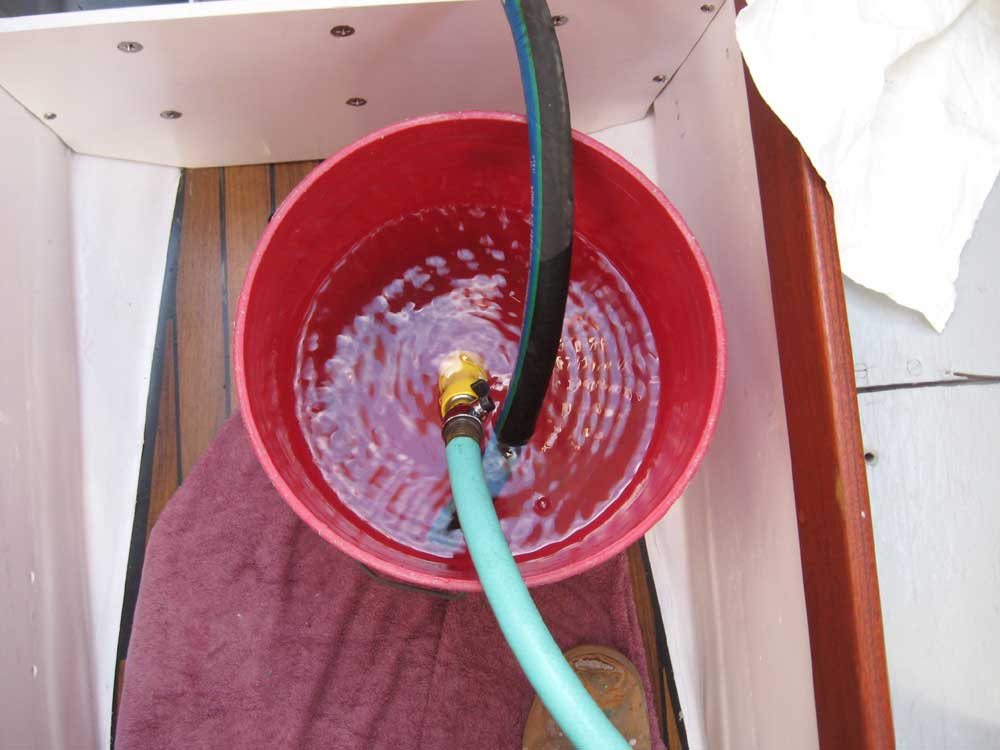
| I hitched up the trailer and moved the boat outdoors so that I could do an effective test run on the engine. I collected a bucket, hose, and other accoutrements required for the test. I disconnected the strainer end of the raw water intake hose and placed it in my bucket full of water, and got ready to crank and bleed the engine. |
|
|
| The engine cranked immediately and fast. I cranked it a bit, and discovered that it almost caught and ran, even though I hadn't bled the fuel system. After a few bouts of cranking, I went below and opened the bleed screw, did a little priming with the mechanical fuel pump lever, and returned to the cockpit to continue. This time, the engine clearly wanted to start, so I advanced the throttle further and continued cranking (in appropriately short bursts). The engine fired and stalled once or twice as it worked additional air through the system until it caught and held. That was easy! I remember the same ease of bleeding with other diesels of new design too. The days of extended and fussy engine bleeding sessions are over with modern diesels. |
|
|
| I ran the engine for a time, checking
things over to look for any fluid leaks or other issues. After
several minutes, I shut the engine down so that I could check the
coolant level to see if any of the coolant had disappeared into the
water heater bypass system. The level hadn't gone down, so I
checked the oil and restarted the engine.
This time, I ran it for close to 20 minutes. The engine was smooth and quiet. I briefly engaged the transmission to check that I'd installed the cable in the right direction: I had. At the idle speed of around 700 RPM, there was a bit of vibration, but at all higher speeds there was virtually none. |
|
|
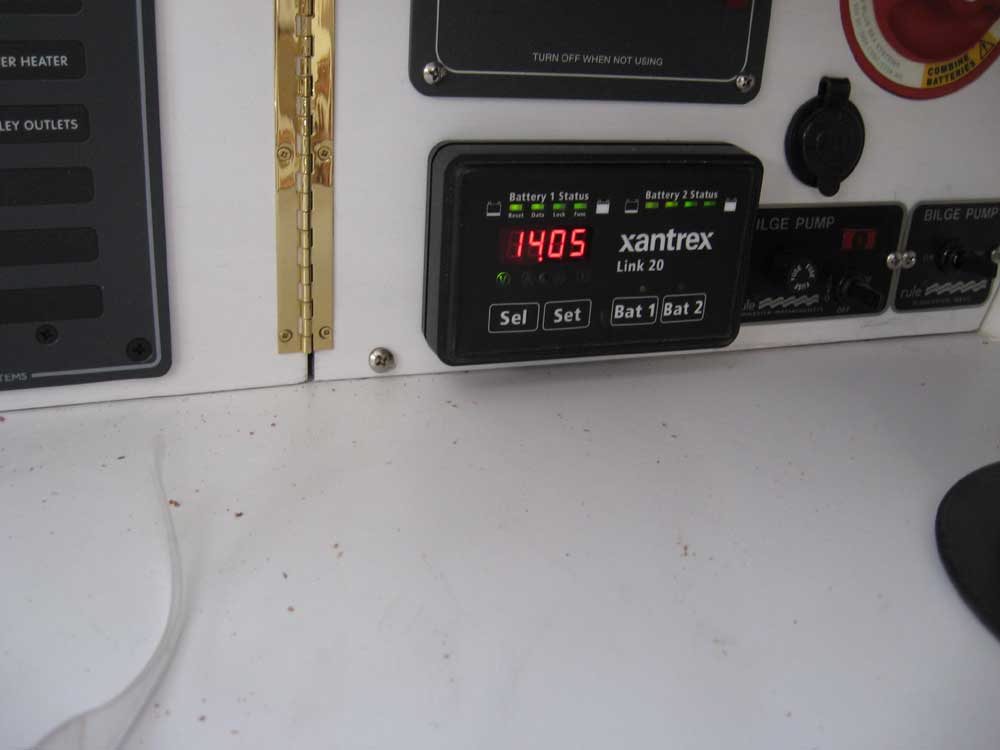
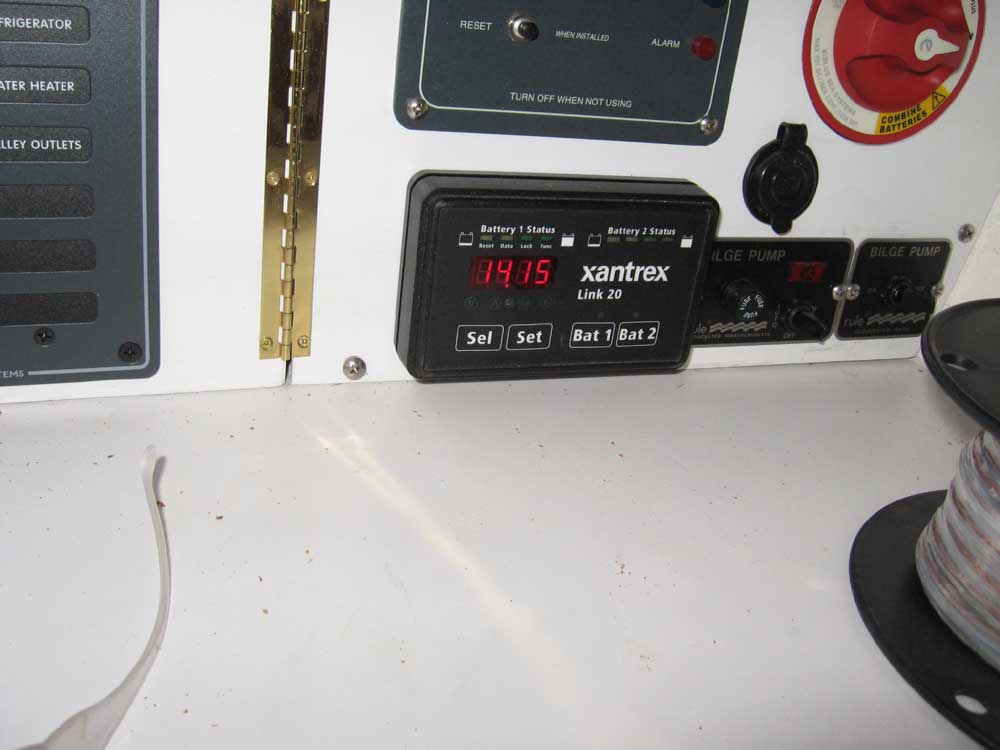
| I ran through several of the functions on the Xantrex battery monitor to ensure that it was functioning properly and that the batteries were charging. The views below show the charging volts on battery bank 1 (left) and 2 (right) while the engine was running (bank 1= engine; bank 2 = house). The various views of the engine panel show proper levels on the included voltmeter as well. |
|
|
| After a while, I shut the engine down.
I found that the engine seemed a bit fuel starved as I pulled the
throttle to idle, which is logical since I hadn't really bled the entire
fuel system. This'll work itself out with a bit of help from me
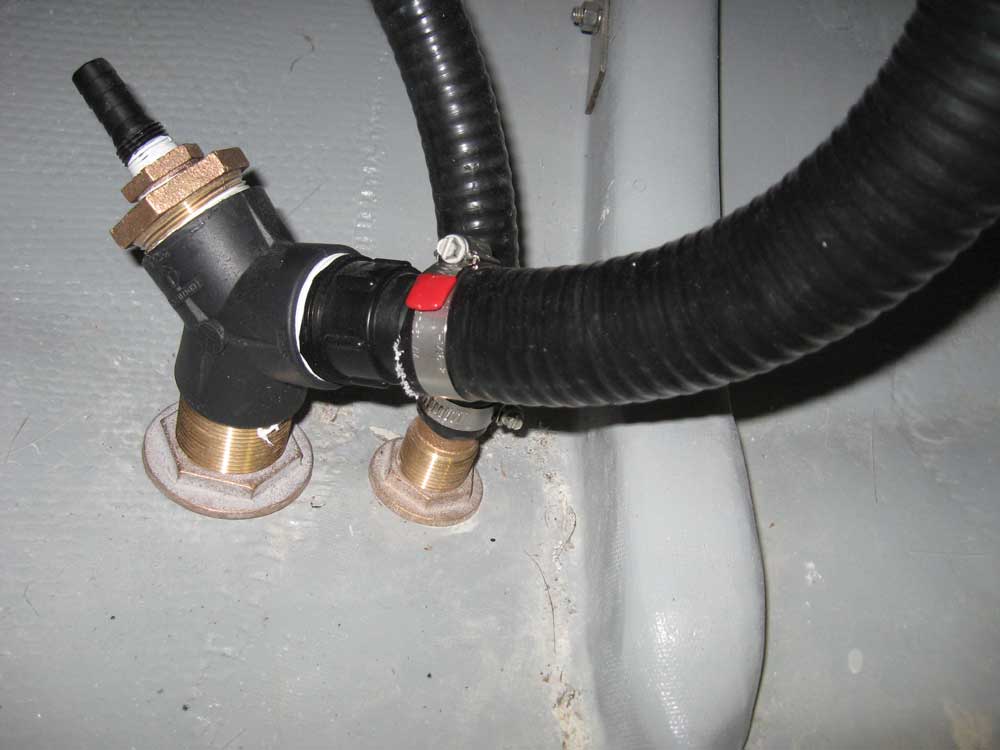
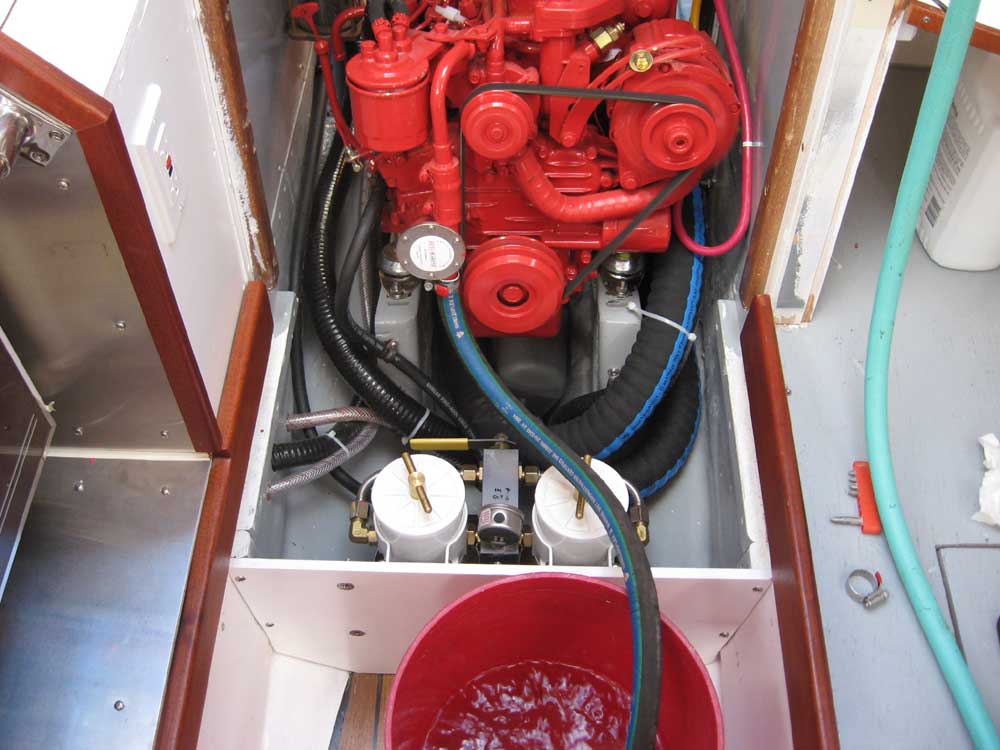
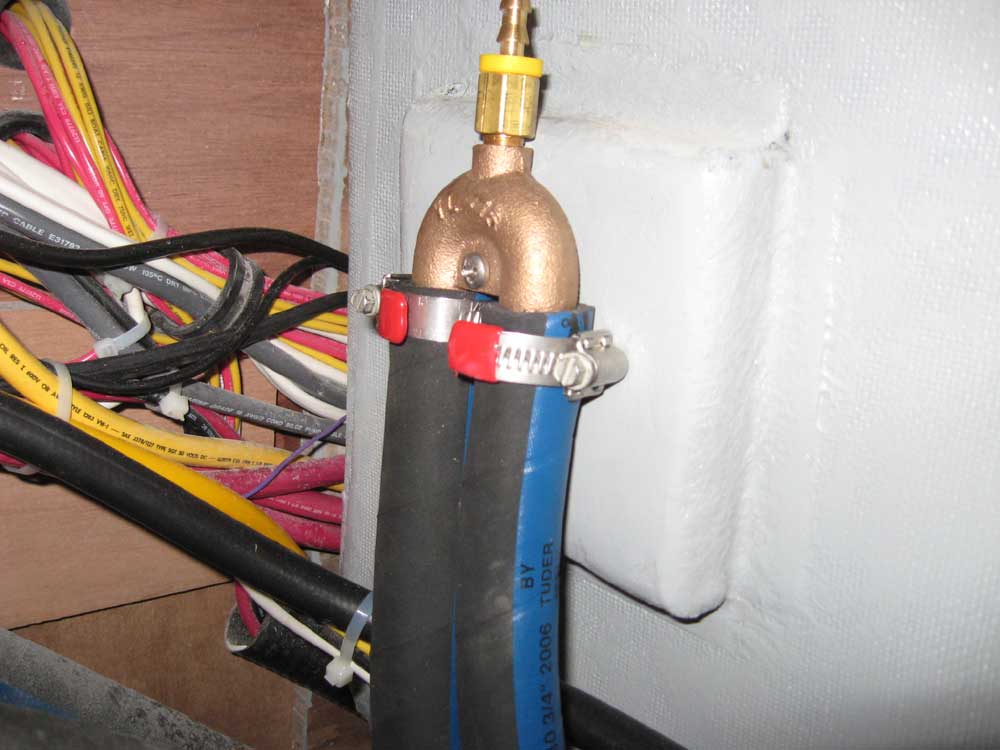
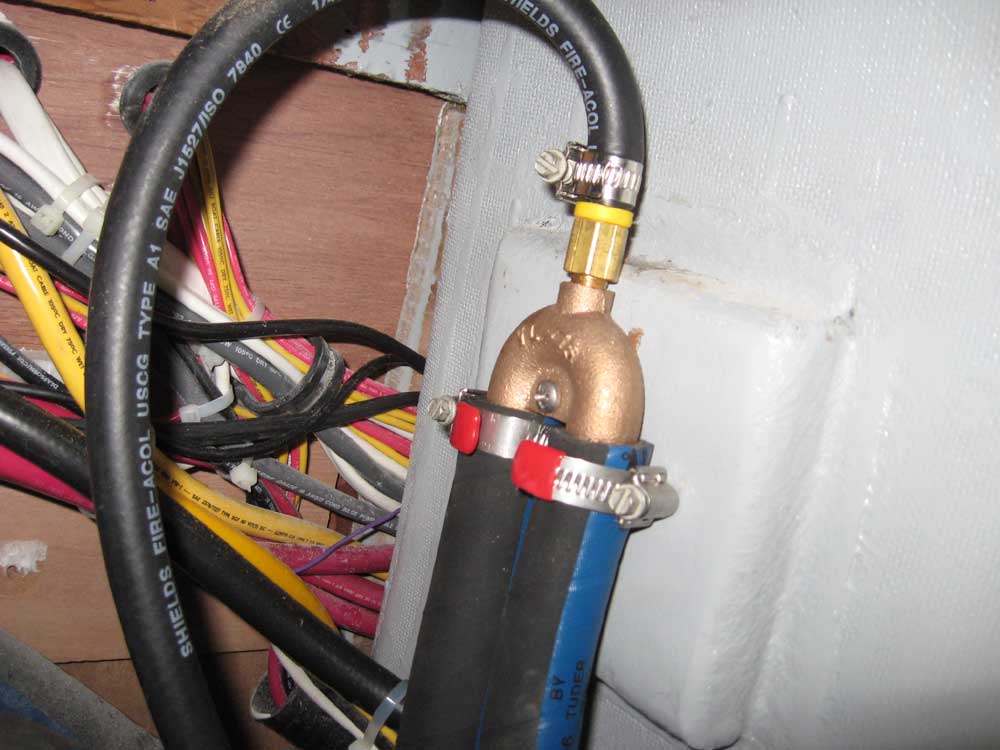
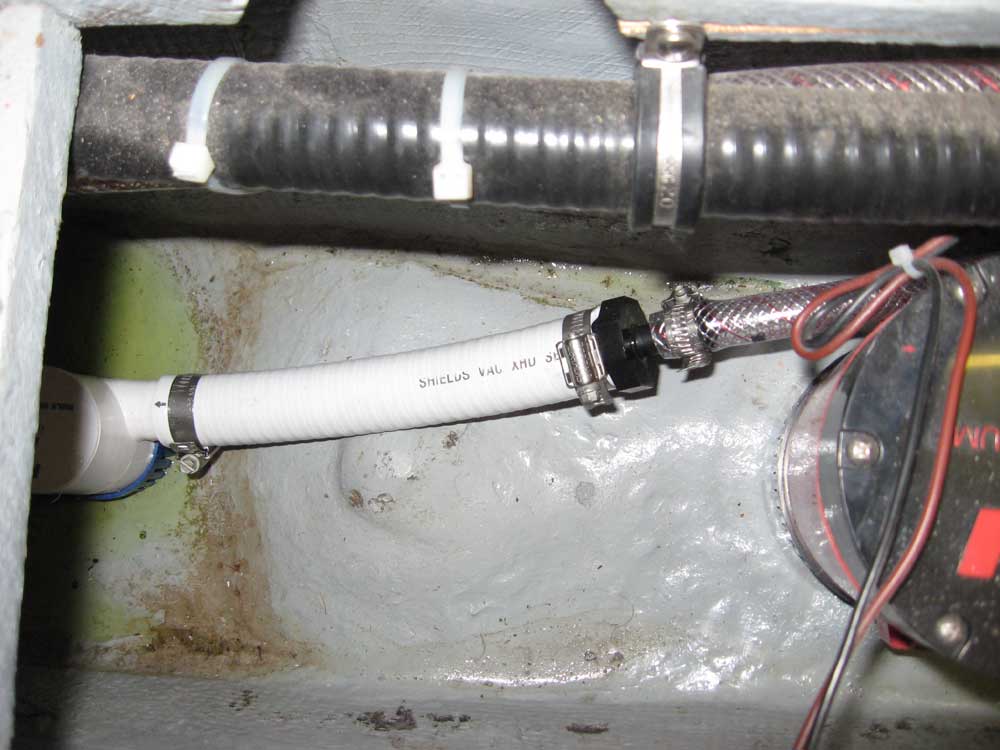
during spring commissioning. I put 2 gallons of pink antifreeze in the intake bucket and restarted the engine to draw the antifreeze through the raw water system before shutting the engine down for good. I rinsed off the trailer and returned the boat to the shop. I found that the raw water siphon break had dribbled a small amount of water during the test, which I'd been prepared for. So I removed the vent cap and replaced it with a barbed fitting, to which I secured a length of 1/4" hose. I ran the hose down to the bilge to direct any future spittle out of harm's way; I didn't want the water to end up on the nearby wiring during normal operation. |
|
|
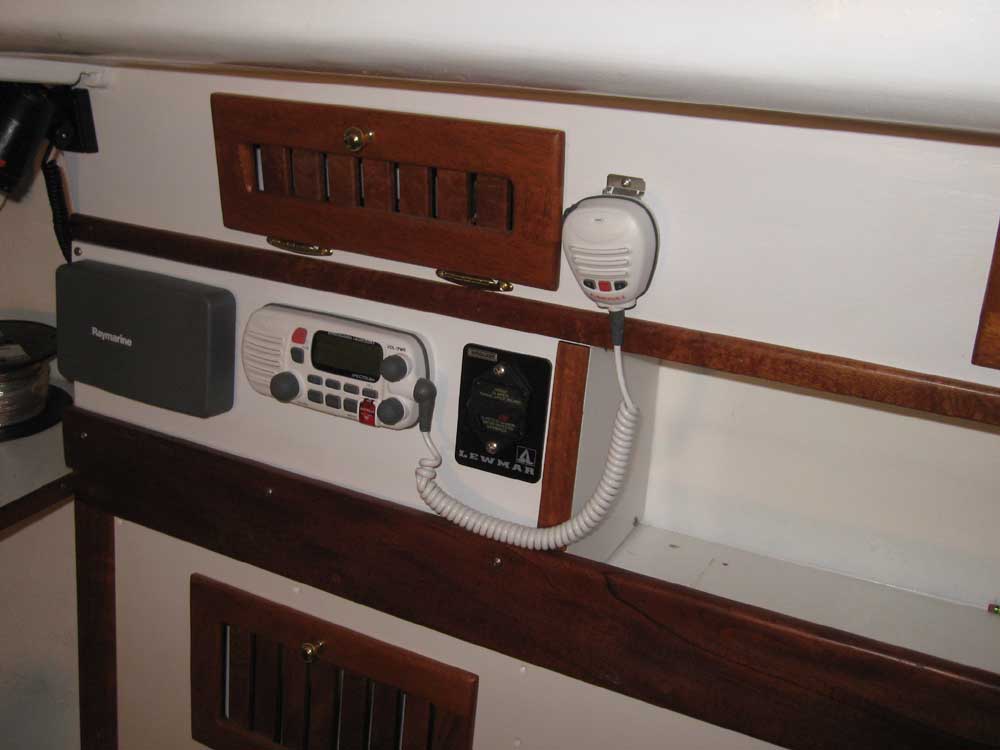
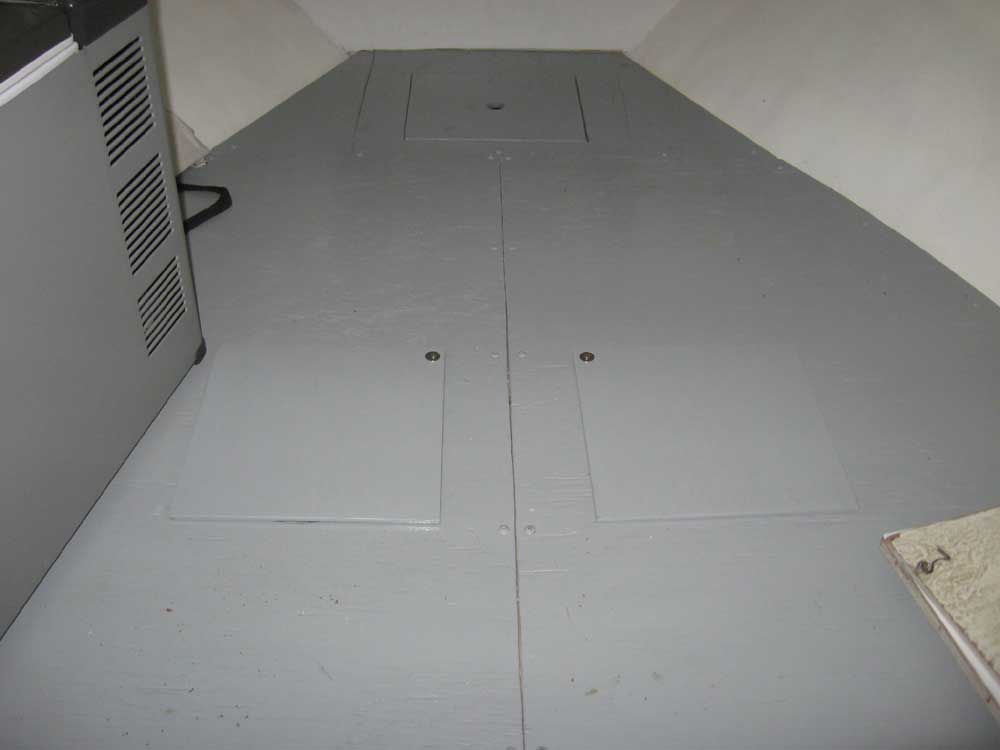
With the engine put to bed after a successful test, I rounded out the day with several small jobs, since small jobs were all that were left at this point: the engine installation and operation was the denouement of this project. But a few things still needed to be done in order for me to put the wraps on Phase II. I installed a couple simple plywood covers over the water tank access openings in the v-berth; a single screw with washers above and below the cover allowed the covers to be rotated out of the way for access. I installed the end panel on the electronics sub panel, and installed a bit of trim to cover the plywood end grain. I ran a 1/2" hose to the smaller bilge pump and back to the transom outlet. At the request of the owner, I intentionally downsized the hose from the 1-1/8" pump outlet to minimize the backflow into the bilge once the pump shut off. This pump was for nuisance water only, so the reduced capacity wasn't an issue. Fortunately, this hose was small enough that I could more easily run it through the clogged engine room. |
|
|
|
|
|