| Kaholee Refit |
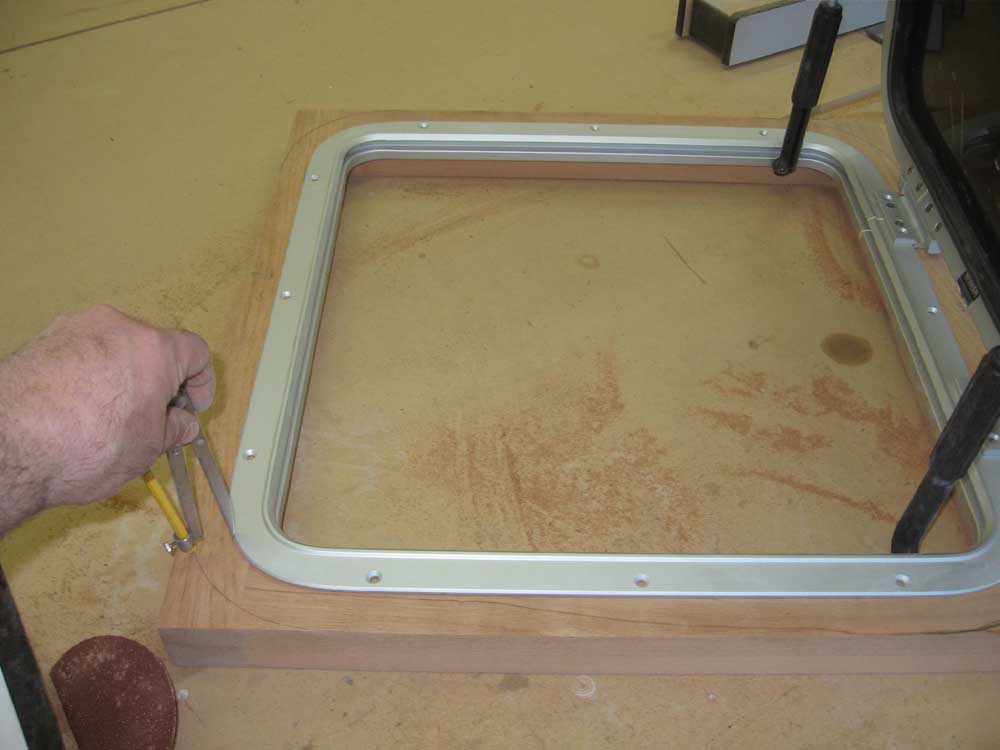
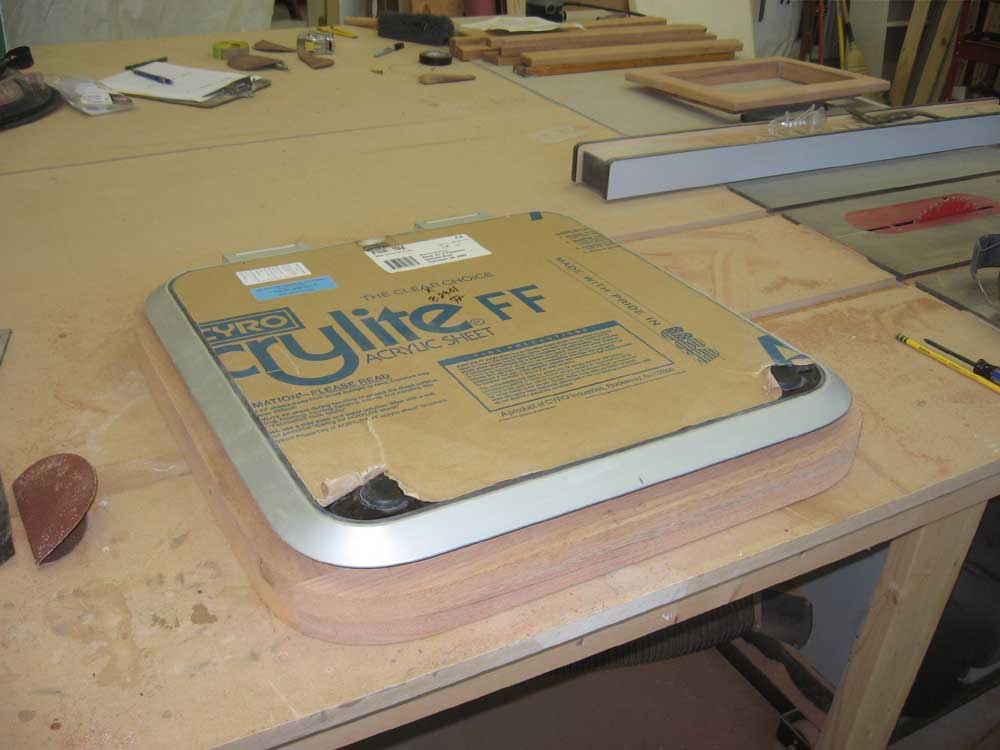
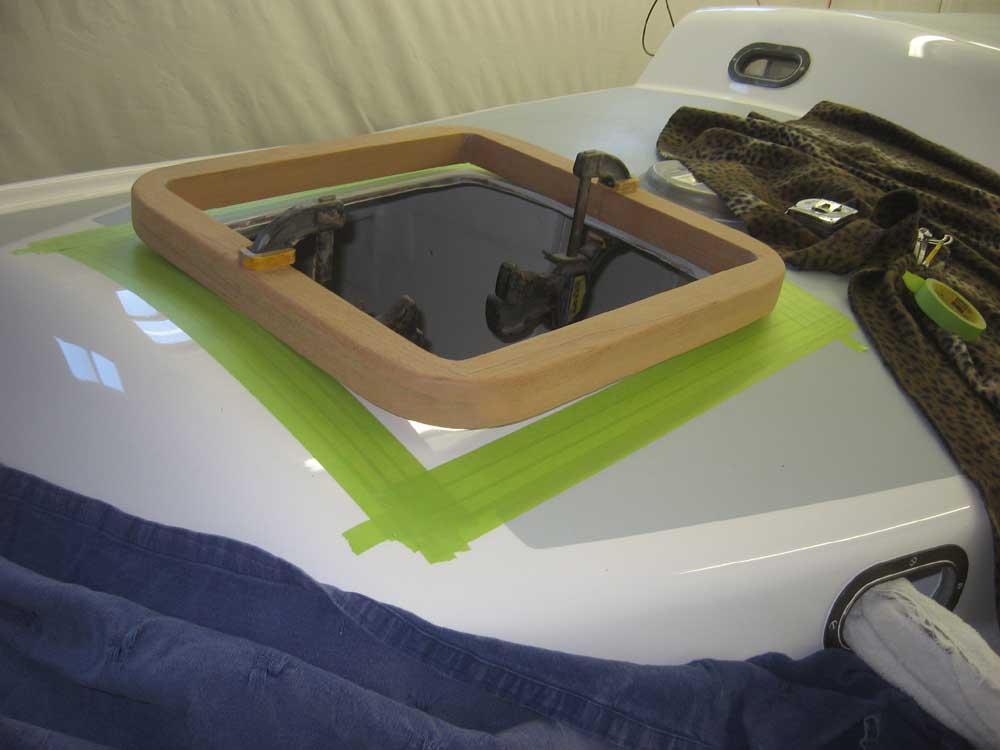
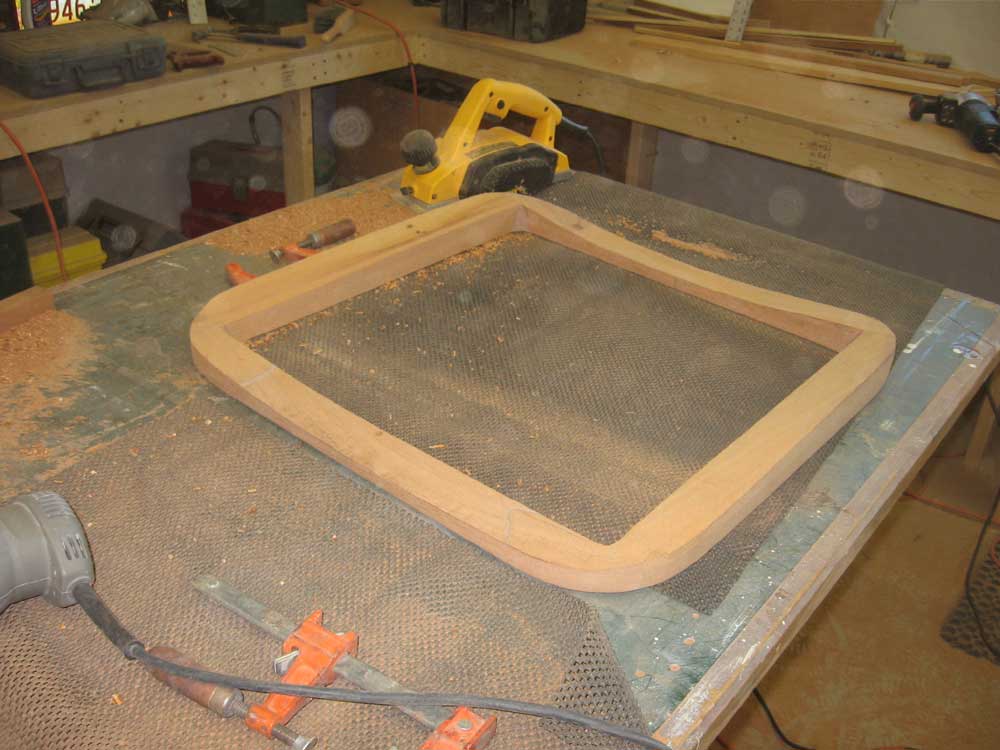
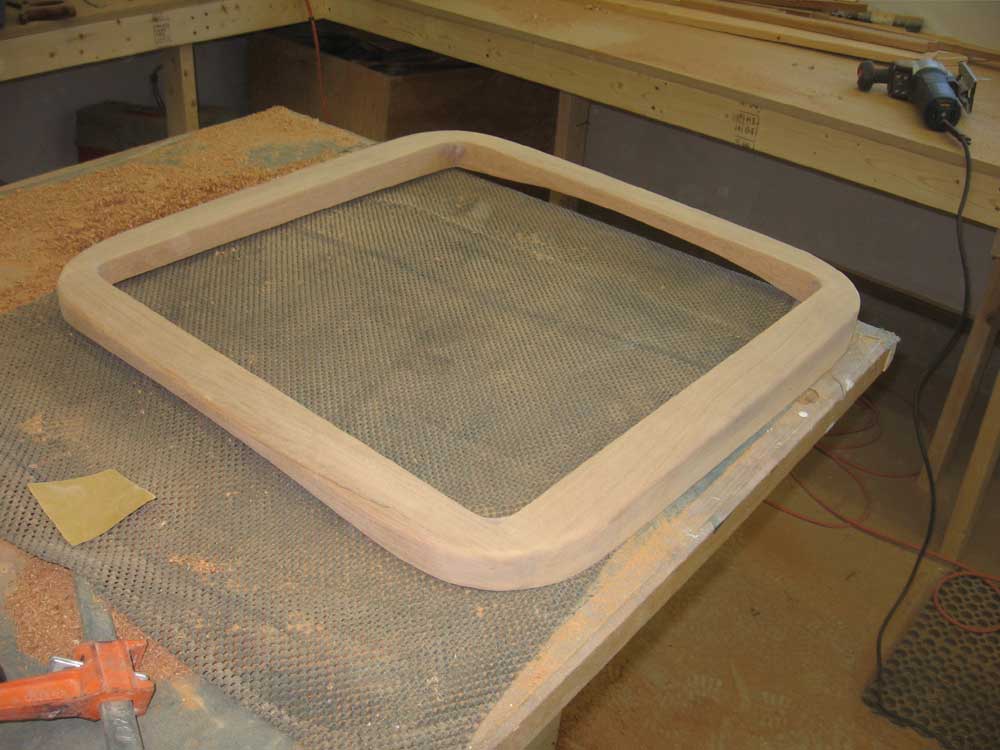
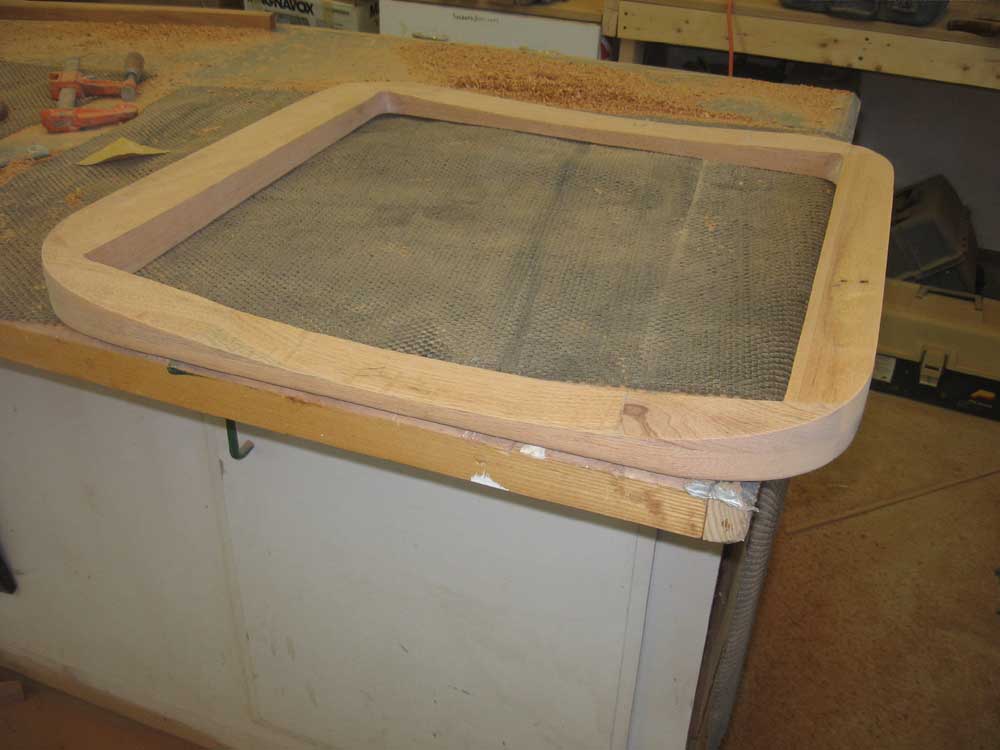
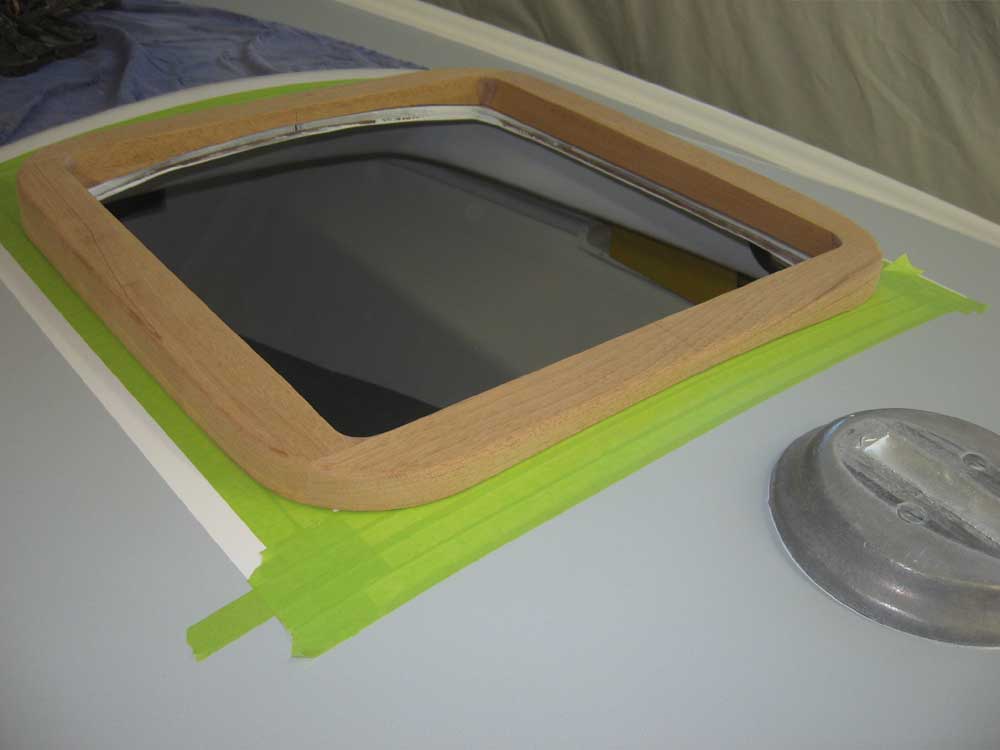
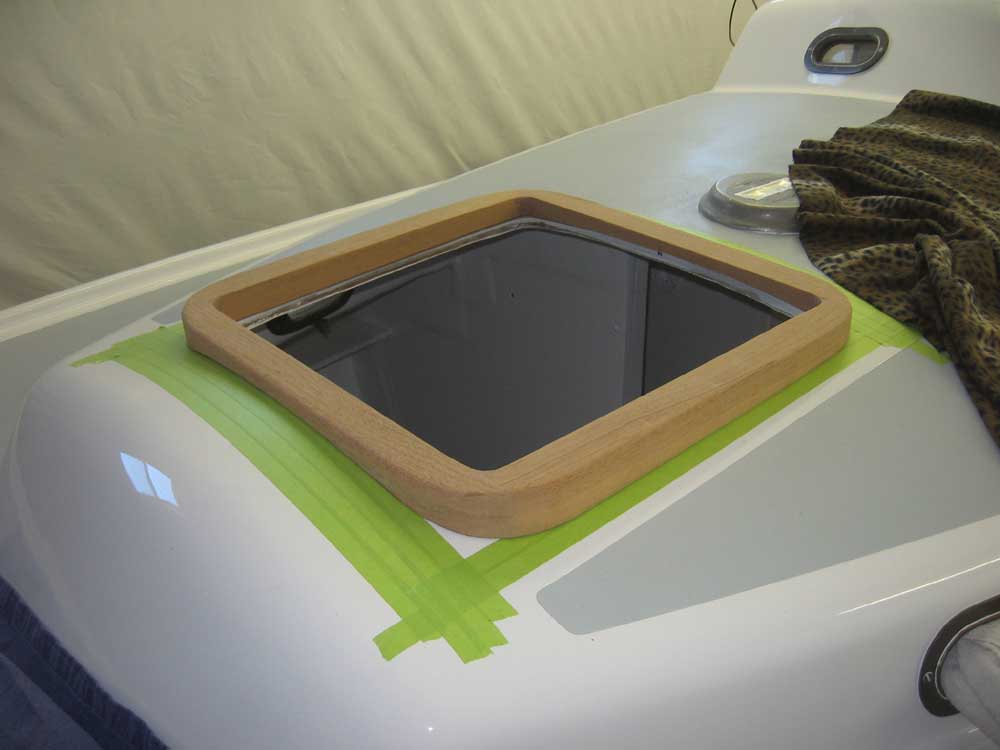
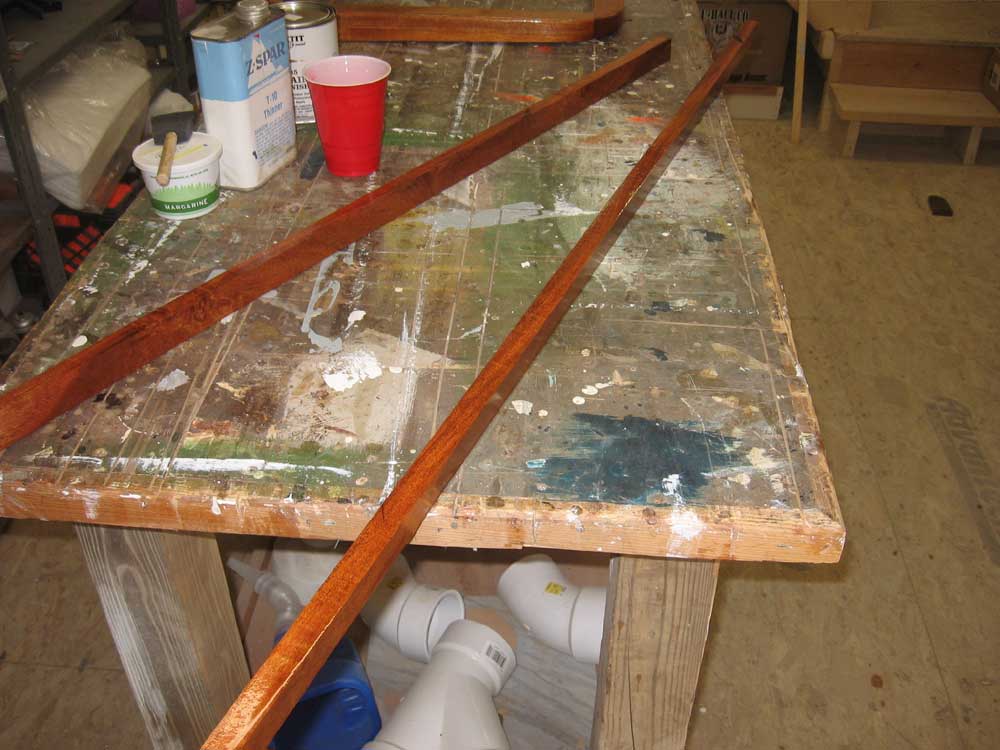
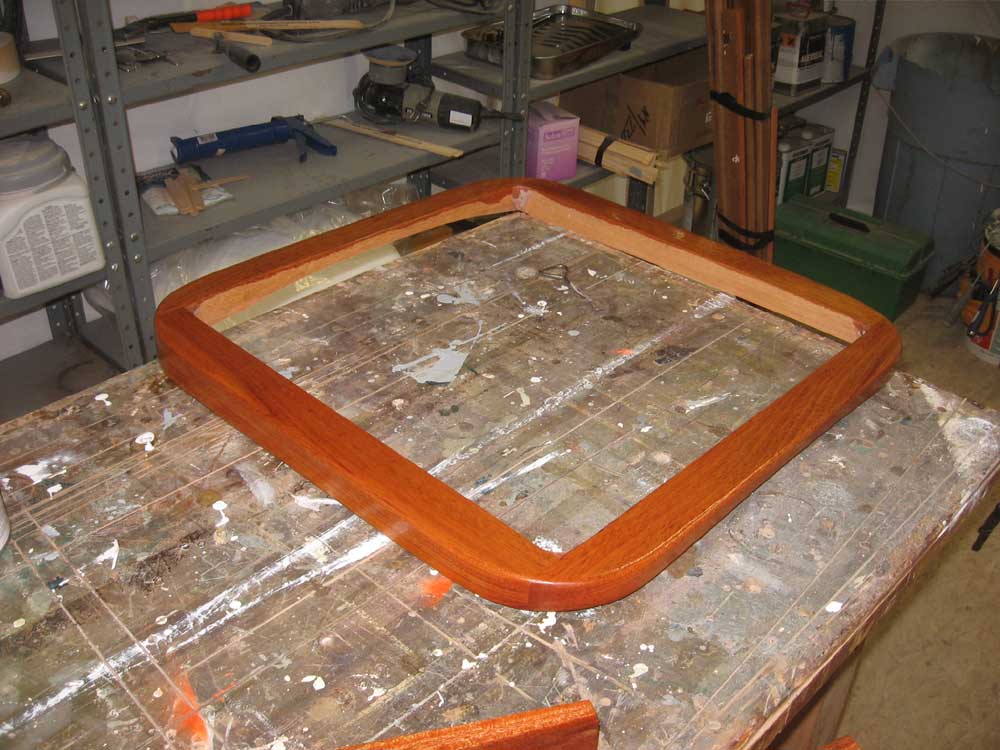
March 28, 2007 After unclamping yesterday's glue-ups, I prepared for some additional work on the forward hatch frame. To begin, I quickly sanded the top and bottom surfaces to remove some excess epoxy that squeezed out, and then fitted the hatch in place so that I could mark the curves at the four outside corners to match the shape of the hatch. For this, I set my dividers to the exposure on the sides of the hatch, and traced the inside of the hatch frame, marking the wood accordingly. I cut the curves with a jigsaw and sanded them smooth. Then, I routed a roundover on the top edge of the hatch. Next, I spent quite a bit of time fitting the frame to the curved coachroof, a compound contour that required plenty of trial and error to achieve a decent fit. To begin, I clamped the frame in place amidships and scribed the shape of the deck fore and aft. I cut these contours with the jigsaw, and then used a power planer to remove the stock on the two sides of the frame to roughly match the angles formed by the ends. Incrementally, and with many trips up and down to the boat, I fine-tuned the fit till it was acceptable. Then, I finish-sanded the frame and set it aside for the varnish room. |
|
|
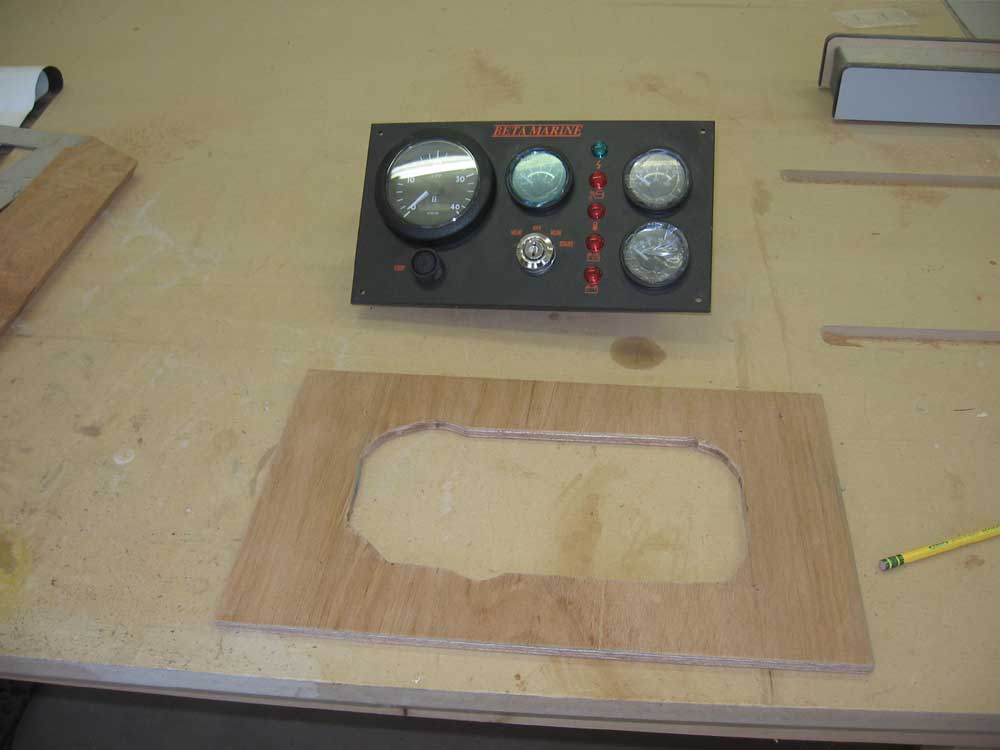
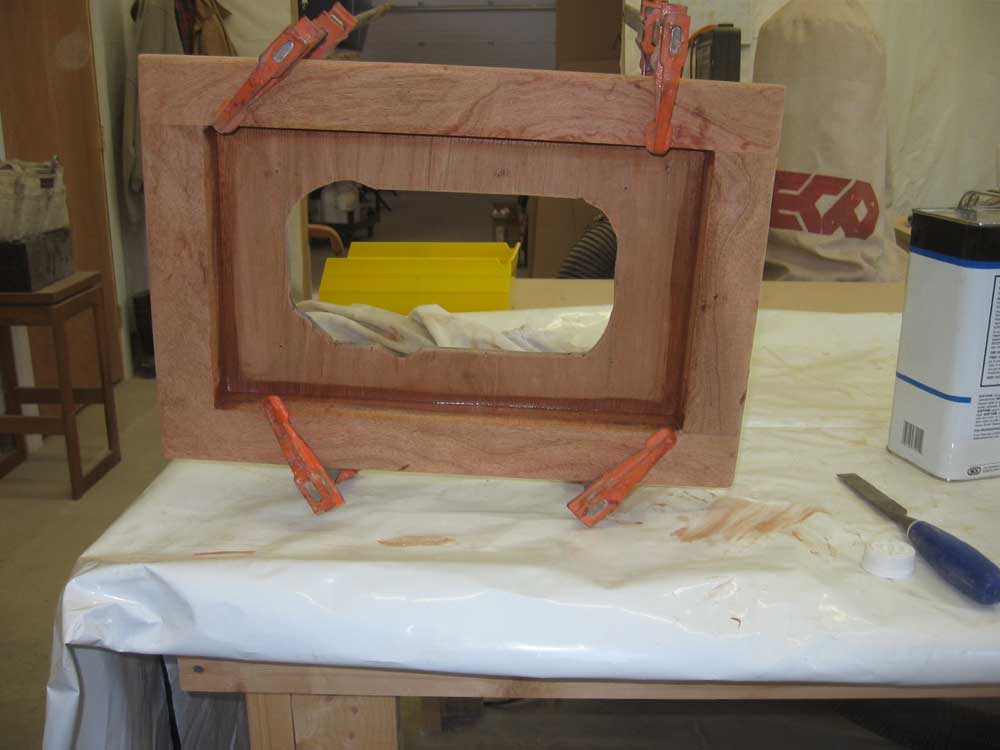
I cut a plywood panel to use for the back of the engine instrument surround, and cut out an opening to fit the Beta Marine panel. Then, I epoxied the plywood to the back of the surround and set it aside to cure. In an exciting turn of events, I began a (very) small amount of varnish work as I applied the first coat to the forward hatch frame and companionway slide supports. I thinned the first coat significantly to allow it to soak into the mahogany. I'd continue building up coats on these (and eventually other) pieces until there was a good base for installation. |
|
|
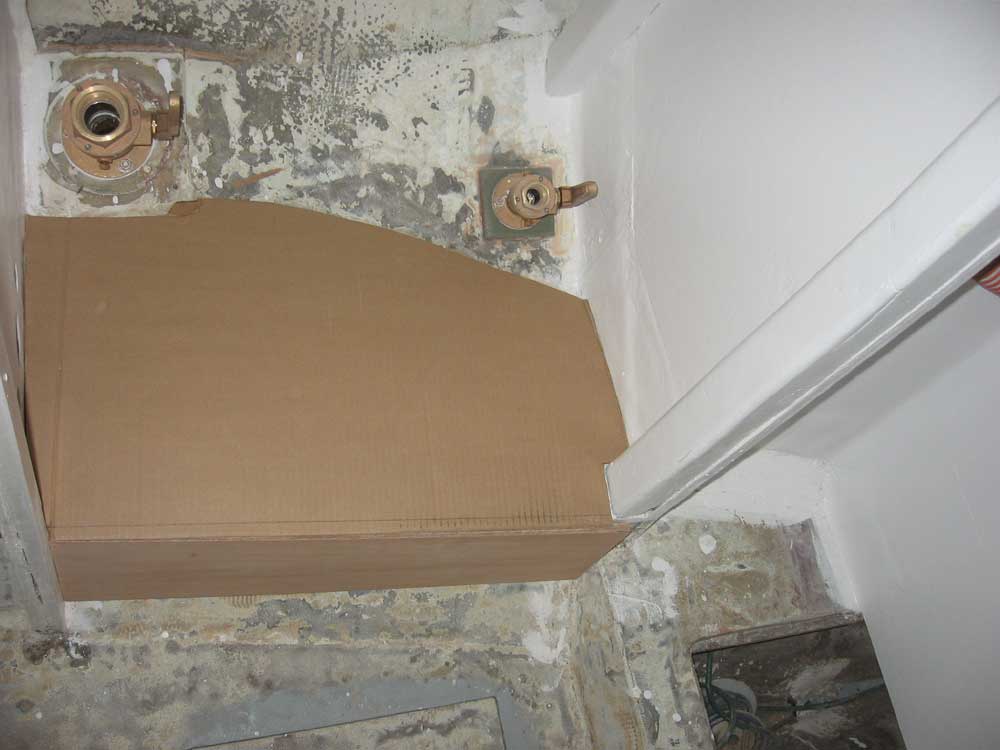
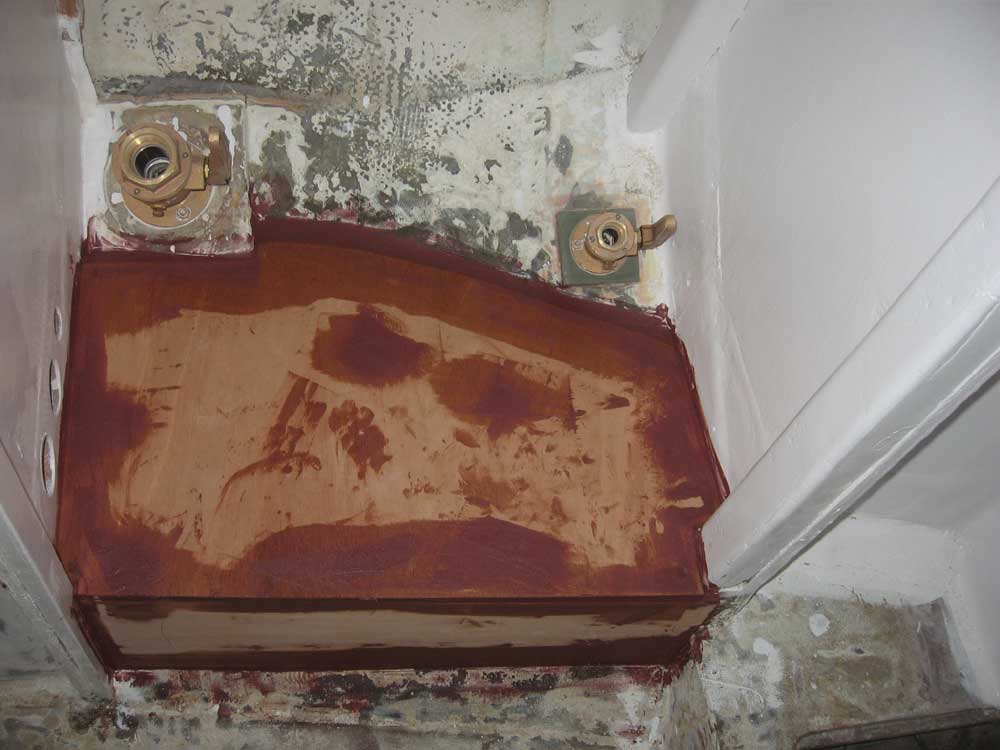
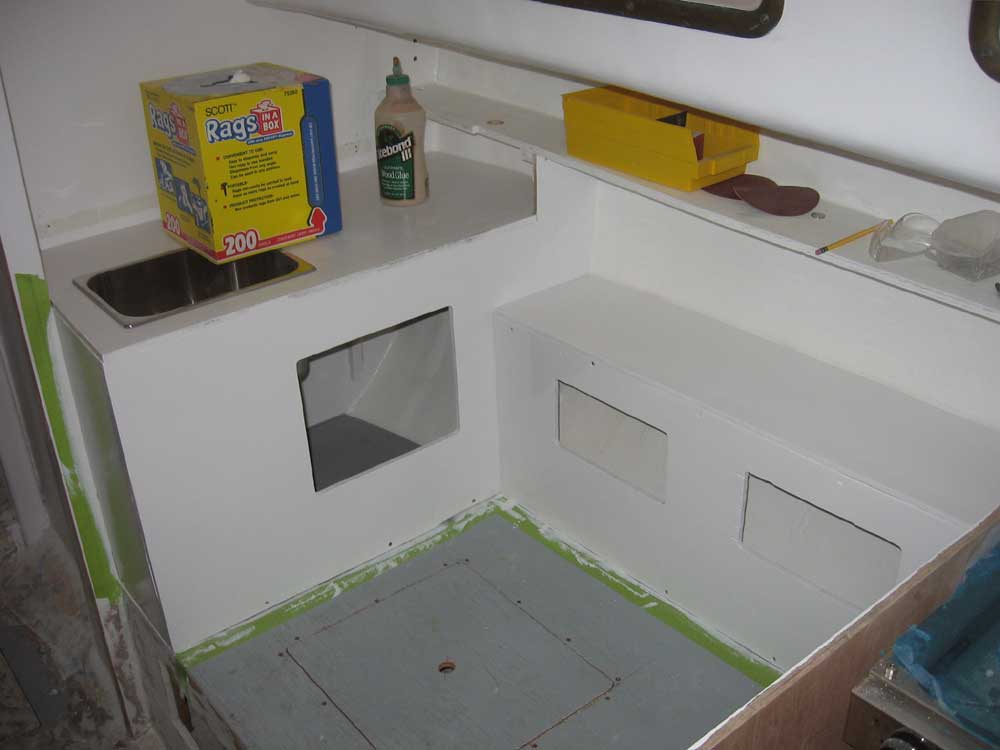
The head required a bit more work in the form of new panels for the horizontal platform on which the MSD sits, as well as a front panel beneath. I made cardboard templates in the usual manner, then cut out the pieces from some 12mm Meranti. I installed them with screws and epoxy, and then faired in the edges with additional epoxy filler. |
|
|
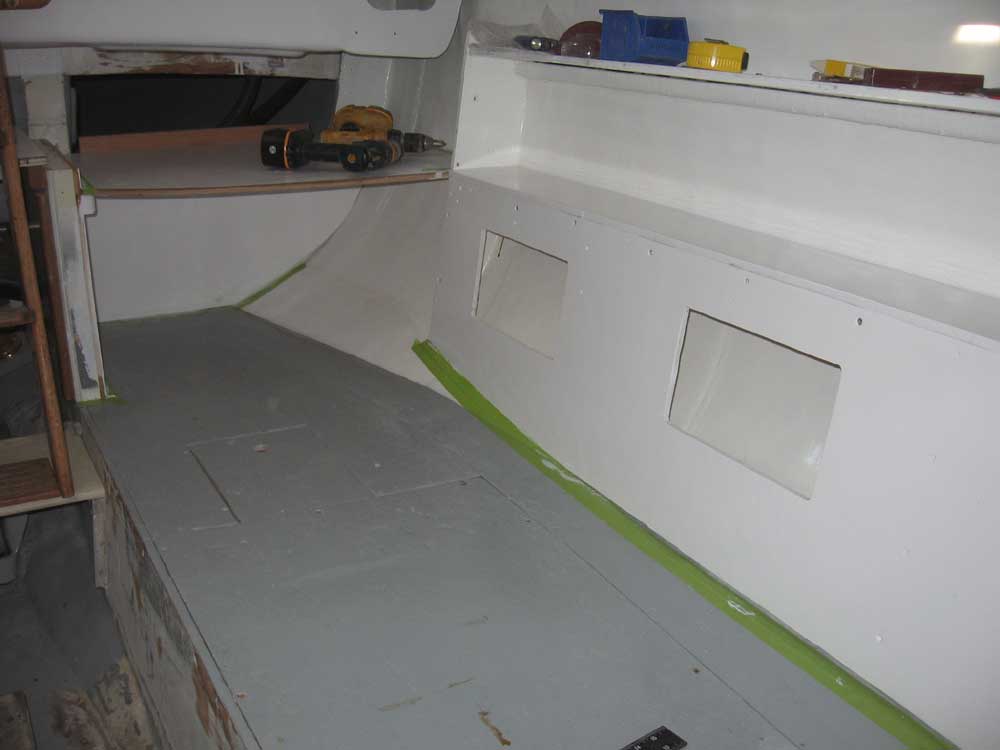
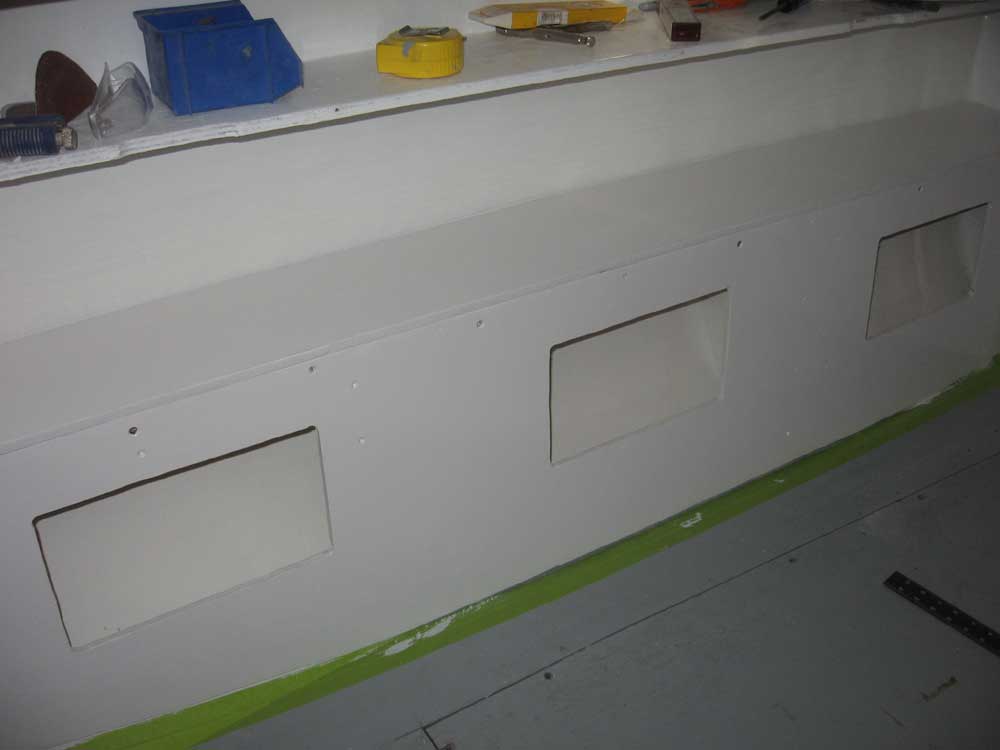
I sanded yesterday's paint on the interior, and, after cleanup, applied the second coat of semi-gloss white. |
|
|
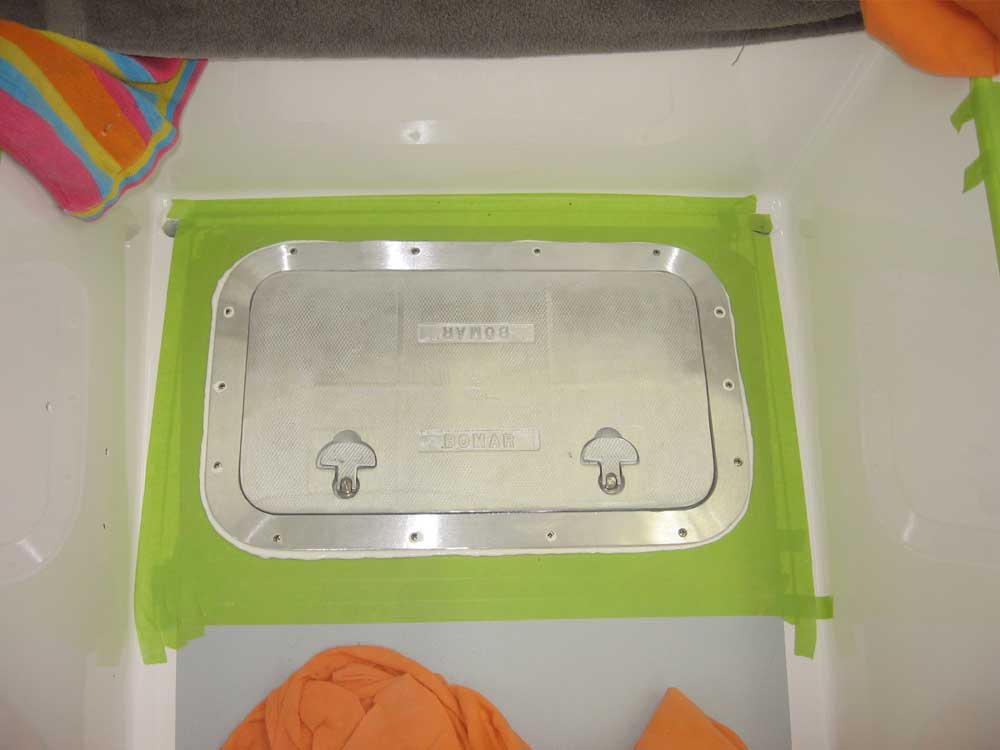
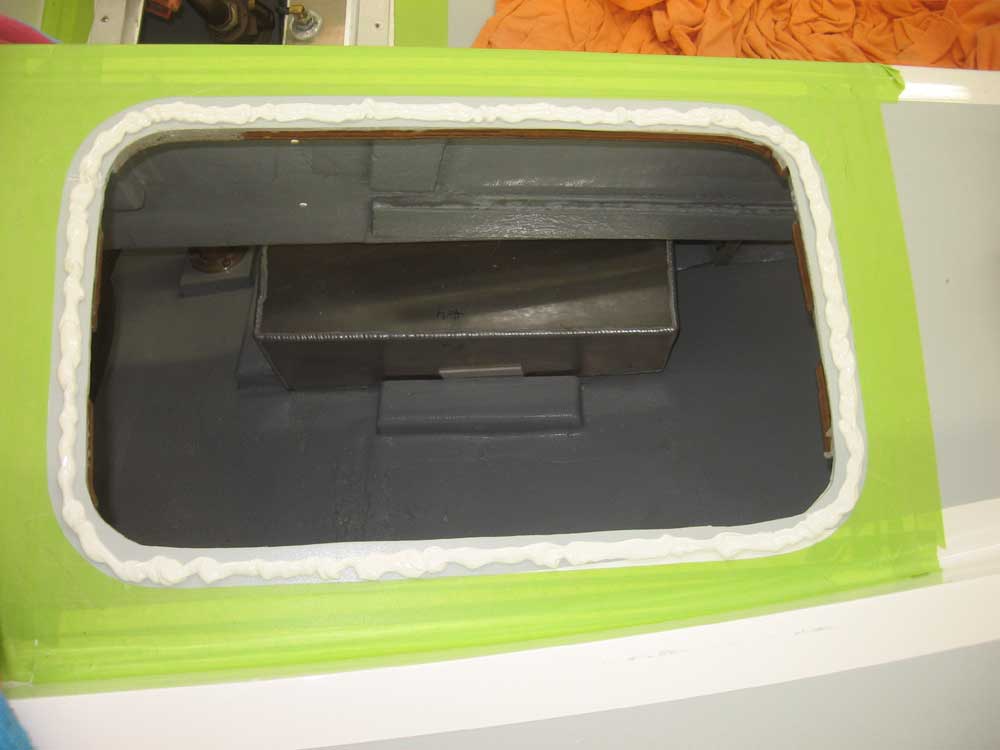
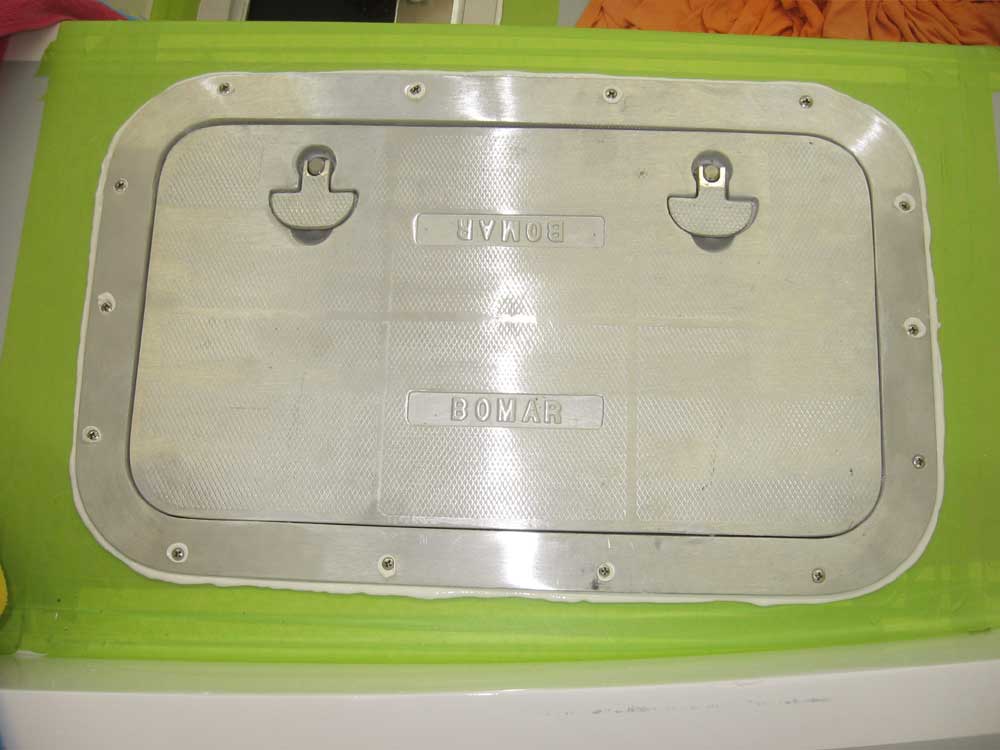
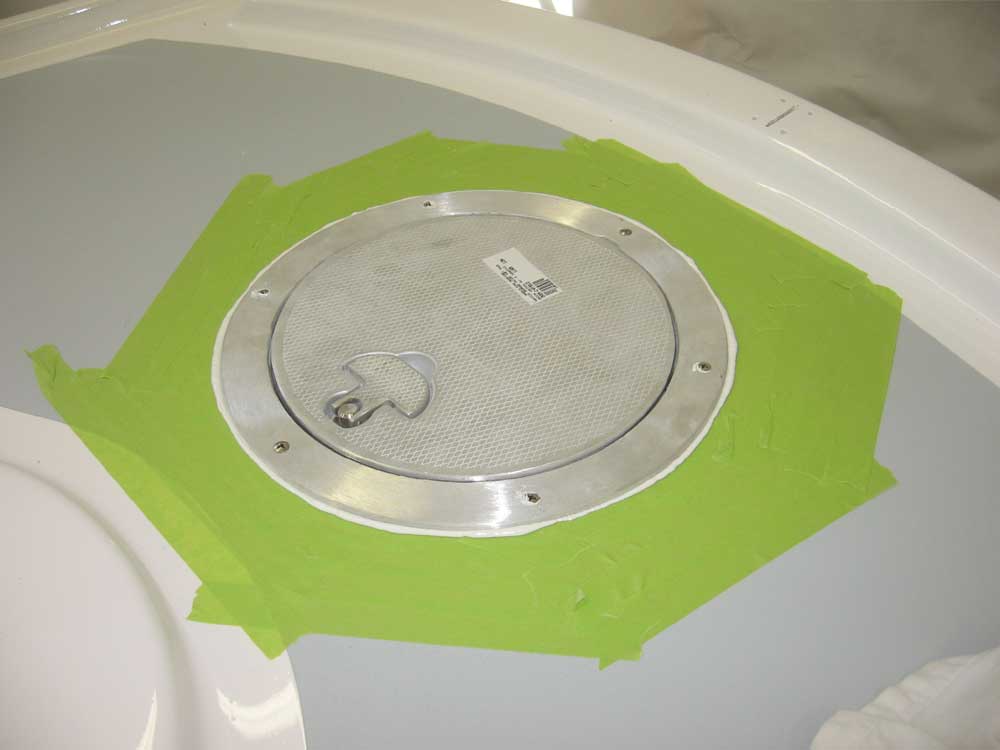
Finally, I installed the four aluminum hatches in the cockpit. Because the deck laminate was relatively thin here, and because all the hatches would be subjected to plenty of foot and seat traffic, I elected to bed the hatches in 3M 4200 polyurethane for just a bit of extra strength. Since all the basic prepwork was complete after yesterday, installation today was a simple matter of gooping up the deck in way of the hatch flanges, and screwing them in place with #10 x 1" 316SS screws. I left the excess squeezeout to cure, untouched, until it was firm enough to remove easily and cleanly. |
|
|
|
|
|