| Kaholee Refit |
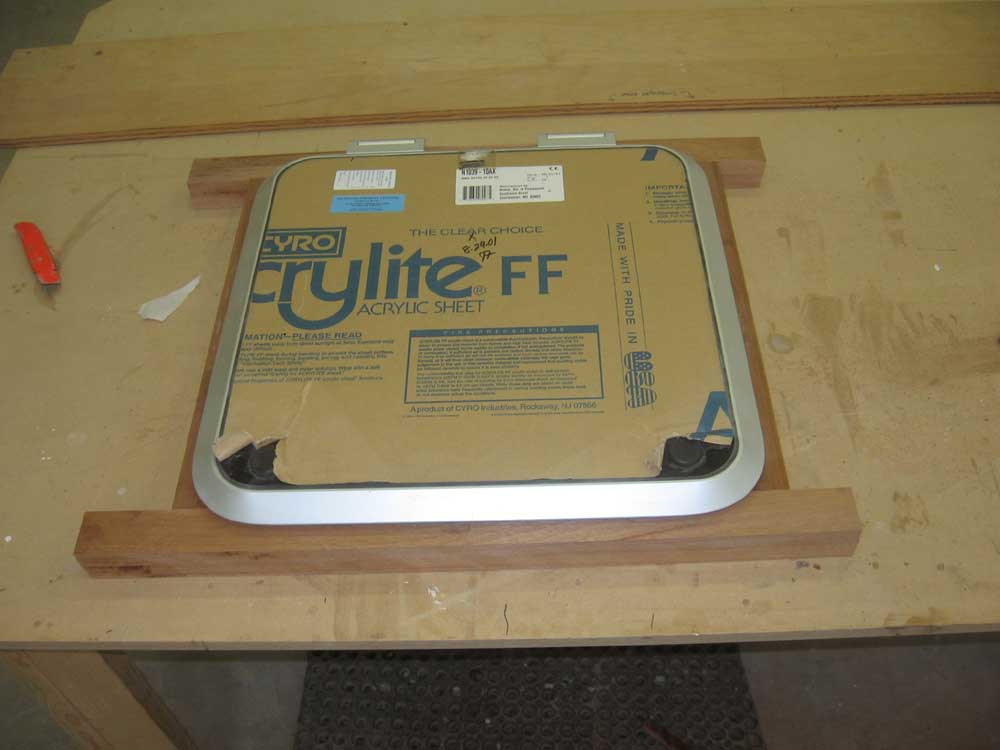
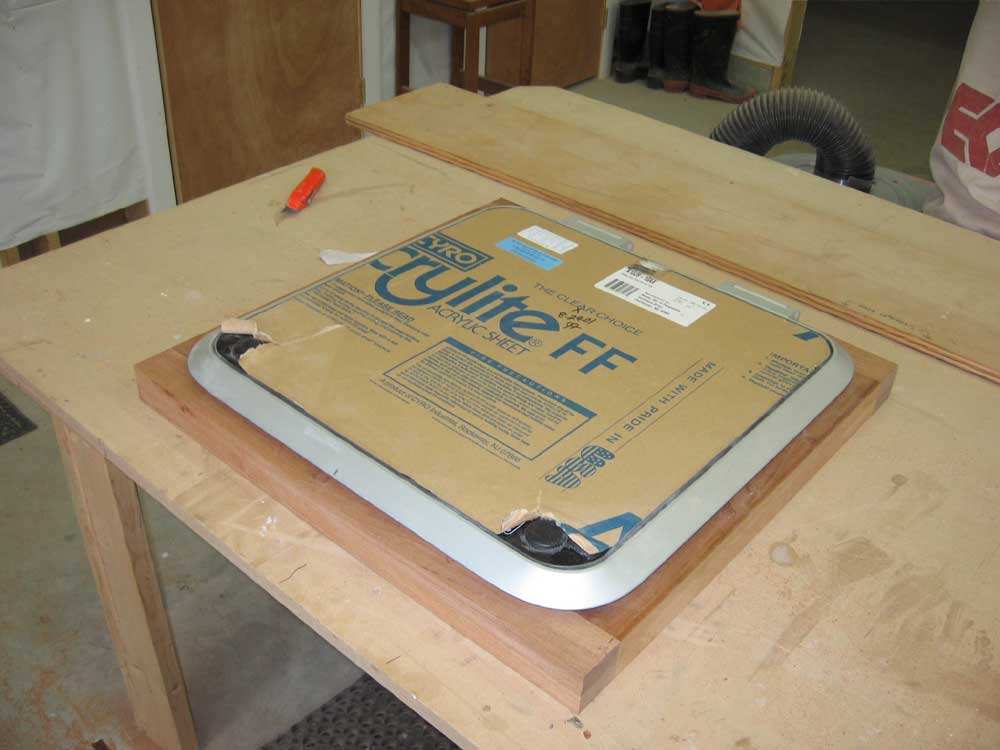
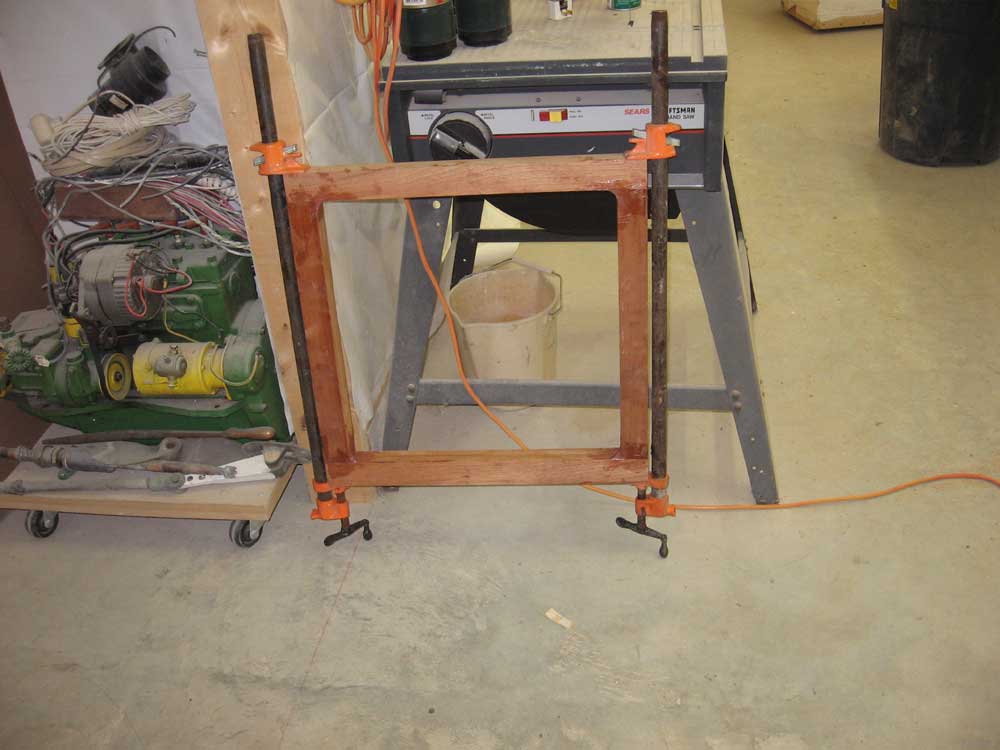
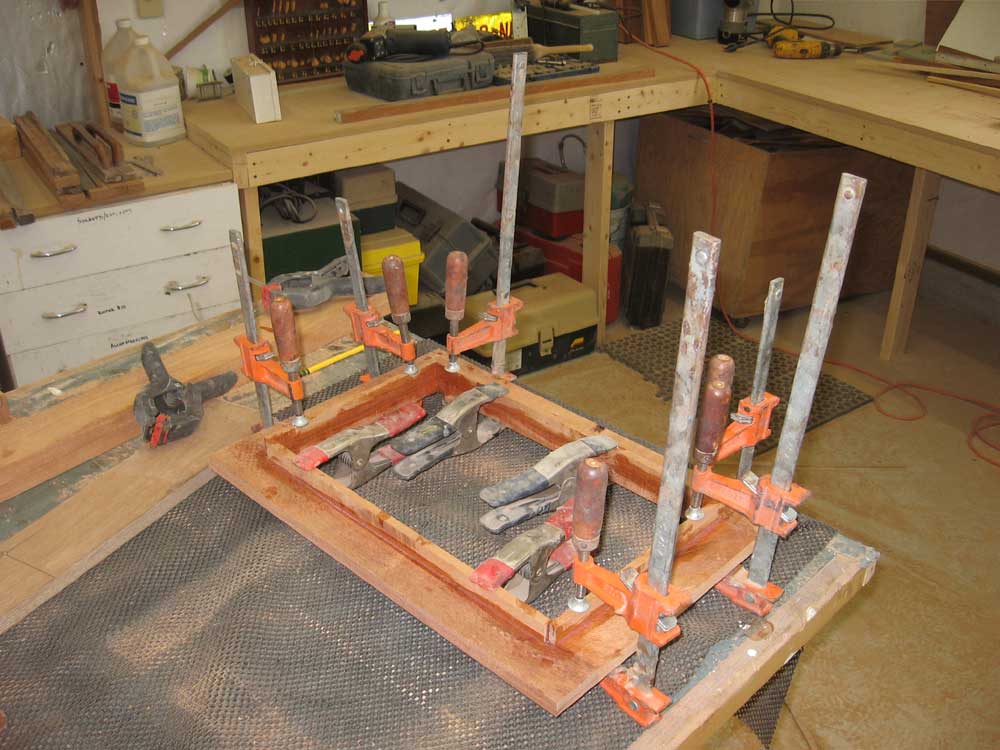
March 27, 2007 After unclamping yesterday's glued up assemblies, and sanding the primer on the interior, I worked to properly dimension and clean up the glued blanks, which I had made slightly oversize for this purpose. Once all the blanks were milled to the proper size, I mocked up the frame for the forward hatch, using the hatch itself as a guide, and cut the four frame pieces to the proper length. Then, I glued them together using epoxy. |
|
|
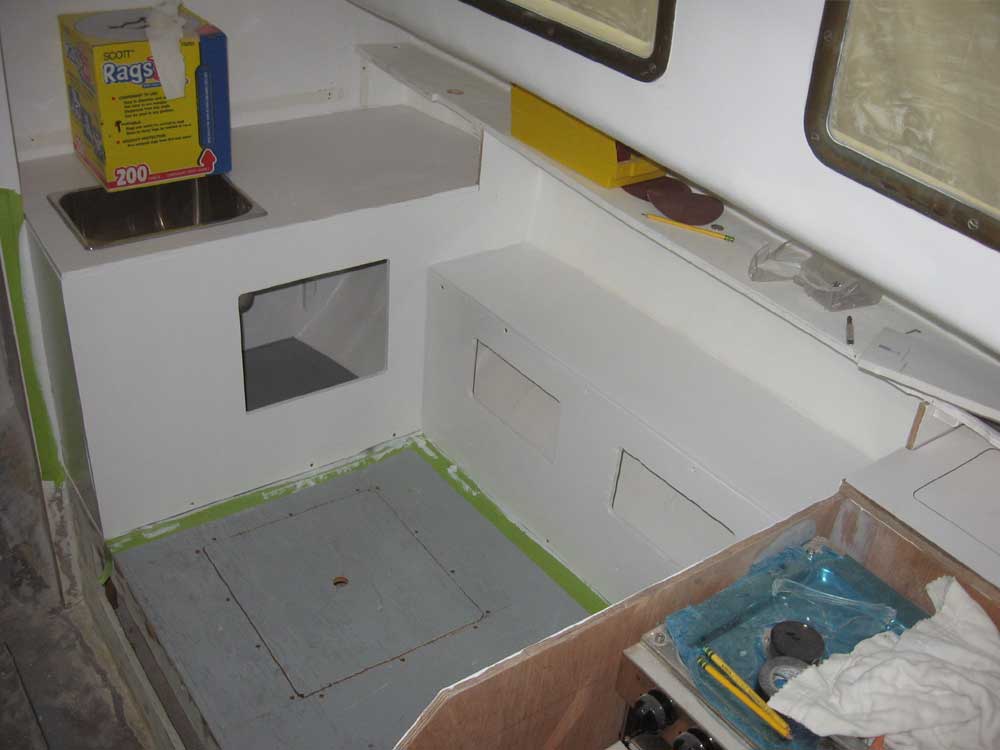
Next, I cleaned up the sanding dust from the interior primer, which had by now had a chance to settle, and applied the first finish coat of semi-gloss white to match the other parts of the interior. |
|
|
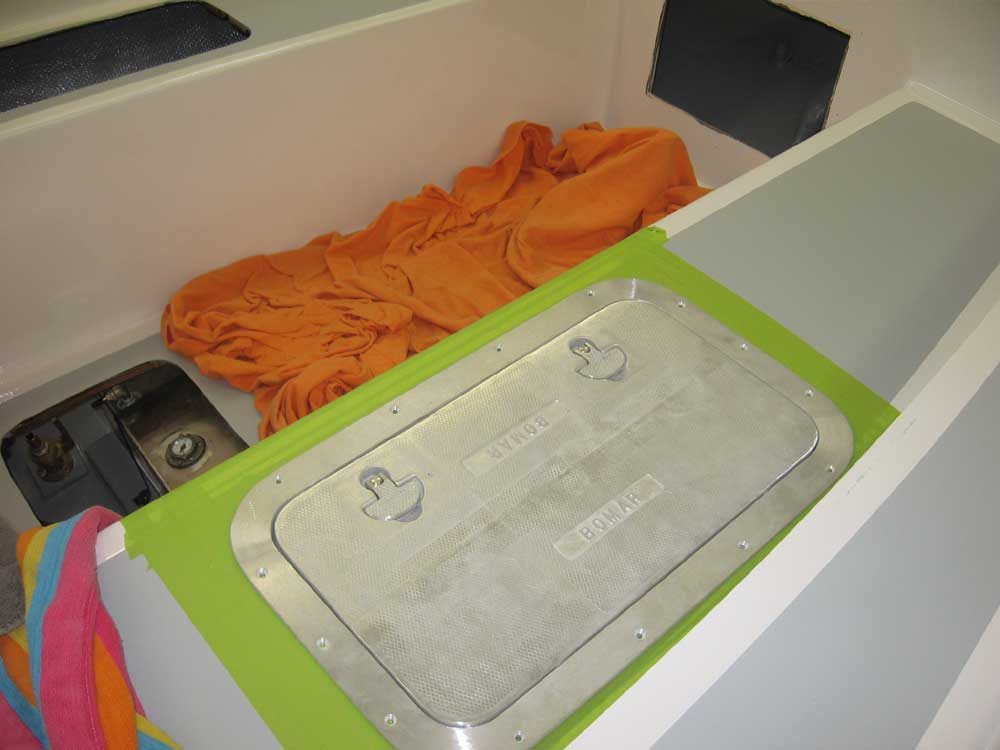
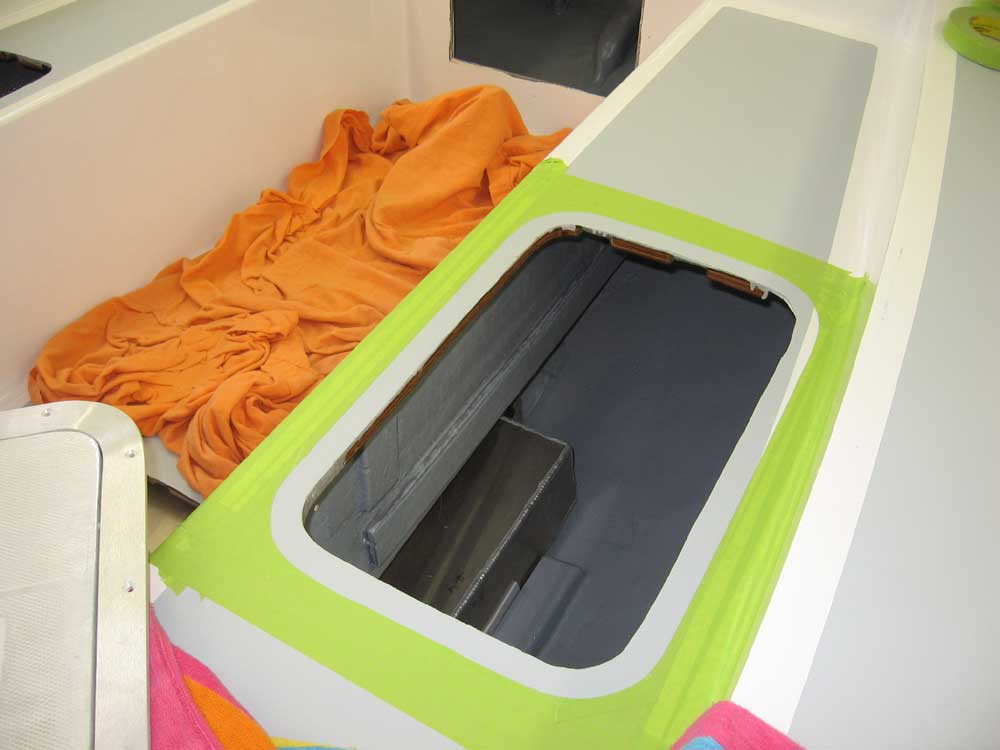
Now that the nonskid was complete, I could finally address the three huge holes in the cockpit that I had been dancing about for the past weeks. To prepare for the hatches' installation, I masked all around the openings, and then dry-fit each of the hatches (four total, including the round hatch in the poop deck) so that I could mark the outline on the tape. I removed the tape inside the cut line, leaving a wide border of protective tape over the nonskid. Then, I drilled pilot holes for the mounting screws, and milled small countersinks in the fiberglass deck at each screw location to allow for extra sealant to collect there during installation. Since I was waiting for the proper size screws to arrive from my supplier, I couldn't proceed further at this stage. I had hoped to install the hatches today, but the shipment didn't arrive until late in the day, several hours later than expected, so I'd have to do it on the 'morrow. |
|
|
The frame for the engine instrument panel required additional preparatory steps. I began by routing a 1/4 round on the exterior edges, and then glued 3/4" extensions to the inside of the panel opening, so that the face of the instrument panel would be well recessed and to allow room for the keys to fit inside the protective cover that I planned to fit to the outside. I set the panel aside to cure after measuring the size of the plywood panel that I needed to cut for the back, which I then cut on the table saw. |
|
|
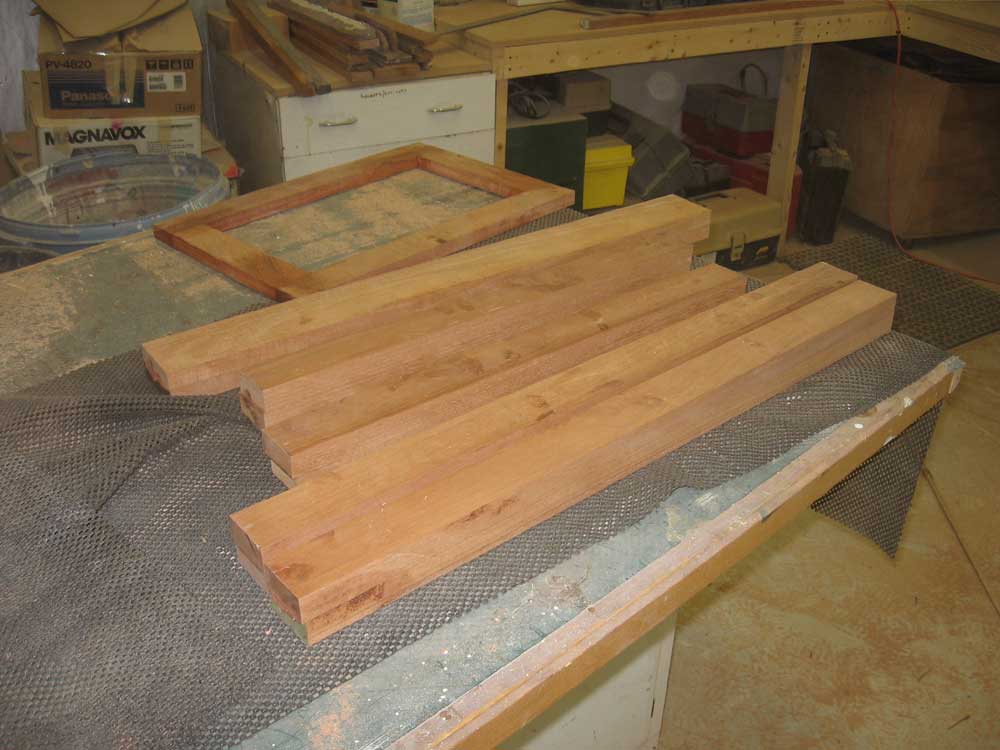
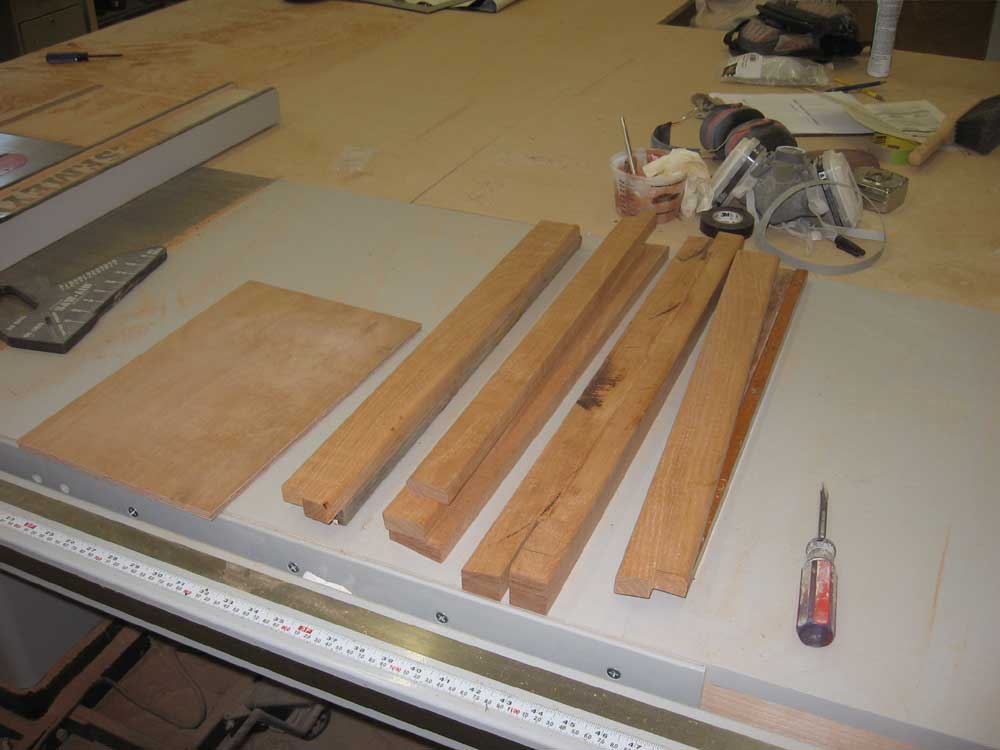
I spent the rest of the day milling the new companionway trim pieces to the proper size and shape, using the old ones as a guide. The sill for the companionway opening was the most complex , incorporating a stopped angled cut on the top and a few other operations to mill the correct shape. The various pieces of mahogany next required some finish sanding, after which they'd be ready to head to the varnish room for some preliminary coats of finish. |
|
|
|
|
|