| Kaholee Refit |
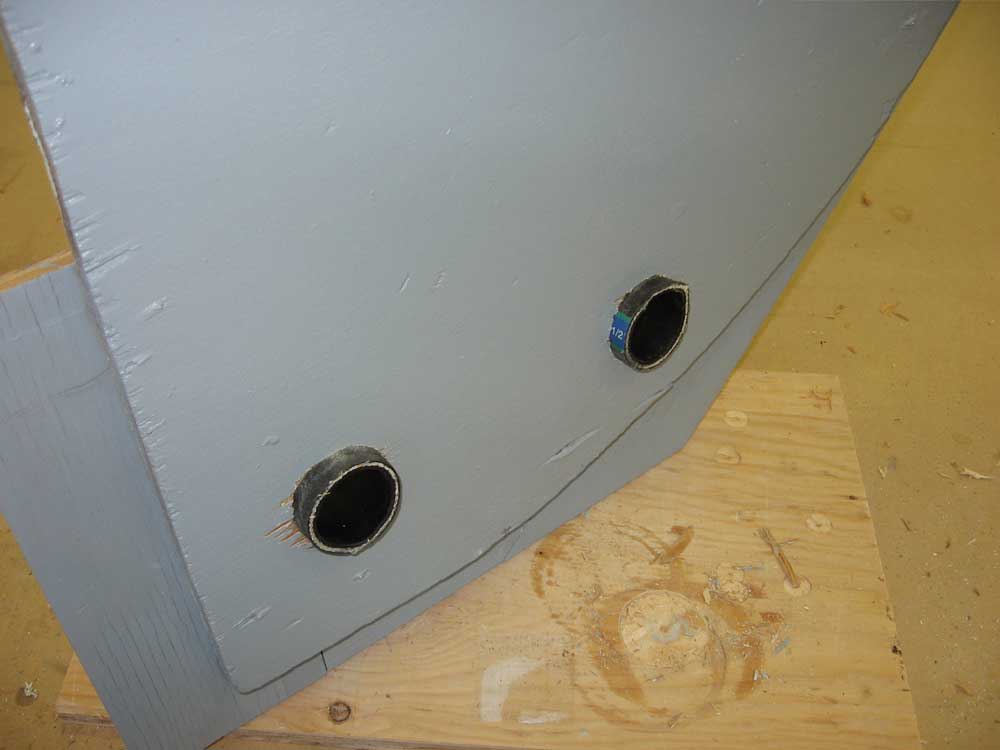
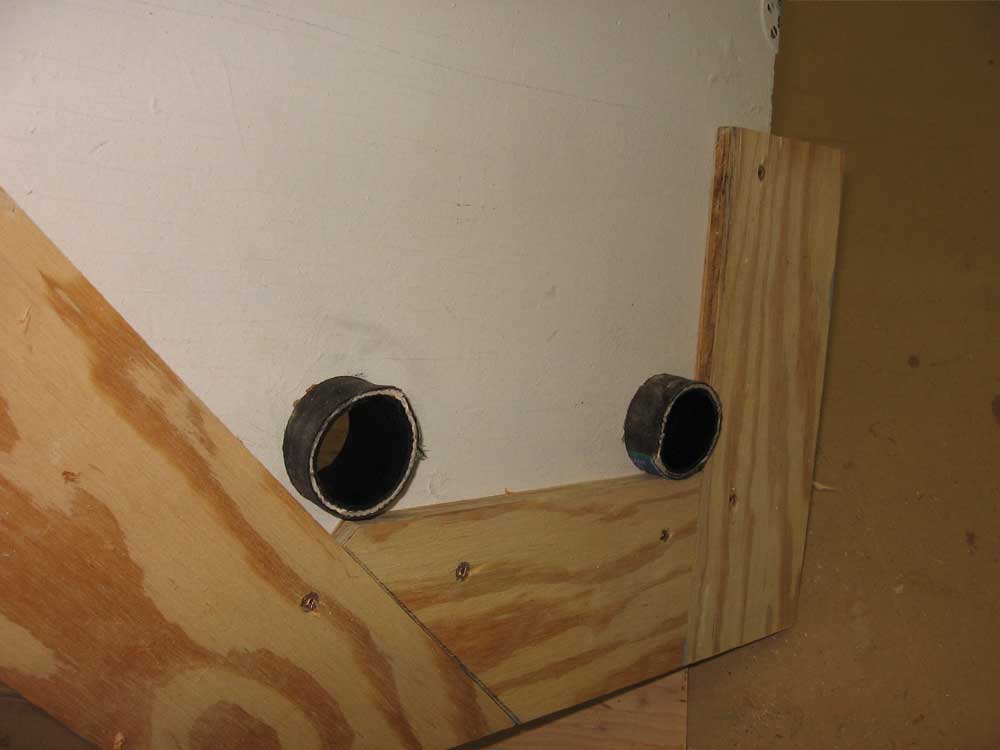
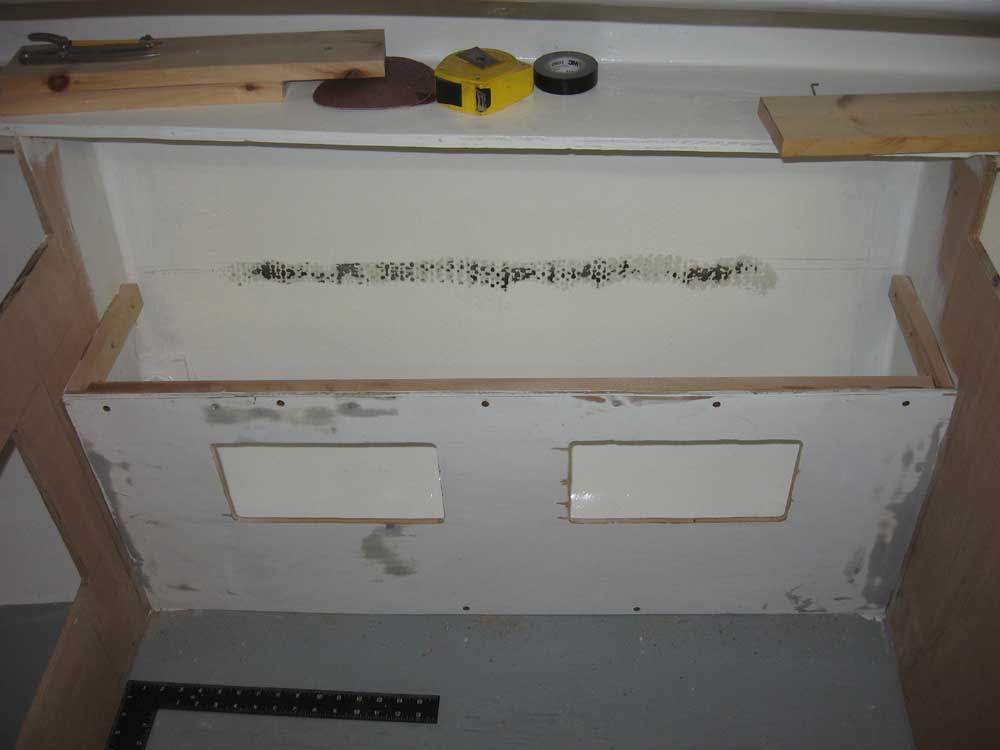
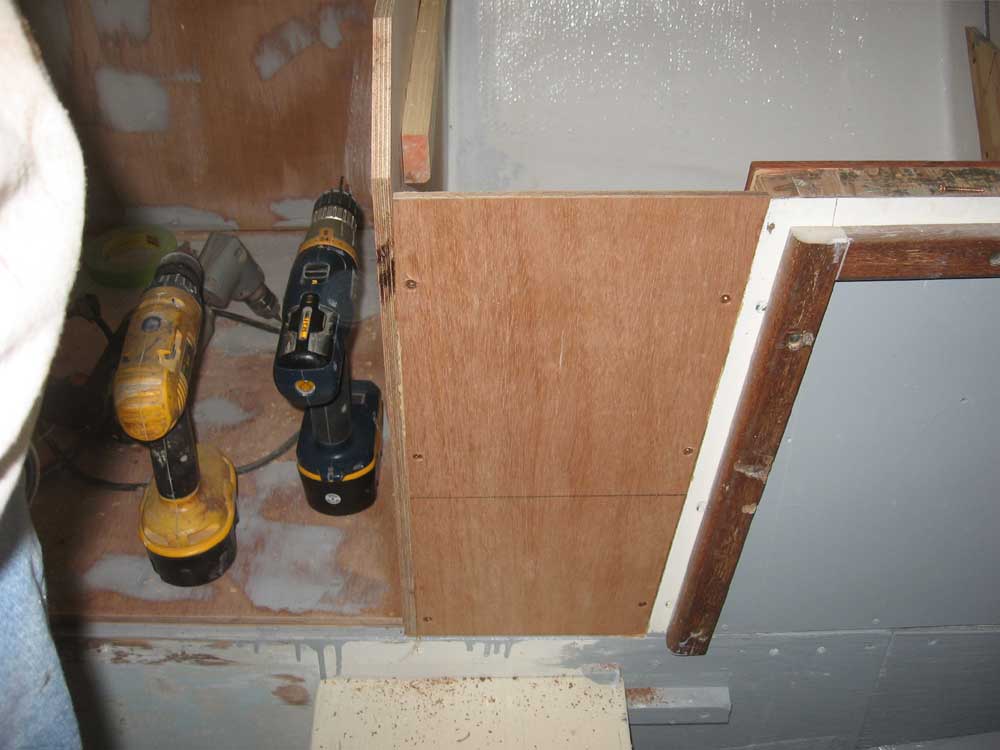
March 19, 2007 I spent most of the day working on countertops and finishing up the major work on the new cabinets on the starboard side. It was a very busy day. Before beginning in earnest, though, I sanded the putty I applied on Friday and got that out of the way. This left the affected bulkheads ready for primer and paint. In the stove enclosure, I didn't bother with perfectly sanding the fill material, since the entire space would be covered with stainless steel sheet metal (which I ordered over the weekend), but I sanded thoroughly enough to ensure a flat surface for the metal. In another preliminary step, I temporarily installed the little bulkhead piece between the cockpit locker and the galley, and, with the water tank in place, marked the locations where I needed holes for the heat exchanger hoses that would fire the water heater. Down on the bench, I drilled holes oversize, and installed short sections of 1-1/2" rubber hose to act as chafe protectors for the smaller 5/8" hose that would eventually run through here. I epoxied these hose sections in place and turned a heat lamp on the epoxy to accelerate the cure process so that I could install this bulkhead later. |
|
|
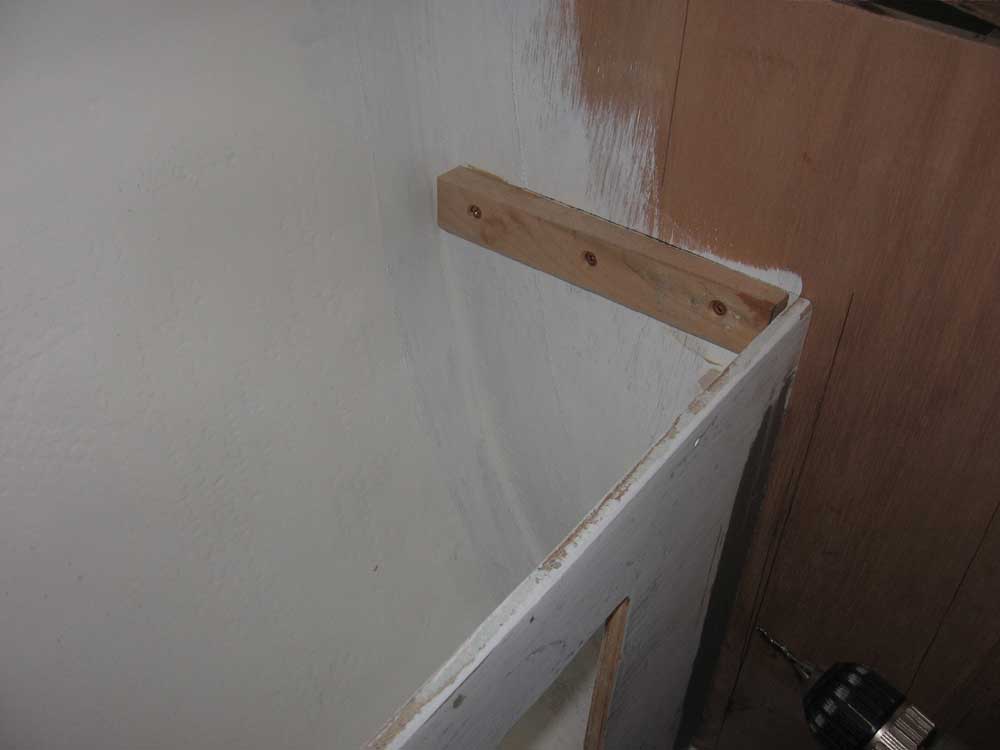
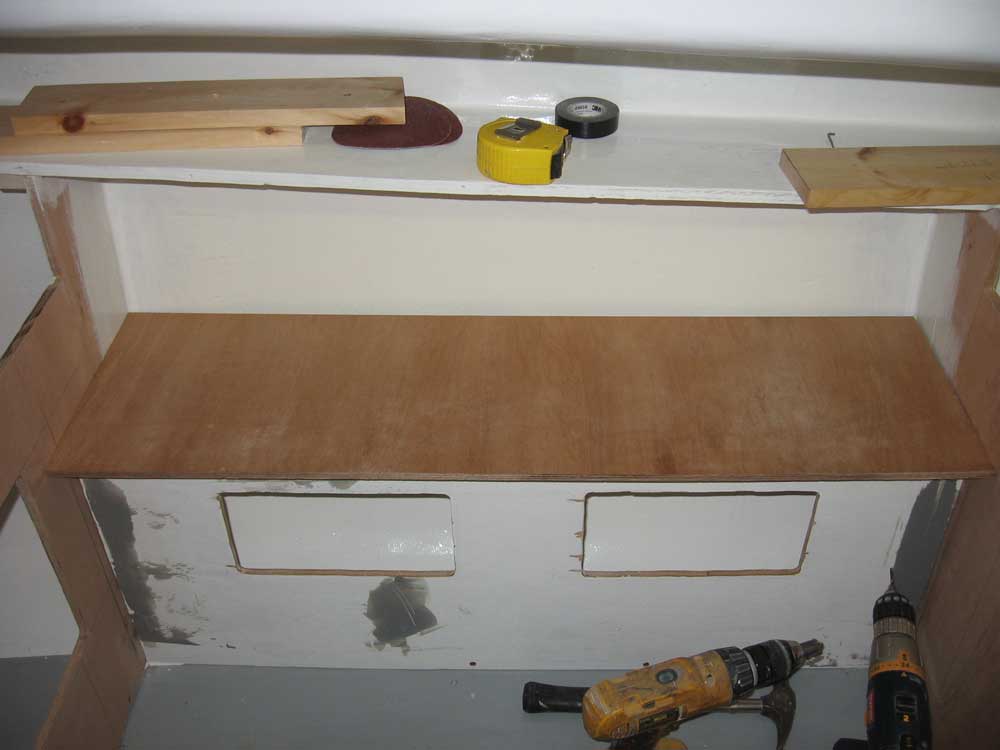
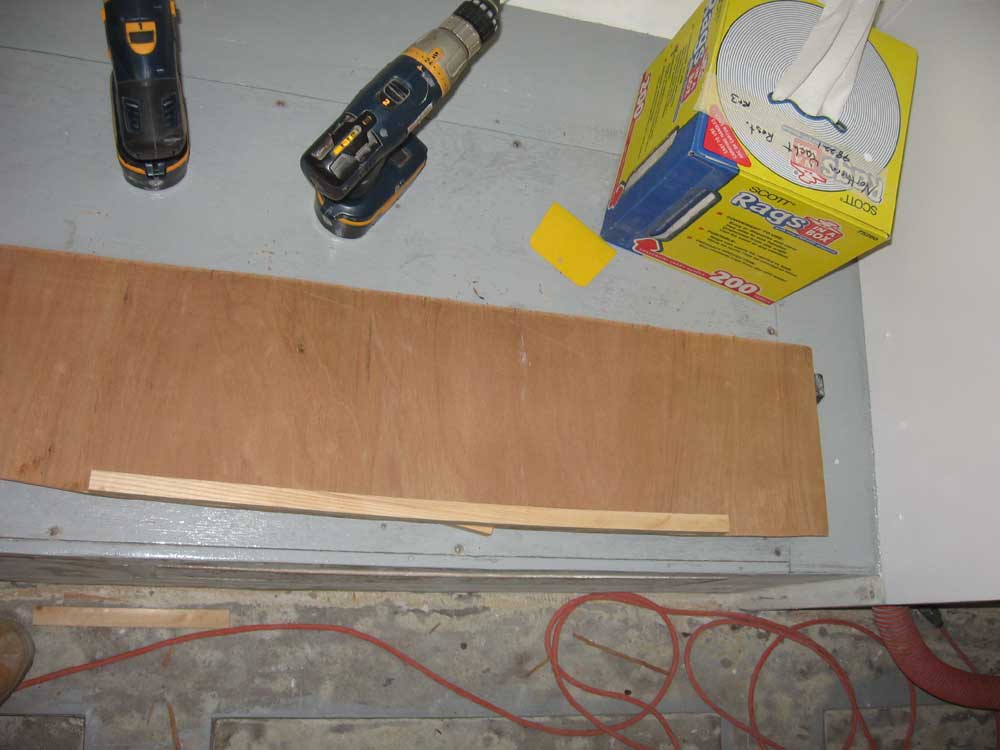
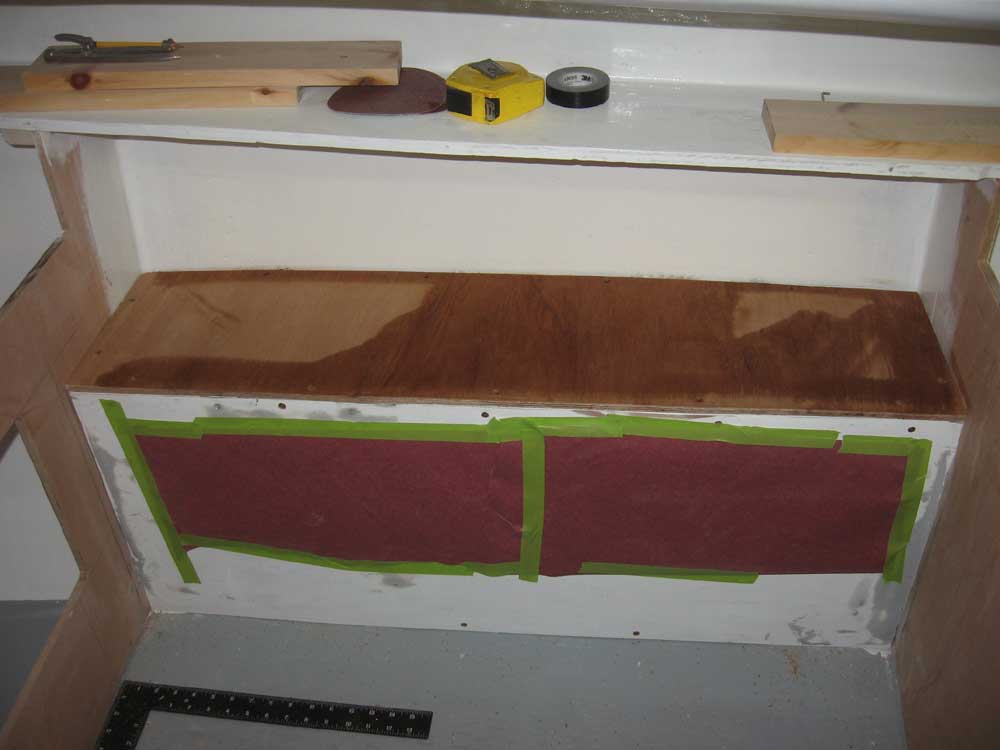
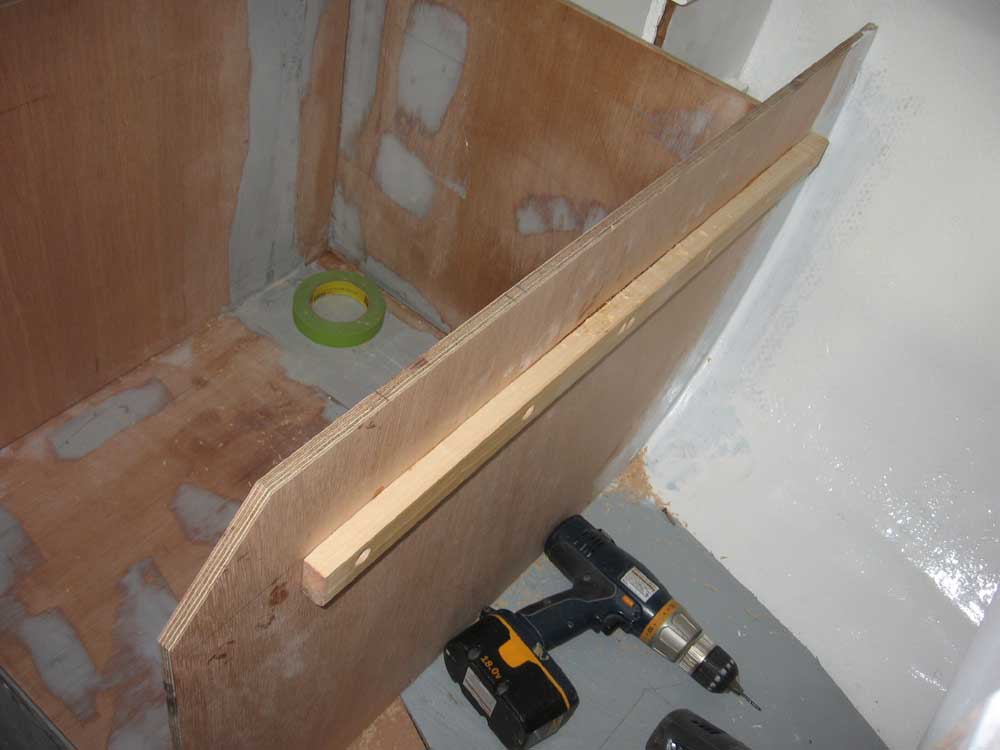
Next, I got to work on the shelf above the starboard settee back; like all the cabinets and countertops, this small shelf is deceptively simple in appearance, but actually required numerous steps for a successful installation. You may note that over the weekend, I applied a coat of white paint to the insides of some of the new lockers, so that I'd have a bit of a head start this week. First, I installed cleats to support the narrow ends of the shelf. Cleats are straightforward, but a clean installation always seems takes more time than expected. With the cleats installed with glue and screws, I cut a piece of Meranti plywood roughly to size for the space, and then fit it in place to scribe the outboard edge against the hull. Then I cut the curved shape, trial-fit the panel again, and marked the outer edge along the top of the settee back; then I cut away the excess. I installed a cleat along the top edge of the settee back to provide more bearing surface for glue and screws for the top. To support the shelf along the hull, I needed a cleat. To make it easier to install the cleat, I decided to pre-install it to the plywood shelf, and then to epoxy the cleat to the hull at the same time that I installed the shelf. Since the span of the shelf was rather short, I had no concerns about the shelf sagging in the center during the curing process, as the shelf would be held securely by the cleats and screws along the ends. I cut a cleat to the appropriate length and secured it to the bottom of the shelf with screws and glue. Then I ground the paint away from the bonding area on the hull, applied thickened epoxy to the hull side of the cleat, and installed the shelf in its proper location with screws and glue on the cleats. Just before installation, though, and with all other steps complete, I painted a second coat of white paint inside the locker, as it would be more difficult after the top was on. Then, I covered the openings with some rosin paper just to keep dust and debris from the day's remaining construction out of the new paint. |
|
|
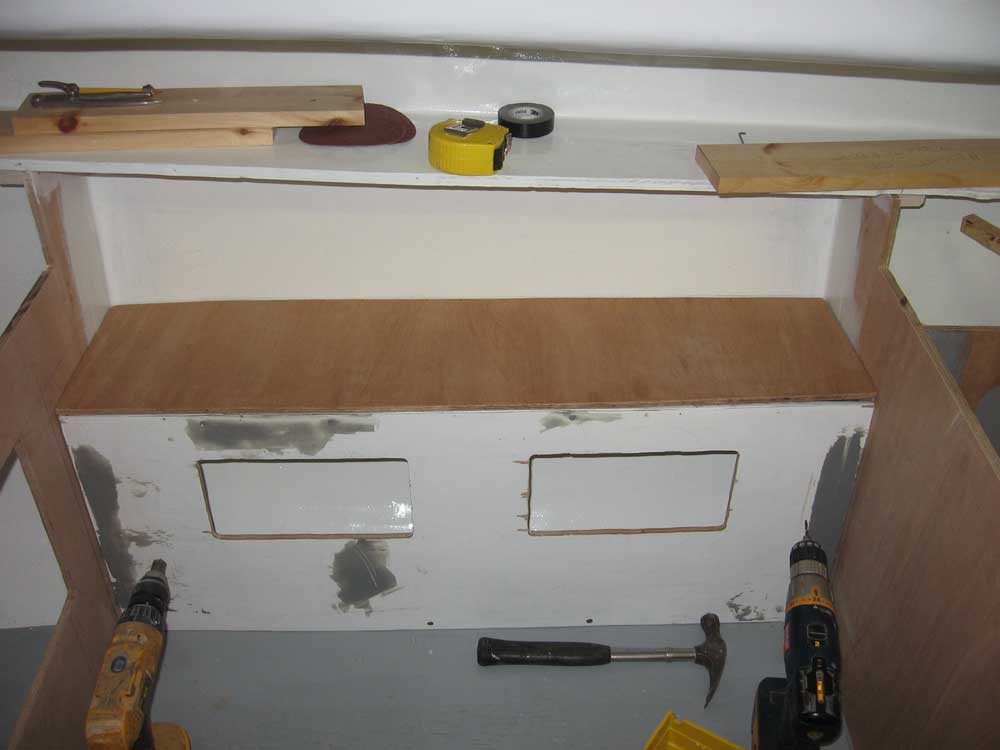
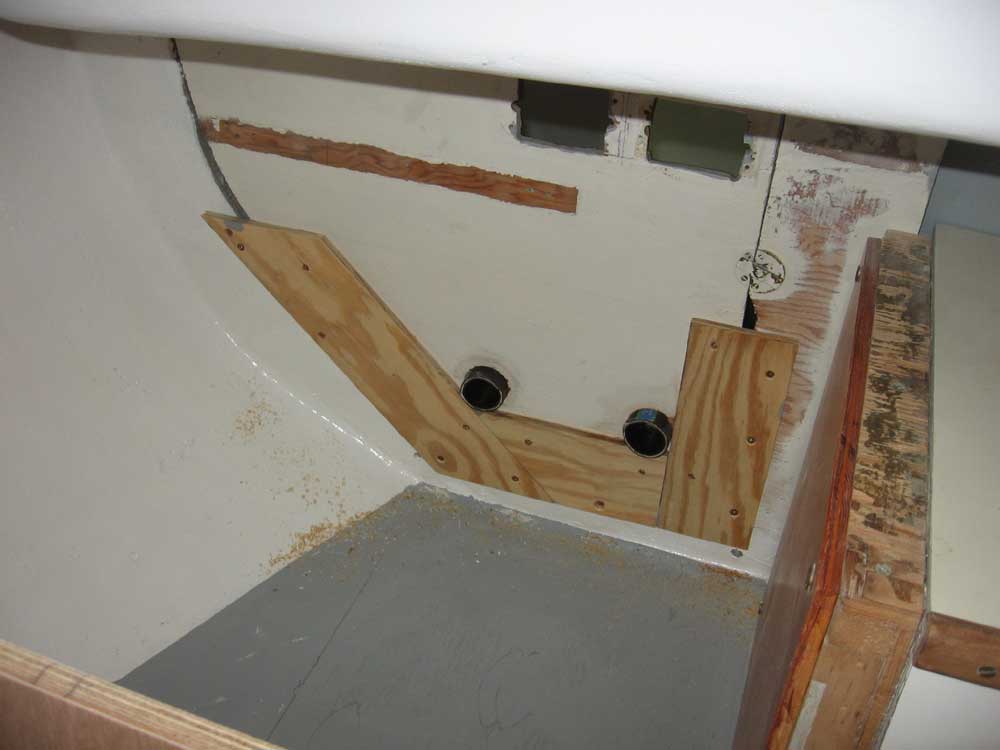
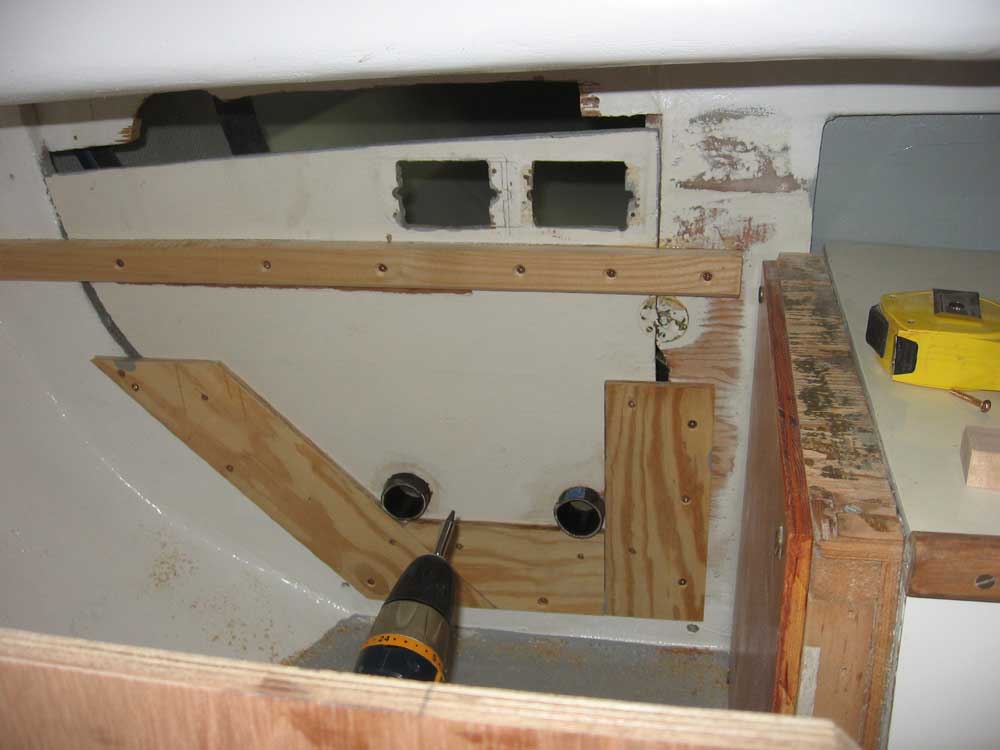
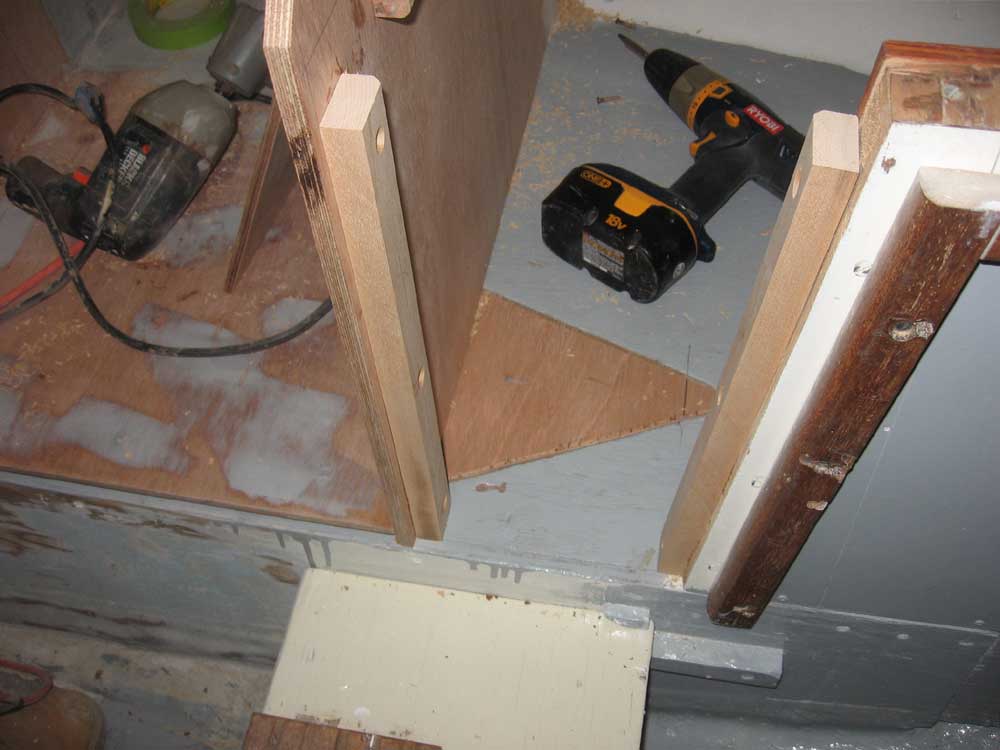
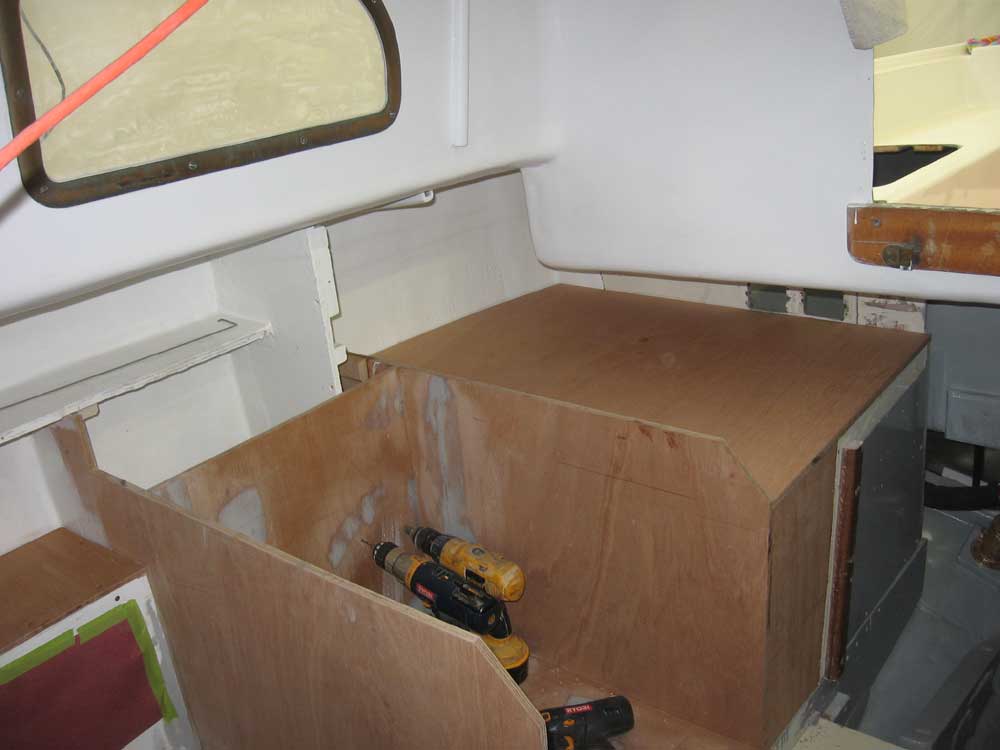
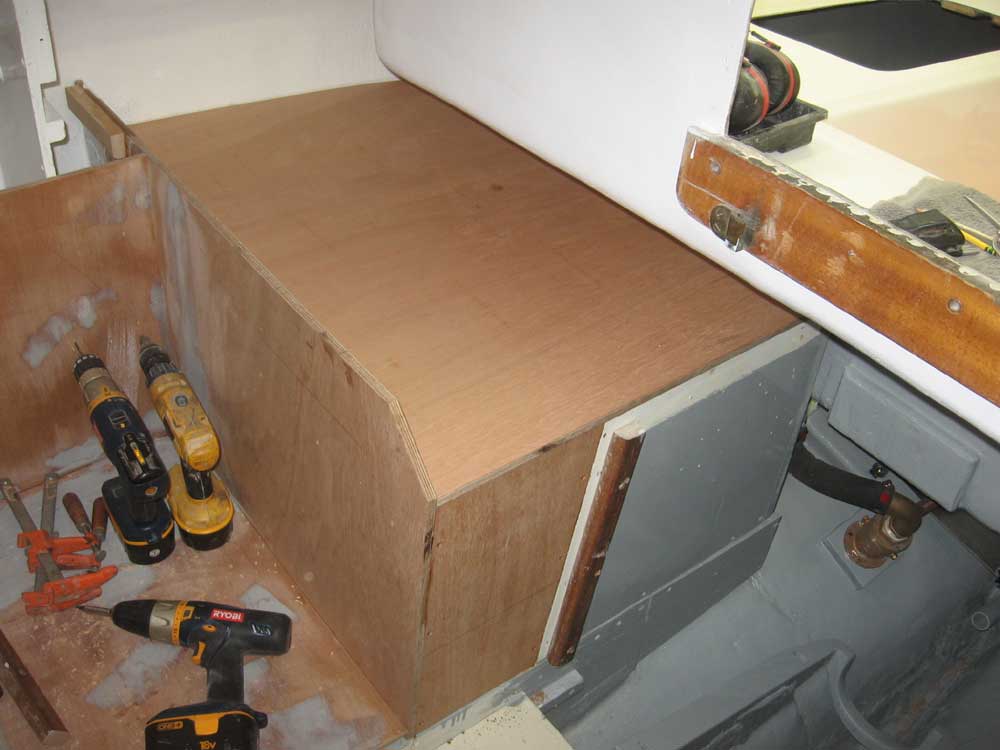
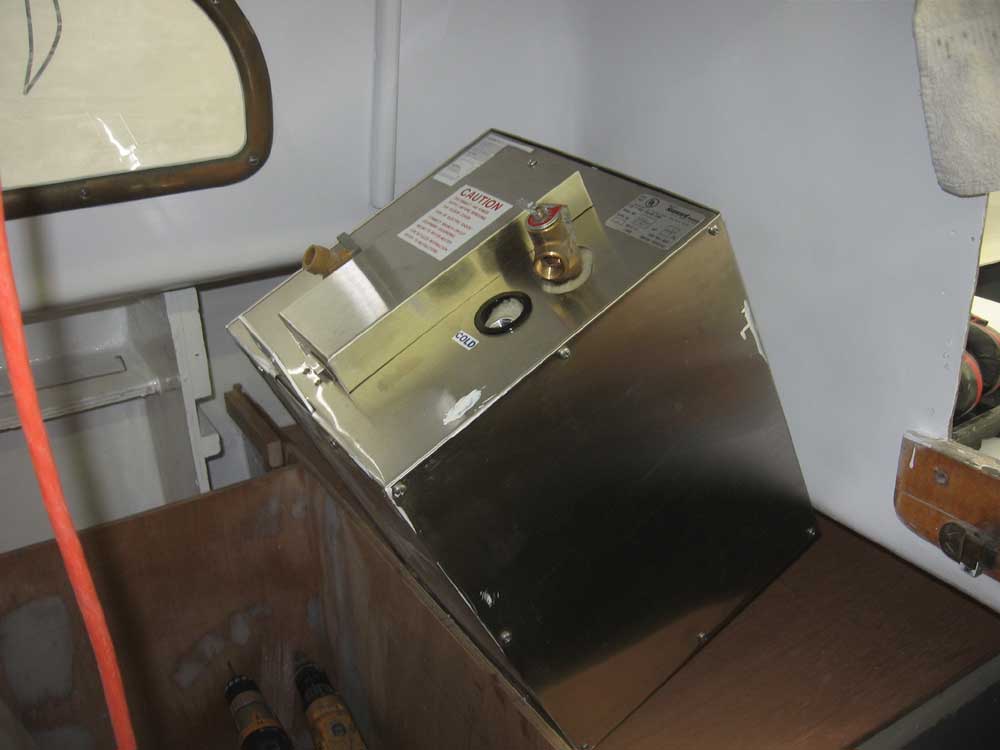
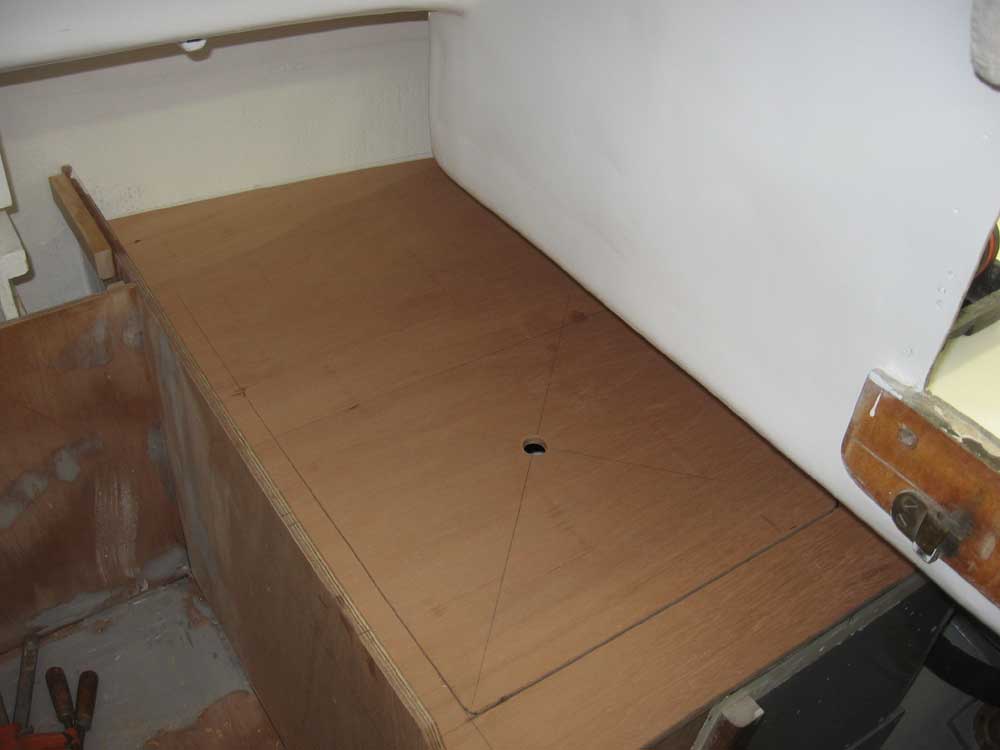
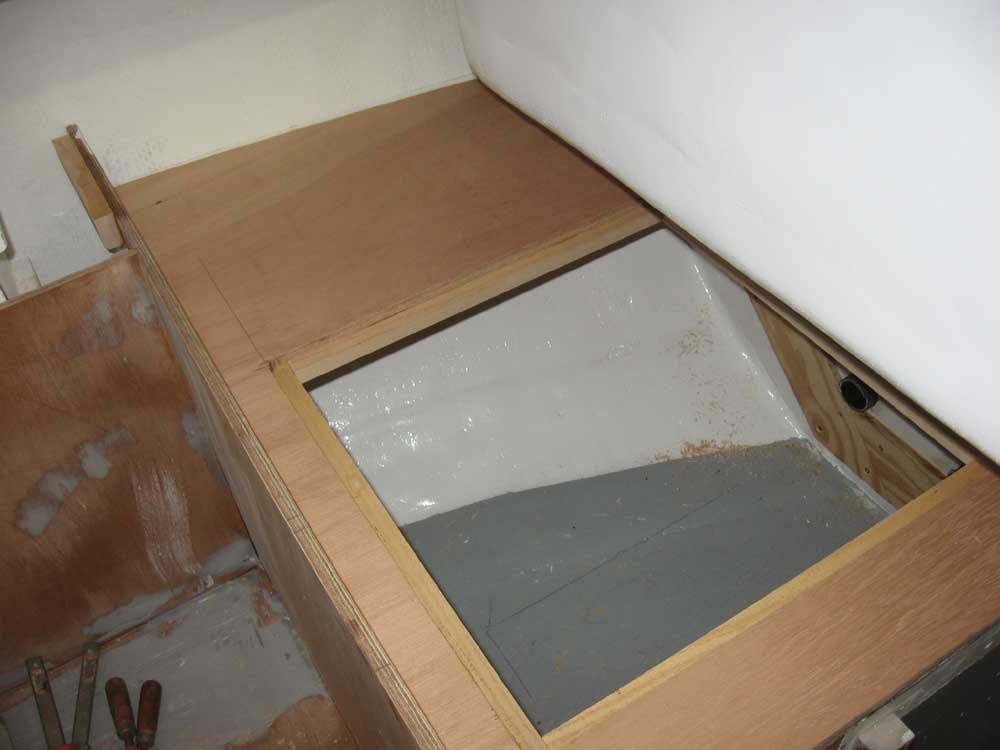
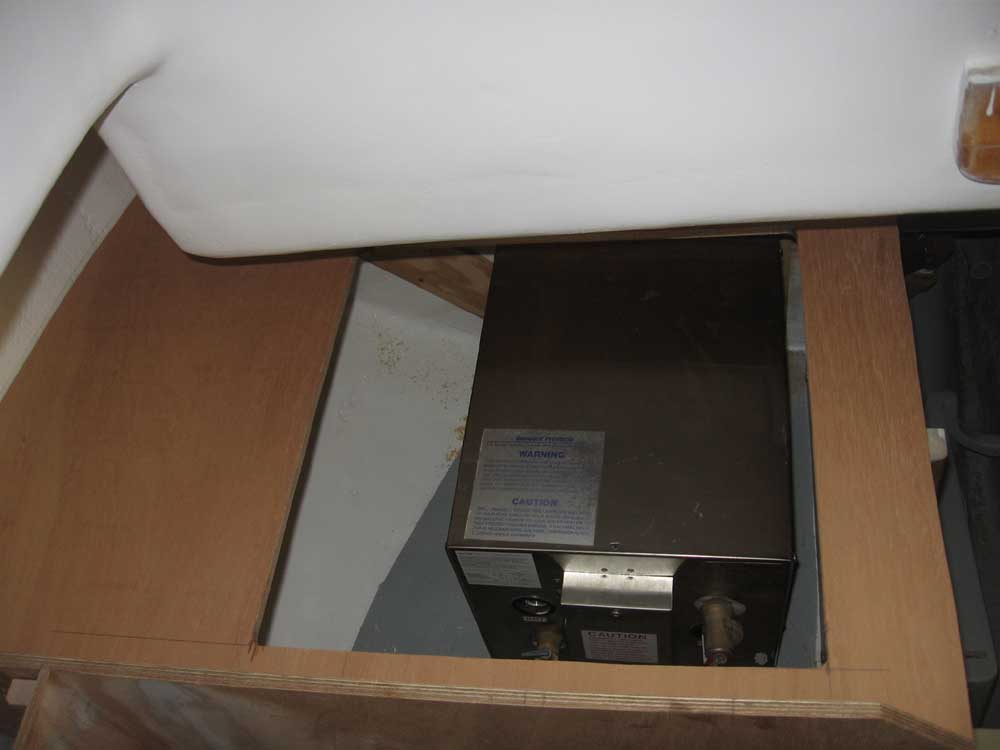
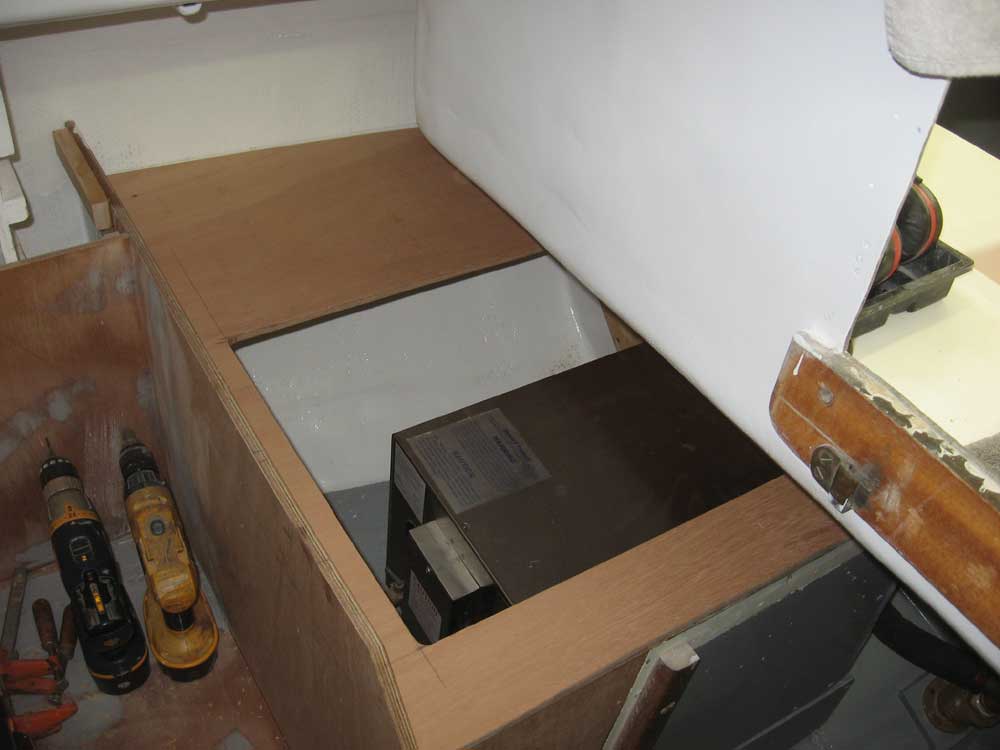
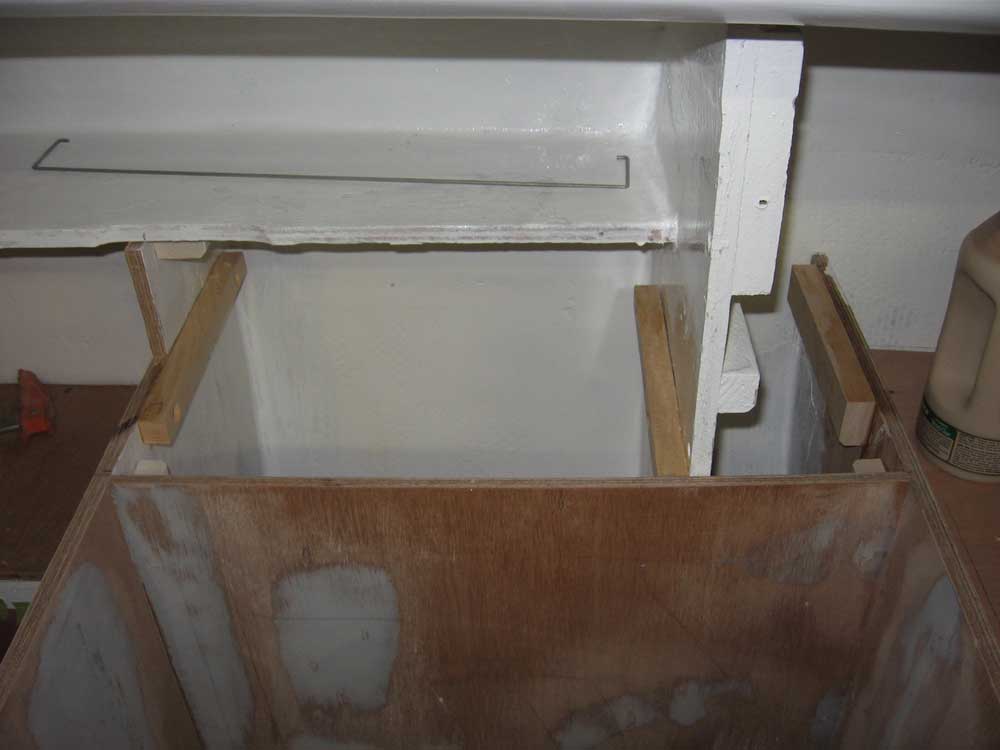
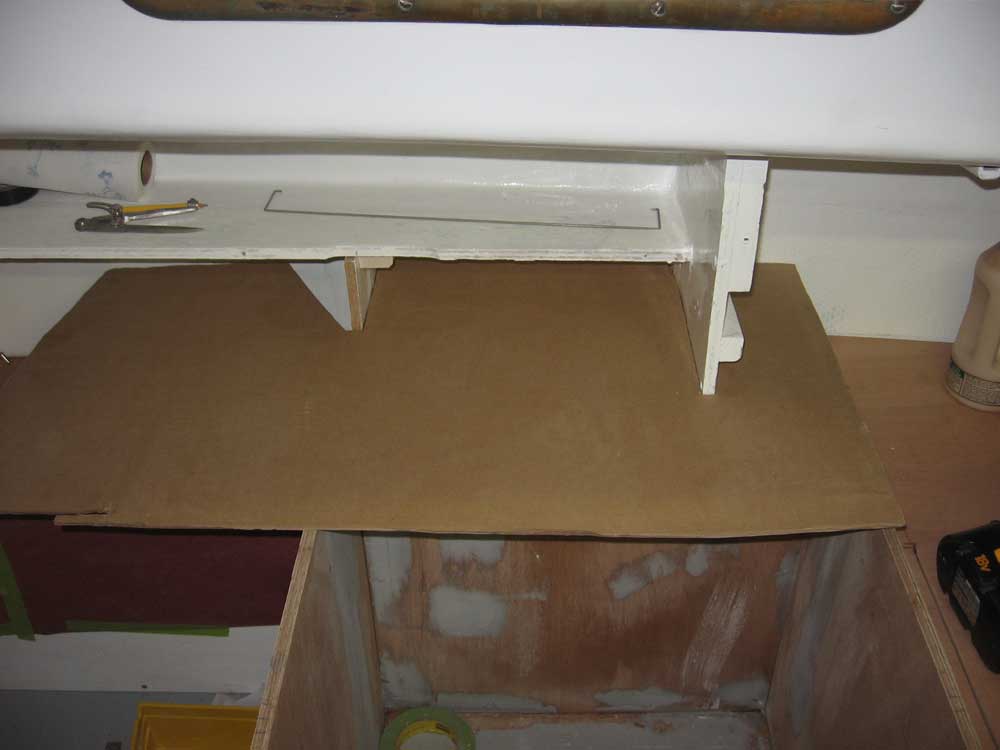
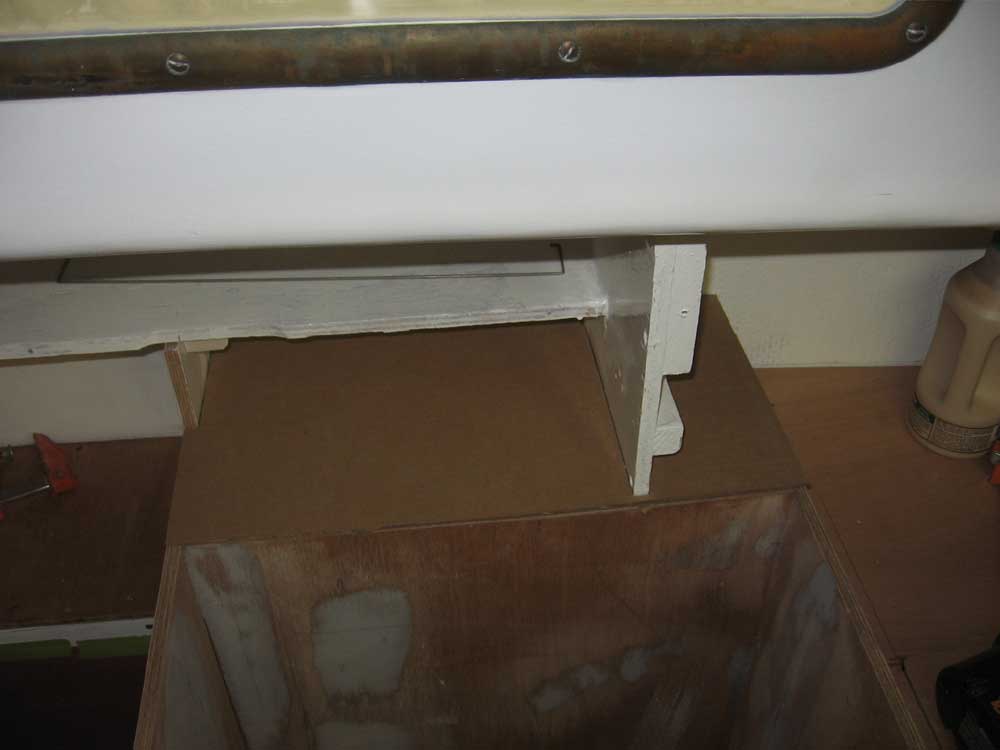
I turned my attention to the countertop aft of the stove next. By now, the epoxy on the aft panel, with the hose sections, had cured, so I began by permanently installing this panel with screws. Then I marked a line at the proper height of the new countertop, which was to be even with the top of the existing engine box, and installed hardwood cleats to support the top on both the aft and forward (stove) bulkheads. With some large cardboard, I cut a template to the proper width (amazingly, and arbitrarily, the stove bulkhead that I installed ended up parallel with the existing aft bulkhead, which was surprising since the aft bulkheads in Tritons are notorious for being misaligned) and, in several steps, scribed for and cut the curvature against the hull. Then I cut the template to the proper length, and transferred the marks to some 12mm Meranti plywood. I cut the plywood top slightly overwidth to start, to ensure that it would fit tightly when all was said and done, and ended up trimming one edge twice during the process before it fit satisfactorily. To close off the new space, I added a small vertical section of plywood between the aft stove bulkhead and the engine box, installed with glue and cleats. Because of the tight space, I needed my 90° drill attachment to drive the screws into the cleats. Now, I needed an access hatch in the countertop, both for storage access as well as to allow the water heater to be installed or removed as necessary during the boat's life. After some eyeballing and measuring, as well as mocking up the tank itself to see where it landed as I wedged it down towards the space, I determined that a single large hatch would best serve the space, rather than one large hatch for the water heater access and another for the storage areas. Given the cabinet's location in a back corner, and largely beneath the bridgedeck with limited access, it would have been awkward and unsatisfying to attempt another solution. I carefully cut out the access hatch, milled a finger hole in the center, and installed cleats on the underside of the countertop to support the hatch. |
|
|
The sink cabinet countertop was next. Using the old template from the aft countertop, I cut a new cardboard template for the sink counter, using the same basic methodology. I installed a long cleat on the forward bulkhead in my habitual manner to support that end of the countertop, and then used the template to cut the 12mm Meranti plywood to shape. As usual, the first cut was imperfect, and I had to trim once or twice to get the countertop to fit properly. I made a small mistake and overextended a cut that was intended to clear a short vertical bulkhead beneath the outboard shelf, but fortunately this was an easy repair with a small piece of plywood and epoxy; this area would never be seen once the counter was covered with Formica. |
|
|
Since I really wanted to complete all the starboard countertops today, I wrapped up the day by templating and cutting the plywood top for the small shelf and storage locker immediately outboard of the stove, using all the same methods described above. |
|
|
|
|
|