| Kaholee Refit |
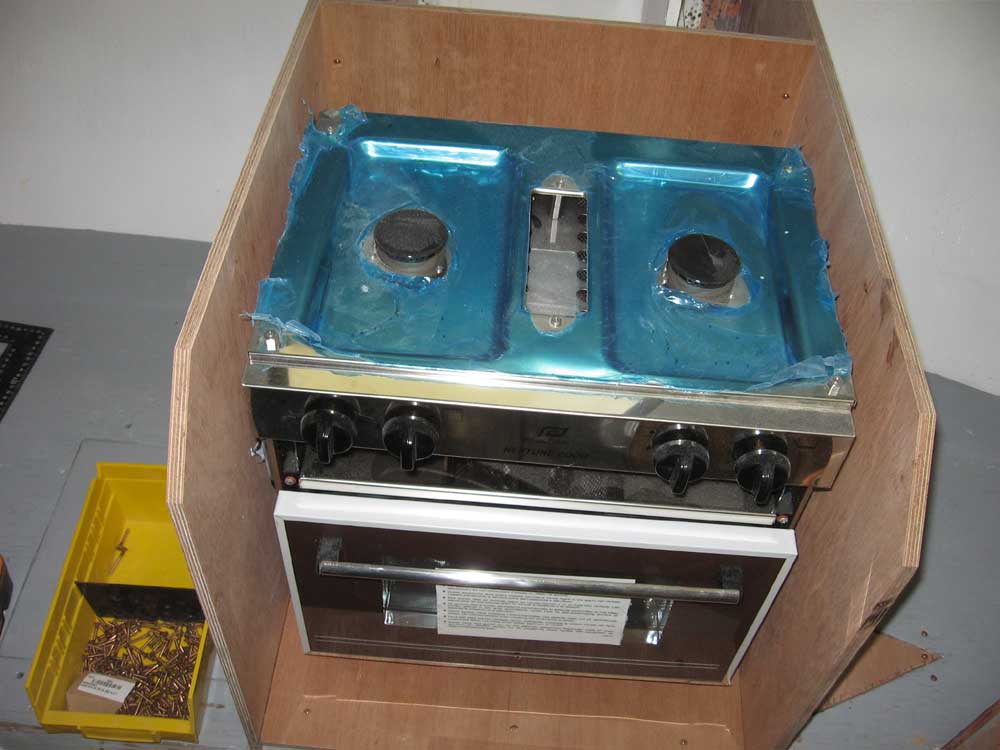
March 16, 2007 Looking back, it seems as if I accomplished hardly anything today. With a couple visitors to the shop during the morning, as well as some time-consuming processes on the boat, the visual progress of the day was disturbingly minimal. Yet it's all part of the process, and it all needs to be done, however slow it may seem from time to time. I began by washing and then sanding all the new tabbing from the past couple days' work; I left the sanded epoxy alone for now, but will apply paint next week after the epoxy has had sufficient cure time. Then, after I cleaned up, I addressed the back of the stove enclosure. During yesterday's construction, I had determined the location of the back of the cabinet, so today it was a straightforward matter of installing cleats, using glue and screws, and then installing a plywood back panel. |
|
|
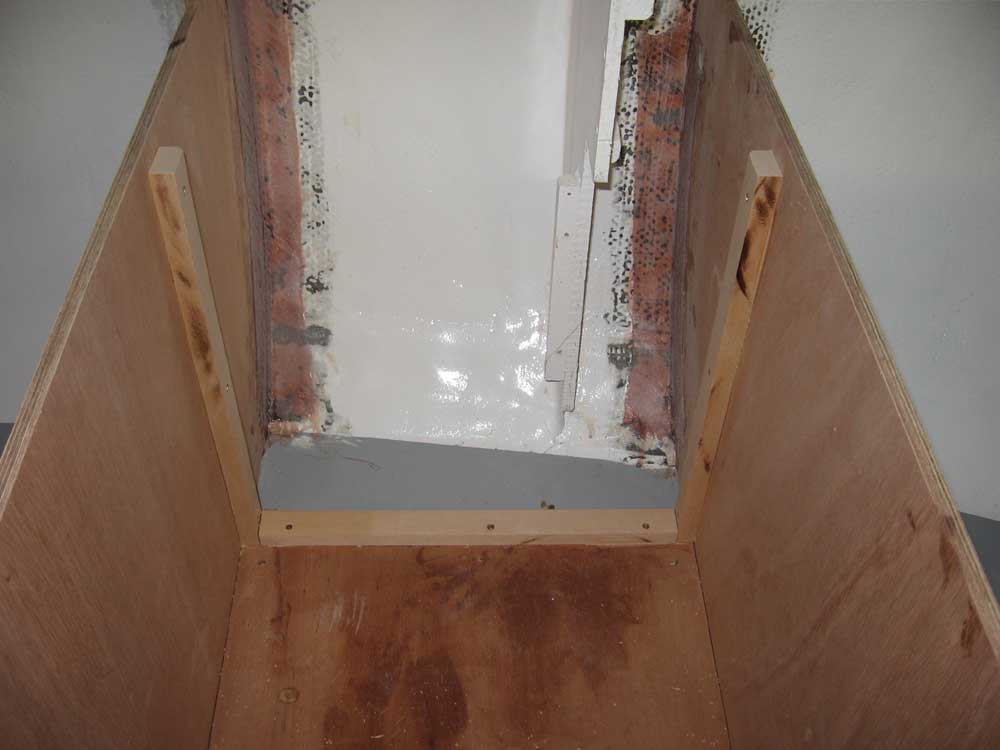
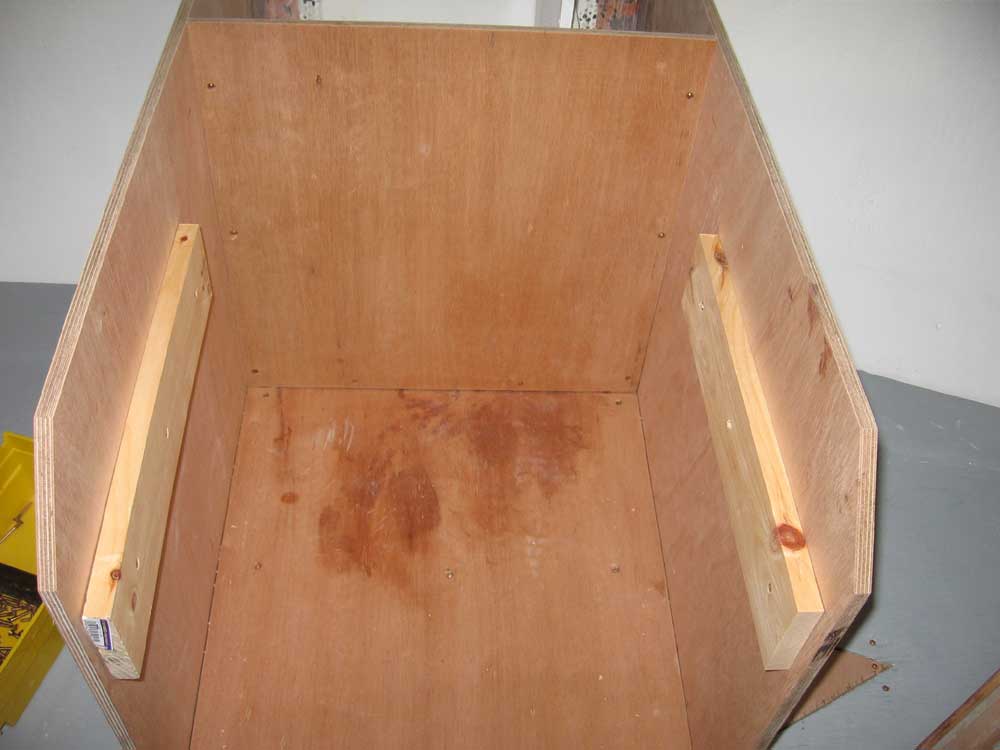
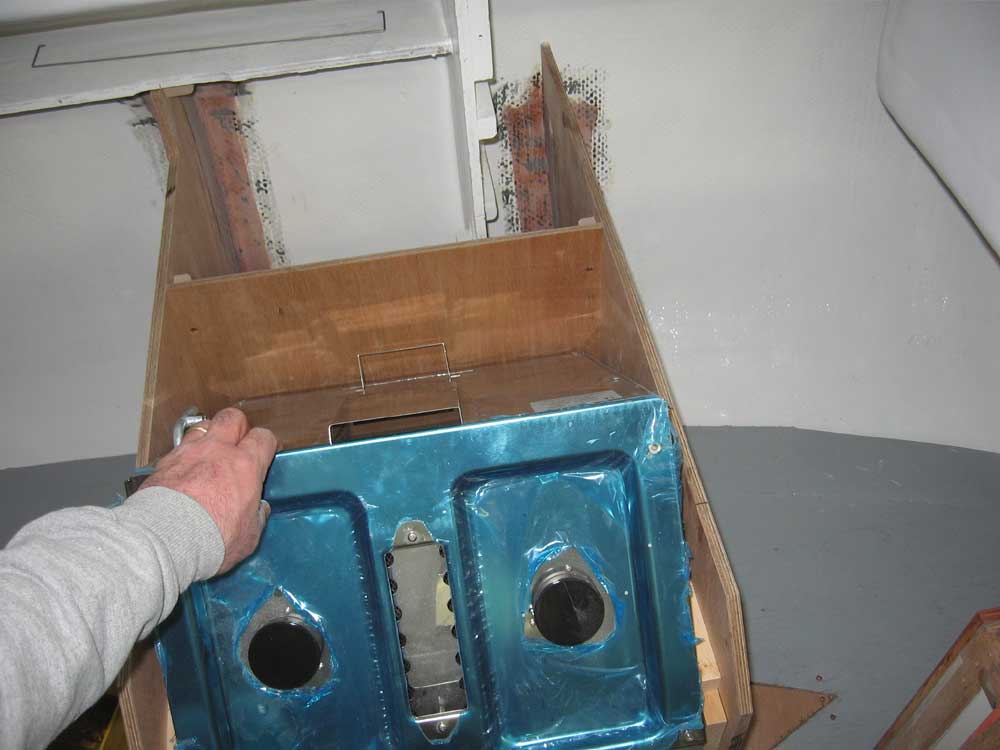
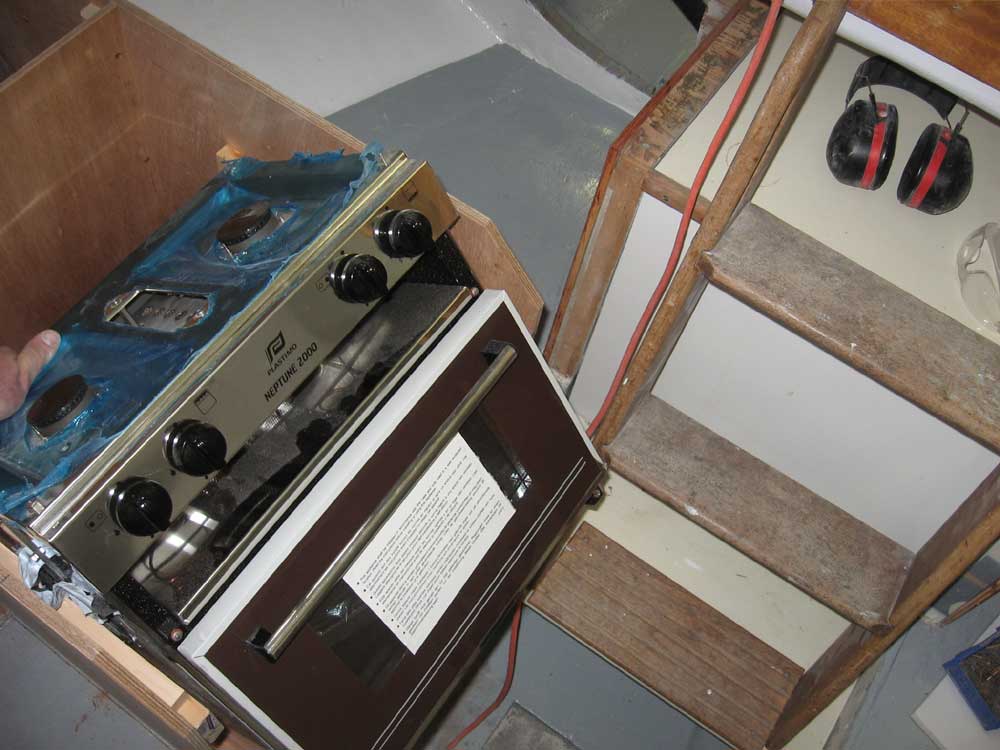
With the full enclosure built, it was time to determine how the stove would actually work in the space when gimbaled. I needed to ensure a full range of movement for the stove. To temporarily support the stove at the proper height, I installed some wooden cleats on the insides of the enclosure in way of the stove hinge location. With the stove sitting on the floor of the enclosure, I estimated the additional height needed to allow for clearance of the bottom of the stove when swinging, and installed the cleats at the appropriate height using screws; since the inside of the enclosure was to be covered with sheet metal, the screw holes were not a concern. Then, I could set the stove, with its protruding gimbal studs, on top of these cleats, simulating the final installation. The long cleats also allowed me the freedom to move the stove in and out to test different locations. I immediately found that the back edge of the stove hit the bottom of the cabinet when I swung the stove outward, indicating that my cleats weren't high enough. So I determined how much additional height I needed--about one inch--and cut some strips of wood to set on top of my existing cleats. In the new location, I could swing the stove in both directions without hitting the bottom of the enclosure. |
|
|
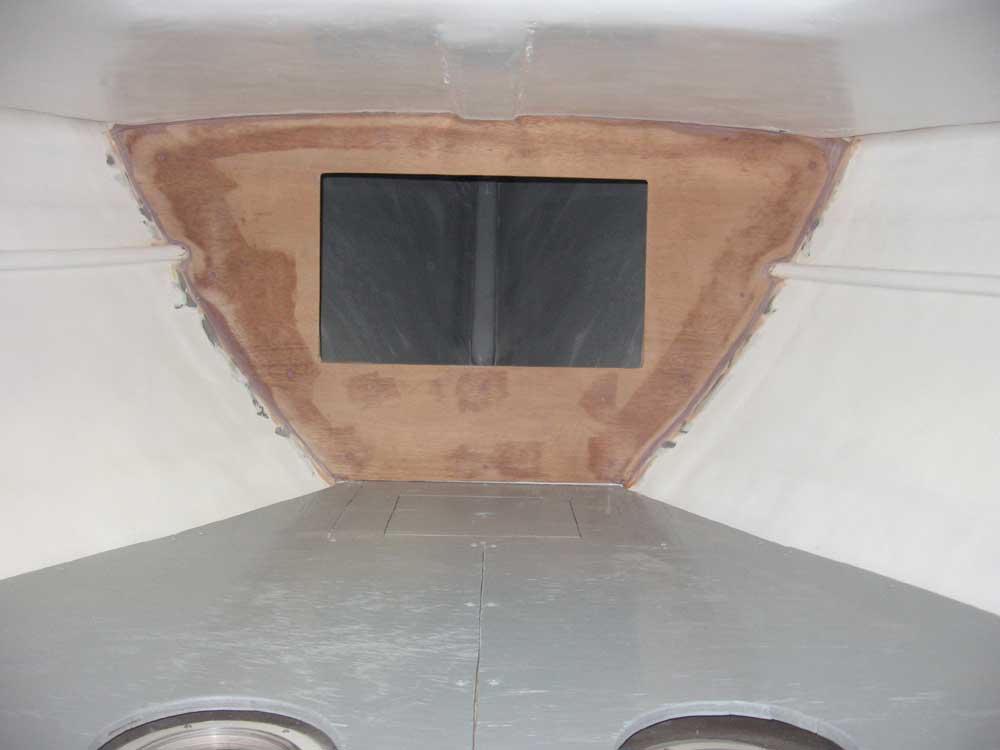
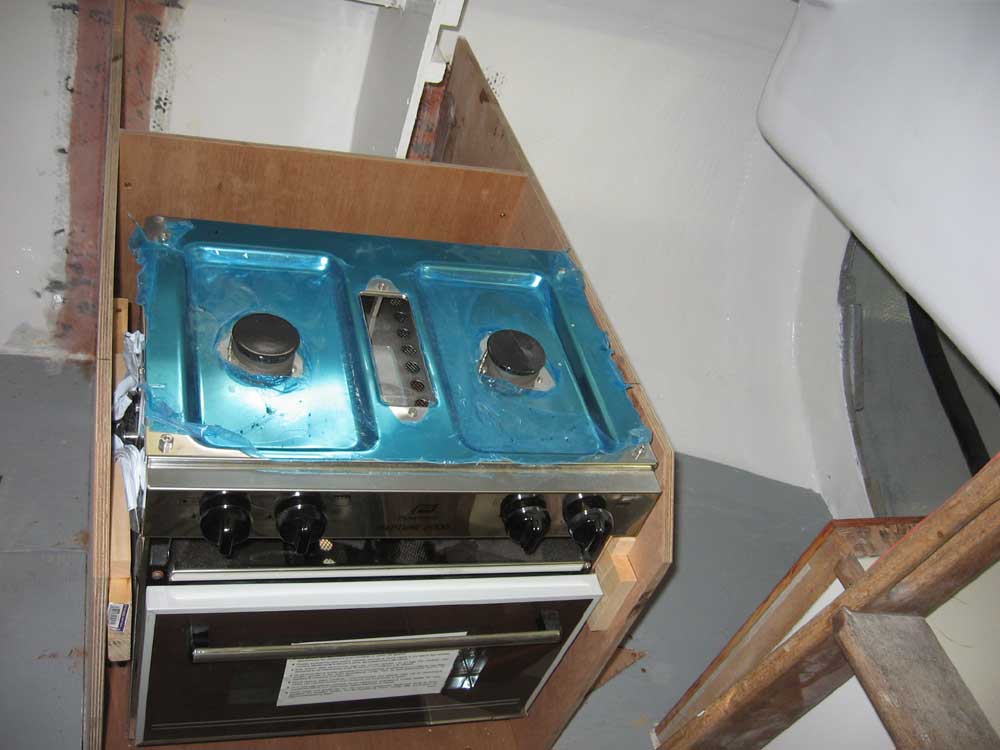
While it's unrealistic to think that the gimbaled stove would ever be in use at angles of heel as extreme as 45°, I nevertheless wanted to include as much range of motion as possible, if only to prevent a wildly swinging stove from contacting any part of the cabinet during its travel. So with the stove supported on the cleats, I tested the range of motion in both directions, sliding the stove out as needed to allow the back to swing up past the back side of the cabinet. |
|
|
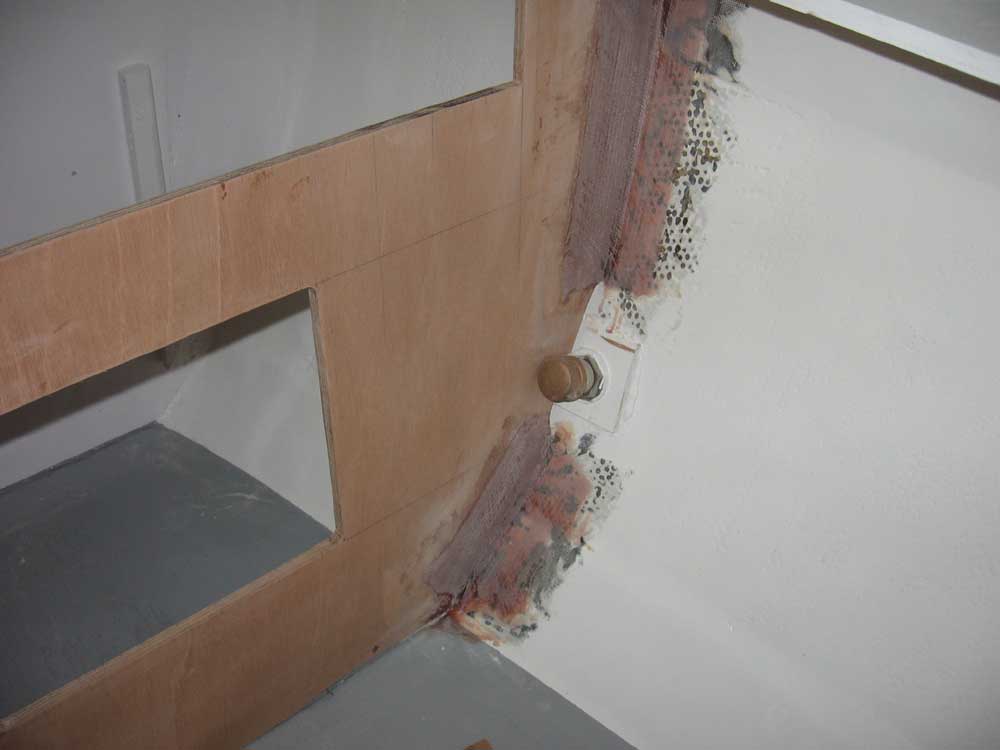
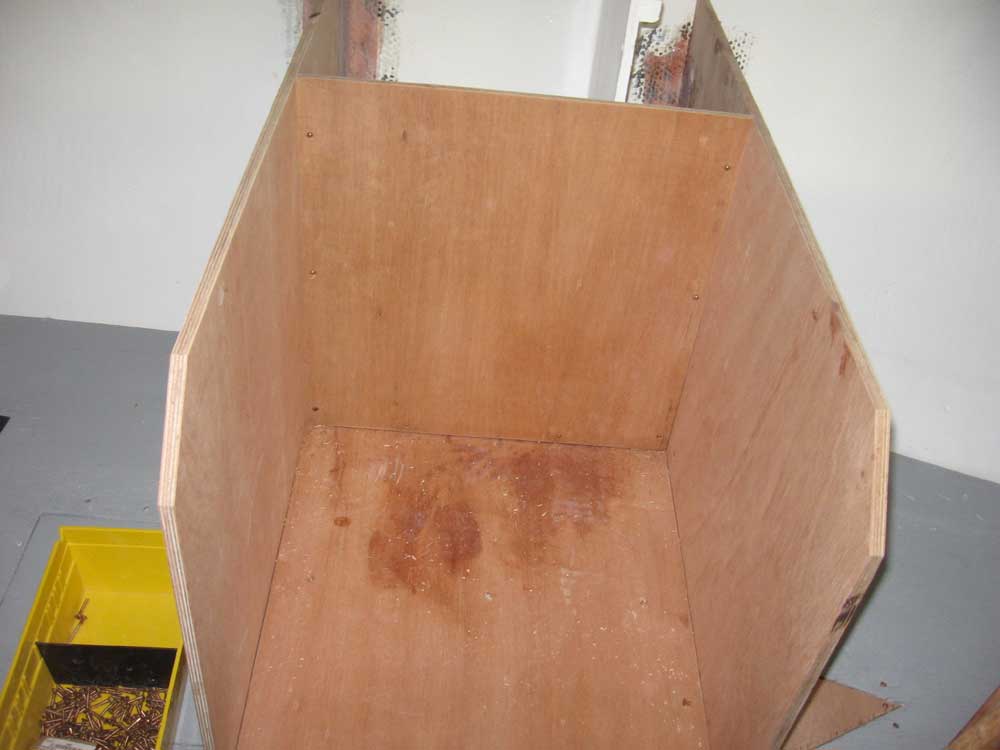
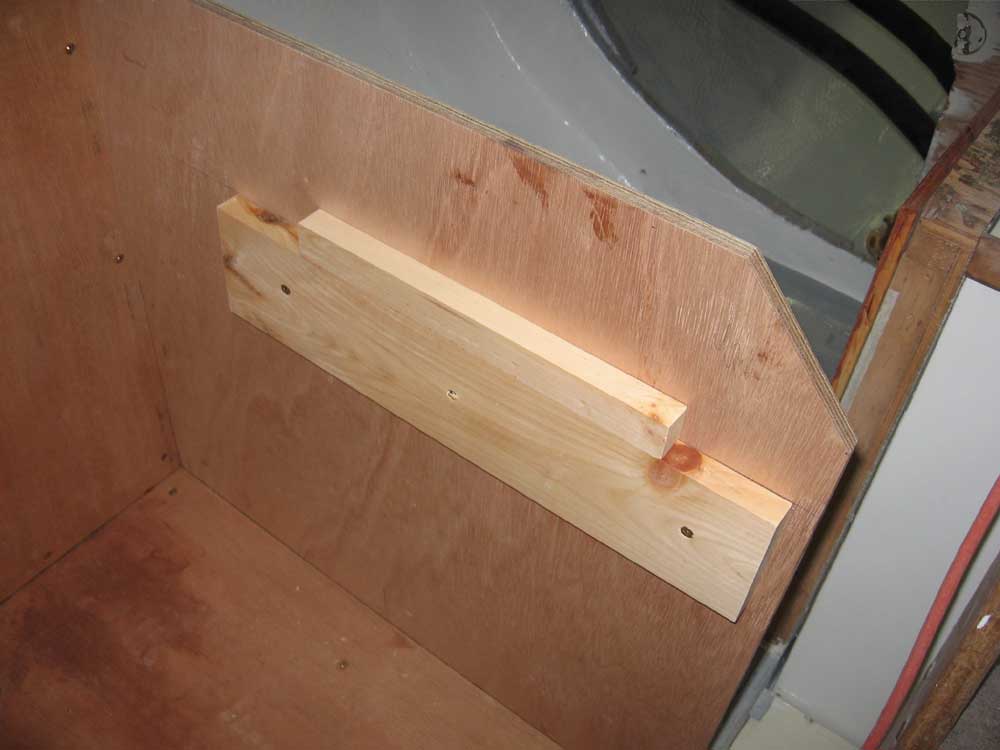
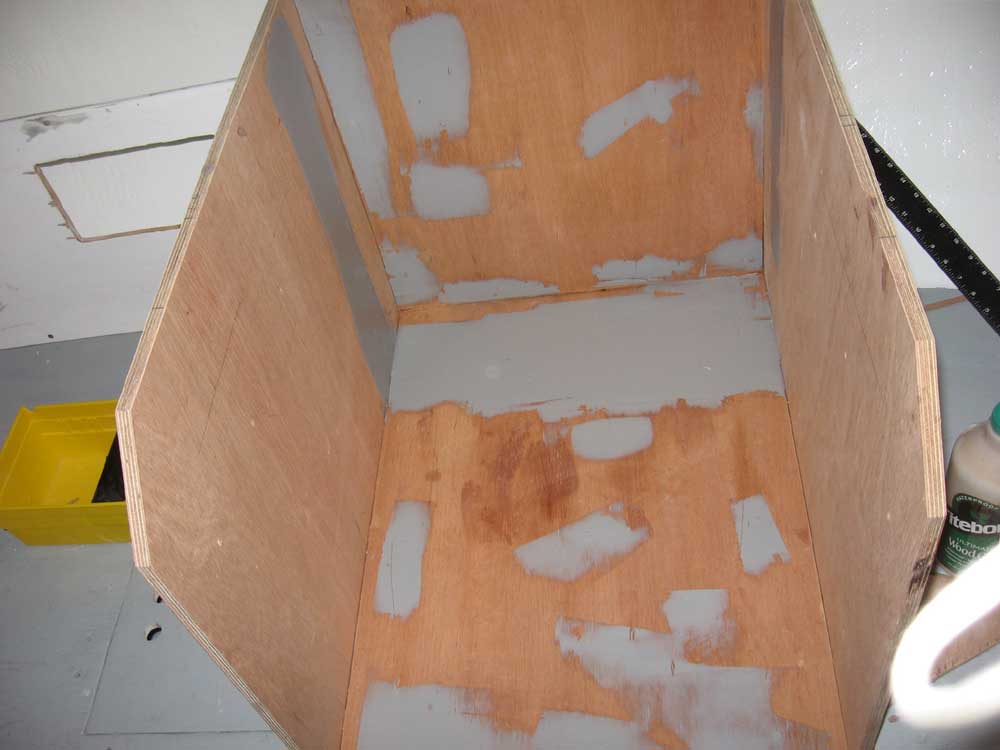
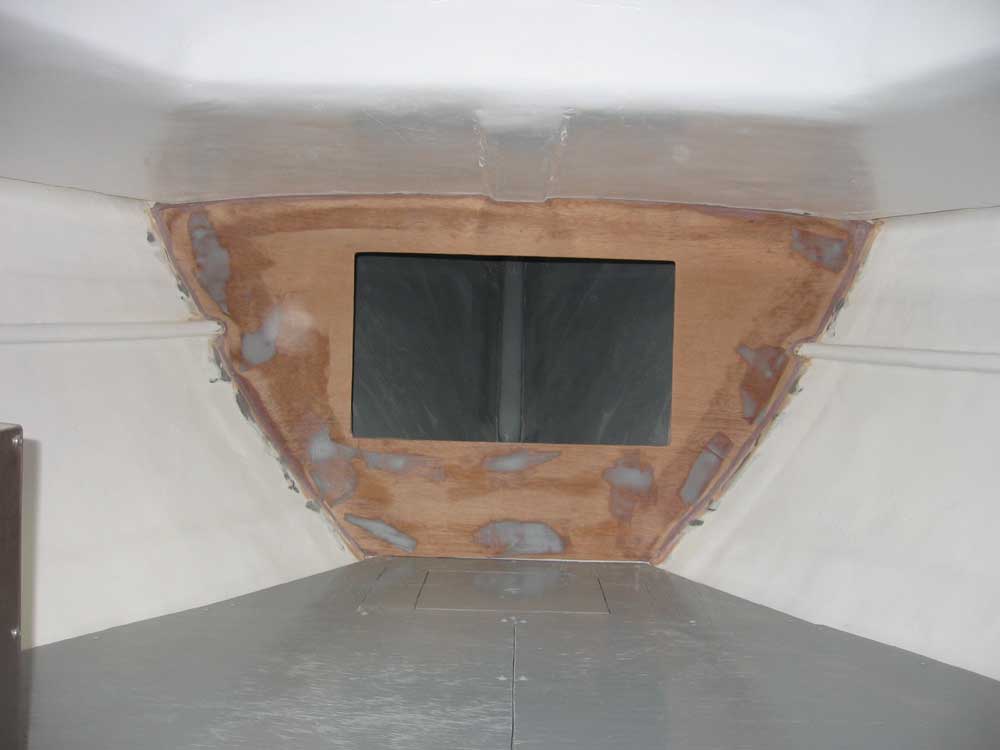
It was here that I determined a problem. Although I could locate the stove inside the cabinet and have it free to swing cleanly in both directions, as well as be in an acceptable location at level rest, I wasn't happy with how far out the stove swung into the passageway at extreme angles. The stove was also further inboard, towards the vessel centerline, than I wanted, though in a static situation that would have been OK in and of itself. But I wanted to install a safety rail in front of the stove, both as a handhold and also to hold the cabinet securely at the open end, and in this far-out location there was no way to fit the rail. Still, the more significant concern was how far into the passageway the sharp metal stove protruded at that severe angle, as seen above in the photos. Although I could slide the stove outboard in the enclosure, which worked fine for static rest and port tack, the opposite tack, which would cause the stove to swing towards the back of the cabinet, would cause the stove to hit here. Clearly, I needed to move the back of the cabinet further outboard, deepening the cabinet to allow the stove to fit properly within. With great reluctance, and after some consideration, I dismantled the newly-installed cabinet back and cleats, cursing myself for having used glue on the cleats and plywood. With some care, though, I managed to remove the pieces without any severe damage, though the glue on one of the cleats did remove some of the outer layer of plywood in that area. (I later filled it, and with the metal enclosure it would be hidden regardless.) To extend the back outboard, I also had to extend the plywood floor of the enclosure by several inches. To support the new section, I needed additional cleats; because of a reduced clearance beneath thanks to the thickness of some existing tabbing on the settee top, I had to rip the cleats down to a narrower thickness before installing. All these processes added substantially to what was, in concept, and easy enough chore. In the event, I successfully extended the back of the cabinet by nearly 5" outboard, which would allow the stove to be mounted in a much more satisfactory position that would not only allow for the safety bar, but would also prevent the stove from swinging into the passageway as seen in the previous photos. This photo shows the completed, extended cabinet after I patched the base and damaged side. Later, stainless steel sheet metal will cover all interior surfaces. |
|
|
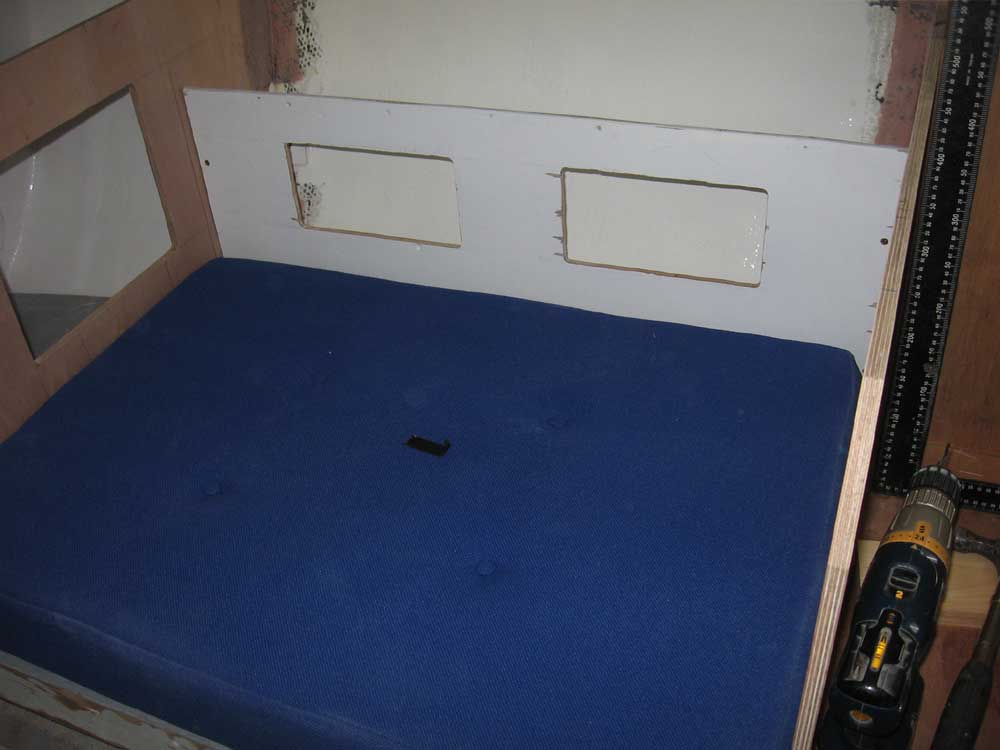
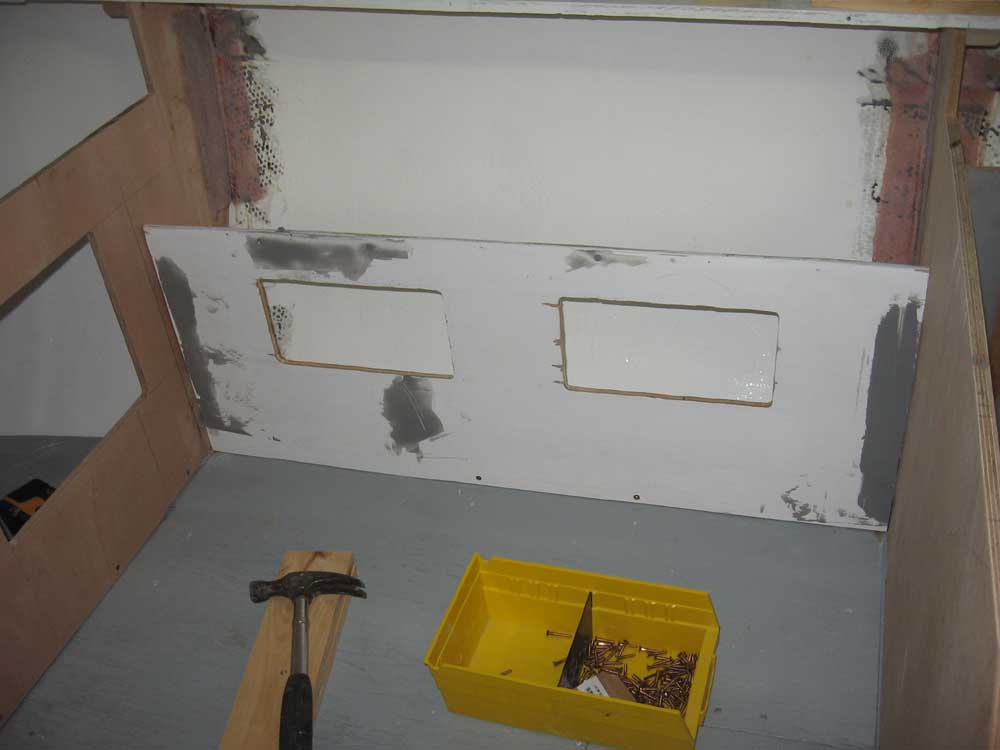
I rounded out the day with some construction of a settee back on the starboard side, running between the two new cabinets. For this, I reused a portion of the original settee back, cut to length and secured to cleats on each of the adjacent bulkheads, as well as at the base. Once more, I used the actual cushion to ensure that I placed the back in the proper place. For access to the storage area behind the settee, I cut two access ports in the plywood, using a rough cutout size appropriate for some manufactured louvered doors that were under consideration. Of course it may end up that I build doors to fit the openings instead, but they're all set either way. Later, I'll install a shelf above the new settee back, which will enclose the storage area and provide flat shelving above for books or whatever. Thinking ahead to next week's plans, I worked on an existing plywood panel that fits in the bulkhead between the galley and the cockpit locker, and added some cleats to allow me to permanently secure it; then, I painted out the locker side of the panel with gray Bilgekote. This panel will be required before I can permanently install the water heater and related construction in the area, and with this preparatory work out of the way it would be all set to install next week when needed. Finally, I applied some filler over the screw holes in some of the new bulkheads to prepare them for primer and paint next week. Next week's anticipated schedule is full, and I hope for significant progress on many fronts. |
|
|
|
|
|