| Kaholee Refit |
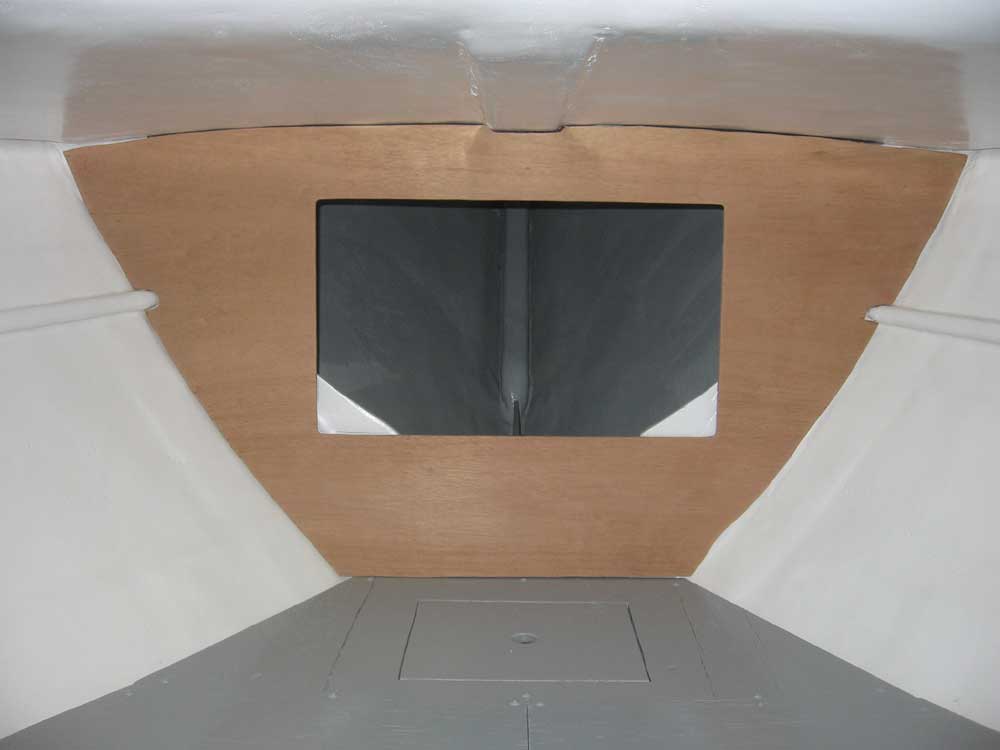
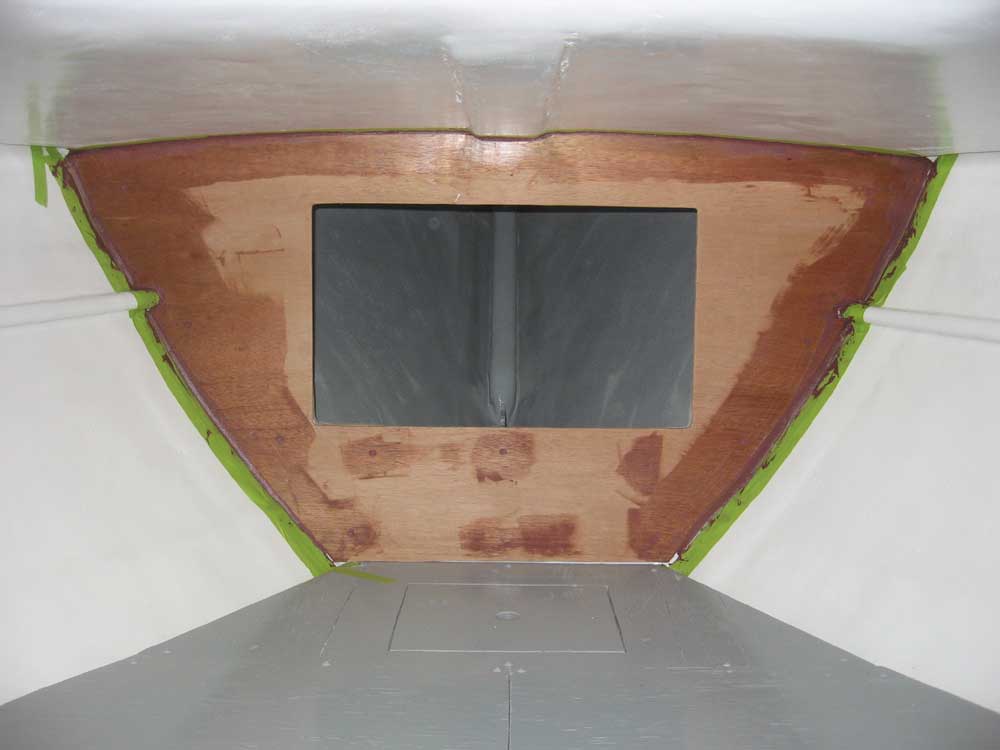
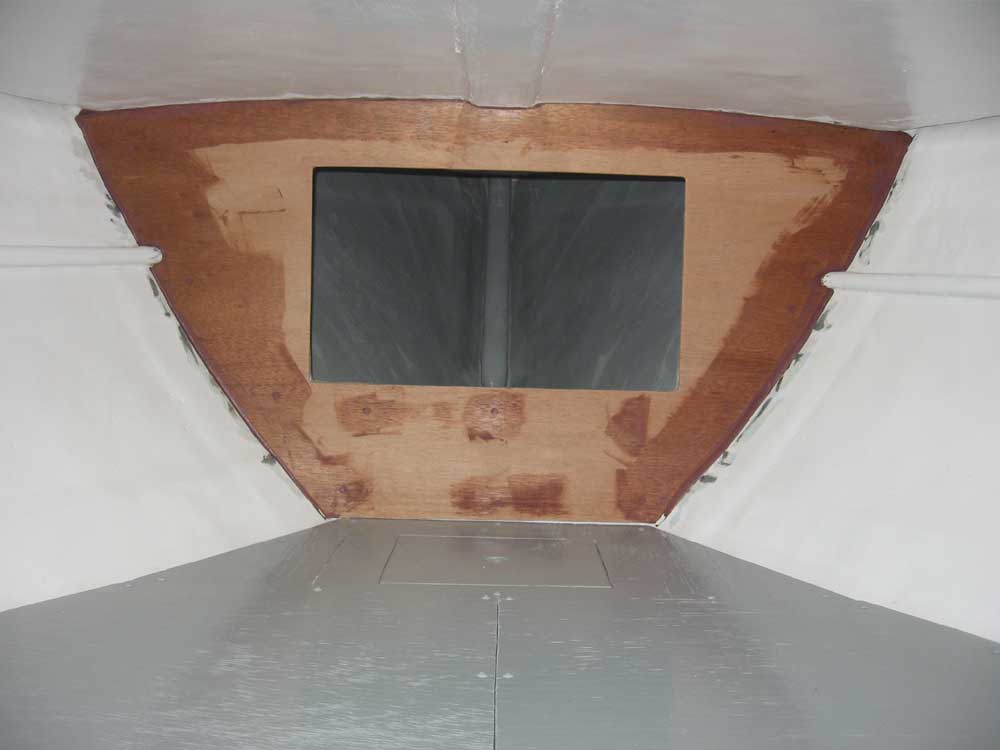
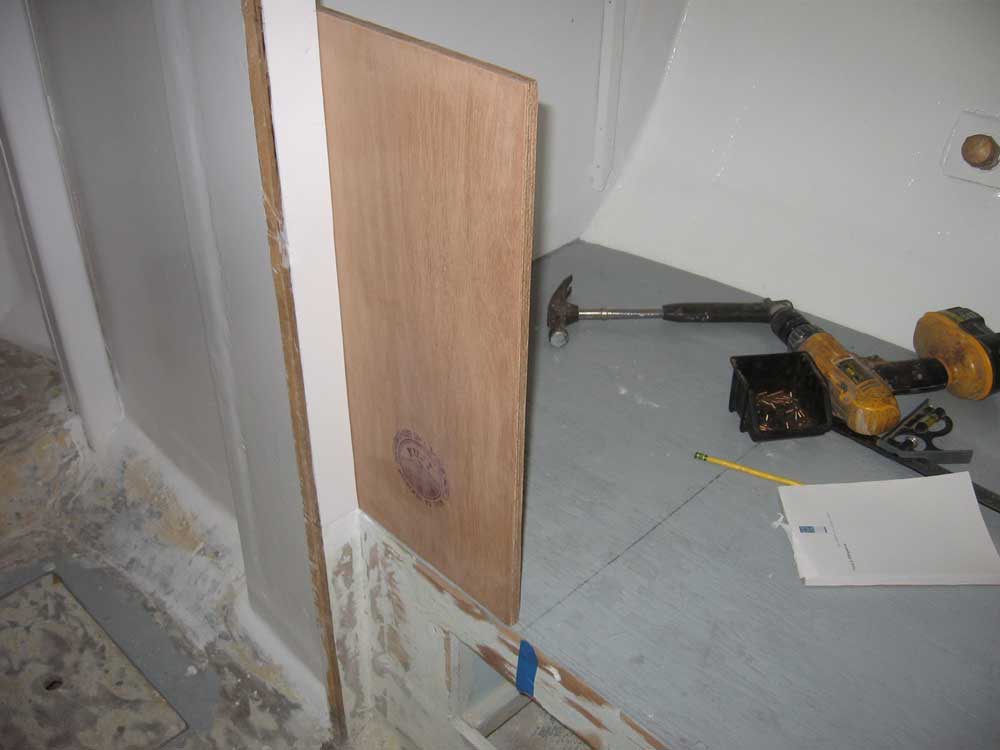
March 14, 2007 Yesterday, I generally completed the preparatory cutting and fitting work for the new chainlocker bulkhead. This morning, I continued with some minor additional trimming in a couple high spots around one edge, and then cut an opening in the bulkhead for access to the chainlocker. I made the opening roomy enough to allow comfortable human access to the eventual fasteners at the far reaches of the locker, such as for the bow pulpit and anchor platform. The opening is 24" wide and 14" tall. I laid it out on the centerline of the bulkhead, drilled 1/2" holes at the four corners, and connected the holes with a jigsaw. The new opening overlapped a portion of the existing web frame, so I cut away the overlap with a jigsaw. Before installing the bulkhead, I ground away the paint from the web frame that was already in place, and also a couple inches on the adjacent hull. Then, I spread some dabs of epoxy adhesive on the existing frame and secured the bulkhead with bronze screws, which I countersunk beneath the surface. Since the bulkhead would be painted, I used additional filler (epoxy) to fill in the gaps at the edges and in the screw holes. As the bulkhead was a cosmetic upgrade only, there was no reason to tab this new piece to the hull; the epoxy and screws were more than adequate. |
|
|
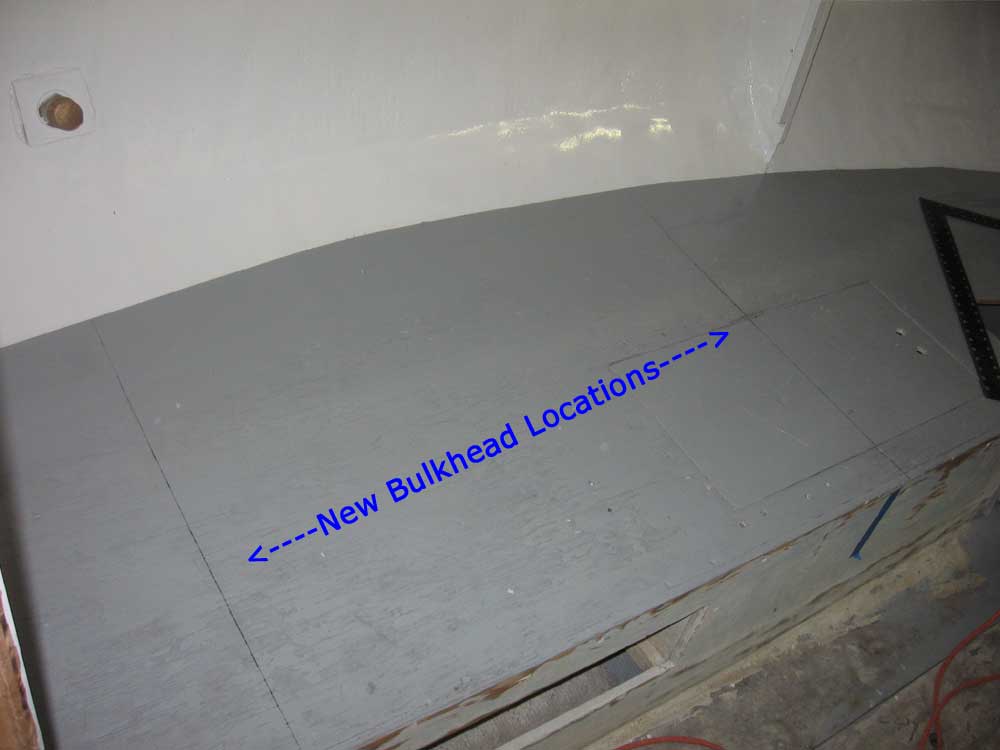
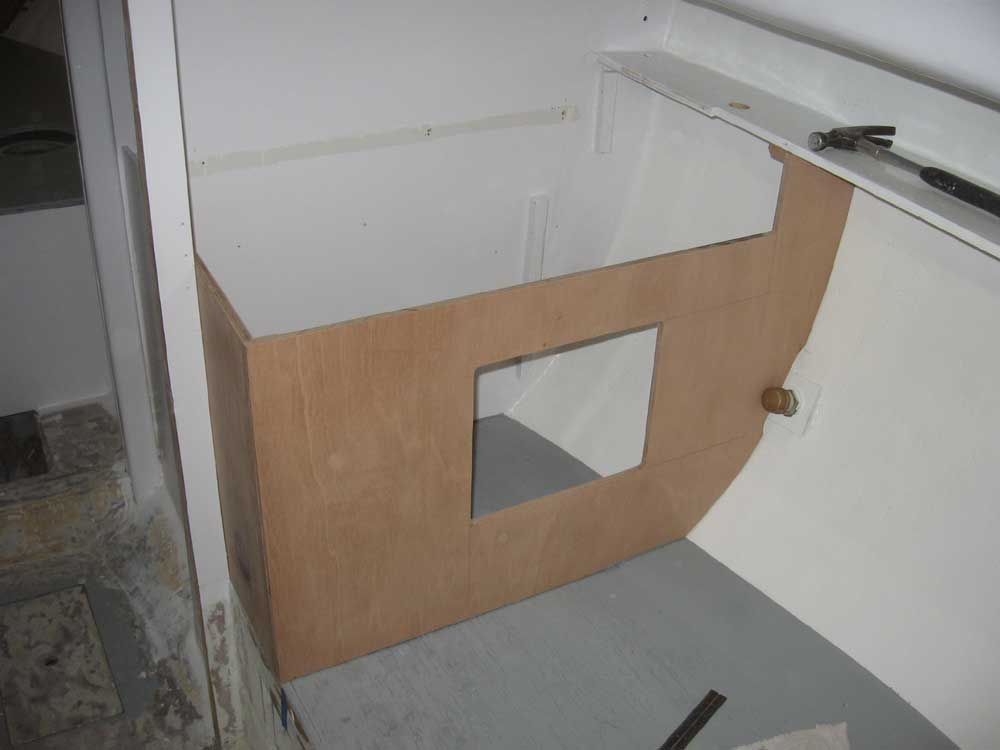
In the saloon, it was time to build the new sink cabinet at the forward end of the starboard settee. I double checked the placement of the actual cushion that was to fit on the settee when all was said and done, and made my marks representing the edges of the new bulkheads on the settee top. As expected, I found that none of the existing Pearson-installed structures were square to each other, or in any other way aligned to a consistent reference, so it was up to me to choose my reference--a surface to which I would align all future structures. Eventually, I decided that the settee itself was the most sensible point of reference, so I chose to square the new bulkheads (or cabinets, as you prefer) to the settee front and top. One has to start somewhere, and in cases like this it's simply not possible, short of removing everything and starting fresh from a bare hull, to make new installations plumb and square with all of the existing ones. Therefore, choosing the most visible, or logical, reference from which to measure and adjust is the best one can do. |
|
|
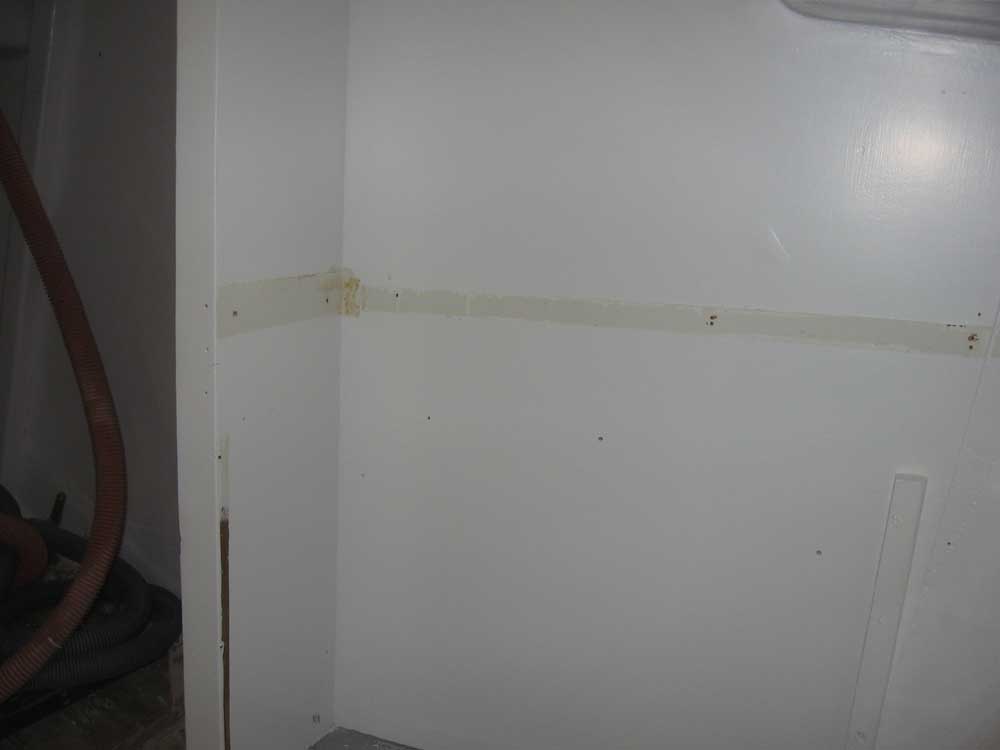
The countertop needed to be the typical 36" above the cabin sole, so I measured up from the nearby sole and made a mark on the bulkhead, then measured down 1/2" to allow for the thickness of the top. Then, I measured for the height and width of what would become the short side of the new cabinet, and cut a piece of 12mm Meranti plywood to fit. I installed this to the edge of the existing longitudinal bulkhead with bronze screws; the front face ended up flush with the edge of the settee, as planned. Because of the change in plans leading to the new sink cabinet construction, some existing cleats on the bulkhead, which I had painted in, were now superfluous, so I removed them. I'll deal with the unpainted patches later on, either by sanding, filling, and repainting the area, or possibly covering with a wooden backsplash. I should have known better than to leave these cleats in place. |
|
|
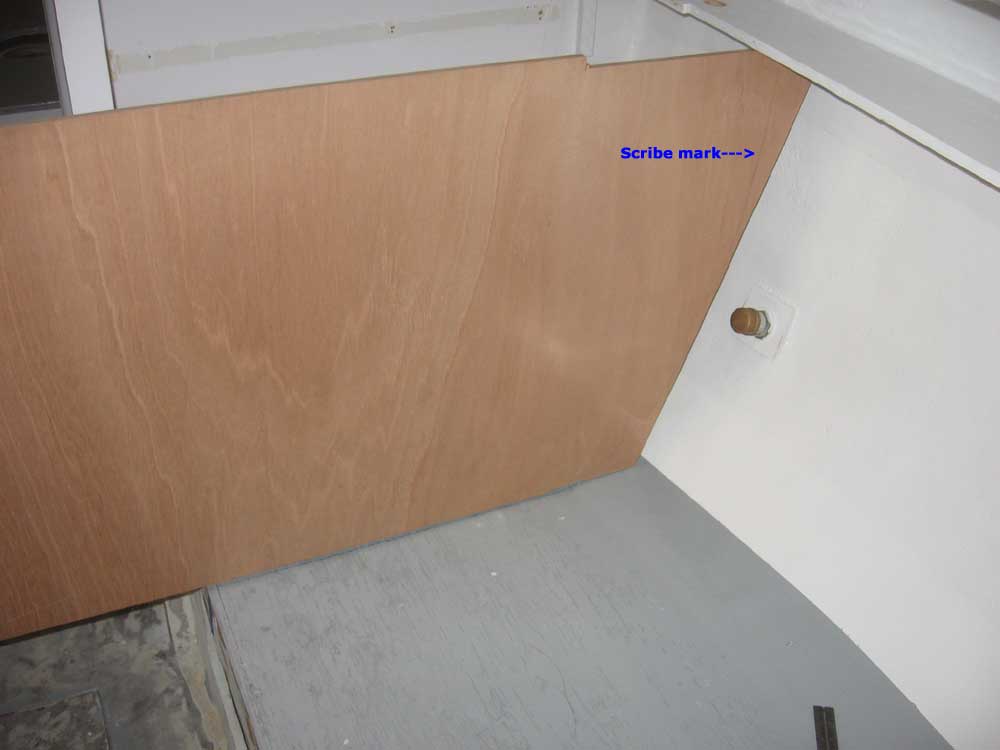
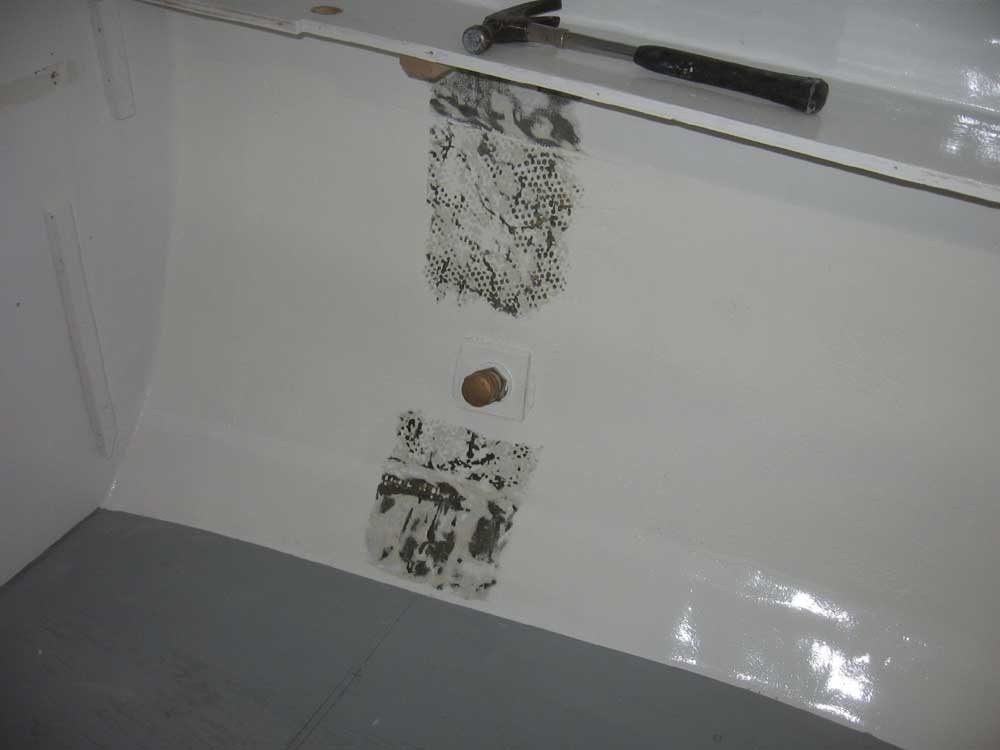
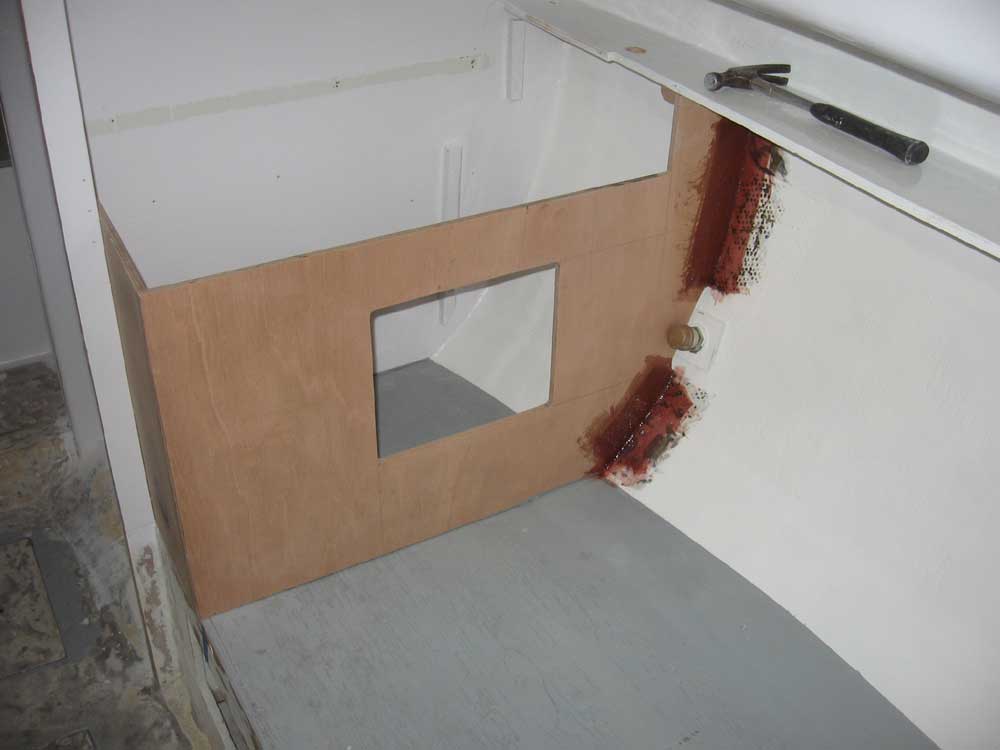
With a secure starting point for the second side of the new cabinet, I proceeded. Often, I would choose to make a pattern for a new bulkhead using a tick strip, but in this case it seemed just as easy to precut a section of plywood somewhat oversize, and with an angle on the hull side roughly approximating the contour, and to then simply scrip the hull contour on the nearby plywood. This was all straightforward enough, though somewhat complicated by the need (or desire) to run the outside portion of the bulkhead up beneath an existing shelf; confining a bulkhead operation on an additional side always makes the fitting process a bit more time consuming, particularly when, as in this case, the existing structures seem to be arbitrarily installed without regard to level, plumb, or other known references. In the event, after several test fits and minor recuts, mostly to accommodate the top shelf, I fit the bulkhead in place, and then trimmed the excess height and length to their final dimensions, again using the existing settee as my guide reference. Once I was satisfied with the fit, I marked out a location for an access door, keeping in mind the location of the sink, future backrest, and thickness of the cushion, and cut the opening. To permanently install the piece, I first installed a hardwood cleat on the inside edge at the outer corner, which would tie the side in with the short front piece. I installed a second cleat on the underside of the narrow shelf above, along the hull, to support the top edge of the bulkhead. Then, using a scribe, I marked 3" out on each side of the bulkhead along the hull and, after removing the bulkhead, ground away the paint in these areas so that I could install tabbing to secure the bulkhead to the hull. While again the new bulkhead was not intended to be structural in nature, it still needs to be firmly affixed in place, and tabbing to the hull would provide additional rigidity and overall strength to the cabinet. Once the hull was prepared and cleaned, I applied some thick epoxy to the hull edge of the bulkhead and pressed it into place, and then created fillets along the edge with the excess. Finally, I installed strips of 4" biaxial tape on both sides of the bulkhead. For now, I left the front corner alone, as it fit tightly in a friction fit; later, I'll secure the short front bulkhead to the hardwood cleat in the corner, and also install some additional cleats on the settee inside the unit to secure the cabinet base. |
|
|
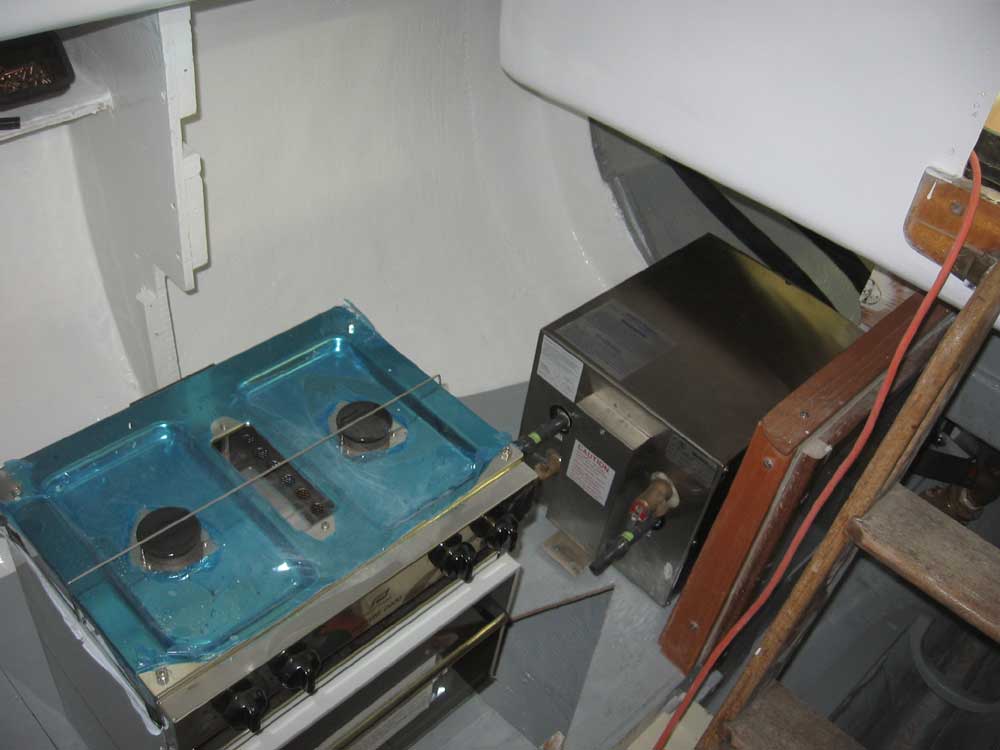
To round out the day, I turned my thoughts and attention to the stove location and remainder of the galley at the aft end of the starboard berth. With the known confines of the space, as previously determined by the cushion size and sink location, I now had to determine how to fit the preexisting hot water heater into place beneath the yet-to-be-build cabinet. Easy enough, you might say, and that would be true...but I felt it was critical to ensure a means, without requiring the destruction of the cabinetry, for eventually removing this water heater for replacement, and given the size of the unit, plus the required space for the stove, it looked like it was going to present a bit of a challenge. It looked like it might make for a cleaner installation if I replaced the very long and awkward plastic hose barbs with something shorter, or elbowed, which would reduce the effective size of the heater substantially. |
|
|
|
|
|