| Kaholee Refit |
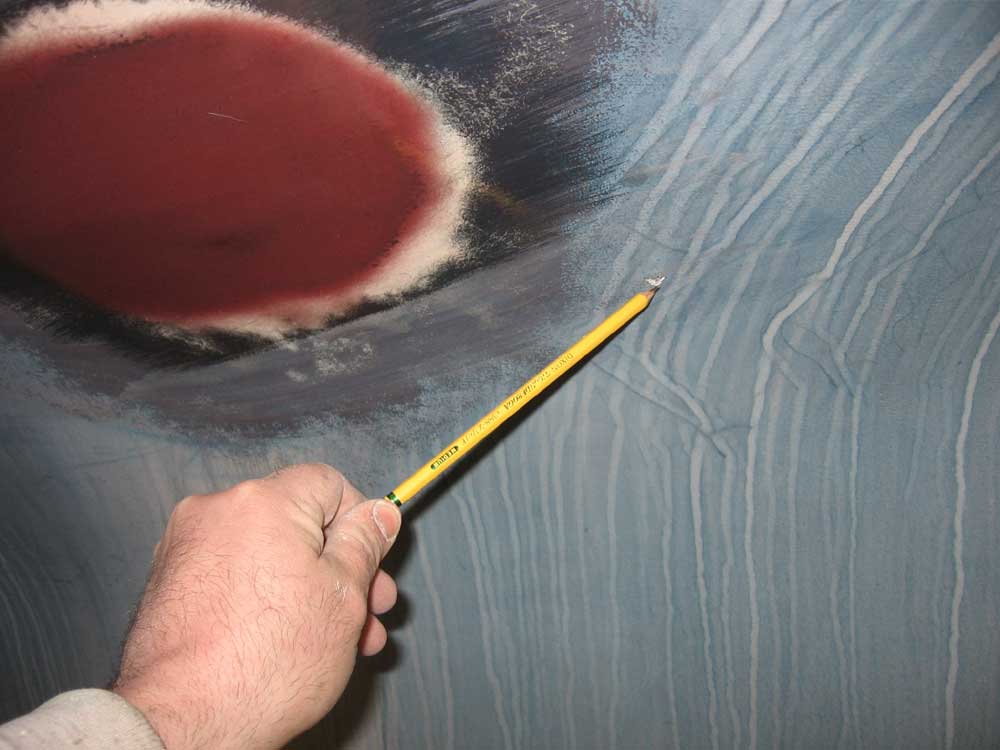
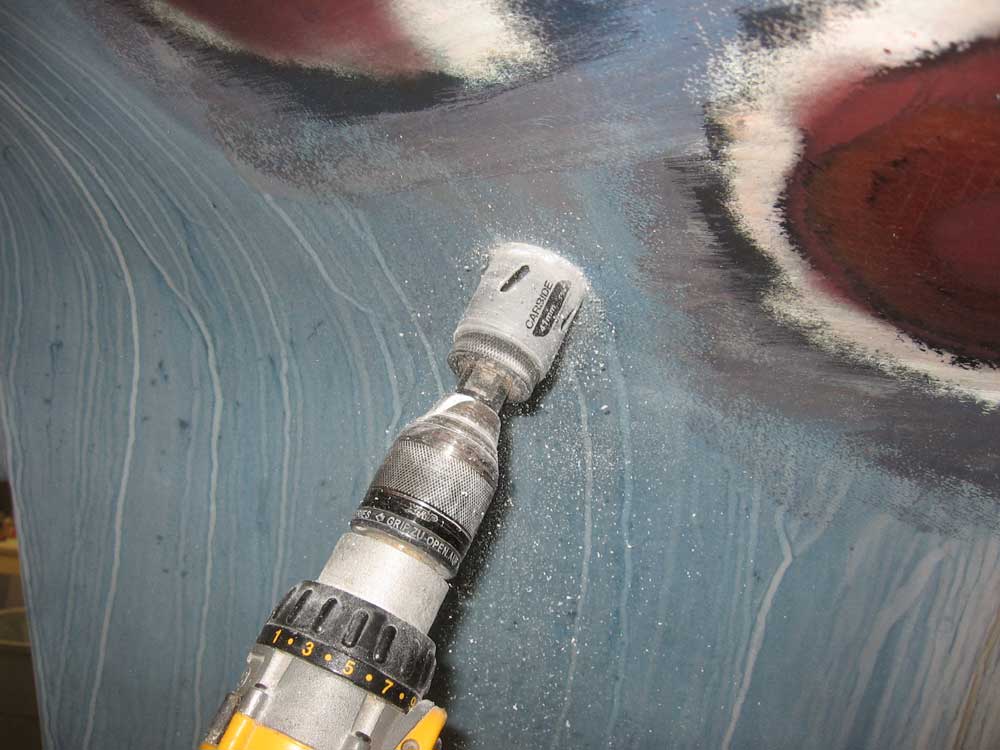
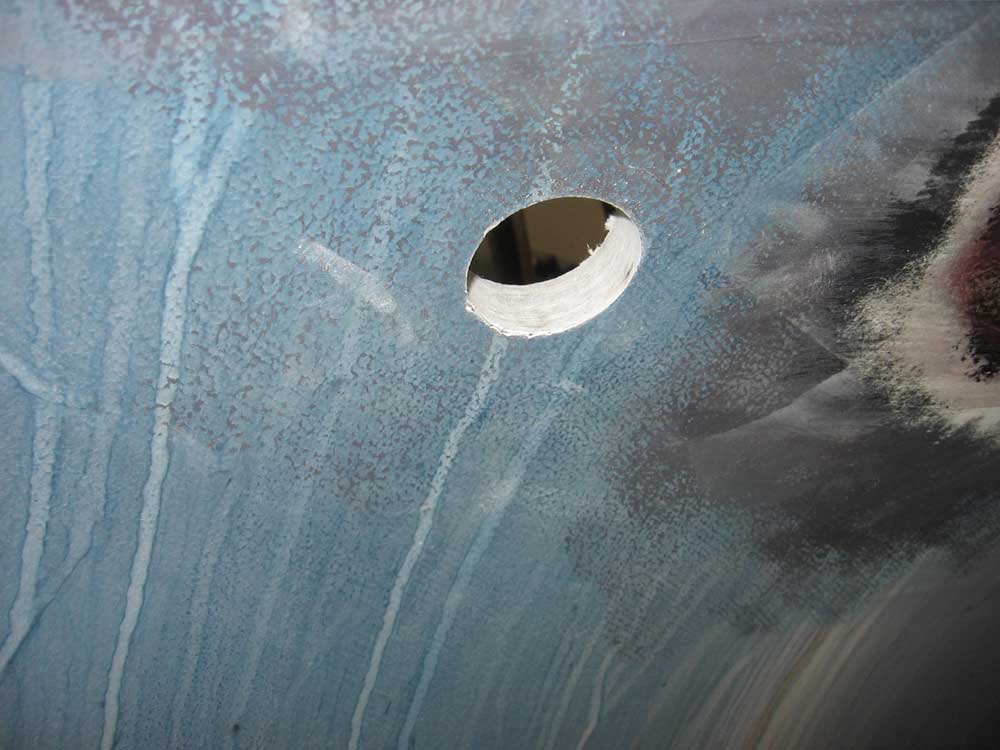
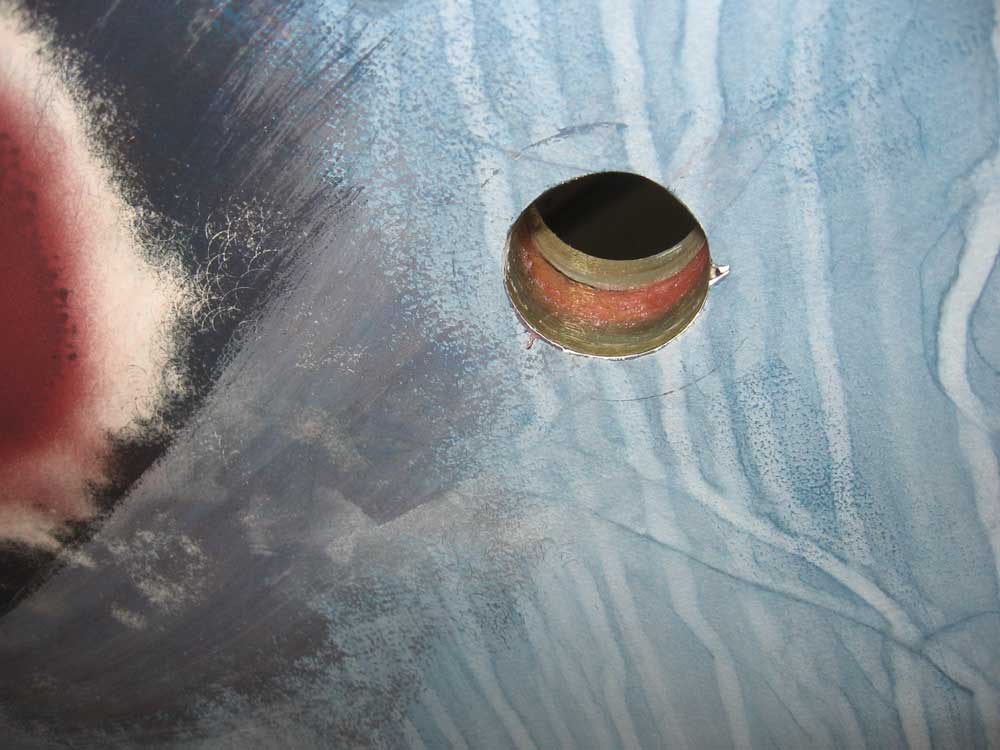
March 7, 2007 First thing, I climbed aboard the boat and, from the inside, drilled small pilotholes in the desired seacock locations (5 in total). I did this to double-check each of the locations I had chosen, to ensure that they would work both inside and out (though I had already visually confirmed this, of course), and also because I wanted to drill the through hull holes from the exterior, so that the bit would enter perpendicular to the bottom surface, ensuring that the mushroom heads on the fittings would fit flat. Once I determined that all locations were fine, I drilled the appropriately-sized holes for the fittings with a carbide-tipped holesaw, which made short work of the fiberglass. With a drum sander installed in my drill, I then reamed out the holes slightly, as the holes made for a tight fit with the fittings. For Triton record-keepers, the hull laminate was approximately 5/8" to 3/4" thick in these locations, not counting any internal reinforcement that the holes might also pass through. |
|
|
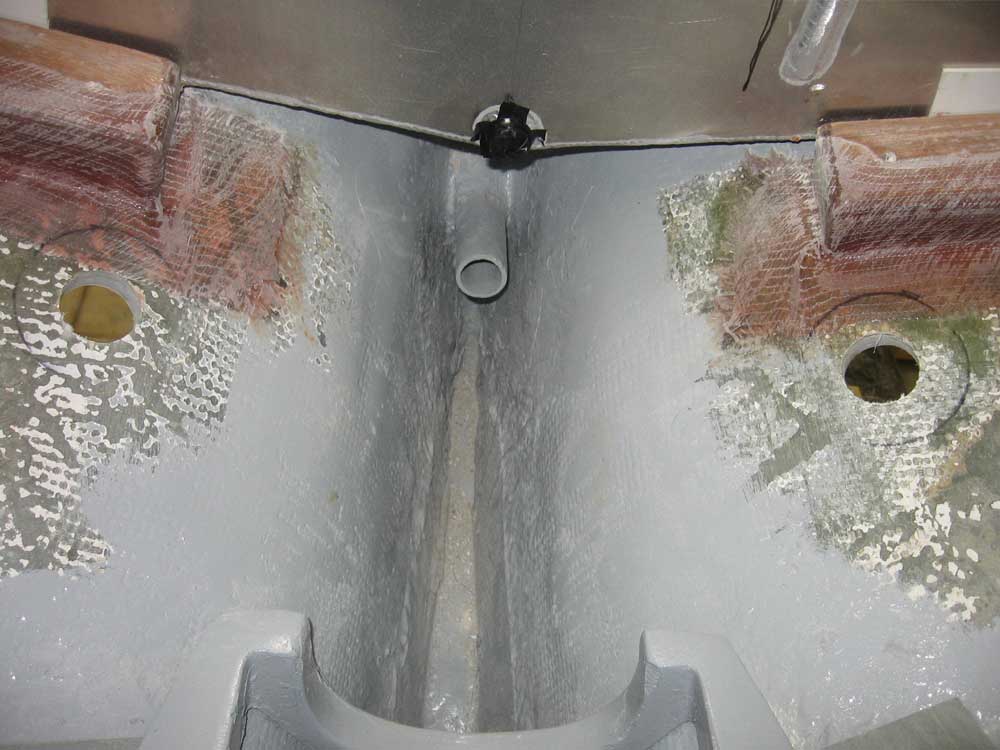
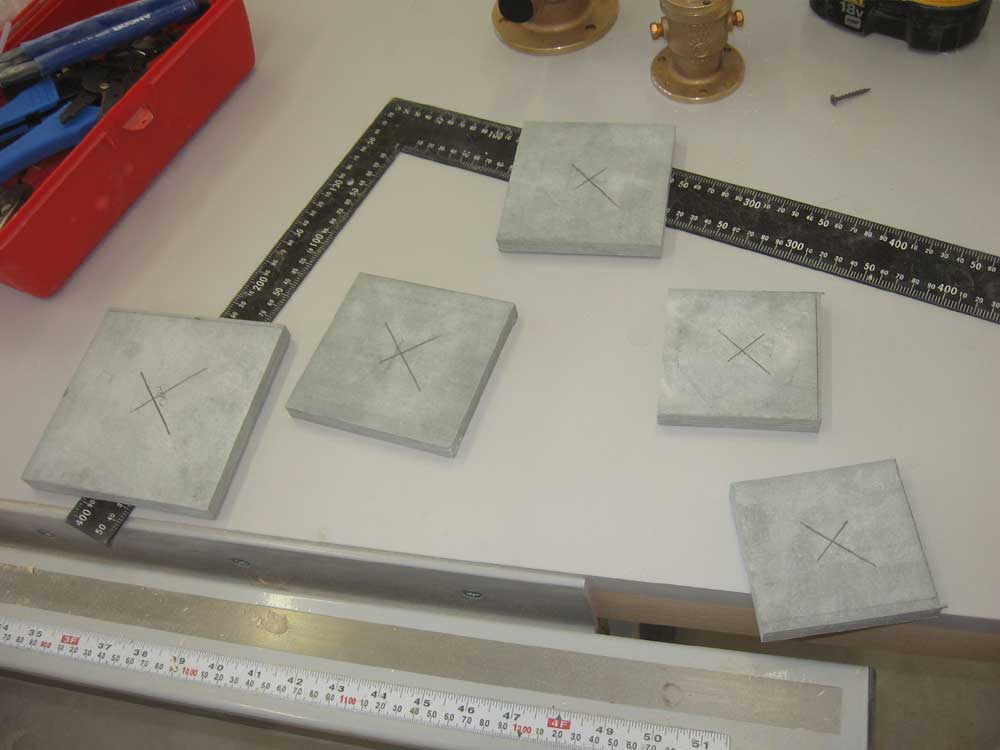
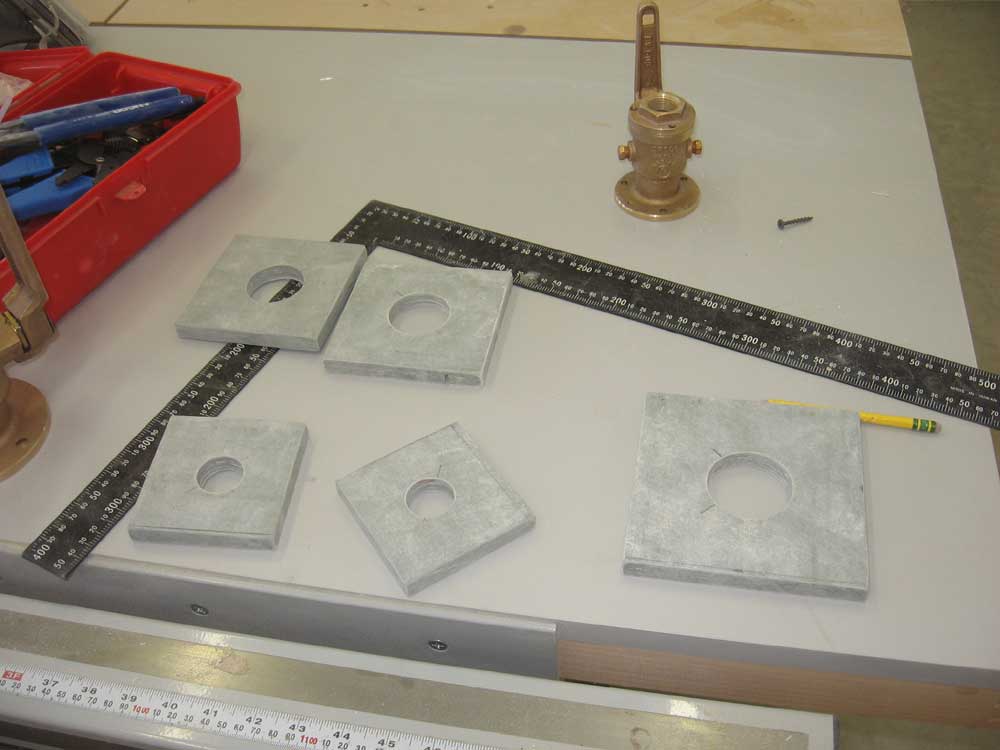
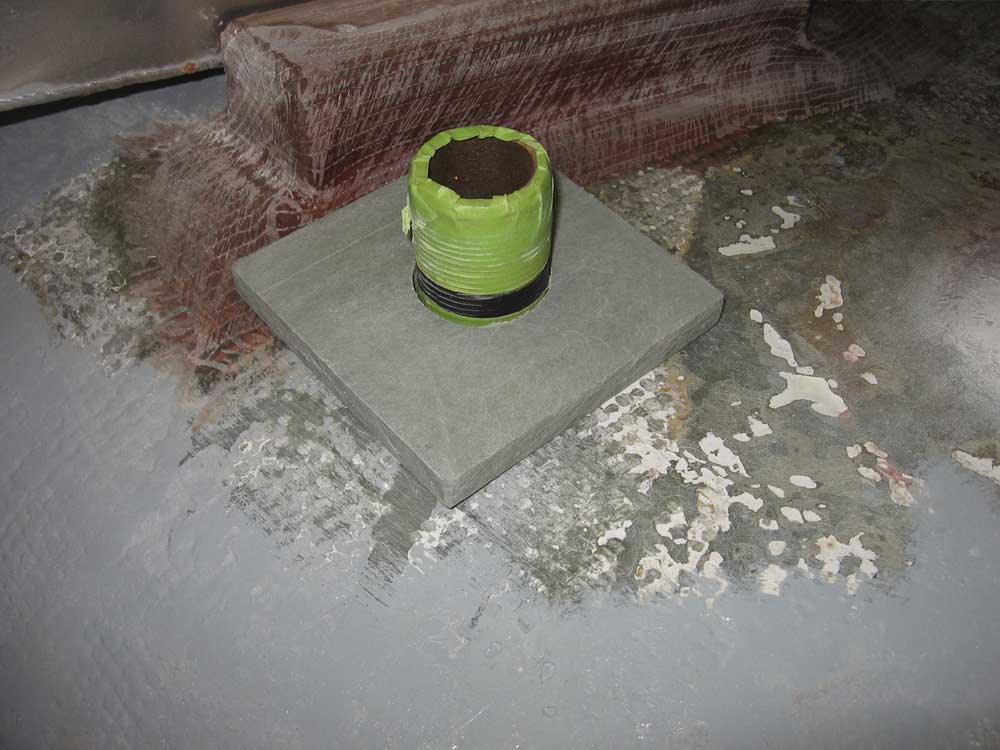
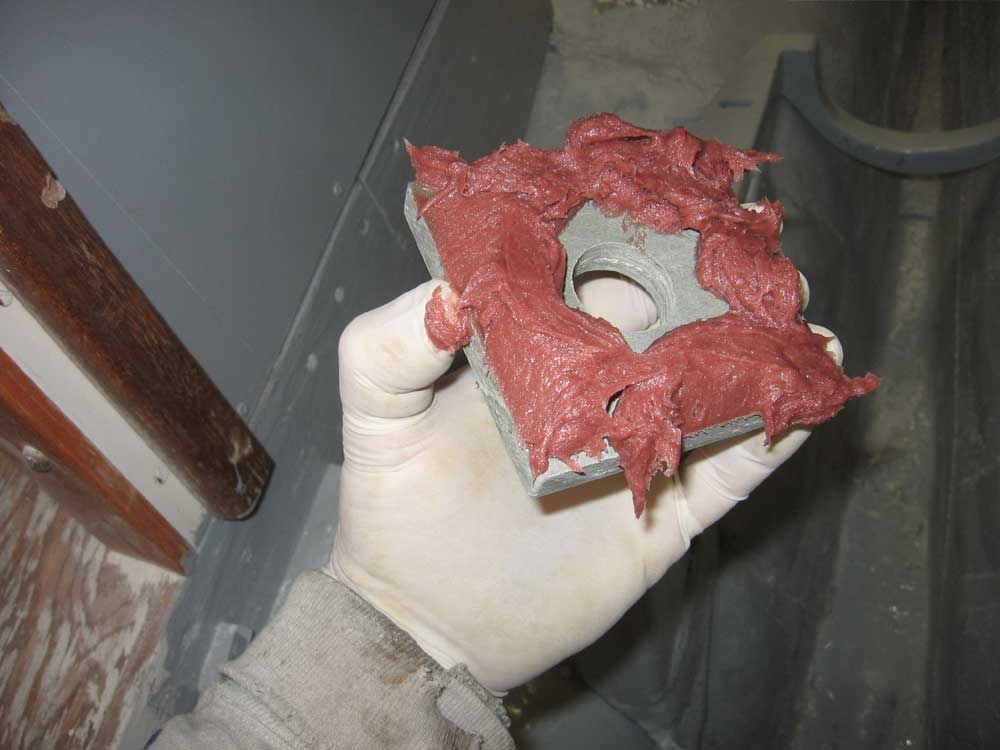
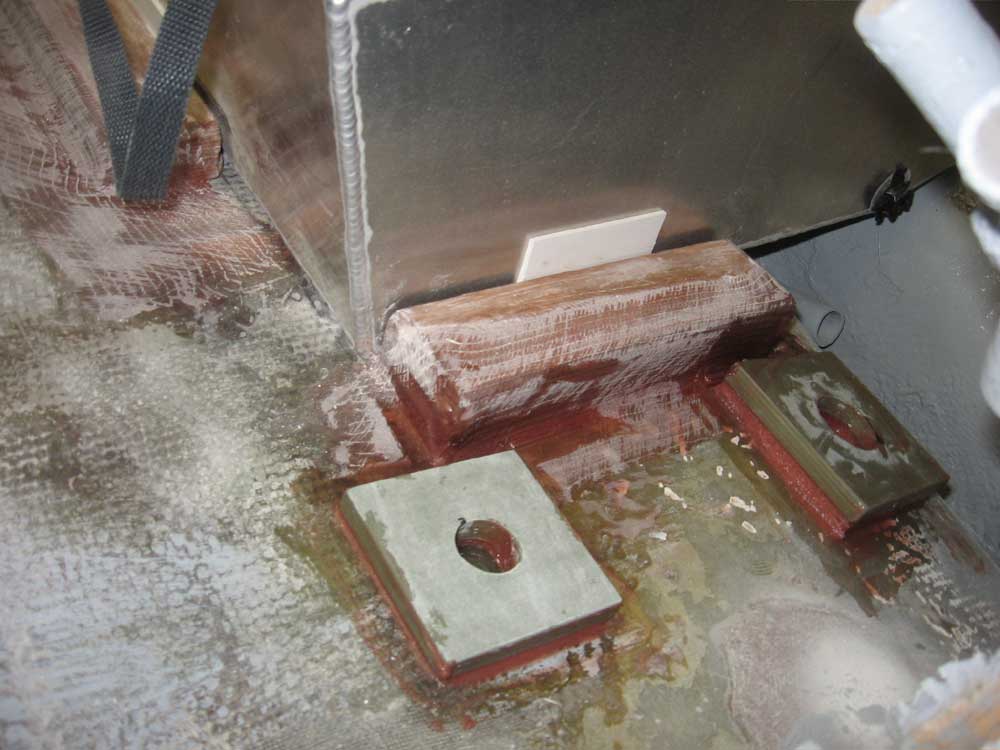
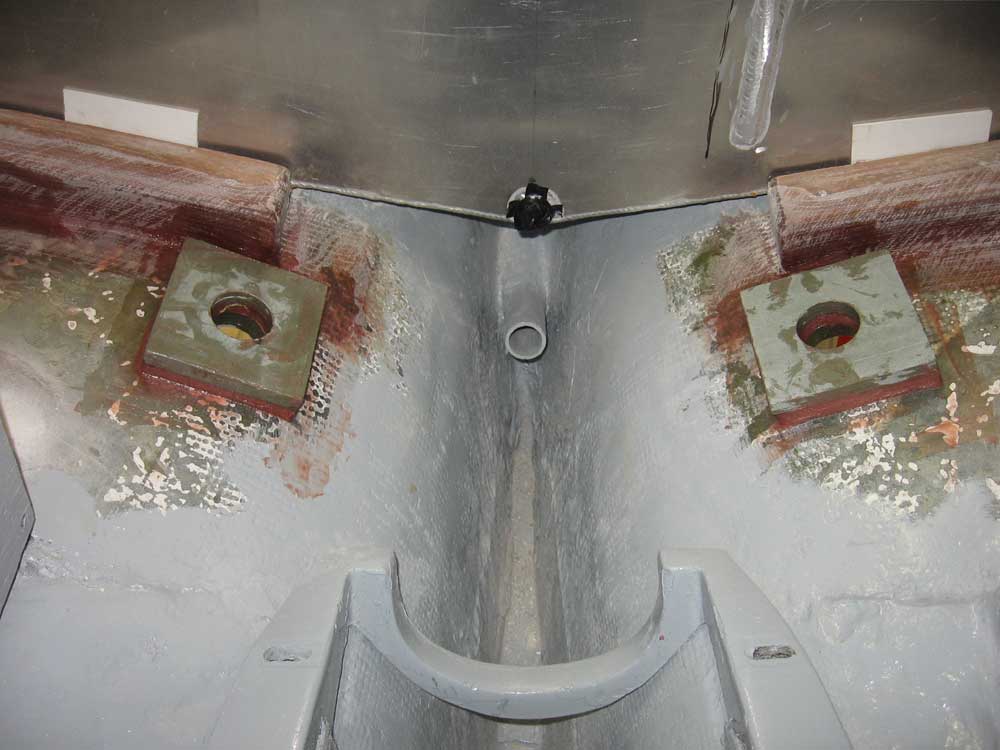
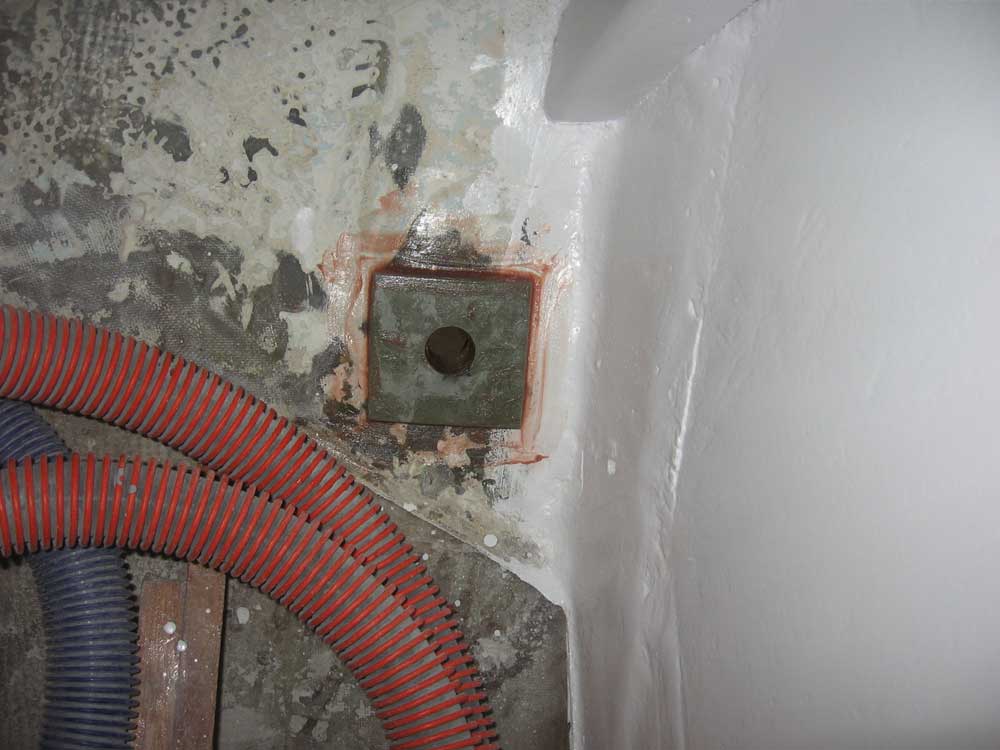
Next, I prepared some backing blocks from a sheet of 1/2" prefabricated fiberglass. Before making any cuts, I sanded the smooth, shiny surfaces of this product to rough them up. Then, I measured for the various sizes needed and cut the pads on my table saw. I cut a pad for the head discharge seacock, but it turned out I didn't need it since the original heavy wood and fiberglass pad was still in place, and I didn't need the additional thickness afforded by the fiberglass pad. With the pads cut, I marked the centers and drilled holes for the through hulls. In each case, I increased the size of the hole slightly over those which I cut in the hull, to give the pad a little additional room for adjustment during installation. I sanded a small bevel on all the corners of the pad so that there would be no sharp edges. Next, I test-fit each through hull in its appropriate hole, taping them in place from outside as necessary, and, using the newly-cut pads as a reference, checked to see whether the seacocks would be able to thread completely onto the exposed threads and, if not, how much I'd need to build the backing pads up to account for this. With the fittings in place and the pads loosely installed, I made a mark on each threaded fitting where it went by the backing pad, and then physically threaded them into the appropriate seacocks to see whether I'd have to build the pads up further. For the two cockpit scupper locations, I found I needed to add up to 3/8" thickness in order to allow the fixtures to thread together without bottoming out. In the photo, the top of the black tape represents the maximum amount of exposed thread that I could have when all was said and done, so you can clearly see how much I needed to build up the pads. This was no problem, however, since I planned to install each pad in a bed of thickened epoxy that would allow it to conform to the hull beneath, while remaining flat and square to the threaded fitting on the top surface. Had the additional thickness for the scupper fittings been much higher, I would have used an additional thickness of the prefab fiberglass, but with a maximum of 3/8" (and less in some places, thanks to hull curvature and other factors), I had no problem using only the thick epoxy bedding to make up this difference. I taped over all the threads on the fitting in preparation for the later epoxy steps, which you'll see shortly. |
|
|
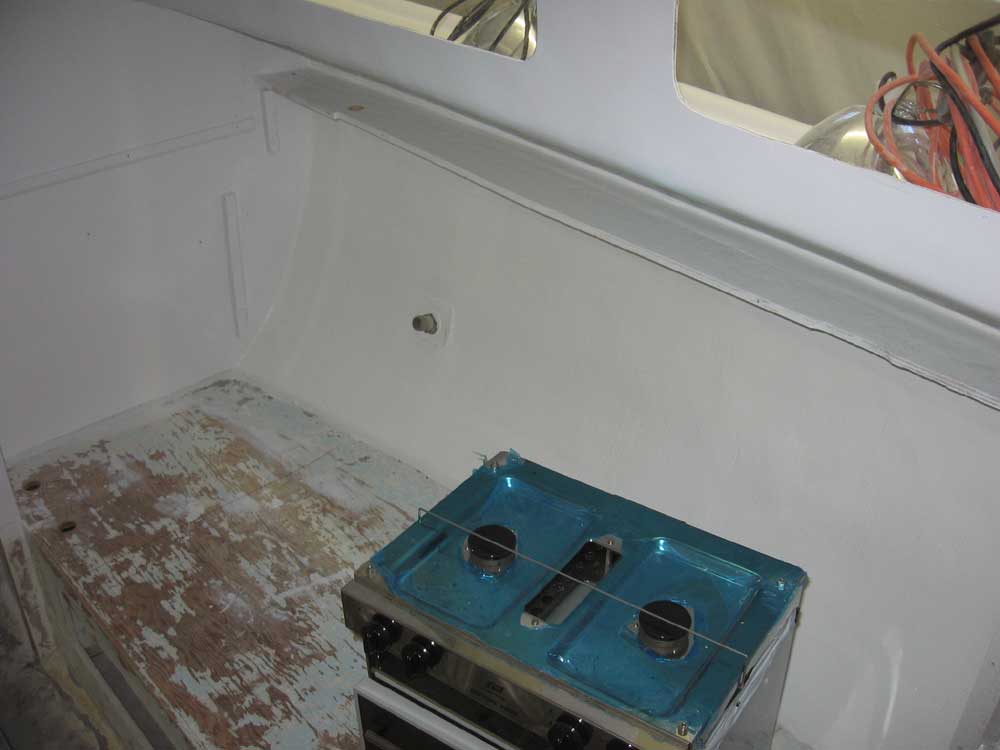
With everything prepared for the through hull backing plates, I turned my attention for a time to the galley layout, and determined, along with the owner, how we wanted to address the sink and other areas. A bit later, I happened to move the stove around a bit, and it struck me that there might be another option for its location. Click here for more on that. |
After lunch, I applied the second coat of white paint to the v-berth, head locker, and saloon. |
|
|
Finally, as my last task of the day, I mixed up a very thick batch of epoxy adhesive (resin and cabosil) and installed the four fiberglass backing plates. To align the plates, I first installed the through hull fittings, having protected the threads with tape, and then, after heavily covering the bases of the backing plates with epoxy, carefully pressed them into position, ensuring that I kept the top of the plate square with the threaded fitting. After I cleaned up the excess epoxy and cleaned up, I tapped the fittings out of the holes, leaving only the pads and their thickened epoxy bases. I could have waxed the threads, or relied on the tape for protection, but I preferred to remove them completely for the curing process. For the two cockpit scupper pads, I was sure to hold the pad up high enough to completely hide the black tape, thus ensuring that the seacock would ultimately be able to thread completely onto the fitting without bottoming out. |
|
|
|
|
|