| Kaholee Refit |
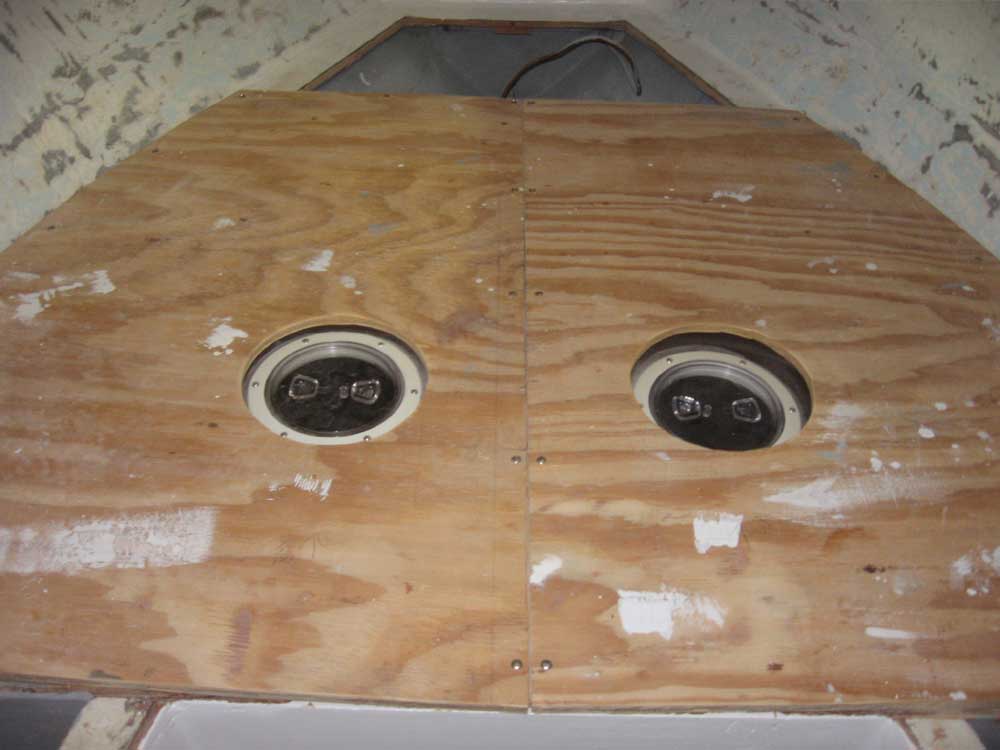
March 2, 2007 Kaholee came from New Mexico with two pre-cut pieces of plywood that fit roughly over the custom water tanks in the v-berth. Today, I decided to permanently install these sheets. Earlier, we had decided to install them with screws, rather than glass them in, since there was really no call for the strength of fiberglass. First, I had to make some additional cuts. The sheets didn't entirely cover the v-berth, and to allow for the additional pieces to be properly supported I trimmed the ends of the original plywood to fit as needed, taking a bit off each end of the two sheets. Then, I marked for and cut out circular openings directly above the plastic access ports in the water tanks beneath; later, I'll install slim covers over these openings so that the cushions will have support throughout. With all the cuts made, I screwed the plywood to the flanges leftover from when the original v-berth structure was removed (years before the boat ever came to the shop), and to the various other support members in place around the tanks. Later, I will obtain the necessary 5/8" plywood to fill in the three remaining areas of the v-berth. And of course all this material will eventually receive paint. |
|
|
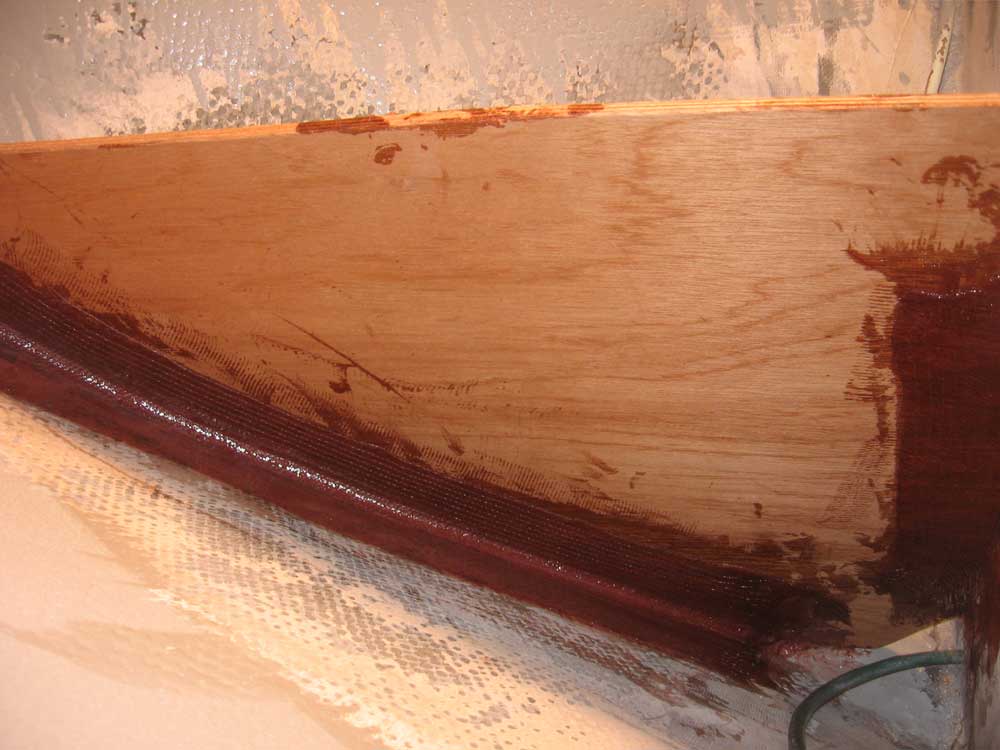
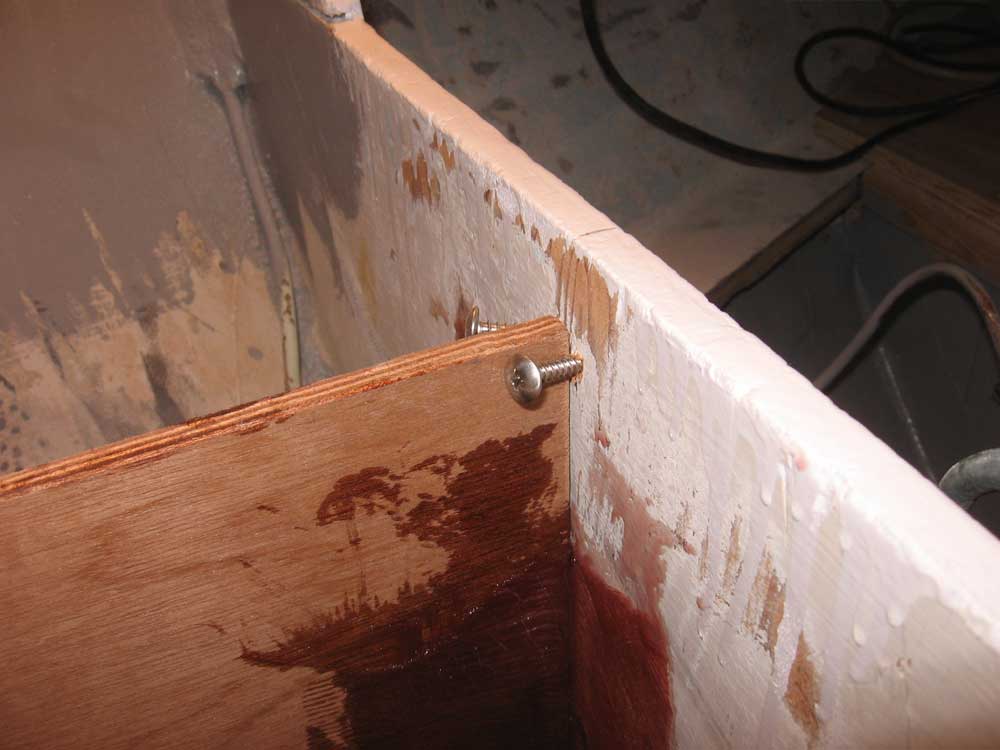
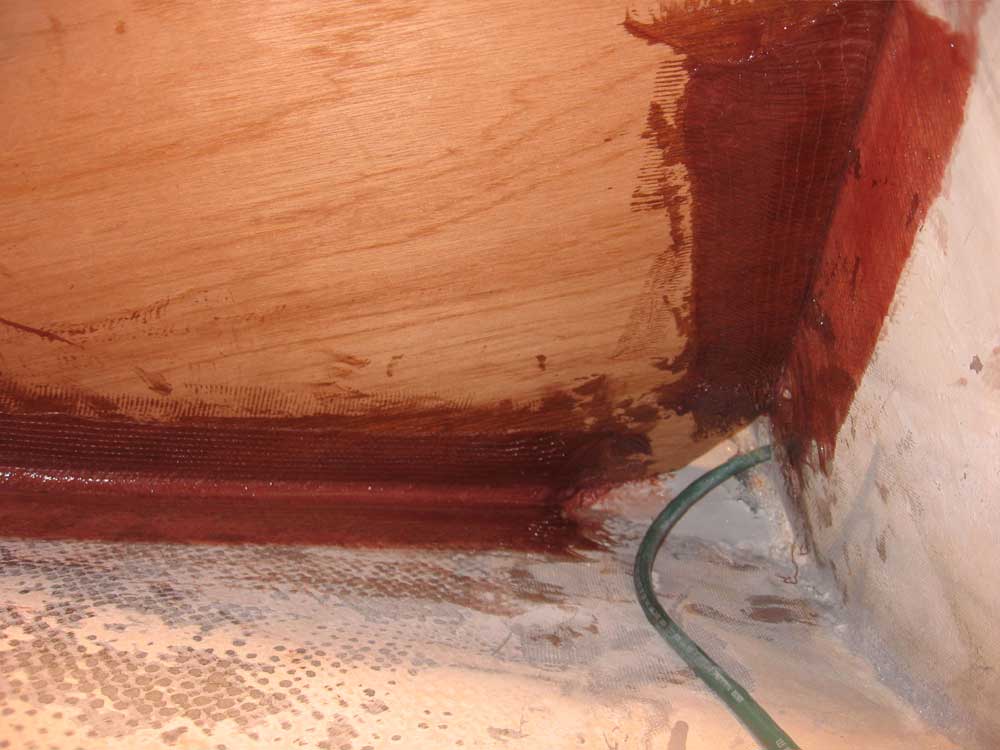
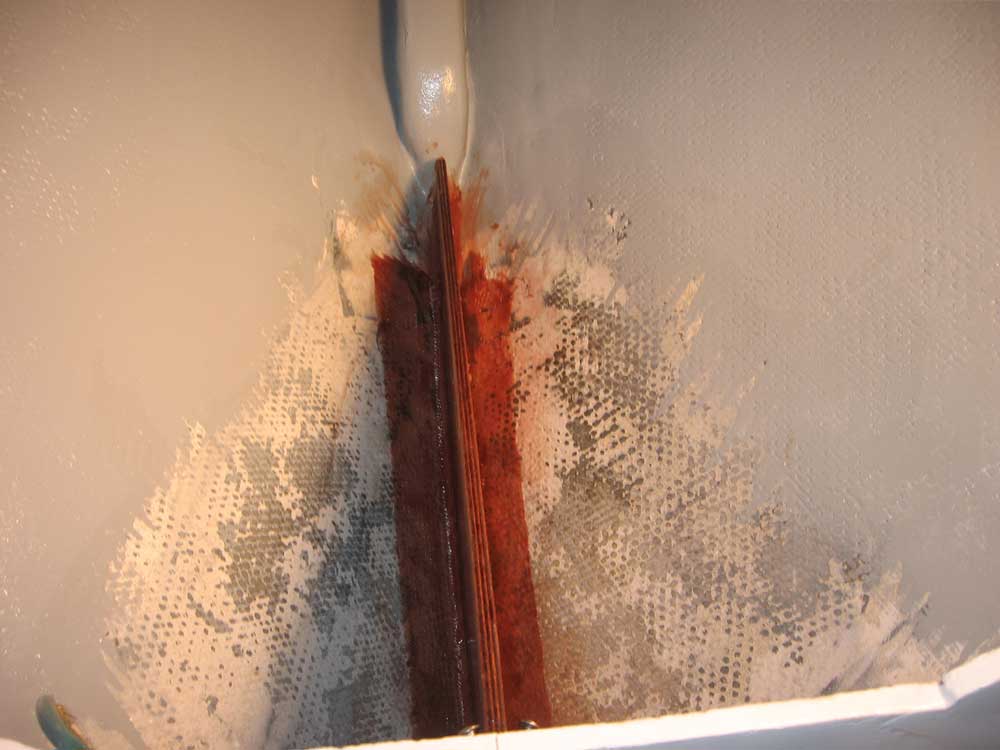
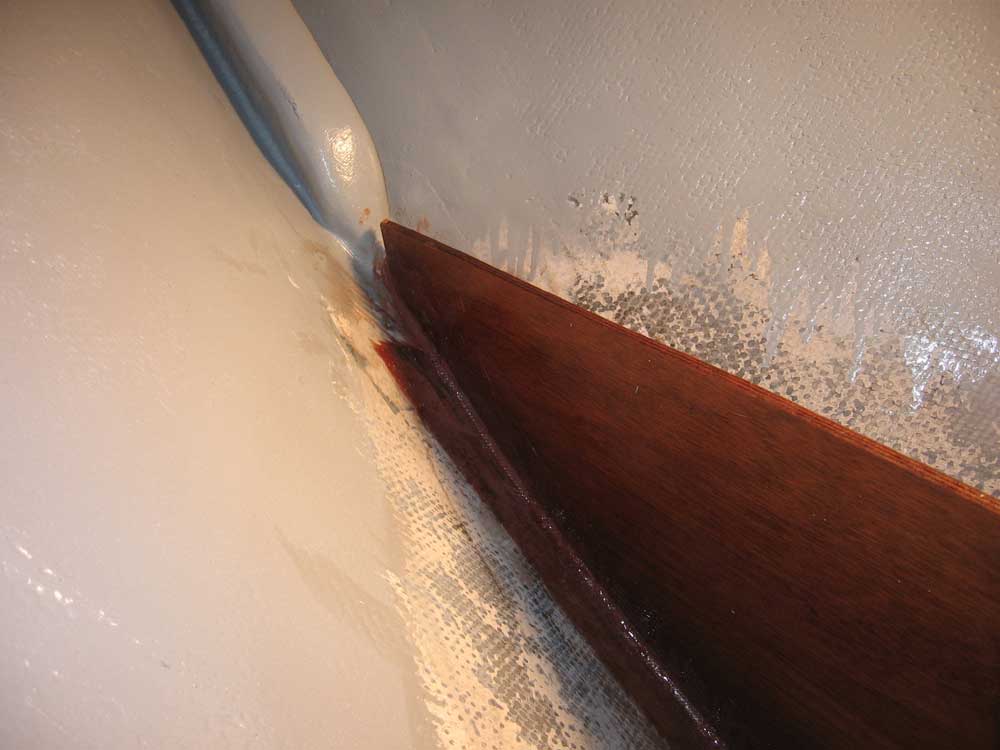
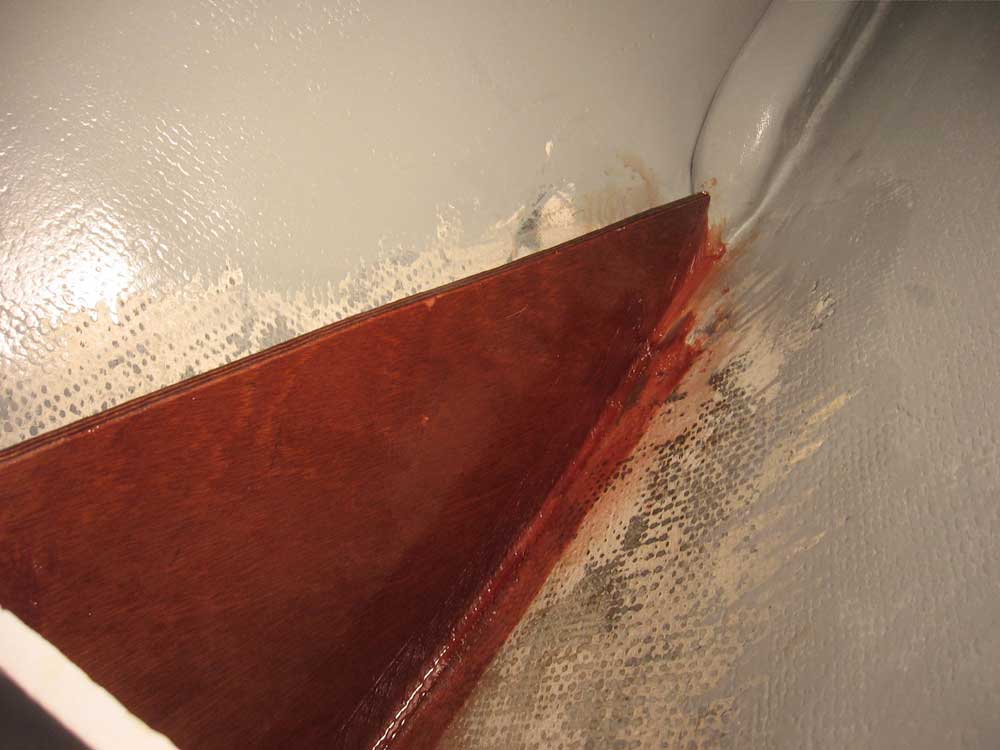
Next, I turned my attention to the chainlocker once more. Using cardboard, I made a template for a centerline divider that would allow two rodes to be stored neatly inside. Once I was satisfied with the template's fit, I cut a piece of 9mm Meranti plywood to the shape of the template; after some final adjustments to its shape, including cutting a section out at the lower aft edge to promote water drainage between the two sides, I installed it in a thick bed of epoxy along the centerline of the locker, forming fillets along each side. I held the top edge of the plywood in place with a couple screws just to keep it from wiggling while the epoxy cured. Then, immediately after installing the fillets, I secured the plywood further with 4" biaxial tabbing on each side along the centerline, and on the vertical back edge of the sheet along the aft end of the chainlocker. Finally, I applied epoxy over the entire remainder of the plywood divider to protect against moisture. |
|
|
I spent the rest of the day working on some advance work for the new galley setup. Kaholee had long ago been fitted with a sink cabinet at the forward end of the saloon, and now I pulled the various pieces for this cabinet out of storage and mocked it up in its position to see how it would relate to the new Plastimo LPG stove and oven that was slated for installation at the aft end of the starboard settee, just forward of the companionway ladder. There were a number of issues that I needed to work out with Allen so that we could optimize the galley for his needs, including the desire to use an existing cushion on the settee. Eventually, we decided, in concept, that it would be better to build a new sink cabinet. To that end, I created a separate page dedicated to the galley mockup and its unique issues. Click here to view that page. More on the galley as the project moves forward, of course. |
|
|
|