| Kaholee Refit | January
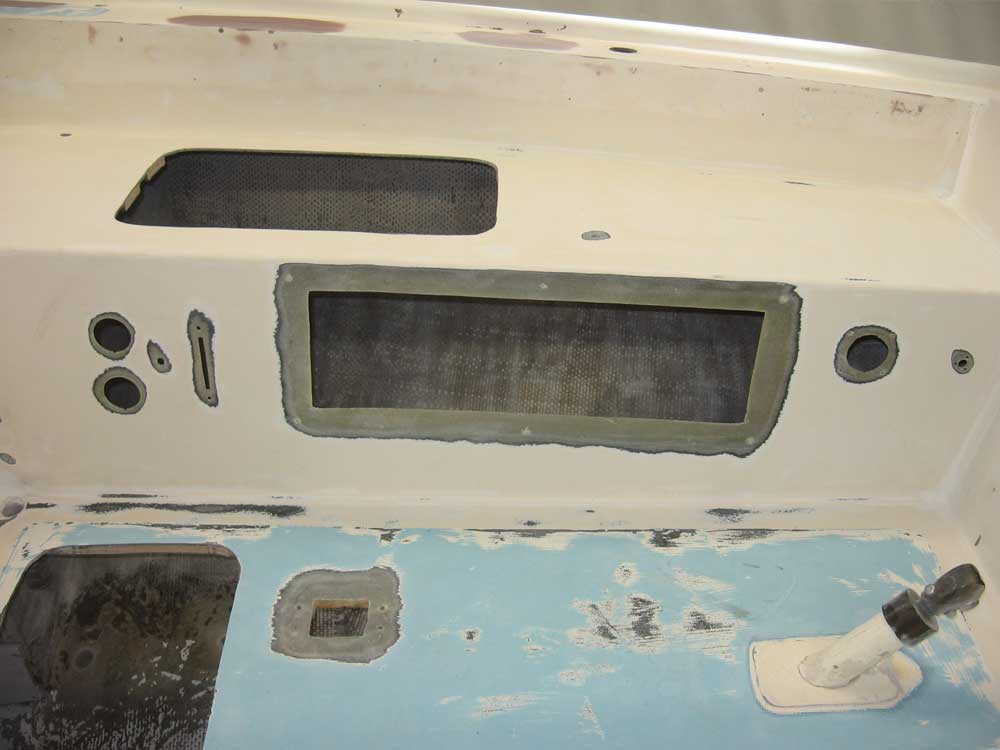
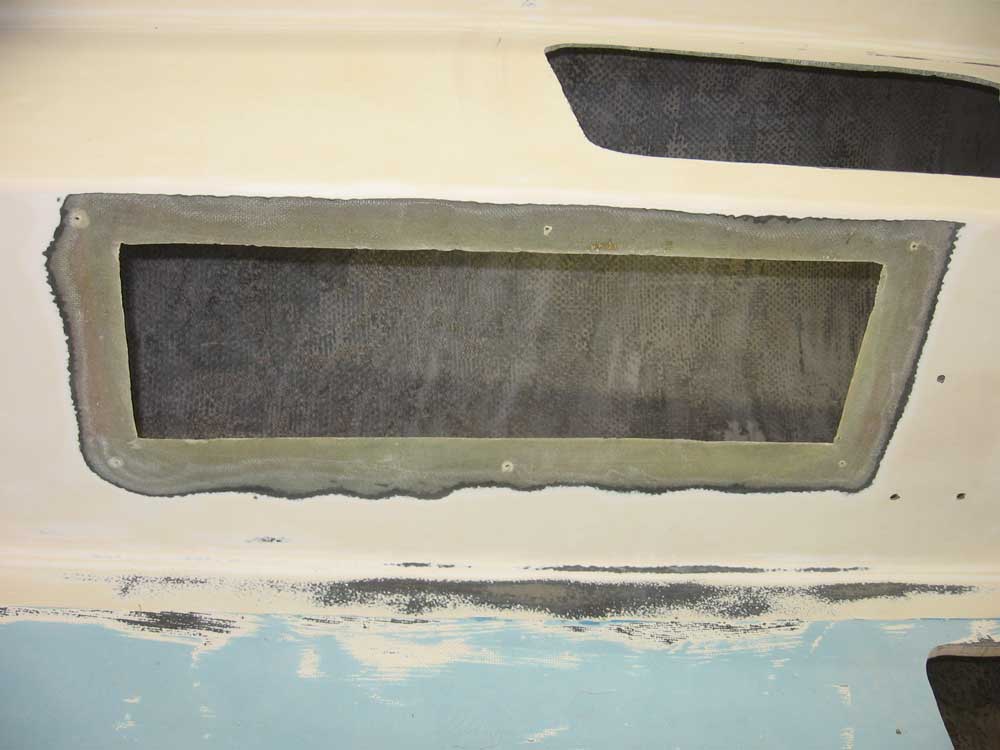
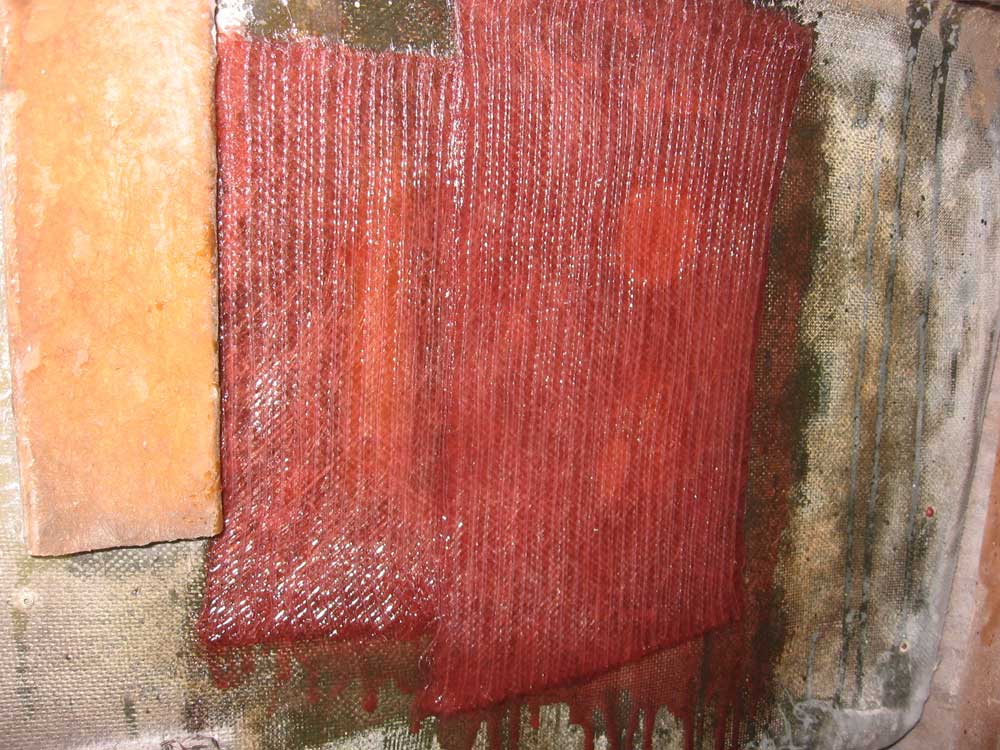
17, 2007 By now, I had done most of the heavy-duty grinding on deck, but I still had some areas in the cockpit that required attention. Specifically, it was time to address the openings in the cockpit well that once housed the cockpit locker access doors. With new top-mounted waterproof hatches to be installed, I needed to permanently fill in the old openings. From the cockpit side, I ground a bevel on all sides of the old openings, extending the ground area outwards sufficiently to allow for a new laminate of fiberglass to eventually overlap the existing structure. I tapered the inside edge down to nearly a knife edge. I repeated this process on both sides of the cockpit, and then, from inside the lockers themselves, ground the existing laminate enough to allow for eventual application of new material on the inside as well. While I planned to apply the bulk of the patch from the outside, I also planned to reinforce the whole area with material on the backside. |
|
|
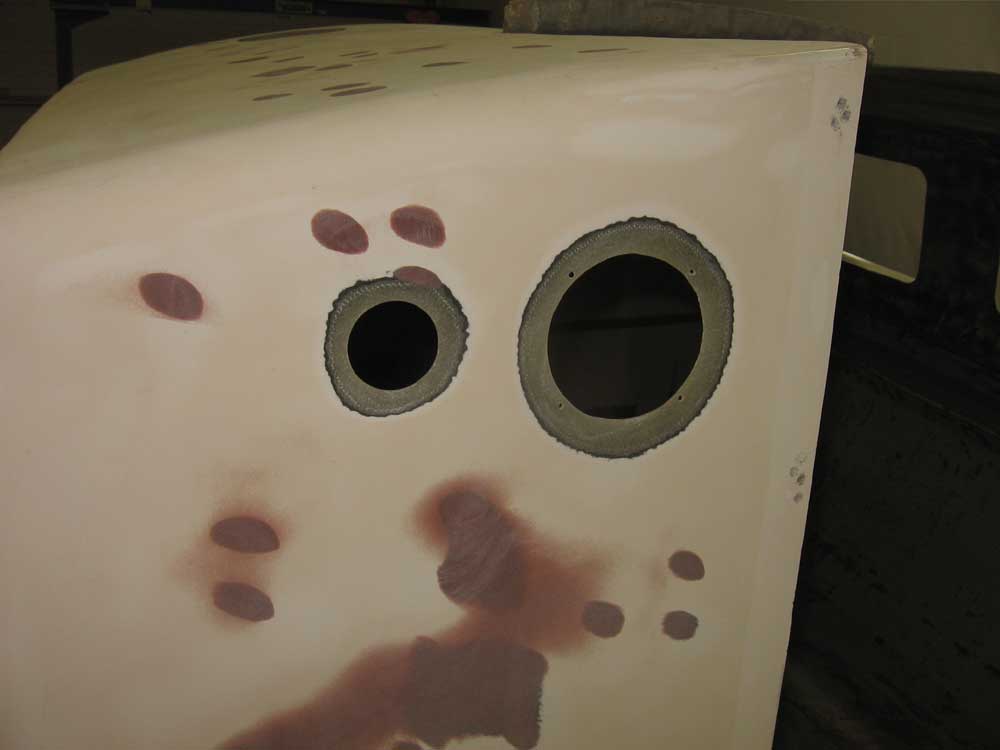
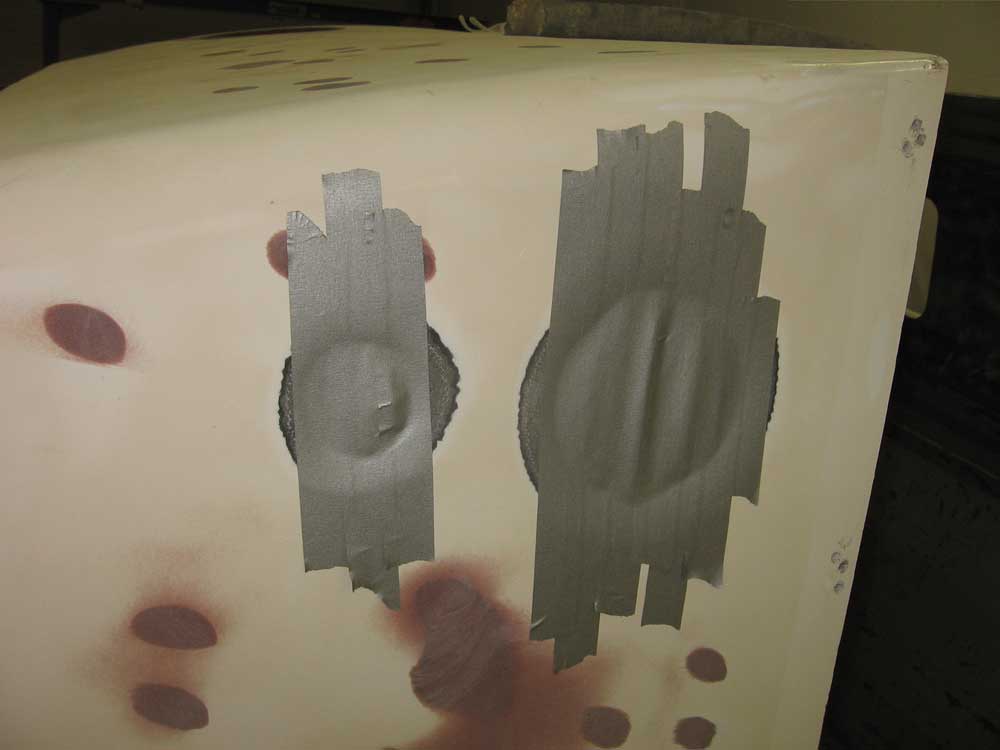
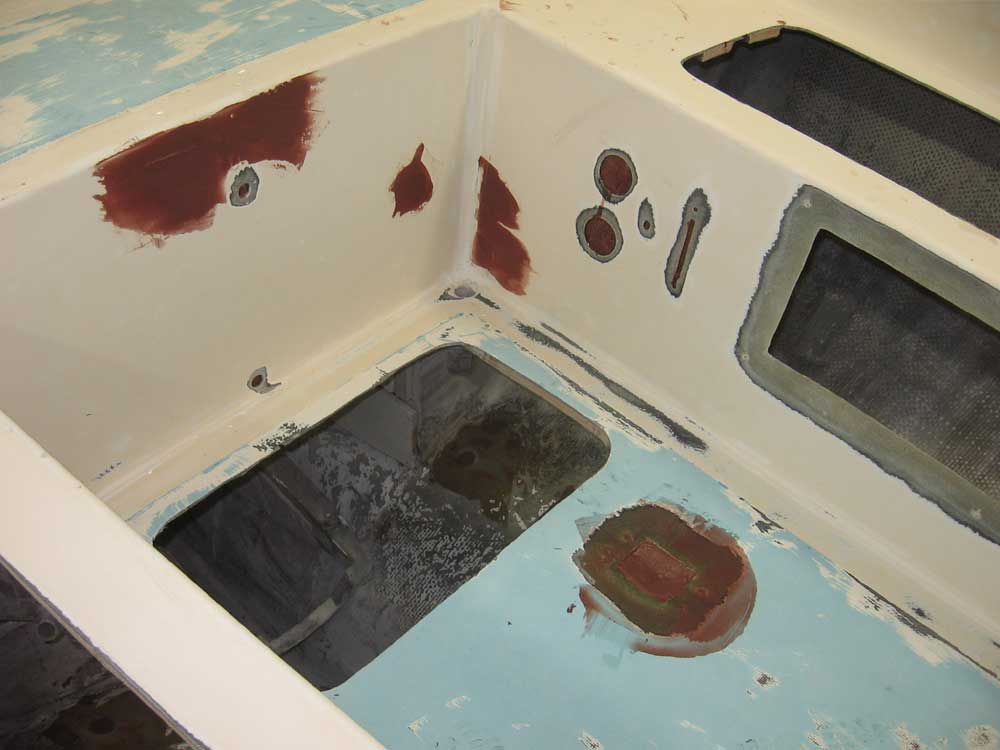
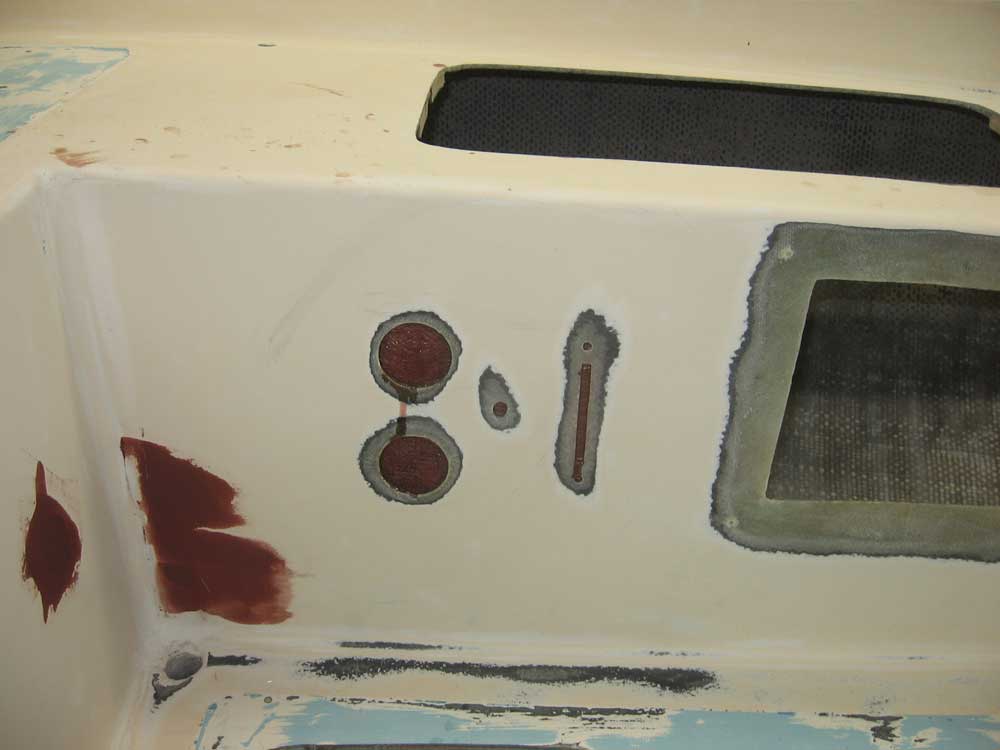
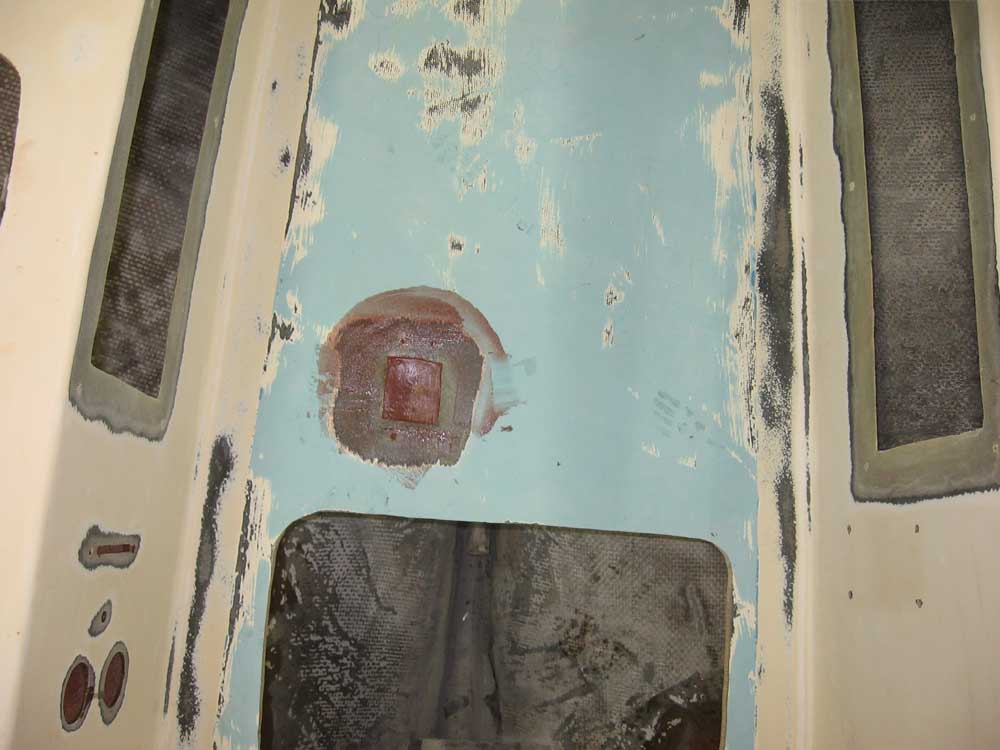
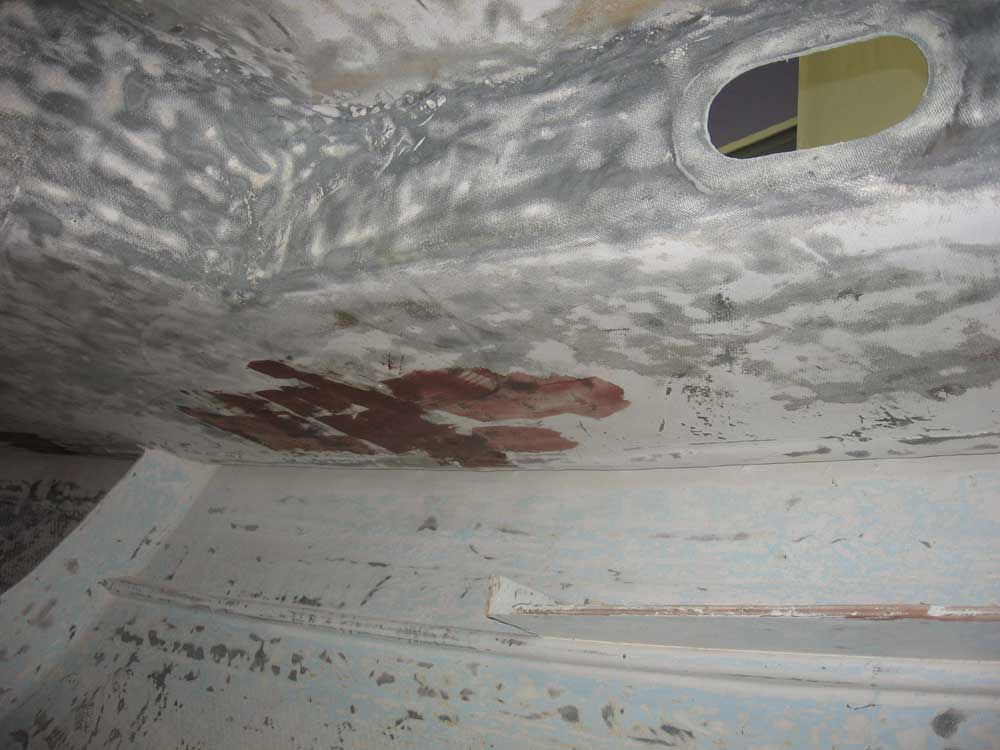
While I was in the cockpit, I finished grinding whatever areas needed it, including a few old fastener holes, the old--and abandoned--hole in the cockpit sole where the shifter handle once resided, and the old gauge and throttle control holes on the starboard side, as well as these old instrument holes in the port cabin bulkhead. In order to begin the patch of these holes, I taped over the holes from the outside to give the layers of fiberglass something against which to bear from the inside. Once the holes are filled from inside, I'll remove the tape and reinforce further from the outside.
|
|
|
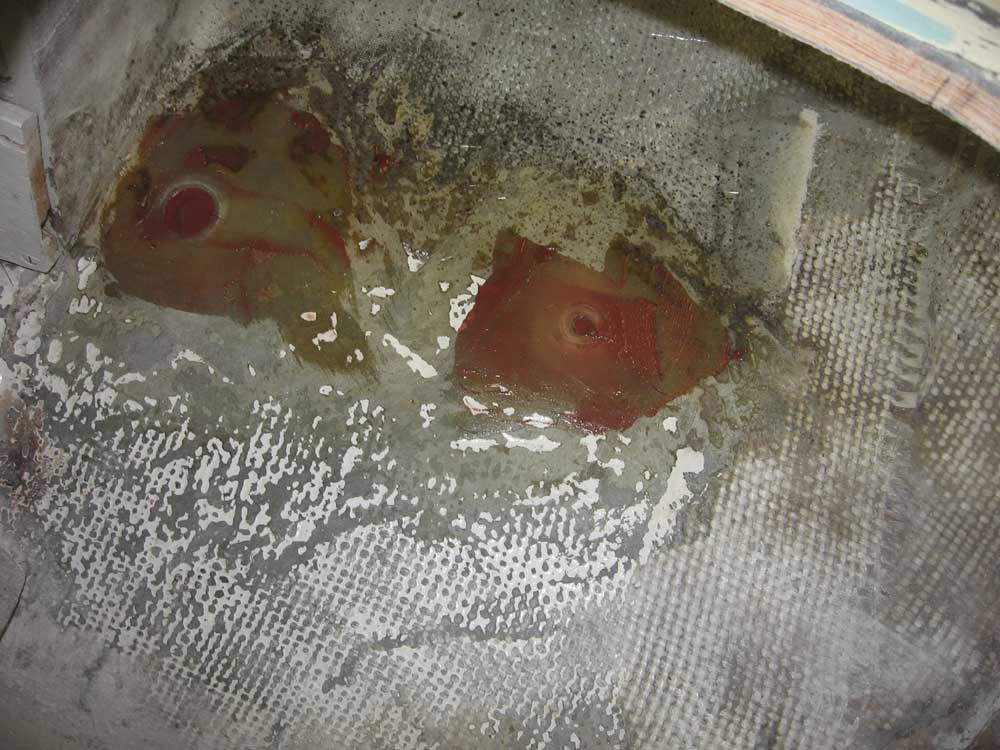
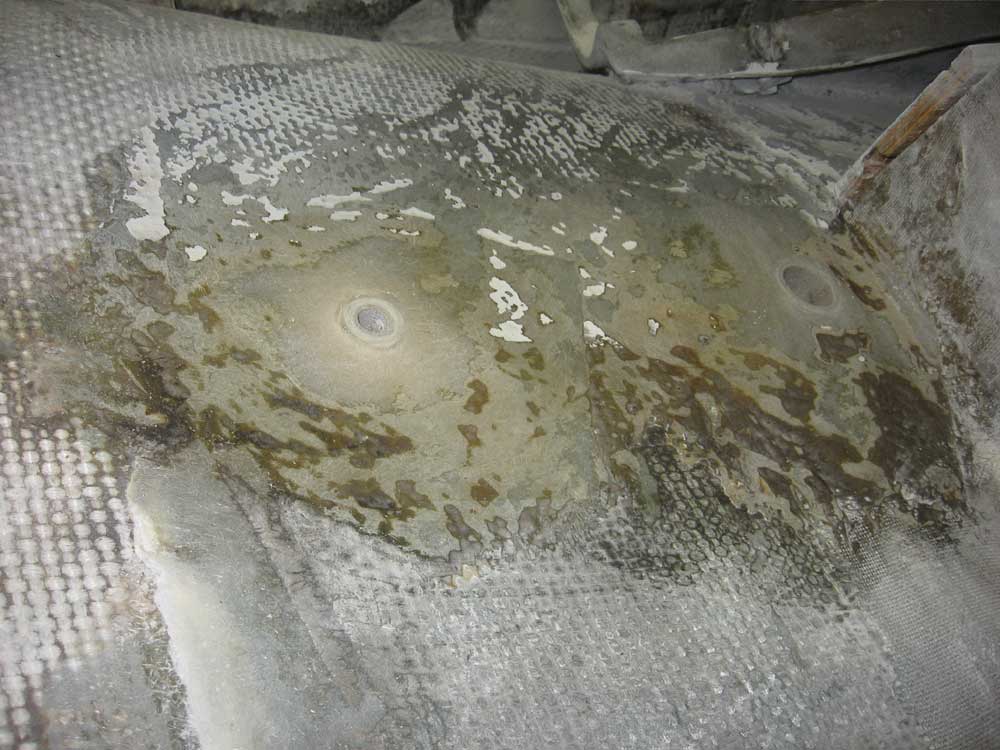 Inside
the boat, I removed the remains of the old cockpit scupper tubes and
engine intake tube, which had been glassed into the hull during original
construction. With new bronze seacocks on the way, I had to remove
the old tubes and patch the holes. I applied masking tape over the
exterior of these three openings in the hull so that I could fill them
with epoxy as a first step in the patching process. Inside
the boat, I removed the remains of the old cockpit scupper tubes and
engine intake tube, which had been glassed into the hull during original
construction. With new bronze seacocks on the way, I had to remove
the old tubes and patch the holes. I applied masking tape over the
exterior of these three openings in the hull so that I could fill them
with epoxy as a first step in the patching process. |
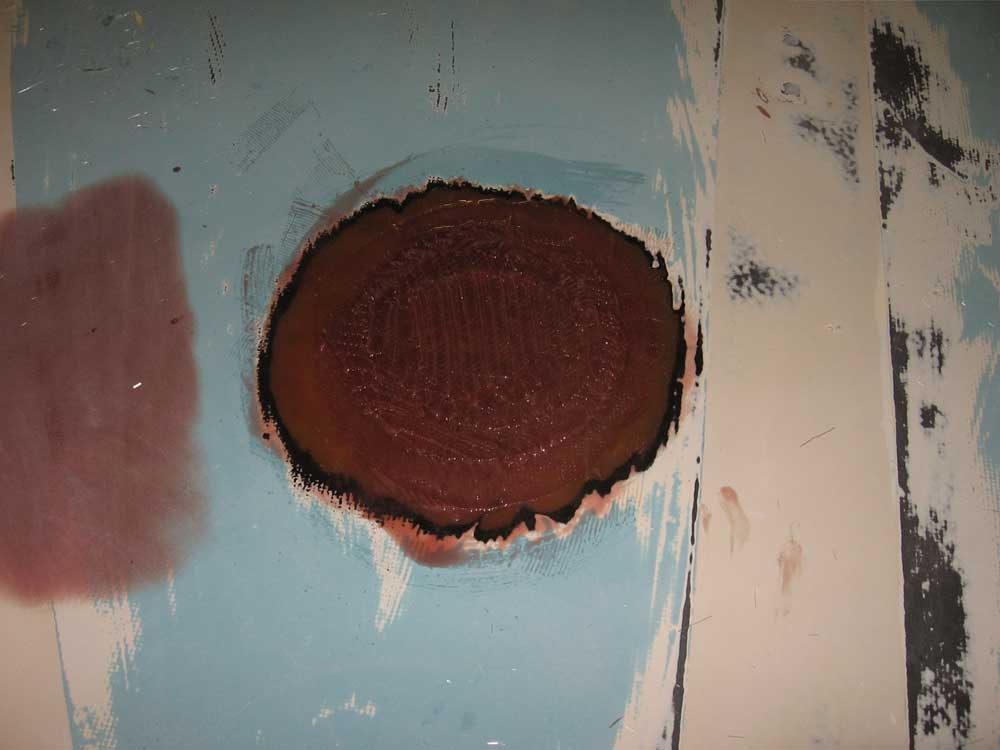
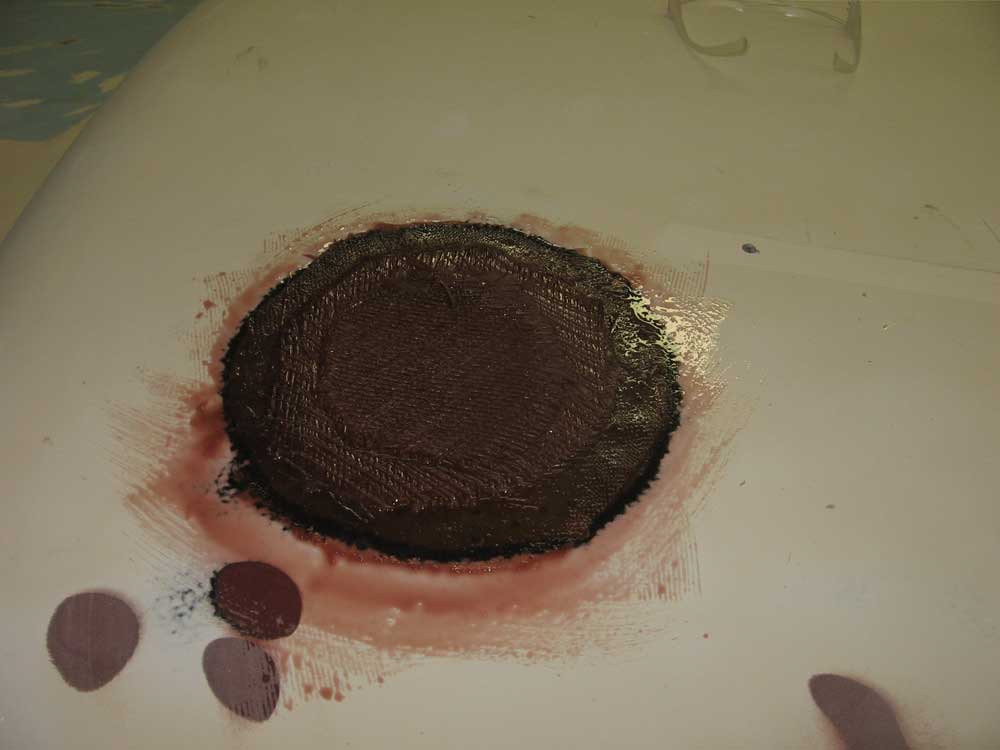
| With all the grinding and sanding over
with, at least for the moment, I vacuumed up the entire boat, inside and
out, so that I could work cleanly on the next steps: fiberglass
patching. I solvent washed the areas to be patched, and then spent
some time cutting fiberglass material for each location required--the
various holes in the deck that I had previously ground. For now, I
didn't continue work on the cockpit locker hatches since they required a
simple mold to be built, and I needed additional fiberglass material in
order to effect those repairs. The rest of the patching work would
keep me busy all afternoon anyway. I cut concentric circles of material to fit each of the areas in question. Given the depth of the tapers I had created during earlier sanding steps, I used two layers of 22 oz. biaxial cloth and one layer of 10 oz. cloth to patch the holes and bring the surface roughly even with the surrounding, existing material. Once I had finished the prep work, I laminated the patches in place with epoxy resin and left them to cure before continuing. |
|
|
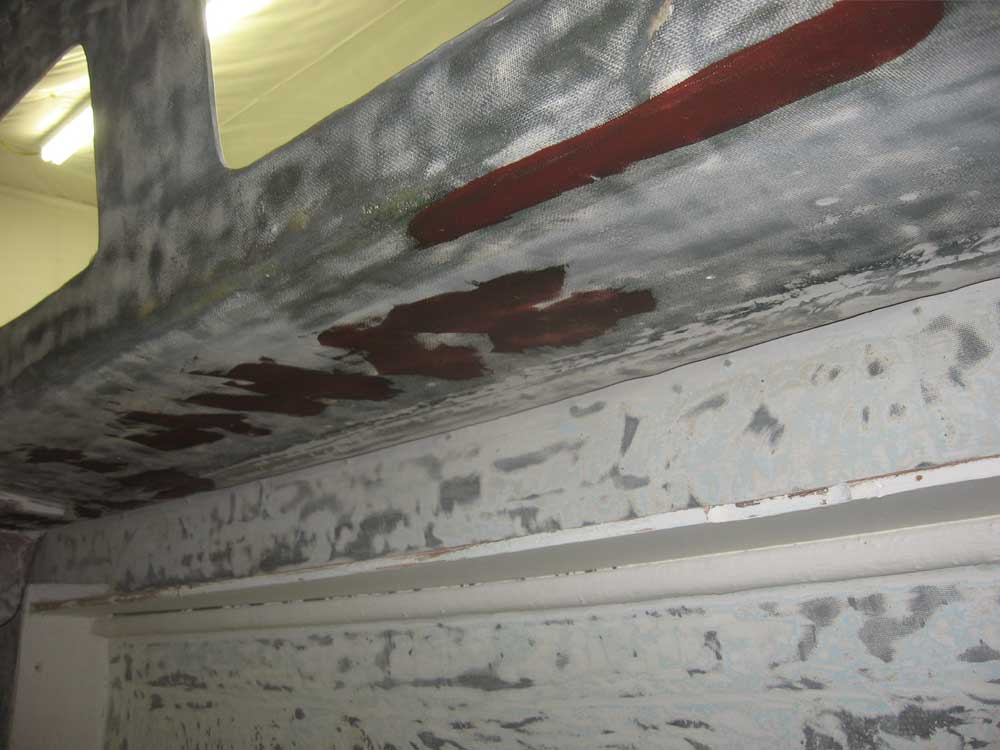
In addition, I filled some small holes here and there inside the cabin, holes left over from fasteners and some previous owner's attempts to dry out or inspect the deck core from beneath. If left unfilled, the holes might blemish the interior paint later. |
|
|
Total Time on This Job Today: 5.5 hours
|
|
|