| Kaholee Refit |
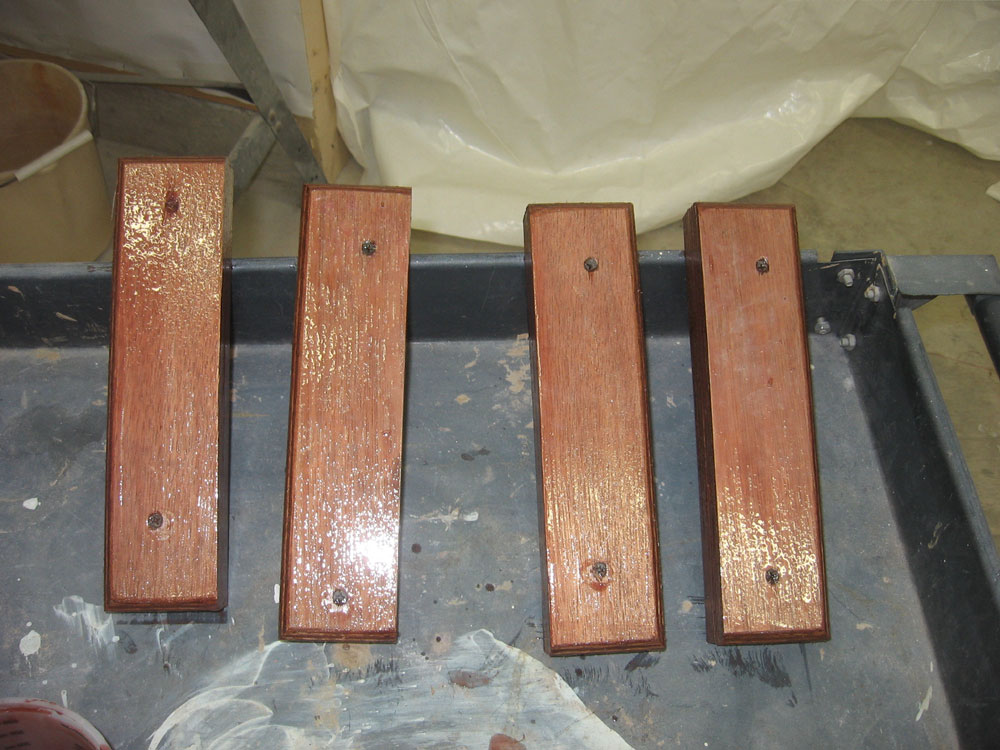
February 21, 2007 I continued working towards the goal of permanently installing the fuel tank. Late yesterday, I received some fittings that I had ordered, and now, after cleaning up the threads with the appropriately sized tap, I installed the fittings in the tank: a 1/2" x 3/8" bushing in the fuel supply opening, a 90° barbed fitting for the 1/4" fuel return line, and a 5/8" 90° barbed fitting for the vent. I applied fuel-resistant pipe dope to the threads before installing them. I taped over the openings to keep debris out of the tank, and slid the tank back into its position beneath the cockpit. To secure the tank, I planned to install wooden blocks on the hull on both sides of the front corners. When epoxied and fiberglassed in place, these would prevent the tank from moving; an vertical wooden support under the cockpit would provide the support at the aft end. Since there was no room to maneuver the tank around such supports if I were to pre-glass them in place, I'd have to install them with the tank in place. From some scrap 3/4" Meranti plywood, I cut 2" wide strips about 8" in length. For each of the four blocks required, I needed to laminate two sections of this plywood together to achieve a 1-1/2" height. First, though, I milled a chamfer on three of the four top edges of the top block, both for appearance and to allow future fiberglass to lay smoothly over the edges. I eased the edges further with some sandpaper, and then glued the blocks together--2 each--with epoxy adhesive, holding them temporarily with drywall screws while the epoxy cured. I also applied a coat of raw epoxy over the entire block to seal the wood grain. I left these to cure overnight. |
|
|
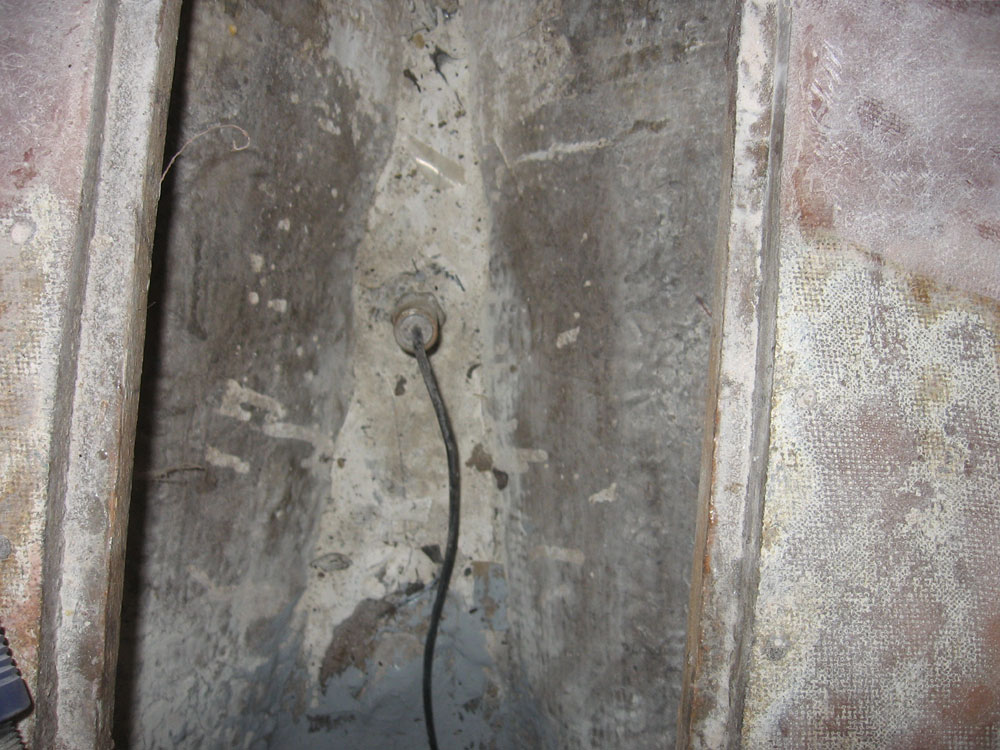
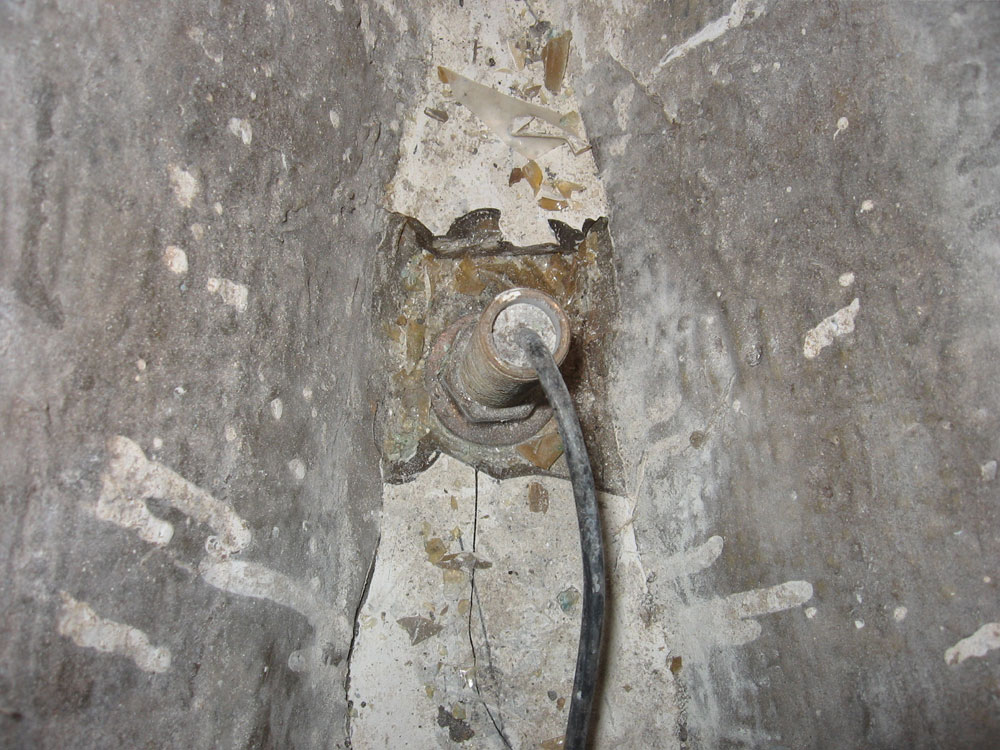
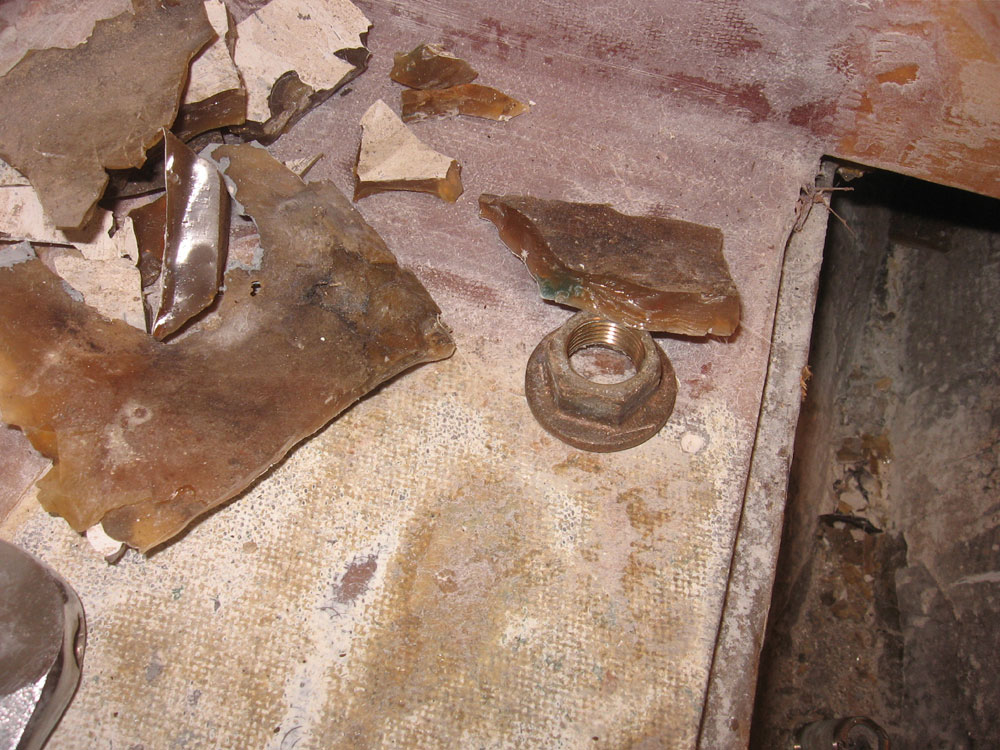
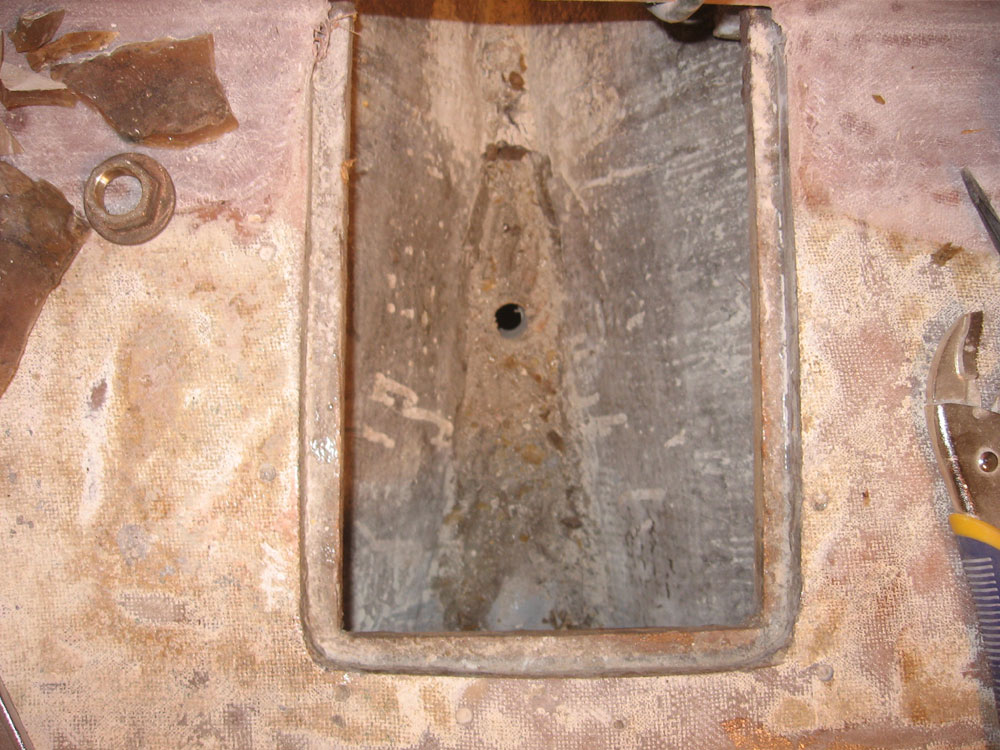
Next, I turned my attention to two remaining through hulls--a depthsounder transducer on the centerline forward, and a head discharge fitting that was the wrong size. Previous attempts to remove the depth fitting had failed, as I never had the right wrench size, and the nut seemed extremely tight. Now, I found through some more detailed examination that the nut was actually partially buried in resin in the bilge. With an old chisel, I found I could easily break away the thick, brittle resin--up to 3/8" thickness. Then, the nut came off easily, and I was able to pound the fitting through and out of the hull. We planned to install a new multi-use transducer in this location later. The head fitting was rather stubborn, but after removing the nut I was able to twist the fitting using a pipe wrench and eventually unthread it till I could remove it from outside. Since the new fitting to be installed is a bit smaller, later I'll fill this hole and rebore for the proper size. Meanwhile, I applied a square of fiberglass over the inside of the old knotmeter through hull that I removed yesterday, the first step in sealing the hole permanently. |
|
|
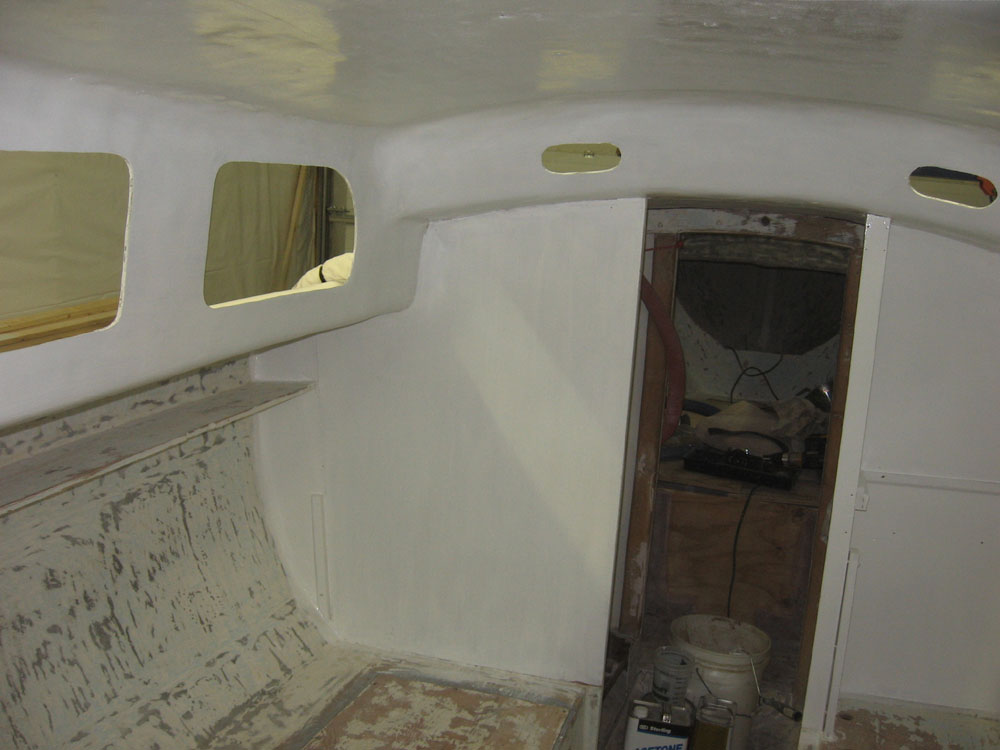
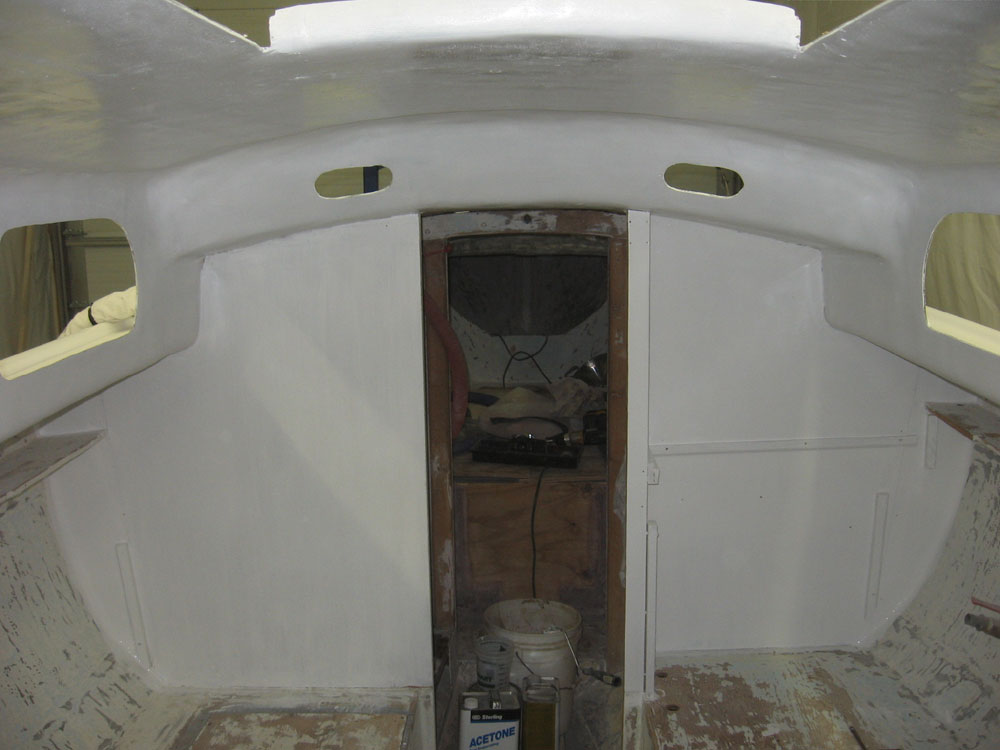
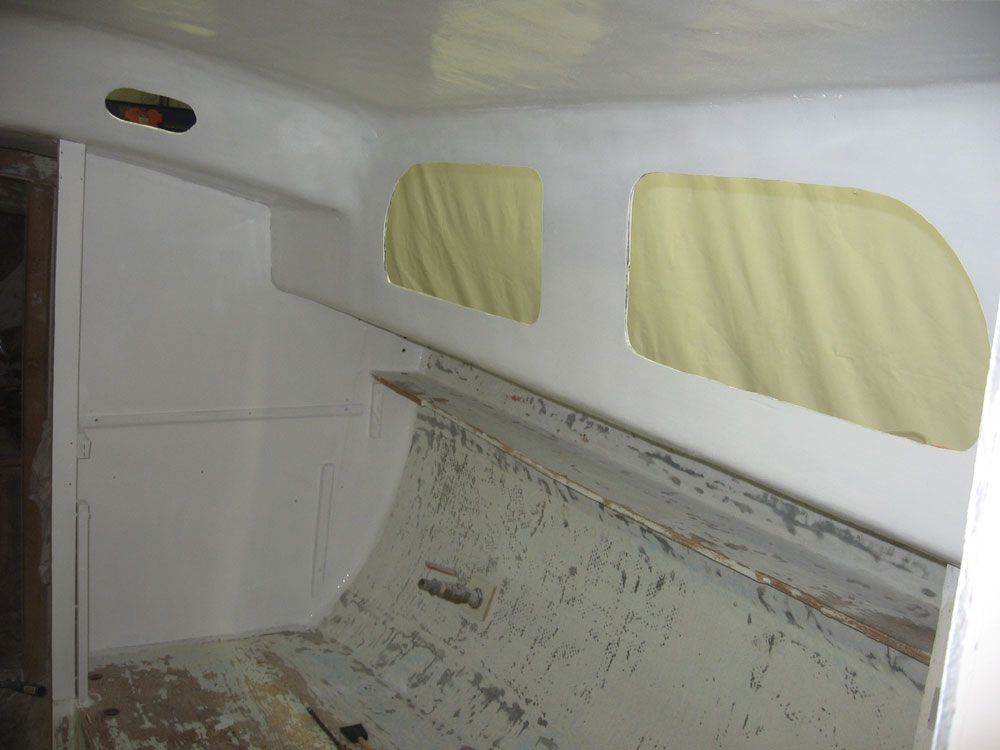
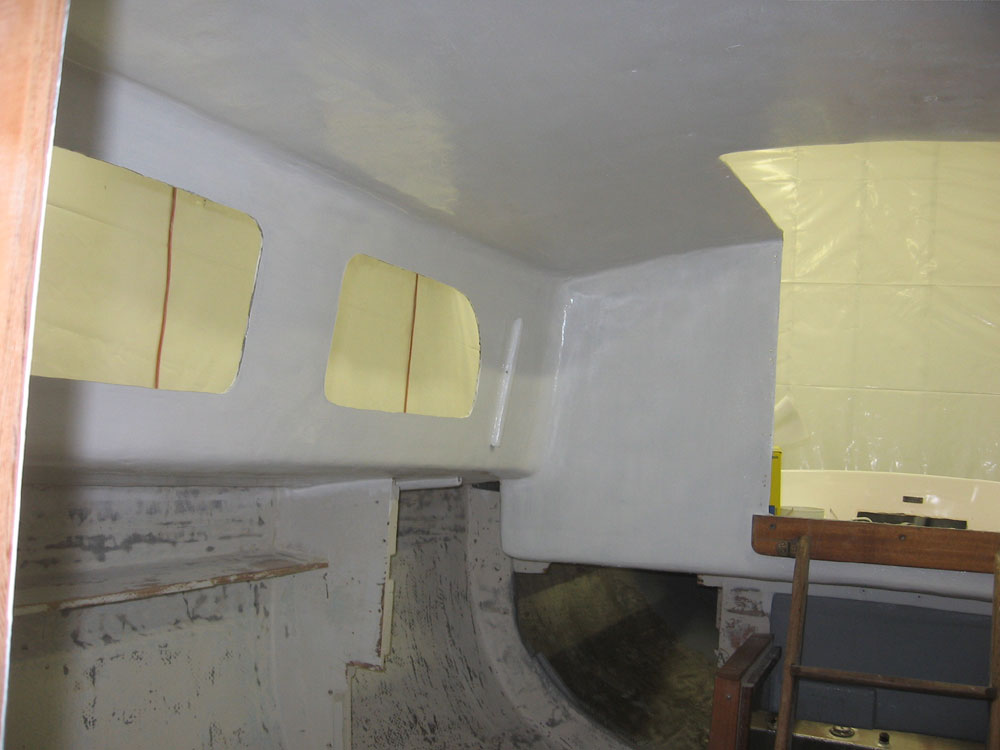
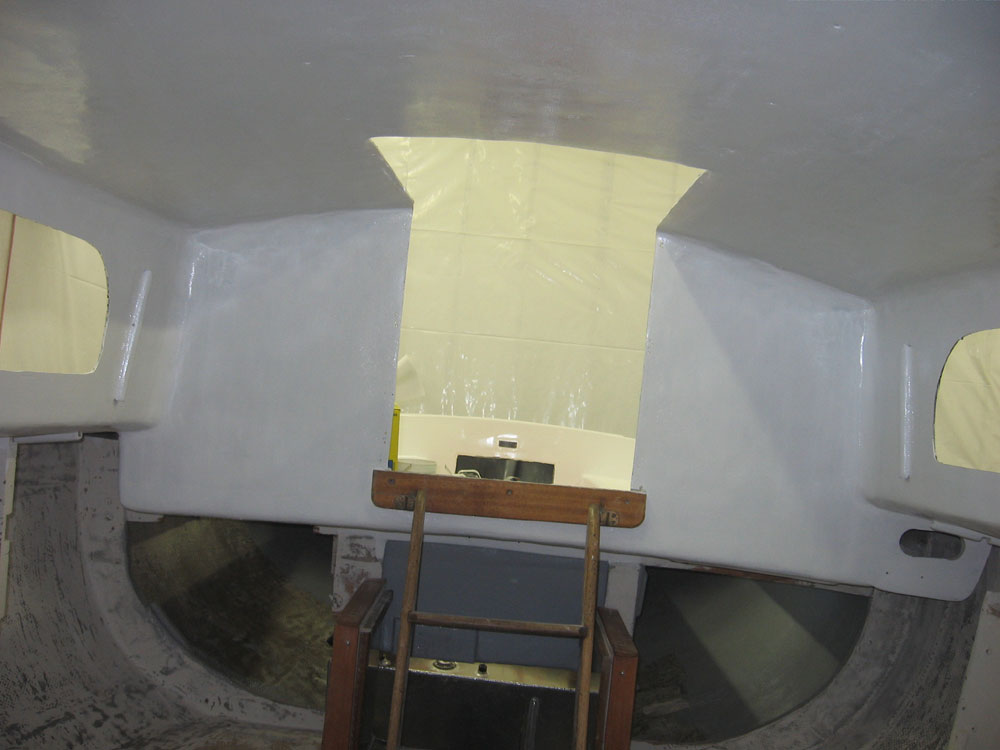
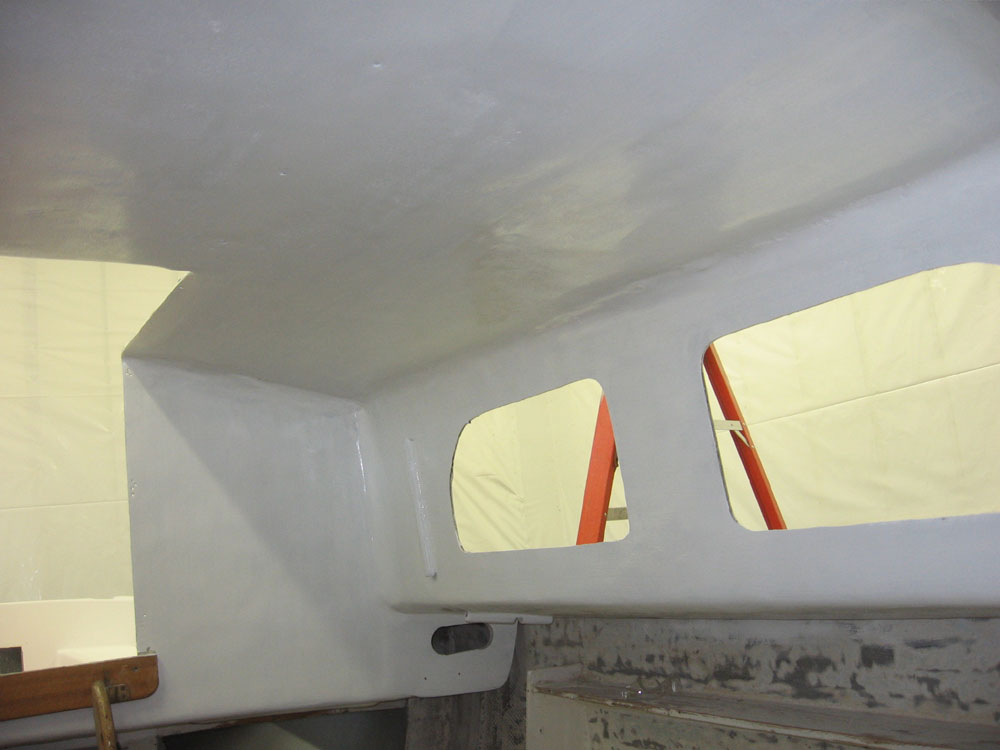
With what remained of the day, I decided to apply the primer to the interior of the main saloon, specifically the overhead and cabin sides, as well as the bulkheads. The interior of the hull and settees will receive a different treatment later on, but it made sense to paint the highest portions first, so that the inevitable drips would fall on as-yet unpainted surfaces. Using roller and tipping brush, I applied a coat of Interlux Prekote primer to the raw fiberglass inside, after first vacuuming and wiping down with acetone. Even the primer made a significant difference to the appearance inside. |
|
|
|
|
|