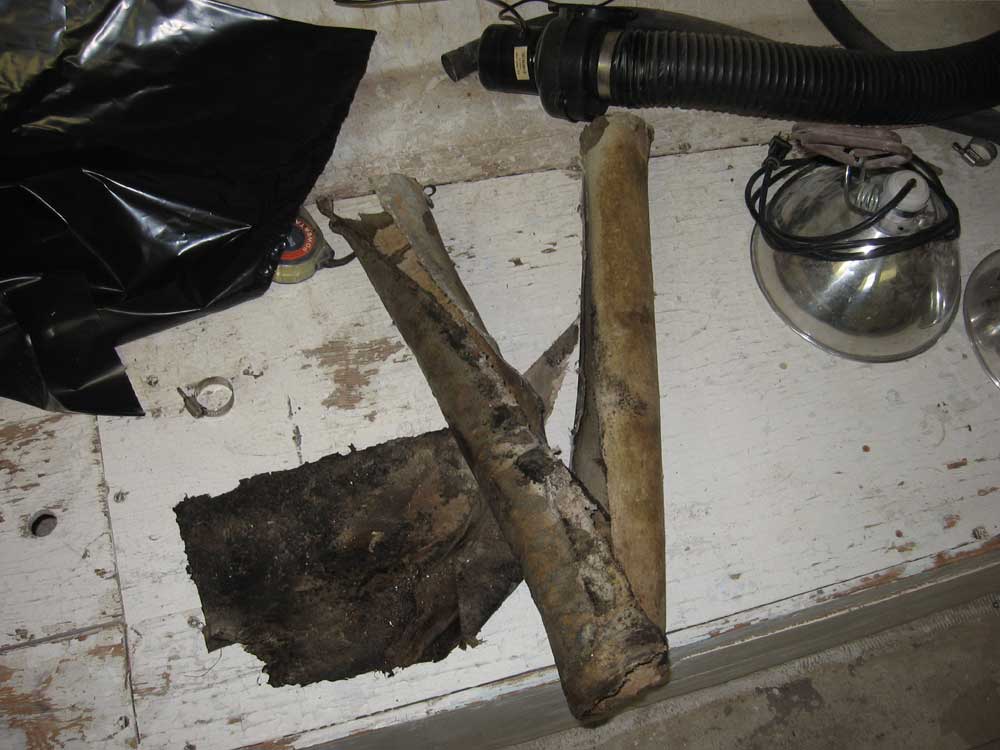
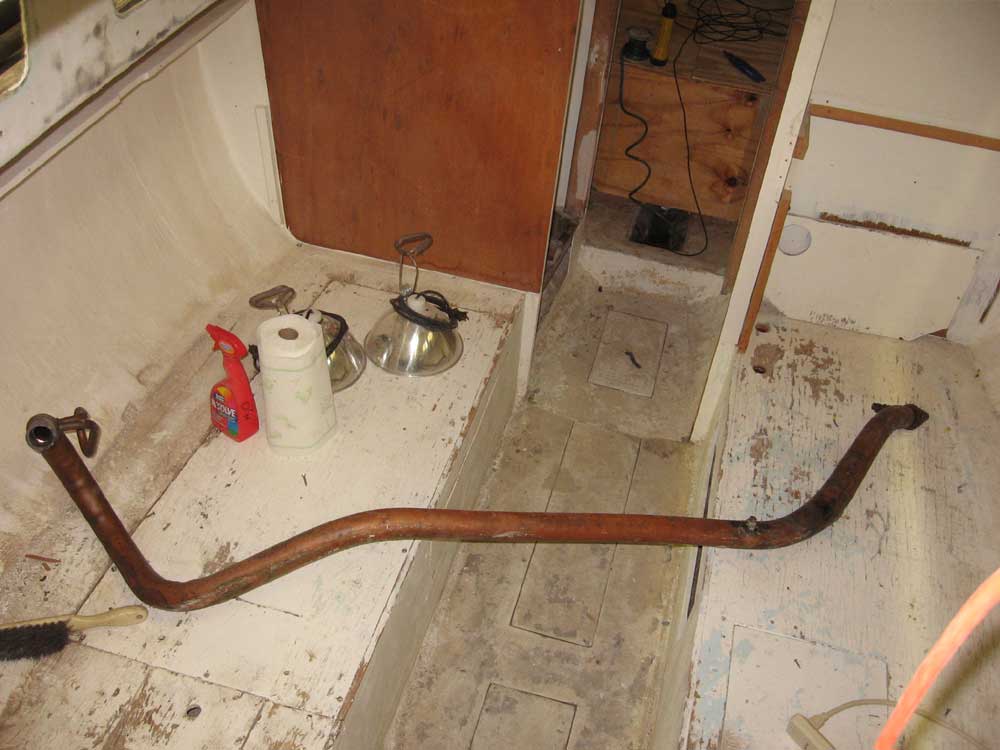
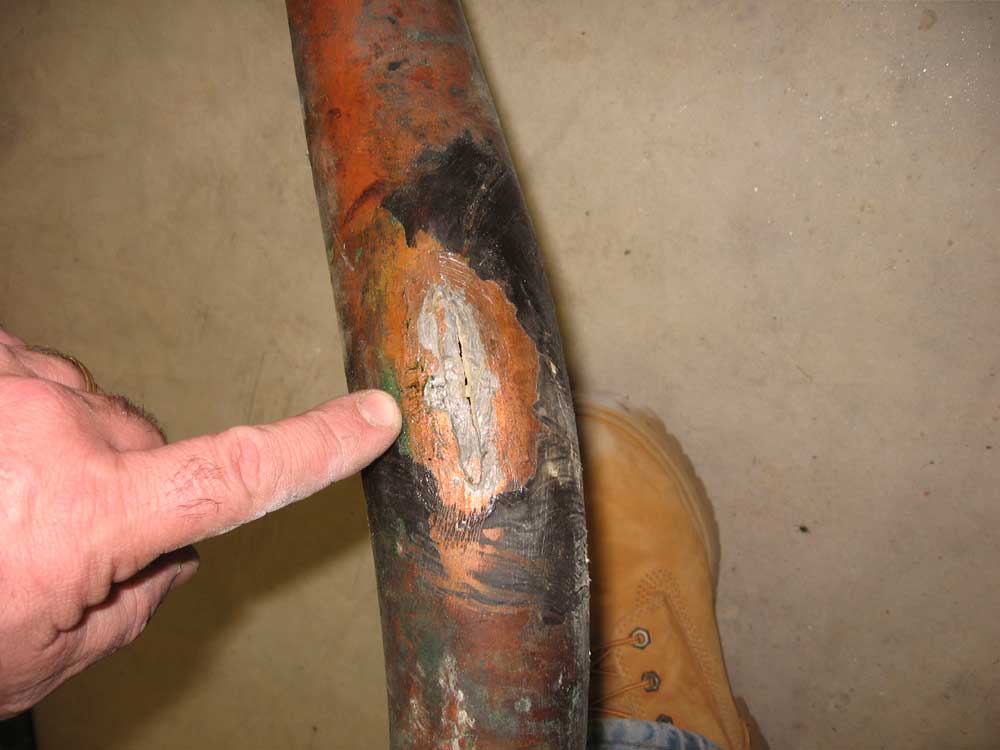
| Kaholee Refit | December 11, 2006 I continued removing hardware. First, though, I removed the ancient insulation covering a small section of the ubiquitous "copper monster" exhaust pipe. Concerned that this might contain asbestos, I first sprayed it with abundant amounts of water to reduce the possibility of dust, and then removed it--a quick and simple process, since the material (whatever it was) was only loosely wrapped 'round the pipe and secured only with two strips of bent aluminum wrapped around. With the insulation out of the way, I removed the exhaust pipe from the boat. I found this to be much easier on Kaholee than on two other Tritons from which I have removed this pipe, since Kaholee has the old-style cockpit lockers with the vertical hatch access inside the cockpit well. Later boats, with their top-opening locker lids, also feature deep, molded fiberglass drainage channels around the edge of the hatch, and these channels severely limit the ability of the complex-shaped one-piece pipe to twist and move out. On Kaholee, the job was over in a relative jiffy. I discovered that the outer jacket of the pipe (the part that contained the cooling water) contained a 3" split in a hidden area, though it looked like someone had tried to dab silicone on it in an attempt to stem what must have been a noticeable leak. (See the pictures below). Anyone wondering how the weight of the Triton's original fuel tank, located in the starboard cockpit locker, is offset should heft one of these copper exhaust pipes, which were standard equipment and located in the port cockpit locker. The pipes are heavy and must have done a reasonable job balancing the weight distribution. I hate these copper monsters and love to see them go. |
|
|
| I removed more of the hard-to-reach
hardware outboard of the cockpit (stanchions and cleats), a job that
became more time consuming on one side since the bolts decided to spin
on their own. Since I couldn't reach both sides at once, I had to
crawl into the locker, clamp on vice grips, crawl out, and turn the
screw from above; then, I repeated the process for each bolt and nut.
Each loosened easily and without fuss, but crawling back and forth made
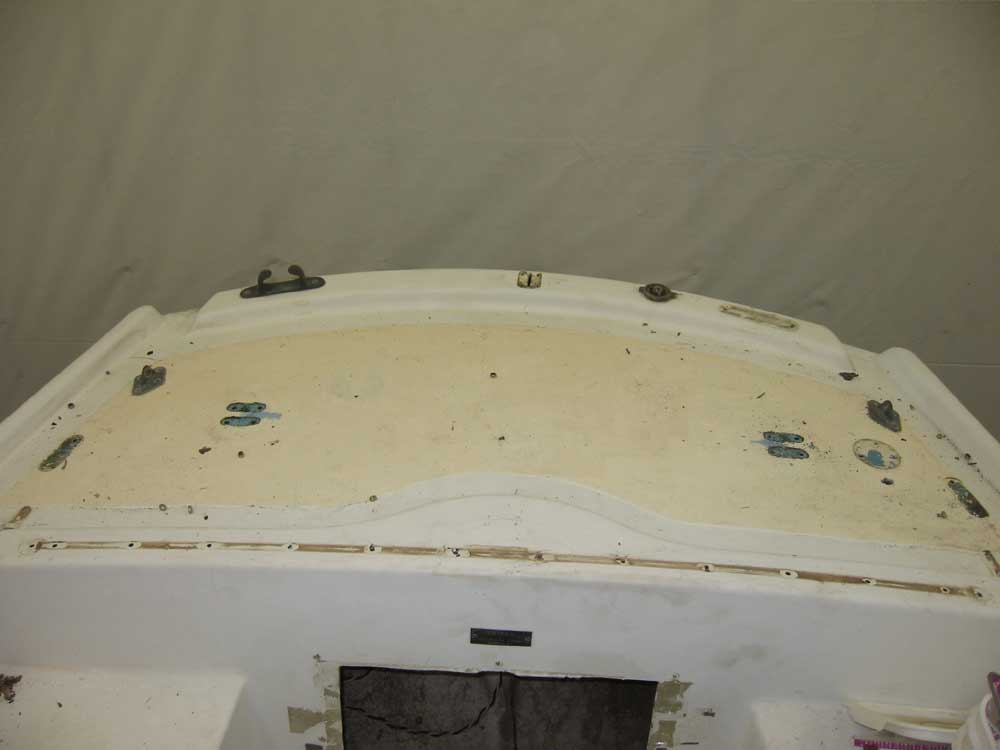
the job more difficult than it had to be. I continued to enjoy the fact that Kaholee had been in fresh water her whole life. There was no corrosion anywhere, and every piece and part just slipped apart with no difficulty. On a saltwater boat of this age, the nuts typically are partially welded to the bolts from corrosion, often necessitating that they be cut or ground away. I pulled the propeller off the shaft, another remarkably easy process. The prop nut came off immediately, and the puller dislodged the propeller in two seconds--something I've not had the pleasure of experiencing before, since the props are usually stubborn to remove. The tortured access (through the original vertical opening at the aft end of the cockpit) to the fasteners securing the hardware on the poop deck slowed the progress there, but I managed to remove the cleats, backstay chainplate, traveler, and some other fittings. I couldn't reach the taffrail chocks and underside of the stern light housing from the opening, though. It's a good thing that we plan to install a hatch in the deck here for access, but at this time we hadn't made a final decision on the shape or size. As with all the hardware, I saved everything in marked bags, which I eventually stored in a plastic bucket that I had. I removed all the tired wood trim at the companionway hatch, and also removed the hatch rails and sliding hatch itself. I temporarily reinstalled one of the inner trim pieces, since it would allow me to keep using the companionway ladder to enter the boat. |
|
|
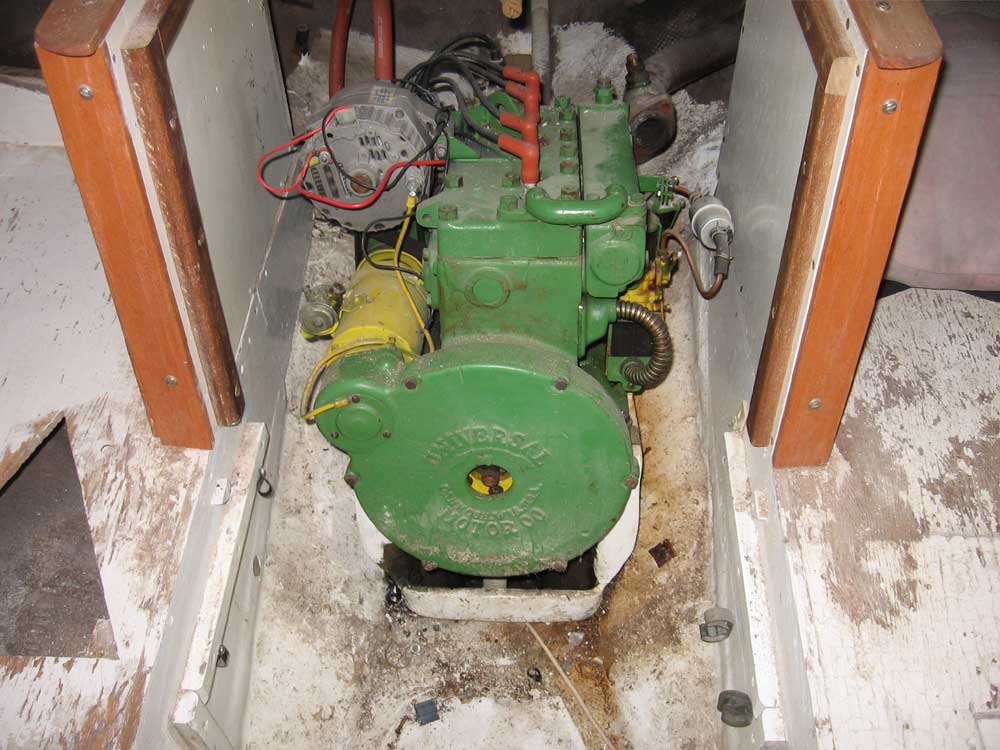
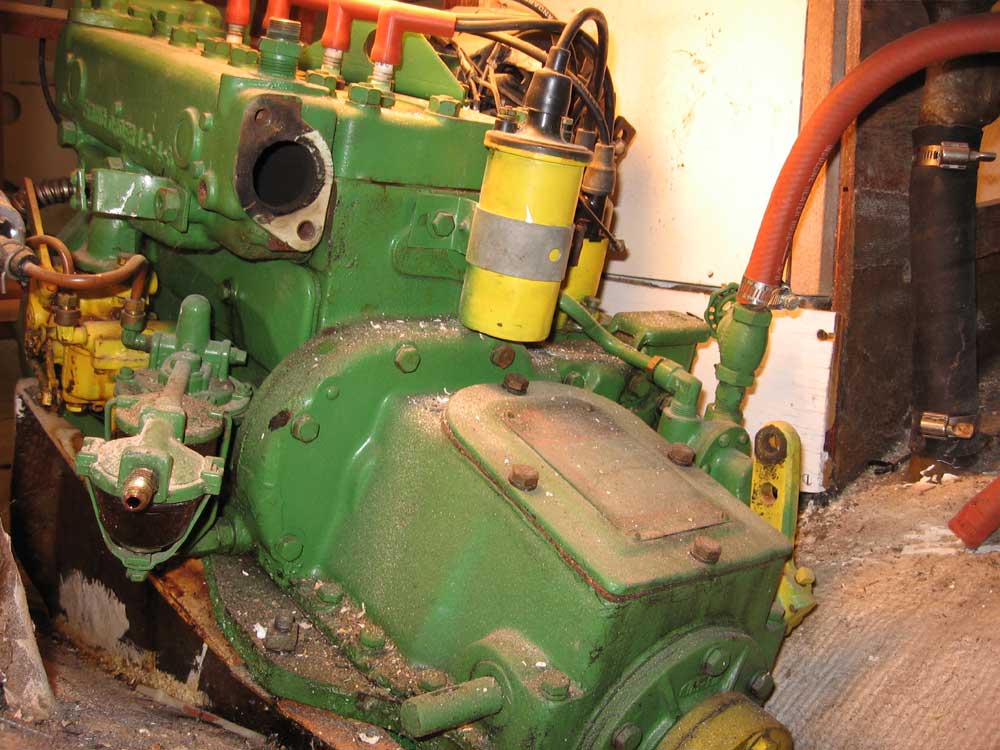
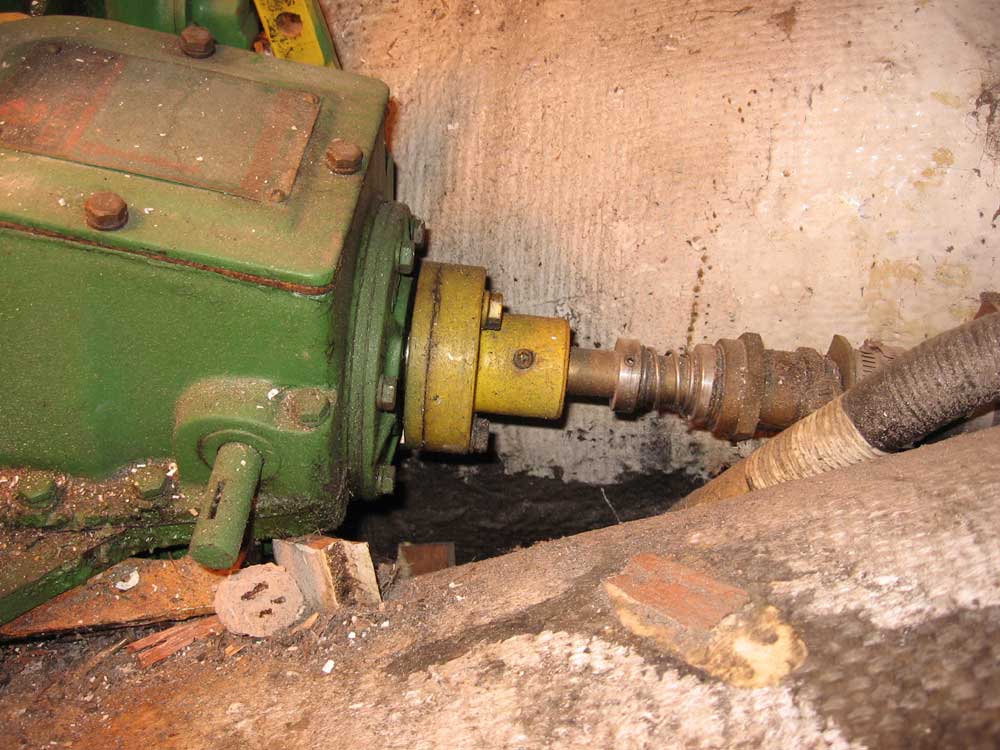
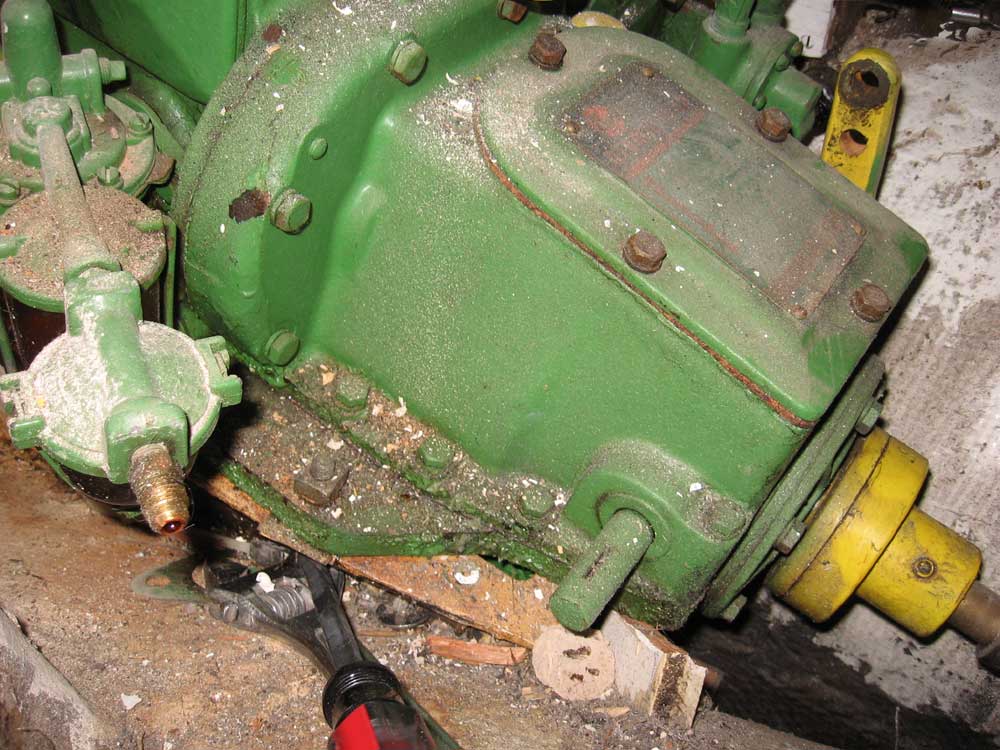
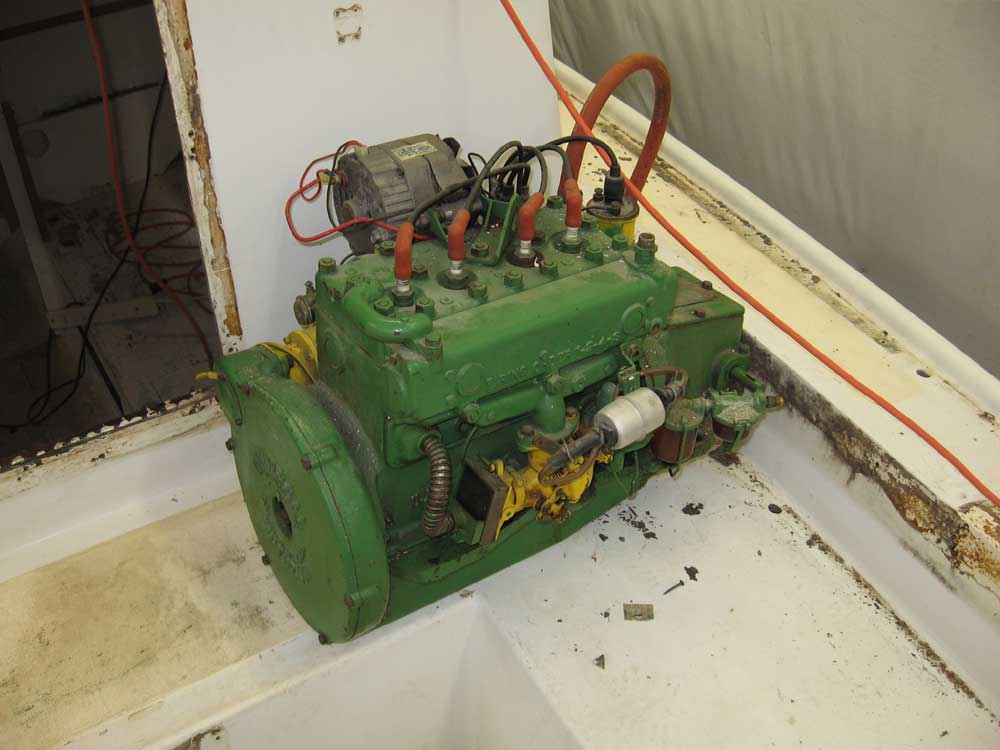
| Towards the end of the afternoon, I
unbolted the shaft coupling from the engine--three bolts that came out
immediately--and then unbolted the engine from its foundation. I
sure am glad that modern society has gotten away from those silly square
nuts that Pearson used to secure the Atomic Four to the foundation,
since the square nuts are much more difficult to remove in a tight
space, as they limit how a wrench can be used.
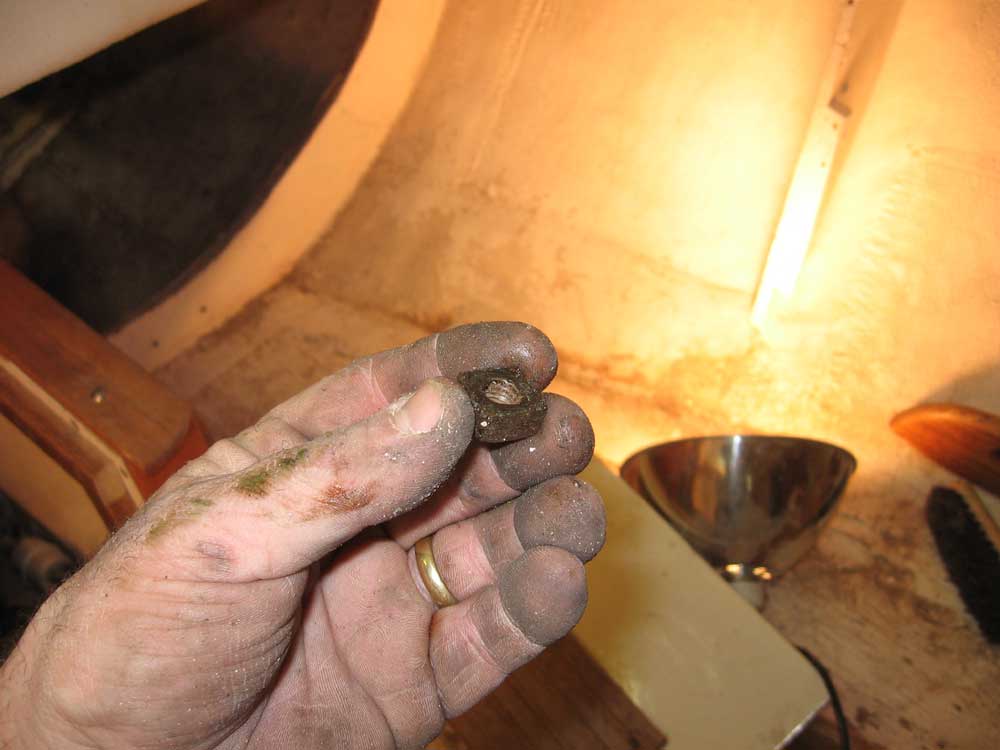
But the nuts were loose, and other than some difficulty holding the bolts from spinning (thanks to the tight access at the aft end of the foundations), removing the four bolts was pretty straightforward, all things considered. Again: fresh water is our friend! To keep the unreachable bottom side of the engine bolts from spinning, I simply wedged it up from beneath with a couple spare tools (seen in the photos below). This probably wouldn't work if the nuts were corroded or otherwise tightly secured, though. I've ended up cutting at least one of the aft bolts on two other Tritons from which I've removed the A4. I finished up late in the day by pulling the engine out and storing it temporarily in the cockpit until I work out the best way to rig up a way to lower it to the ground. Kaholee is several feet higher off the ground thanks to her trailer, and this meant that I'd have to re-engineer (ha!) a solution for rigging the hoist for the engine. Total Time on This Job Today: 5.5 hours |
|
|
|
|