| Kaholee Refit
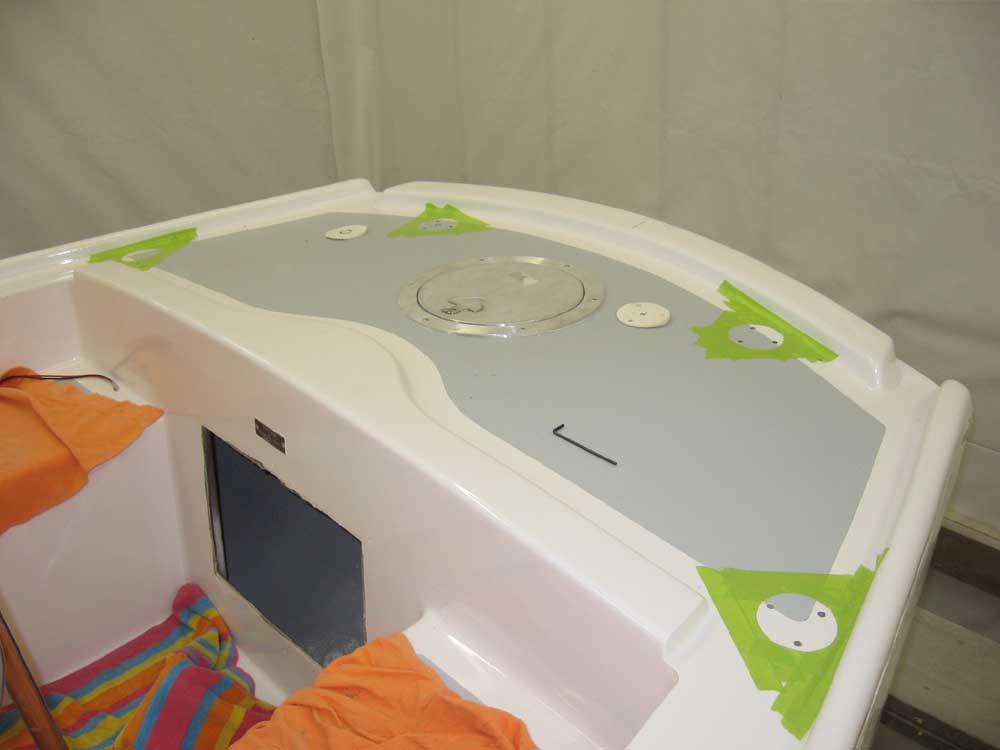
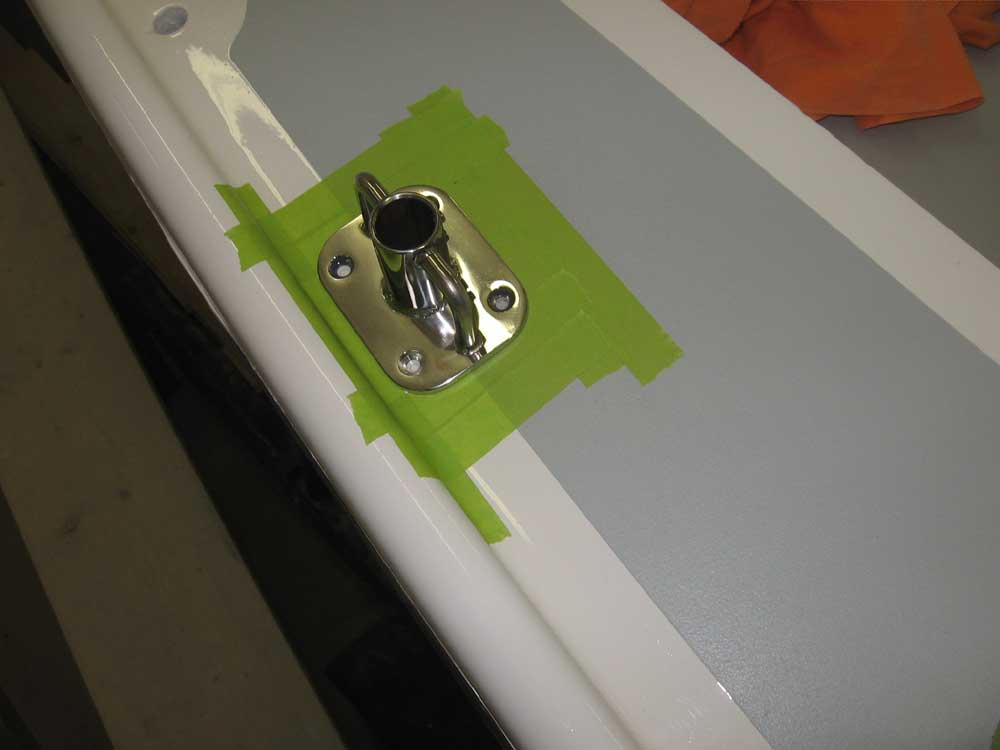
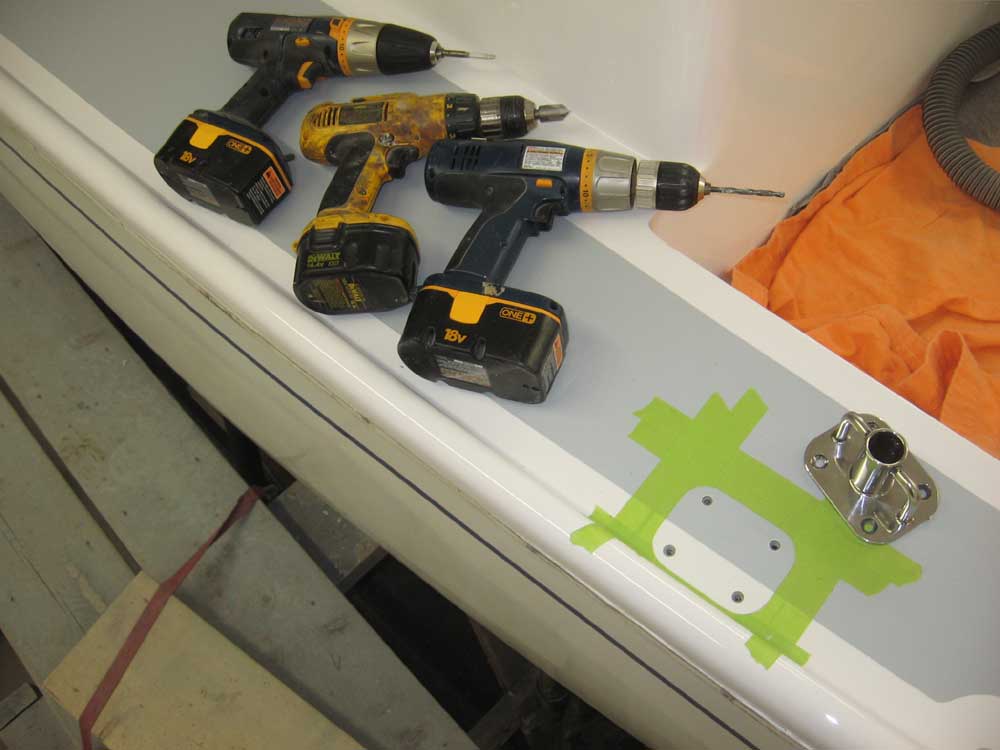
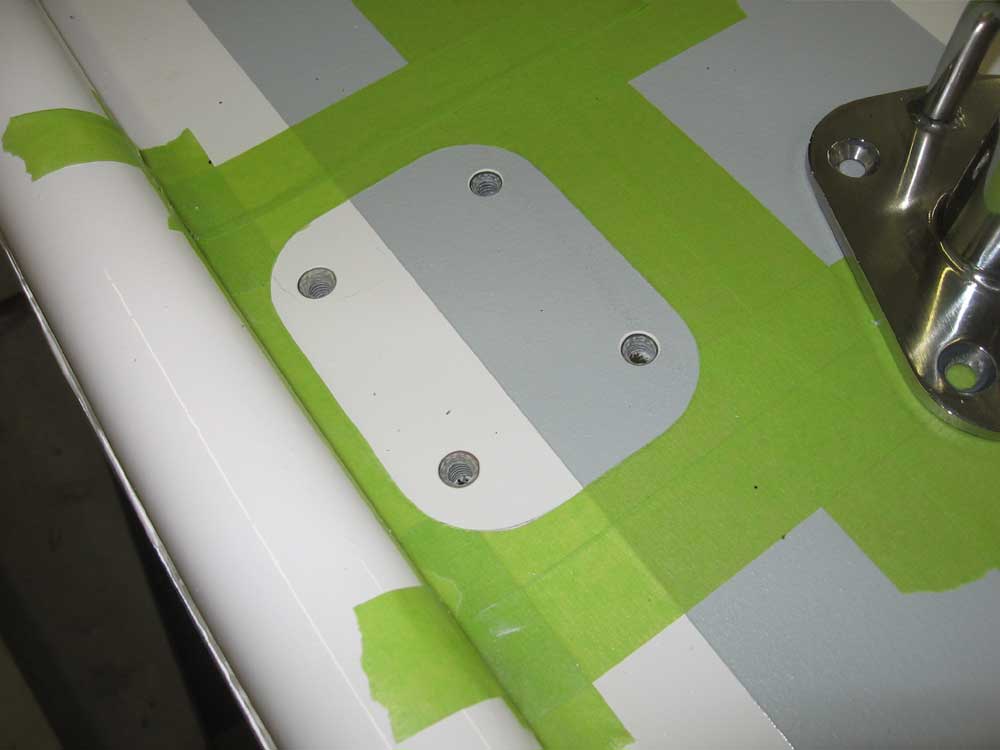
| April 2, 2007 First thing this morning, I carefully removed the tape from the stainless steel stove surround, scoring the caulk with a sharp knife as needed to ensure a clean removal. (Oops--no pictures of this right now--sorry.) With that done, I turned my attention to the pulpits and stanchions, all of which I needed to lay out and install. While I had completed some of the layout for the pulpits last week, the stern pulpit required some minor adjustments to idealize its location. Once I was sure of both pulpits' locations, I marked the bases as required (the bow pulpit was already done) and got ready to prepare the mounting holes. Since the deck beneath the stern pulpit contained no core material, I could go ahead and drill, tap, and counterbore the holes for installation. During this process I also masked off around the pulpit bases to protect the deck from excess sealant during installation. Layout and preparation such as this is always remarkably time-consuming. Before heading to lunch, I sanded all the varnished pieces currently underway to prepare them for another coat later in the day. |
|
|
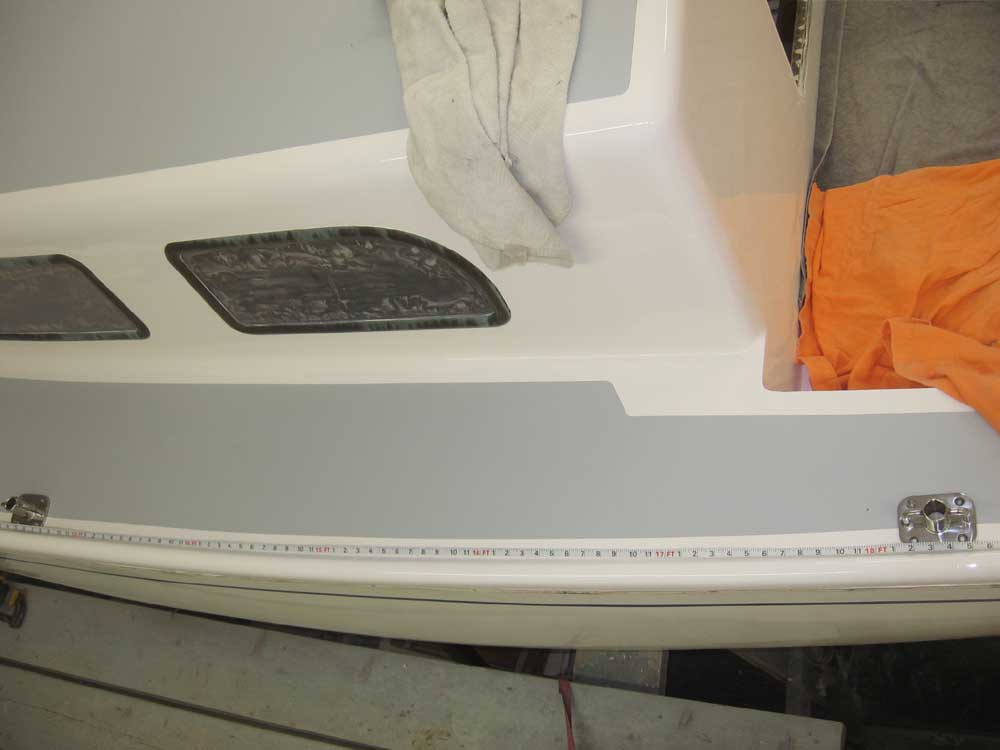
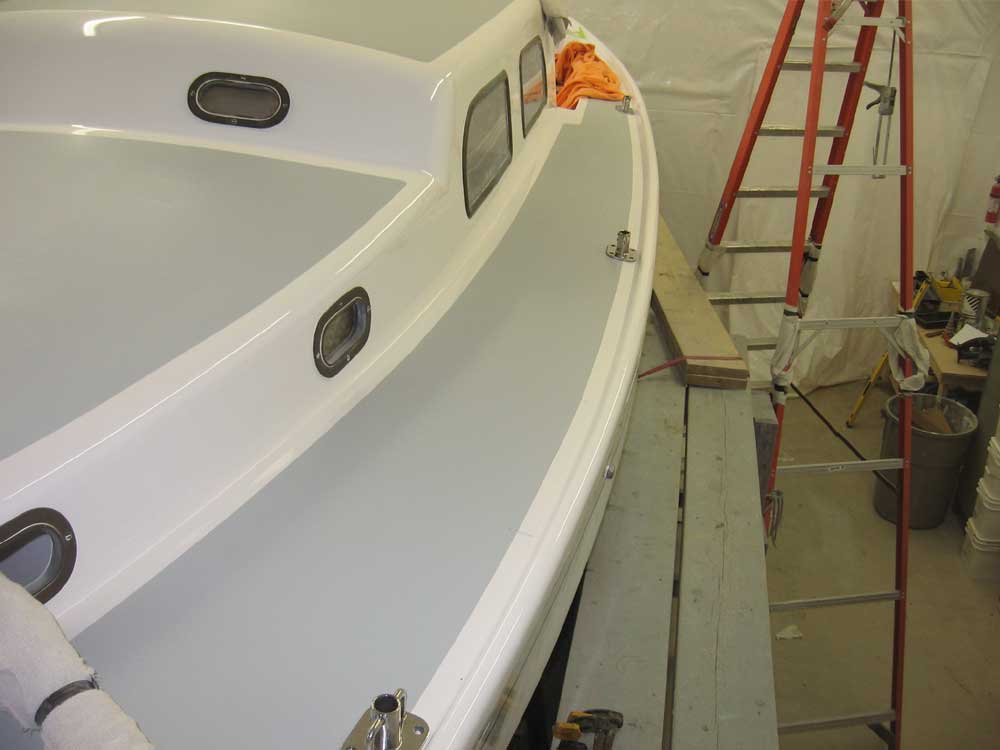
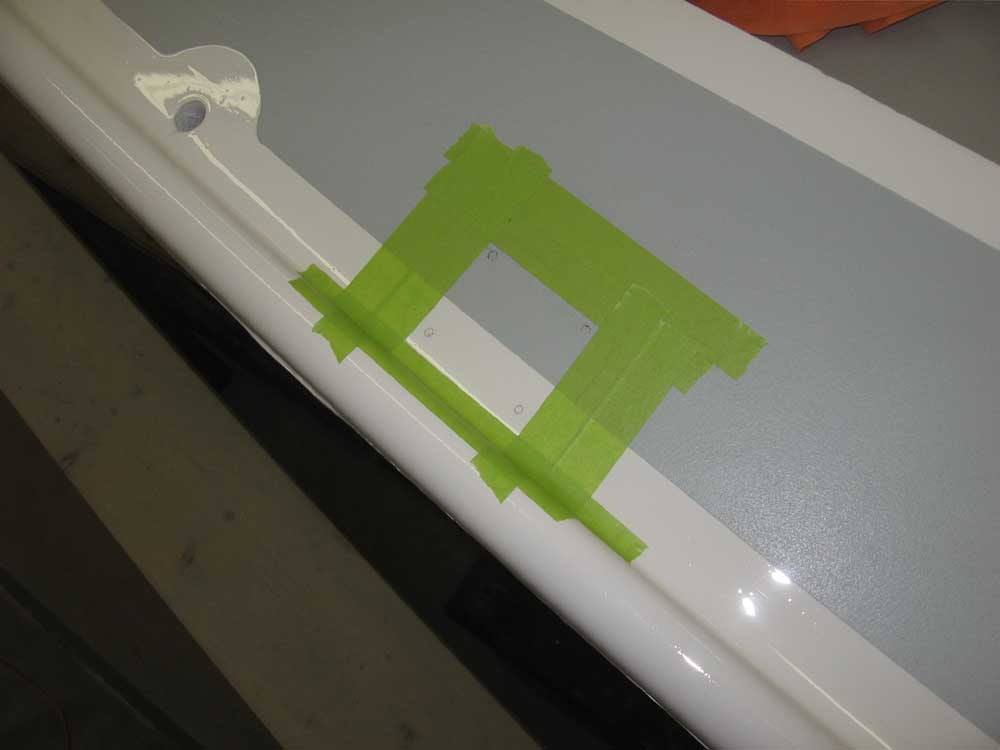
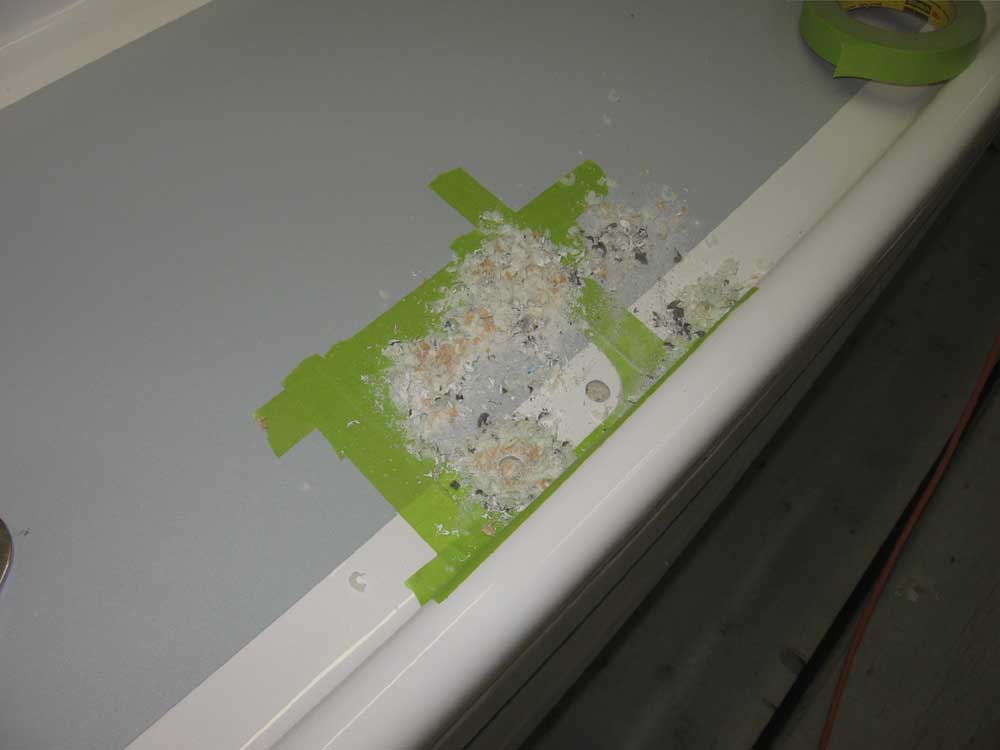
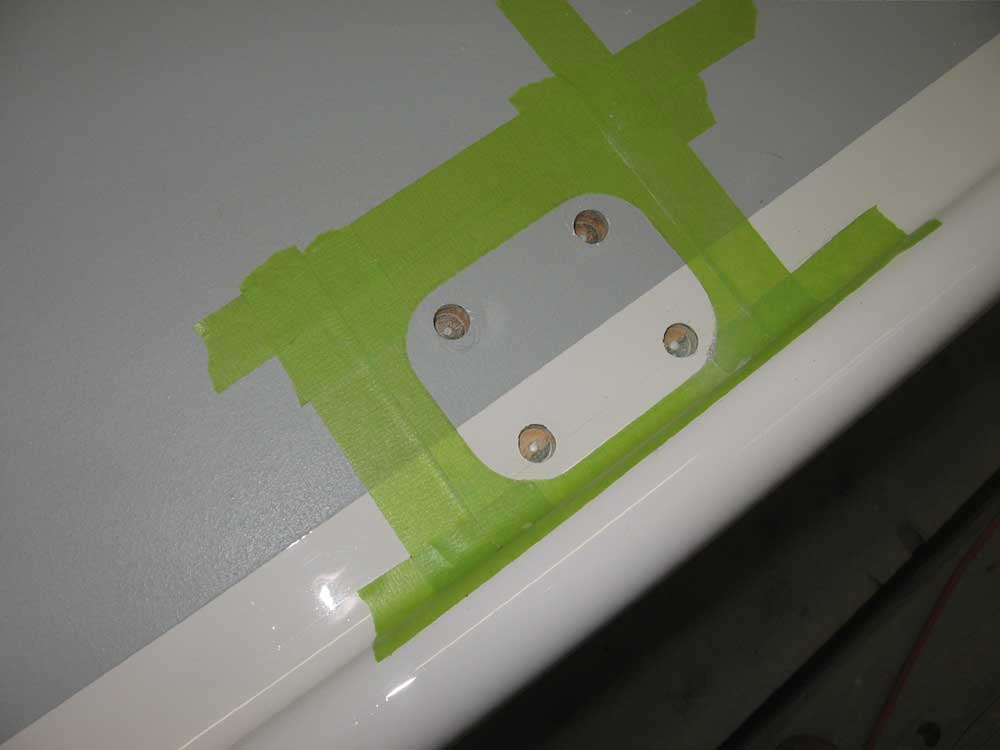
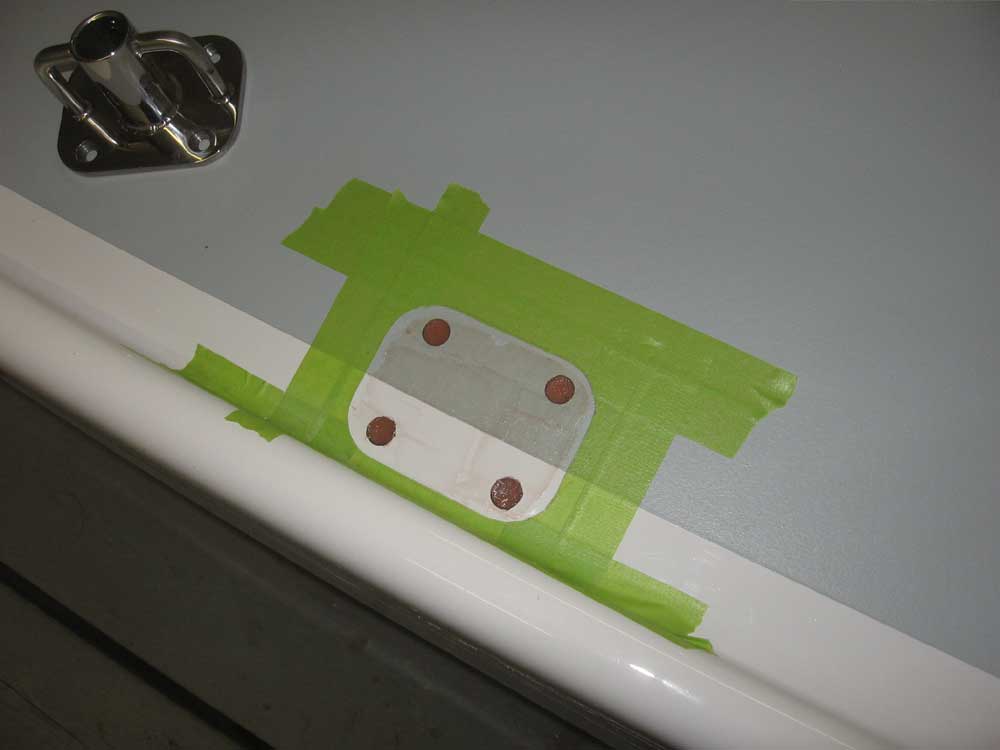
In the afternoon, I began the layout for the stanchion bases. With three stanchions per side, and a gate desired amidships, I chose to lay the bases out roughly equidistant in the space between the two pulpits. I laid a long, flexible plastic tape measure along the inside of the toerail, and after determining the overall distance between the bow and stern pulpits, figured out what the spacing between the stanchions ought to be. In this case, it turned out to be 5'-9" on center. I carefully laid out the bases first on the port side, then the starboard. Once I had each base aligned, I positioned it so that the base plate was about 1/4" inboard from the edge of the toerail base (using my pencil as a handy width guide) and visually aligned them with the rail before marking the outline and hole locations in the deck. Next, I applied masking tape, extending it past the pencil lines into the portion that would be covered by the base. Setting the base in place, I cut around the edge with a sharp knife, then removed the tape from beneath. The forward two sets of stanchion bases, as well as the bow pulpit bases, were located above cored areas of the deck; the after set of stanchion bases, just aft of the end of the cabin trunk adjacent to the cockpit, happened to be on a solid fiberglass portion of the deck and would not require the same pre-installation hole treatment. In the cored areas, I carefully drilled oversize holes at each fastener location using a Forstner bit, and drilled through the top skin and core, but left the bottom skin intact. Then, after cleaning out the holes, I filled them with a thickened epoxy mixture. This process helps create a solid barrier between the fastener hole and the surrounding core, so that even if a fastener should eventually leak, the water cannot enter the core. Later, when the epoxy cures, I will approach the final preparation steps. |
|
|
For the stern pulpit and after stanchion bases, which were on solid fiberglass portions of the deck, I drilled appropriately-sized pilot holes for the fasteners, then milled a small countersink in the top of the deck surface at each location (to hold extra sealant right at the fastener location), and finally used a 1/4-20 tap to mill threads on the inside of each hole. The tapped holes not only hold the fastener securely and allow for a more successful seal, but also make installation much easier when working alone, since one can go back later and install backing plates, nuts, and washers at leisure without concern about curing sealant or spinning screws. |
|
|
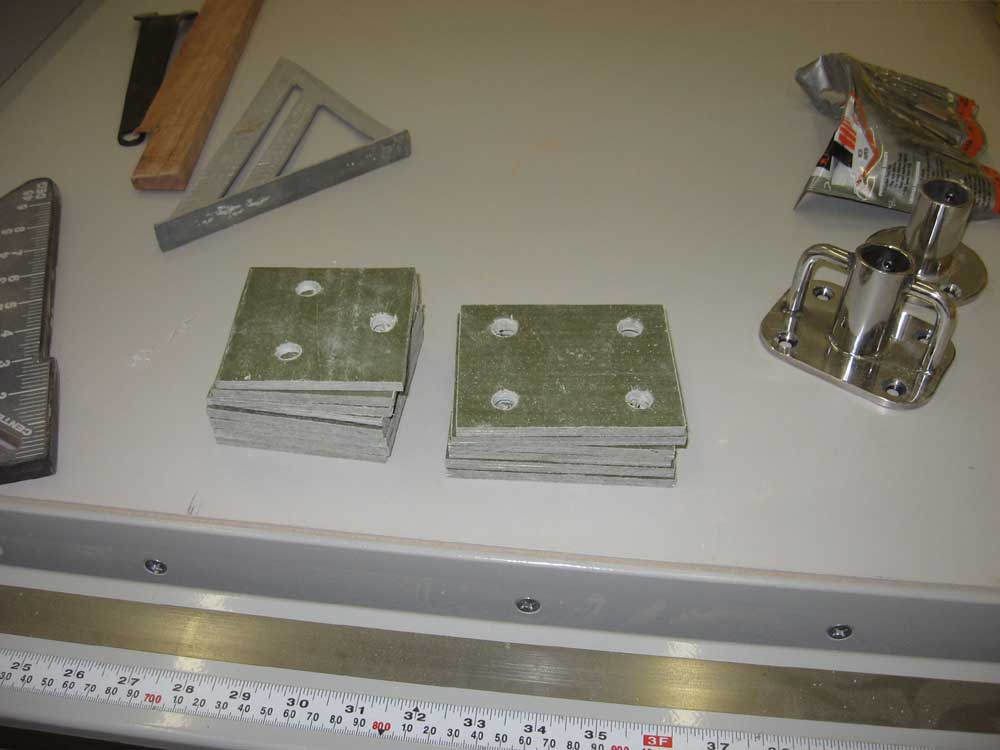
While the epoxy cured, I prepared the backing plates for the pulpits and stanchions, using sheets of 1/4" prefabricated fiberglass. I wrapped up the day with another coat of varnish on the applicable pieces. |
|
|
|
|
|