| Hattie
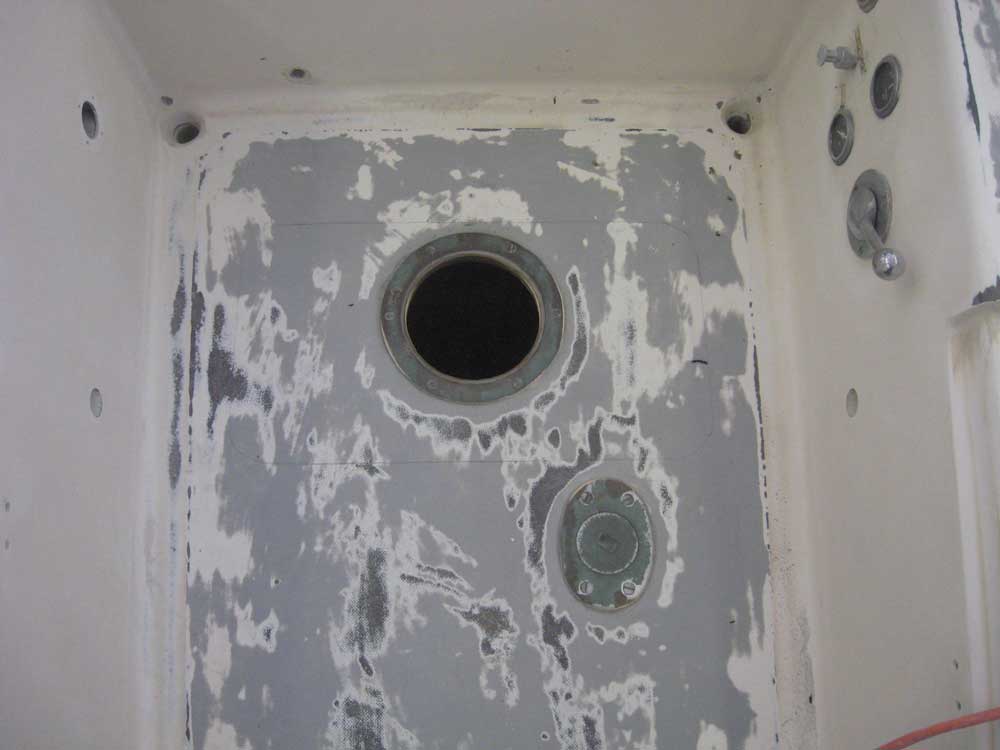
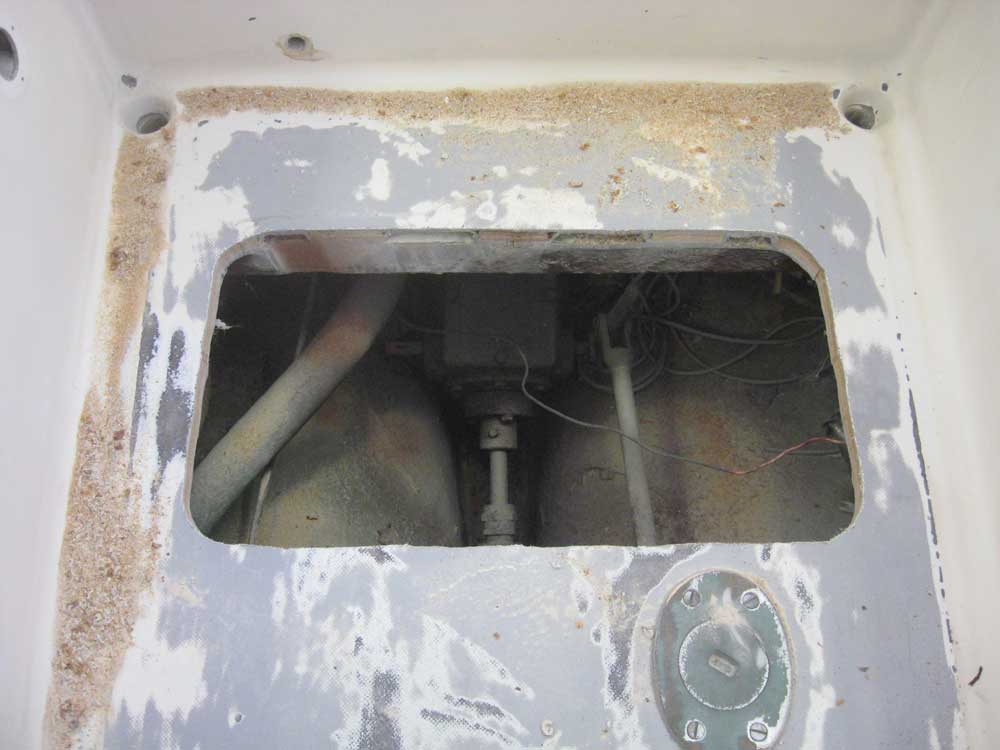
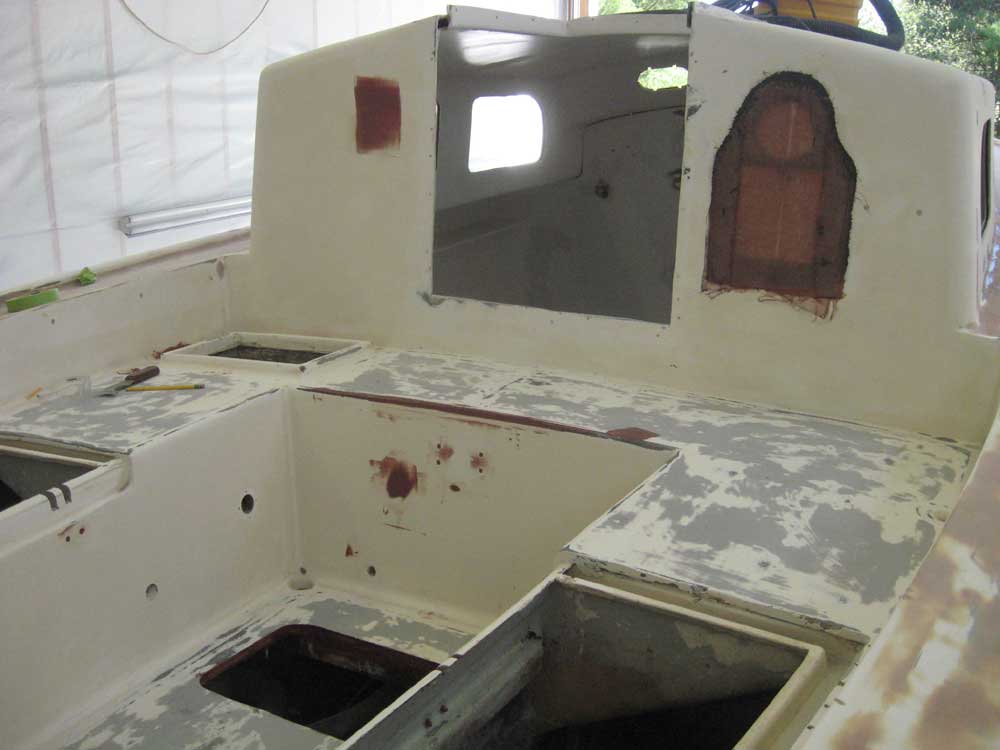
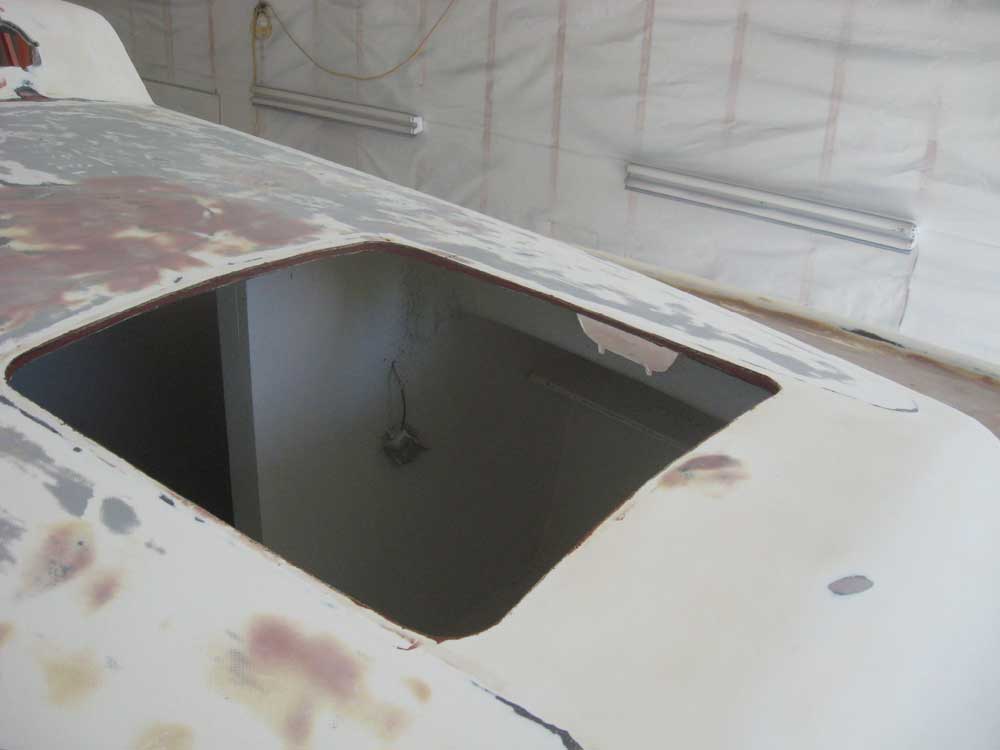
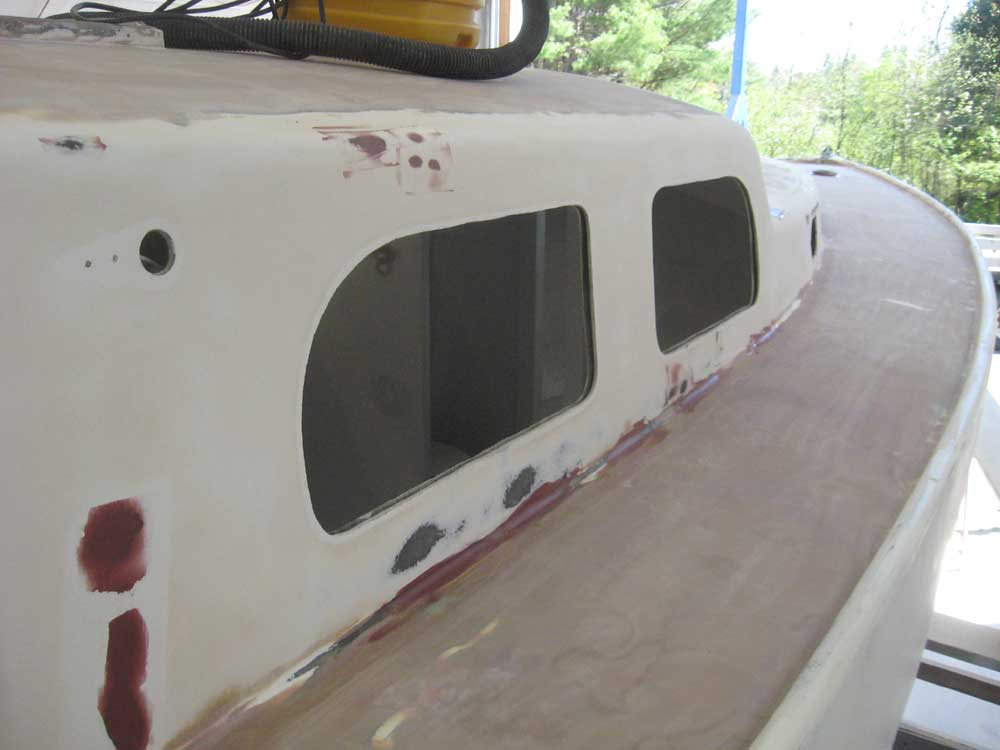
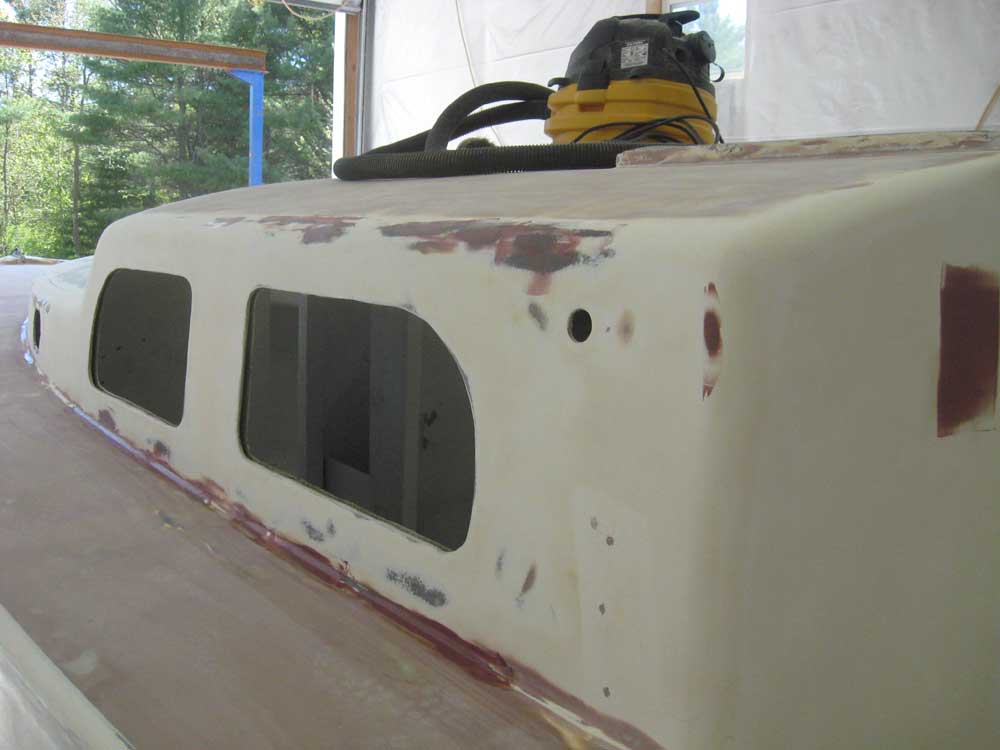
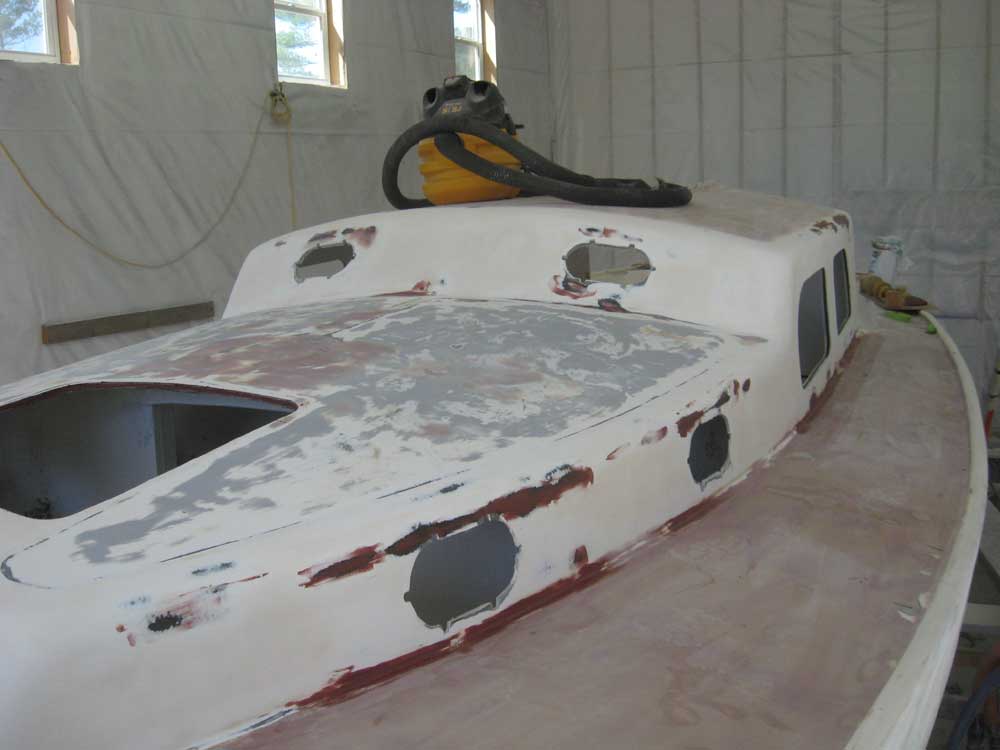
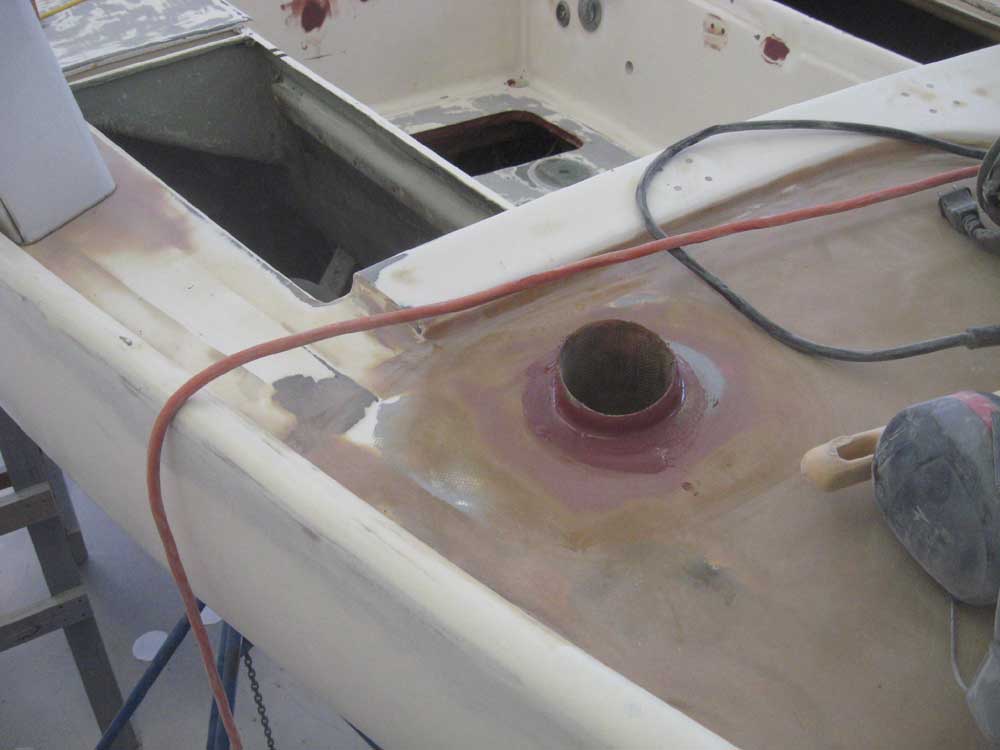
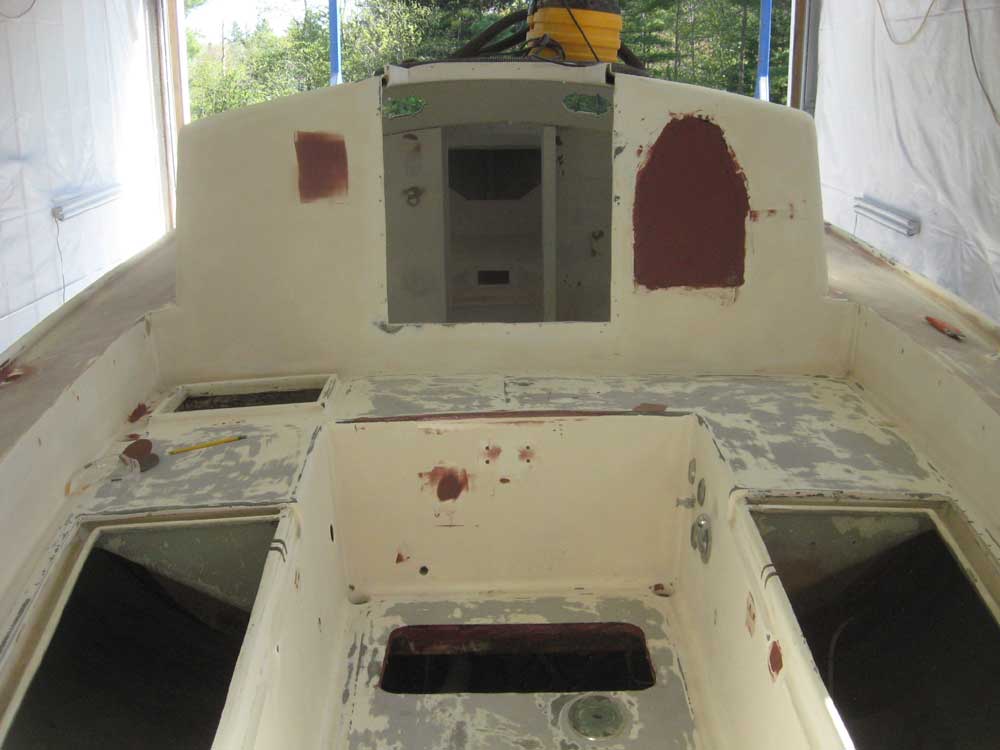
Mae | Tuesday, May 19, 2009 I continued the deck work with a focus on repairs, filling, and patching. I reamed out some fastener holes for filling (I make it a practice to fill all fastener holes, even if they're likely to be reused, because plans and intentions often change), and ground out several small areas featuring cracked gelcoat that required attention. I also dug the balsa core out around the forward hatch cutout, reaming the core back 1/2" or so along all four sides. To help clear the way for additional work, I removed some of the old fuel lines and fuel filter, which were taking up space in the cockpit locker, severing the old copper fuel line at a union and sealing the end for now, and then removed the deck fill plate and remains of the old fill hose. The tank had been removed much earlier by the owner. With a decision on the cockpit hatch made (we selected a Beckman 1424 plastic hatch), I made a template from cardboard, tested the fit on the sole, determined the existence of any belowdecks obstructions, and cut out the opening. This would make all future work on the engine, through hulls, and stuffing box much easier. Space was a little tight in way of the gearshift lever in the sole, but not so much as to make the hatch unworkable. |
|
|
|
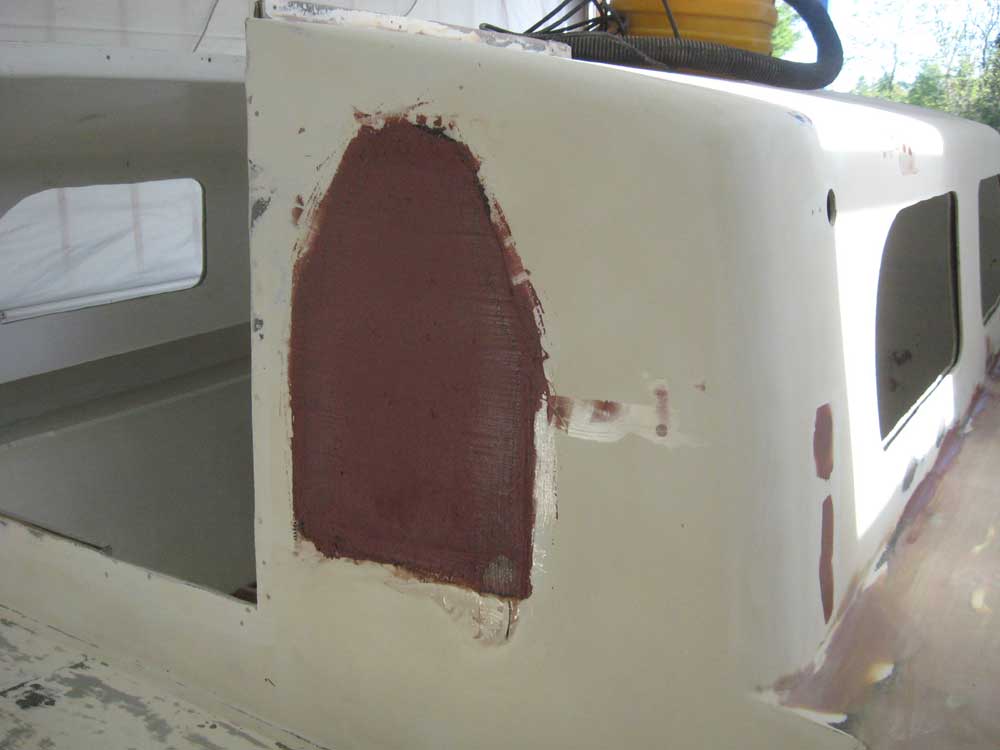
After cleaning up the morning's sanding detritus, I applied a first coat of fairing filler to all the areas which required it and which I'd prepared earlier, and laminated new fiberglass over the large holes in the cockpit bulkhead on the starboard side. I also filled the newly-formed void around the forward hatch with epoxy to seal the core, and applied epoxy around the cut edges of the cockpit hatchway as well. |
 |
|
After lunch, I turned to the toerails and paint removal. I hand-sanded the toerails to remove primer that had been previously applied to the hull, in the areas where machine sanding would not work. I sanded through 80 and 120 grits, and generally cleaned up any minor issues I discovered along the way, along with marking a few more low spots and other damage that required additional filler. Later, I applied fairing filler to the small areas on the toerail as required, as well as a few other placed I'd discovered, and with the new fiberglass over the patch in the cockpit sufficiently cured for additional work, I applied the first coat of fairing filler over the area to begin the fairing process and fill the weave of the cloth, which would put me ahead tomorrow. |
 |
|
|
|