| Hattie
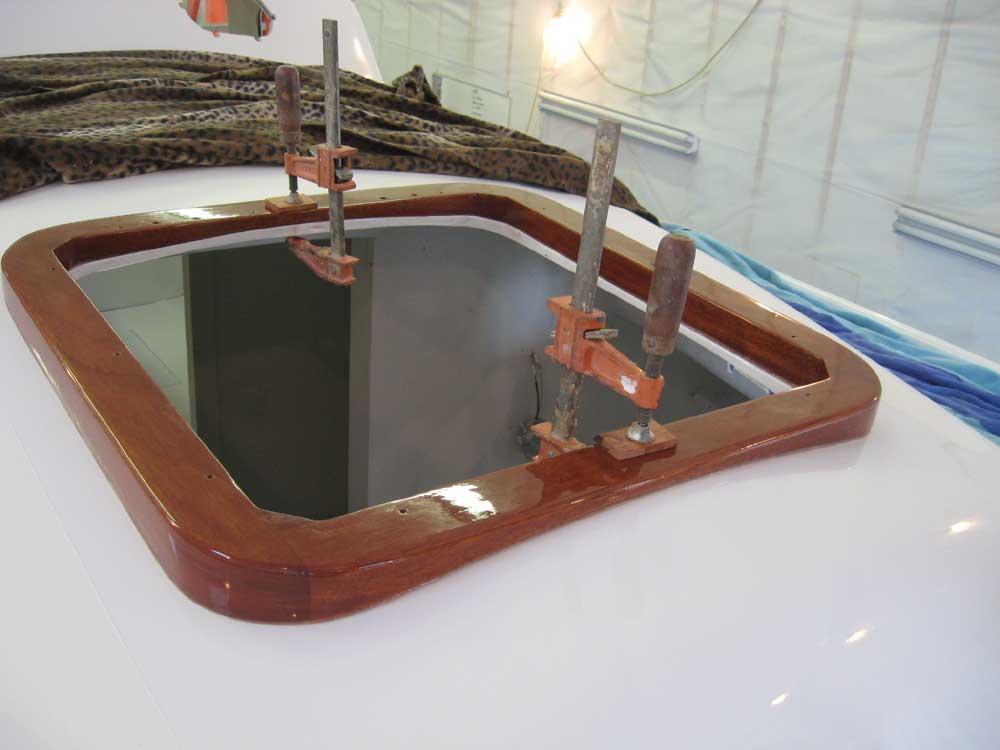
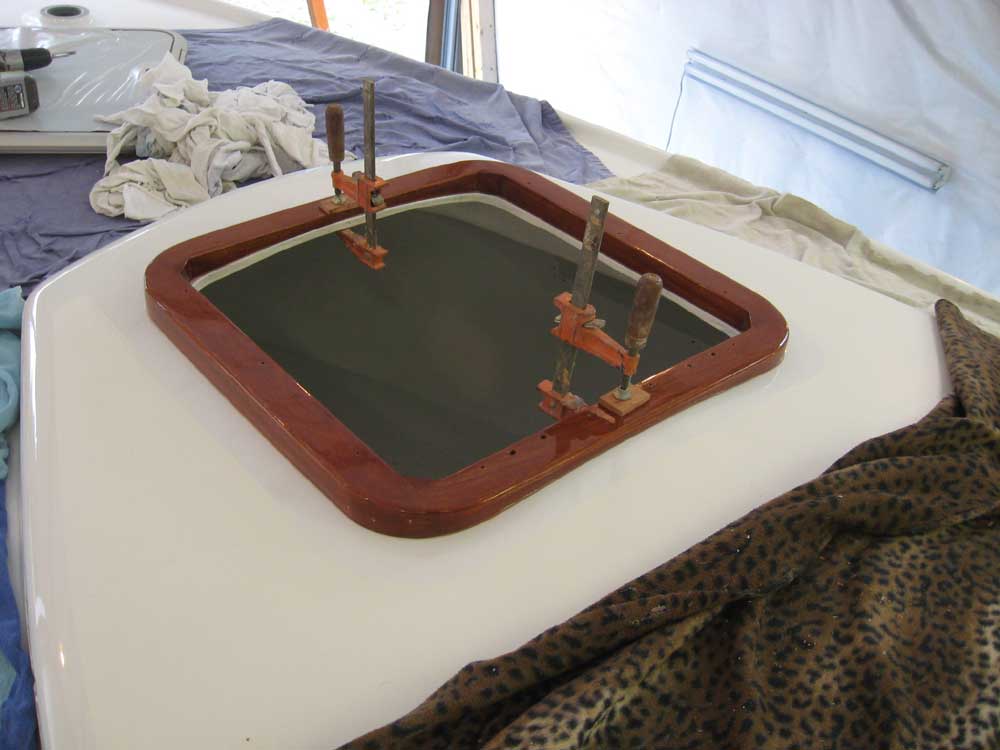
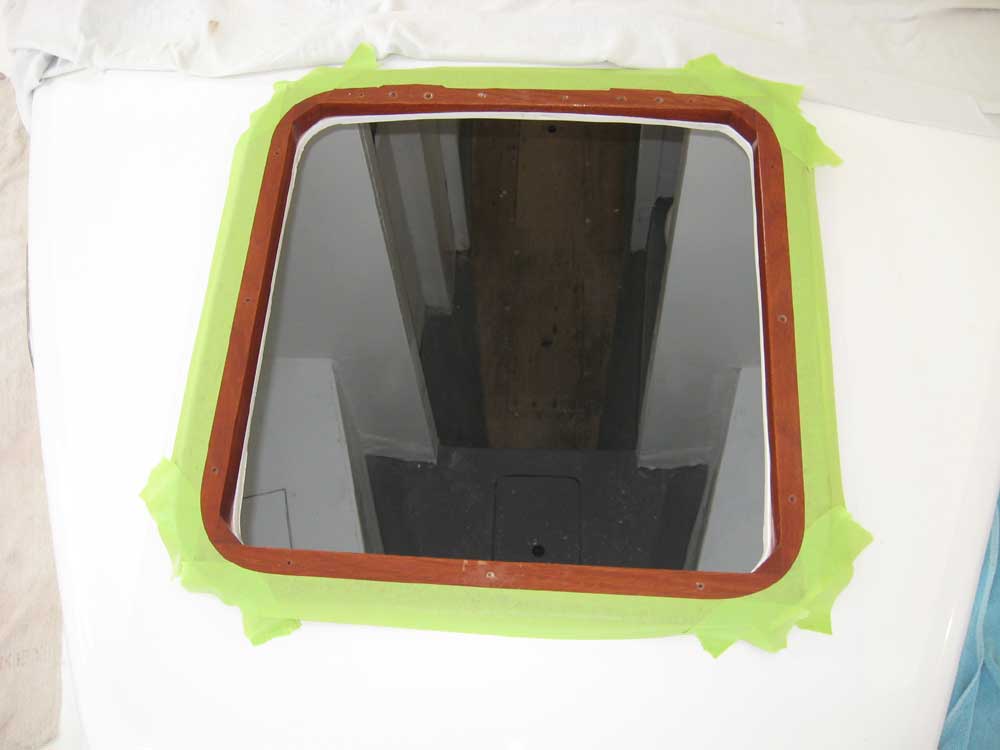
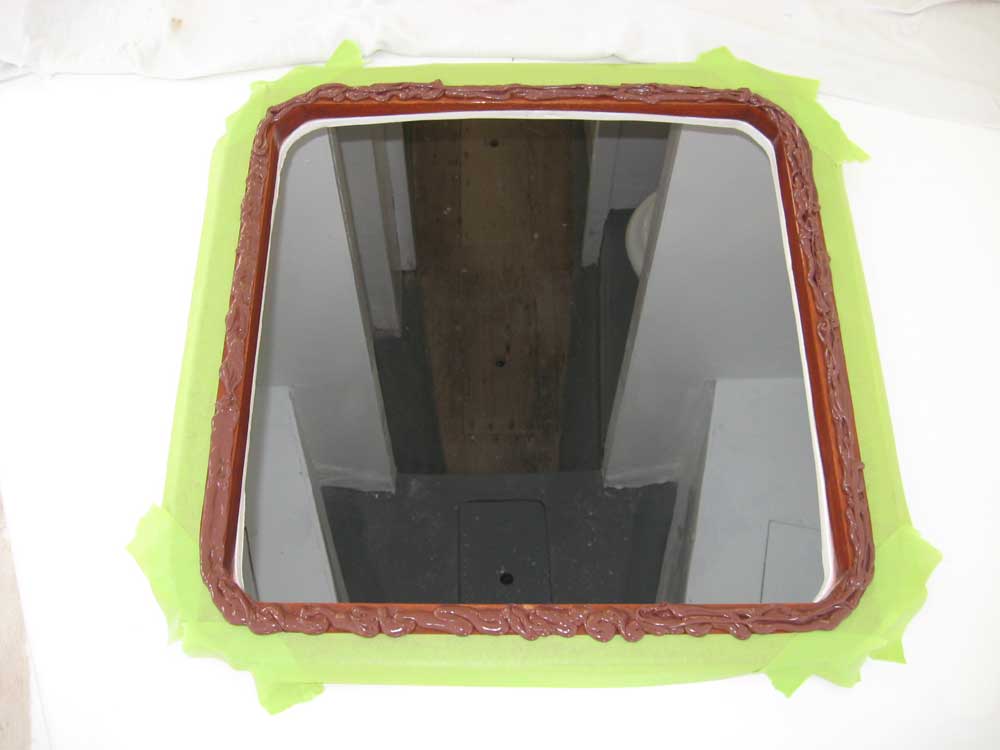
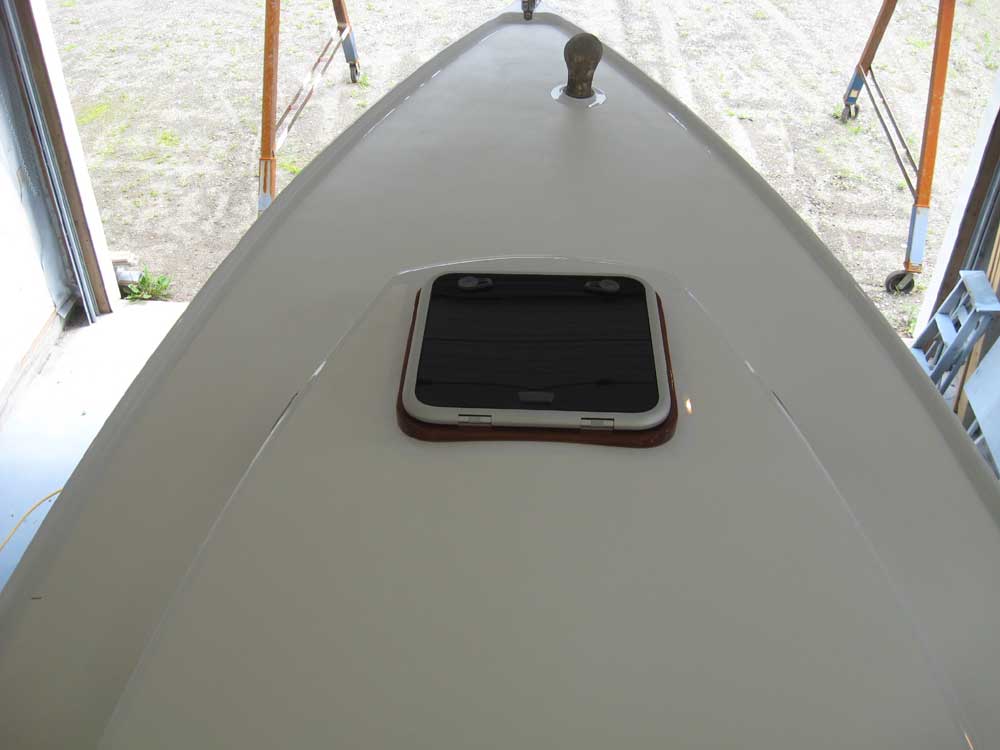
Mae | Wednesday, July 1, 2009 My first order of business was to prepare for the installation of, and install, the forward hatch frame. In hindsight, I wasn't sure why I hadn't done this step yesterday; I must have been thinking I was just bedding the hatch frame rather than installing it permanently. In any event, I coarse-sanded the paint within the taped confines of the hatch opening, and then checked the fit of the frame once more, and redrilled the four 1/4" holes for the bolt locations at the hatch hinges. I masked off the mahogany frame for protection. Thusly prepared, I mixed a batch of thickened epoxy adhesive and applied it to the deck, after which I secured the hatch frame with 8 screws from below, as well as a pair of clamps at the centerline to hold the frame in the proper position while the epoxy cured. I carefully cleaned up all the excess epoxy and removed the tape to allow the adhesive to cure before continuing the process. |
|
|
|
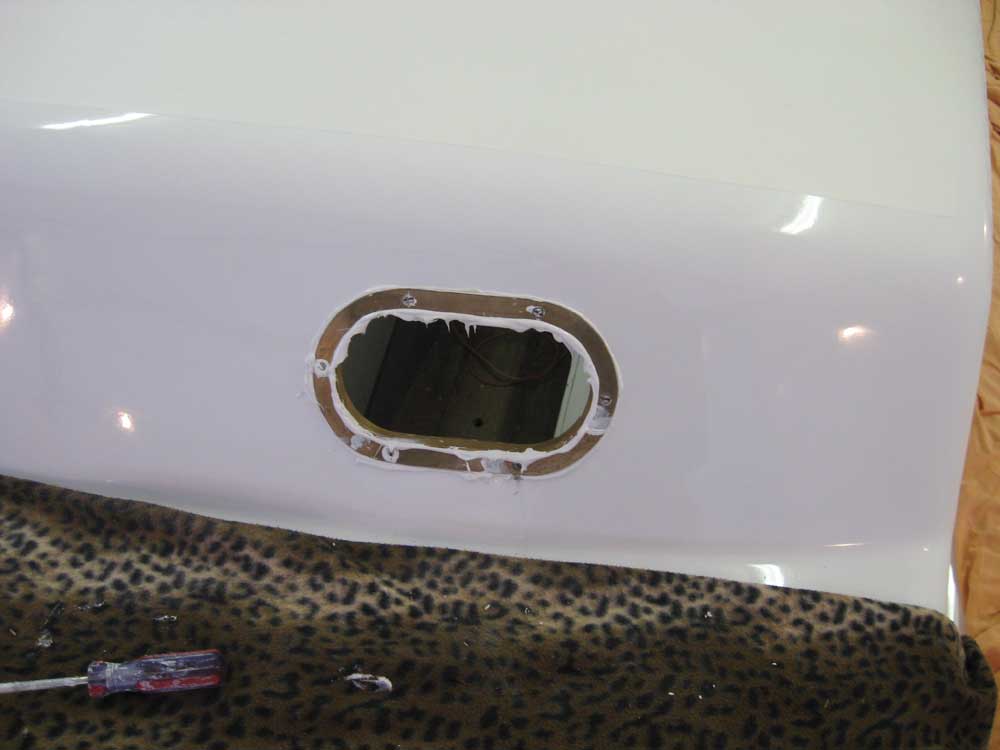
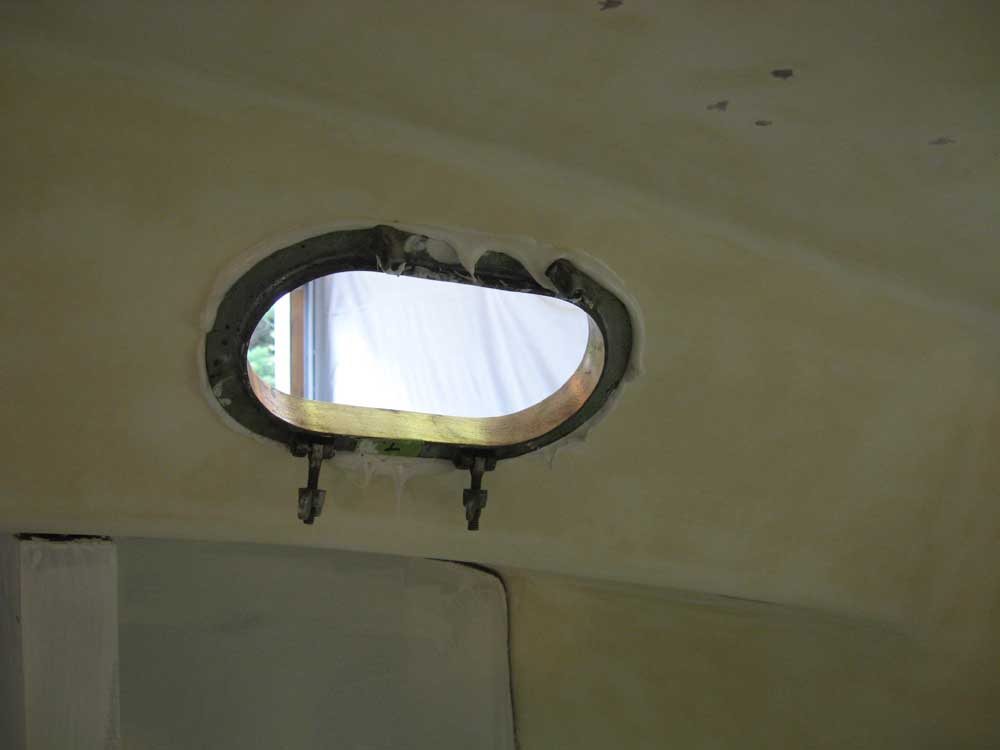
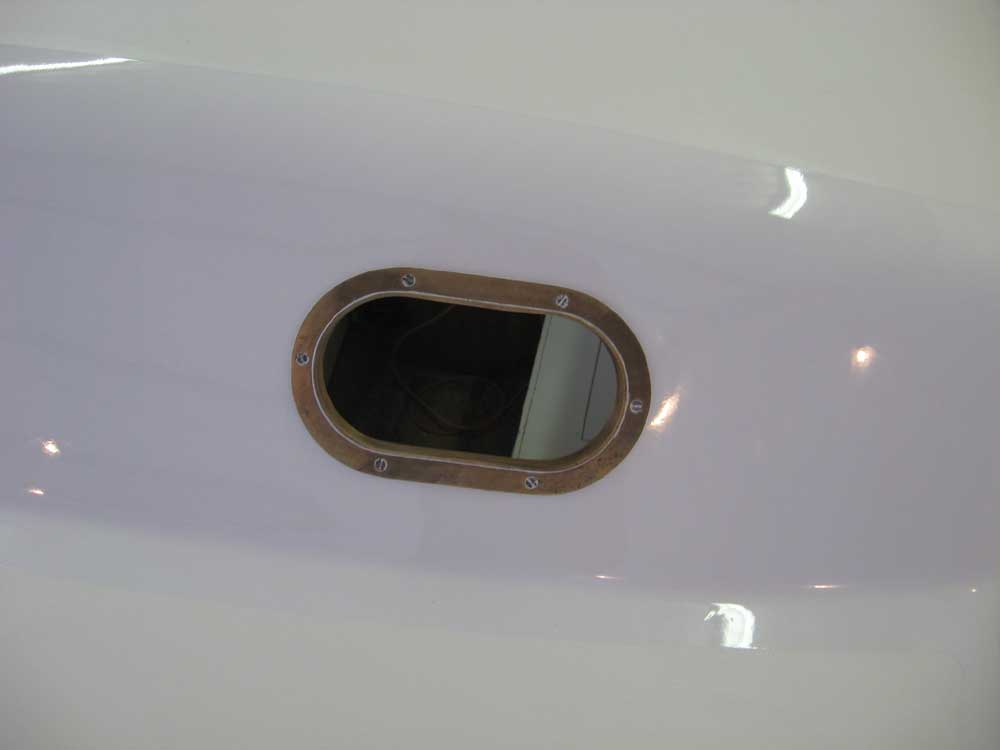
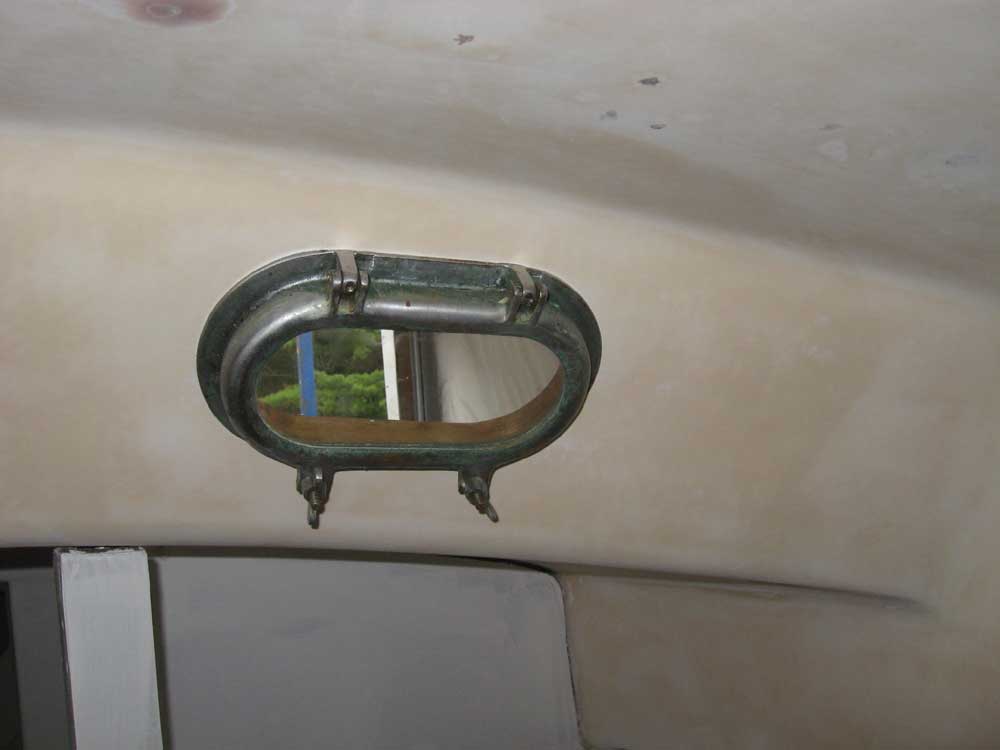
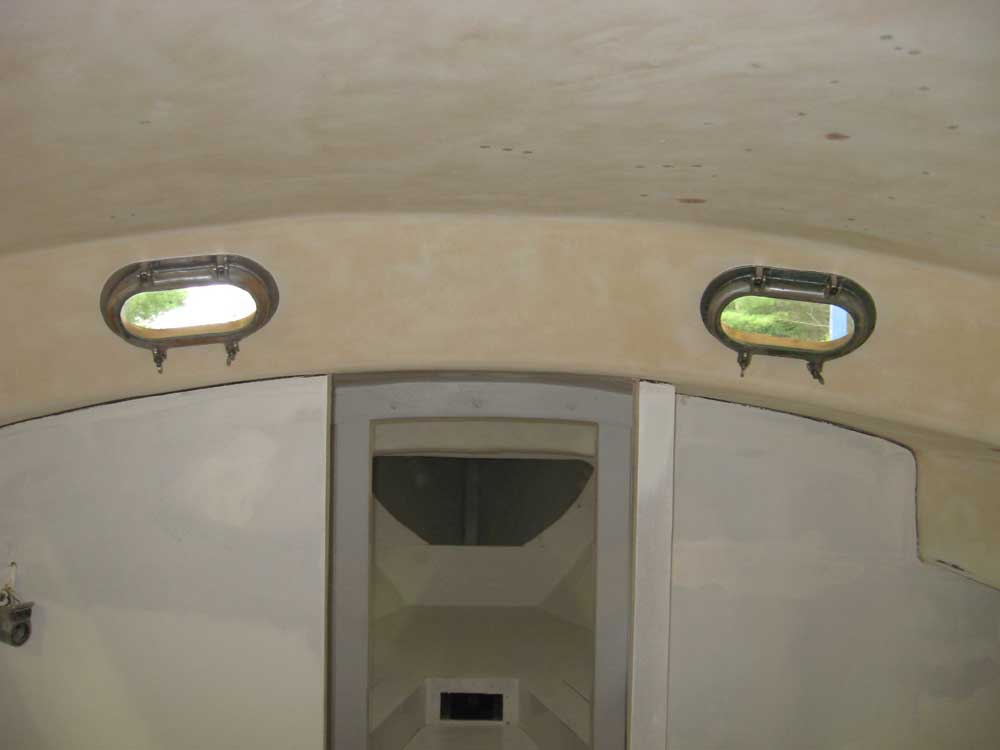
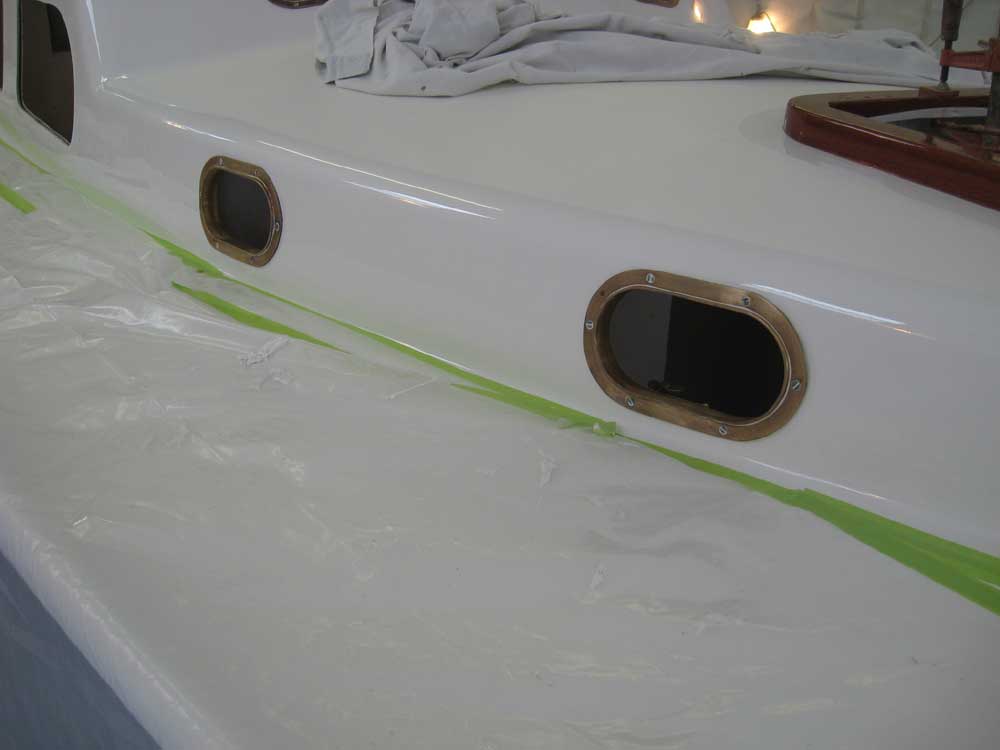
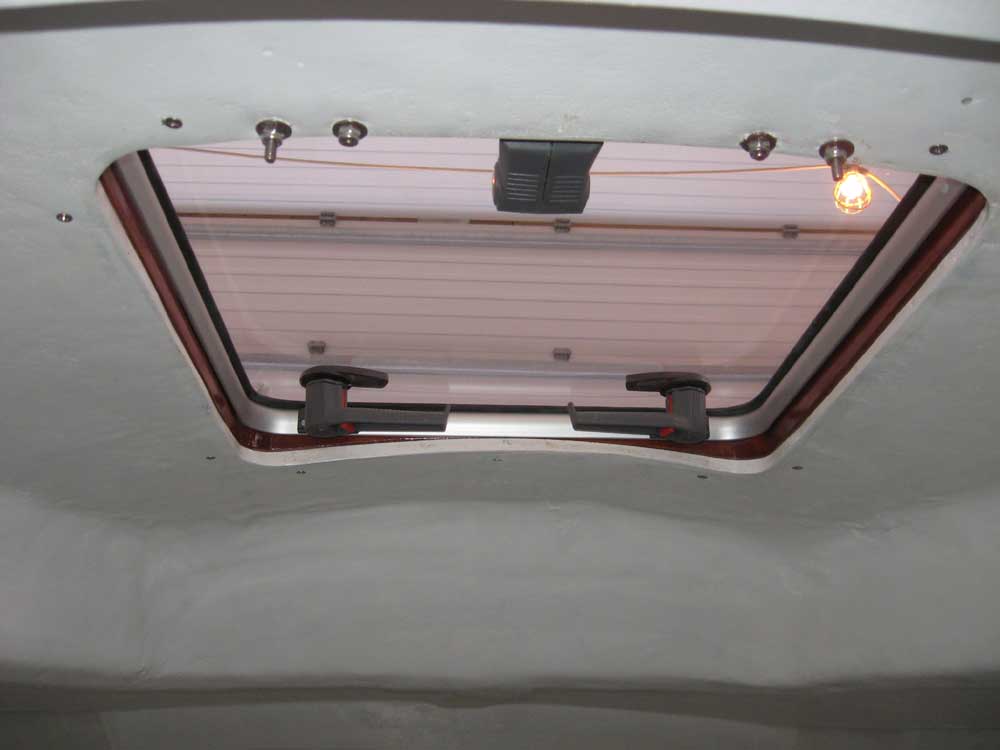
While I waited for the epoxy to cure, I moved on to the next task: installing the opening ports. The owner was coming up tomorrow to help with the ports, but I thought I could do the small ports myself, since with the back part of the unit removed I could reach through and hold the frames securely in place while screwing down the trim ring outside. I tested one of the ports dry to ensure that I could hold and secure it from outside, and once I'd confirmed that, I proceeded with the installation. For each of the six opening ports, I first removed any old sealant left behind in the openings or elsewhere, and then applied heavy beads of polysulfide to the port frame. Then, I passed it through the opening from the outside and pressed it into the opening as required, holding it tightly while I applied external beads of caulk around the edges of the spigot and over the adjacent areas beneath where the external trim ring would go. Then, I applied the trim ring and screwed it to the inside section of the port, starting all six screws before completely tightening any of them. Two at a time, I installed the ports: first the forward-facing ones in the saloon; then the port side; and finally the starboard side. With two ports at a time caulked in place, I cleaned up the excess sealant, both inside and outside, and then reinstalled the opening section from within to complete the installation. |

  |
|
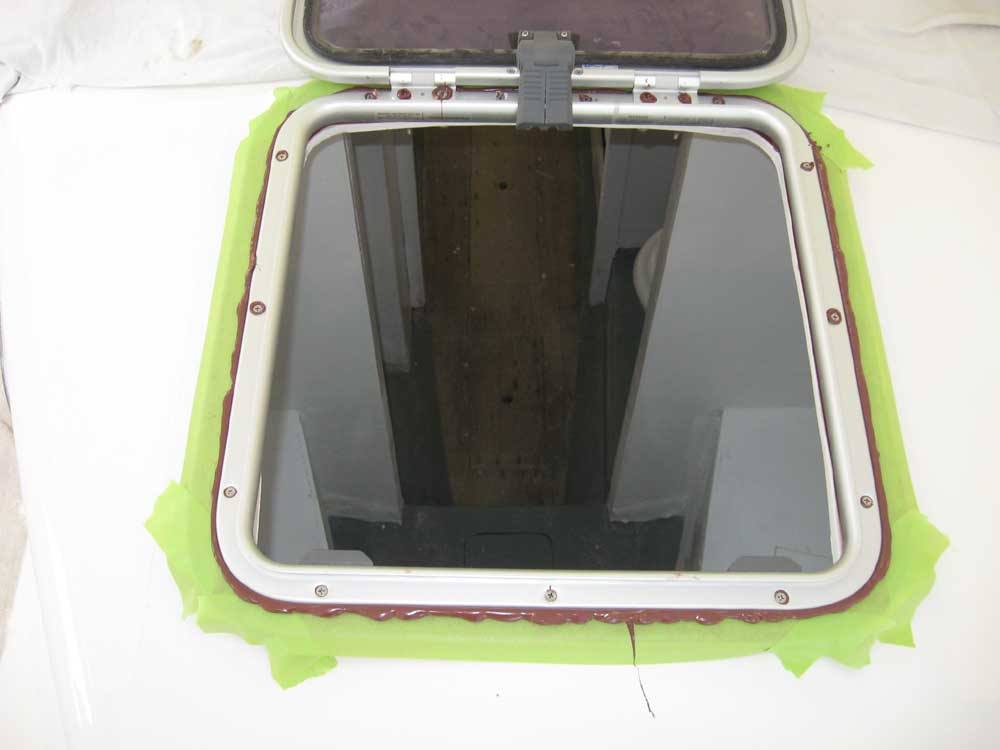
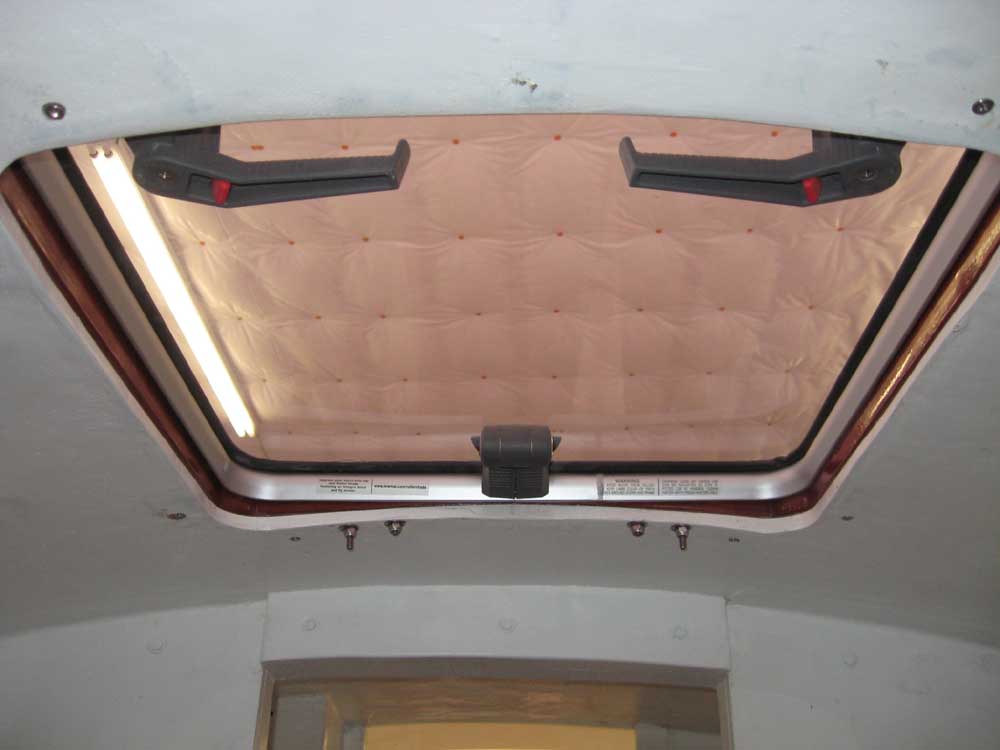
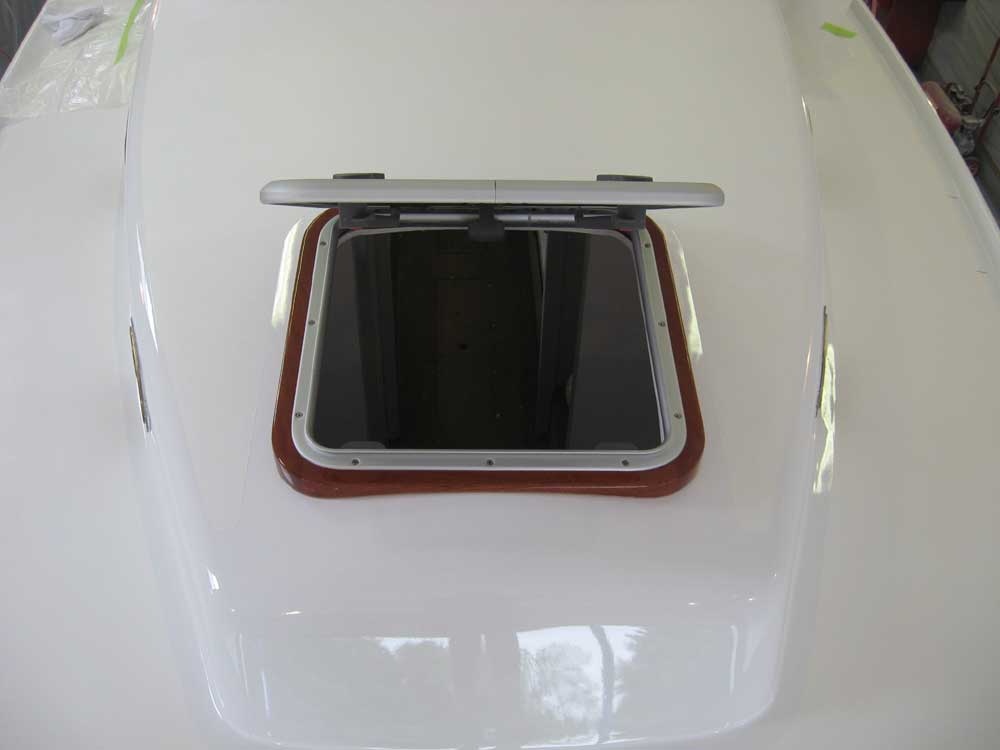
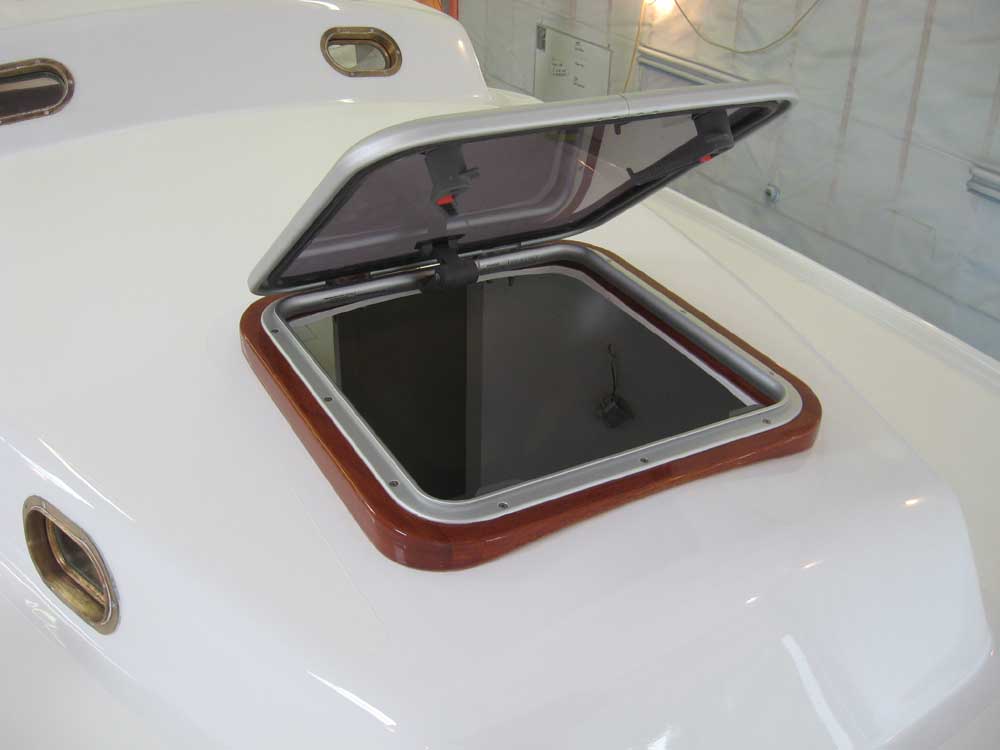
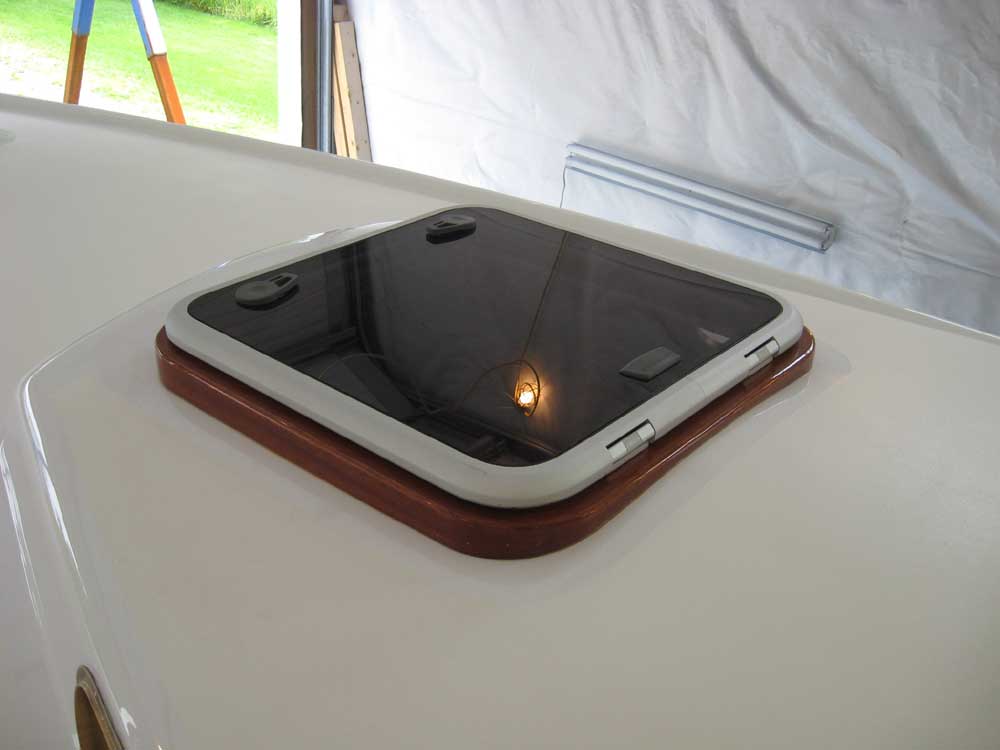
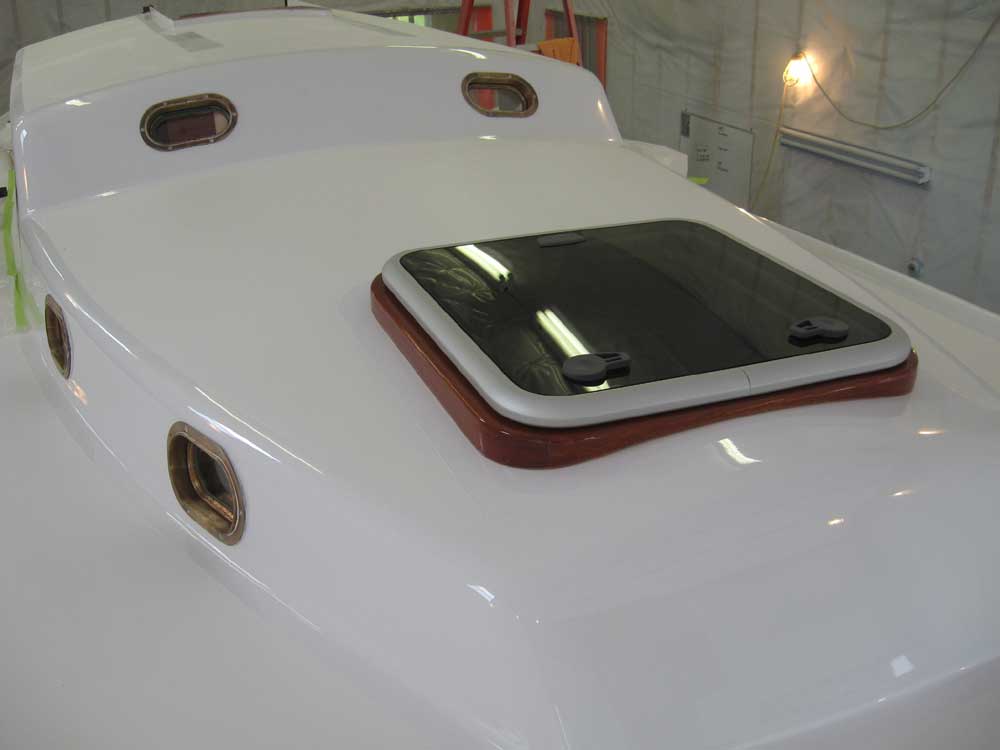
By the time I was done with the ports' installation, the epoxy securing the forward hatch frame had cured sufficiently to allow me to remove the clamps and move on with the actual hatch installation. I masked around the edge of the hatch, applied a heavy bead of mahogany-colored sealant (polysulfide), and installed the hatch with screws and bolts. As of these photos, I had yet to cut off the excess bolt length on the bolts securing the hinge side of the hatch, but would take care of it presently. |
 |
|
After cleaning up from the hatch installation, I prepared for tomorrow's deadlight installation, laying out tools and materials as needed for the job. Earlier, I'd covered the sidedecks with plastic to protect them during the messy port installation. |
 |
|
|
|