
110 Cookson Lane | Whitefield, ME 04353 | 207-232-7600 | tim@lackeysailing.com
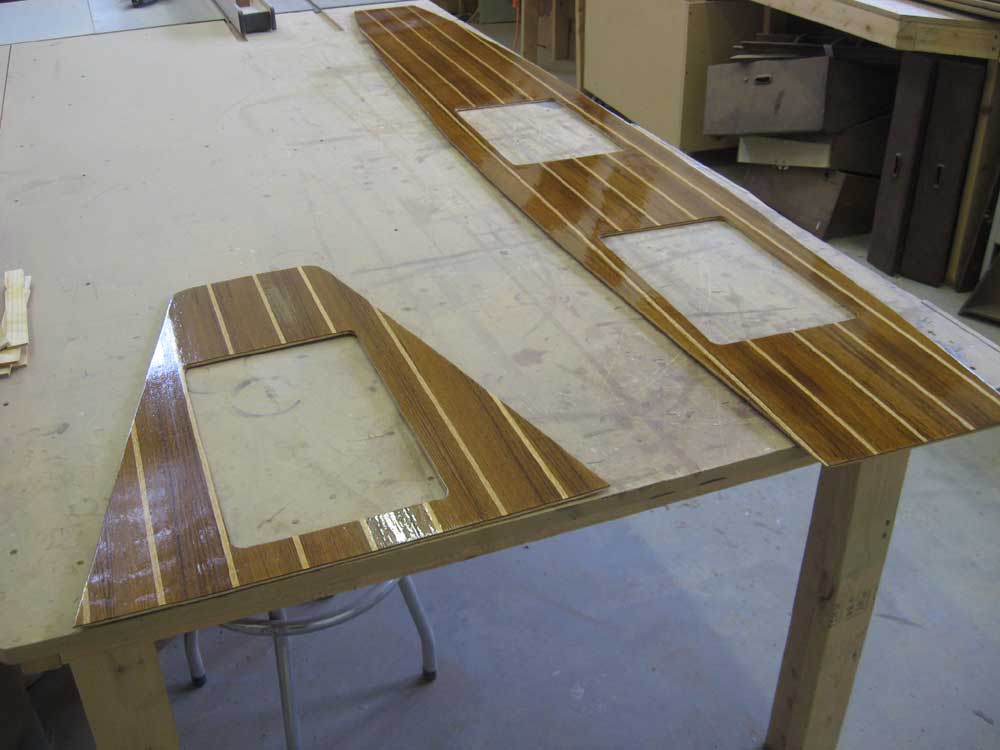
Following Friday's work log, the owner requested that I replace the remaining pieces of the cabin sole--a small section in the forward cabin and the original material on the hatch covers--which for whatever reason I'd not thought to do at the time. In order to give myself time to apply the needed coats of varnish to all pieces, I got right to work on the replacements on Saturday.
I removed the forward section and used it as a pattern to cut a new piece to size.
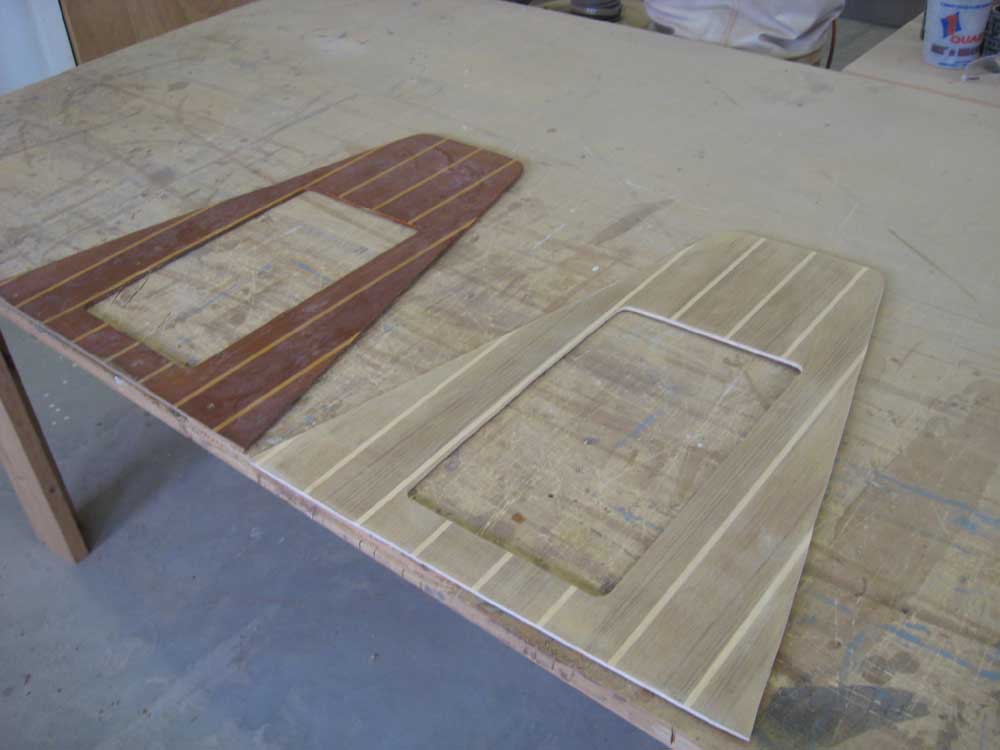
The original hatch covers featured the same teak veneer plywood secured to a substrate of 1/2" marine plywood. Because the thin plywood was well secured, I ran the hatch covers through the planer to pare away the top 1/4" of material, which then allowed me to cut new pieces to match the new sole. After lining up the plank marks with some reference marks I'd made earlier, before removing the old material, I glued the new plywood in place with epoxy and weighted the three hatches to allow the glue to cure. I left the new plywood a bit oversize for later trimming.

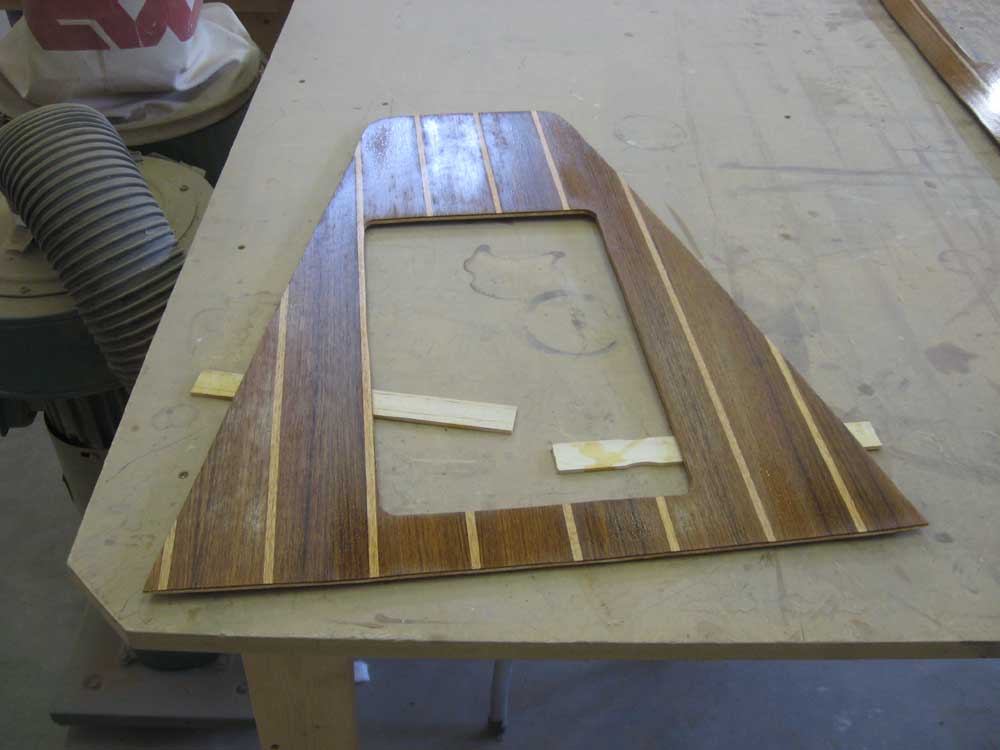
To round out Saturday afternoon, I sanded and revarnished the main cabin sole and cockpit trim, and applied a first coat to the new forward cabin sole.
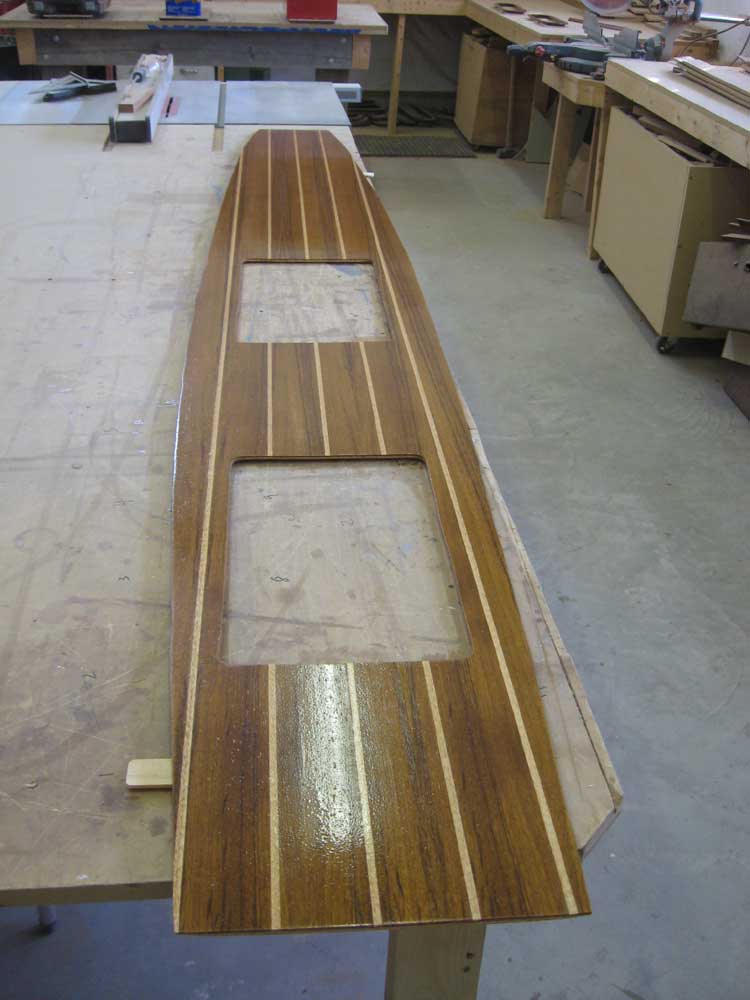
On Sunday, the epoxy on the new hatch covers had cured, so I used a router to trim the new plywood flush with the substrate, rebored the finger holes, and otherwise prepared the new pieces for varnish.

Meanwhile, I sanded and revarnished all the other pieces as well.

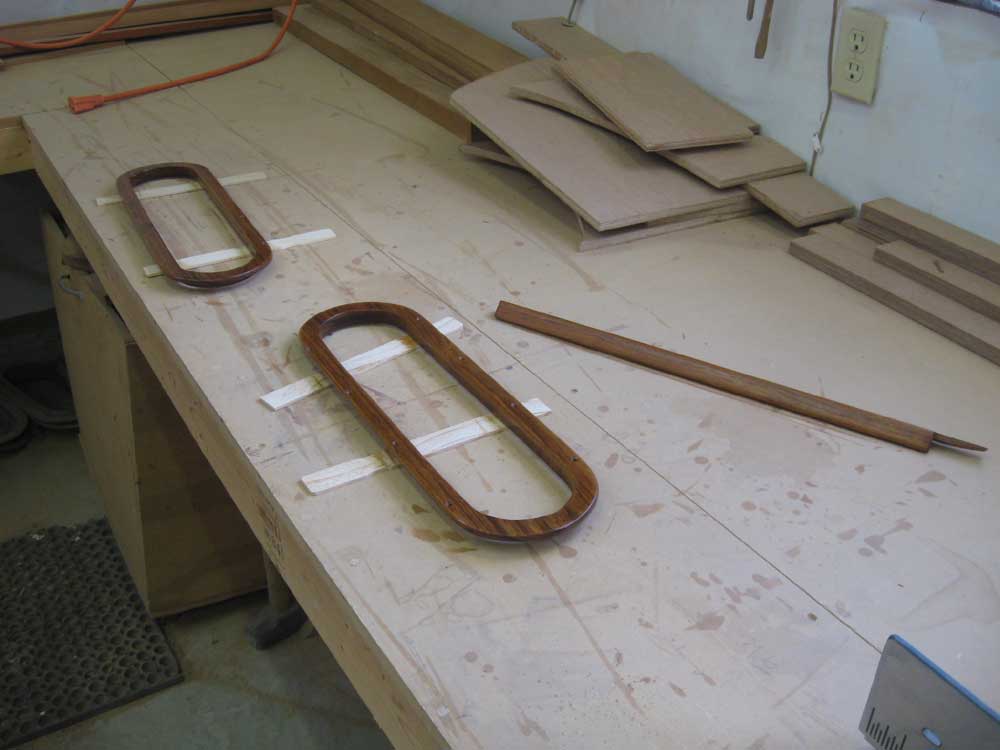
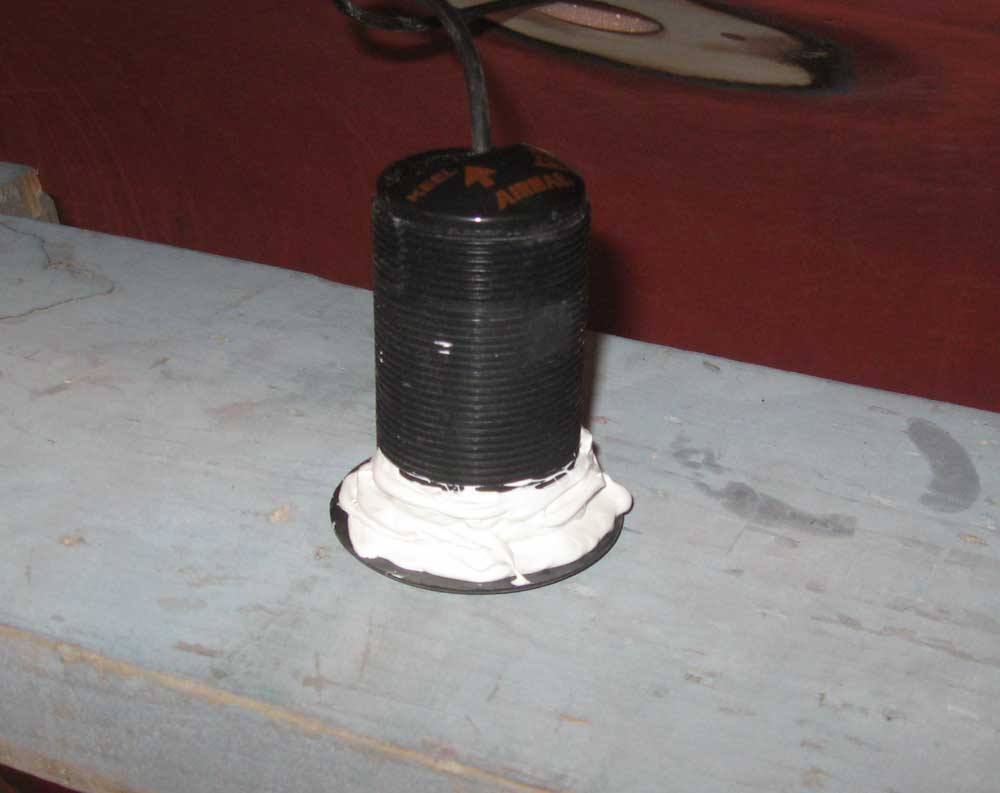
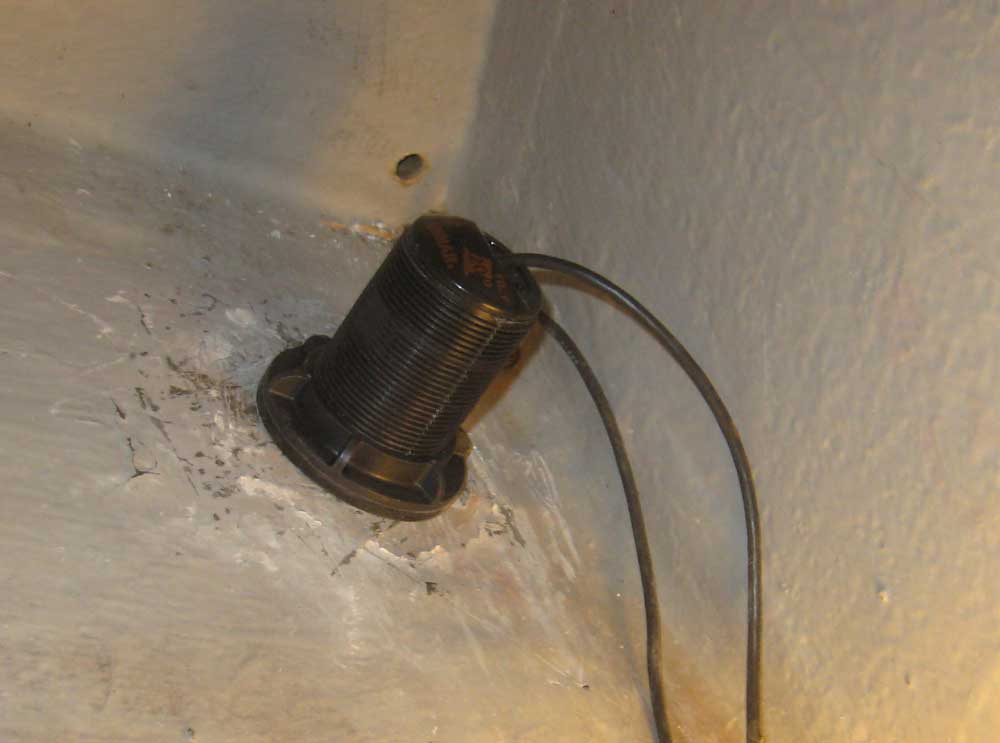
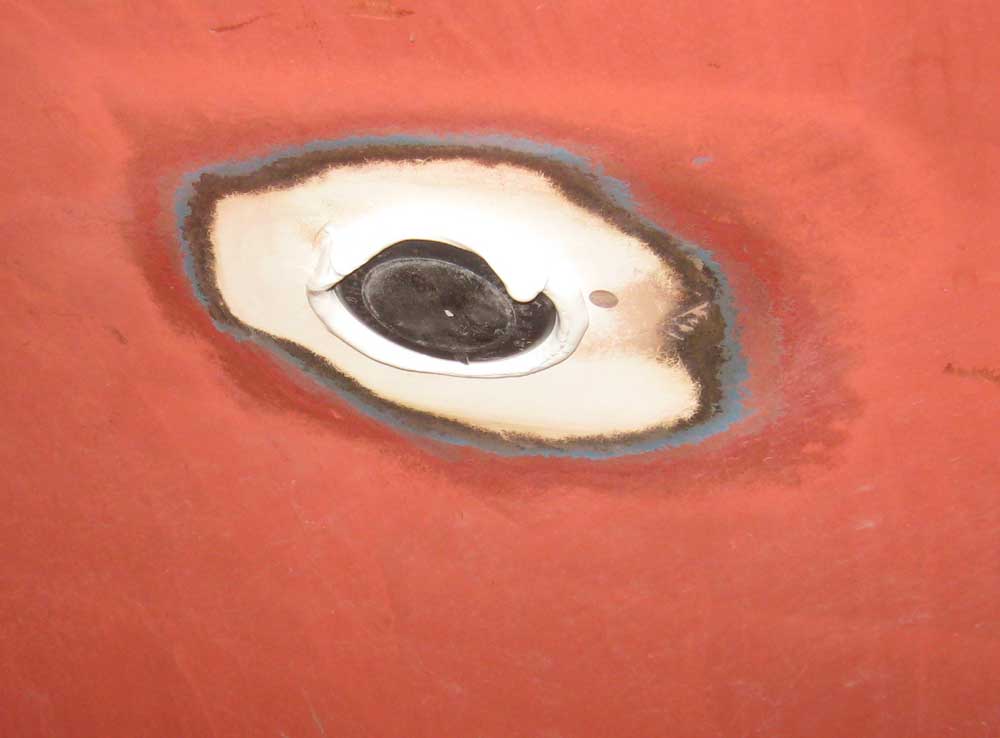
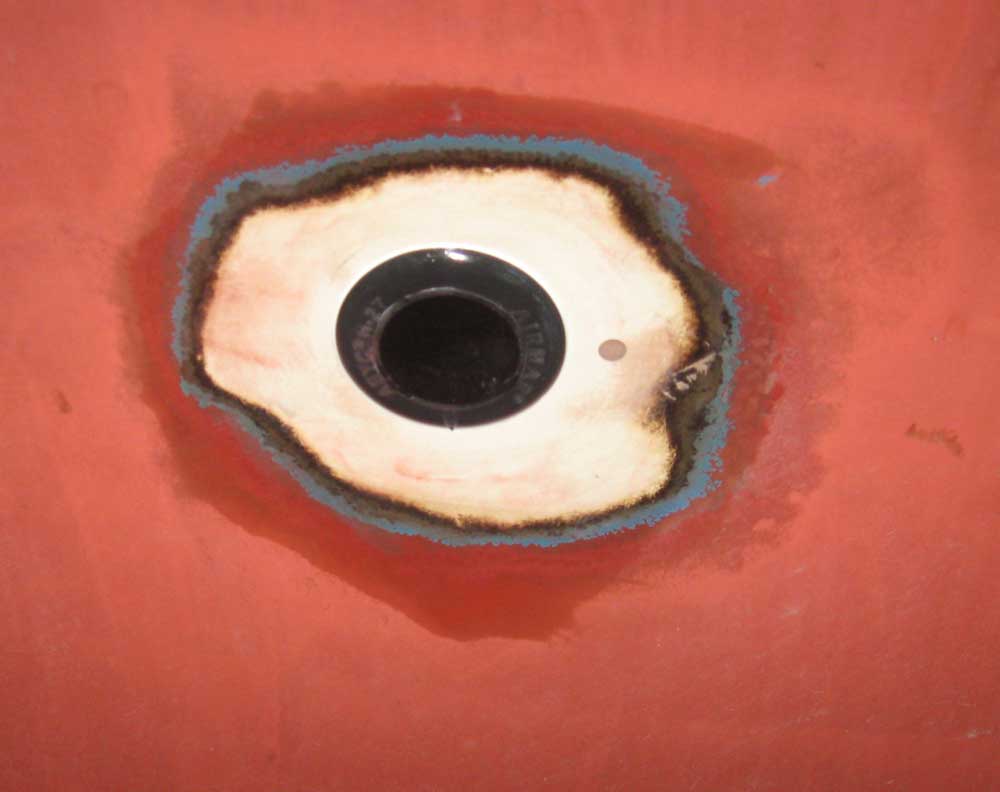
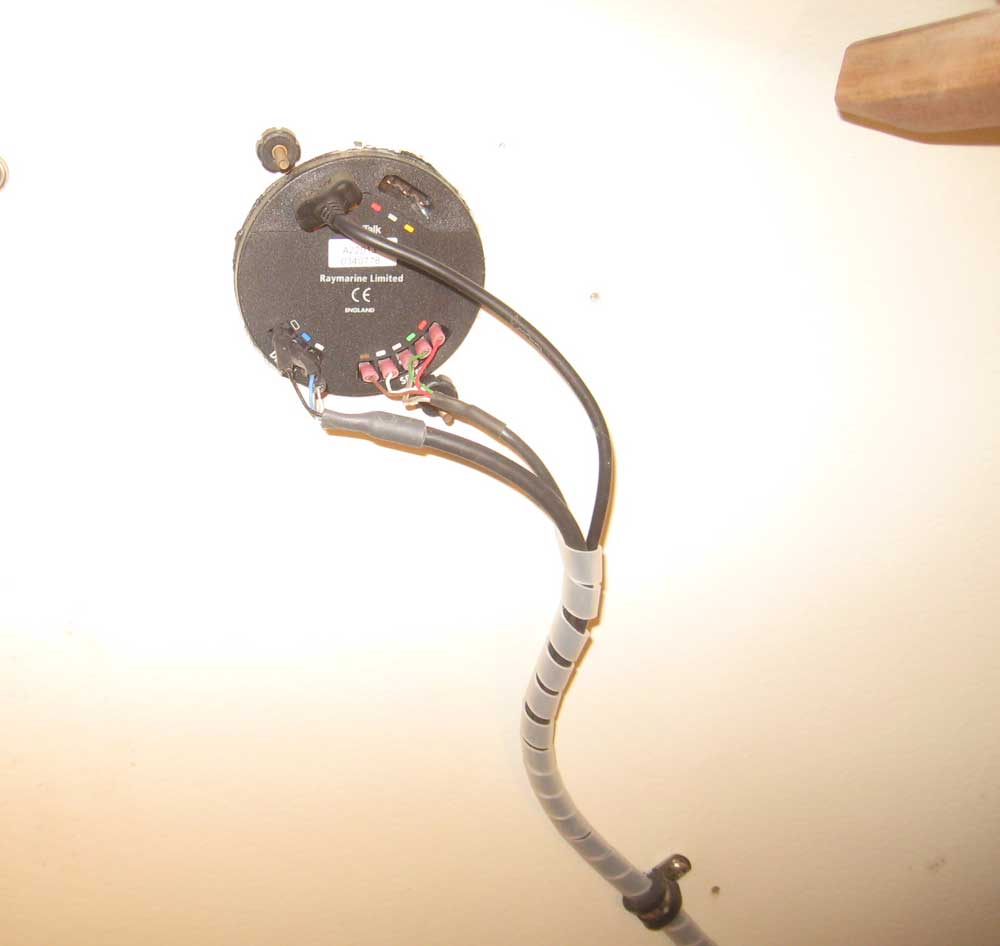
I installed the new transducer for the depthsounder. This model featured a 20° built-in angle, so there was no need for fairing blocks inside or out, which simplified and made for a much cleaner installation.
I applied a heavy bead of sealant to the flange and lower portion of the threads, bringing the sealant up the threads a bit so the nut would spin into the sealant, helping to secure the nut. After placing the heavily-bedded transducer in place from outside, I attached the soft washer and plastic nut from inside, aligning the transducer as required by the markings on the housing. Afterwards, I cleaned up the excess sealant, and connected the transducer cable to the depth instrument as required before cleaning up and securing the excess wire.
Total Time on This Job Over Both Days: 4.25 hours
