
|
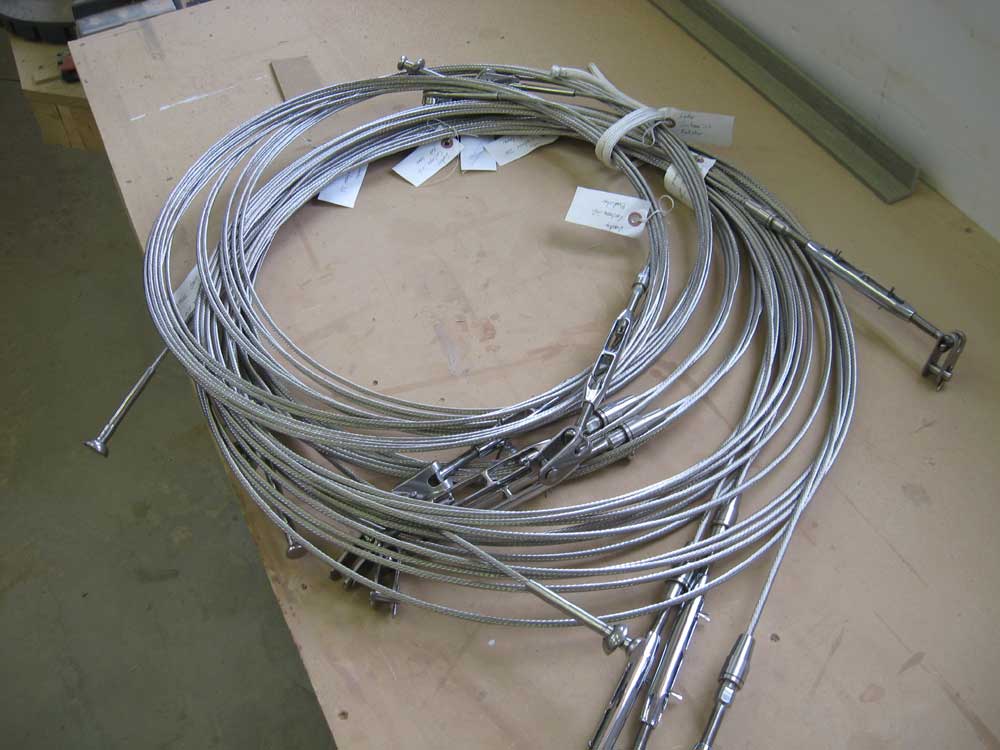
Equinox Project | Tuesday, March 24, 2009 The morning turned into a planning and ordering session as, while contemplating several of the upcoming jobs on the boat in the near future, one thing led to another. It's all part of the process, but somehow it never feels as satisfying as actually crossing jobs off the list when complete. The new rigging arrived today, and looked great. It featured swaged terminal ends at the top, and mechanical terminals at the bottom, with 7/32" wire and 3/8" turnbuckles and pins. |
 |
|
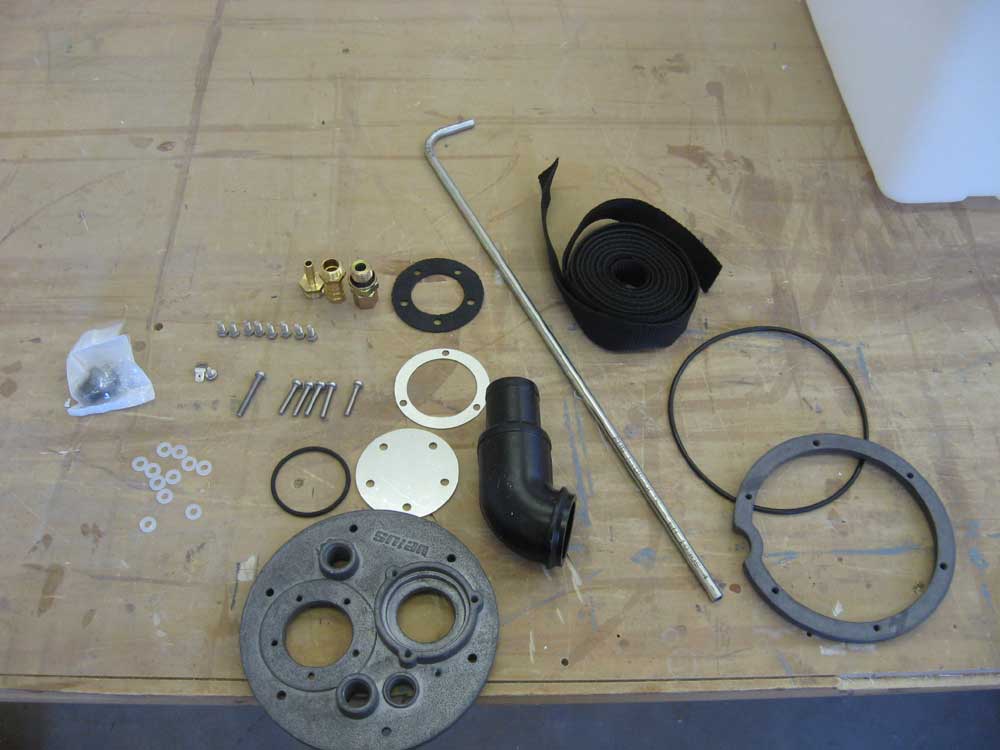
I made a couple attempts during the morning to actually get out to the shop to work, but each time the small job would either remind be of or bring up yet another item that I knew I needed to figure out and/or order parts for, so back to the office I'd go. This is how it is some days. Among the things I had to figure out was what to order for a new swing arm and GPS mounting bracket to allow the new chartplotter to store out of the way yet swing into the companionway for viewing and use; eventually I determined what I thought looked good and ordered the parts; I chose the RAM-109V swing arm and RAM-111 mount. I also ordered a new bilge pump and switch, having made the determination of what was best for this situation after considering a number of potentials, and ordered a different muffler/waterlock for the engine after earlier determining that the one I'd first ordered was not the right choice. On and on it went. Before lunch, though, I did manage to sand and revarnish the white oak mast beam, keeping that process going. I also cleaned up the aluminum stem casting, which I'd recently gotten back after a couple modifications, and began to reprime and paint it for better appearance, only to discover that the paint I had was no good, so off I went to order more. During the afternoon, I worked on several items on the boat list. A few weeks ago, we'd determined that it made the most sense to install a new fuel tank, and after considering the minimal options available that would actually fit, I ordered a Vetus 11-gallon polyethylene tank. In addition, I purchased the required connection kit for the tank, as the tank itself contained no fittings. The basic dimensions of the tank looked as if they would fit, but until today I hadn't gotten around to physically placing the tank in the locker. With no protruding fittings, however, it would clearly make installation far easier, since it tends to be the fittings that make for tight clearances. This was certainly the case with the old steel tank during its removal. With no fittings yet installed, I was pleased to find that the tank fit into the locker opening easily; clearance and space once within the locker I had never anticipated to be a problem (and it was not), just getting through the small opening. |
 |
|
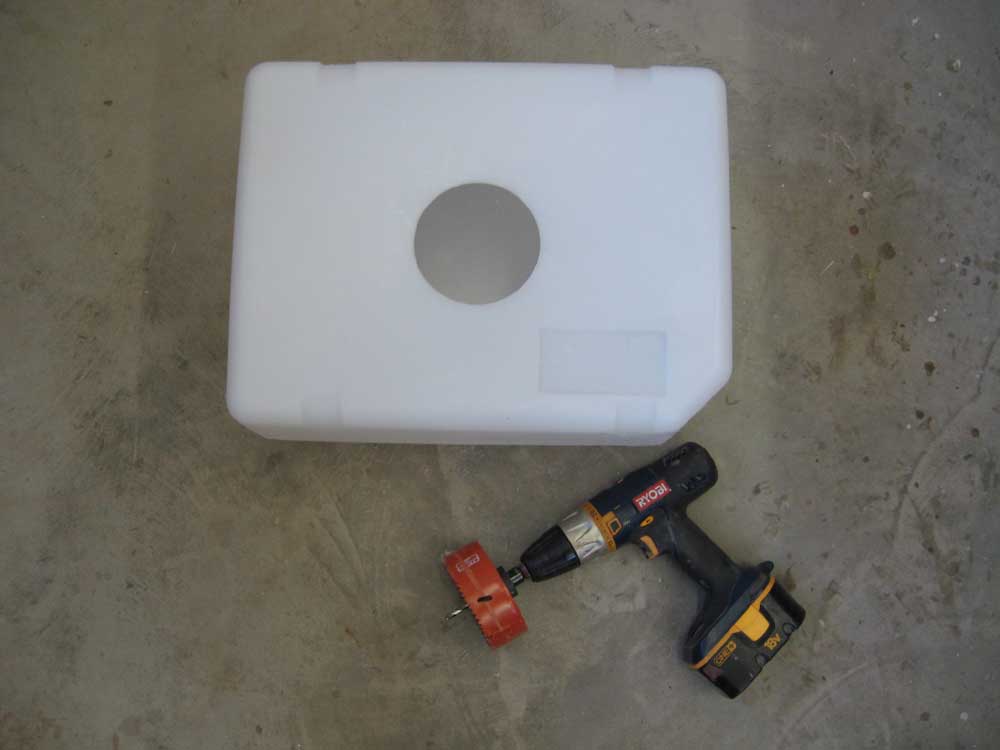
Because of the minimal clearance available, I planned to only do the final installation of the connection kit plate and the various fittings involved after the tank was in the locker for good (it was not time yet to permanently install the tank), but I wanted to do as much as I could now. So I spent a bit of time going through the directions. I like Vetus products well enough, but their desire to make their included directions as multi-lingual as possible tends to result in fairly non-specific written directions accompanied by lots of drawings, all of which takes time to muddle through. In this case, I wanted to be sure I didn't make a mistake before I cut the large hole required for the main connection kit's attachment plate, so I went through the written directions and diagrams several times to familiarize myself and make sure that I knew what was going on before finally using a 114mm hole saw that I had on hand to drill the large hole required in the top center of the tank. |
 |
|
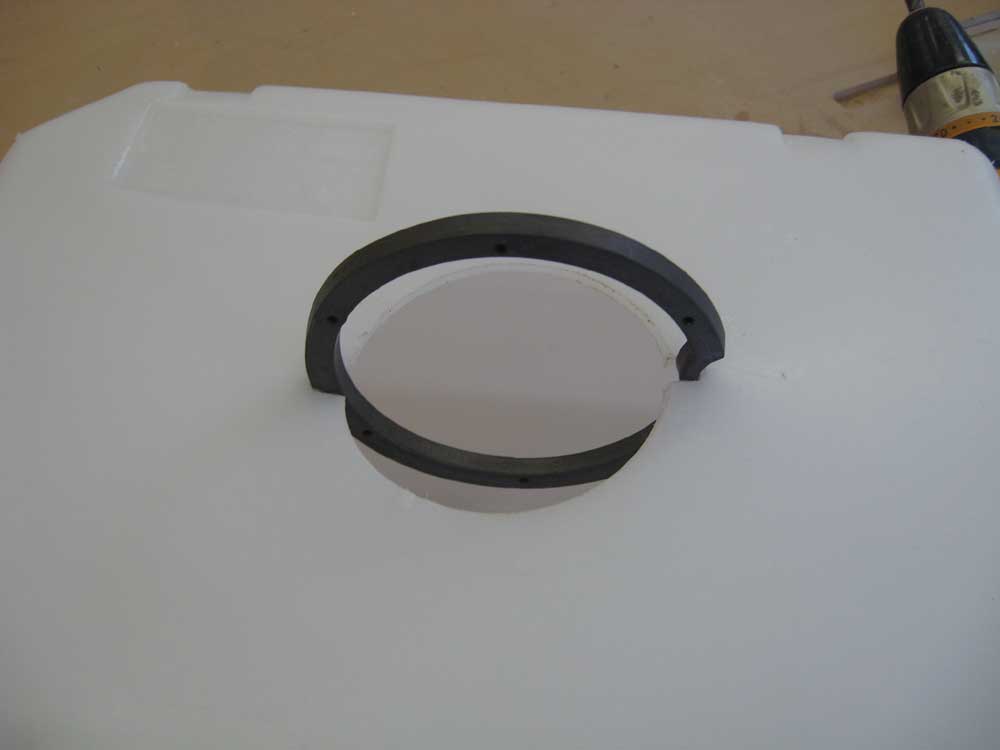
A cutting template for the hole, which I didn't need at first since I had the appropriately-sized hole saw, also included a slot on either side of the main hole, the purpose of which at first I couldn't conceive (along with that of a concave, indented portion of the backing ring), and which wasn't described or diagramed in the instructions. Shortly, though, I determined that the slots were required in order to fit a one-piece metal backing ring into the tank, to which the main connection plate was to secure, so I made the additional cuts and slipped the backing plate into place as a test. I used the template to drill the holes for the eventual fasteners, and then cleaned up any plastic burrs and vacuumed and cleaned out the tank thoroughly before setting it aside for later installation, to occur only after I'd connected engine control cables and some of the hoses in the locker to take advantage of the extra clearance. |
 |
|
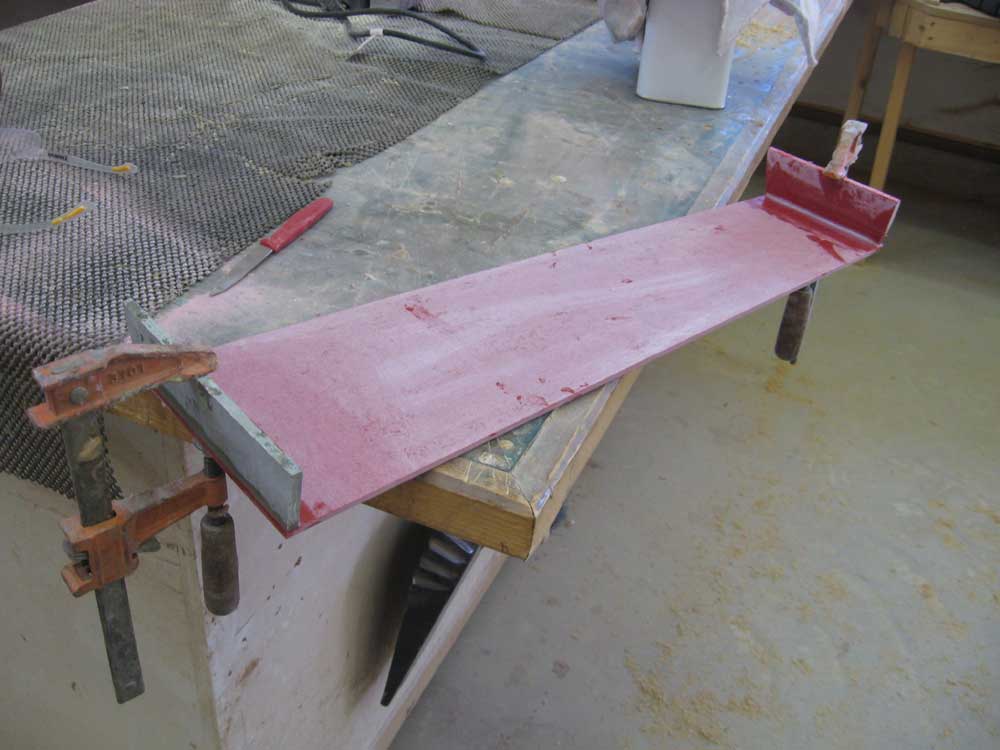
Next, I worked on building a removable engine room drip pan, the foundation for which I'd installed earlier in the bilge. From a sheet of 1/4" fiberglass laminate, I cut the basic piece to shape and made a few minor adjustments so it would fit properly. Then, I cut forward and after ends for the piece, to close off the ends, and after fitting them as needed I epoxied them to the base plate, leaving it to cure overnight. |
 |
|
|
|
