
|
Equinox Project | Tuesday, February 3,
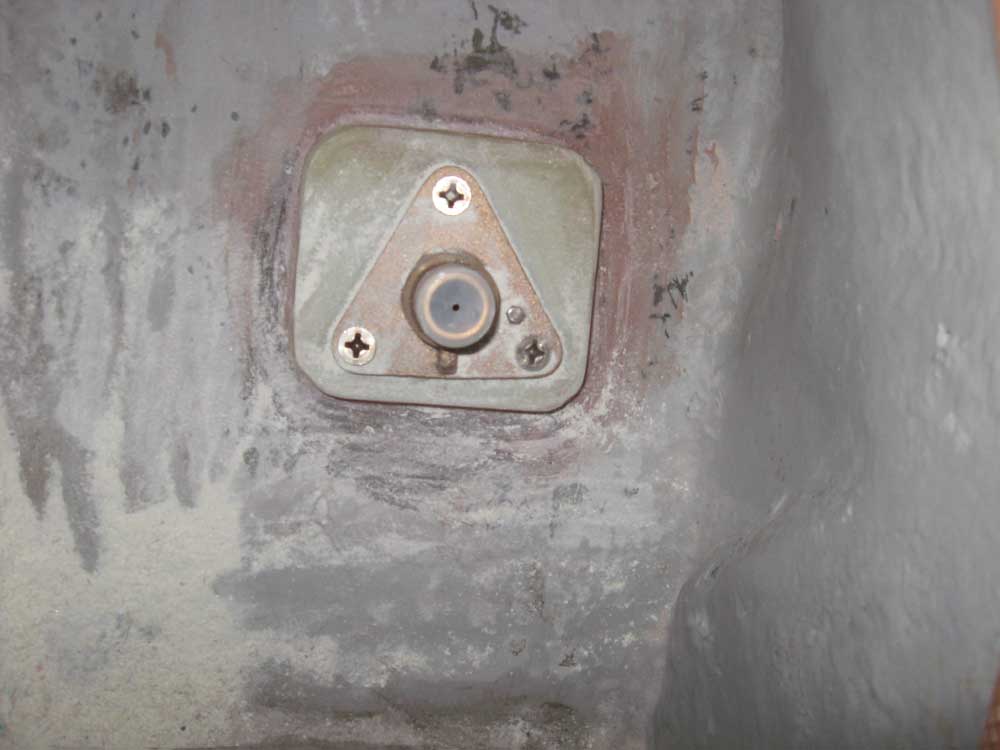
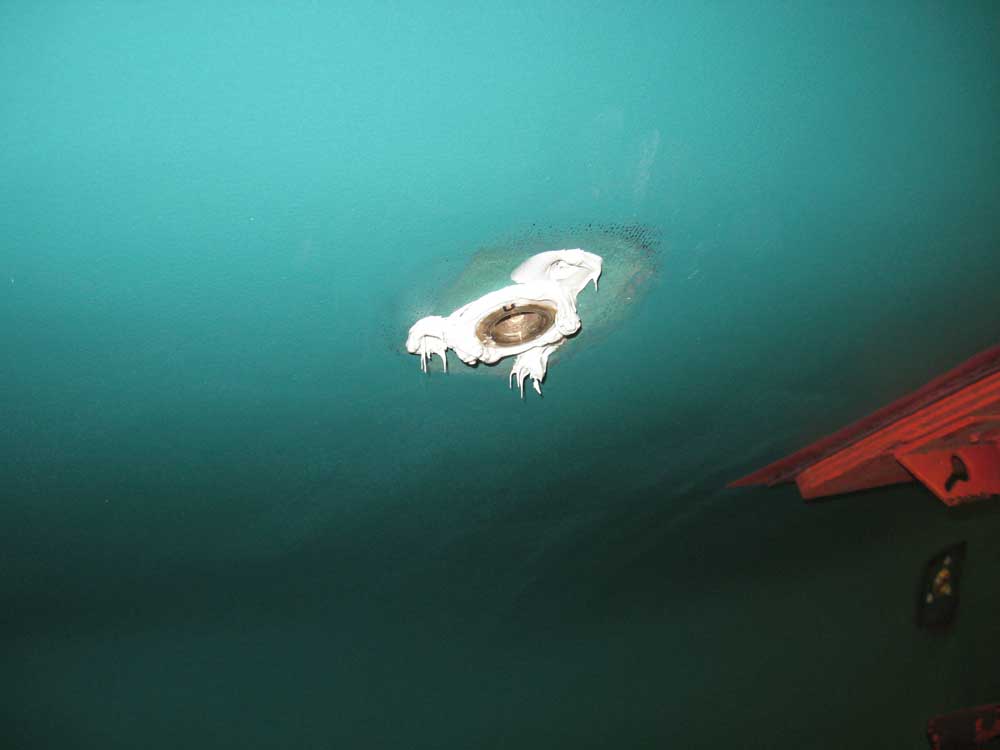
2009 I started by briefly sanding the brightwork on the bench, thinking I'd have time late in the day to do another coat of varnish. As it turned out, I did not, but the sanding needed to be done anyway. I spent additional time working on the beginnings of the electrical system planning, including materials requisition. I spent the remainder of the day working on the through hulls' installation, a multi-step process that required many trips up and down the ladder and in and out of the boat. I began the process by washing and sanding the backing blocks, or, to be more precise, the epoxy that I used to secure the backing blocks yesterday. After cleaning and smoothing the new fillets and surrounding areas, I test-fit each through hull fitting to determine how much of the threaded portion extended through the backing plate, and to ensure that my previous measurements and estimates had been correct. |
 |
|
As anticipated, the two 3/4" fittings (for the galley sink drain and engine raw water intake) allowed the bolting flanges to thread completely down to the backing block, so no further modification of these fittings was required. Also as anticipated, the 1-1/2" fittings for the cockpit scuppers, being longer, protruded too far into the boat, so the flange fitting would bottom out before reaching the backing block. For these, I re-measured the gap to double-check my earlier estimates. |

 |
|
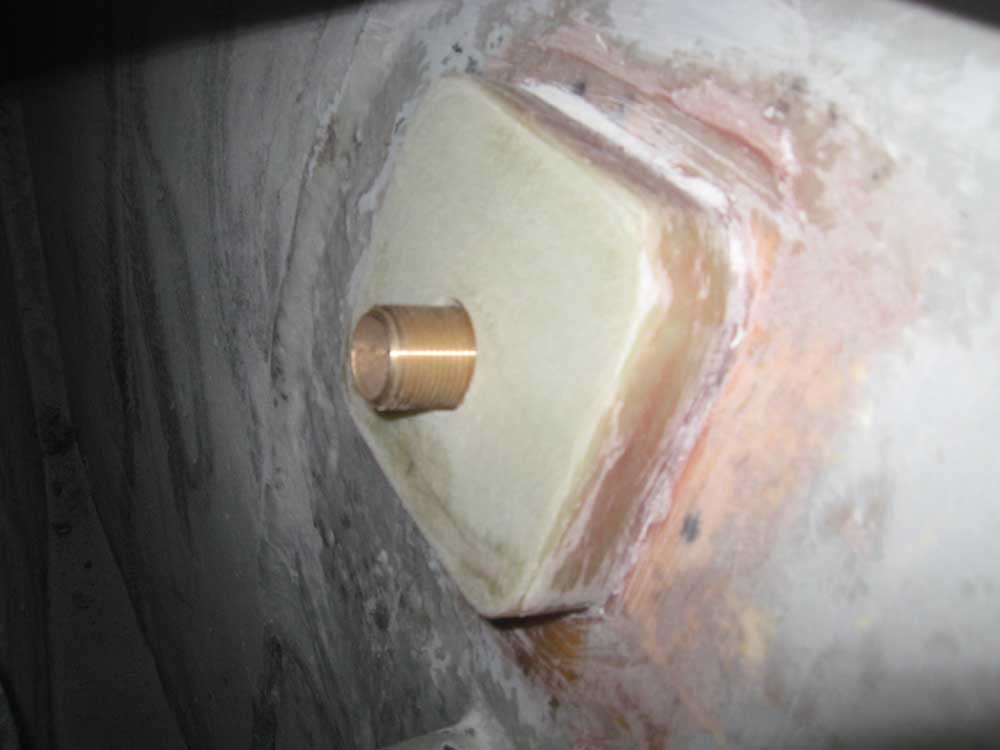
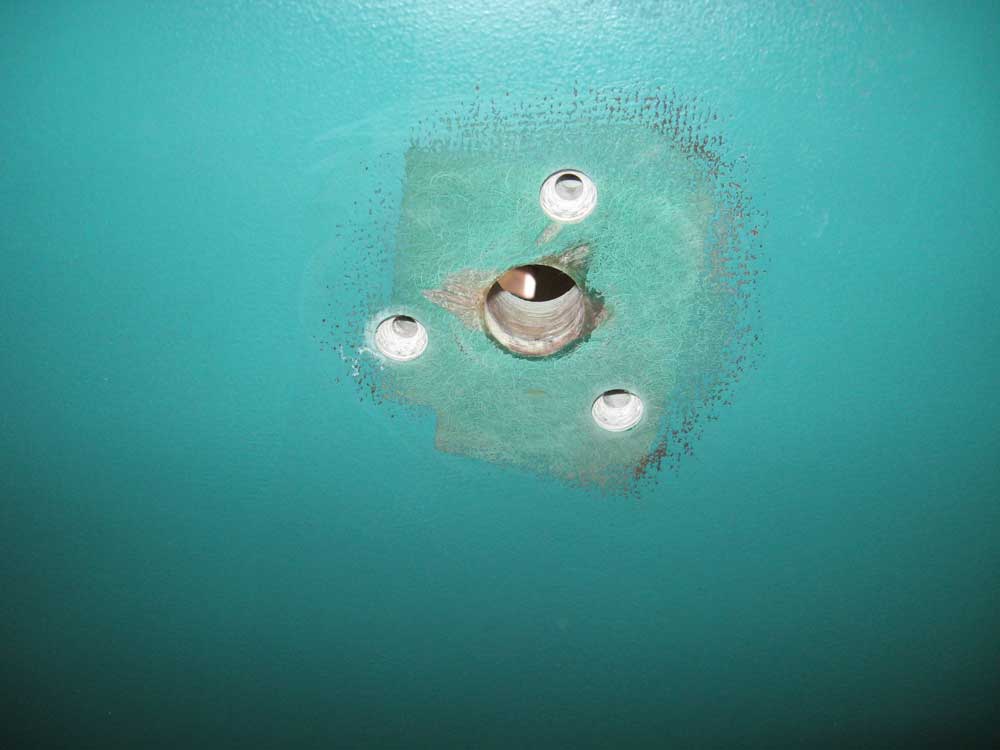
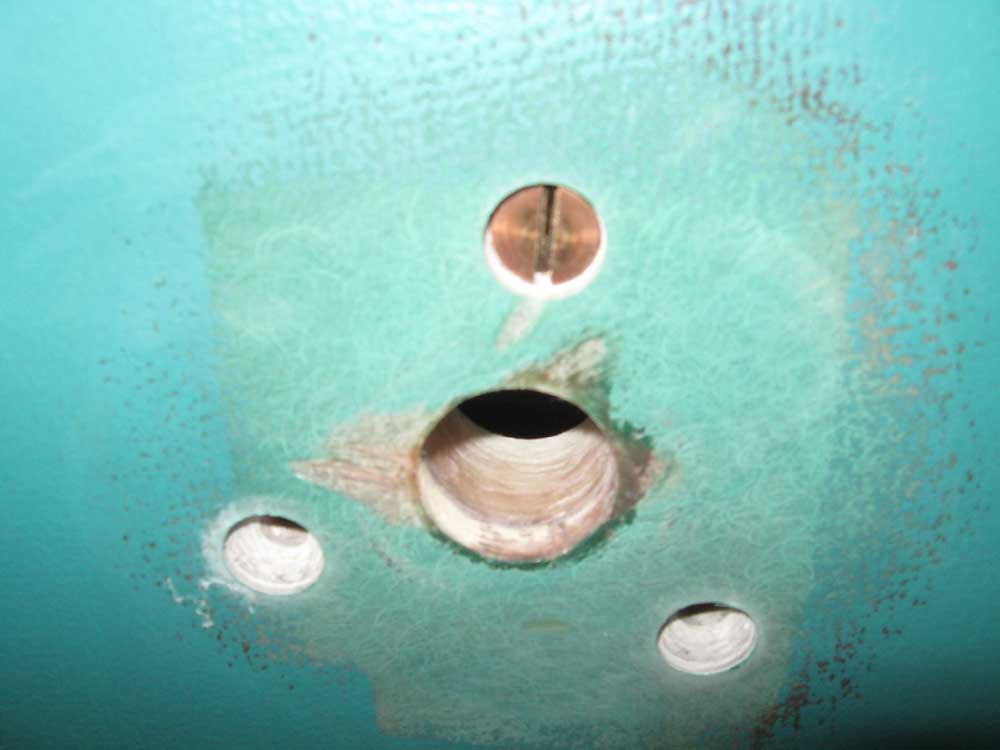
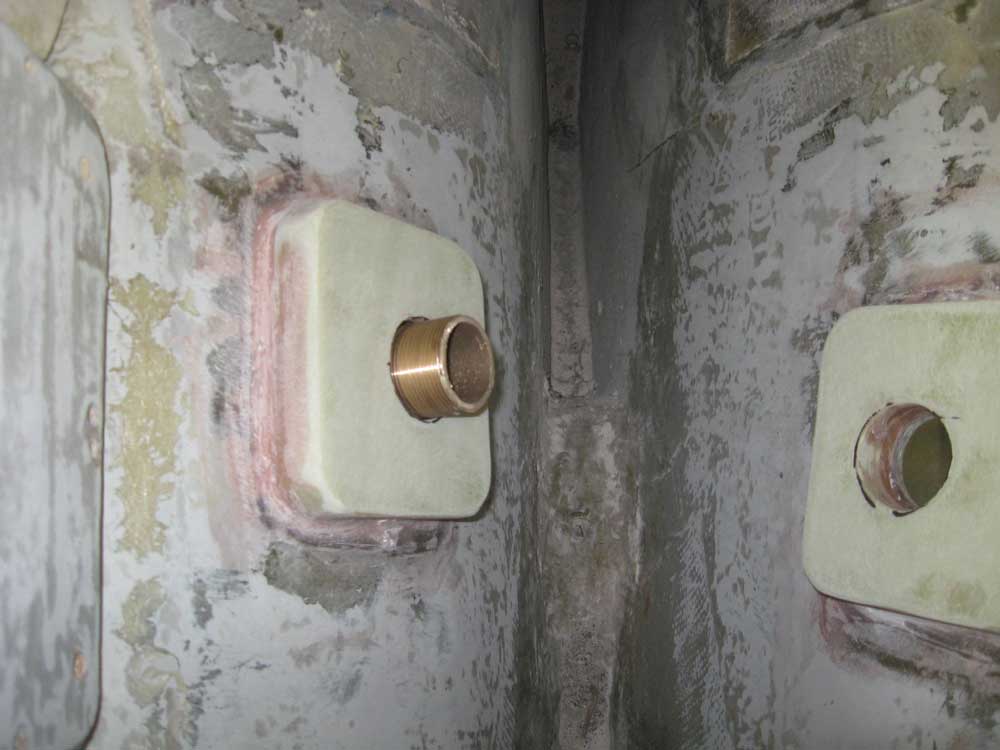
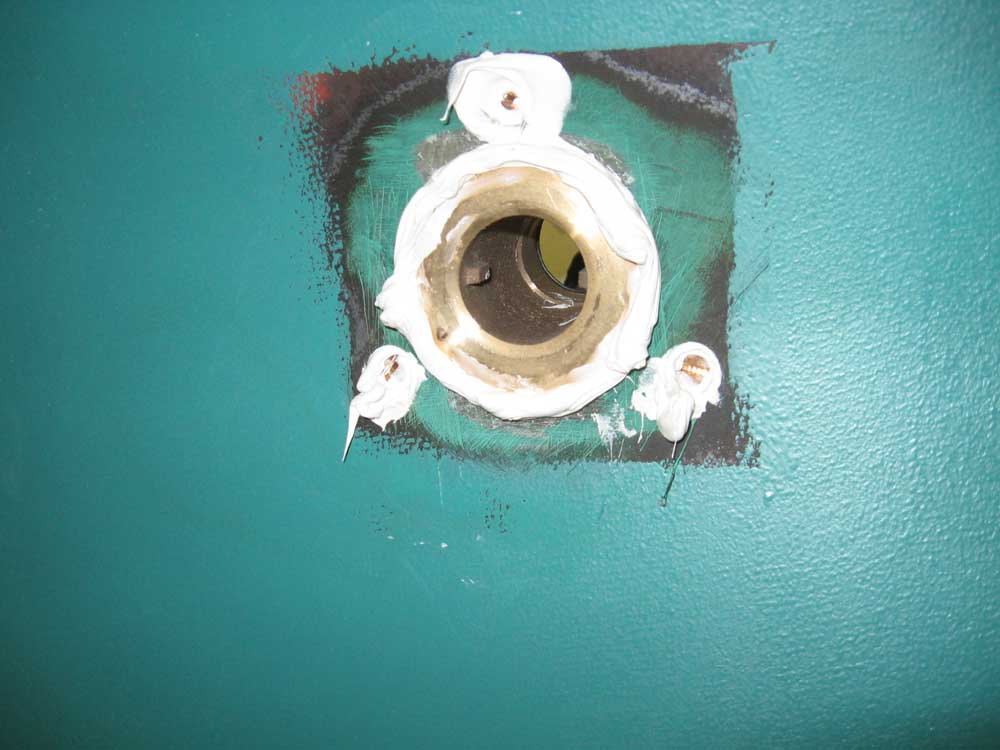
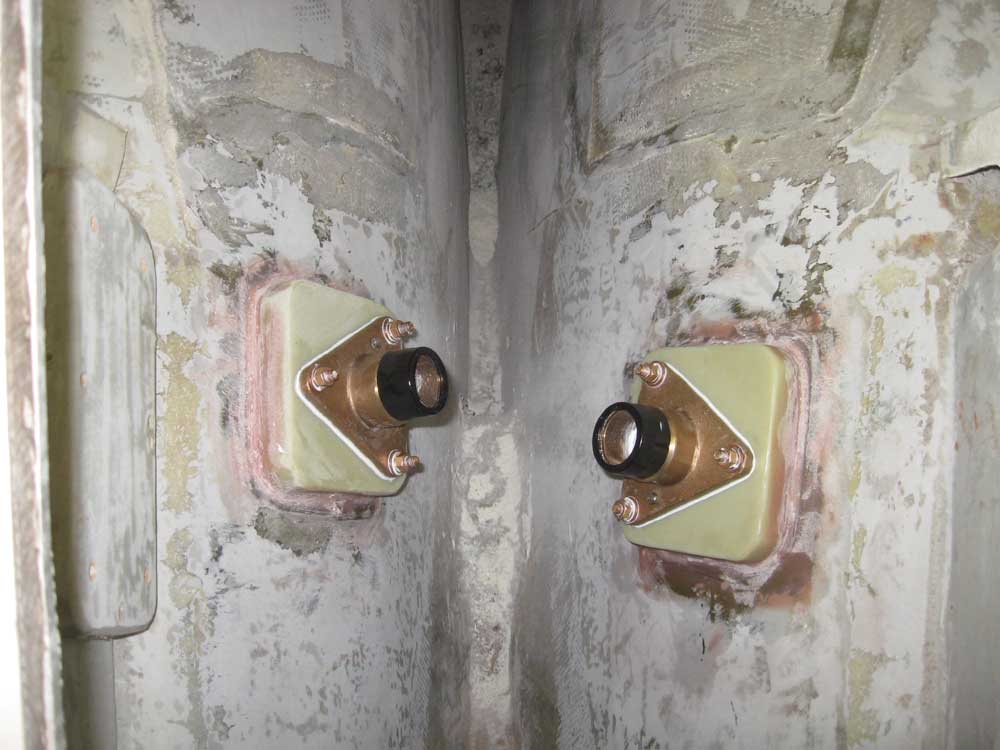
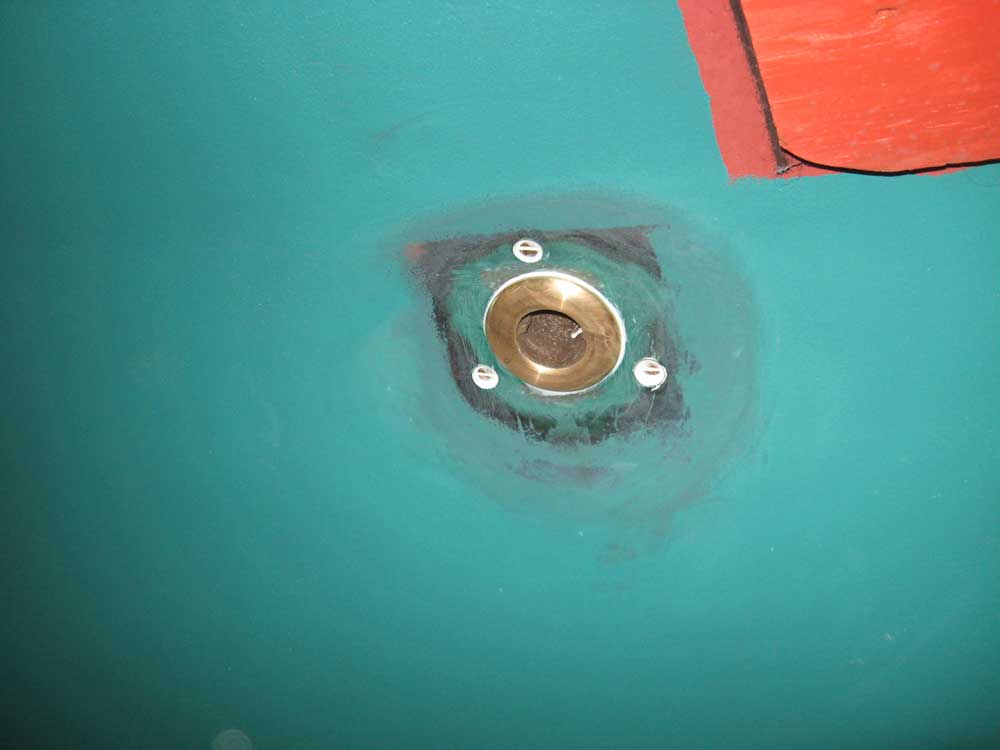
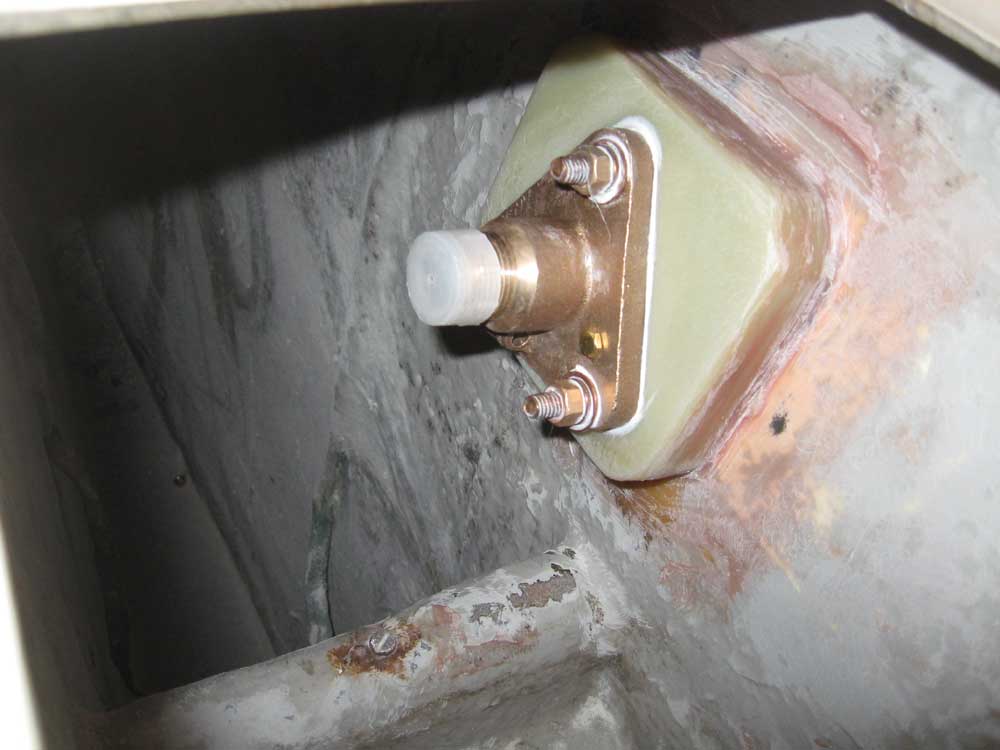
Starting with the smaller through hulls, next I dry-fit the pieces, holding the through hull in place from outside with some tape while I threaded the flange on from inside. With the pieces thusly aligned, I drilled the three 5/16" bolt holes through the backing block and hull, using temporary stainless steel bolts to hold the flange in alignment while I drilled the other holes. Later, I'd use bronze bolts to secure the flanges, but I didn't want to damage the bolts during dry-fitting, so I used substitute bolts that were expendable. With the bolt holes for both 3/4" fittings complete, I milled counterbores in the outside of the hull to allow the bolt heads to be sunk slightly below the surface. I cleaned up the drilling spoils and dust, and these two fittings were ready for final installation. Again, the stainless bolts seen in these photos are temporary and used for convenience during dry-fitting. |

  |
|
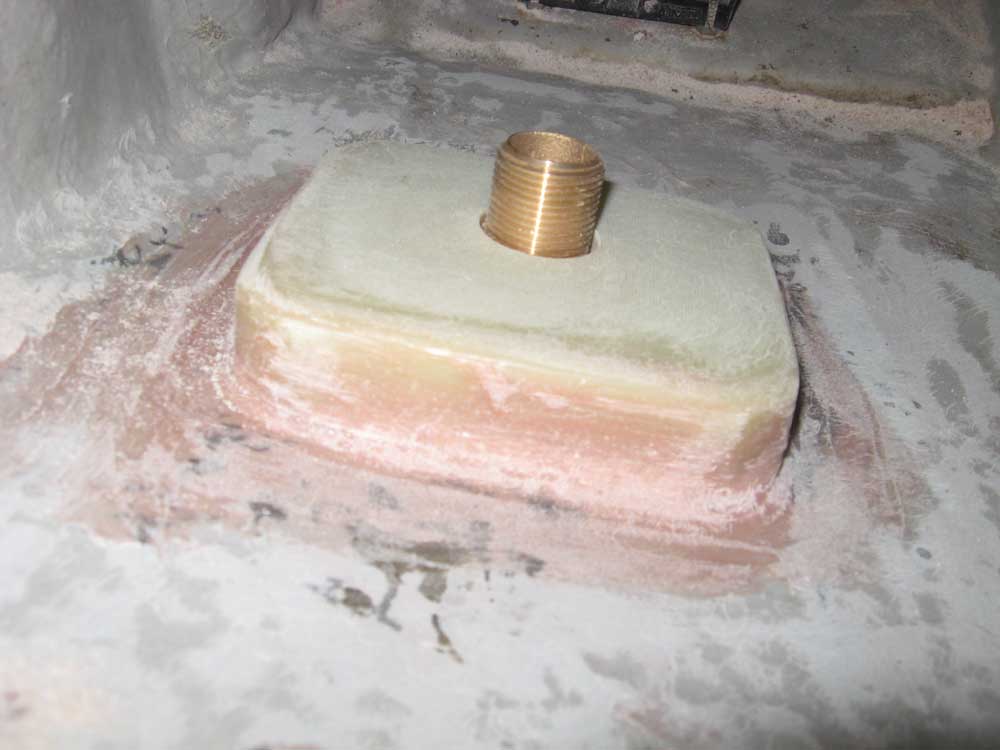
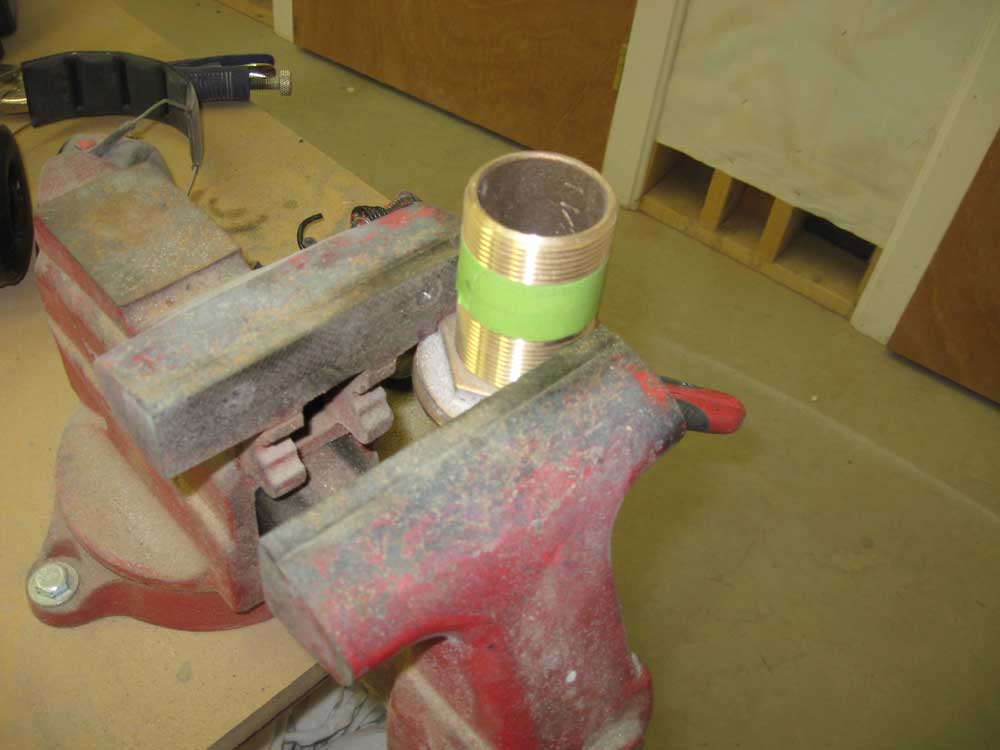
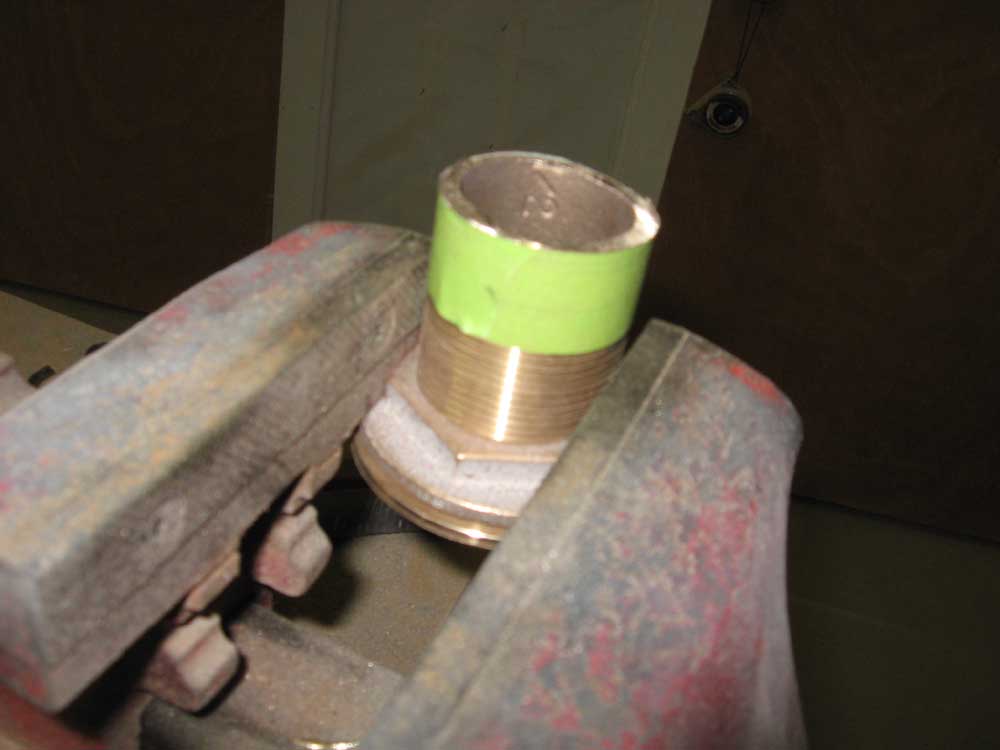
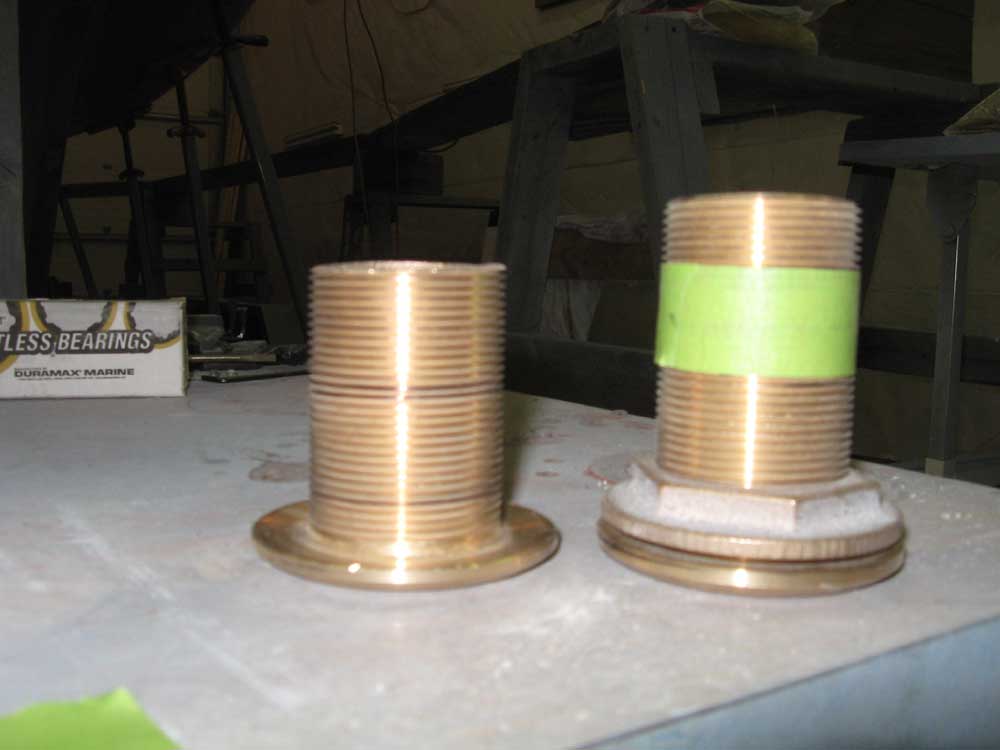
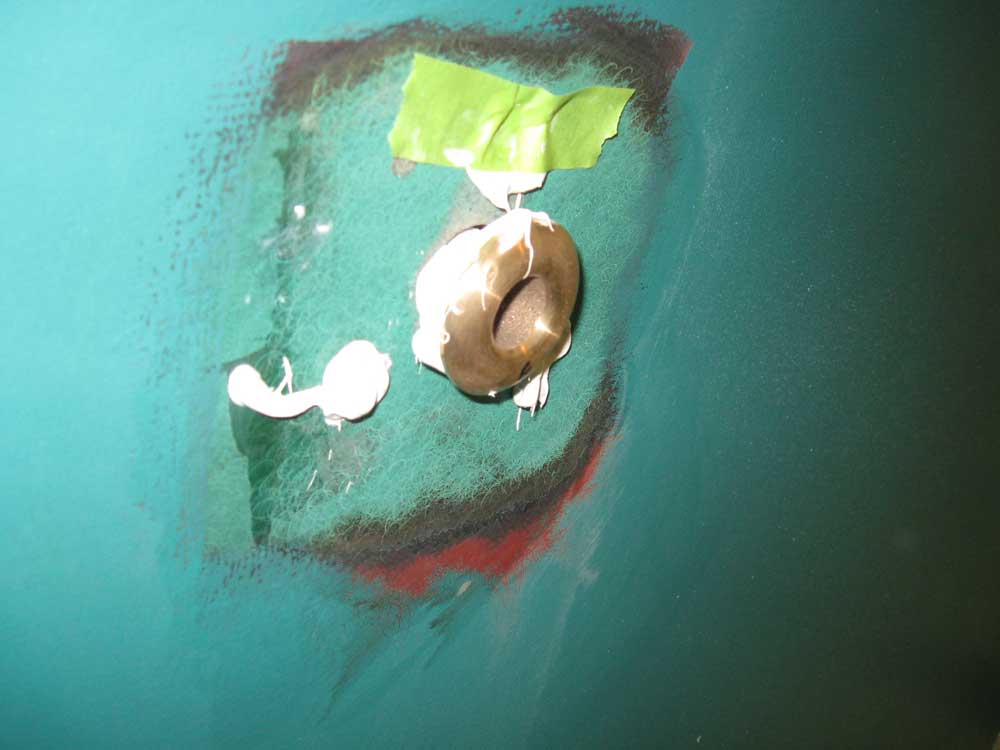
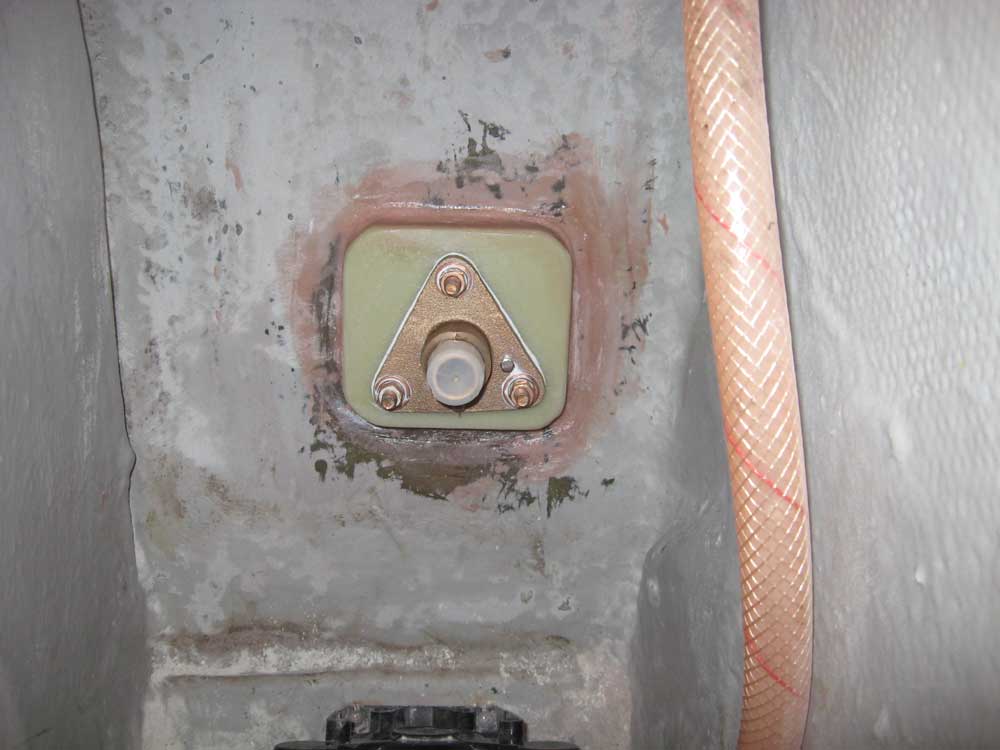
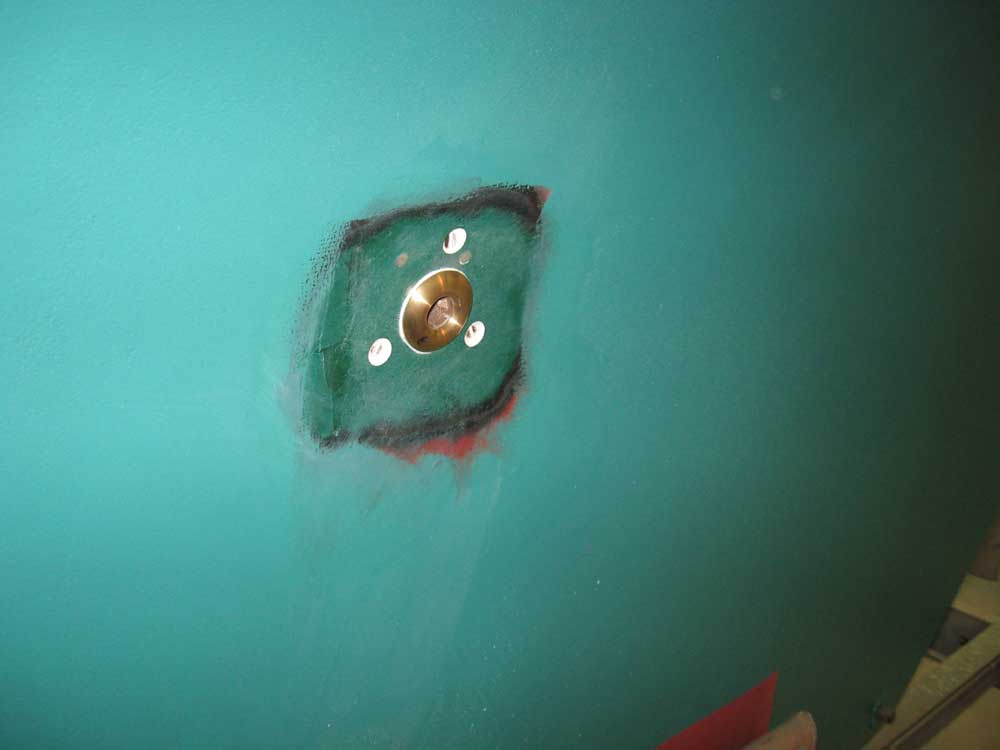
For the two cockpit scupper through hulls, I first needed to modify the through hull fittings themselves. Using my newly-made marks as a guide, I determined that I needed to remove about 3/4" of the through hull threads in order to allow the flanges to screw tightly down to the backing blocks. To start, since I didn't have a thread-cutting die of the proper size, I threaded the large nut supplied with the through hull all the way down the shaft, so that I could use it to reform and clean up the threads once I'd cut the end off. Dies of this size were prohibitively expensive for the anticipated use I'd ever get from them. I made the requisite marks and wrapped some tape around the fitting at the appropriate height. Holding the fitting in a vise, I used a grinder and a cutoff wheel to cut off the excess and clean up the ends, after which I unthreaded the nut to clean up the threads. Before completely removing the nut, I test-fit the cut end into the female threads of the flange to ensure that I'd be able to get the threads started. It worked, so with one through hull now ready, I repeated the process with the second one. Any stainless steel bolts seen in these photos are temporary and for layout purposes only. |

 |
|
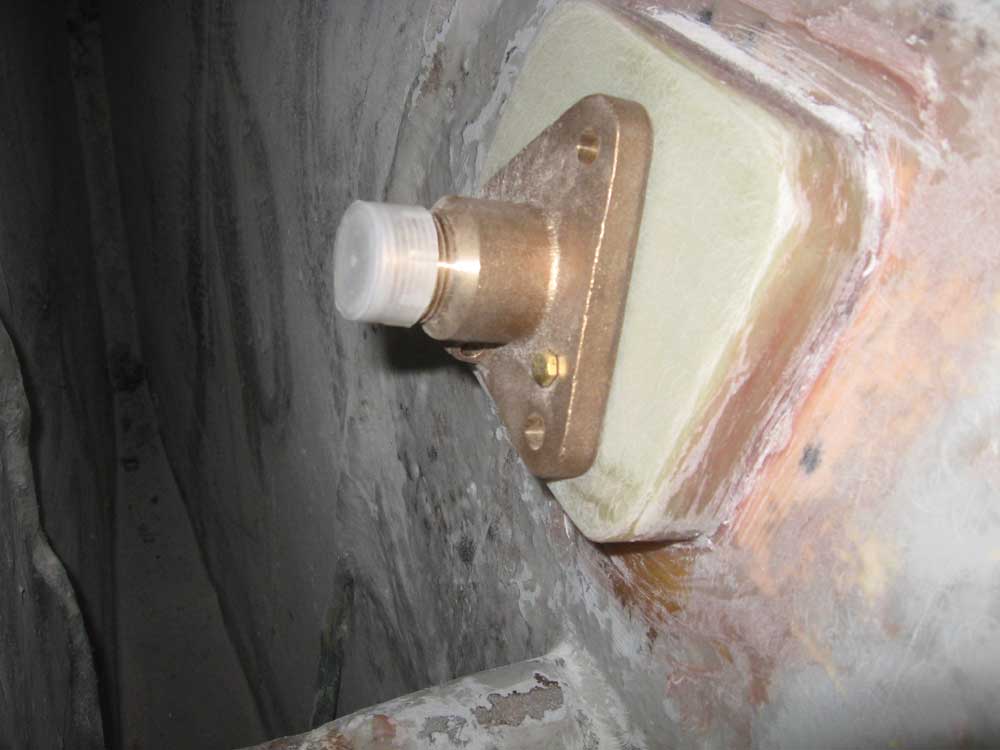
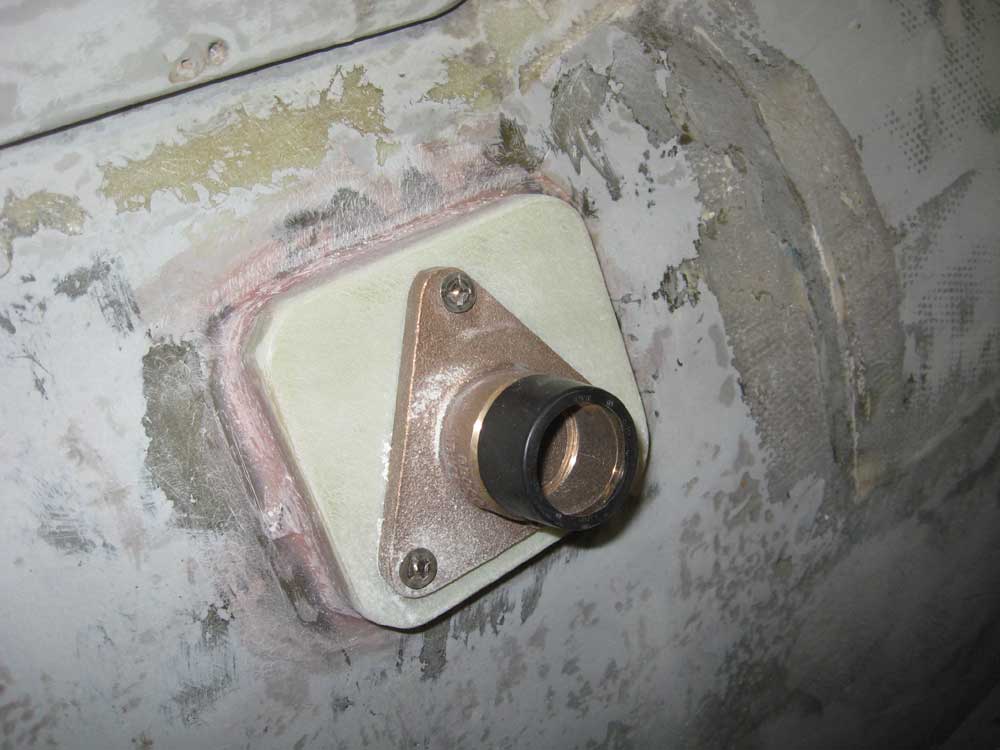
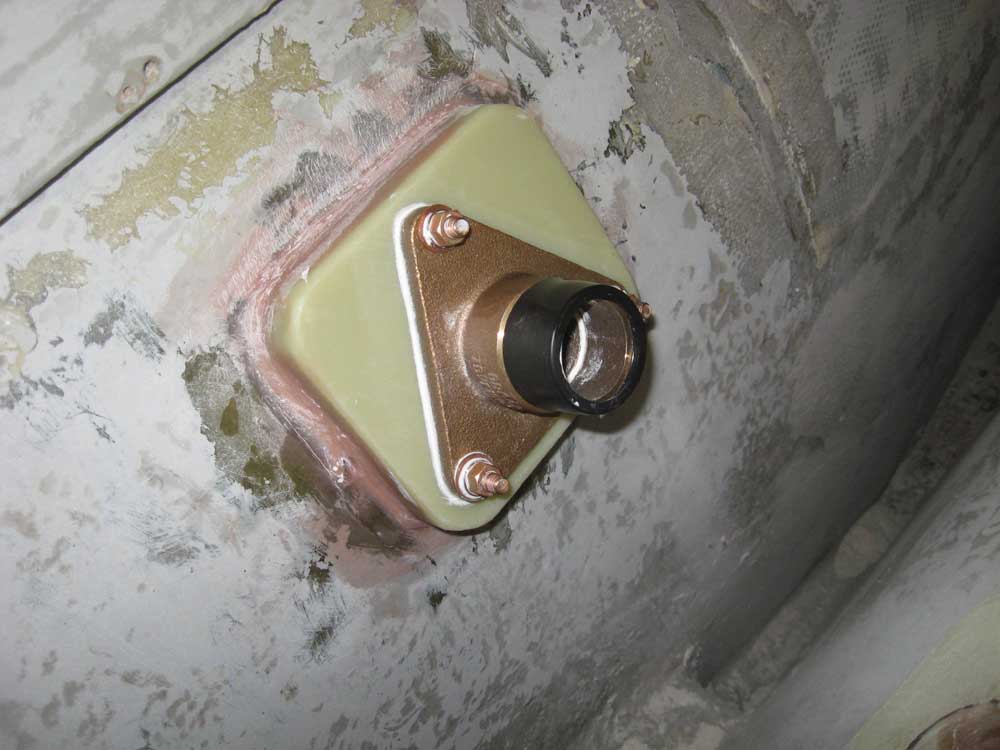
Once I had both fittings cut to length, I repeated the process I'd used earlier to dry-fit the fittings and bore the bolt holes for the flange fitting, along with the counterbores for the bolt heads on the exterior of the hull. I cleaned up, gathered tools, sealant, and equipment, and prepared to do the final installation of the four through hulls. I chose 3M 4200 polyurethane sealant: strong, but somewhat easier to remove than its near cousin, 5200. In each case, I began by gooping and installing one of the three bronze 5/16 x 2-1/2" bronze flathead bolts from the outside--the topmost bolt. I held the bolt in place with some tape, and, after moving inside the boat, applied sealant to the base of the mounting flange and around the bolt holes and then essentially "hung" the flange fitting from the single bolt after aligning it as well as I could over the remaining holes, and put a washer, lockwasher, and nut loosely on the one bolt. Back outside the boat, I gooped and installed the remaining two bolts and inserted them; occasionally I'd have to jiggle the fitting a bit to get the alignment just right. Then, I climbed back into the boat and installed nuts and washers over the two newly-installed bolts, leaving things just short of tight for now. Finally, I returned to the shop floor and heavily applied sealant to the through hull flange and the base of the threads, as well as applying some on the portion of the threads that would turn into the threaded fitting above. I threaded the through hull into position and tightened it securely using my through hull installation tool. Then, back inside the boat, I tightened down the nuts on the three through bolts, after which I cleaned up the excess sealant inside and out. I was pleased to find that I was able to tighten these nuts without any problems with the bolts spinning, though I had a plan in place should that have been the case. |
 |
|
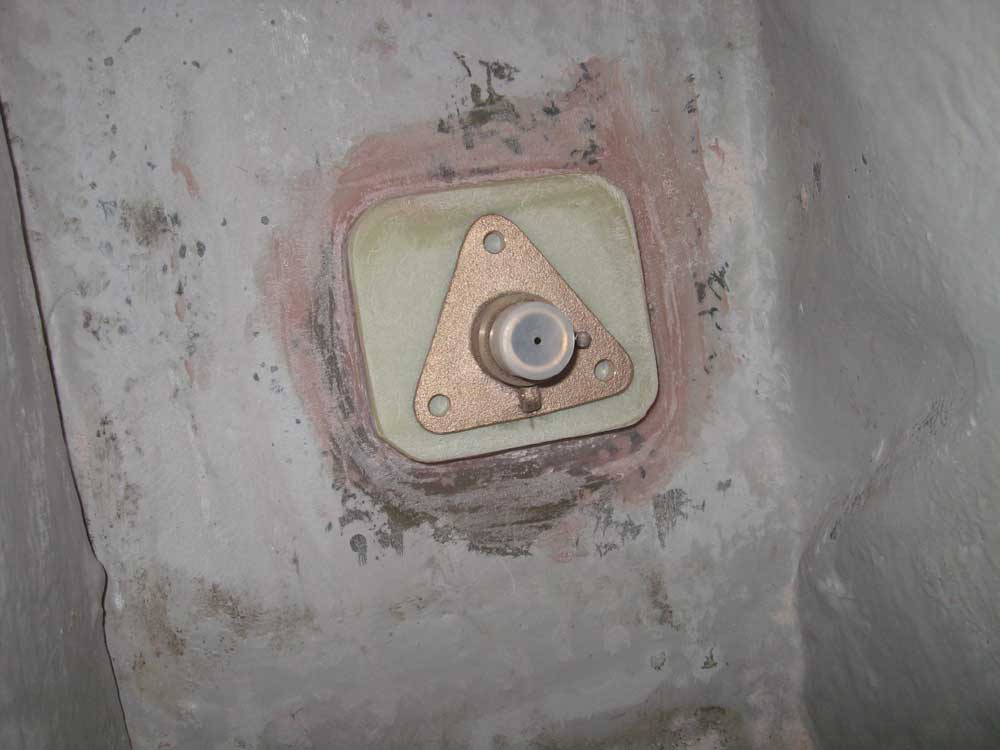
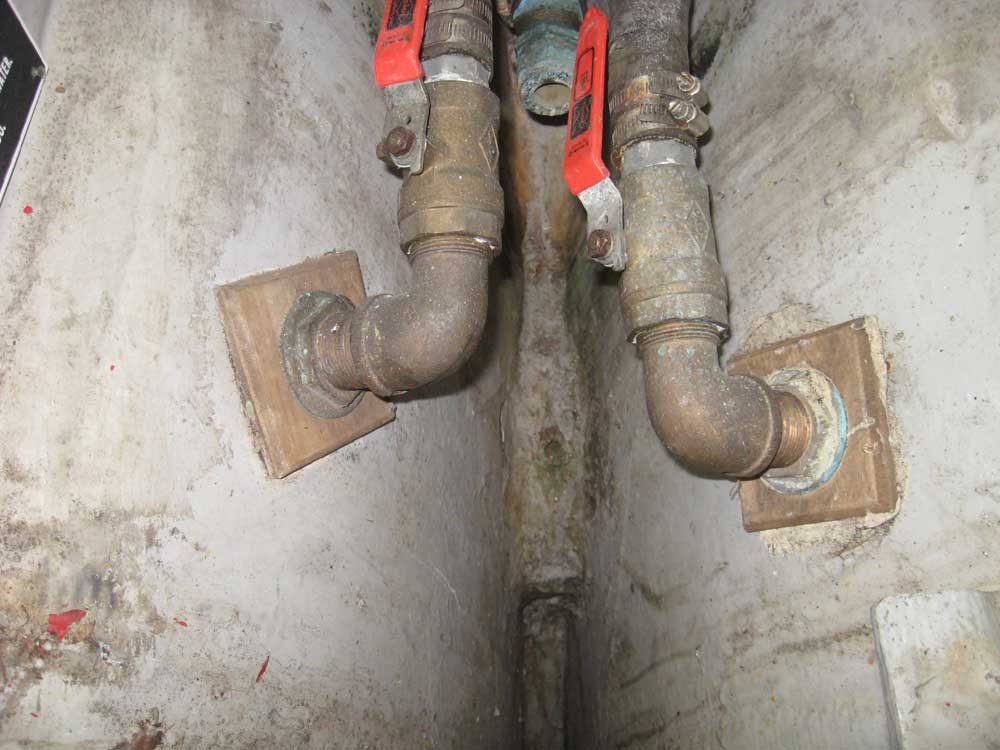
After repeating the process on all fittings, the job was complete, and the day was complete as well. Note that I plan to more or less duplicate, with new bronze fittings, the original configuration (click for picture) for the valves on the cockpit scuppers to provide the required clearance between the two closely-spaced through hull fittings. |
|
|
|
