|
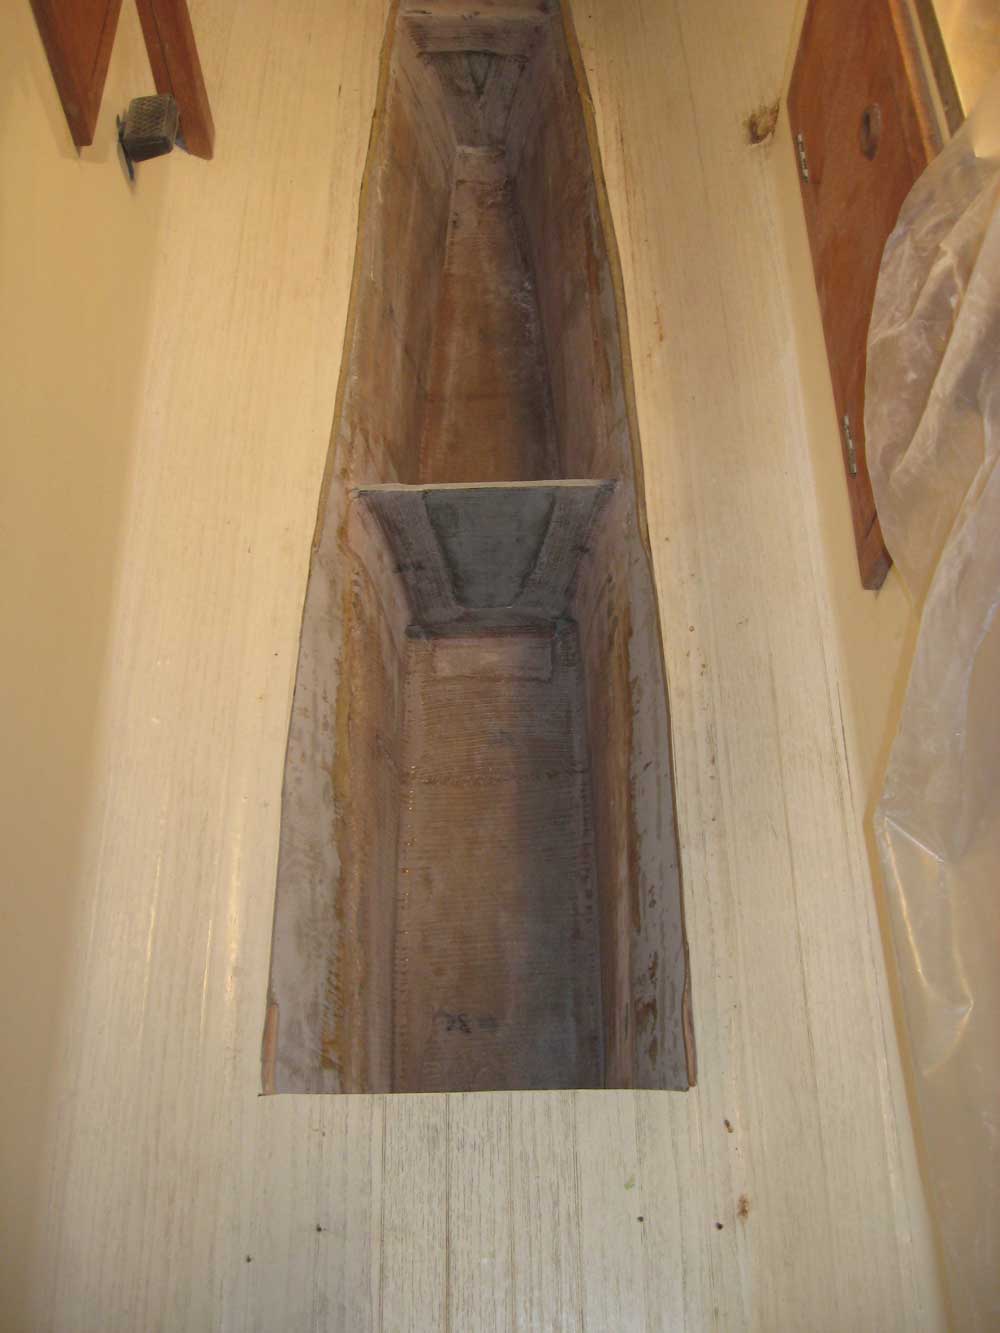
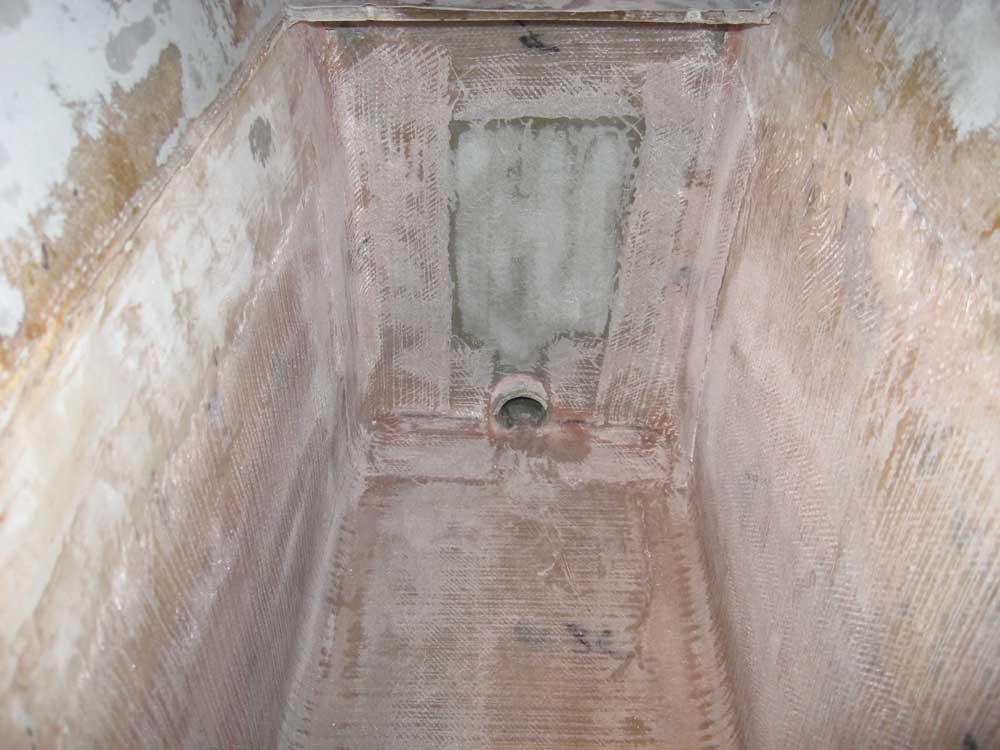
Equinox Project | Friday, December 19, 2008 I water-washed and sanded the new tabbing in the bilge, removing rough edges and preparing the areas for eventual paint, and then cleaned up the area. With the major pieces in place, it was time to continue moving forward towards eventually closing off the space once more. |
|
|
|
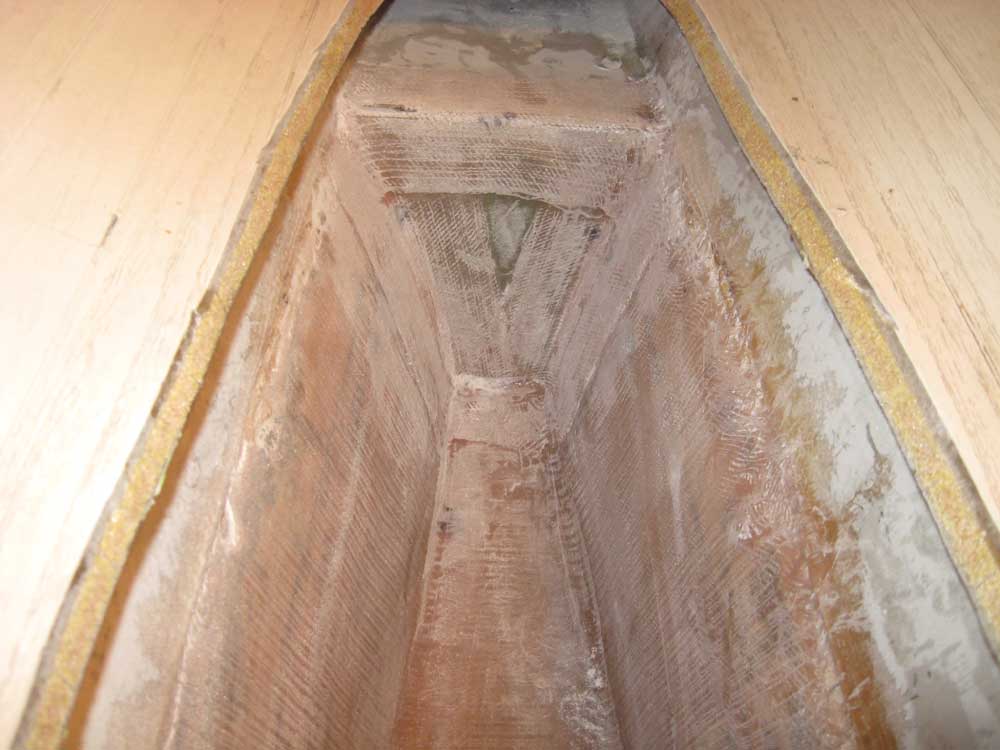
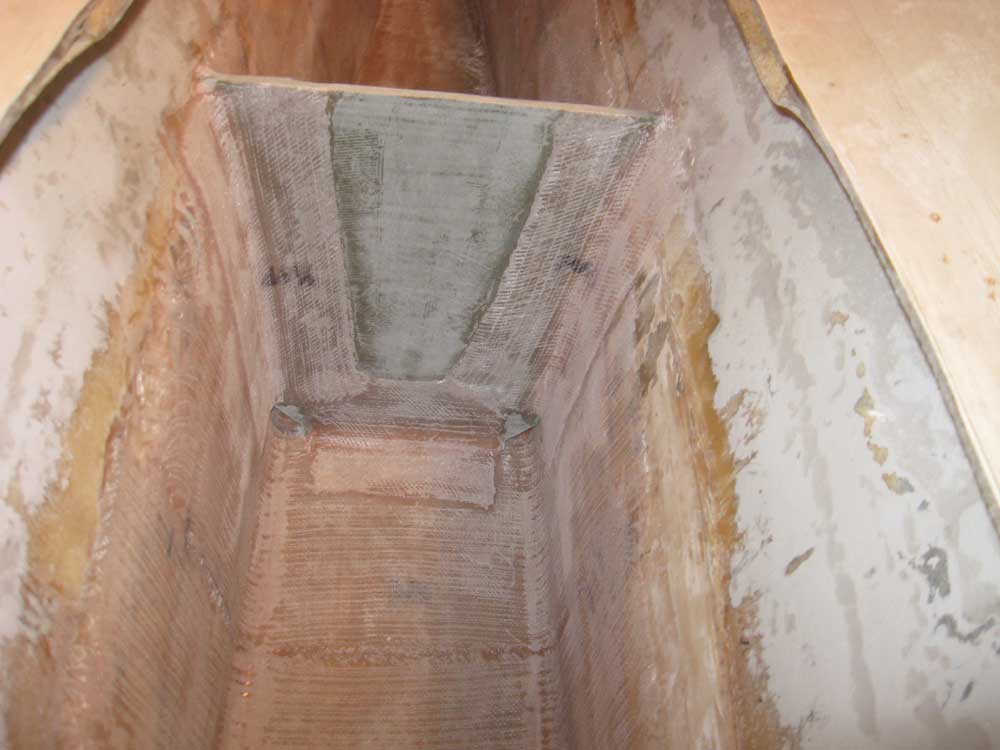
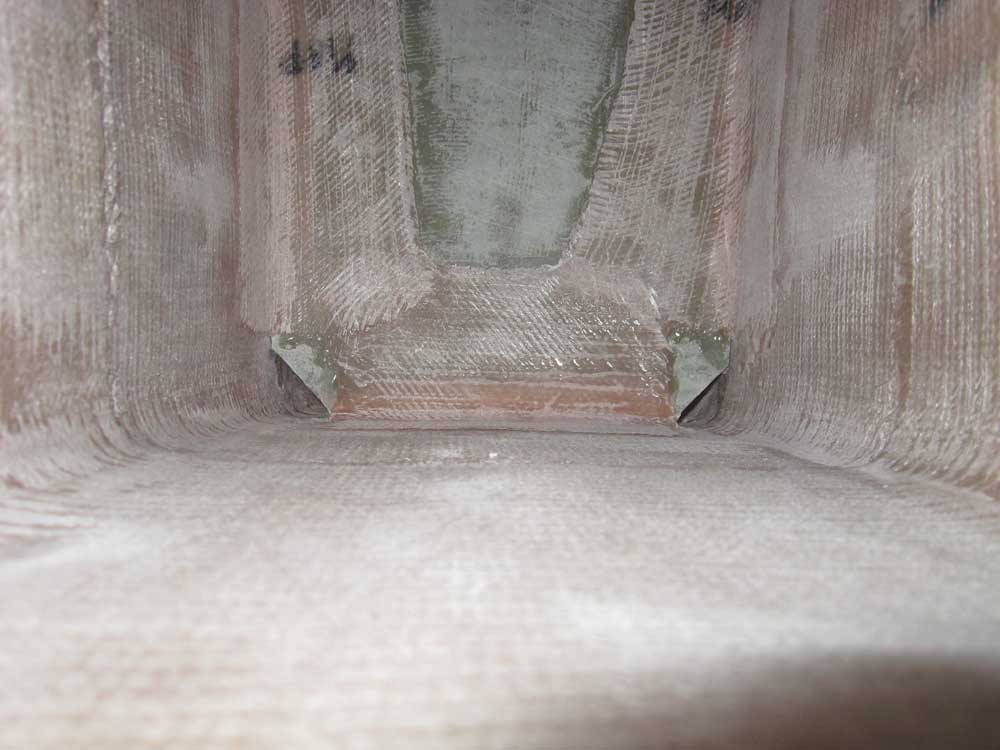
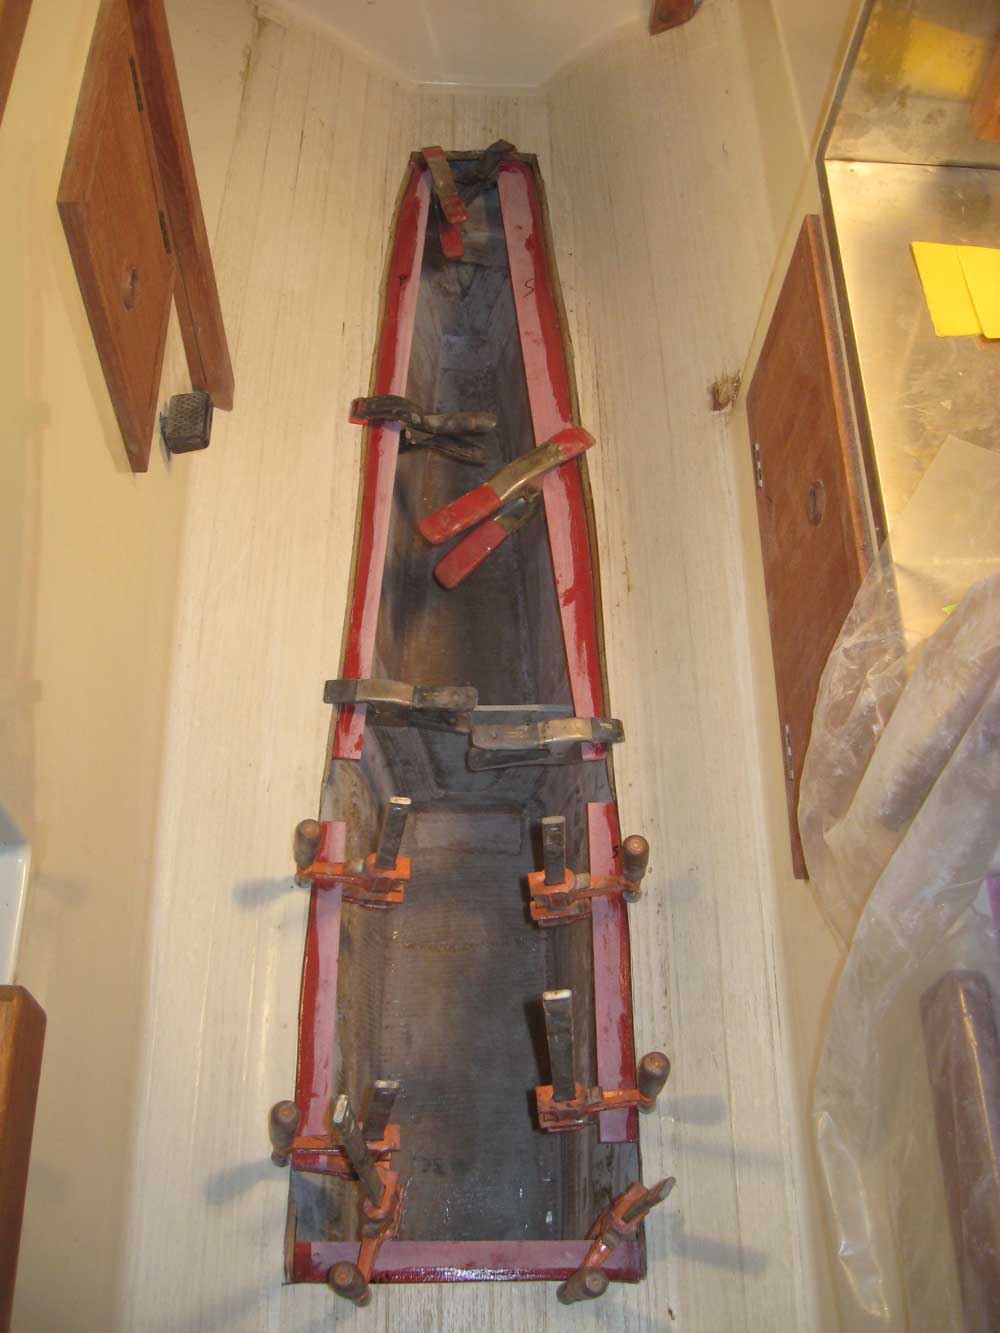
To support and resecure the cut-out piece of the cabin sole, I prepared several 3" wide pieces of prefabricated fiberglass sheet, which I cut to fit and epoxied in place beneath the existing edges of the interior liner; the area projecting outward into the space would eventually provide the base to which to secure the cabin sole section once more. Because of variances in the cutout, and also in the way the cabin liner was shaped beneath the surface, the forward supports projected asymmetrically into the open space; since these pieces would never be visible once I reinstalled the sole, I didn't worry about this. |
|
|
|
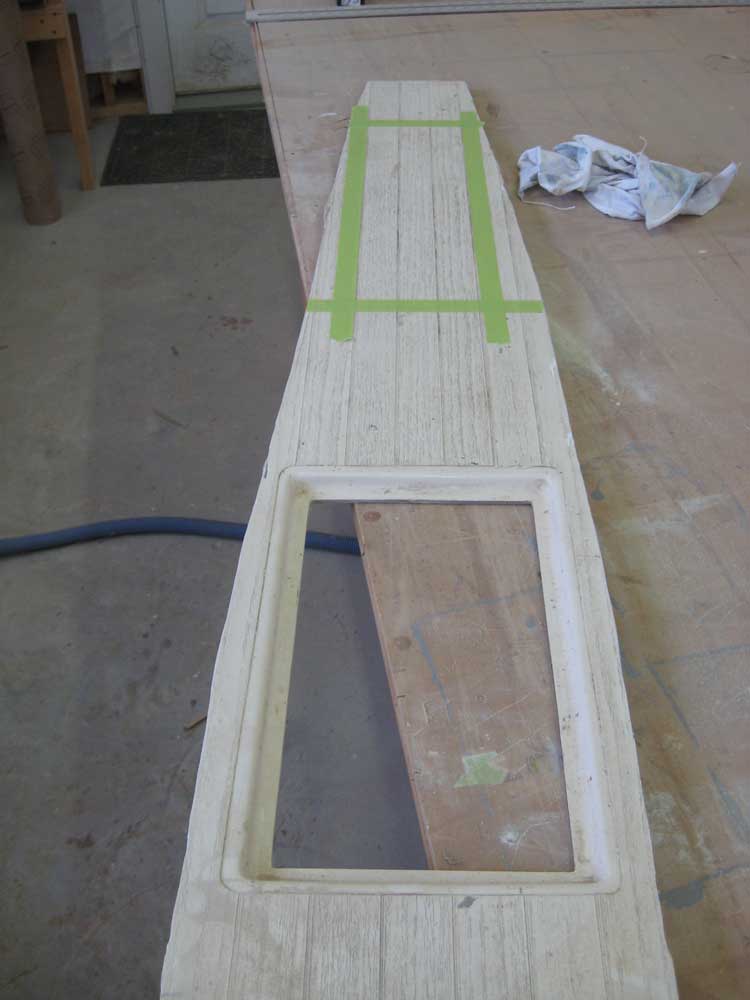
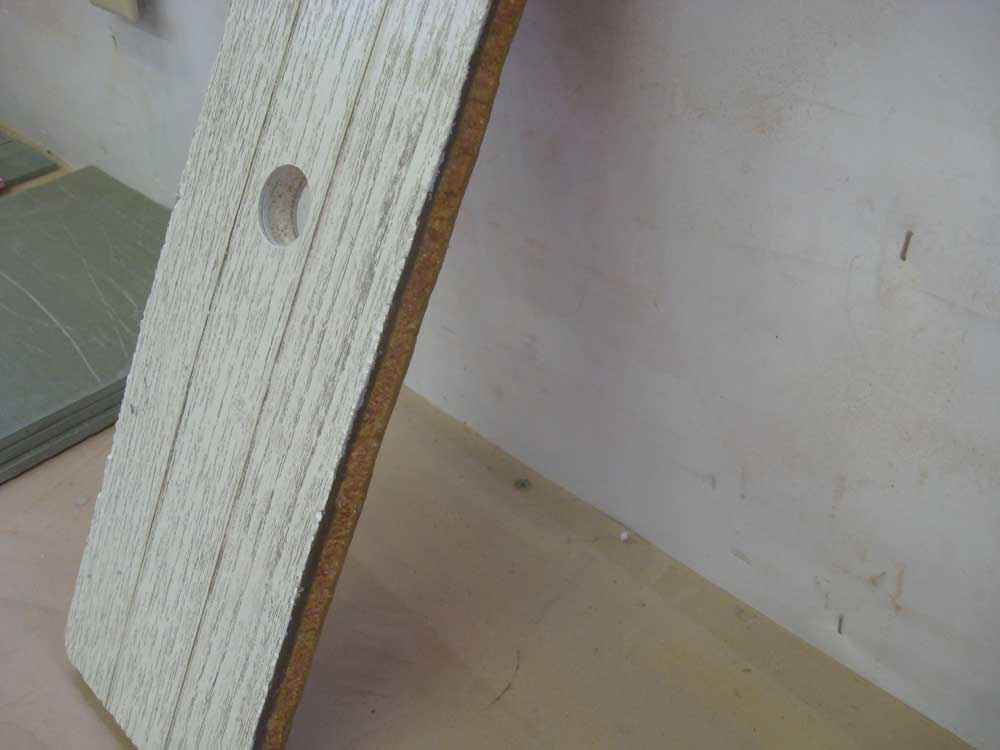
With the "new" bilge area now divided into two sections, I wanted to provide a new hatch to allow access to the forward section; the after section would be accessible through the stock access hatch at all times, but the forward section, which we didn't intend to be frequently accessed, would require (eventually) the removal of the cosmetic teak cabin sole veneer for its occasional access. In any event, I marked out and then cut a hatch in the forward section of the cabin sole piece that I'd removed earlier. Later, I planned to install more fiberglass strips beneath the new hatch opening to support it, but for the moment I refrained, as I needed to test-fit the sole on the new supports that were currently curing in place in the boat to determine how to arrange further supports. I coated the exposed edges of the cabin sole and the hatch cutout with epoxy resin to seal the foam. |
|
|
|
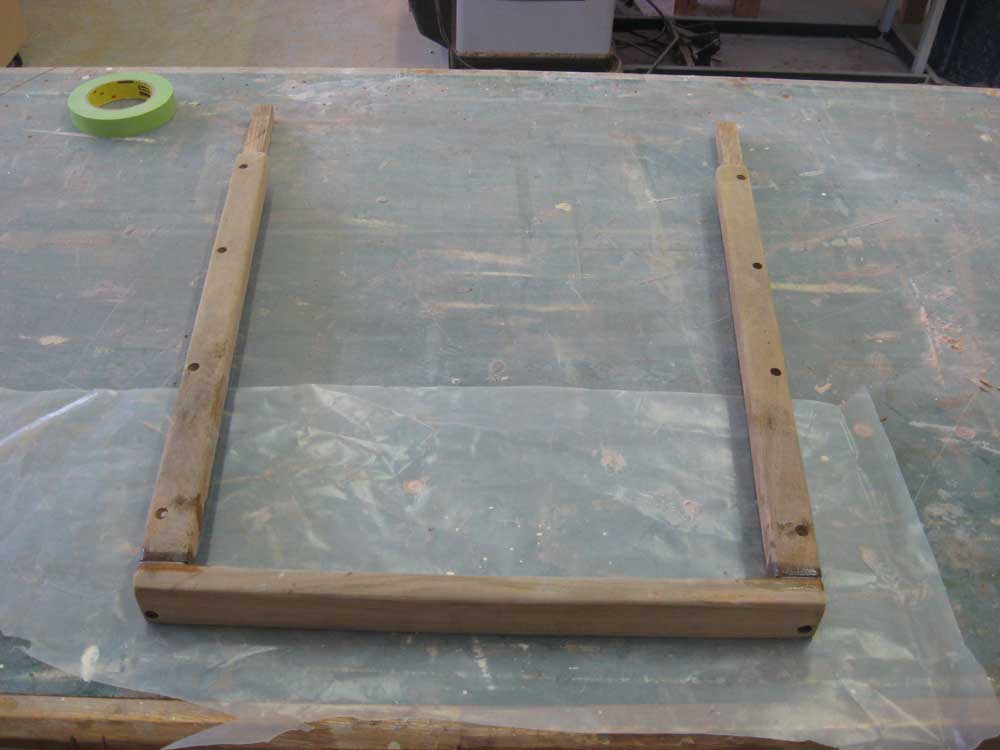
I continued with some woodwork, once again concentrating on the companionway trim. I fine-tuned the fit between various pieces, and then resecured the side trim to the angled stool with epoxy and screws. I set that aside to cure while working on a few other non-descript but related projects; later, when the epoxy cured, I would secure the side pieces to the top archway, thus completing the companionway trim. |
|
|
|
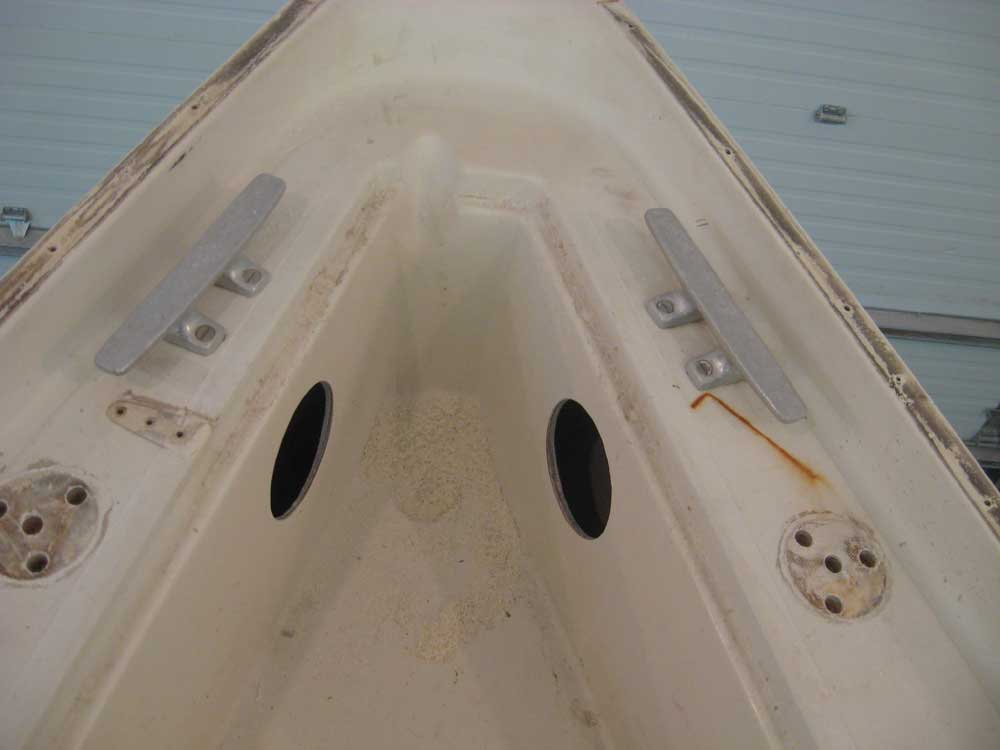
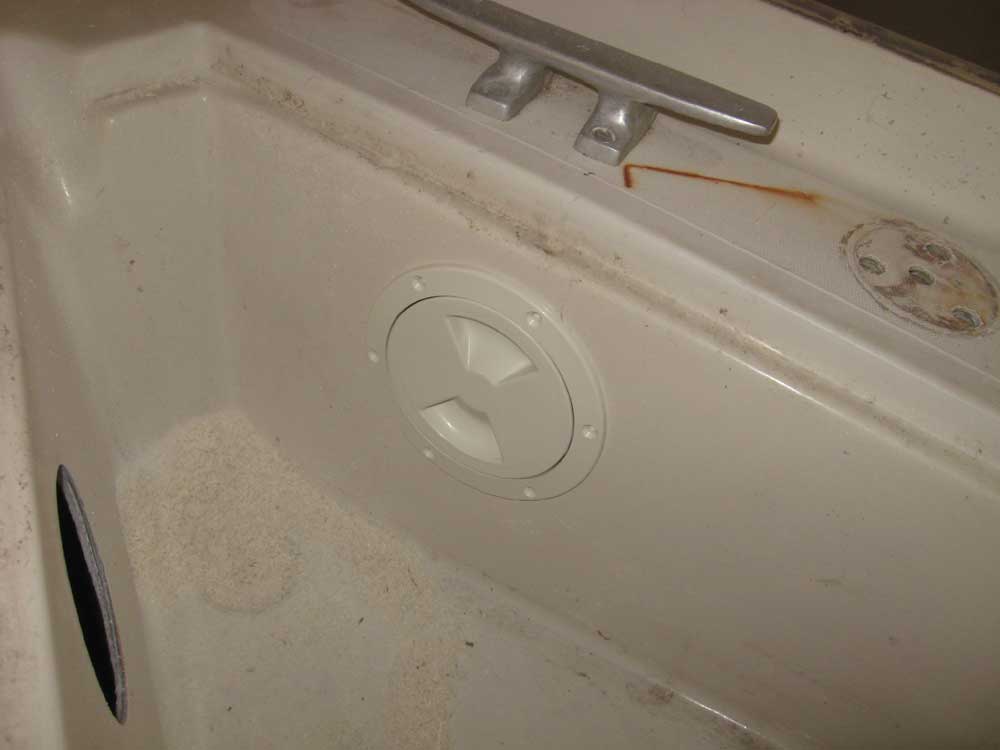
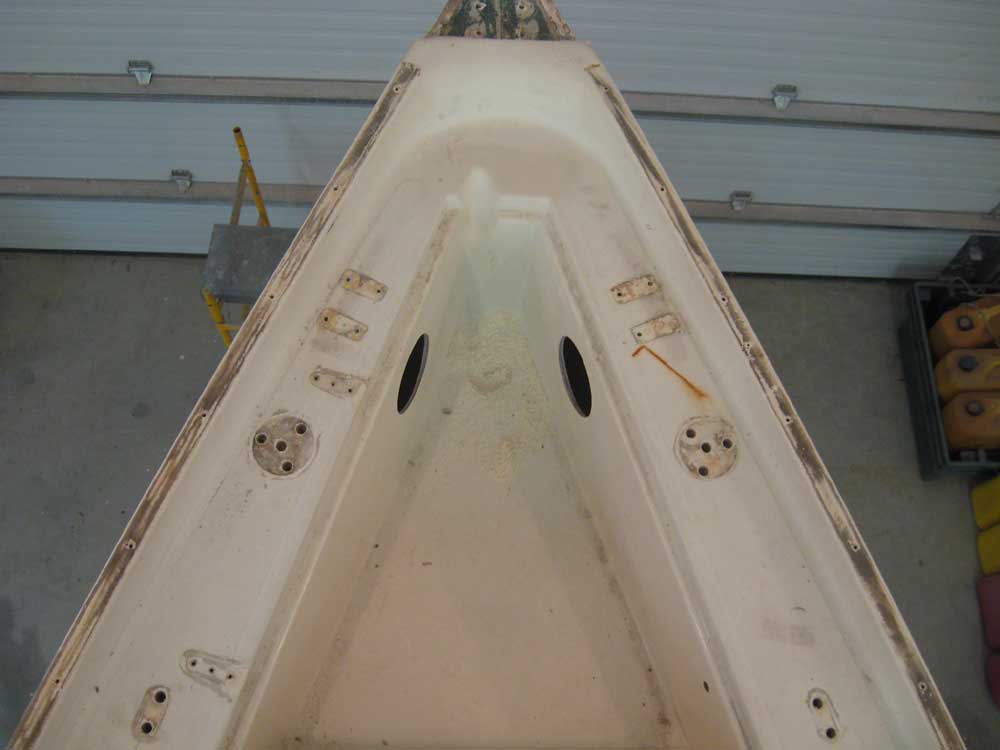
Armed with a 4-1/2" hole saw, I cut two access holes in the sides of the anchor well to allow removal of the mooring cleats. The new openings would accept plastic screw-in deck plates later in the process. With the new holes cleanly cut, I removed the cleats--the final bits of deck hardware. Afterwards, I cleaned up the boat and shop for the weekend, and called it a day while I awaited various epoxy curing. |
|
|
|
|
|