|
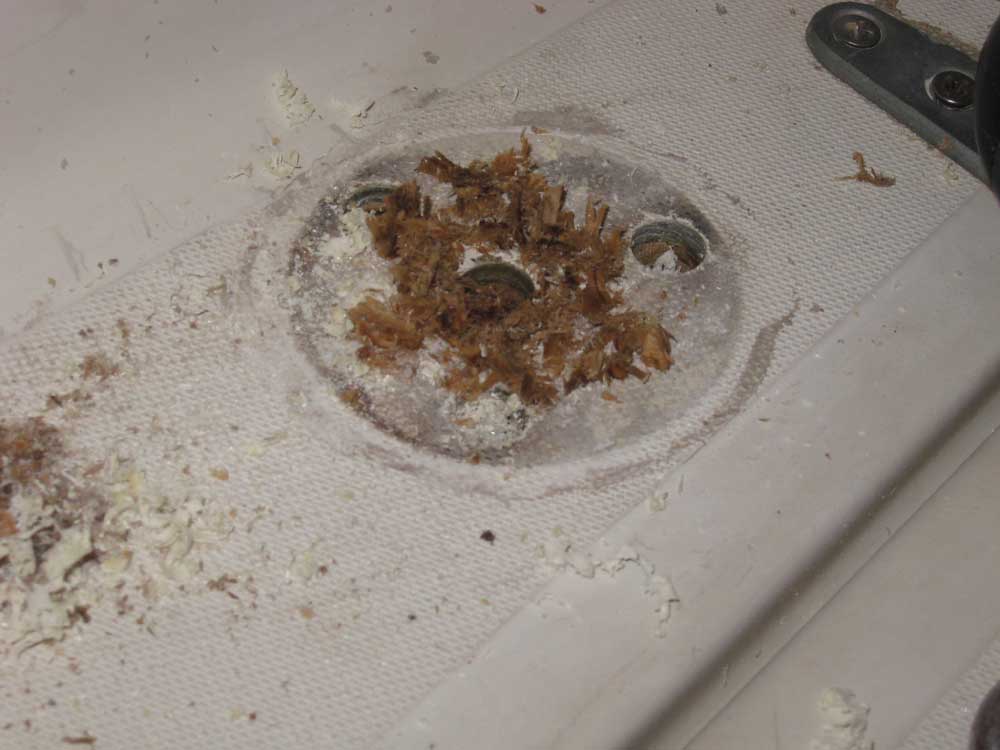
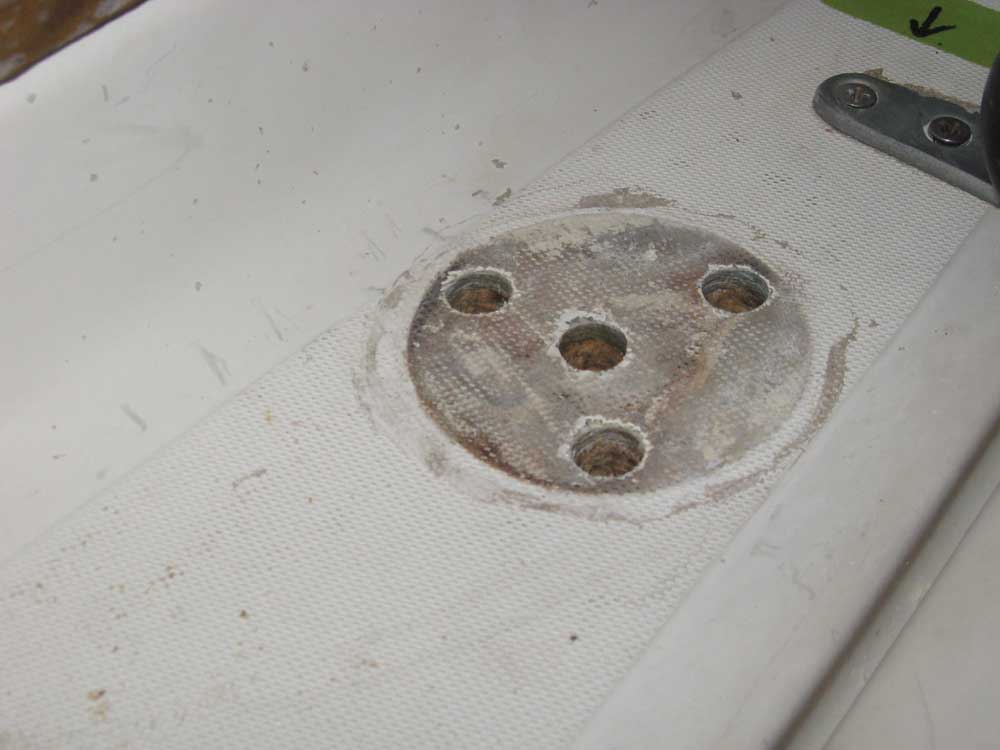
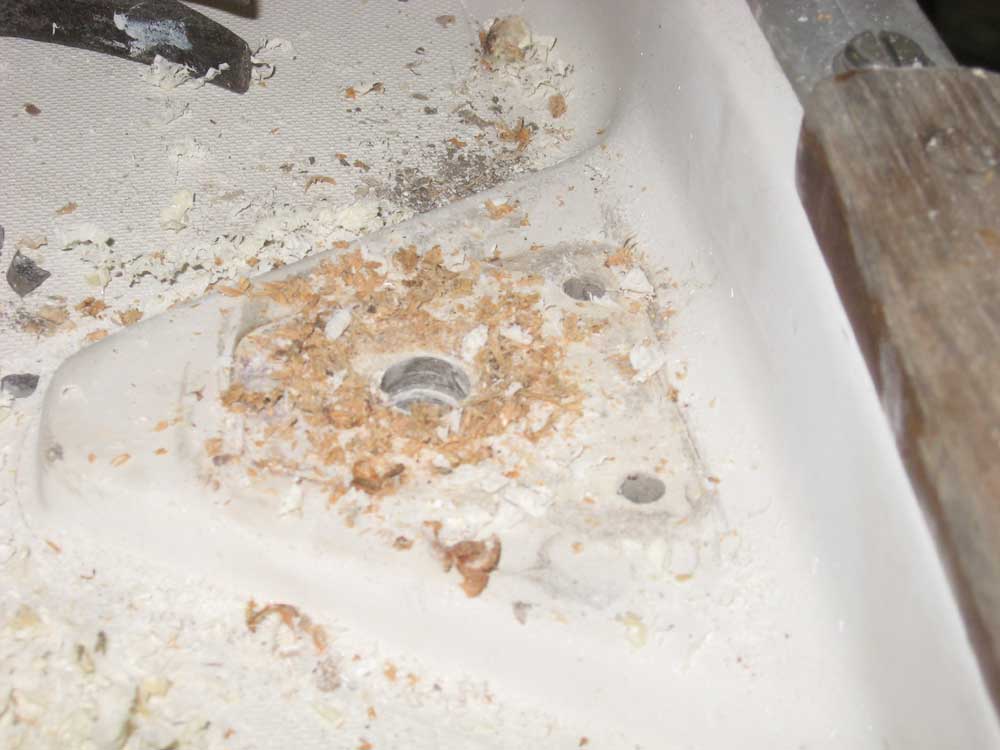
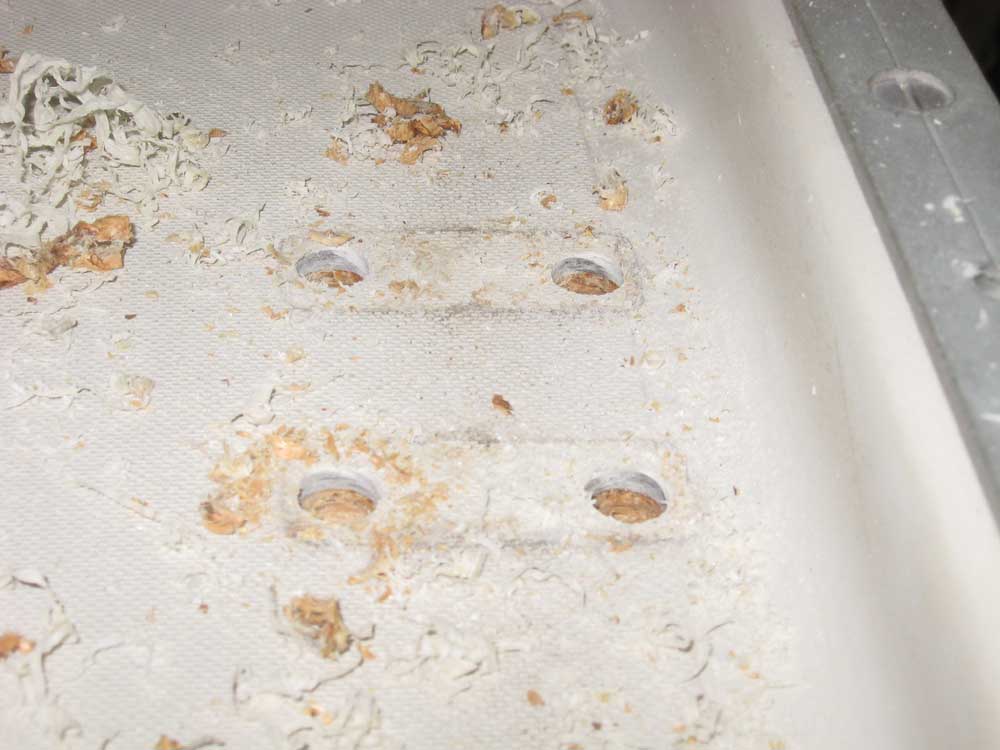
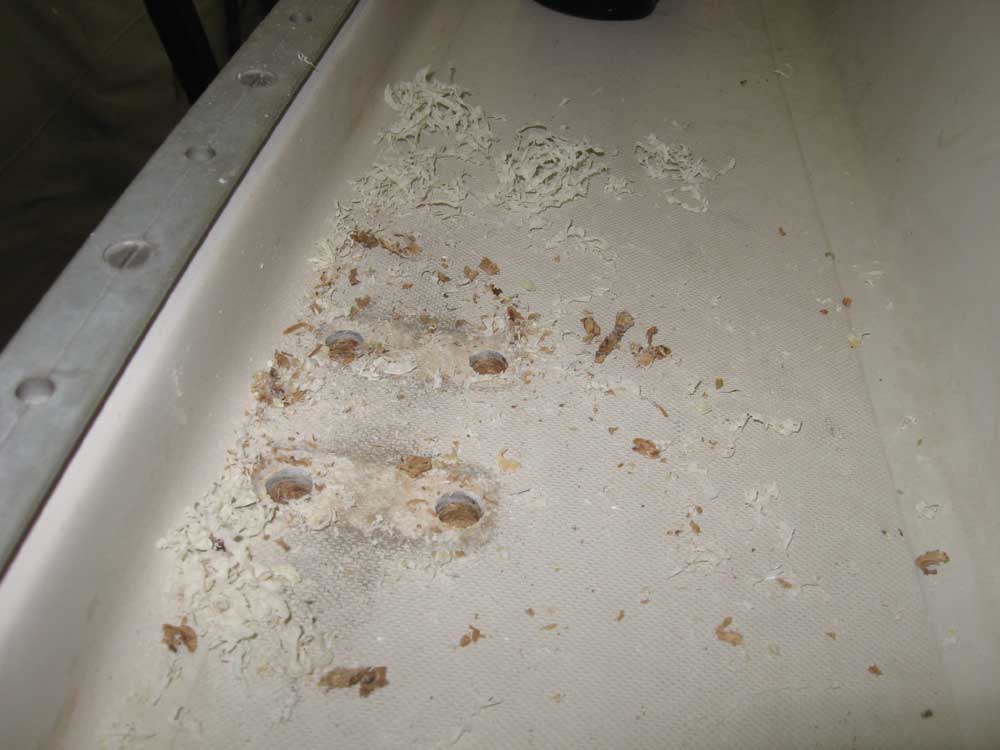
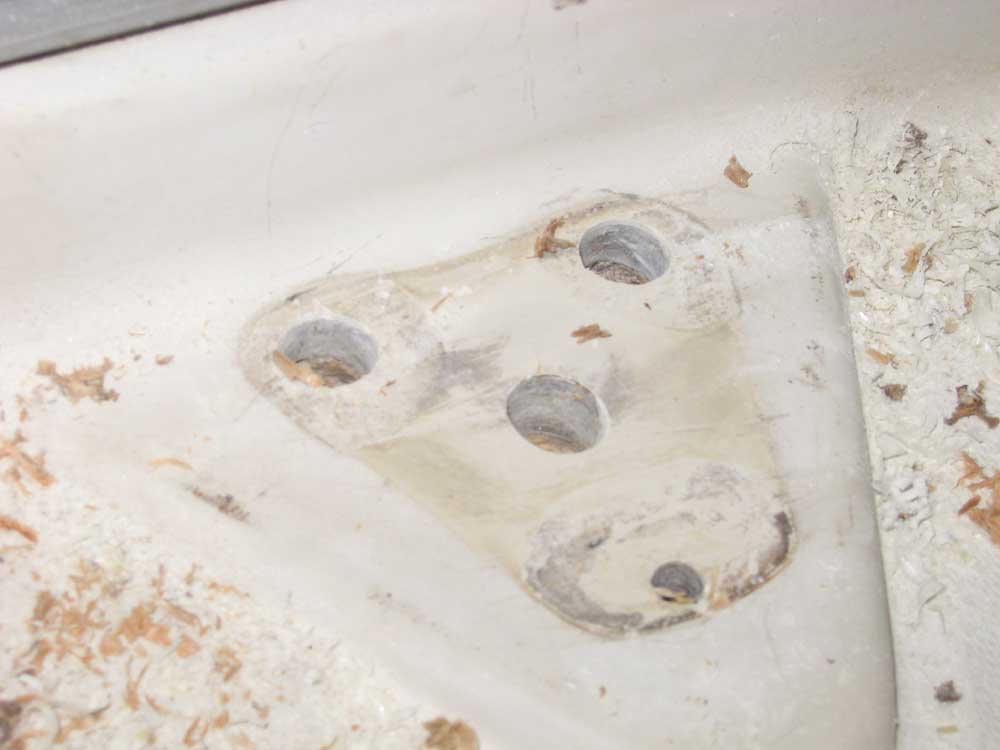
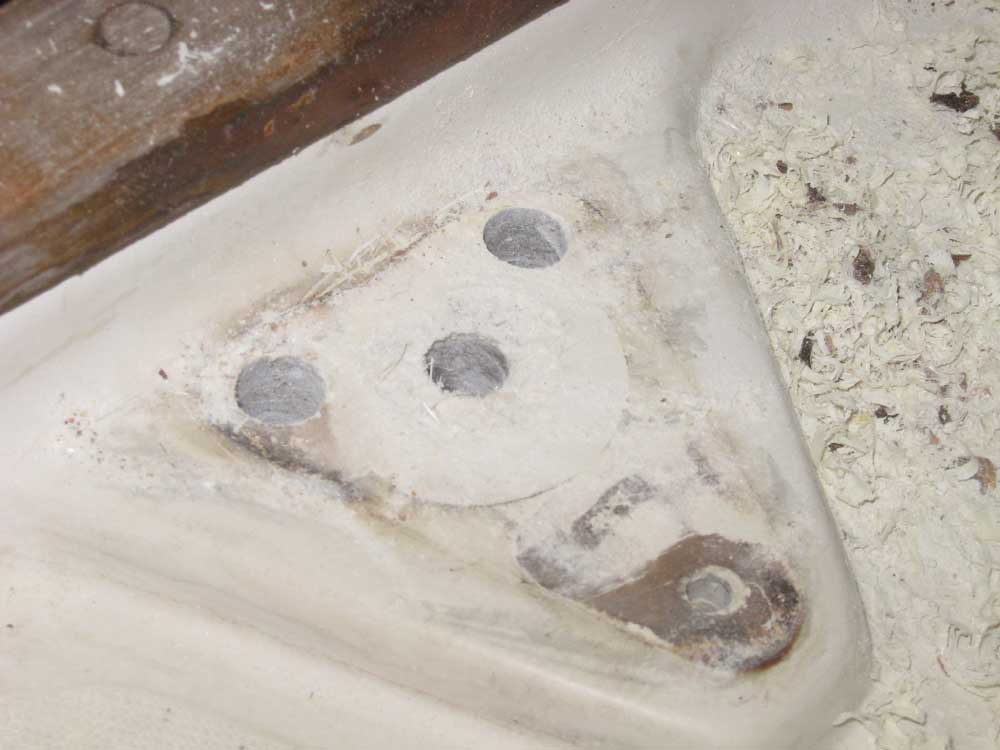
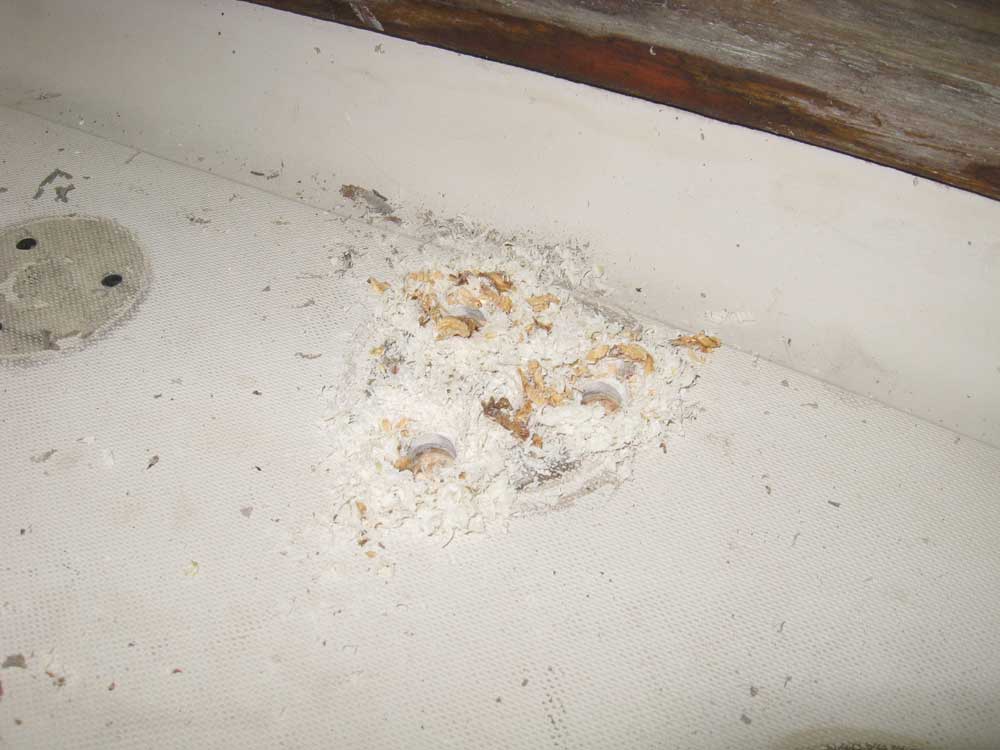
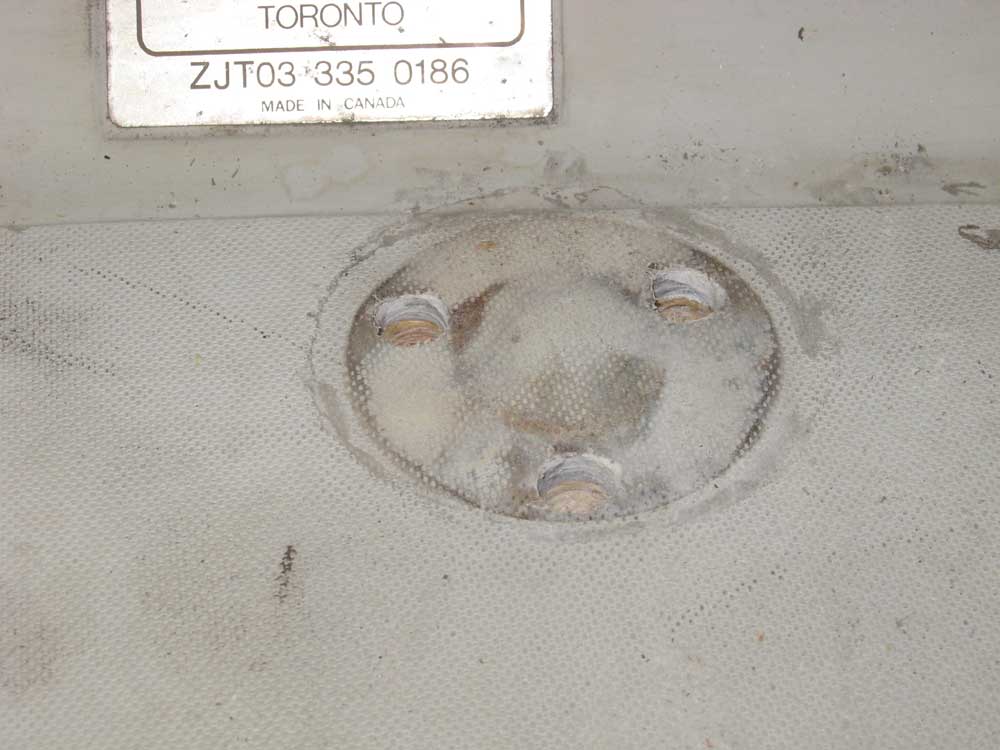
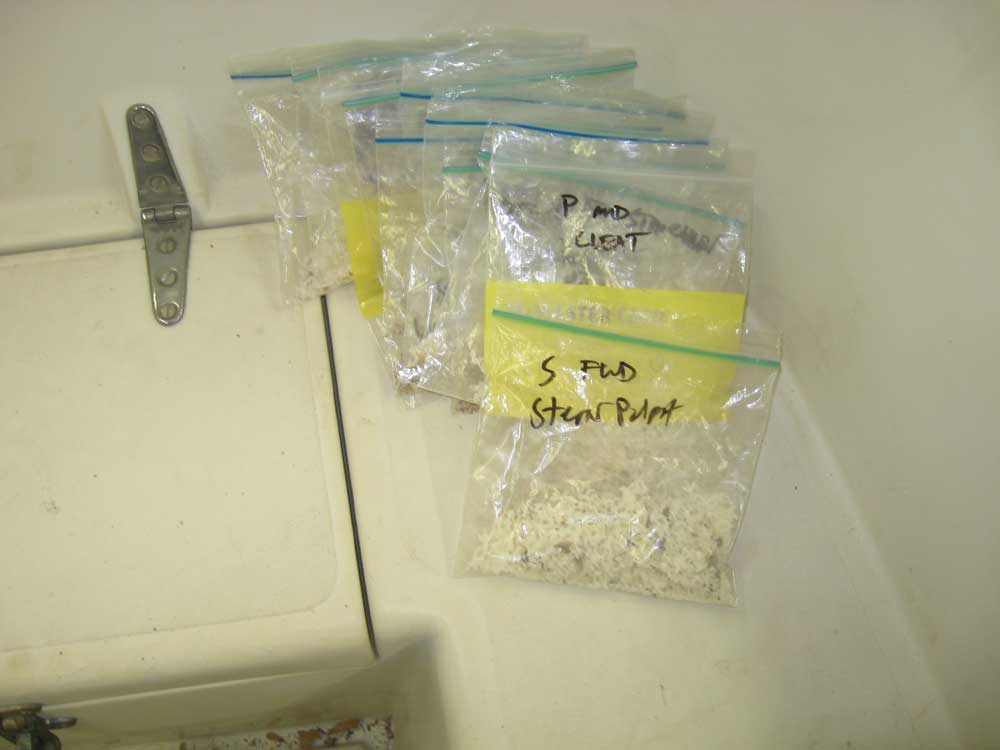
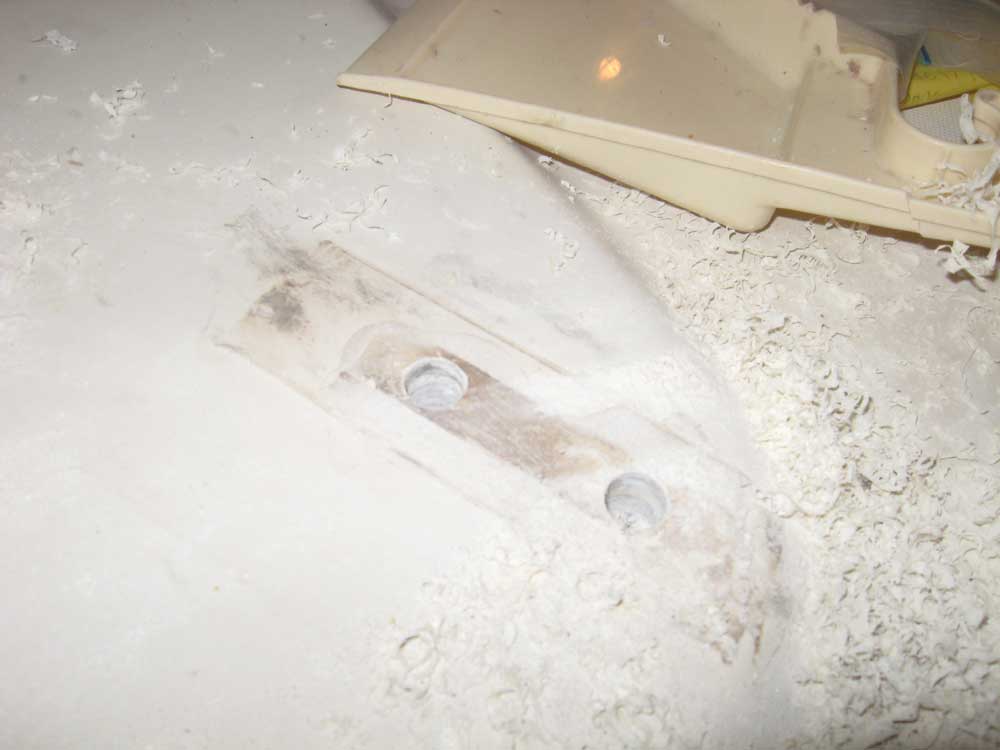
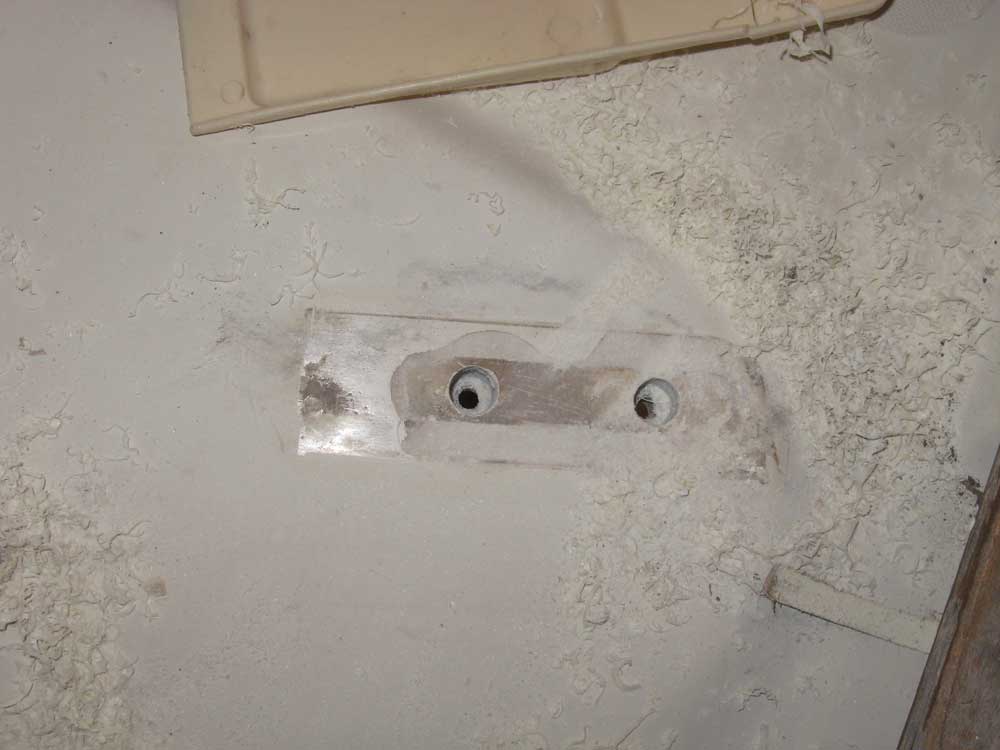
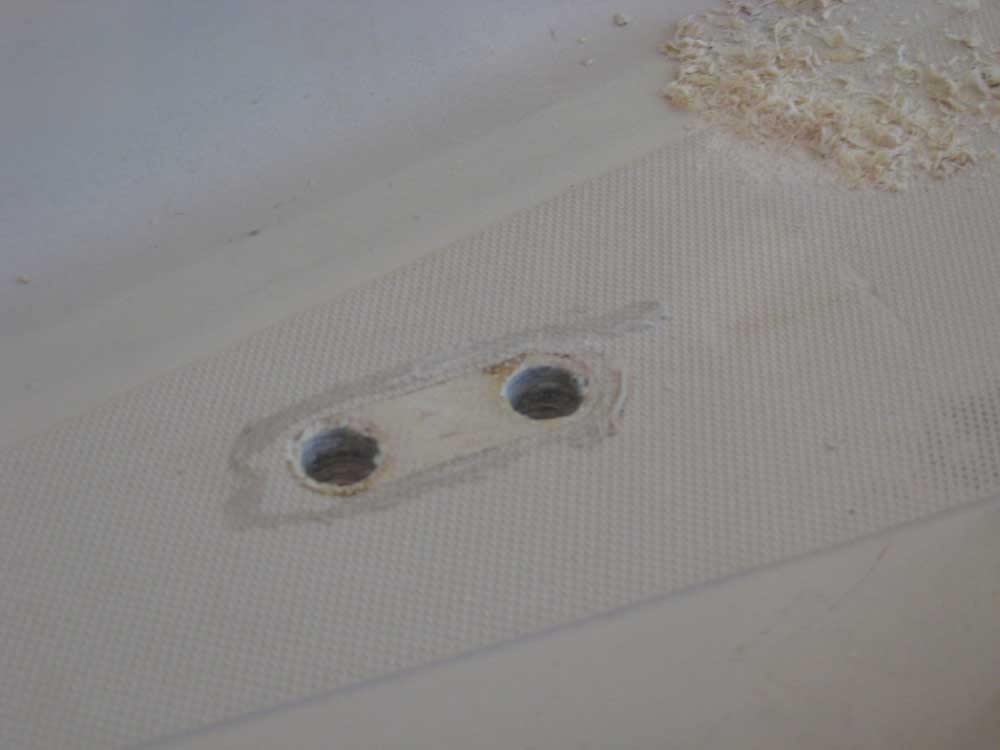
Equinox Project | Monday, December 8, 2008 With most of the deck hardware now removed, I spent much of the morning further investigating the deck's overall condition, and specifically the condition as available for inspection in the areas beneath the old hardware locations. Since at this stage of the project the hope as I understood it was to maintain the deck's original gelcoat finish, I was limited in the amount of exploratory surgery I could perform to help determine the deck's true condition. My initial inspection last week indicated minimal areas displaying elevated moisture meter readings, but I had some questions about the core's condition and its bonding to the upper and/or lower skins of the sandwich. After concentrating on hardware removal last week, now I wanted to look into the deck with a closer focus to better determine the course of the project going forward. To do this, I decided to drill some inspection holes in areas that would eventually be hidden by the hardware when I reinstalled it later on. Also, I planned to overbore the existing fastener holes, partly to increase my openings for inspection, and partly because overboring and epoxy-filling would be a standard part of the hardware's reinstallation anyway, so by starting the process now I'd be killing two birds with a single stone. At all hardware locations, I bored 1/2" diameter holes: large enough to see into and provide the adequate room for the eventual epoxy filling, but not so large as to extend beyond the footprint of the hardware when reinstalled. At each test boring, I observed, photographed, and collected/cataloged (for future inspection if necessary) the drillings to showcase the deck's condition at that particular point. In some areas, I also drilled an additional hole in the center of the footprint, just to open one additional area for inspection. The basics: all locations contained plywood core or solid fiberglass (coring in the sidedecks and foredeck, solid glass beneath many of the coachroof installations, and a combination of heavy glass and core in the molded, raised stanchion pads). The core was observed to be sound in all areas, most notably at the stem beneath the pulpit bases, where my earlier inspection had located the highest moisture meter readings. Here, the plywood core was damp and discolored, but not saturated or rotten. In other areas, other than minor discoloration from incidental leakage around the fasteners, the core material was observed to be clean, bright, and sound. Additionally, the top laminate appeared to be well adhered to the core in all the observed areas. Note that each photo below has a file name intended to describe the area shown by the photo. |
|
|
|
The area around the chainplates, always an area highly prone to leakage over time because of the dynamic loads on the chainplates and the difficulty in sealing them well, was solid fiberglass with no core material. |
|
|
|
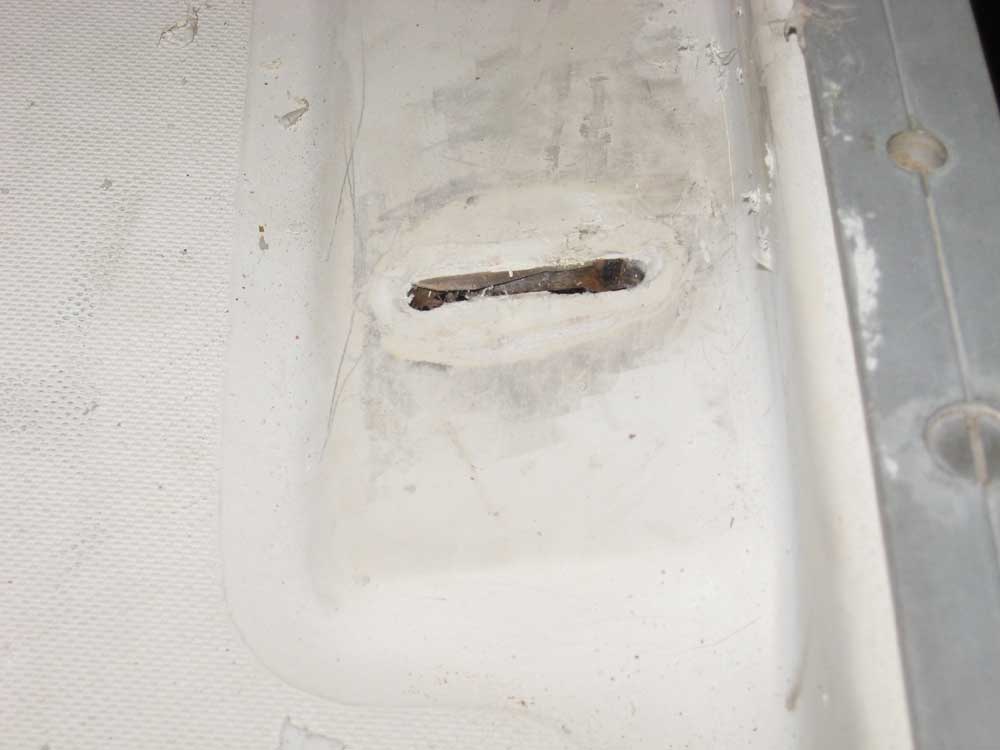
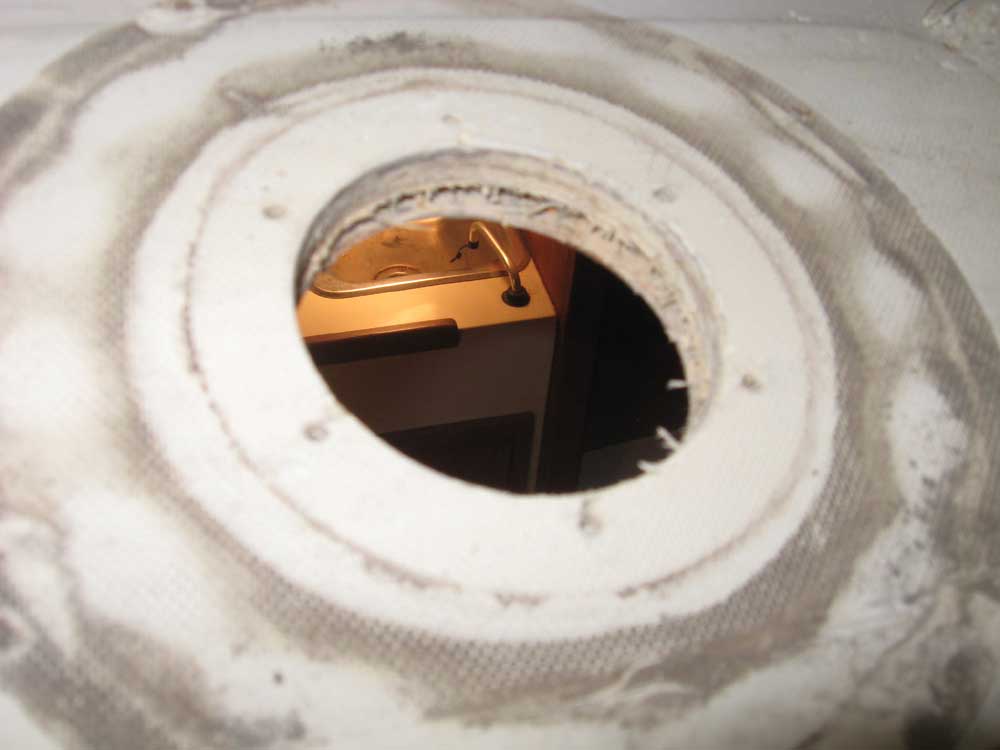
In the coachroof, most areas containing hardware were observed to be solid glass with no visible core through the holes, most easily observed where a large hole had been drilled to install a cabin vent (note that in the photo of the vent below, the space visible within the hole is between the deck laminate and the interior molded liner). As a result, I did not overbore most of these holes, once I'd determined the situation through a couple test borings. The raised area adjacent to the mast step containing the two deck organizers appeared to be solid glass with no coring, a construction situation that I extrapolated must extend beneath the mast step itself, though I did not directly inspect that area at this time. |
|
|
|
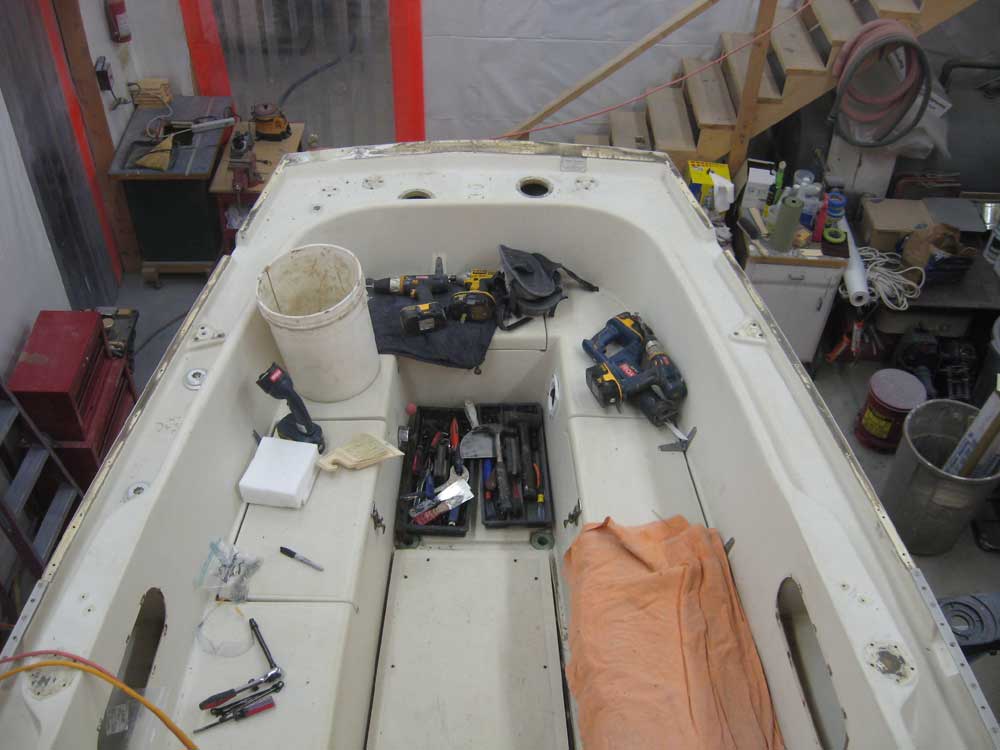
Once I'd drilled all the test holes and documented the results, I continued work by removing the remaining exterior wood trim. I determined before beginning that the teak caprails secured to the bulwarks were attached with self-tapping screws and not through-bolted (in which case the nuts would have been 100% inaccessible because of the boat's construction details), and removal turned out to be quite straightforward. I removed the exterior wood because I knew it would make cleaning up and refinishing the wood easier and quicker with the pieces on the bench. I also removed the teak handrails on the coachroof. Earlier, I'd determined that the long genoa lead tracks along the midships portions of the bulwarks were secured with through bolts and nuts, and therefore I did not plan to remove them, as I'd never be able to attach new nuts. I removed the anchor well hatch. |
|
|
|
Later, I began to remove the ports. I removed nuts from the insides, and then removed the screws in one of the six ports. However, I found that the flange was extremely well bonded to the boat, and while I made some progress loosening (though not removing) my first test port, I decided to hold off on further action for the moment. In the event I decided not to proceed with the ports' removal, I'd have to remove and rebed the single port on which I'd started, but possibly not the other five, which seals I had yet to compromise. Finally, I pulled out the plywood portion of the cabin sole, which would require refinishing. The main portion was already loose, and four screws' removal allowed me to pull out the section in the forward cabin. |
|
|
|
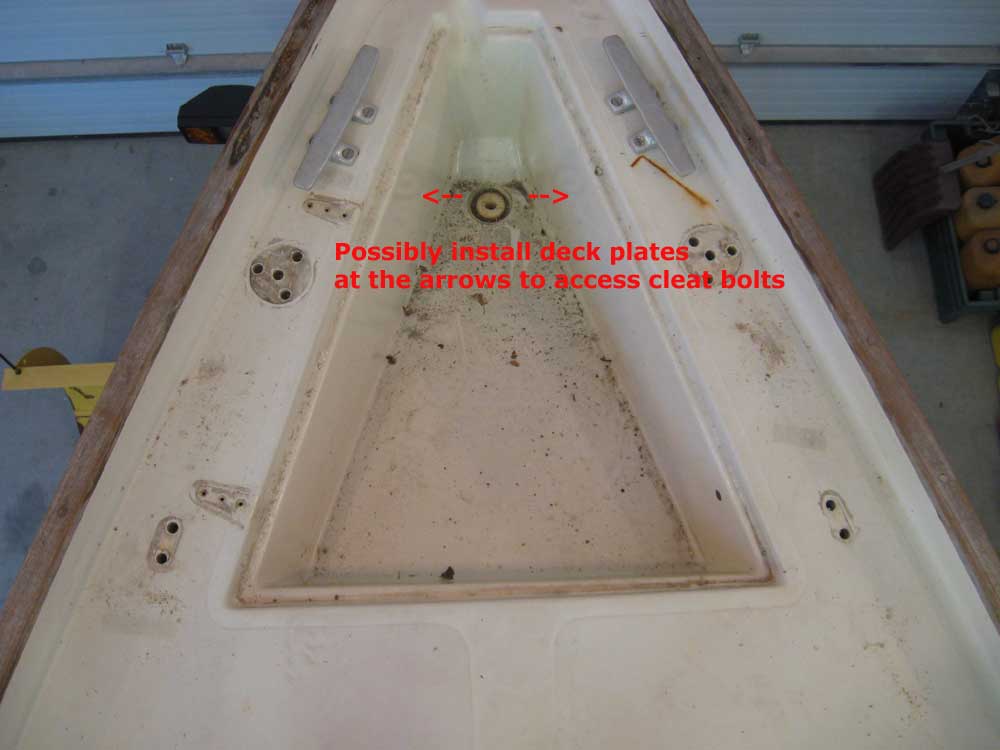
The only hardware remaining on deck at this point were the two mooring cleats at the bow. I thought that perhaps the most feasible way to access the underside of these cleats for removal and eventual reinstallation, since they were not accessible from inside thanks to the boat's liners, might be to install smallish (4") deck plates on each side of the inside of the anchor well, just beneath the cleats locations. |
|
|
|
|
|