|
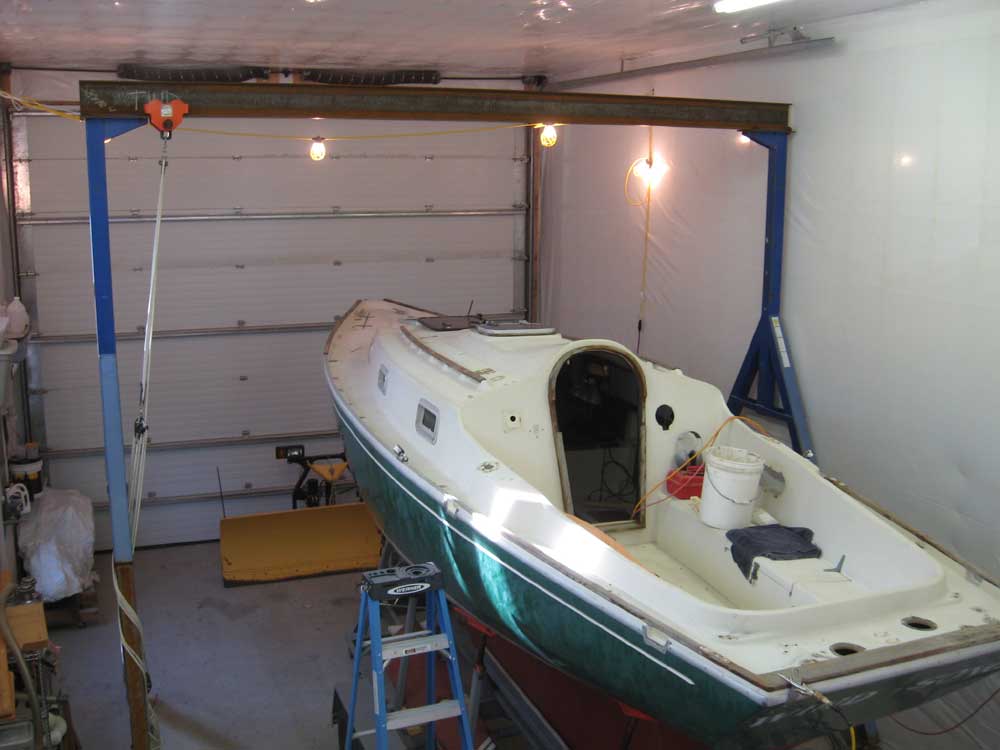
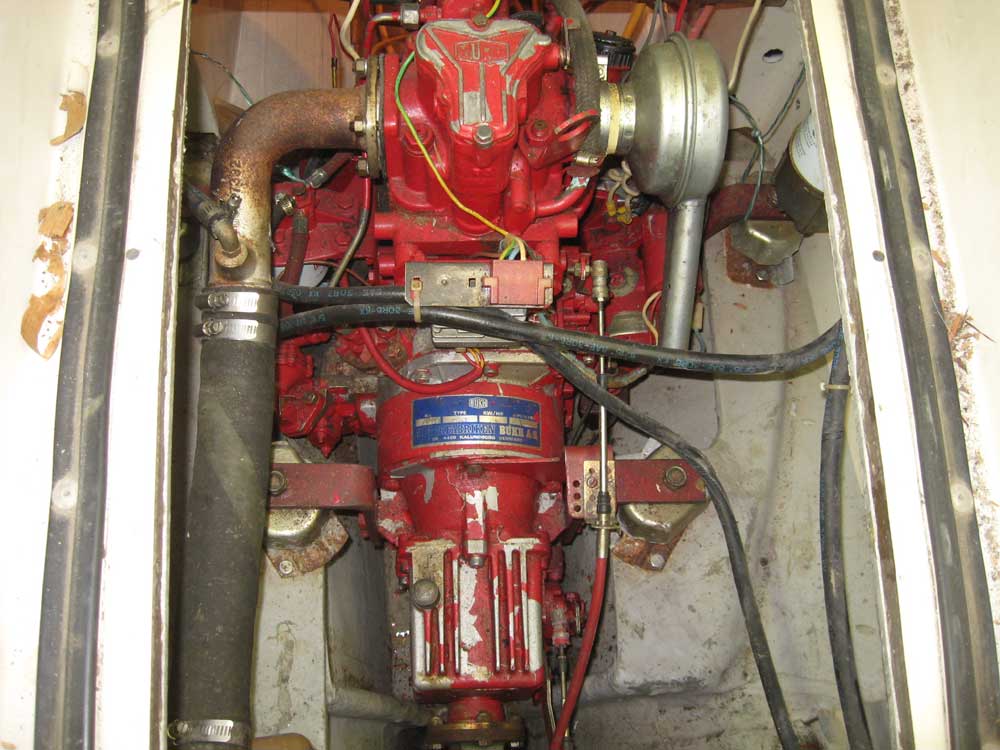
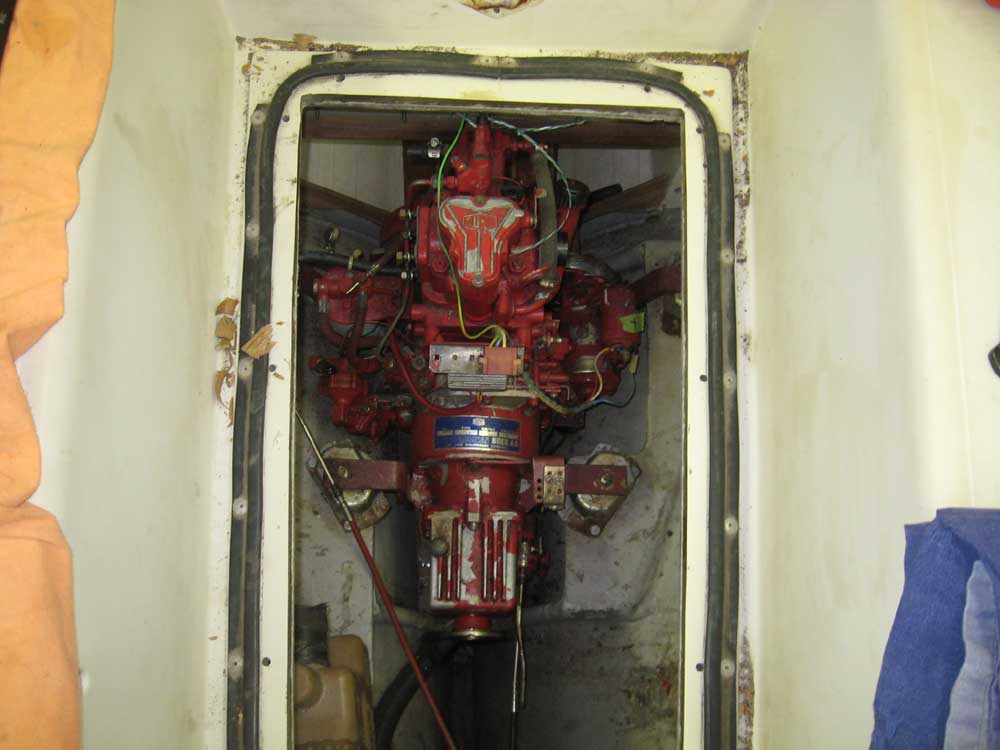
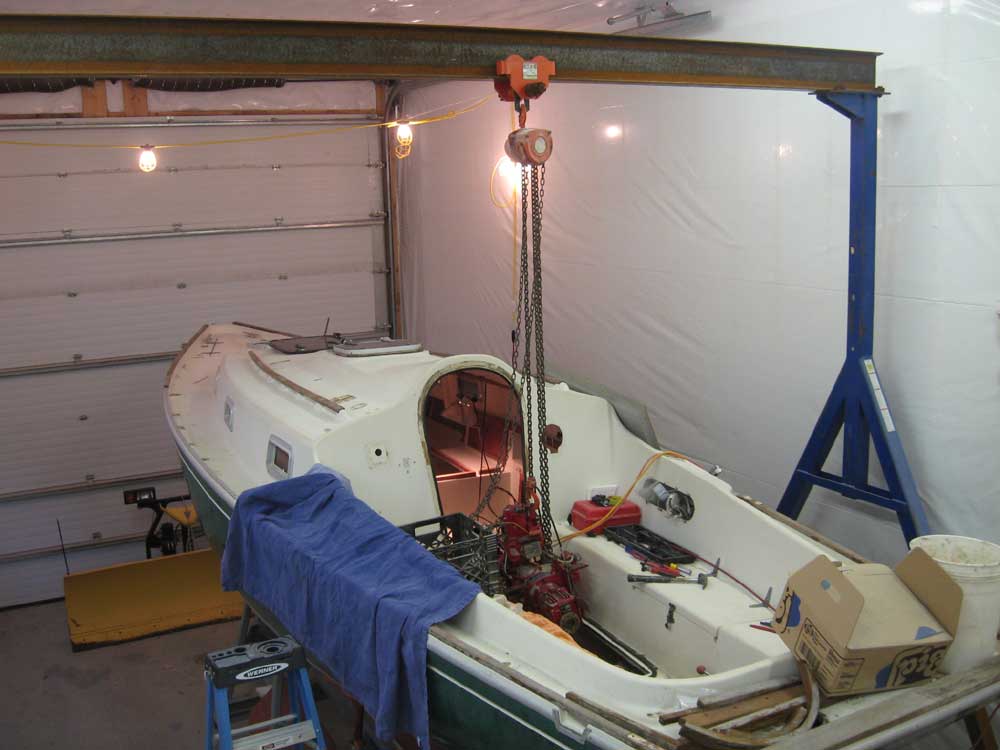
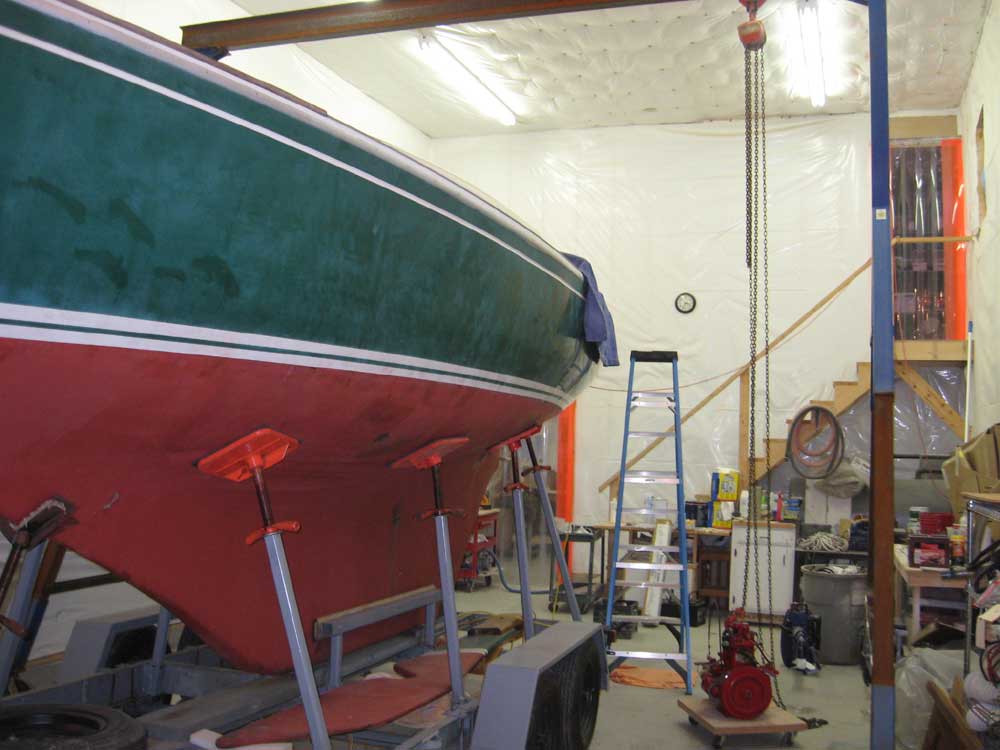
Equinox Project | Friday, December 5, 2008 In my continuing effort to rid the boat of her old systems and equipment and pare her down to the basics from which I'd then begin the refit, I worked throughout the day to remove the existing Bukh 10 HP single cylinder diesel engine. My gantry crane had been stored outdoors for some time, so before beginning I took advantage of the morning-frozen ground to move the unwieldy thing into the shop, as I'd need it later in the day. |
|
|
|
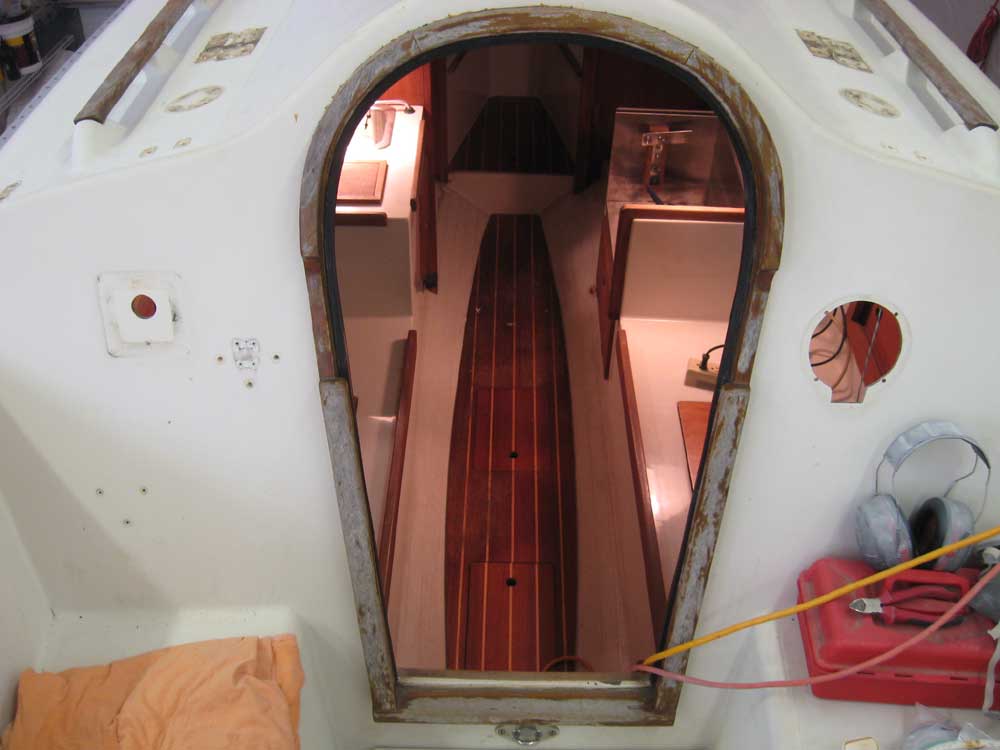
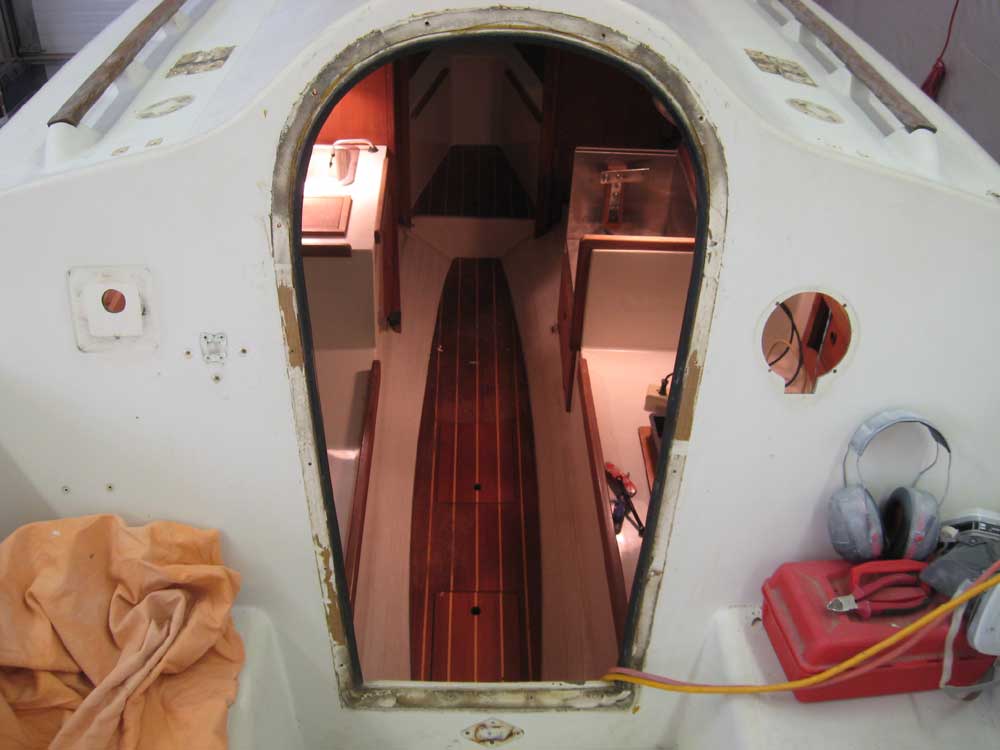
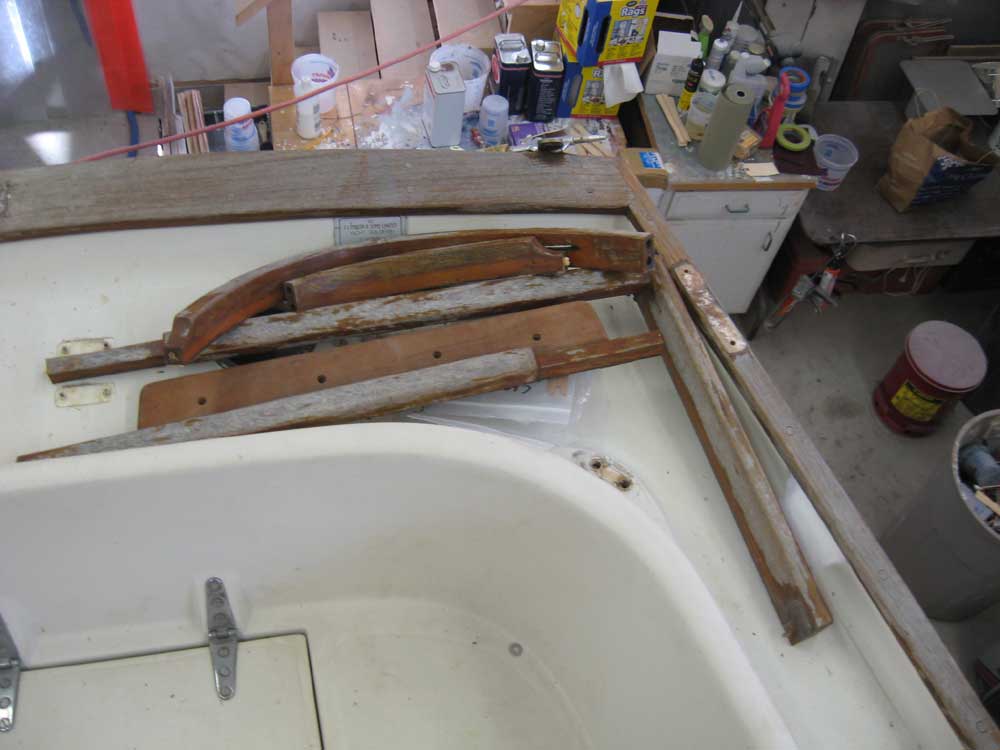
On a whim, I decided to remove the companionway trim. I'd noticed earlier that the trim was loose at the top end, and had also noticed that it was secured with screws from the inside. Given what seemed likely to be an easy removal, I decided to take it off for refinishing, as refinishing the exterior wood was to be part of the project scope. I removed the screws and began to remove the trim, but I soon found that it was secured with an adhesive sealant, likely 5200, which made removal more of a challenge than I'd expected. However, I successfully removed the pieces and set them aside for later attention. I had been thinking of removing all the exterior wood from the boat for refinishing, rather than do it in place, but given this experience I decided to wait and see, as I didn't want to destroy all the wood in order to remove it if, for example, the caprails were also secured with adhesive sealant. |
|
|
|
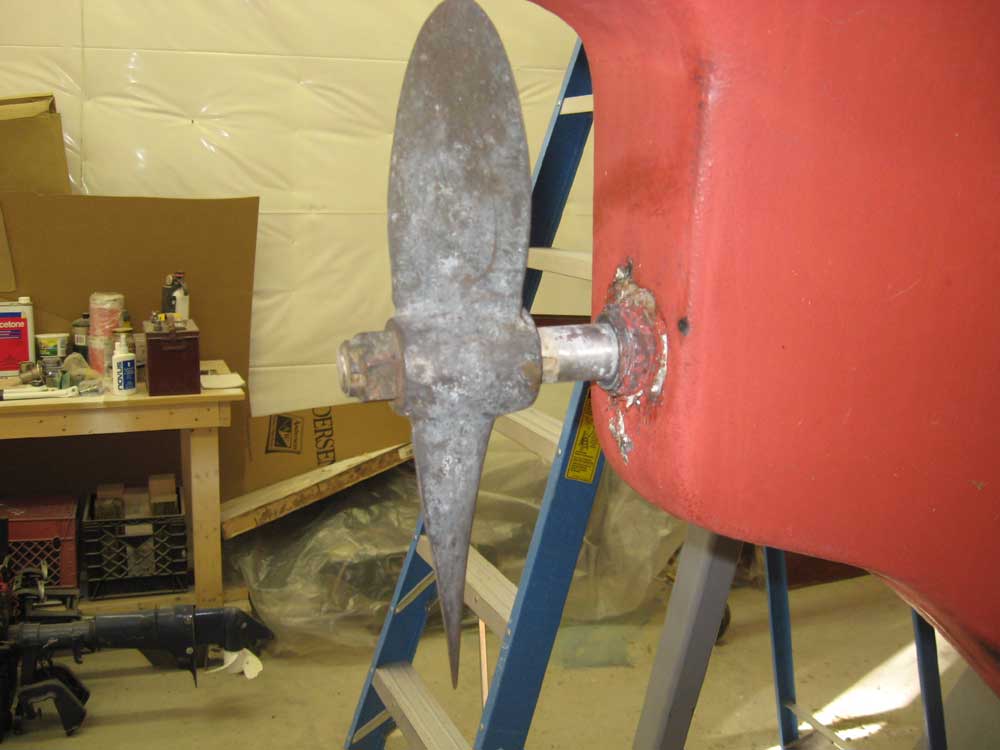
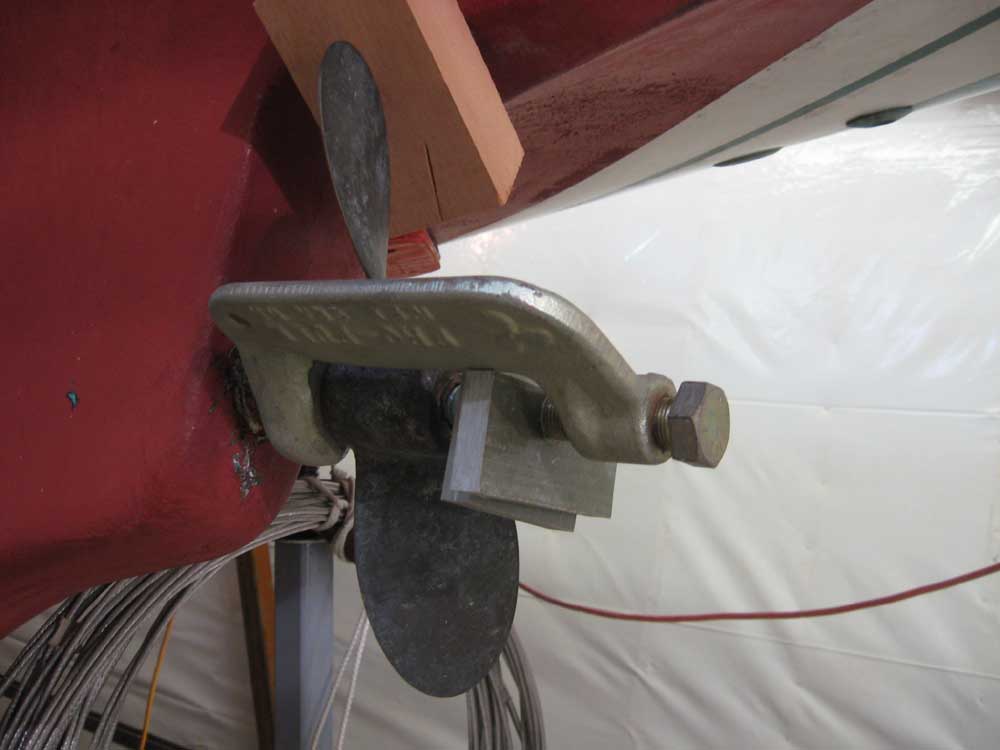
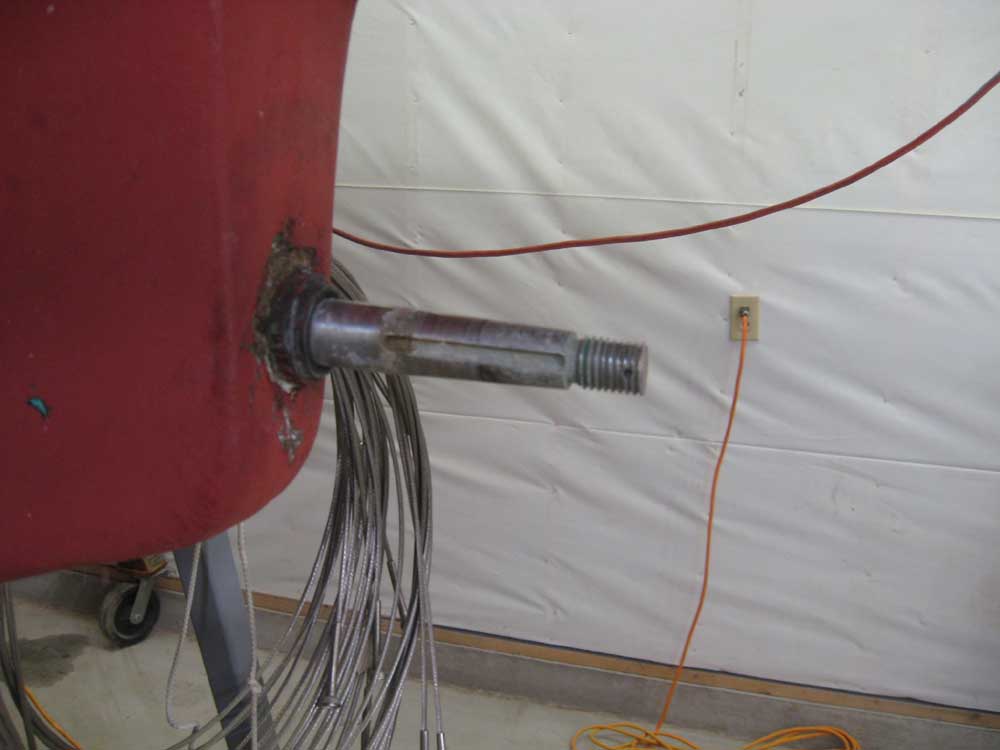
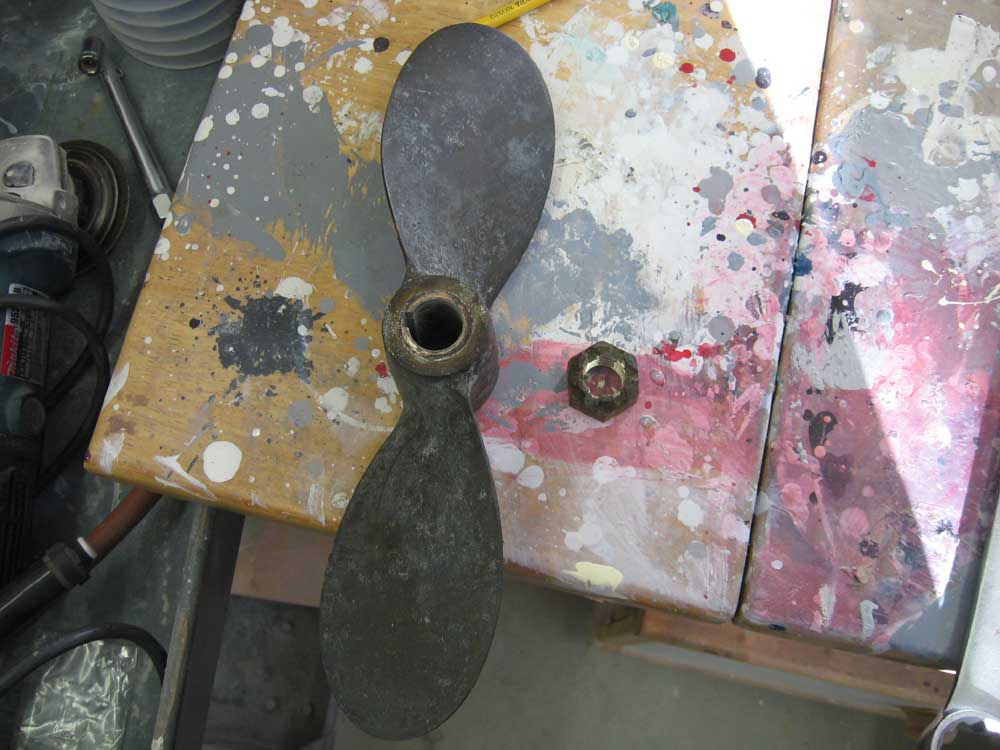
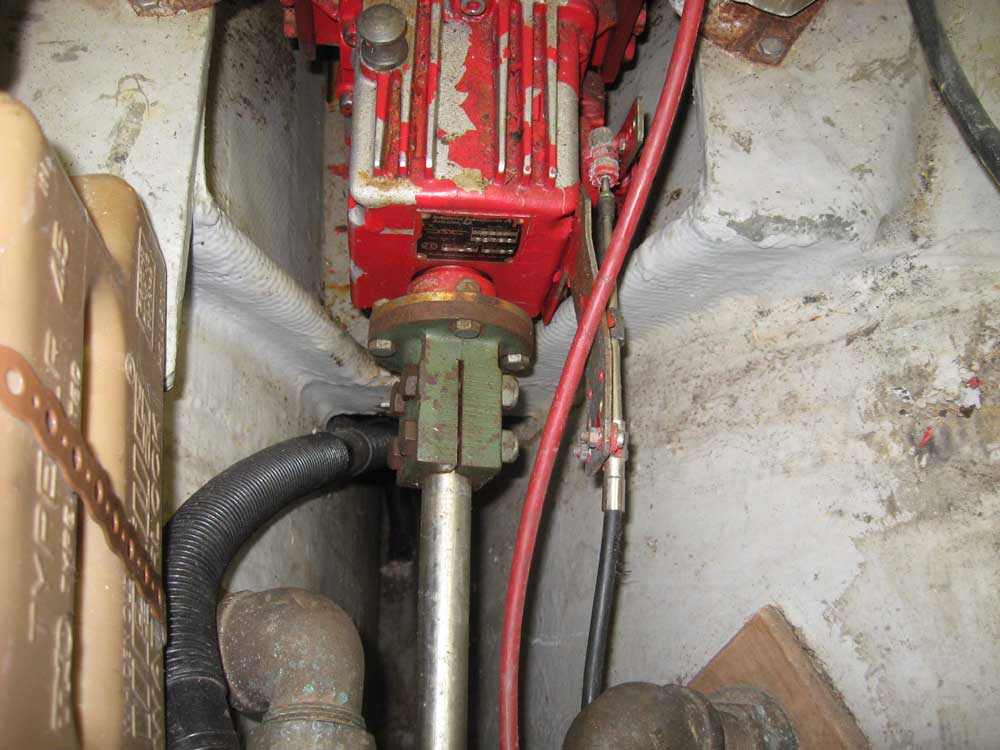
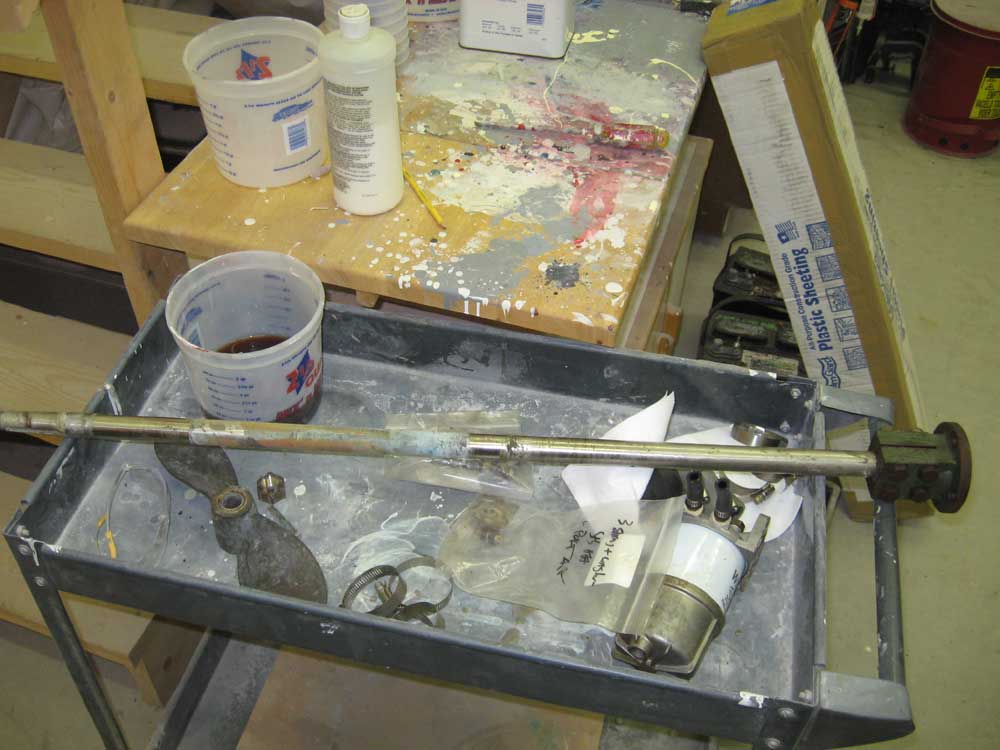
Next, I prepared the engine for removal. First, I removed the propeller from the shaft, as the prop puller requires that the shaft be firmly affixed. Propellers never pop right off--or at least they never should--but with the puller it was just a matter of time and the right amount of tightening on the puller's bolt. Presently, the propeller popped off and the job was done. |
|
|
|
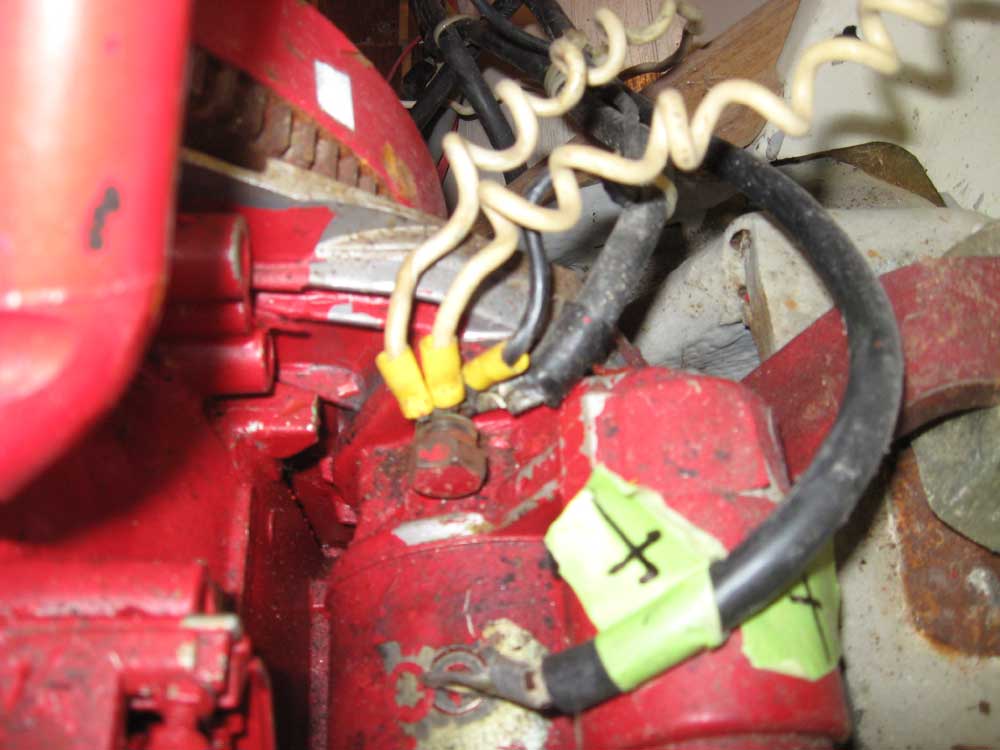
All the water, exhaust, fuel, and electrical hookups were still in place, so I began by methodically removing all the connections. I began with the remains of the electrical connections: the positive battery wire to the starter solenoid, the negative battery cable to an engine ground (in this case, a mounting bolt for the starter), and several smaller ground wires. I clipped unrelated wires as necessary, and removed the wires and cables from the boat--simultaneously completing the entire electrical system removal. I also removed the excess hose leading to the raw water pump on the engine, leaving a short length in place since I couldn't easily reach the connection at the pump itself (and because this length didn't need to come off to remove the engine anyway). |
|
|
|
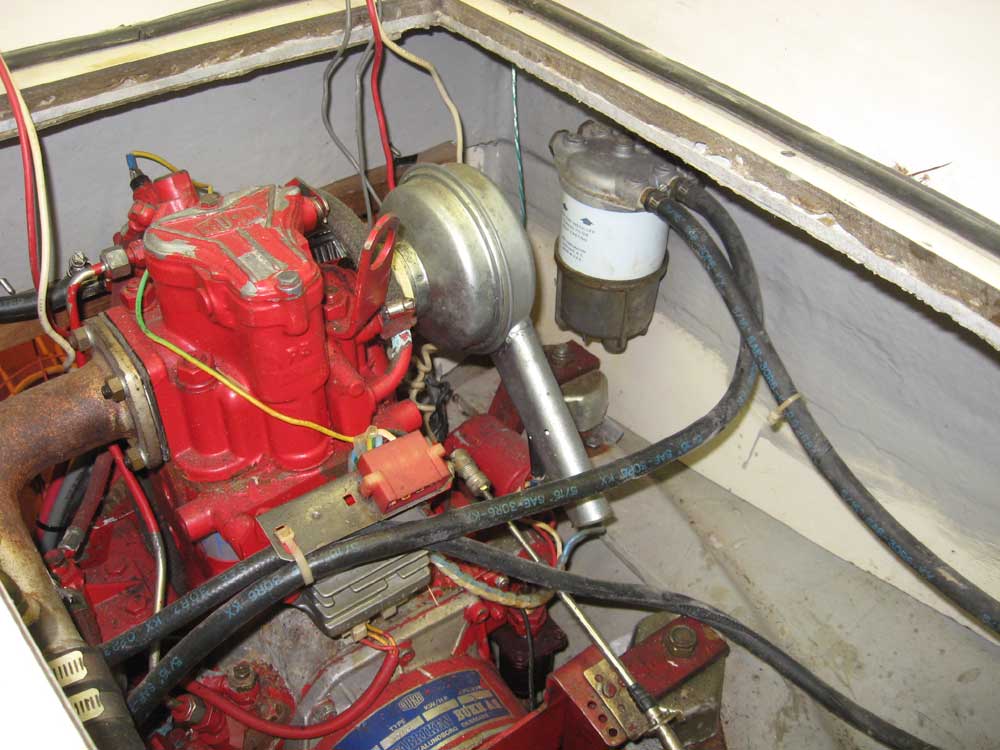
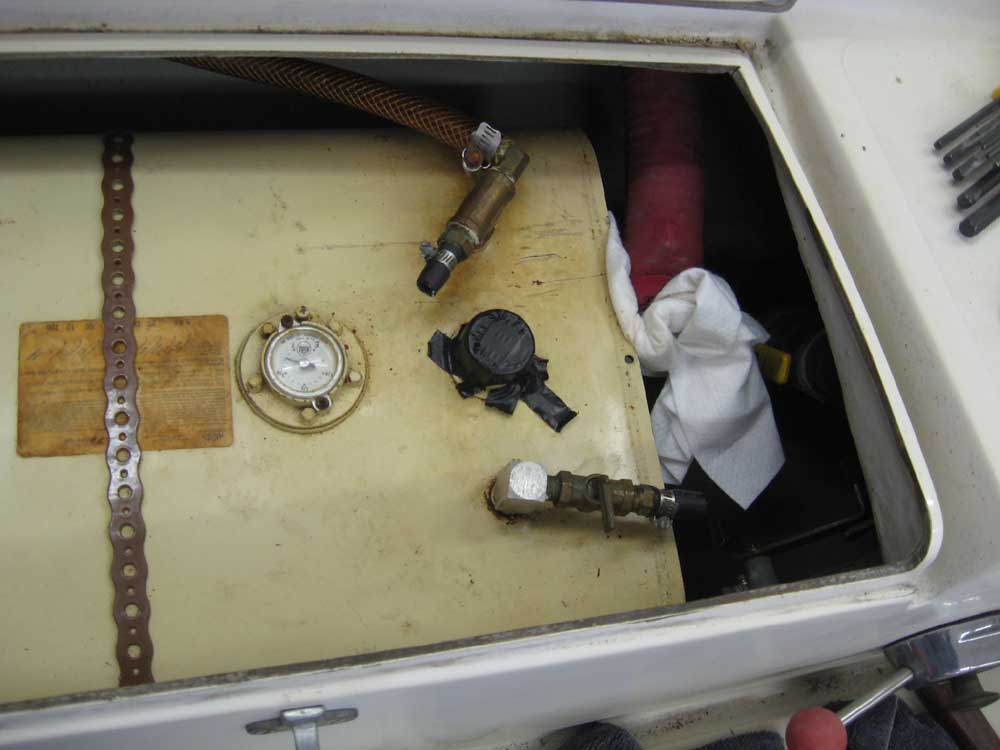
Next, I removed the fuel lines and primary fuel filter; I removed the fuel lines all the way to the tank, partly to get them out of the way and partly because they hoses were old and cracked and would require replacement in any event. I also removed the lower end of the fuel fill hose, which was also old and cracked, but would have to wait to address the upper end at the deck plate, since I couldn't reach it. But that wasn't important right now. I unbolted the shaft coupling from the transmission--fortunately an uneventful and painless process--and pushed the shaft out of the way, leaving the two-piece split shaft coupling for removal on the bench later on (once the engine was out, I'd be able to pull the shaft out from the inside). |
|
|
|
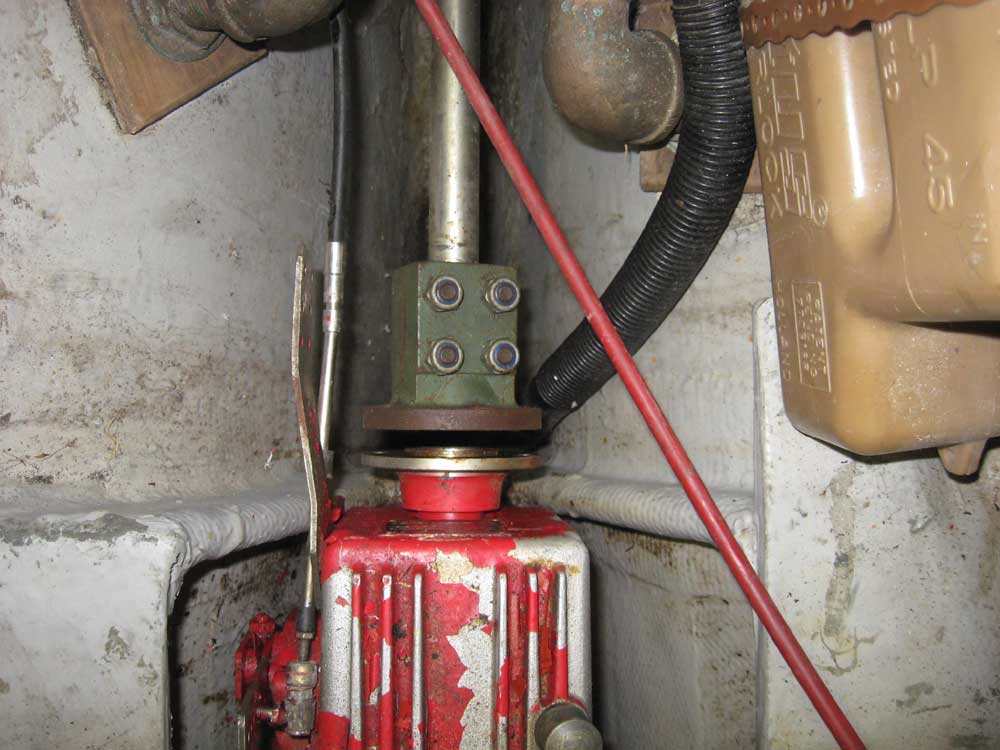
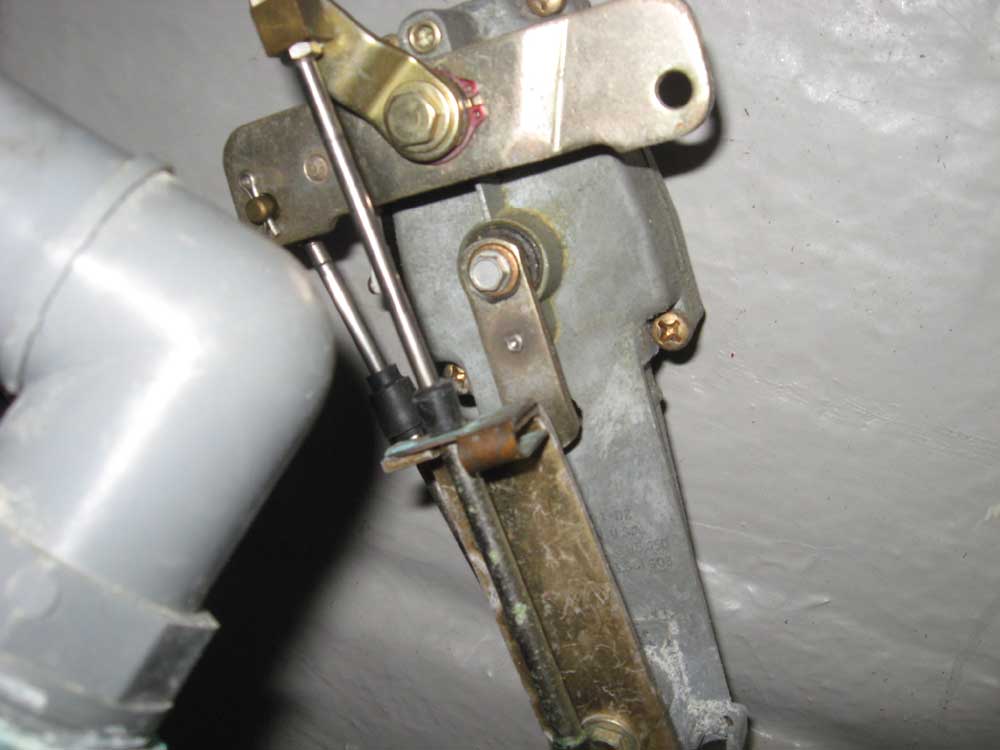
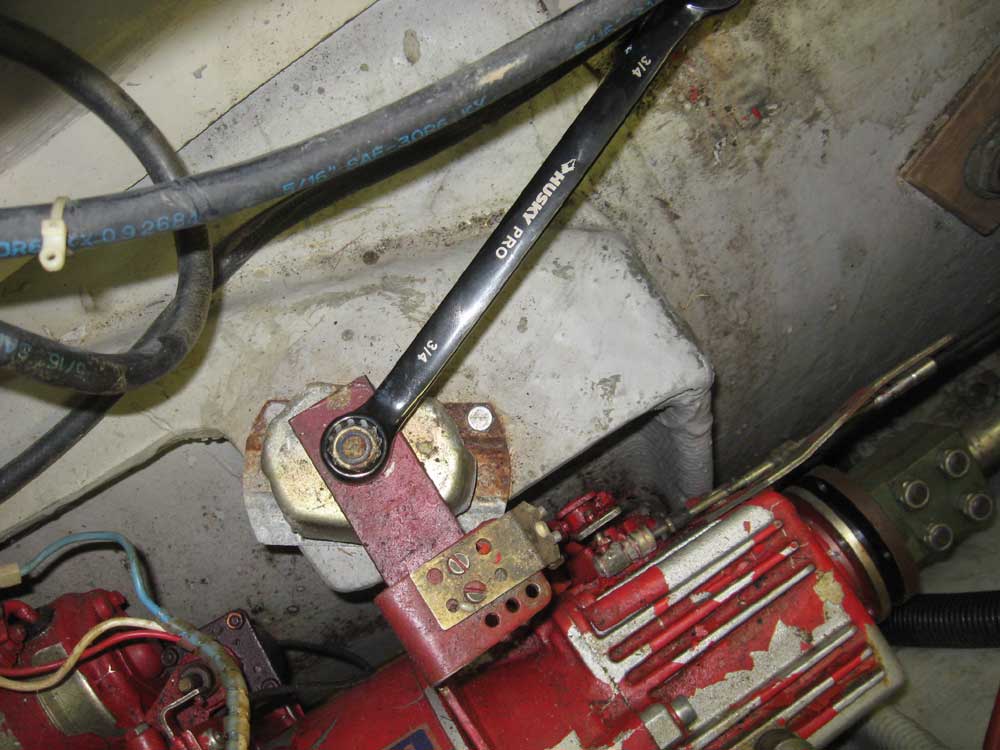
Next, I removed the throttle and shift cables. I couldn't move the little coupler securing the shift cable to the transmission lever, so I removed the cable ends from the back side of the engine controls (access to which was one reason I chose to remove the fuel fill hose when I did, since getting that out of the way greatly improved access for my arm). I pulled the cables out, removed the throttle cable entirely, and left the transmission cable in place on the engine for later removal on the ground. For now, it was free from the boat, which was what mattered. |
|
|
|
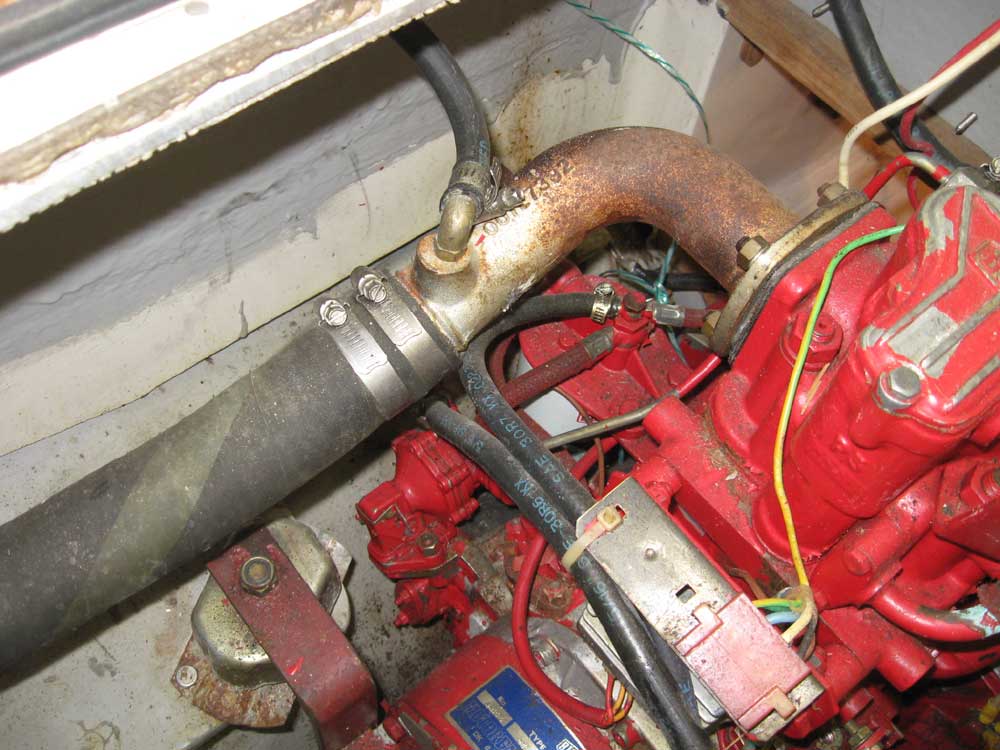
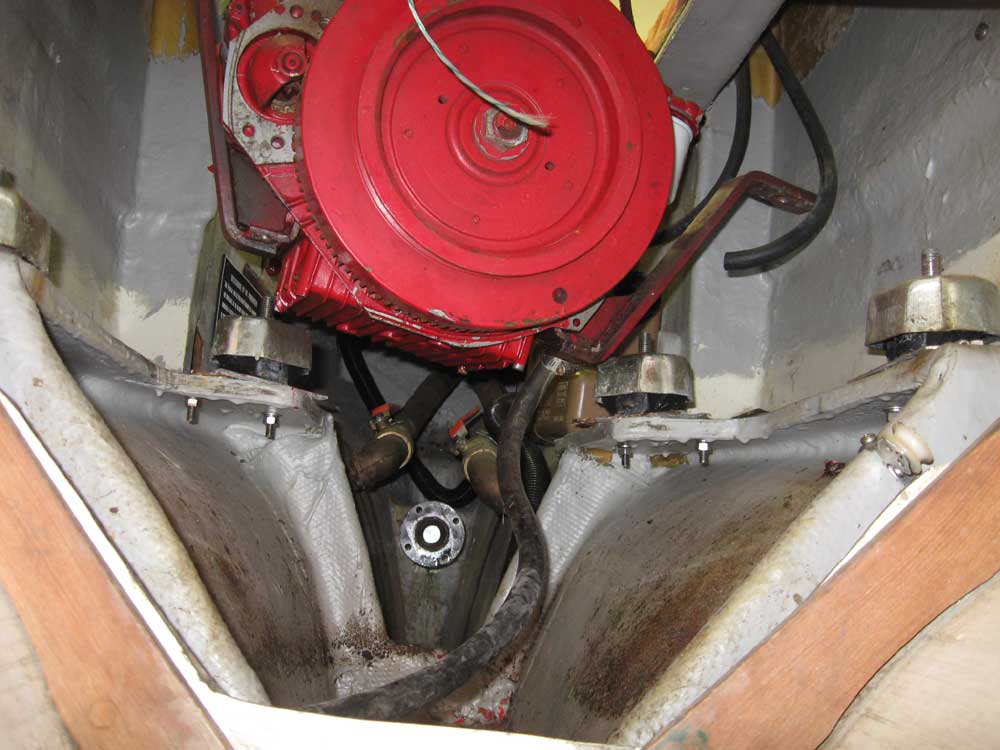
I cut the exhaust hose where it entered the nearby waterlift muffler, and then removed the exhaust elbow from the manifold, since it was clear that the engine would never come out through the available hole with the elbow in place. The elbow came off easily, revealing the expected amount of carbon and scale inside. Earlier, I'd also removed the air cleaner on the other side of the engine, which was in the way of some of the connections I needed to clear. With that, the engine was essentially free and ready to come out. I unbolted the engine from the tops of the flexible mounts, since the flex mounts were throughbolted to the stringers and would be difficult or impossible to access with the engine still in place, and prepared my chainfall to lift the engine free. |
|
|
|
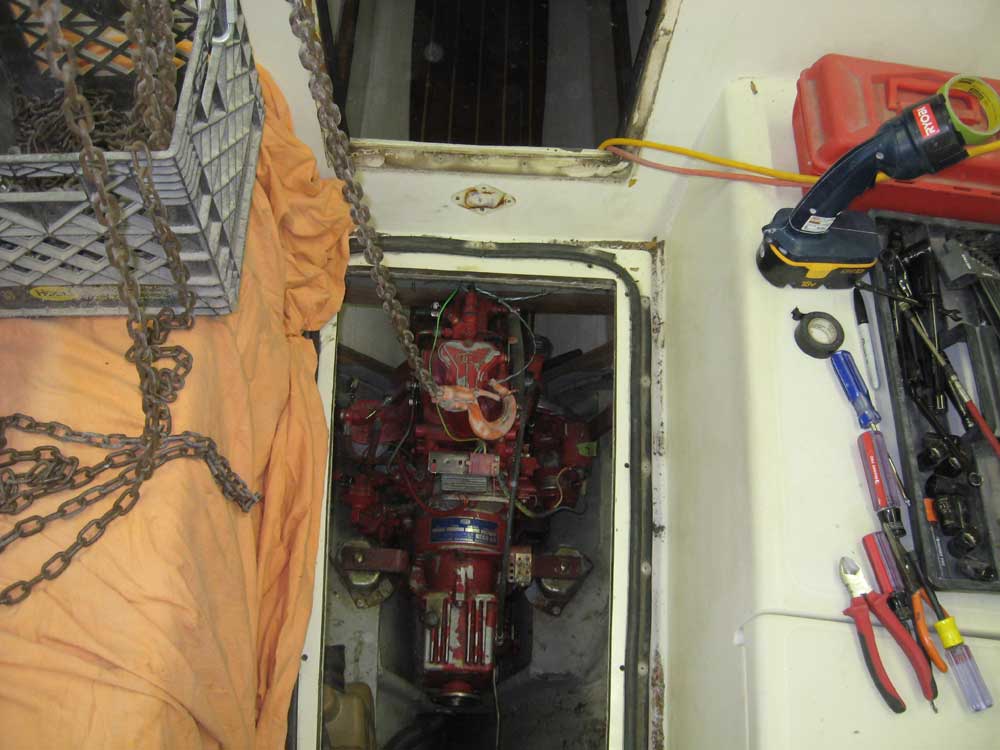
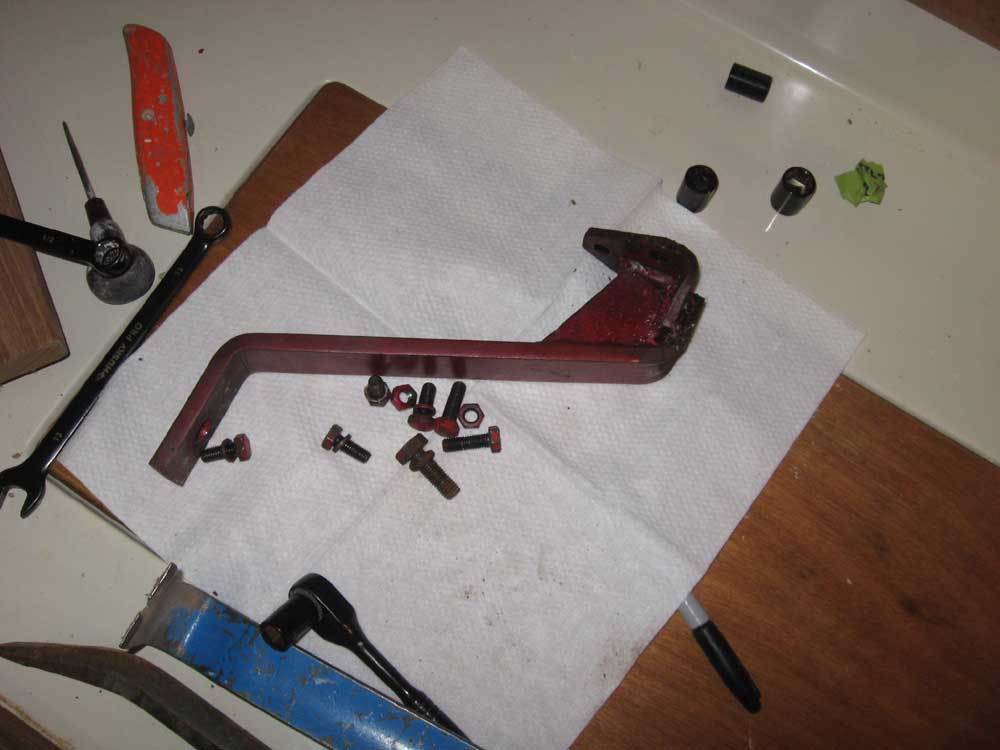
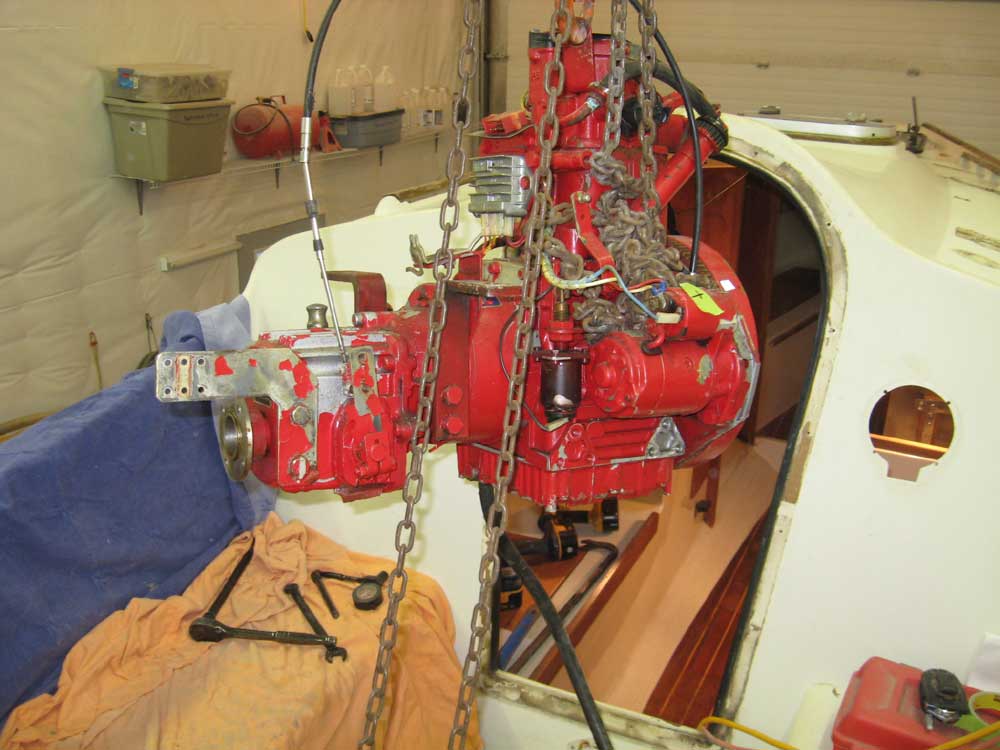
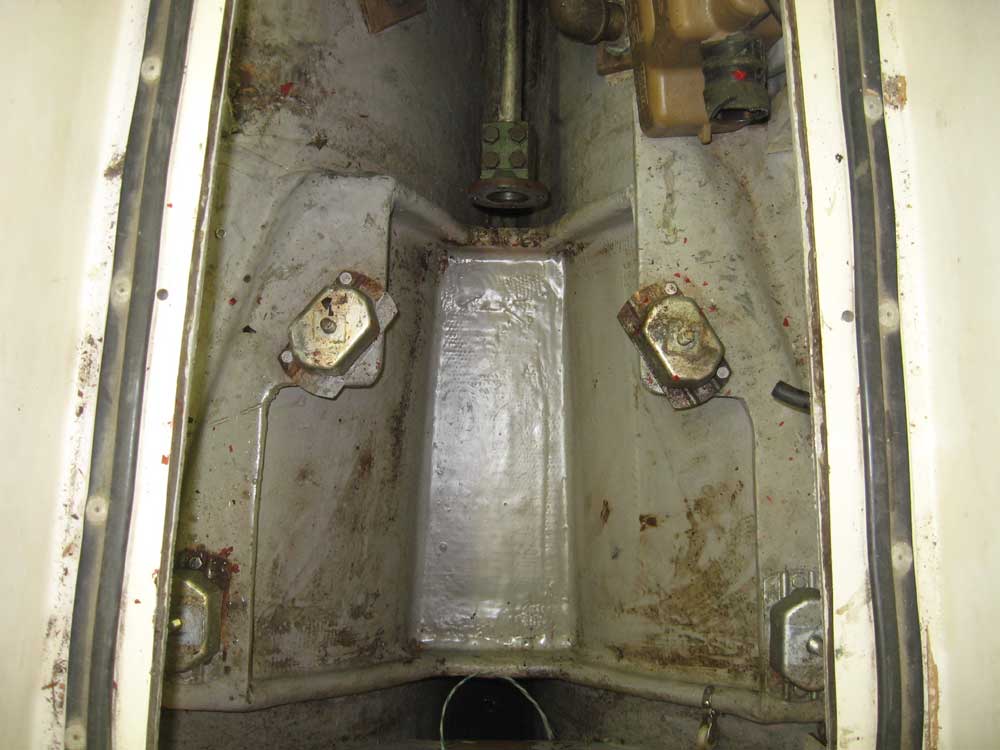
It was clear to me that the engine would be a very tight fit through the opening, and I figured it was very likely installed at the factory before the deck was lowered into place. At a minimum, I knew I'd need to remove the very wide forward saddle-type mounting flanges, which were significantly wider than the opening in the cockpit sole. But I couldn't remove these till I'd lifted the engine off the mounts. I lifted the engine clear and, after raising it enough to determine that yes, there was no way it would clear without removing the forward flanges, proceeded to remove them as needed--three bolts per each. Access to one bolt on each side was a challenge thanks to the very configuration of the steel flanges themselves, as the bolts were tucked into a tight area confined by gussets that prohibited reaching the heads with a normal wrench. Fortunately, I was able to fit a 1/4" drive ratchet with 13mm socket into the space and onto the heads, and somehow this small tool provided enough leverage to loosen the bolts. |
|
|
|
In any event, I removed both flanges, and then, after lifting the engine some more, determined a need to remove the engine-mounted secondary fuel filter on the port side, which was interfering with the engine's passage through the cockpit sole opening. Then, I determined that the mechanical fuel pump, also on the port side, would also not clear, so I had to remove that. Finally, I had removed enough ancillary hardware to allow the engine to make it through the opening and into the clear. |
|
|
|
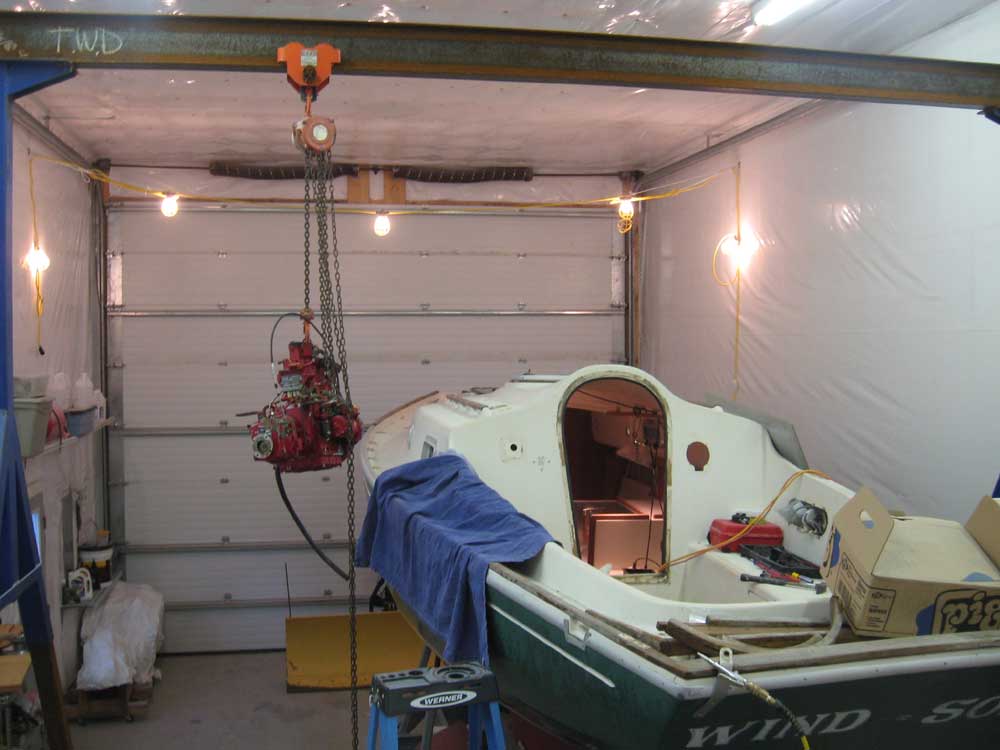
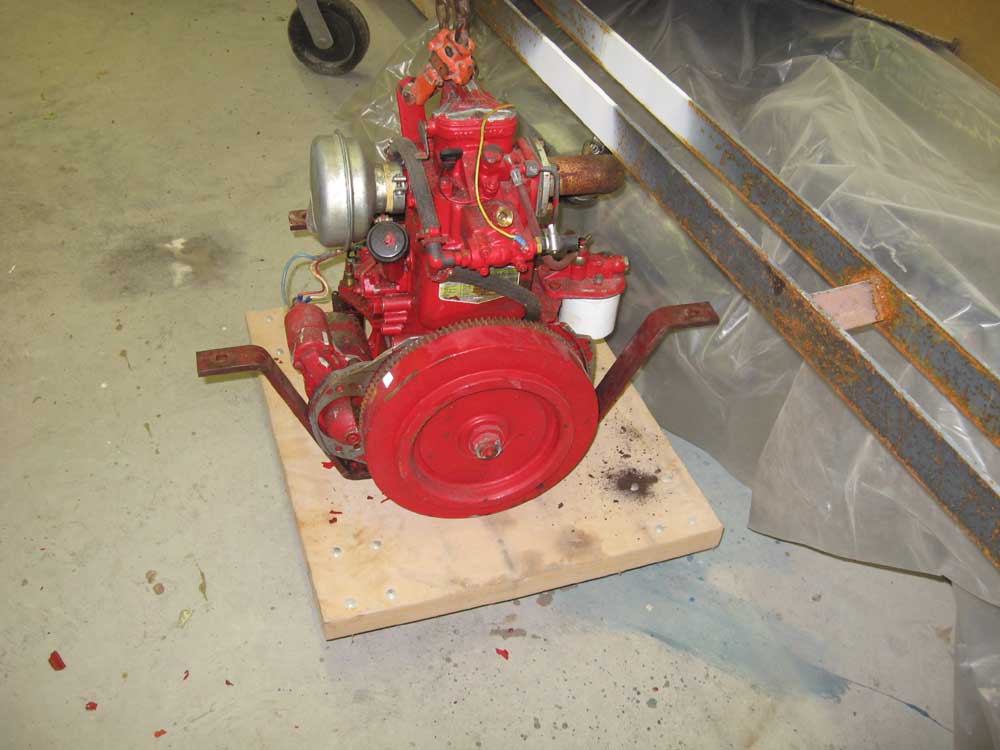
I raised the engine enough to clear the coaming, and then rolled it over the side and down to the floor, where I set it on a temporary cart. I took several minutes to re-attach the various components that I'd removed in order to get the engine out of the boat--fuel pump and secondary filter, forward mounting flanges, exhaust elbow, and air cleaner--and then returned to the boat to clean up some water and debris that had been in the drip pan beneath the engine. I cleaned up the tools and mess from the engine's removal, pulled the propeller shaft out from the inside, and the day was done. |
|
|
|
|
|