| Circe
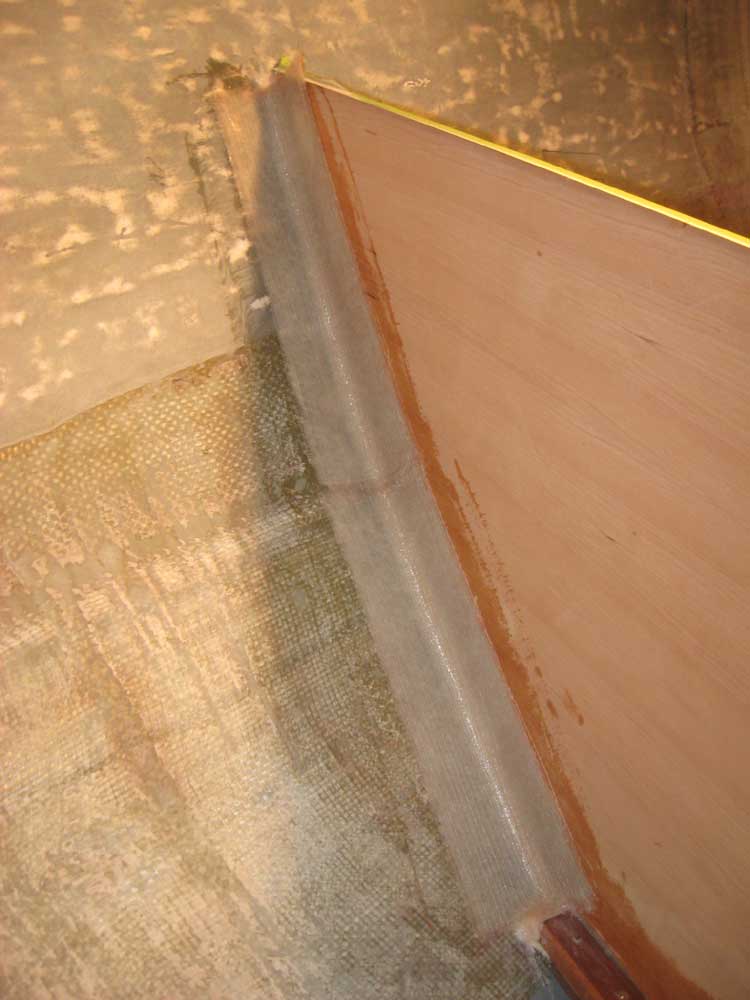
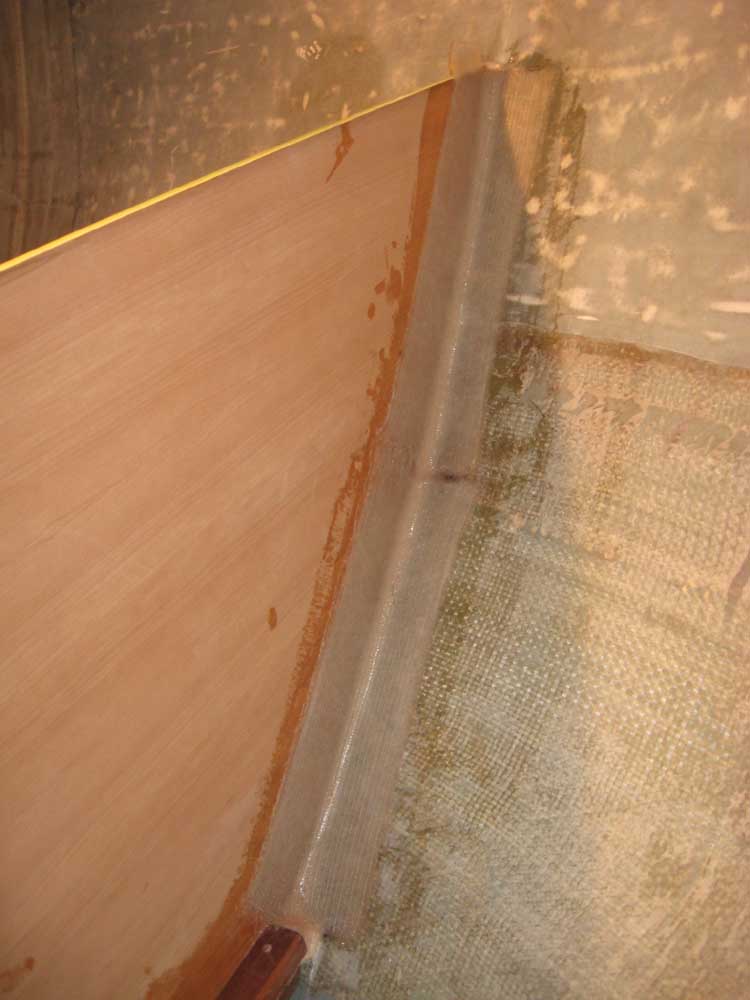
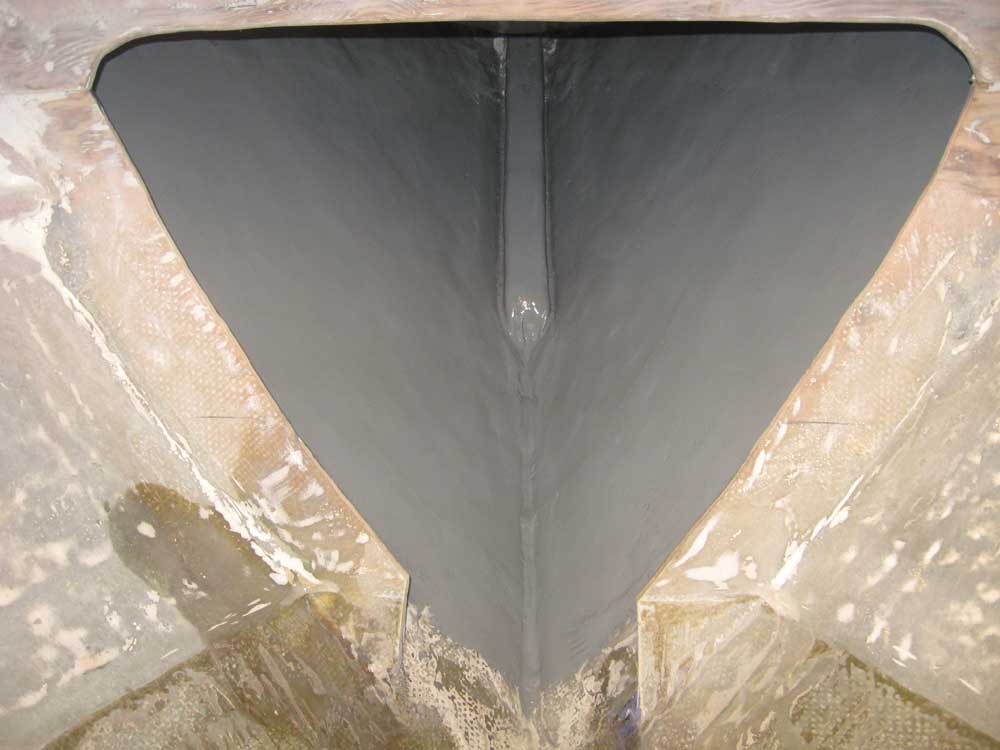
| Wednesday, October 28, 2009 I started with the head bulkhead, and installed the tabbing I'd hoped to complete yesterday. I tabbed the forward side of the bulkhead with two layers of 6" biaxial tabbing, since the bulkhead would be part of the ultimate support system for the water and waste tankage. Later, when the fiberglass had cured green, I trimmed off the excess tabbing that extended above the bulkhead. |
|
|
|
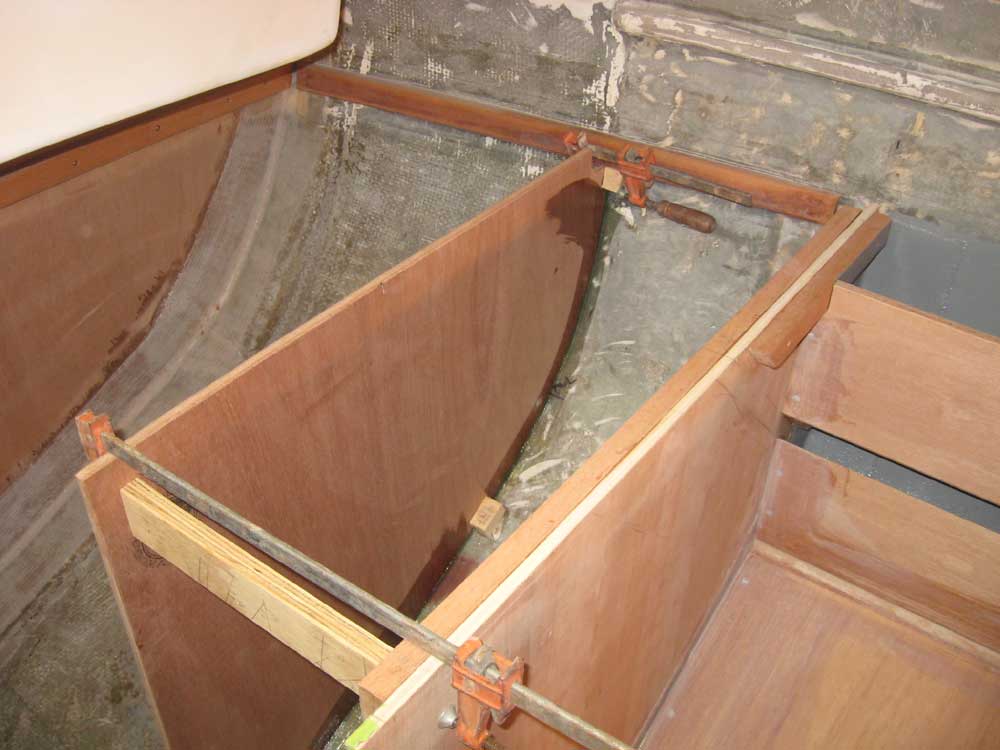
I made final arrangements for ordering the two custom tanks, with delivery expected in just over a week thanks to a happenstance coincidence of a previously-scheduled delivery nearby that would enable the company to deliver my tanks to a nearby meeting place at no cost. Meanwhile, I cut out the new bulkhead that I'd templated in the galley yesterday, and after a couple test fits and adjustments it fit properly and well. I double-checked its location with measurements and by actually using the sink itself to ensure enough room for the sink bowl, glued in some temporary support/clamping blocks, and secured the bulkhead to the hull with epoxy adhesive and left it to cure. |
 |
|
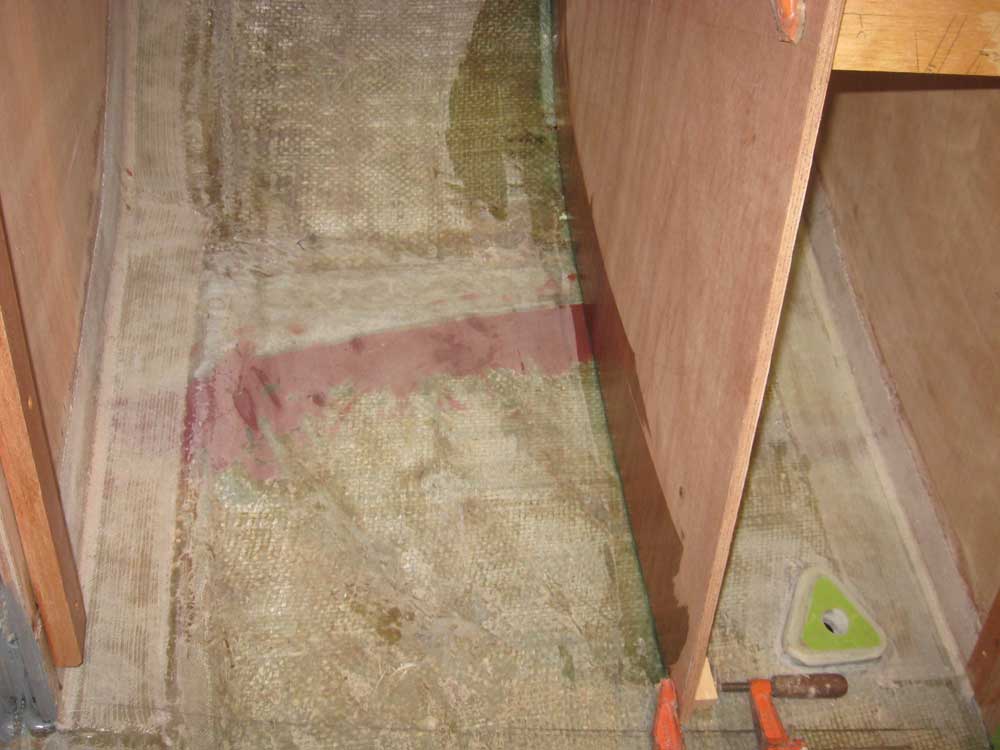
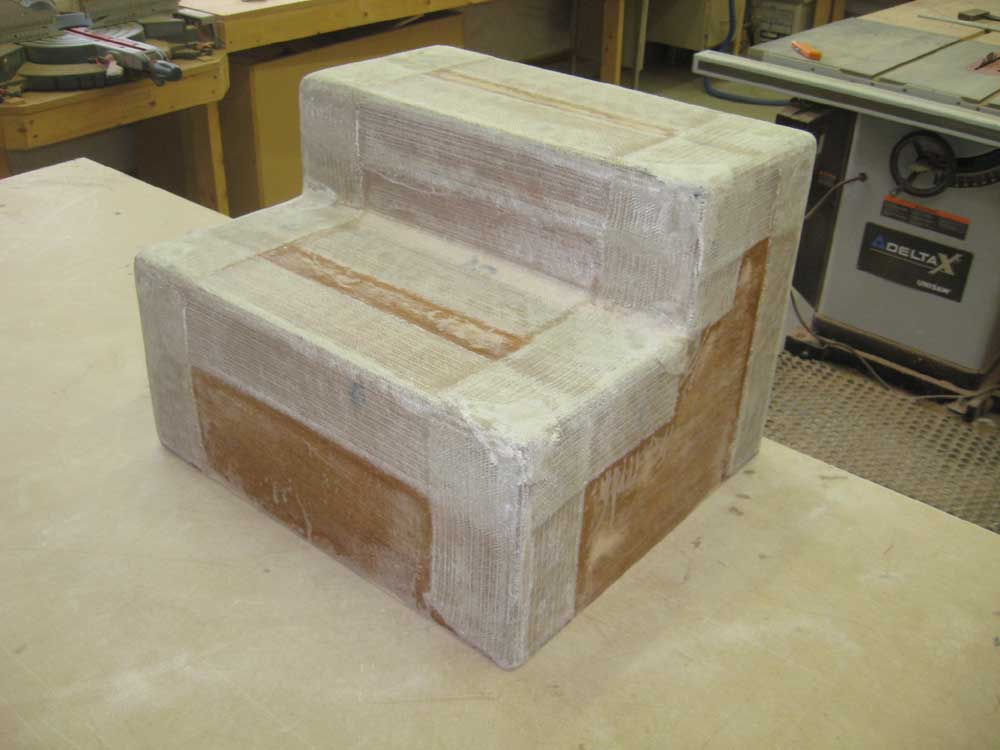
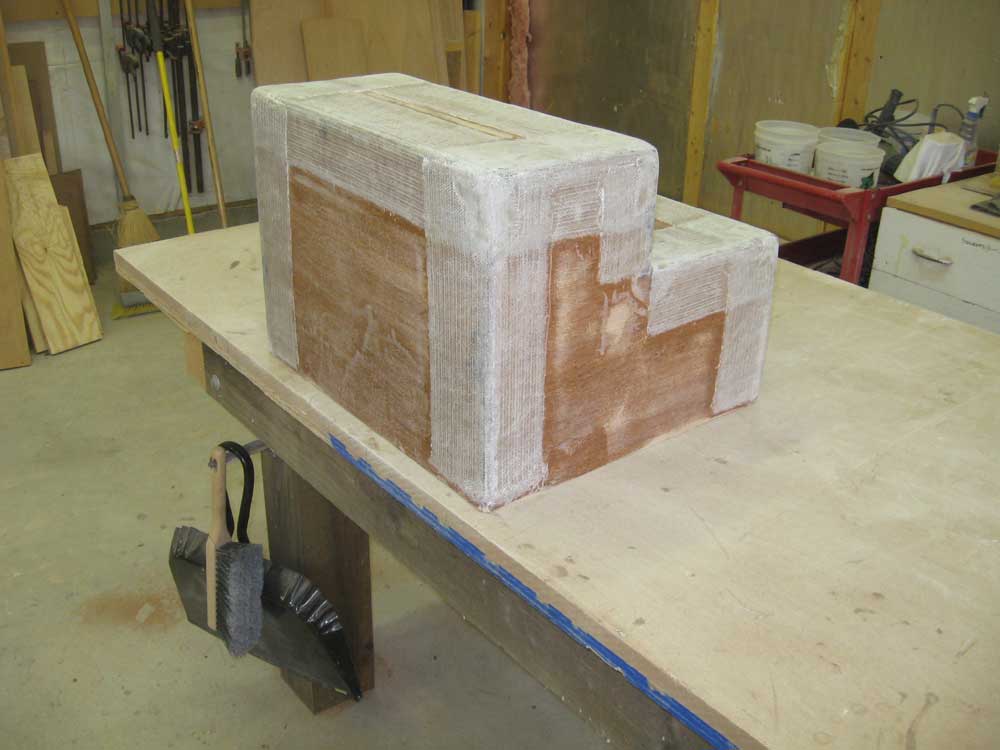
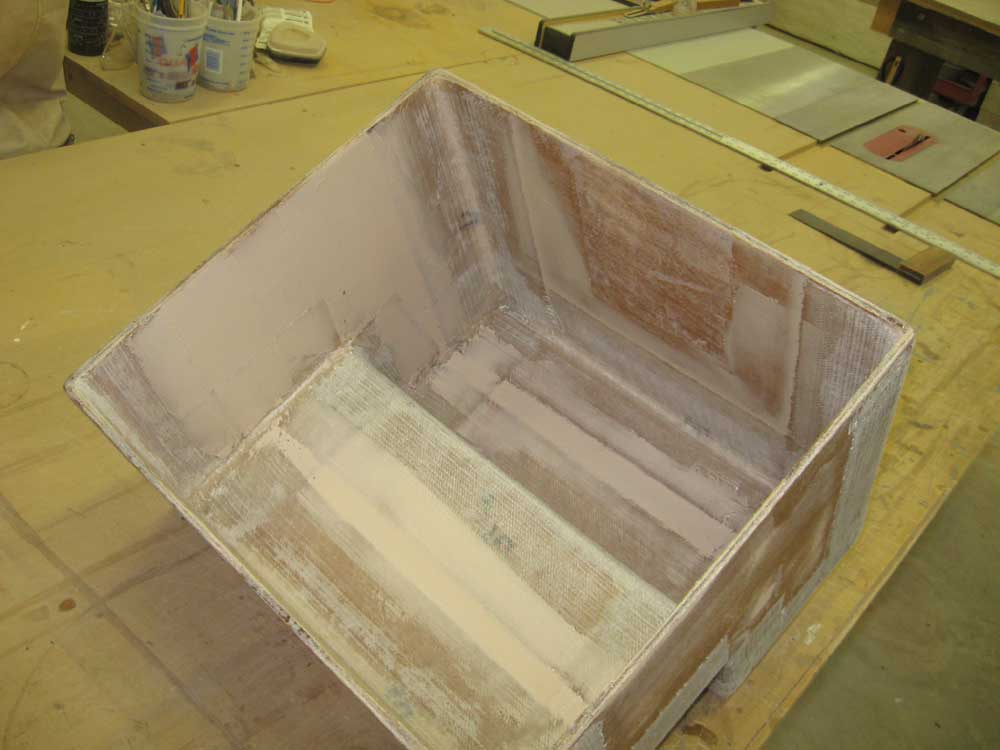
I washed and sanded the fiberglass on the icebox assembly, and applied some fairing compound to portions of the inside to even up some of the contour changes so that it'd be smoother before I contemplated sheathing the entire interior with more fiberglass. I left the material to cure for the remainder of the day so that I could get back to the icebox tomorrow. For this task, I chose to use a supply of product that I didn't care for that much, but thought this would be a good opportunity to help use it up. Since I'd had the product on the shelf for a while, I took the time early in the day to mix a test batch to ensure it would cure properly before I applied any to the icebox (it cured fine during the test). |
 |
|
I spent part of the afternoon meeting with the canvas contractor about a couple jobs at the shop, including a dodger and cushions for Circe. We discussed the basics of the job ahead so that he could calculate a quotation, which I expected to have within a few days. Afterwards, I prepared for the next steps in the head compartment. I'd need a longitudinal bulkhead on the centerline to separate the two tanks and also to help support the eventual platform that would cover the new tankage, and I made some initial measurements and reference marks to this end. However, I realized it'd be a lot easier to paint most of the chainlocker now, while the space behind was still relatively open, so I vacuumed and solvent-washed the chainlocker and the underside of the deck, and painted it with a coat of my habitual gray Bilgekote. I left a small portion at the aft lower center unpainted for now since I planned to install a short bulkhead and wanted the area bare for epoxy adhesion; later it'd be easy to finish painting the small area. |
 |
|
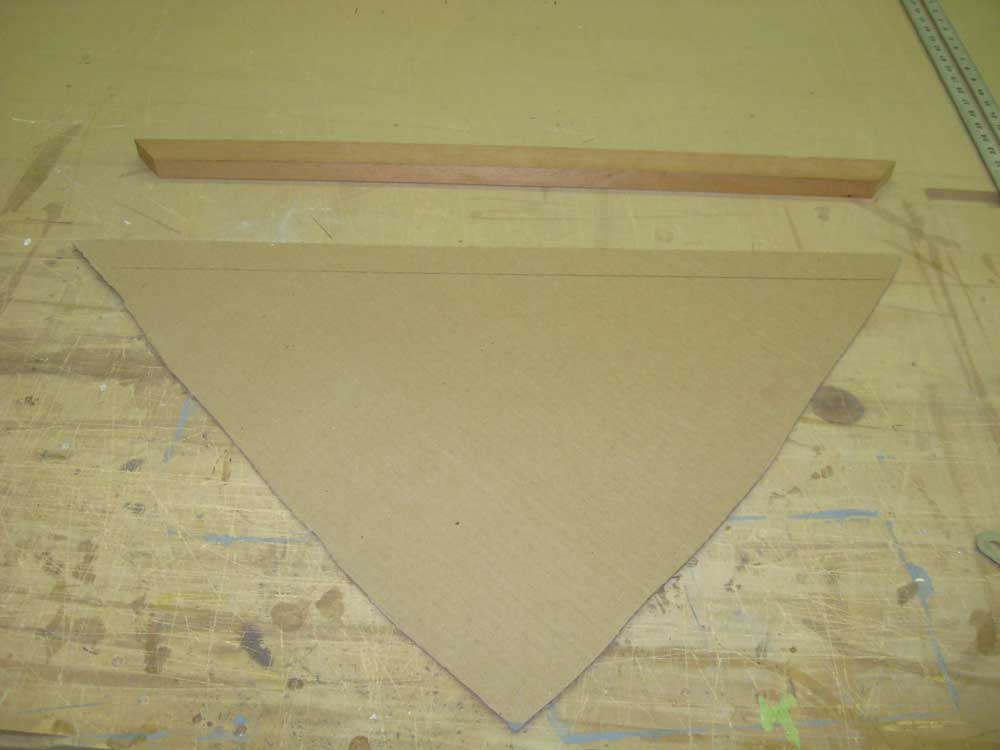
With that done, I made up a cardboard template for the small bulkhead that would define the forward end of the tank compartment and close off the bottom portion of the chainlocker for rode and chain stowage, preventing it from spilling aft into areas unknown. I ordered a length of fiberglass tubing that I could use as a chainlocker drain so that I wouldn't have to worry about inadvertently blocking off drainage during the tank installation later. |
 |
|
|
|