| Circe
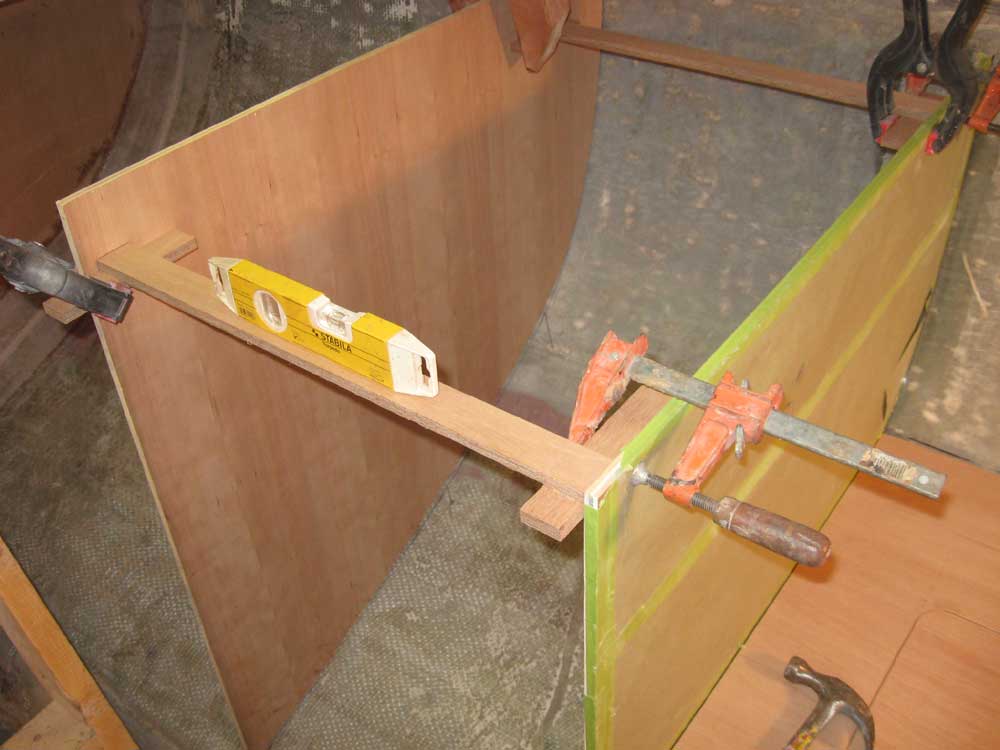
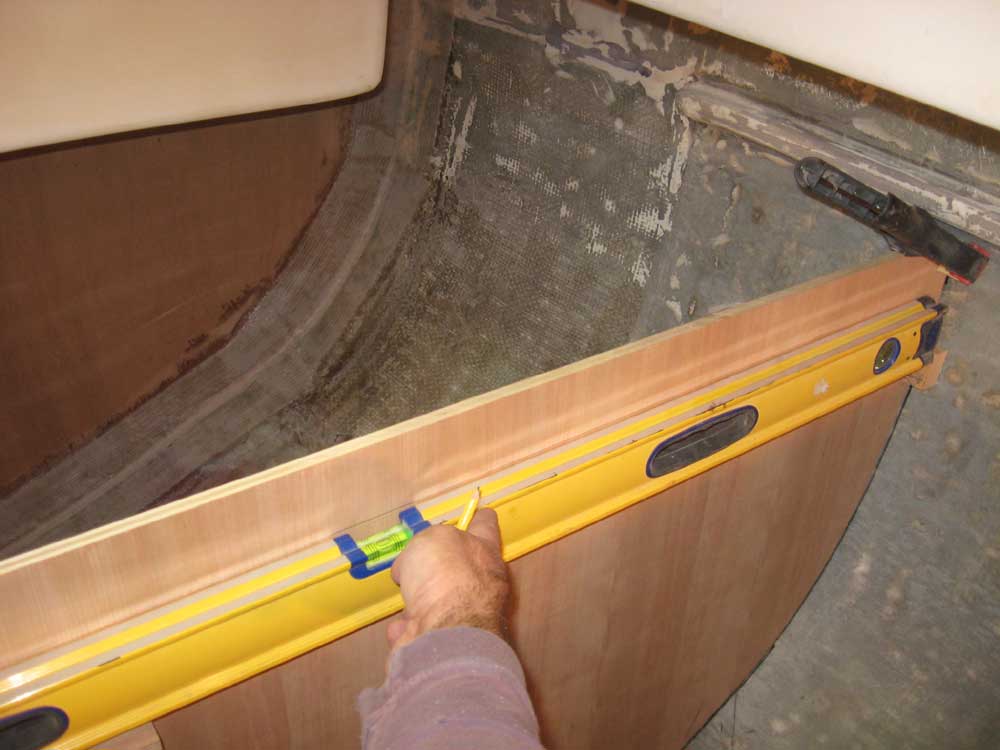
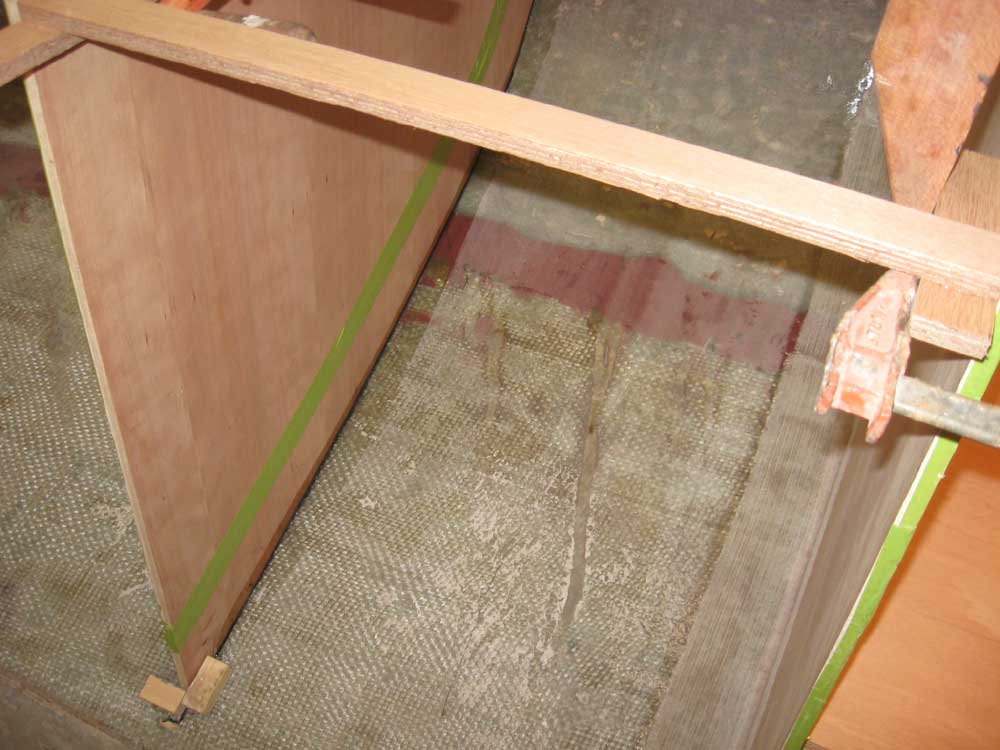
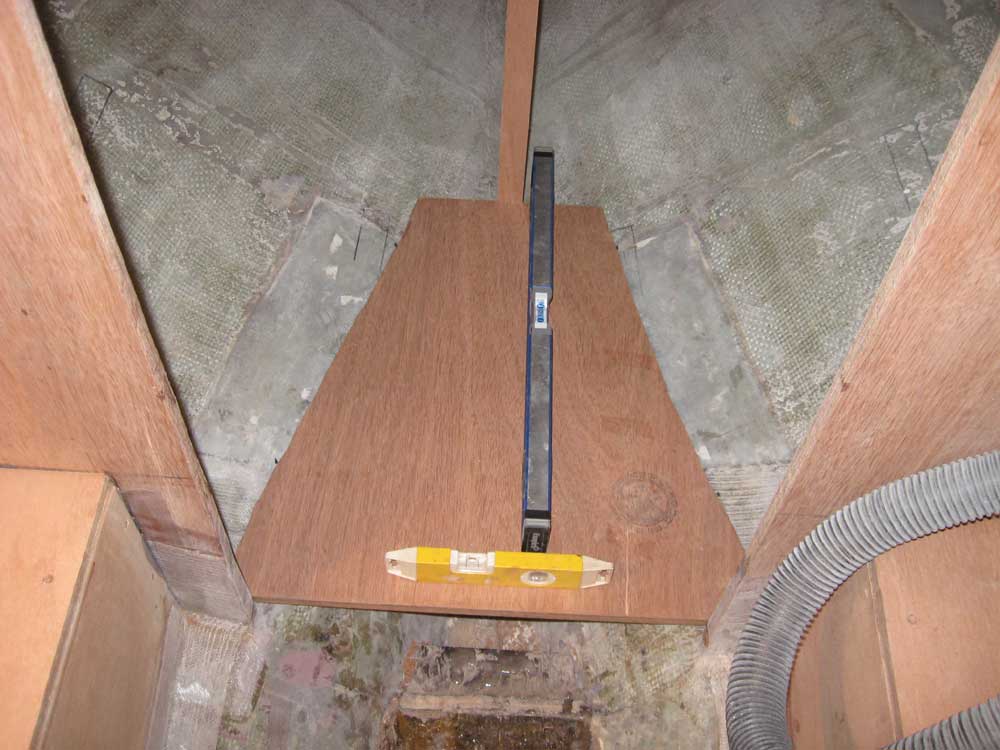
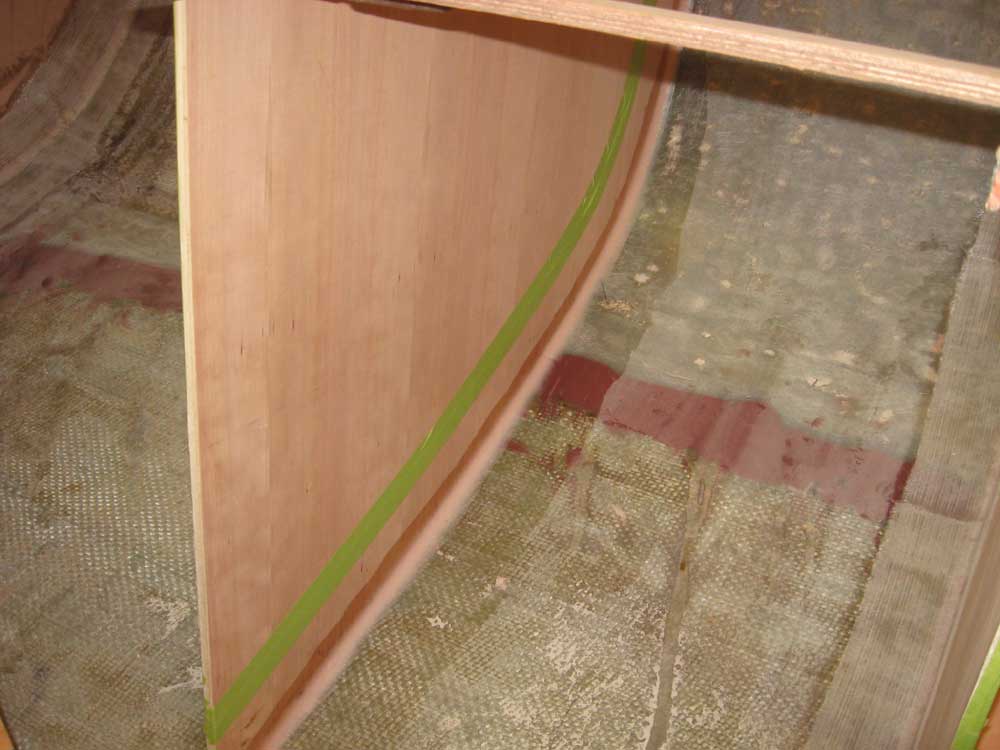
| Tuesday, October 13, 2009 I set the settee platforms in place, but refrained from fastening them permanently at this point, in case I needed access beneath for some as-yet-unforeseen reason. For now, it was helpful to simply have the platforms in place. I continued work on the new after galley bulkhead that I started yesterday. With the fit OK, now I had to align the bulkhead properly and in the right position. The stove schematic indicated a maximum distance between support bulkheads of 21-7/8", so I used this as my benchmark, since later I'd add some metal sheathing to the inside of the enclosure that would subtract some width. Yesterday, I'd cut plywood spacers to this dimension, and I used a couple of these to start the alignment process. I also clamped the stove mockup back in place to double-check its fit in the proposed space and ensure that everything was coming together as planned. |
|
|
|
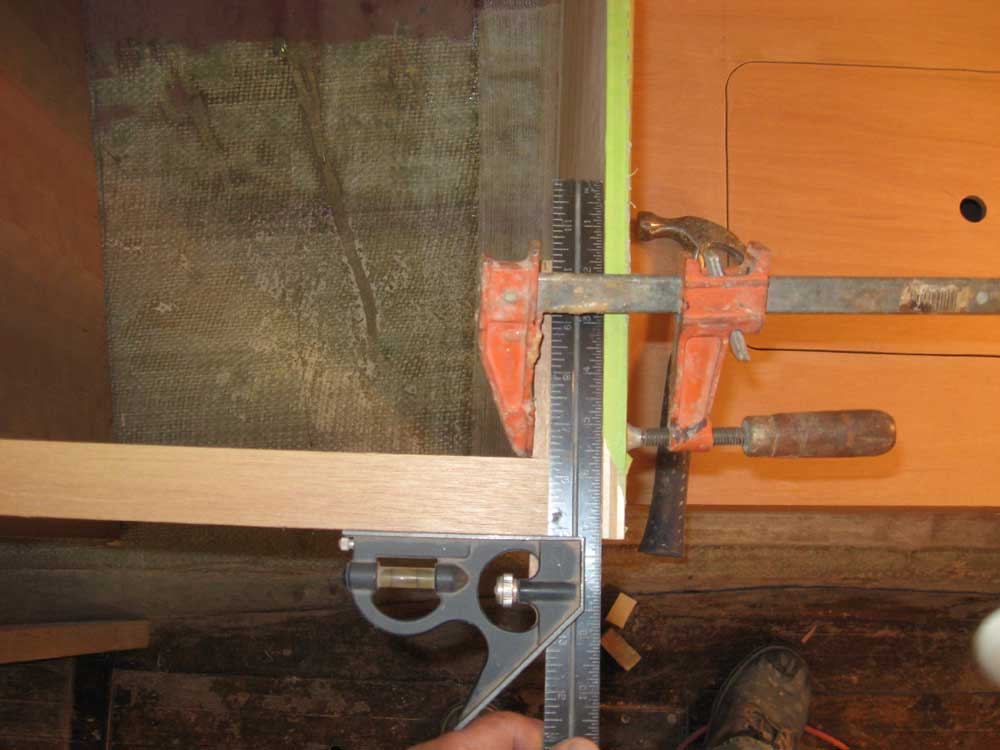
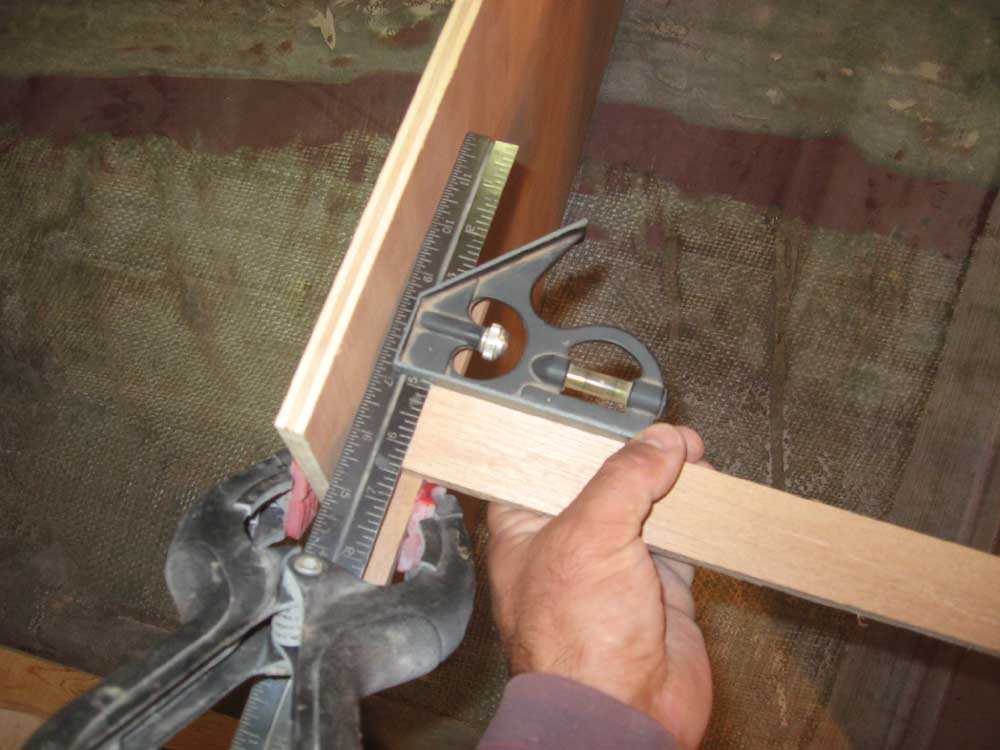
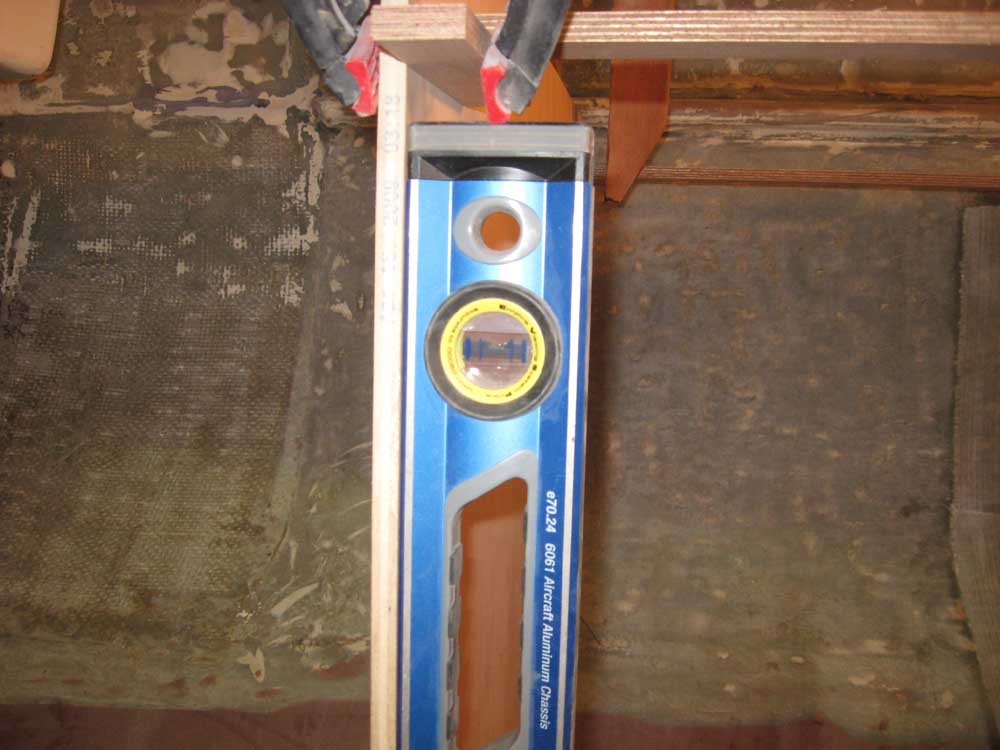
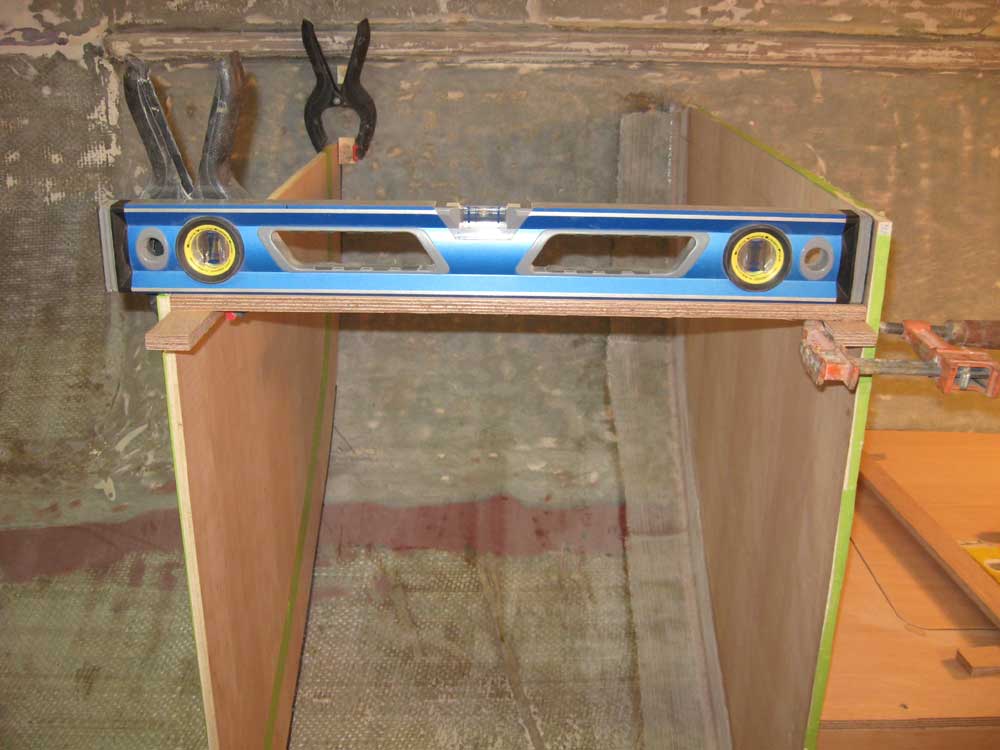
After clamping things in position, checking for square, plumb, level, and proper distance in all areas, I secured the new bulkhead temporarily with some hot-glued alignment blocks, clamps, and the aforementioned spacers, fine-tuning the position as needed. At this time, the bulkhead was still oversized, both in height and width, so that I could mark the exact height and width exactly plumb and level according to how the bulkhead ended up in the boat. The final height of the after bulkhead that I marked corresponded to the height of the countertop, minus the thickness of the top itself (3/4"), since the countertop would rest atop this bulkhead. The stove location as shown in the mockup photos is also designed to be at a height where a cover, when applied over the stove, would be level with the surrounding countertop for a flush fit and wide workspace. |
 |
|
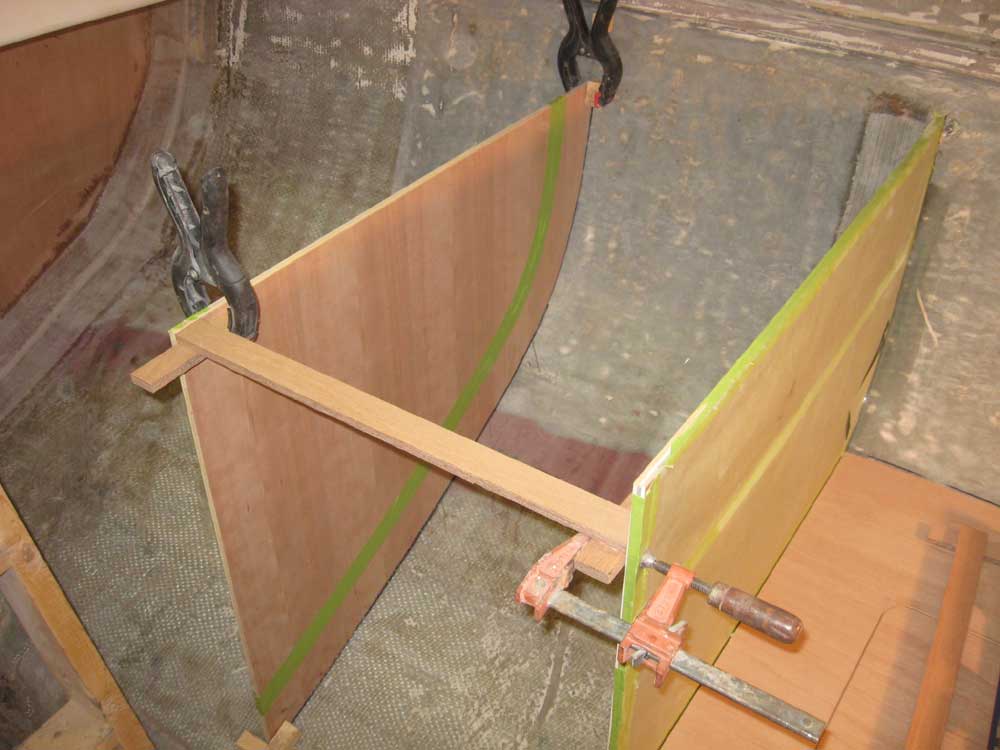
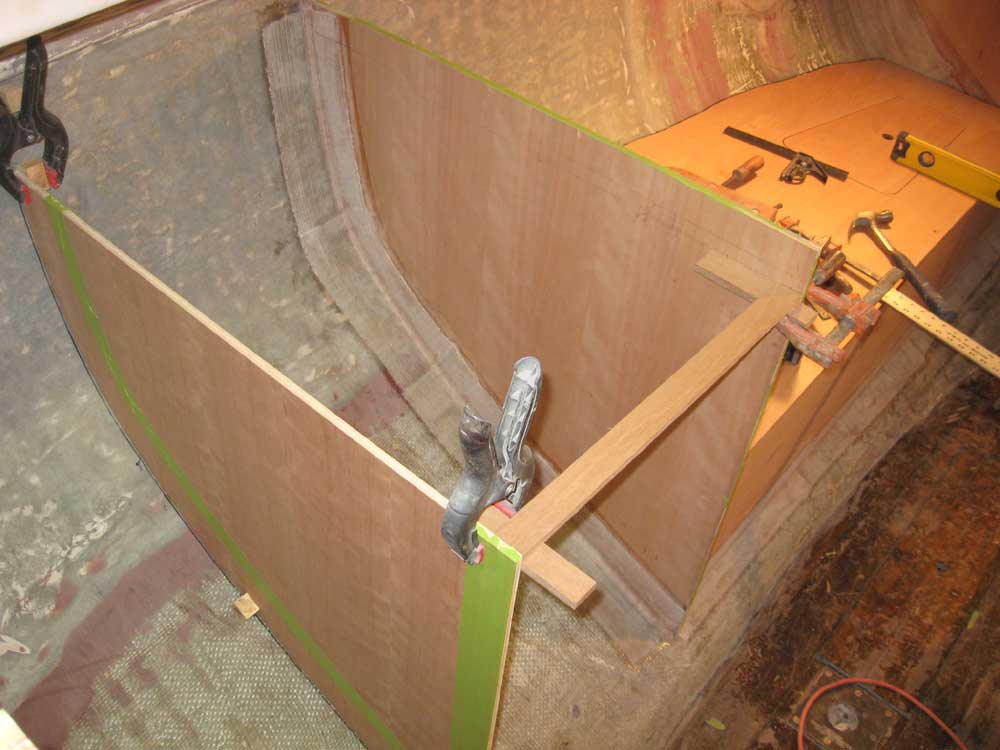
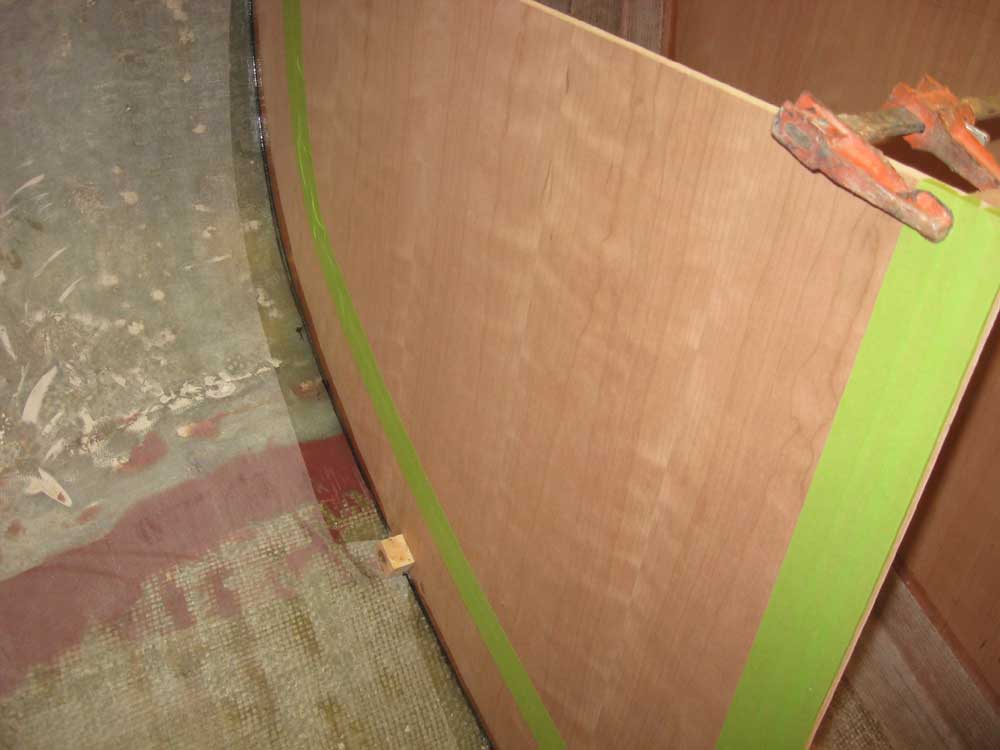
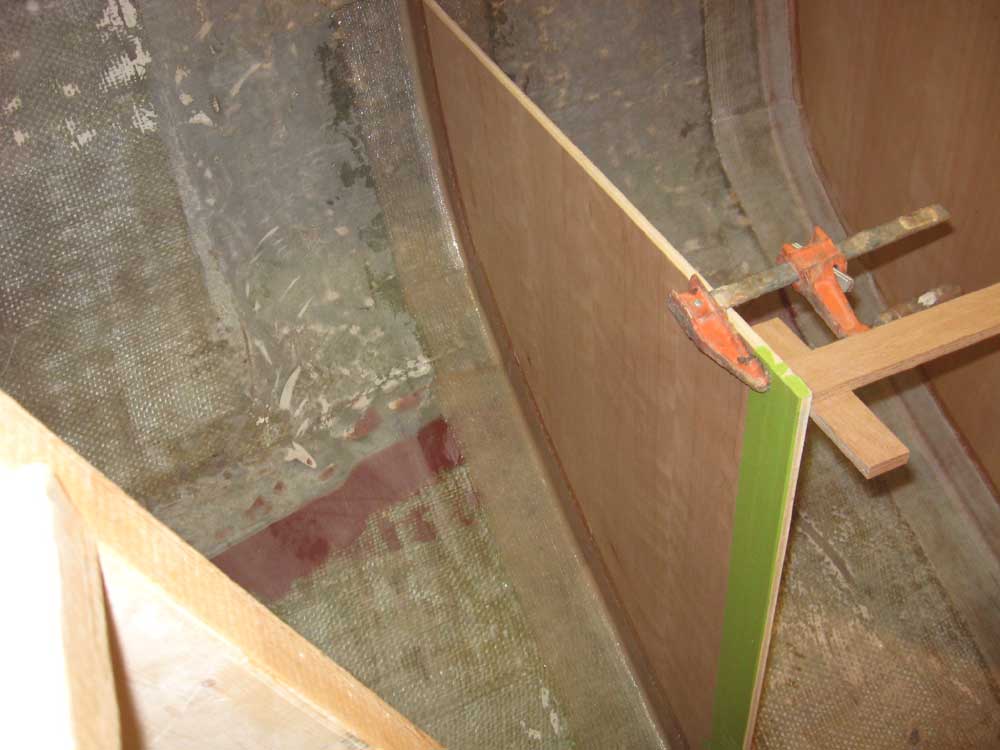
With all the marks made as needed, I unclamped the bulkhead and made the cuts down in the woodshop. Then, I returned it to the boat and checked everything again. I glued additional blocks to the hull to help hold the bulkhead properly during gluing, and then prepared the edge of the bulkhead and the hull for permanently installing the bulkhead. |
 |
|
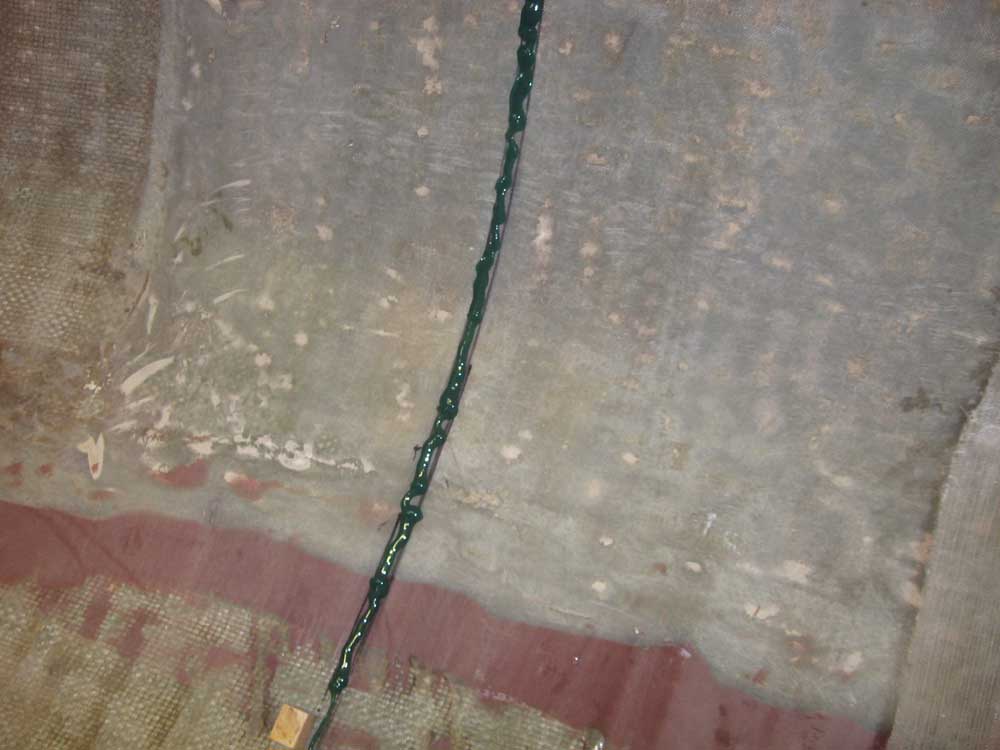
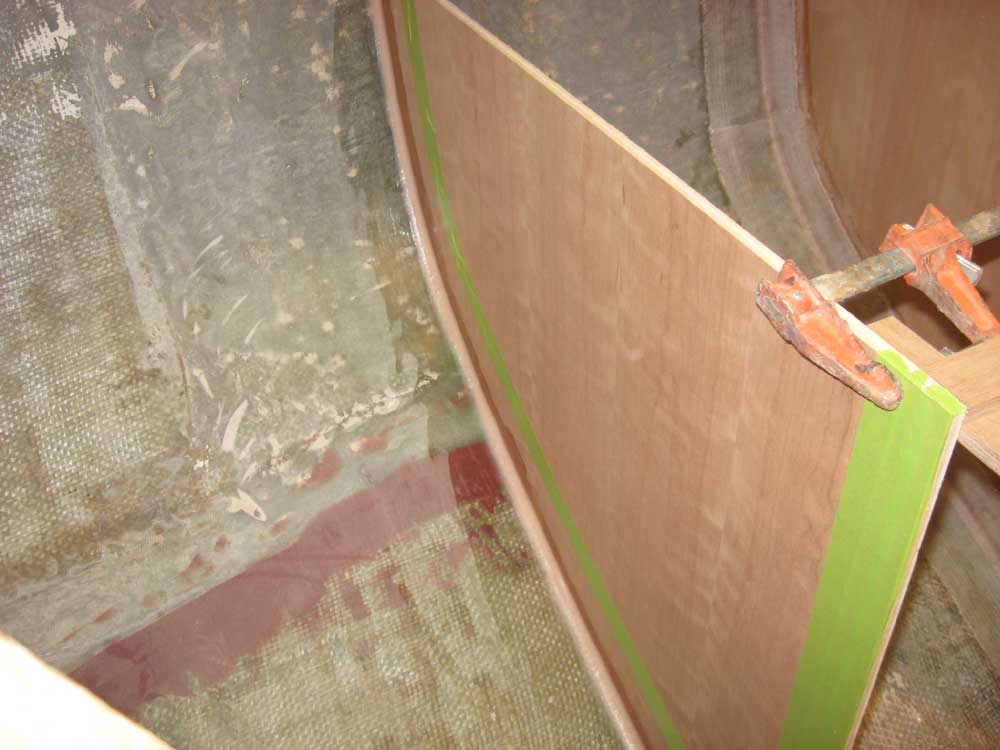
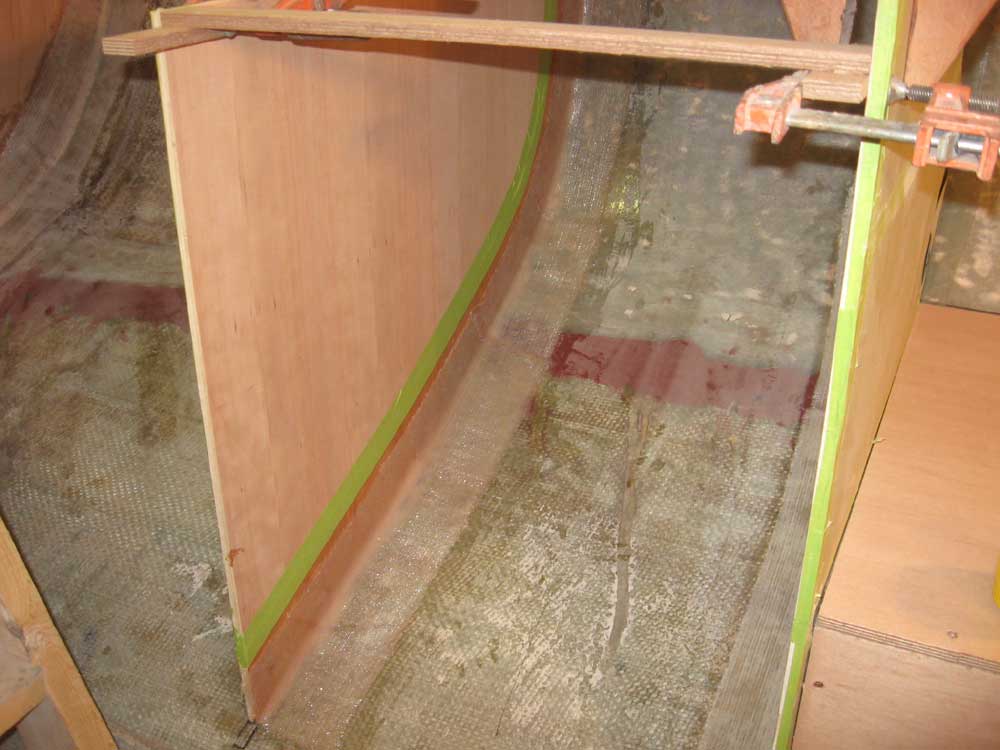
I applied a bead of Pro-Set adhesive and set the bulkhead in place, clamping it securely till the adhesive cured. |
 |
|
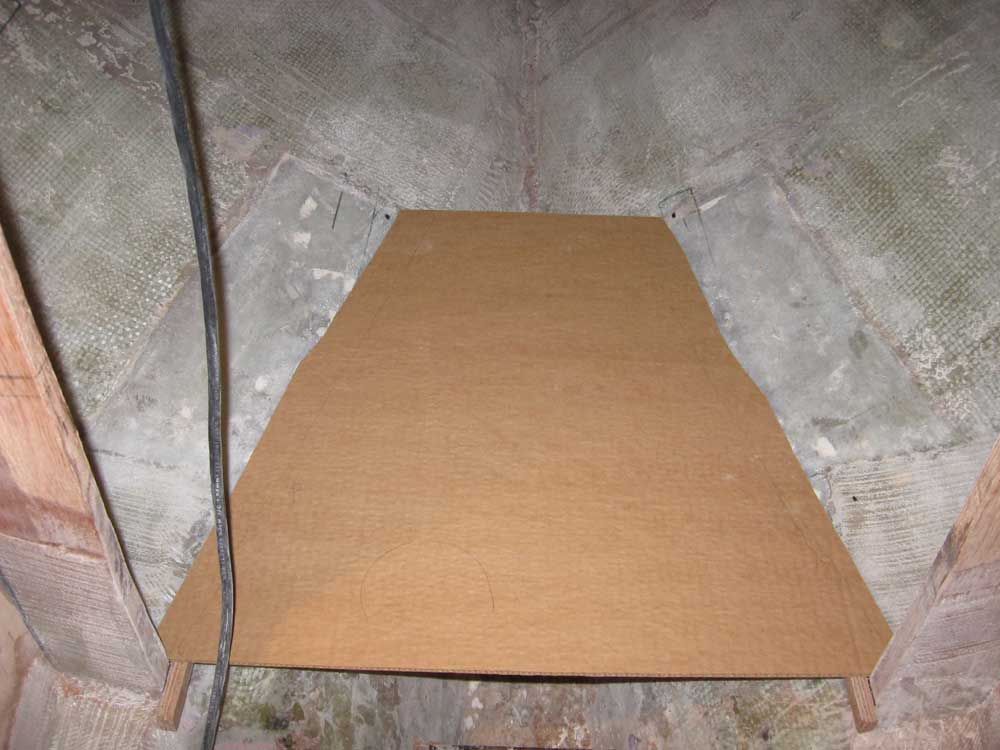
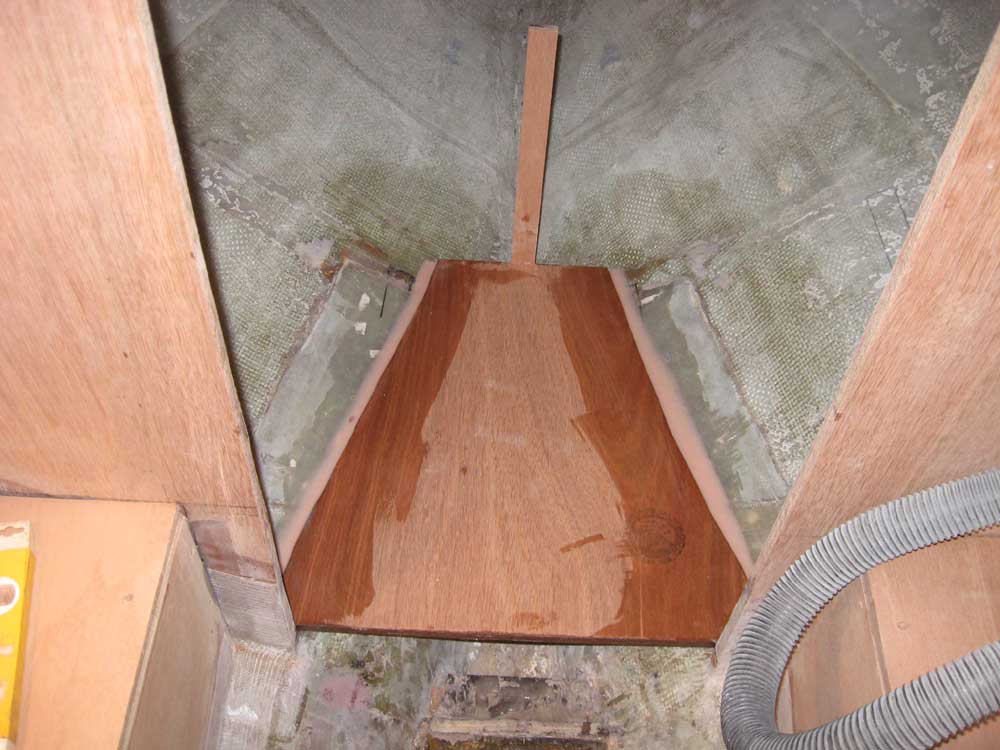
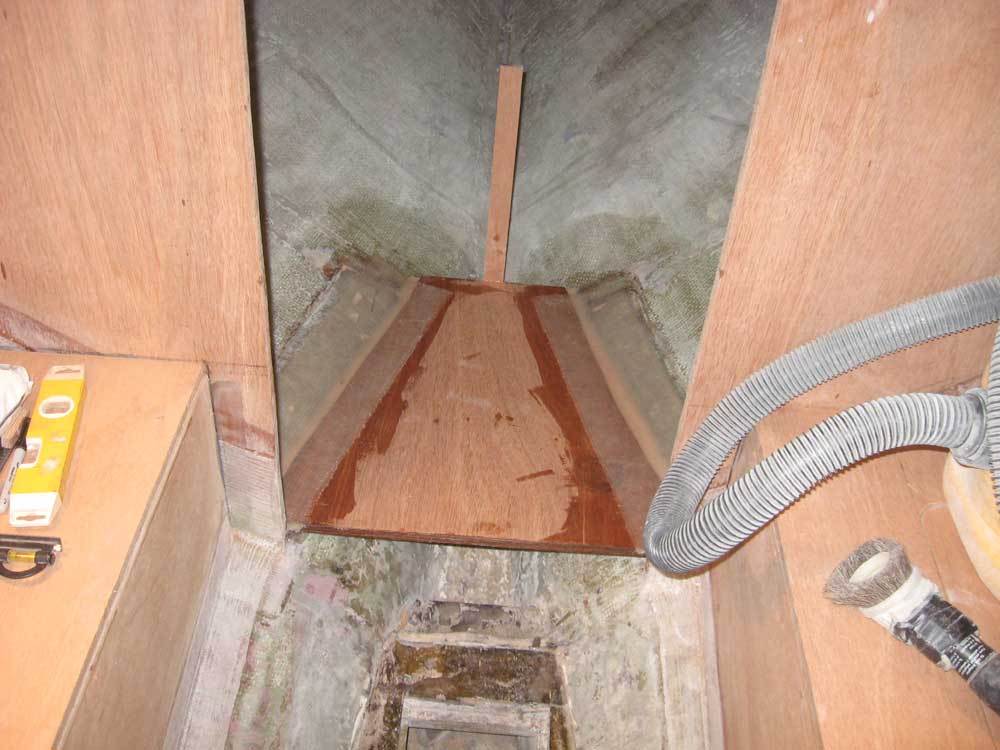
While I waited for the adhesive to set up, I worked on the head compartment, in the forward cabin. To begin, I laid out the position of the head sole, which would be elevated above the main cabin sole by a certain amount to provide a wide-enough area for practicable standing and maneuvering. With some level marks and other reference marks in place, I made a cardboard template slightly smaller than the area, onto which I scribed the hull shape; then I cut out a sole from 18mm plywood. A little fine-tuning, and the new sole fit well and level in both directions. |
 |
|
I epoxy-coated the bottom of the plywood, and then installed it in a bed of thickened epoxy, forming fillets against the hull at the same time. Then, I cut two strips of 6" biax, and tabbed the sole in place. |
 |
|
Meanwhile, the adhesive on the galley had cured, so I unclamped the piece as needed and installed epoxy fillets on both sides where it met the hull. Finally, I tabbed the bulkhead over the fillets, permanently completing the installation and wrapping up the day's work. |
 |
|
|
|