
| Circe
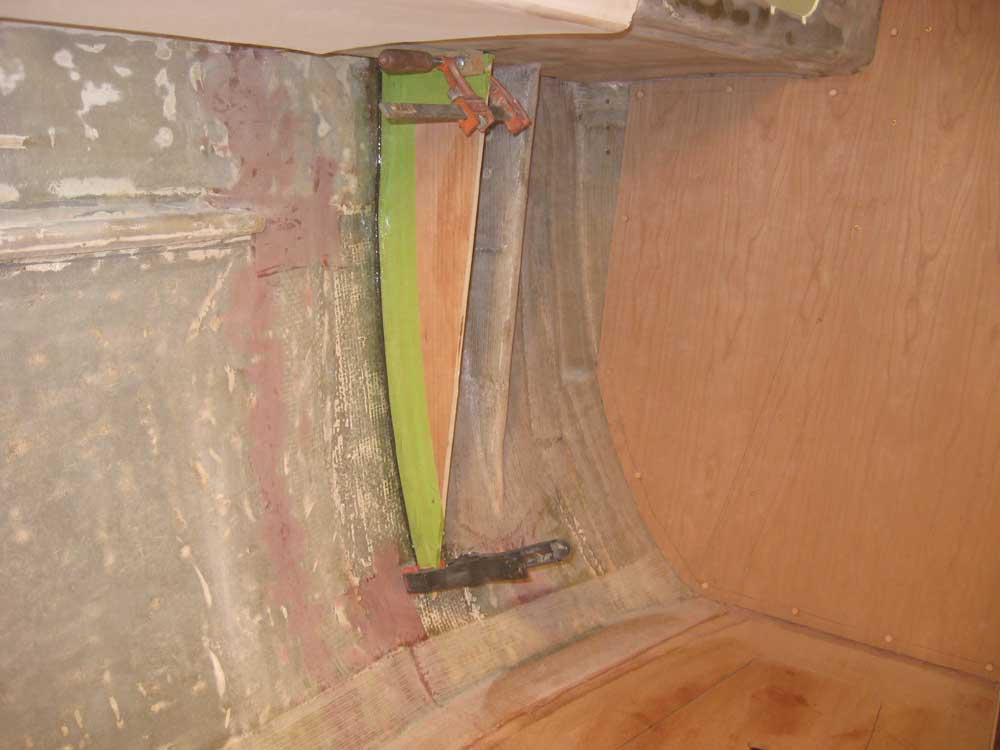
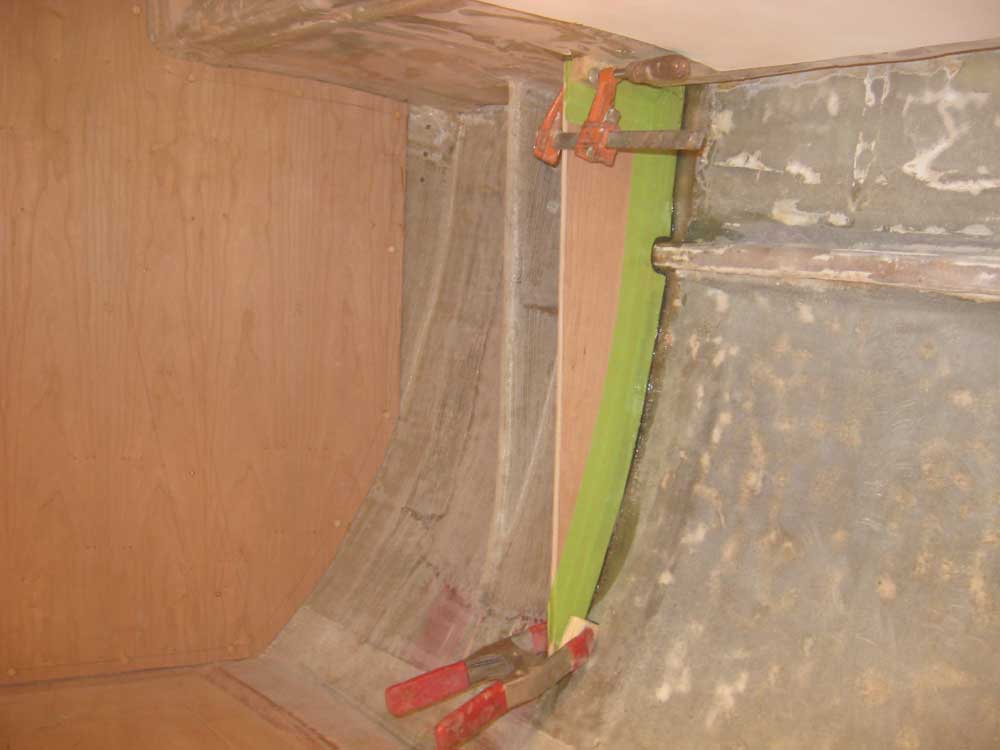
| Thursday, November 19, 2009 I began the day by sanding and revarnishing the white oak mast beam and posts as I continued the buildup process. One remaining loose end in the main cabin was a small cabinet to cover the chainplate knees, since I didn't want these exposed. I planned as small and simple a cabinet as possible; the only purpose of the cabinet would be to hide the chainplates from view. After making a few basic layout marks, I made a cardboard template of one side, taking several iterations and minor rescribing/cutting to get the fit right, and then transferred it to 1/2" cherry plywood and cut out the shape. The opposite side turned out to be essentially identical, other than a small extra cutout around a stiffener, so the second side went more quickly. I set up some hot-glued clamping blocs in the correct position and then secured the small bulkheads in place with epoxy adhesive. The location left plenty of room for working the bolts securing the chainplates, both now and during any future maintenance attempts. |
 |
|
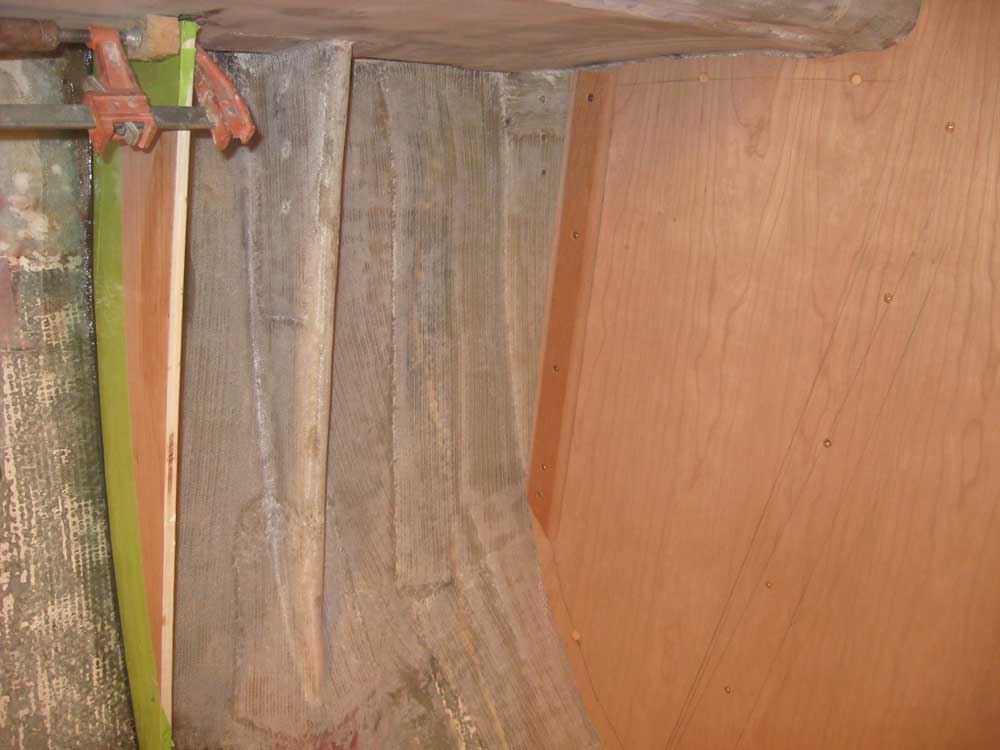
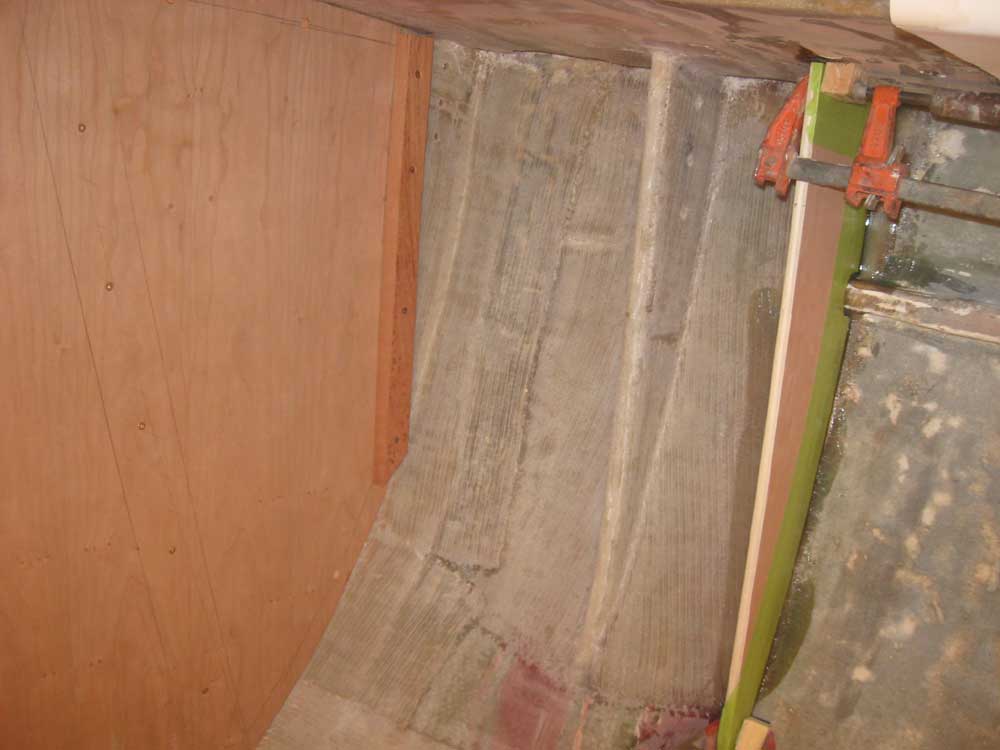
After paring away the protruding bungs from the main bulkhead, I used a square to transfer the face of the new bulkhead forward to the main bulkhead, where I struck a plumb line demarking the edge of a cleat required to support the new cabinet's face. Then, I cut and installed hardwood cleats on each side. |
 |
|
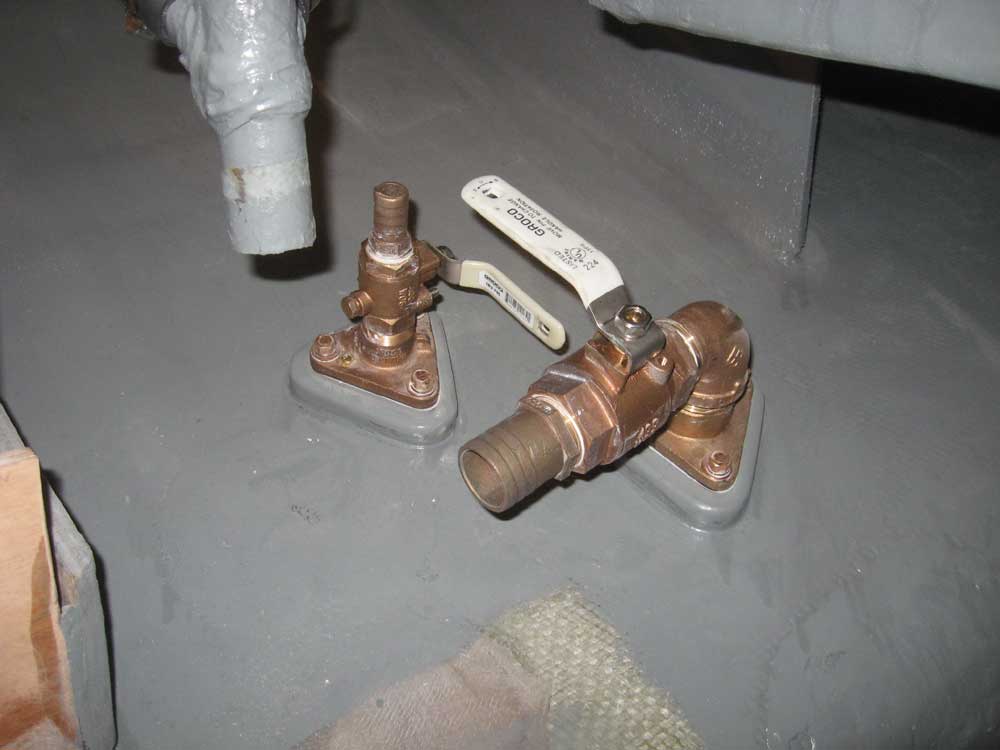
While I still had the best access, it seemed a good time to install the shutoff valves for the cockpit scuppers and engine intake. To begin, I installed the bronze tailpieces in the valve assembly, using thread sealant on the threads. Then, I threaded the entire arrangement onto the bronze elbows that were already in place, and tightened them securely. I had planned to install the scupper hoses as well, but it turned out that the hose I had on hand and had planned to use formed a kink at the bend, so I ordered a stronger, more bendable hose for the job. |
 |
|
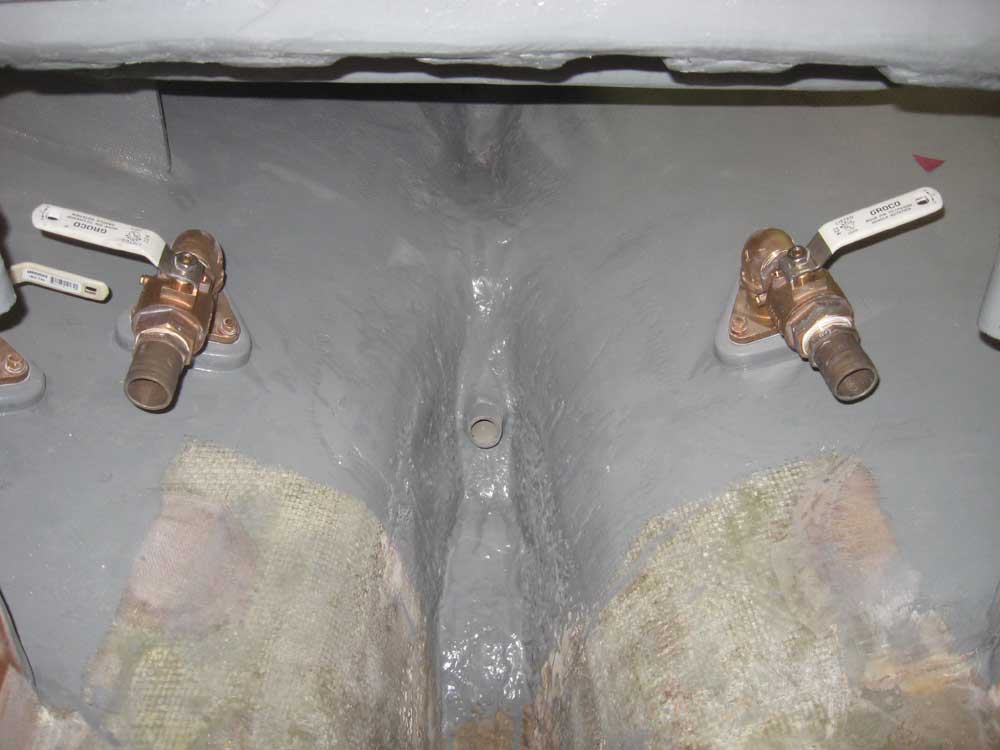
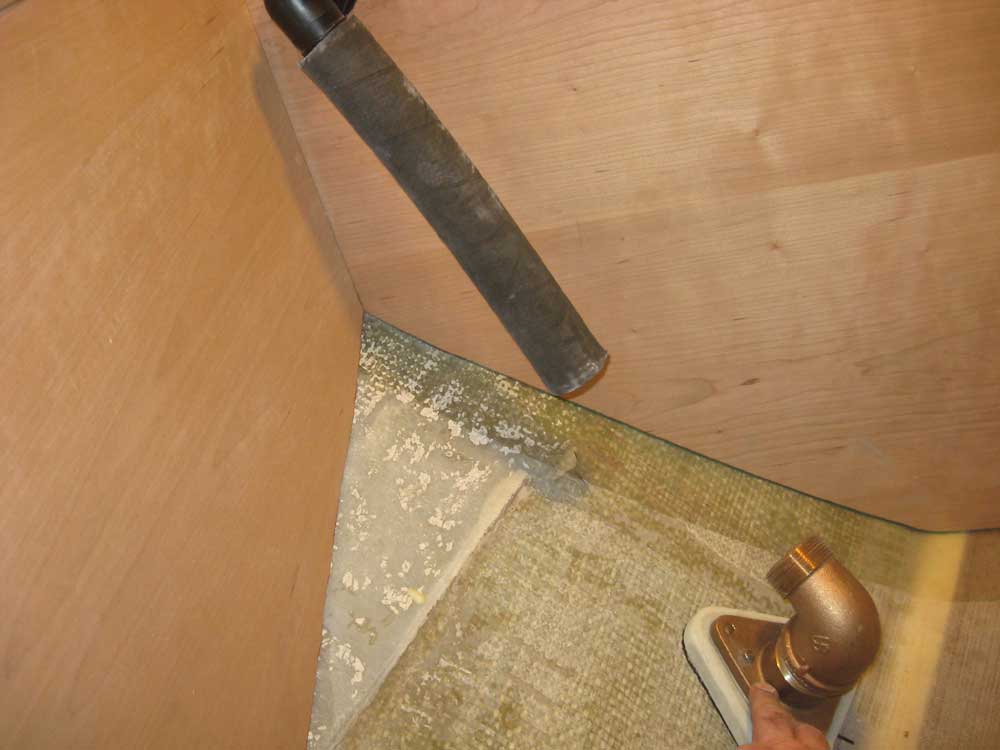
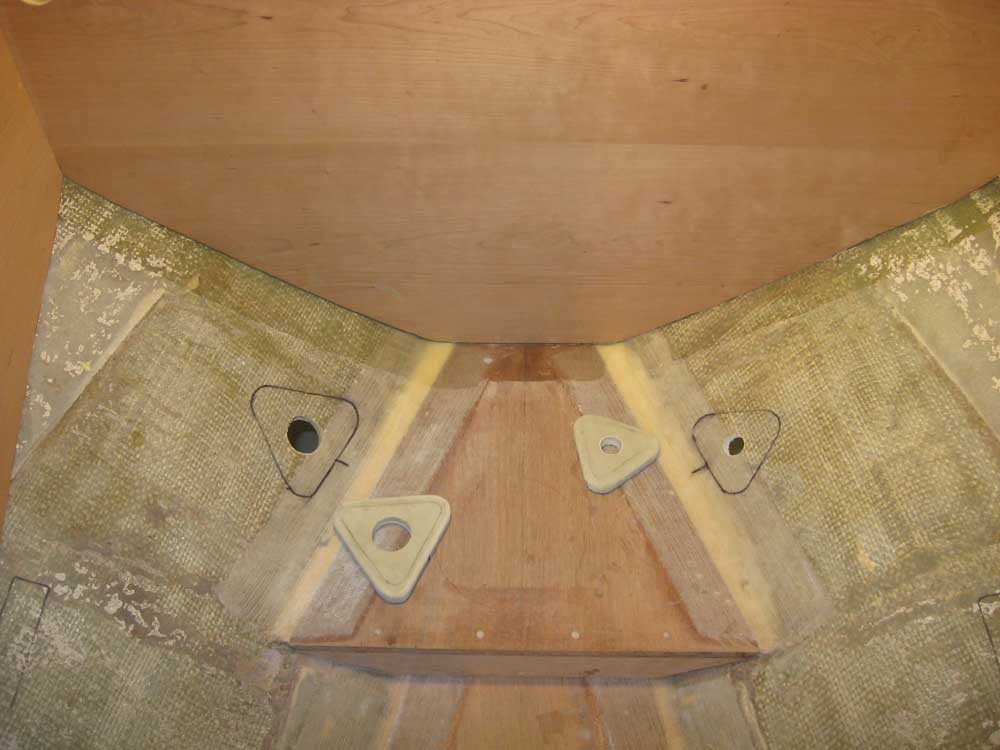
While I was on the bronze tangent, I decided it was time to install the head intake and overboard discharge. With the valves in hand and the toilet temporarily in place, I tried a few different positions for the large discharge assembly, and with and without a 90° elbow at the hull fitting, eventually settling on a position that would require the use of the elbow to align the valve with the direction of the discharge hose. The hull in this area was angled steeply. I permanently installed the elbow on the bolting flange, and then marked the position of the flange and backing plate on the hull. On the opposite side, I tested the fit of the smaller intake valve, and located it in the same relative place as the discharge across the way, and for best appearance. Finally, I drilled the holes through the hull, cleaned up the area, and installed the backing plates in beds of thickened epoxy. While I was up there, I installed a bushing and final hose nipple on the water tank, for the vent fitting. |
 |
|
|
|
