| Circe
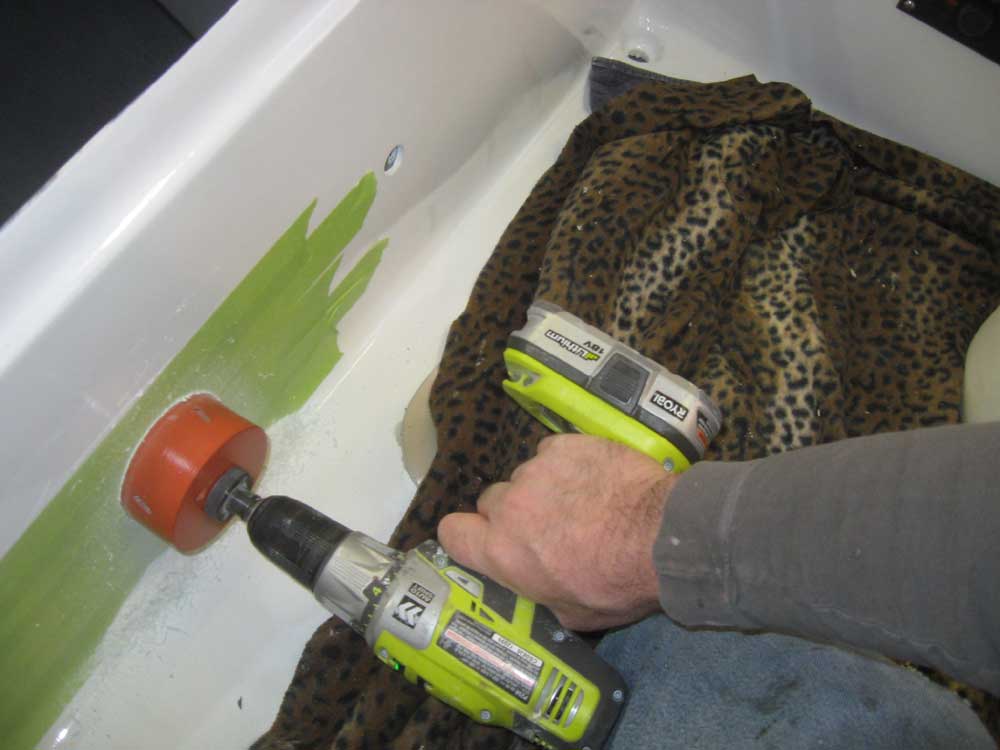
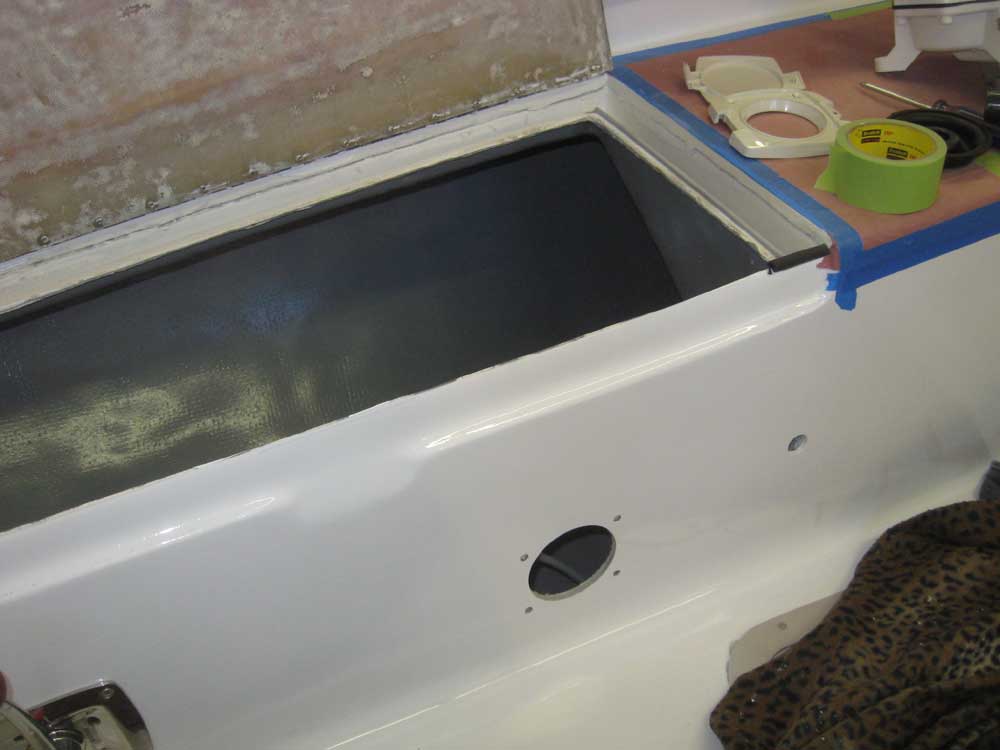
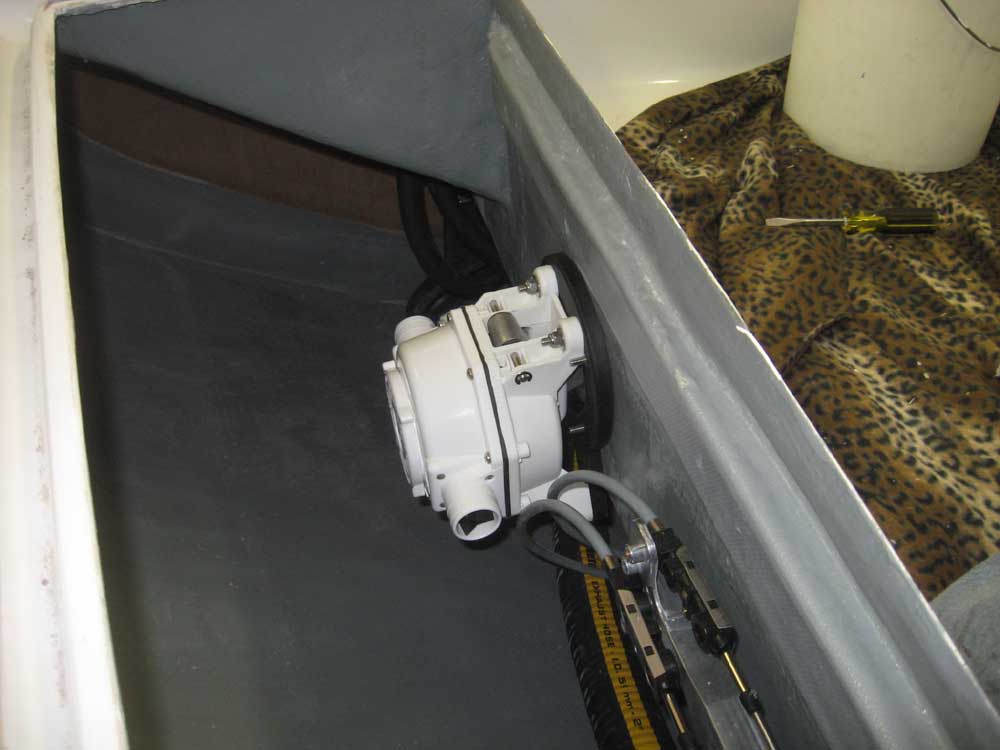
| Friday, March 5, 2010 Drilling large holes in finished surfaces always seemed best done first thing in the morning, so I began the day working on the manual bilge pump. Armed with the correct adapter kit and through-bulkhead mount for the pump, I determined the best location for the device and used a large hole saw to cut the required hole, and used the cover plate to locate and drill the four fastener holes. |
|
|
|
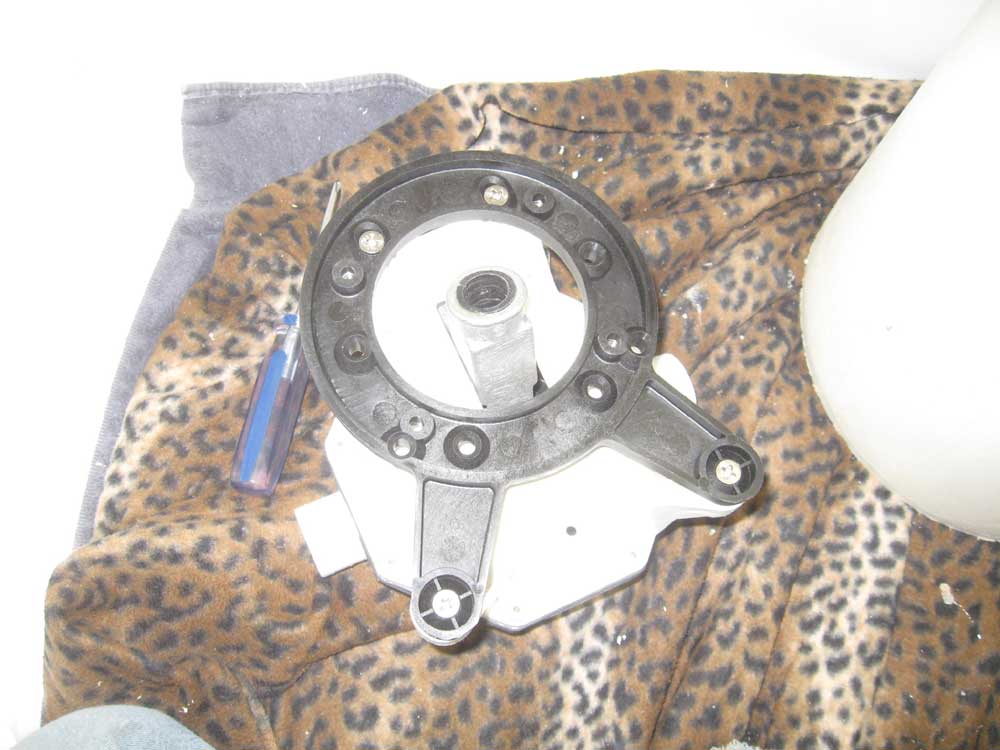
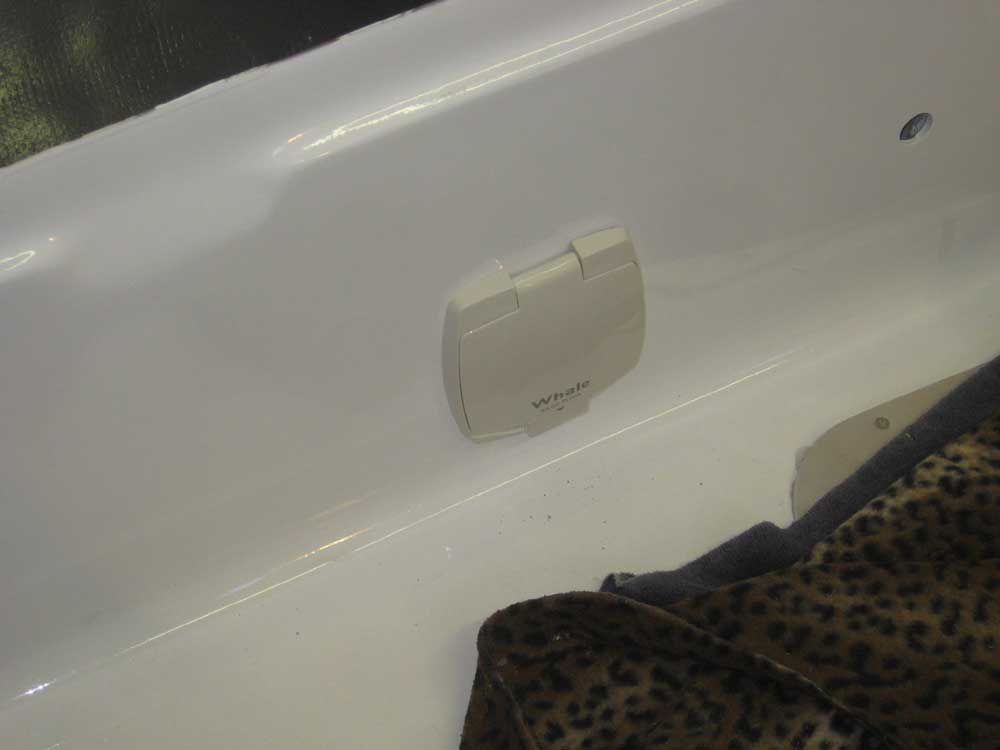
With the hole in place, installation was straightforward. I secured the adapter plate to the pump with bolts, then secured the pump and housing with four bolts through the cockpit side, which also secured the plastic face plate. |
 |
|
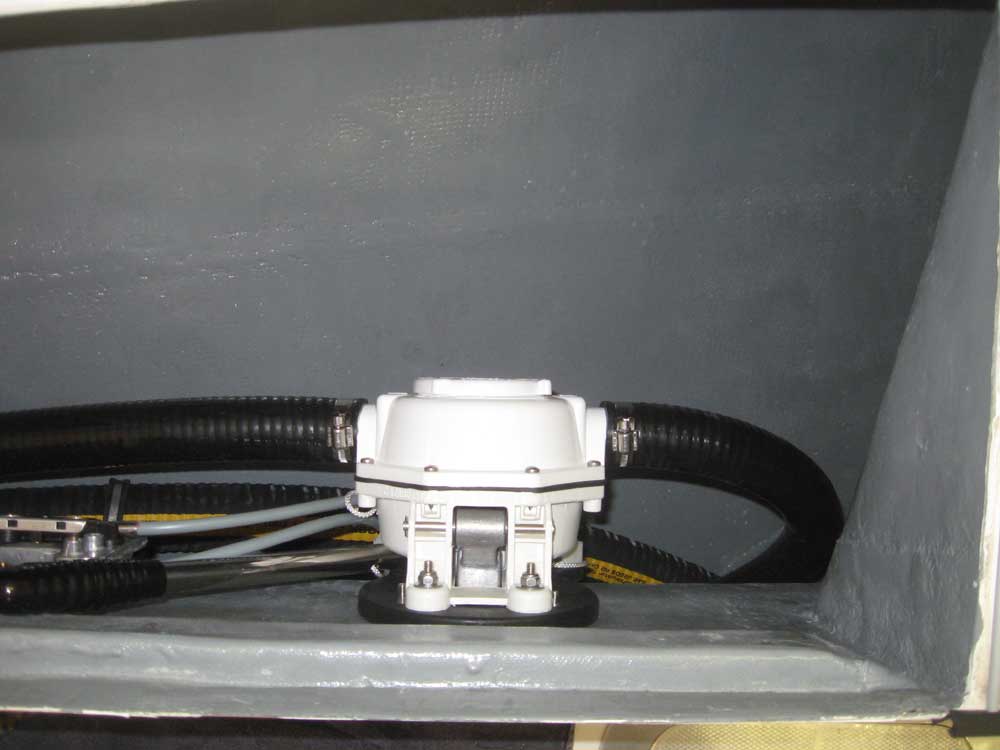
Next, I secured the hoses to the pump. For the pump suction side, I attached a heavy bronze strainer to the hose, both to hold the hose in place in the depths of the bilge and to help prevent future clogging. I secured the hose along the way and attached the other end to the suction side of the pump. |
 |
|
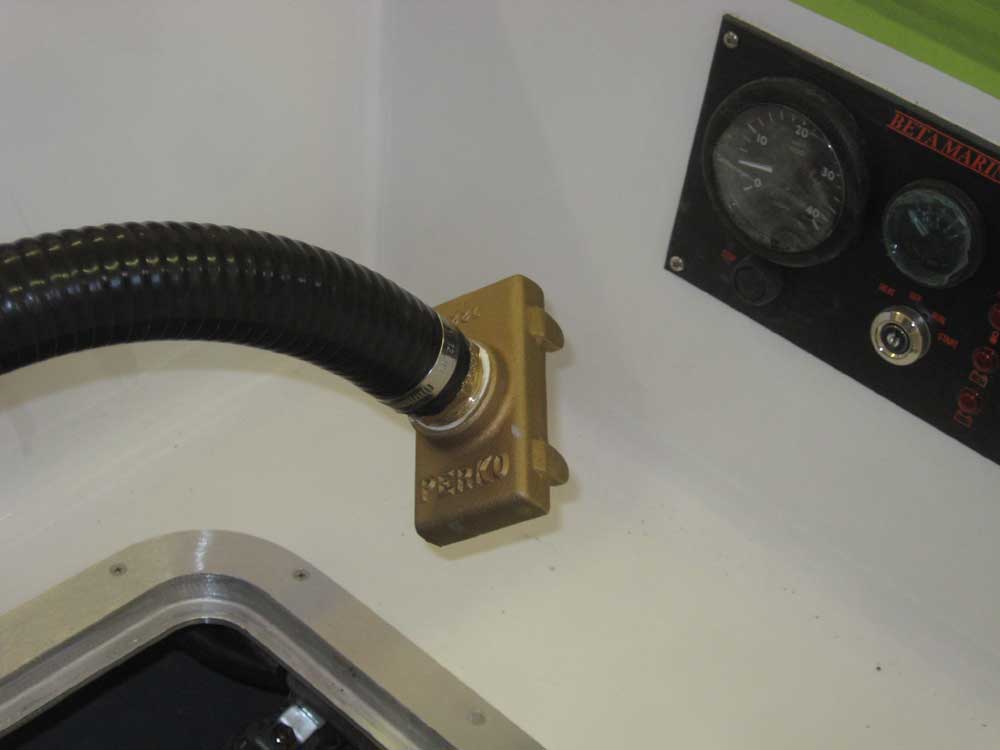
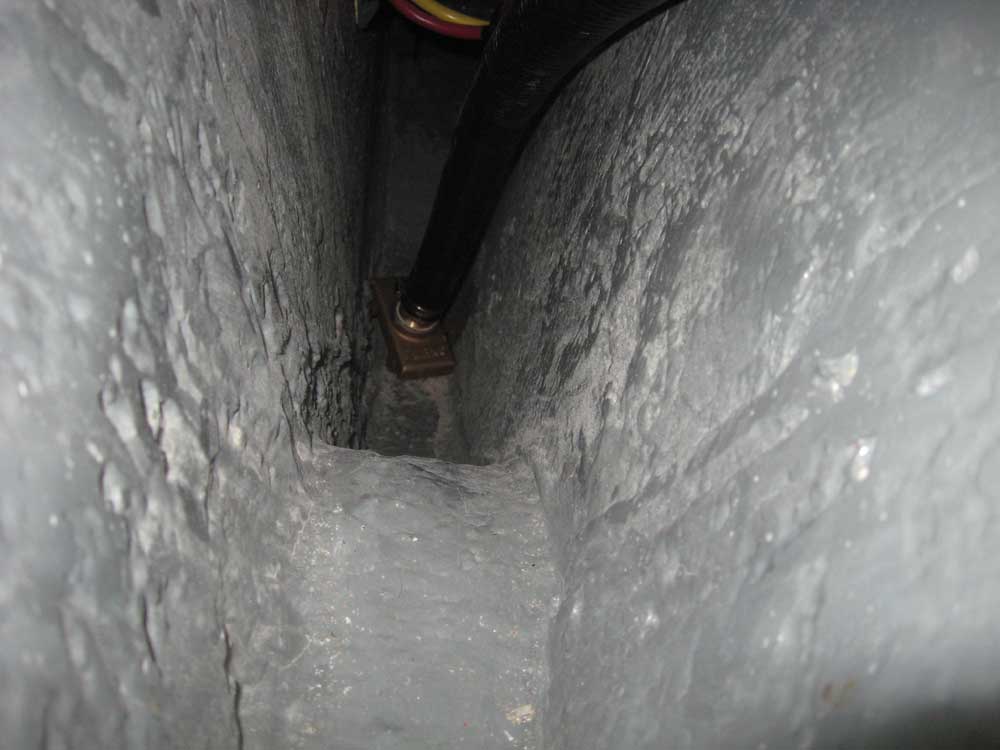
For the discharge side, I first made up a "T" arrangement, using various bronze parts, so that I could later tie the electric pump discharge in with the same through hull outlet. Then, I connected the adapter to the through hull fitting (above the waterline) and ran a hose to the discharge side of the manual pump, completing its installation. |

 |
|
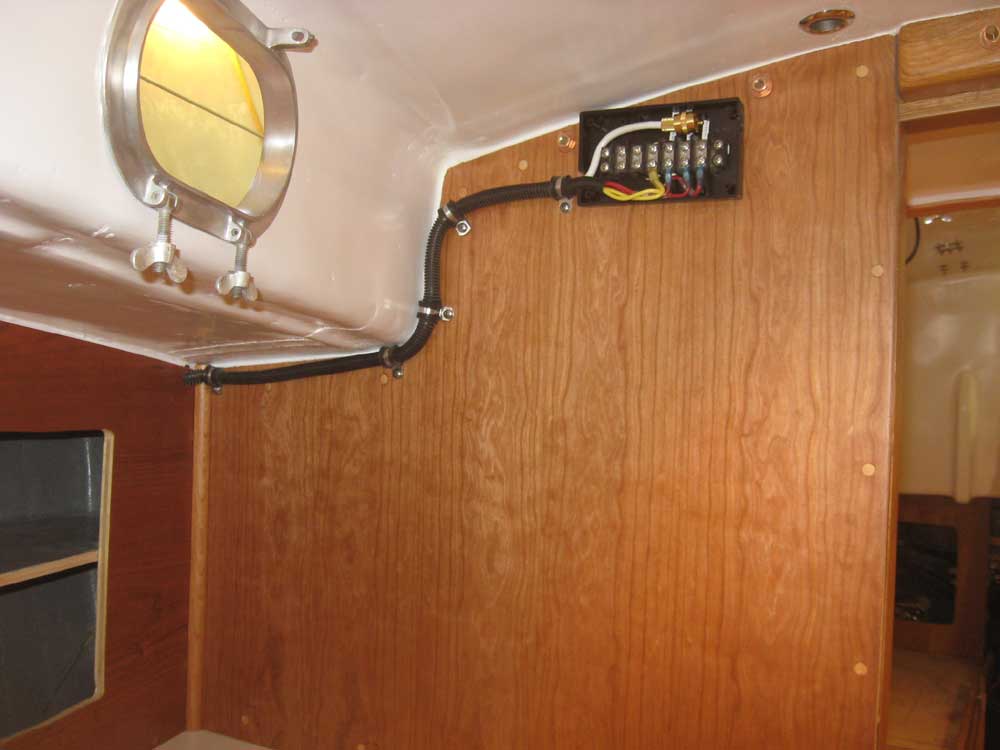
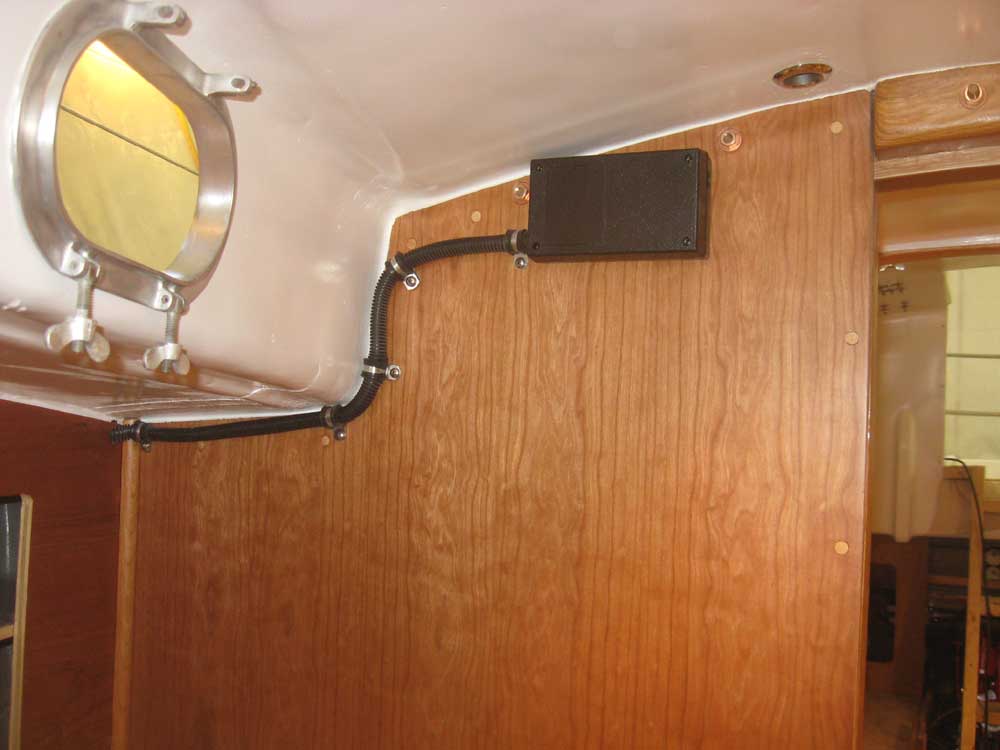
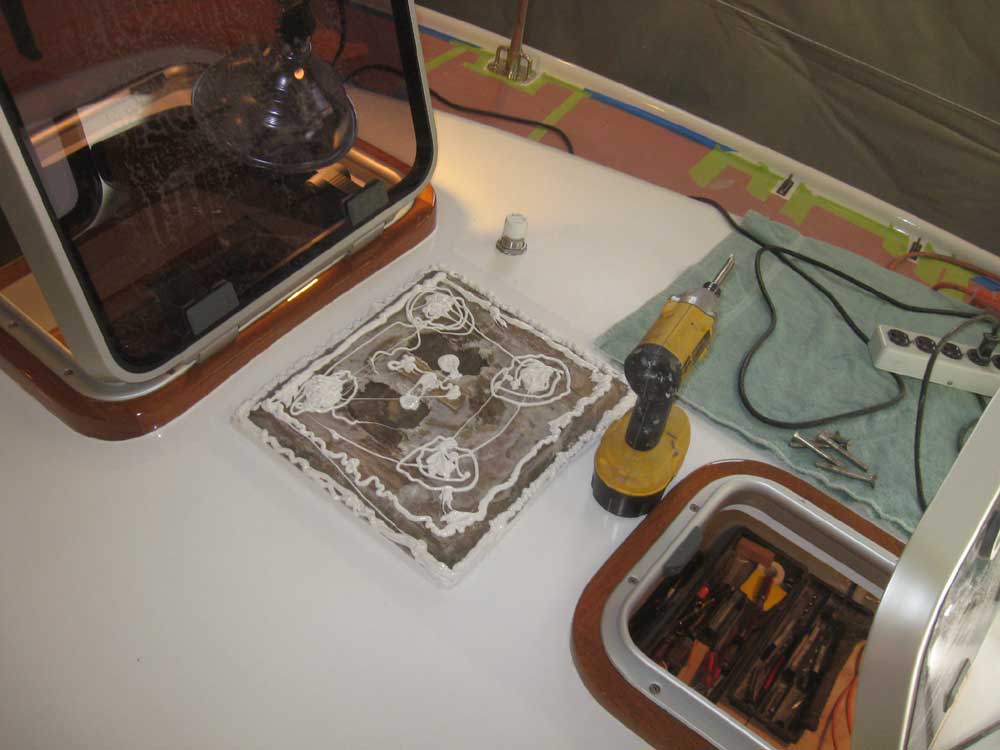
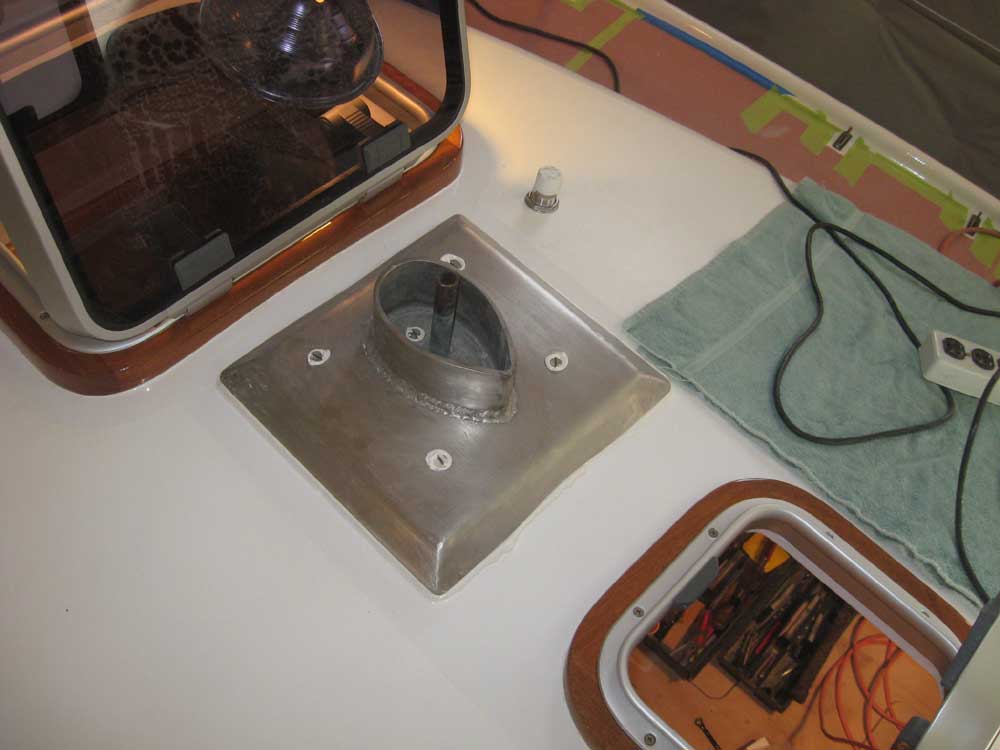
Up in the head, I installed a plastic junction box and terminal block on the aft bulkhead near the entrance for the mast wiring, and then ran the various mast wires from inside the head cabinet to the junction box, routing it through some flexible conduit along the way. I labeled and made up the final connections for the boat side of the mast wiring; later, the ends of the new mast wiring could be made up to connect to the appropriate studs on the terminal block. |
 |
|
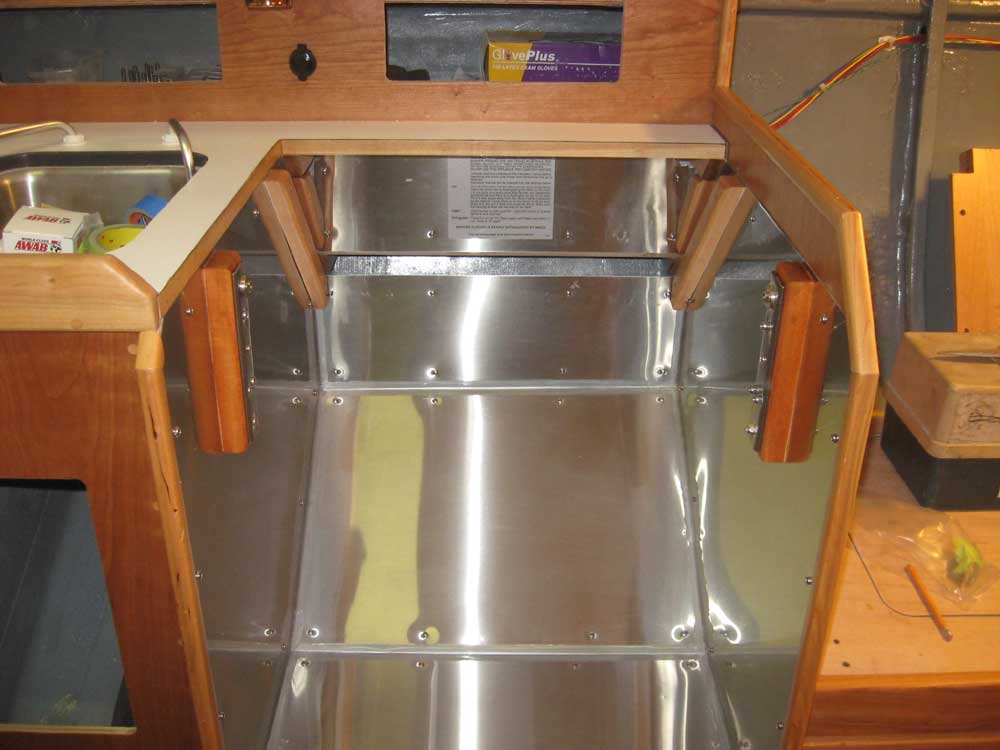
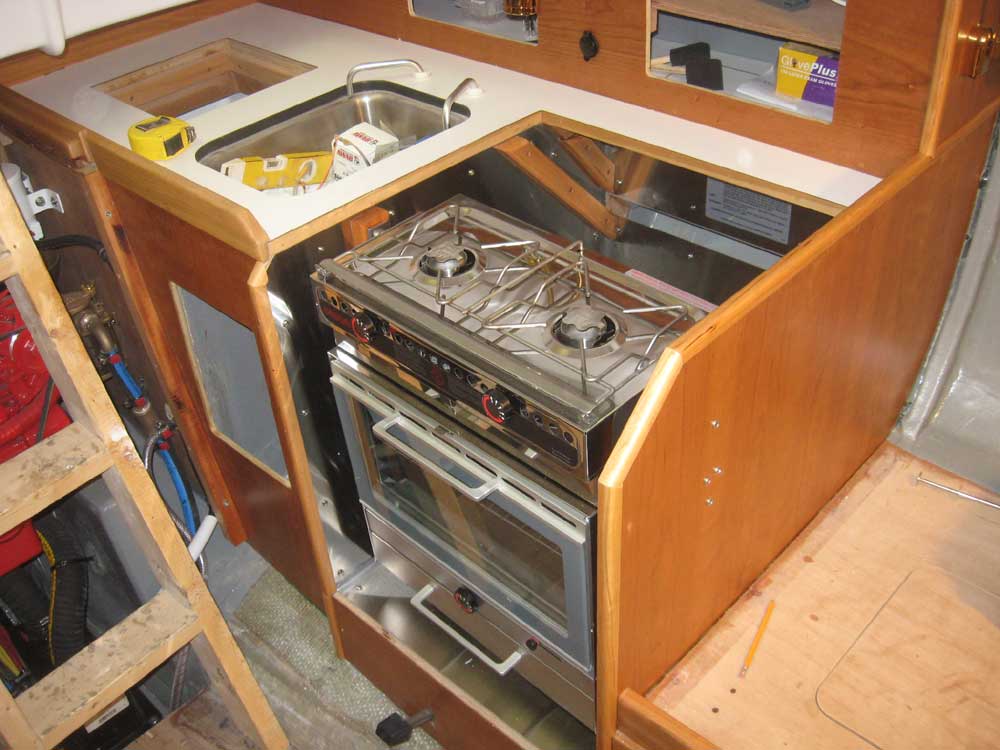
The new galley stove arrived, so I proceeded with its installation. I began by installing some hardwood cleats at the aft end of the stove cabinet to serve as guides for storage of an eventual flush countertop behind the stove, the beginnings of which storage I'd created during the initial enclosure construction. The alcohol stove was a bit narrower than the propane stove around which the stove cabinet was constructed, so in order to hang the stove I needed to build some wooden spacers to make up the difference--about 2" total. Once the spacers were complete, I installed the stove gimbal brackets with bolts through the cabinets, at which point I could hang the stove and complete the installation. |
 |
|
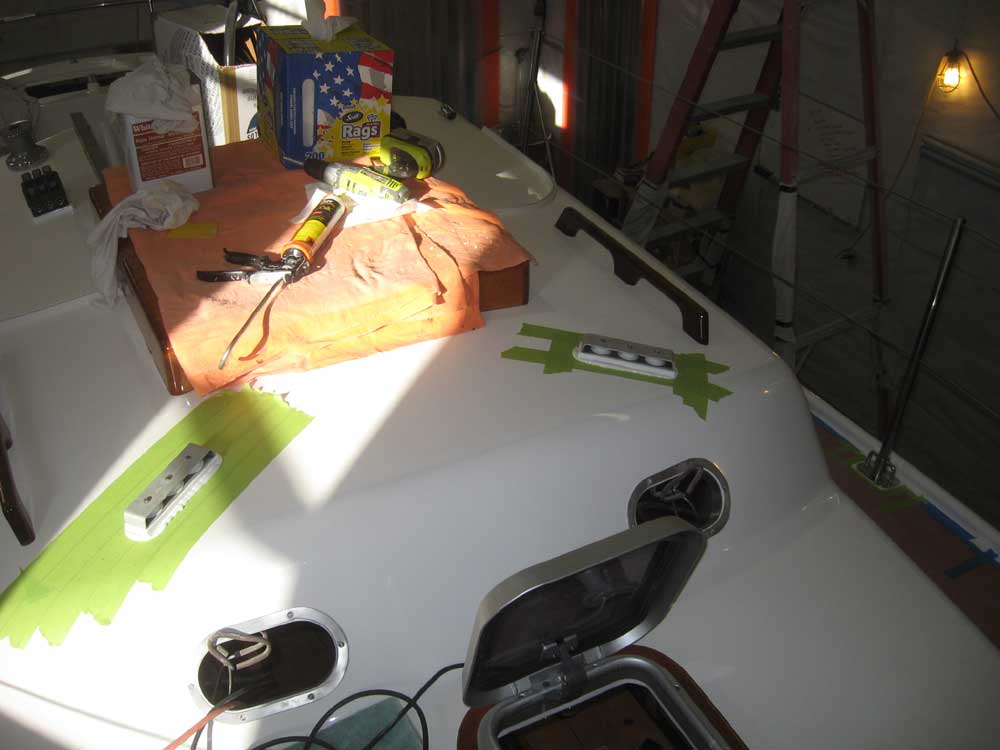
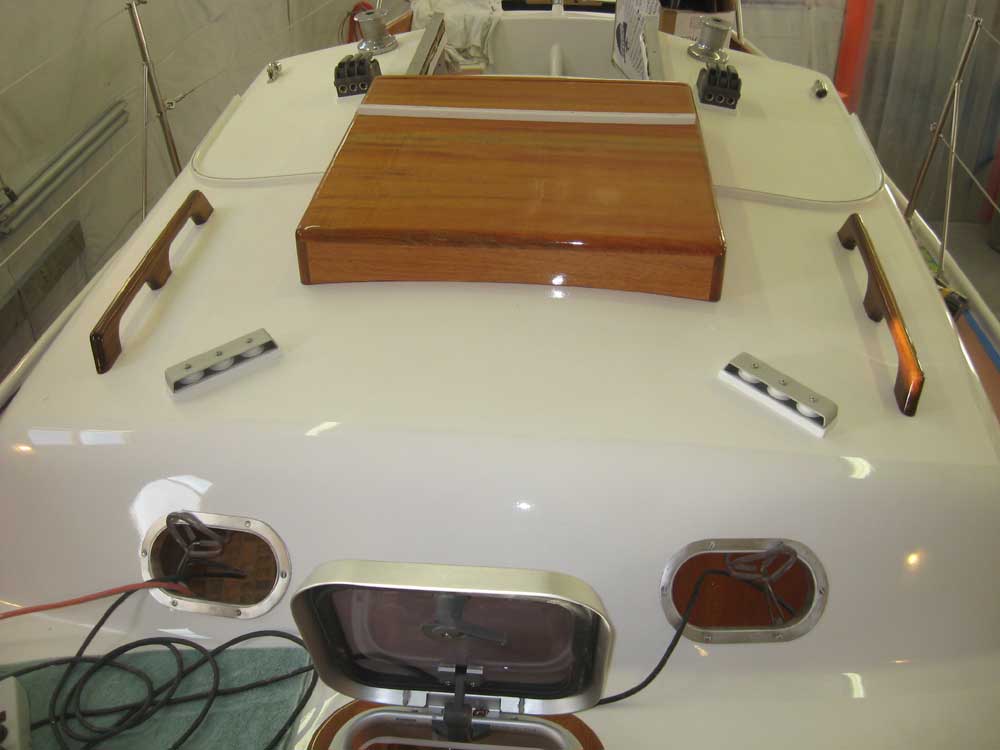
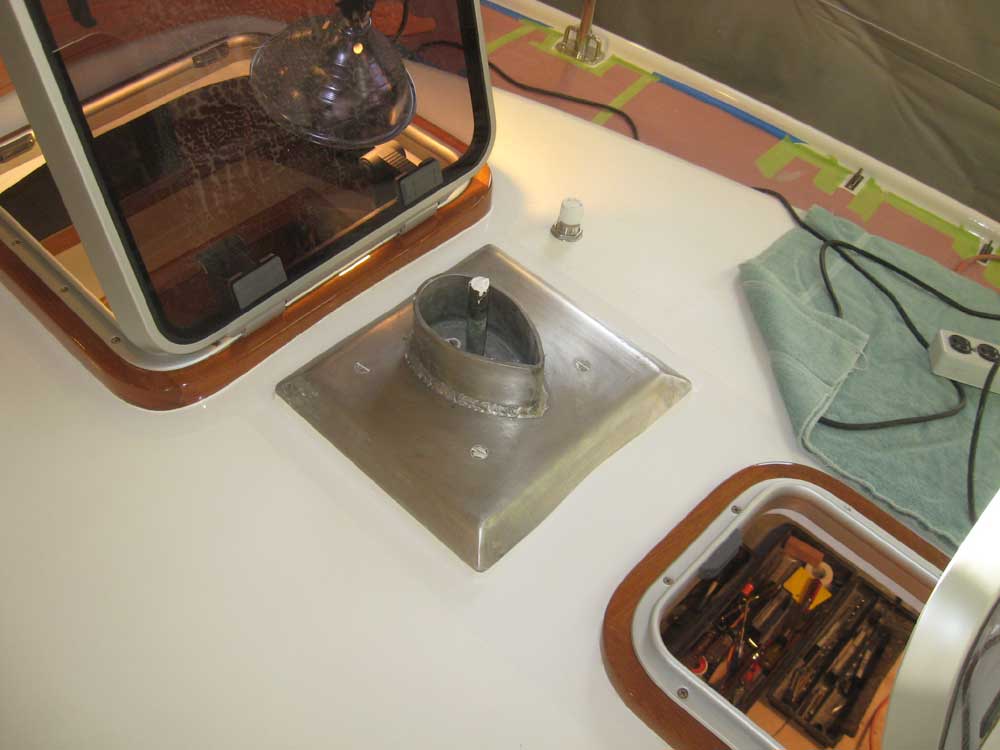
I returned to deck hardware, with some newly-arrived fasteners on hand. I installed the two deck organizers at the forward end of the coachroof, and then installed the heavy stainless steel mast step unit, after filling the old wiring chase--both in the deck-mounted step base and in the tube contained within the stainless step itself--with sealant to prevent any leakage. I secured the step with four through bolts, as before, and two machine screws into a bronze plate and tapped holes that had been previously installed beneath (under former ownership). |
 |
|
To finish up the day, I sanded and varnished the companionway trim again. |
|
|
|